Hello Hive Diy friends...
☺☺☺
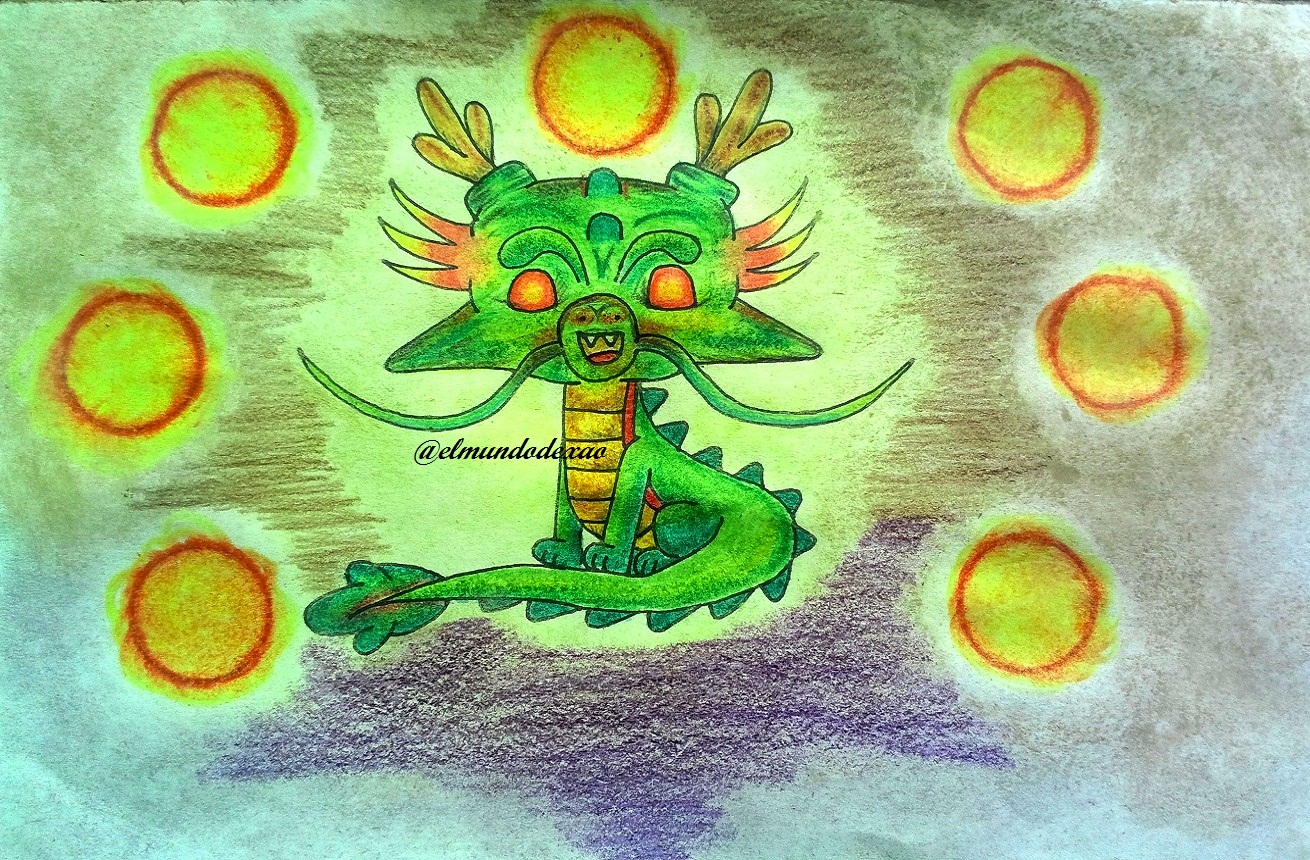
Welcome to my blog once again dear friends, I hope you are having a great day. Today's kawaii art will be a dragon that almost everyone should know and I am referring to ShenLong from Dragon Ball.
Here are the materials used: 52 g white bond paper, 0.5 mechanical pencil, 0.5 marker, eraser and colors (Variety of brands and colors).
Before I continue, I would like to tell you that I develop many of my learning through videos that we search on YouTube, so at the end I will leave you the link I used on this occasion.
Let's start with the step by step drawing:
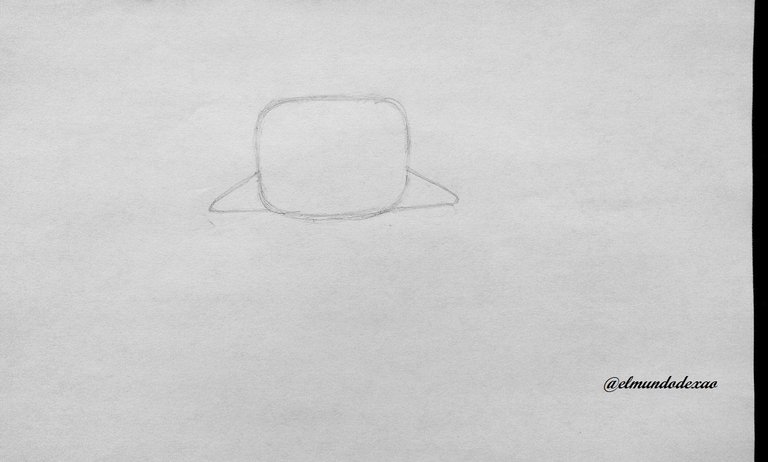
Step # 01: I draw a square, but I make the corners rounded and the bottom part I undulate it a little and add some kind of ridges to then define the beard and the horns, this drawing has many details so I will try to leave well defined each part that I am working on.
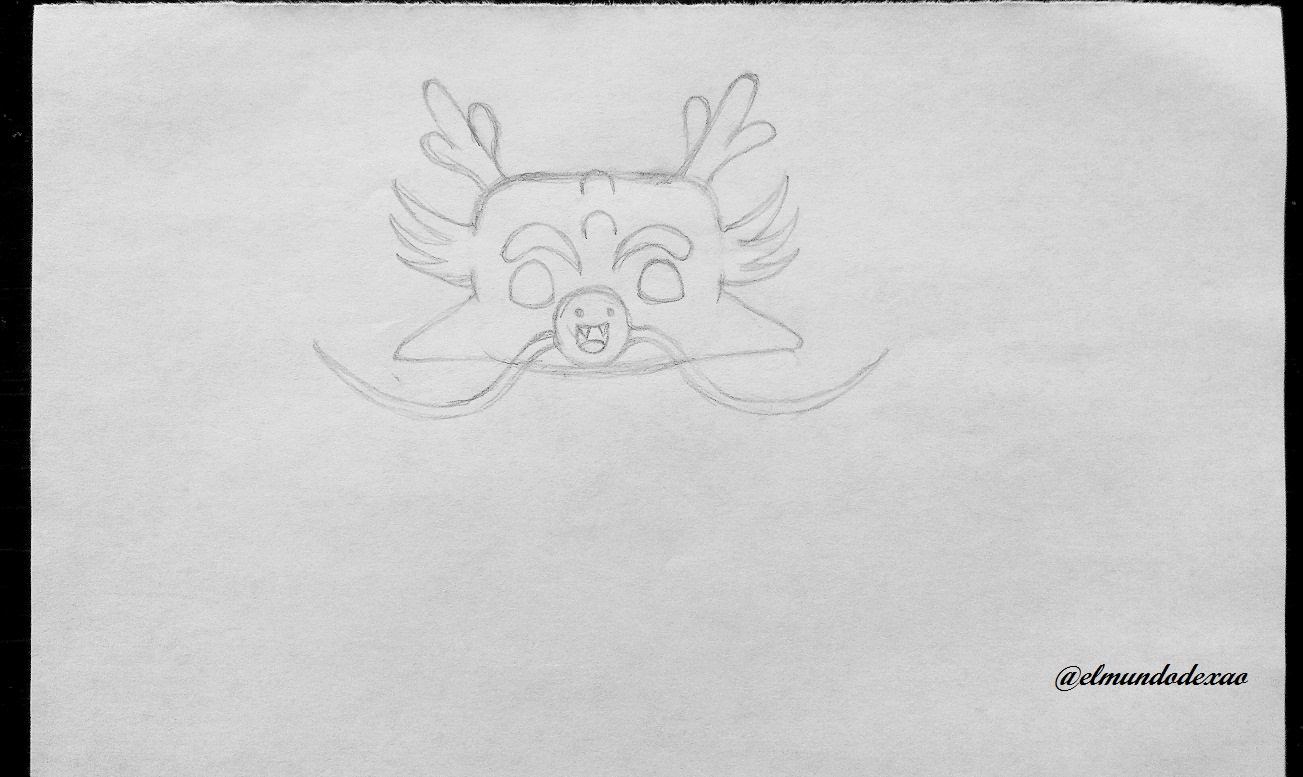
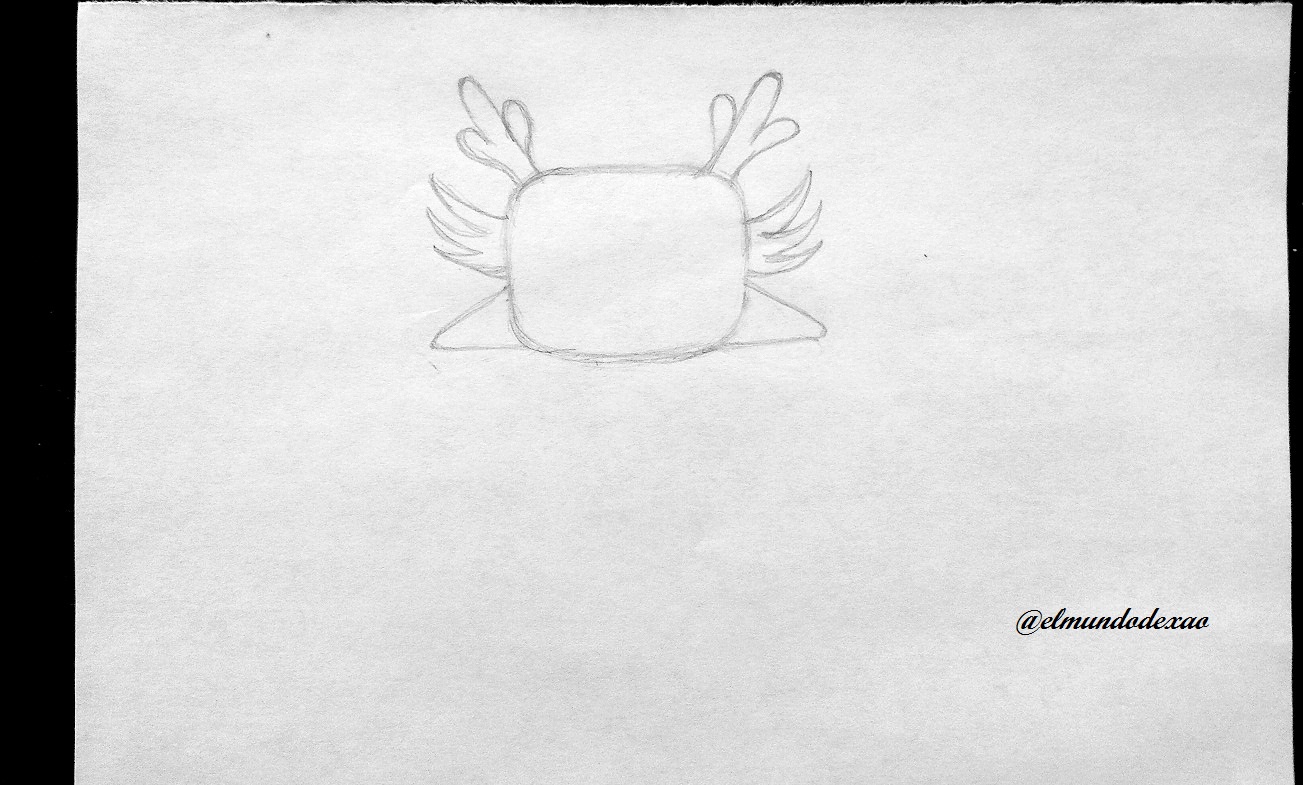 Step # 02: Now with a circle I define the muzzle and trace the whiskers on the sides, trying to make them exceed the size of the head. I place the eyes, using the muzzle as a reference to then make the eyebrows, which will be like two drops of water and other details.
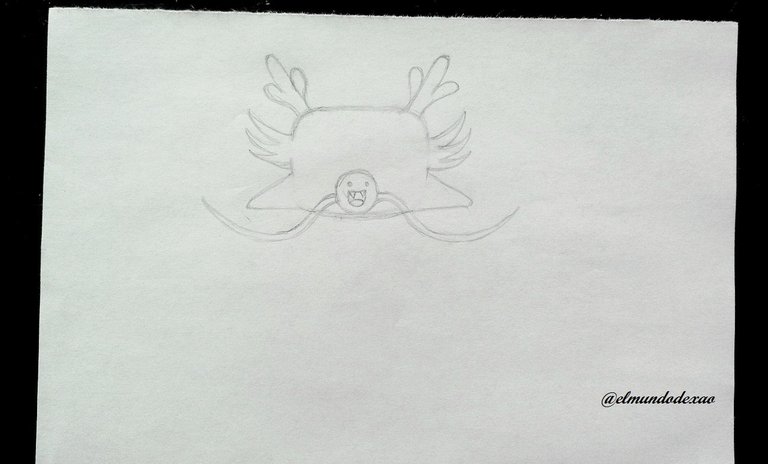
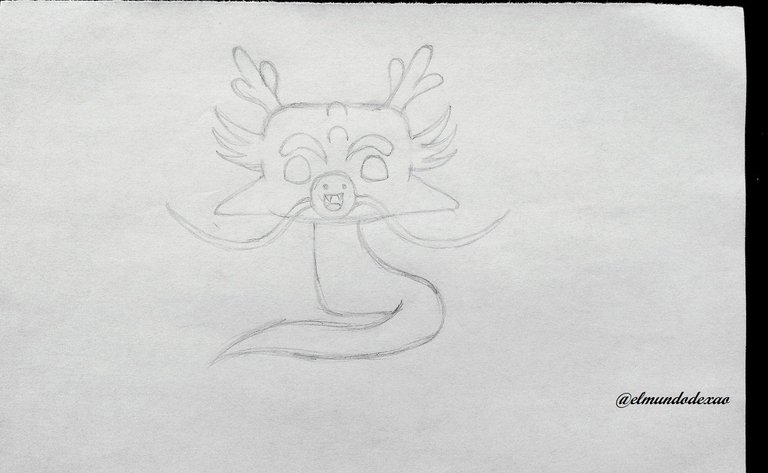
 Step # 03: The body, here I make the shape of a boot pointing to the right and then I draw from the tip to the back what would become the tail; this will not exceed the width of the head.
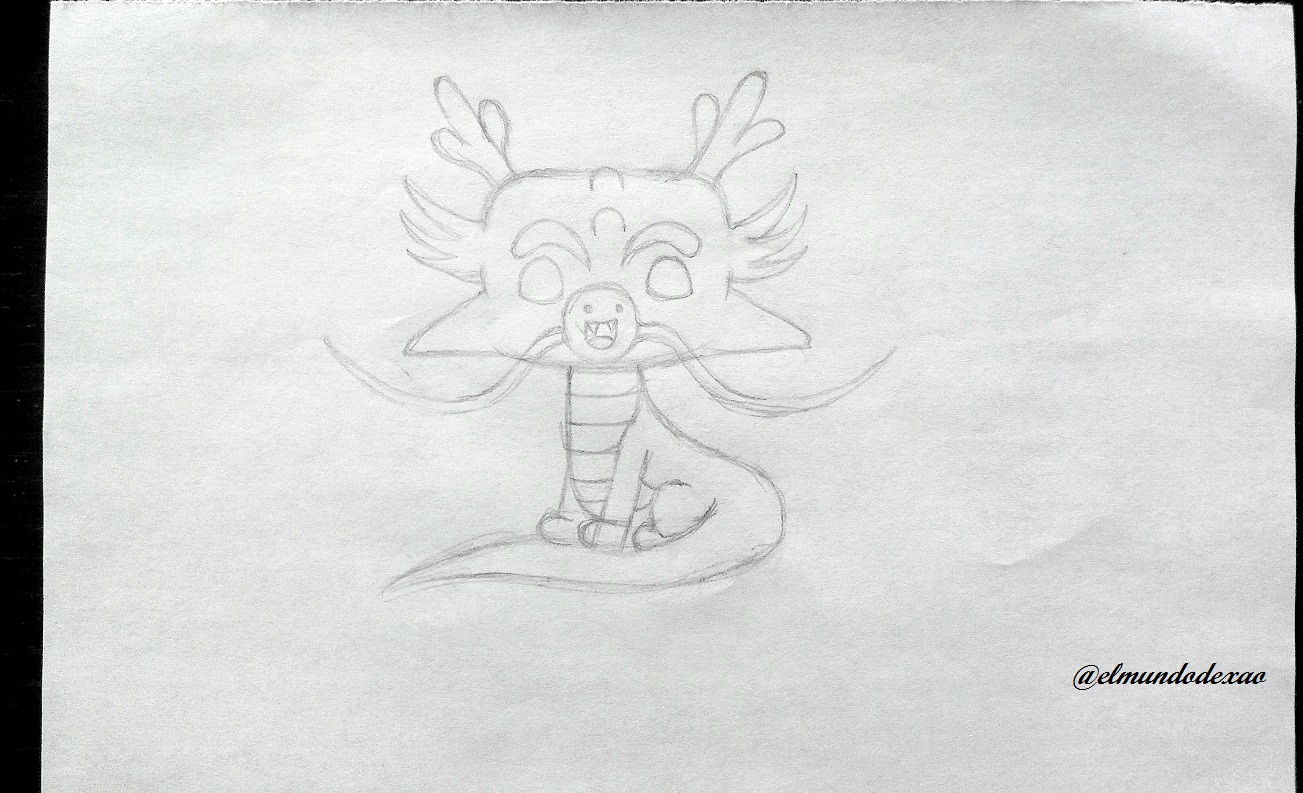
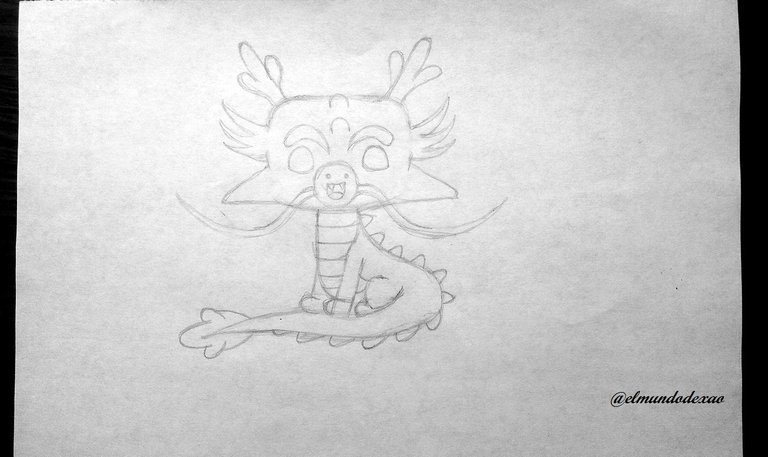
 Step # 04: The details of the body; I draw the belly stripes and make the three legs that are visible in their position. Then I draw each of the scales or protuberances on the back and tail.
 Step # 05: The inking; I love this part because the drawing takes on a very professional look; first I pass the marker, wait a few minutes for it to dry a little and proceed to erase all the graphite.
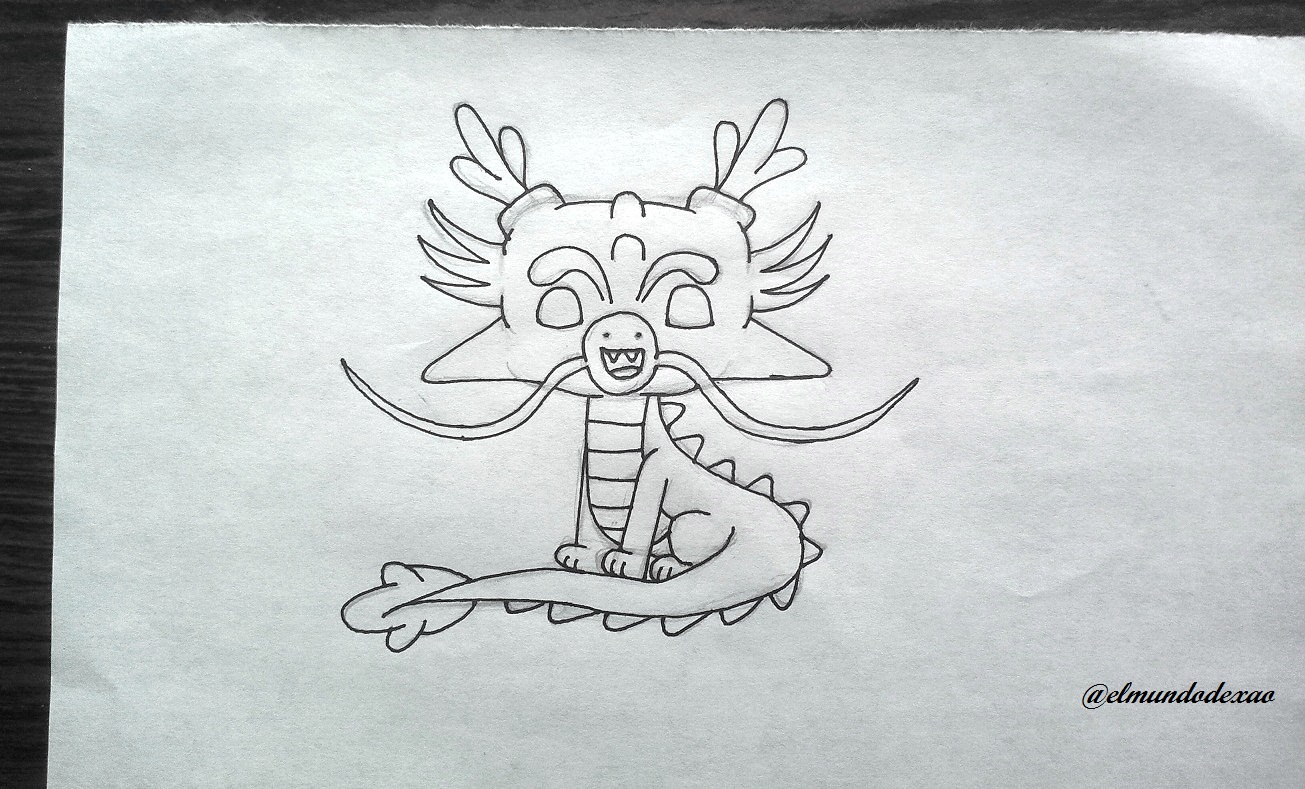
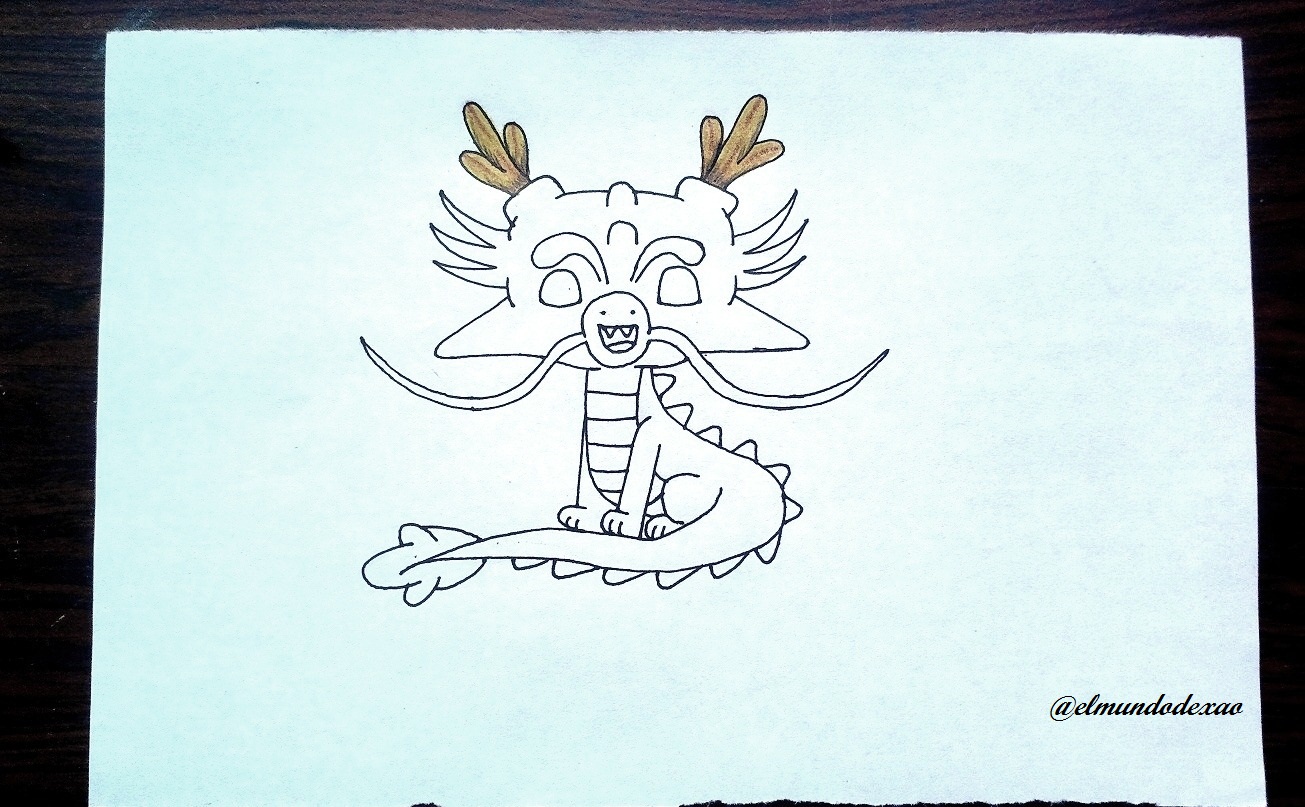
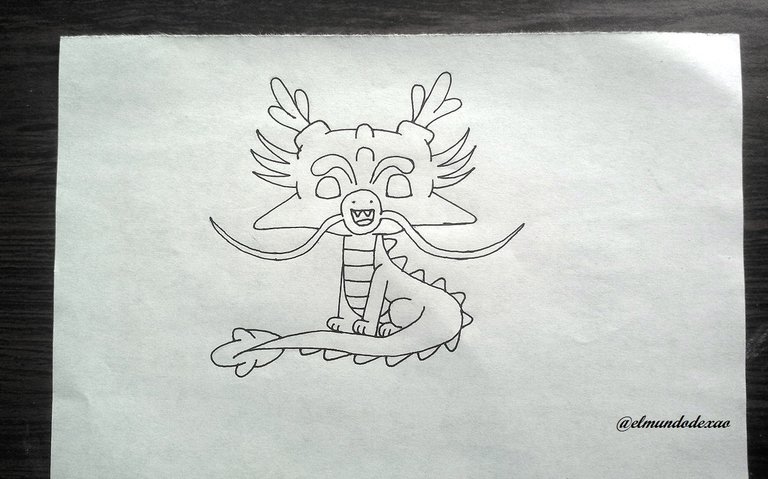 Step # 06: I start coloring and the first thing will be the horns, for this I use a light brown color all over the horn and a darker brown color to make several stripes and finally I add black color making small stripes.
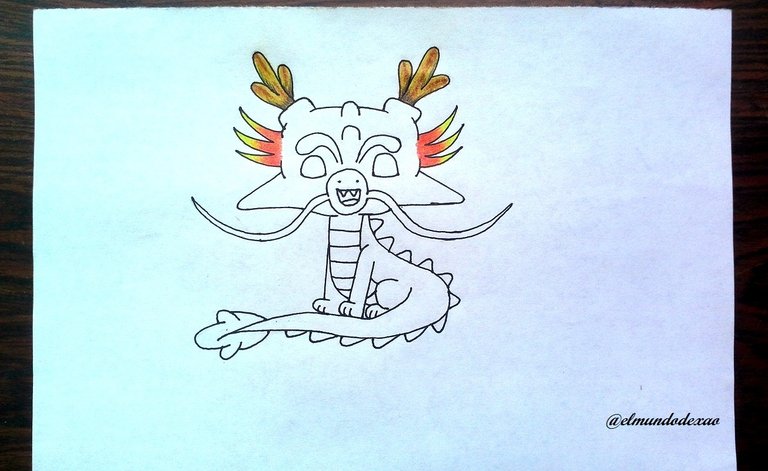
 Step # 07: For the beard I use a yellow color in the tips degrading with an orange; with these same colors I paint the eyes, I don't add pupils so that it has a mystical aspect and for the whiskers I place two green colors horizontally, blurring them with yellow.
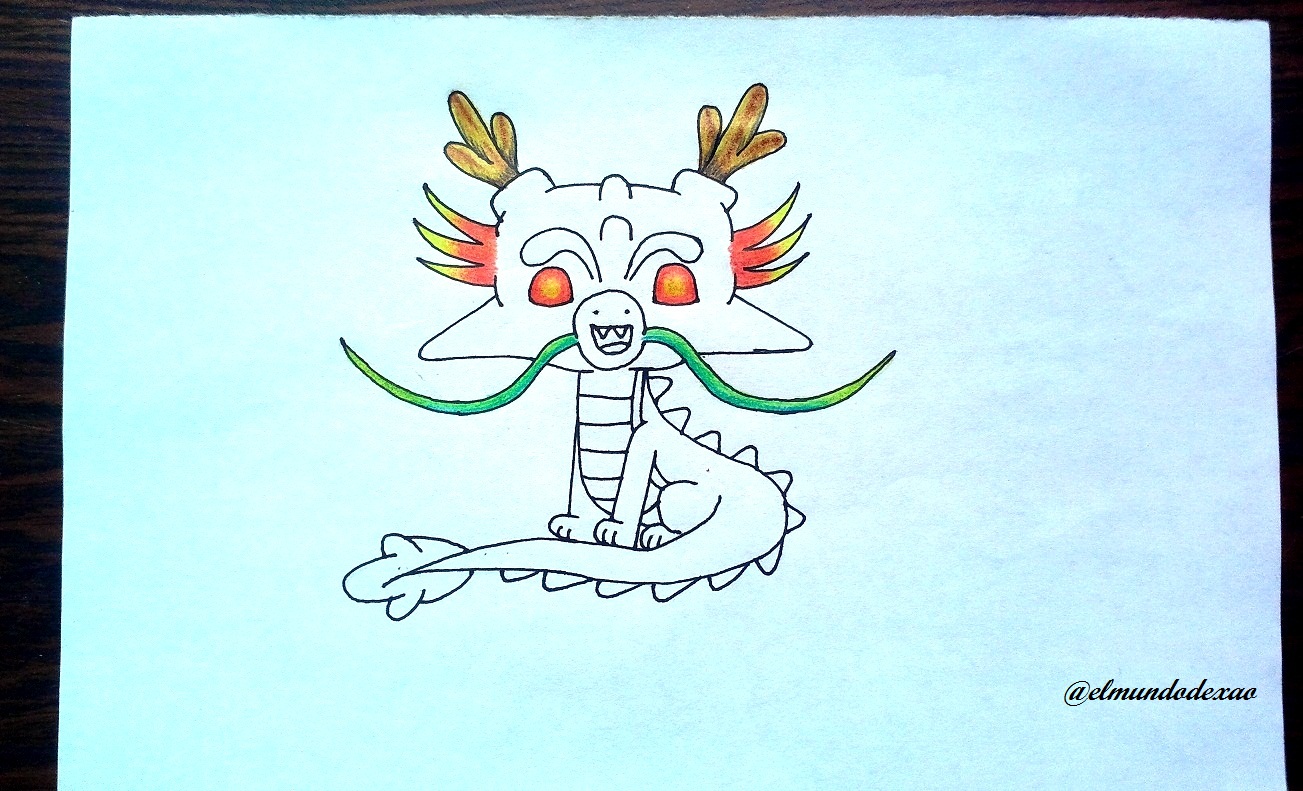
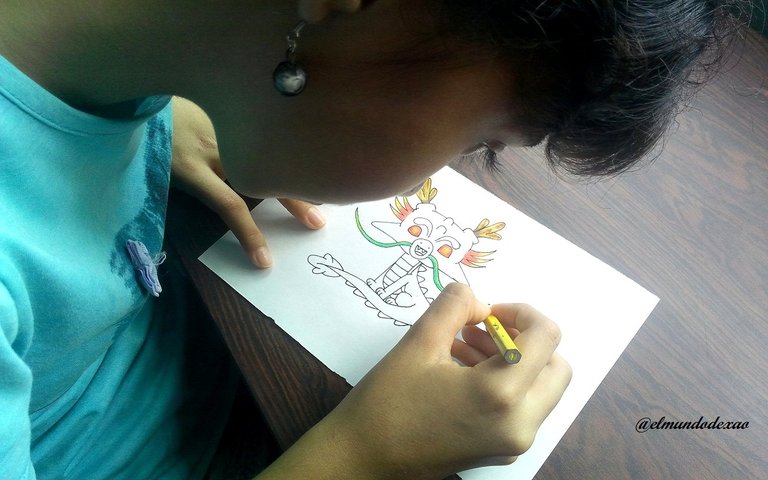 Step # 08: The eyebrows and some shades of dark green on the face which will be blurred by adding a lighter green background.
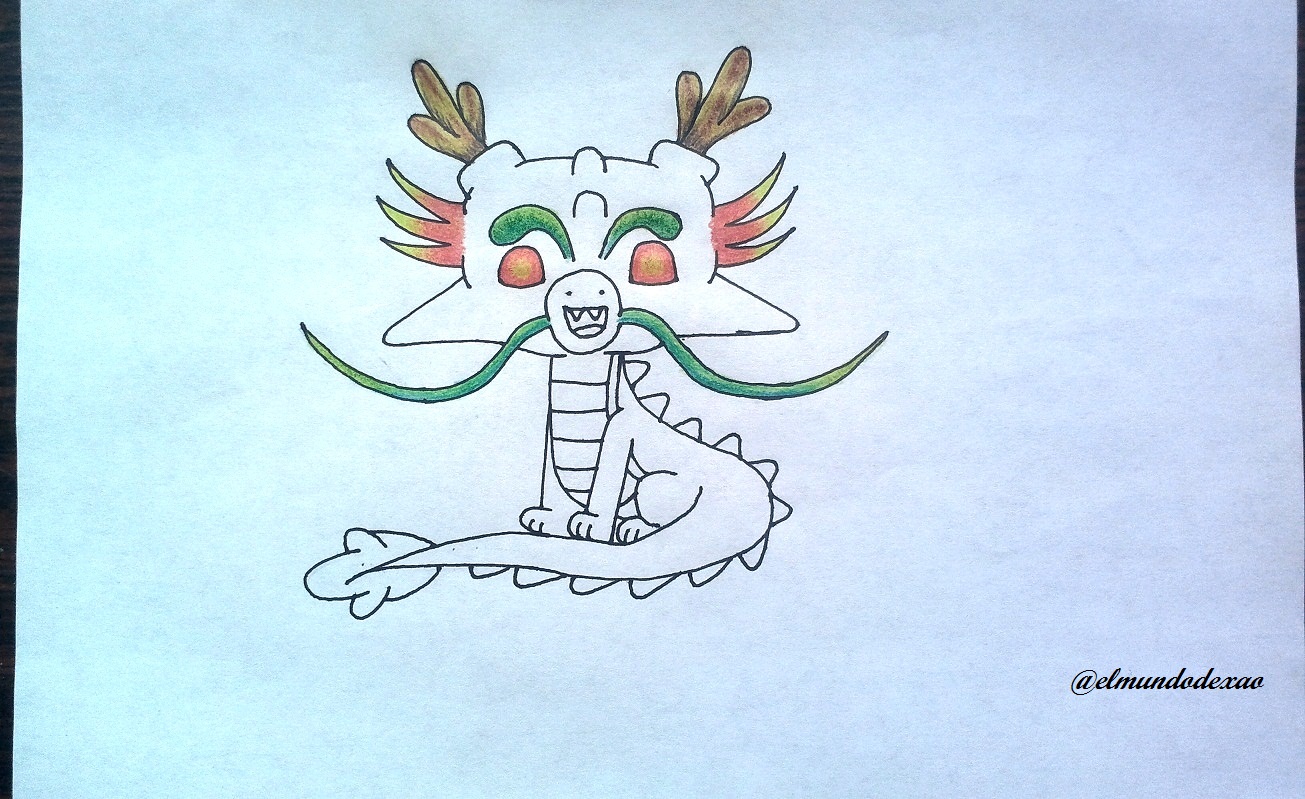
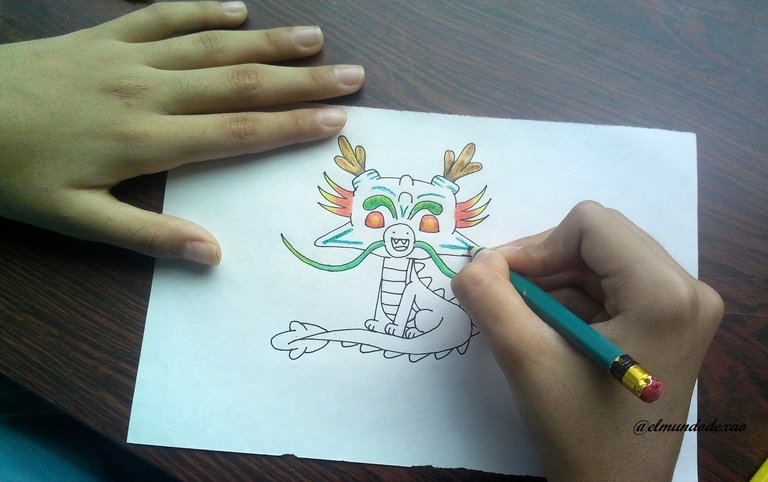
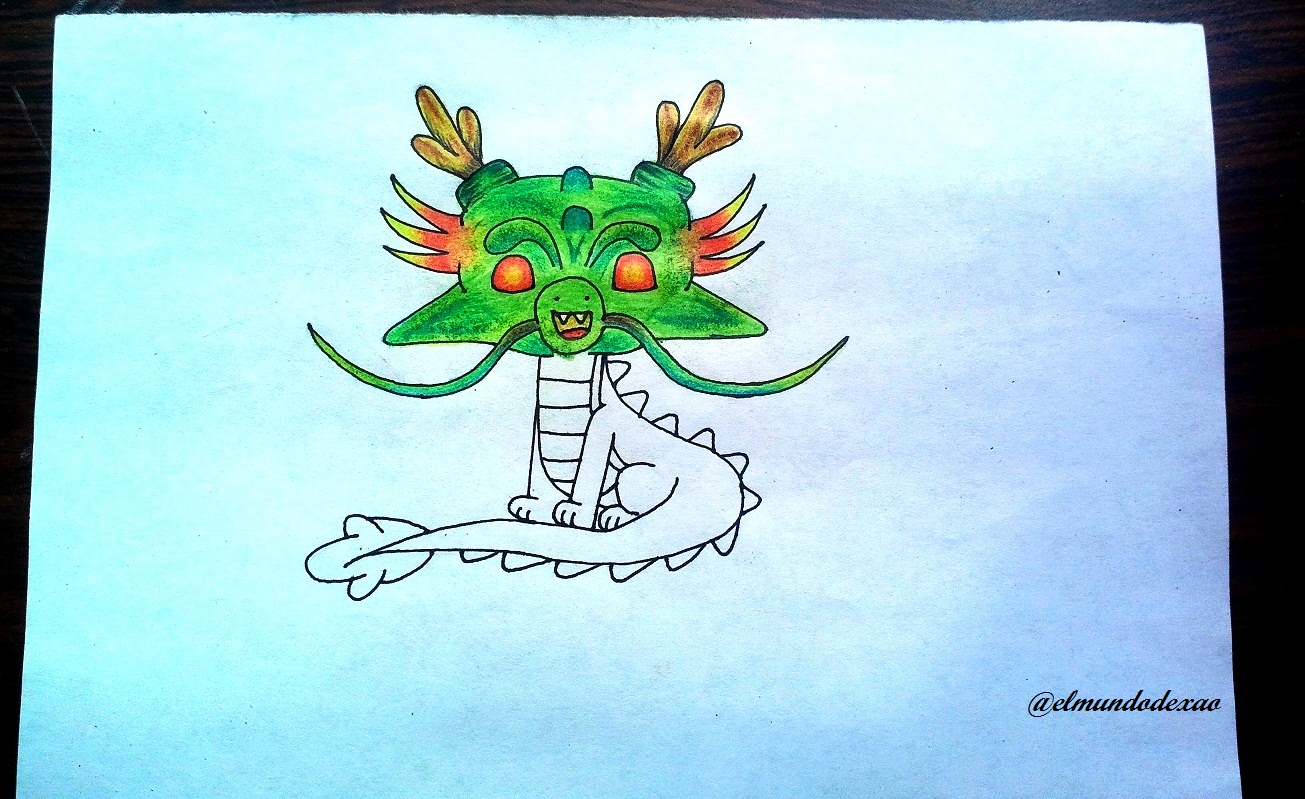 Step # 09: The belly will take a light brown color, I place it in a u-shape, and then blur it with a yellow color this gives it a pretty good look, I also place a little black in the darker parts.
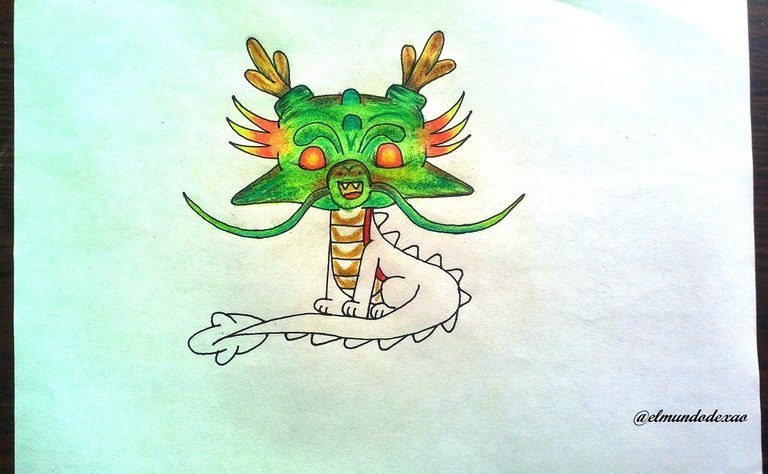
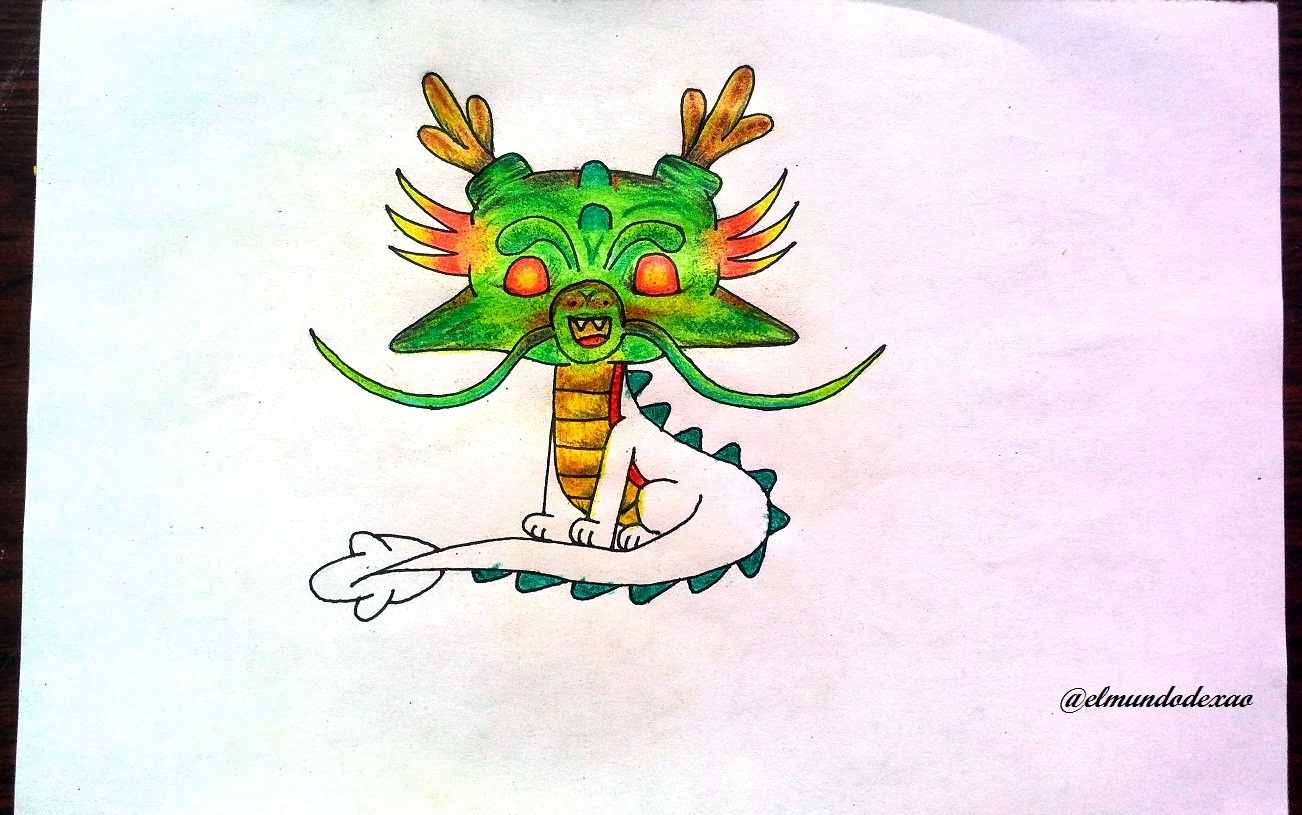 Step # 10: For the body I use the same shades of green that I have used so far faded with yellow, I just have to take into account where the darkest should be and of course the spines of the back and tail will be dark.
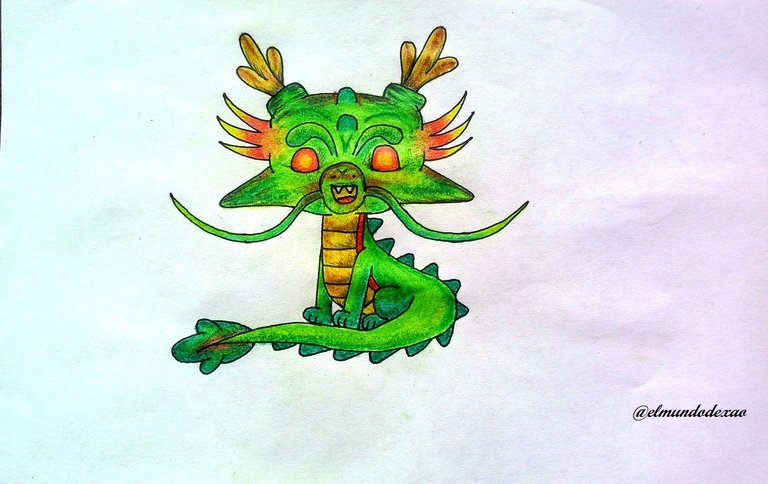 Step # 11: Once the dragon is finished, I make the spheres, which according to the story are seven, I draw the circumference of a scarlet red color and then add yellow and join the two colors.
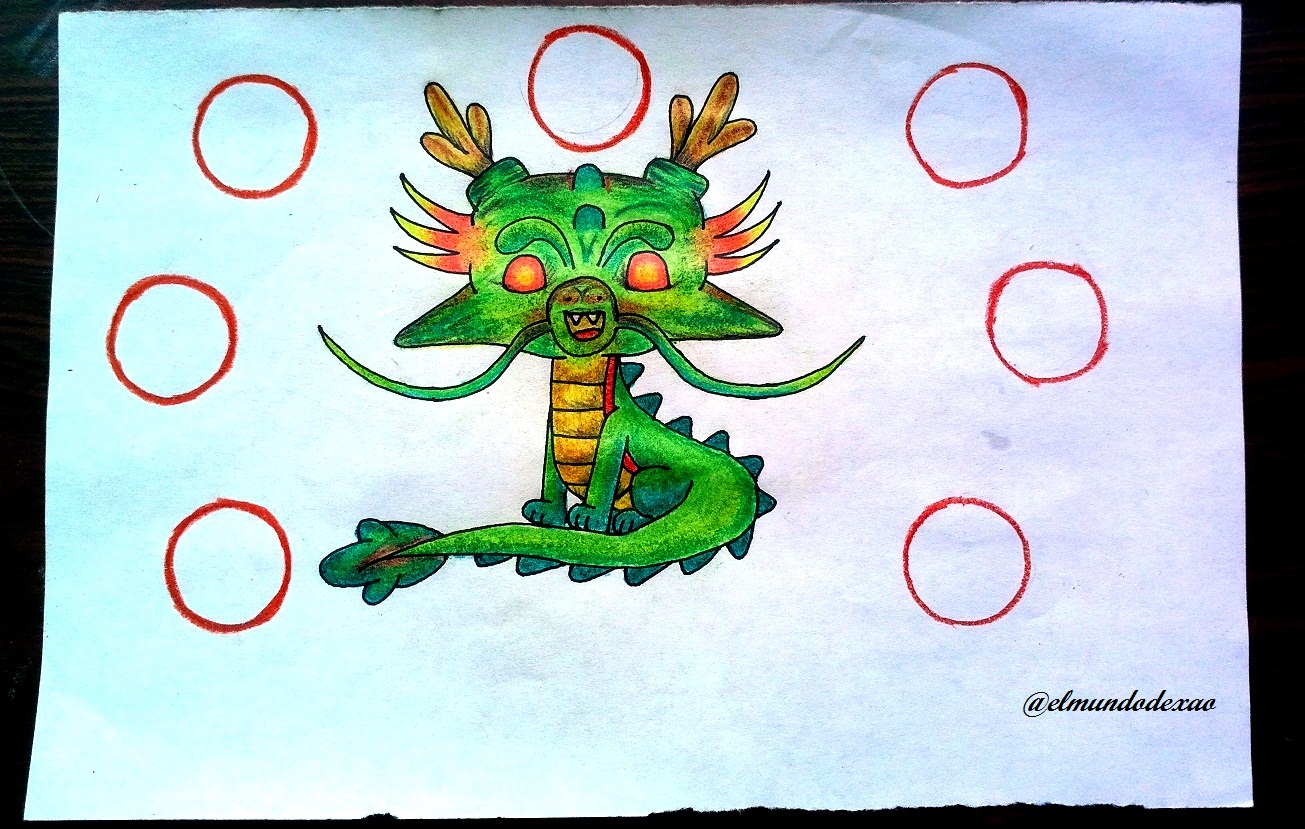
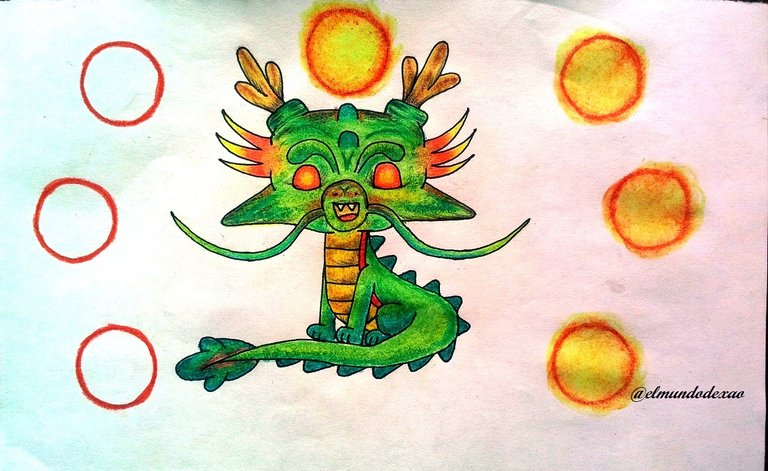 Step #12: For the background I use some yellow, purple and brown sprayed chalk, then I use a purple and brown color to create a glow effect and that's the end of my work for today.
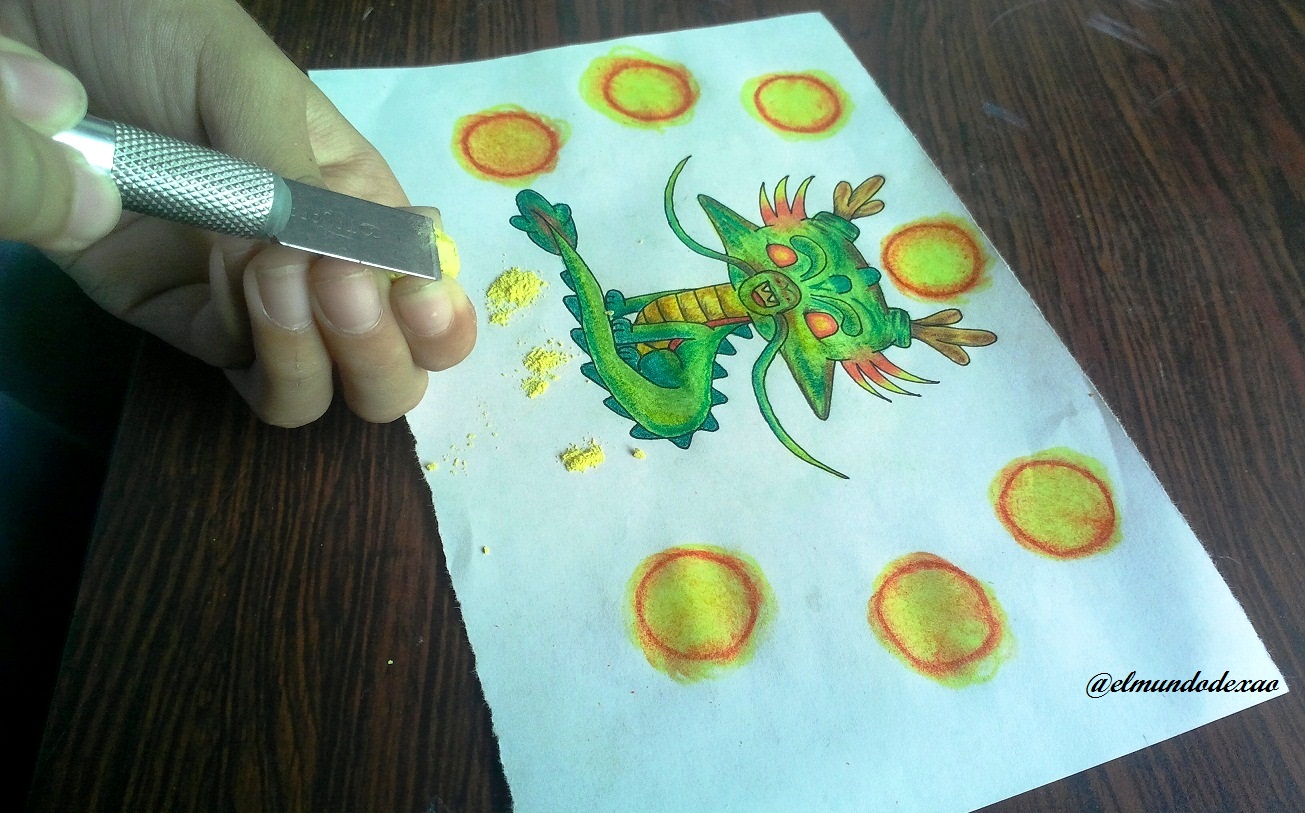
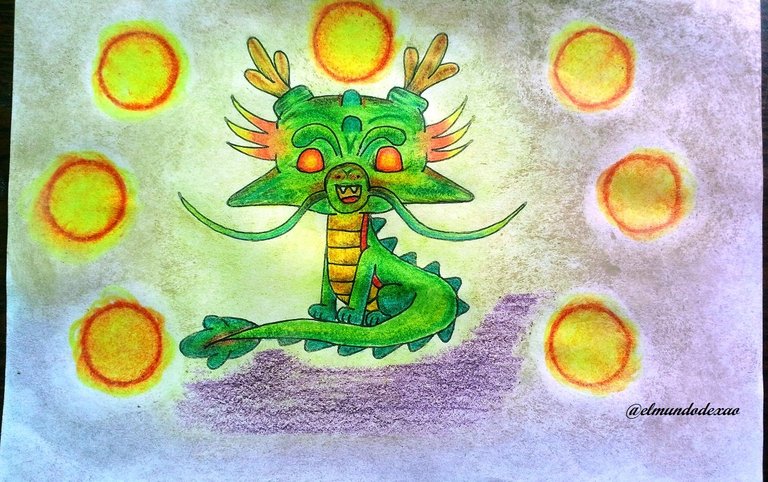

Photo Source: Own photos captured with a Síragon camera.
Modified size: With the Paint Program.
Thanks for visiting my Blog… AH! Don't forget to vote, reblogear, and comment.
Translated with:

www.DeepL.com/Translator (free version)

Arte Kawaii “Dragón Místico ShenLong”.
Hola amigos de Hive Diy…
☺☺☺
Bienvenidos a mi blog una vez más queridos amigos, Espero estén pasando un día genial. El arte kawaii de hoy será un dragón que casi todos deben conocer y me refiero a ShenLong de Dragón Ball.
A continuación menciono los materiales utilizados: Papel bond blanco de 52 g, portaminas 0.5, rotulador de 0.5, borrador y colores (Variedad de marcas y colores).
Antes de continuar les comento que muchos de mis aprendizajes los desarrollo mediante videos que buscamos en YouTube por lo que al final les dejare el enlace que use en esta ocasión.

Comencemos con el paso a paso del dibujo:
Paso # 01: Elaboro un cuadrado, pero las esquinas las hago redondeadas y la parte de abajo la ondulo un poco y agrego unas especies de crestas para luego definir la barba y los cuernos, este dibujo tiene muchos detalles por lo que intentare dejar bien definida cada parte que voy trabajando.

 Paso # 02: Ahora con un circulo defino el hocico y trazo los bigotes a los lados, tratando que superen el tamaño de la cabeza. Ubico los ojos, utilizando el hocico como referencia para después hacer las cejas, que serán como dos gotas de agua además de otros detalles.

 Paso # 03: El cuerpo, aquí hago la forma de una bota apuntando hacia la derecha y luego saco desde la punta hacia atrás lo que vendría a ser la cola; esta no superara el ancho de la cabeza.
 Paso # 04: Los detalles del cuerpo; dibujo las rayas de la barriga y hago las tres patas que son visibles en su posición. Luego dibujo cada una de las escamas o protuberancias que lleva sobre el lomo y la cola.

 Paso # 05: El entintado; esta parte me encanta ya que el dibujo cobra una apariencia bastante profesional; primero paso el rotulador espero algunos minutos para que seque un poco y procedo a borrar todo el grafito.

 Paso # 06: Comienzo a colorear y lo primero serán los cuernos, para ello utilizo un color marrón claro en todo el cuerno y otro marrón más oscuro para hacerle varias rayas y por ultimo agrego color negro haciendo pequeñas rayas.
 Paso # 07: Para la barba utilizo un color amarillo en las puntas degradándose con un anaranjado; con estos mismos colores pinto los ojos, no agrego pupilas para que tenga un aspecto místico y para los bigotes coloco dos colores verdes de forma horizontal, difuminándolos con amarillo.


 Paso # 08: Las cejas y algunas tonalidades de verde oscuro en la cara las cuales serán difuminadas al agregar un verde más claro de fondo.


 Paso # 09: La barriga llevara un color marrón claro, lo coloco en forma de u, y luego lo difumino con un color amarillo esto le da un aspecto bastante bueno, también coloco un poco de negro en las partes más oscuras.

 Paso # 10: Para el cuerpo utilizo las mismas tonalidades de verde que he utilizado hasta ahora difuminados con amarillo solo debo tomar en cuenta donde debe estar el más oscuro y por supuesto las púas del lomo y cola serán oscuras.
 Paso # 11: Terminado el dragón hago las esferas que según la historia son siete, dibujo la circunferencia de un color rojo escarlata para luego agregar amarillo y unir los dos colores.

 Paso # 12: Para el fondo utilizo un poco de tiza pulverizada de color amarillo, morado y marrón, luego utilizo un color morado y marrón para crear un efecto de resplandor y así doy por terminada mi obra del día de hoy.


Fuente de Fotos: Propias capturadas con una cámara Síragon.
Modificado el tamaño: Con el Programa Paint.
Gracias por visitar mi Blog… ¡AH! No se olvide de votar, rebloguear y comentar.


