
Hola queridos amigos, bienvenidos sean todos a mi lugar creativo!
Bendecido noche tengan todos.
Comencemos:
Vas a necesitar:
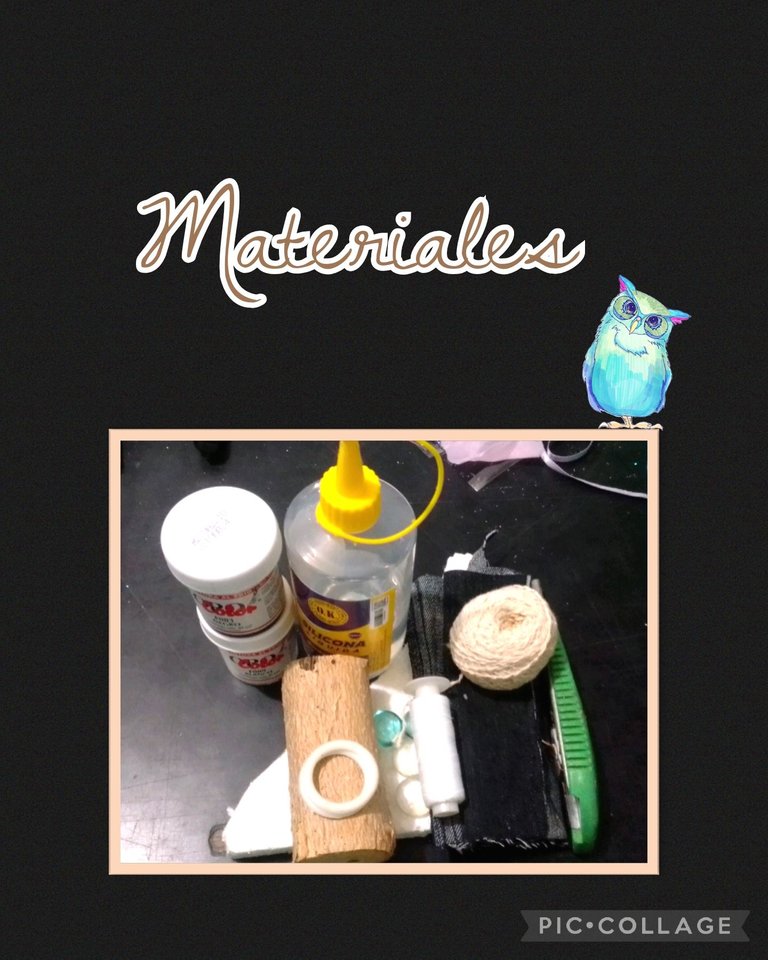
| Telas de pantalón usado,lamé azul y algodón (retazos) | Hilo pabilo o de tejer |
|---|---|
| Argollas plásticas | Aguja de tejer |
| Tijera | Cuchilla o exacto |
| Pega blanca | Icopor o poliestireno (trocito) |
| Cartón de caja | Gemas azules de vidrio |
| Pinturas y pinceles | Silicón |
| Tronco de árbol | Dibujo o molde de buho |
Comencemos:
Paso 1:
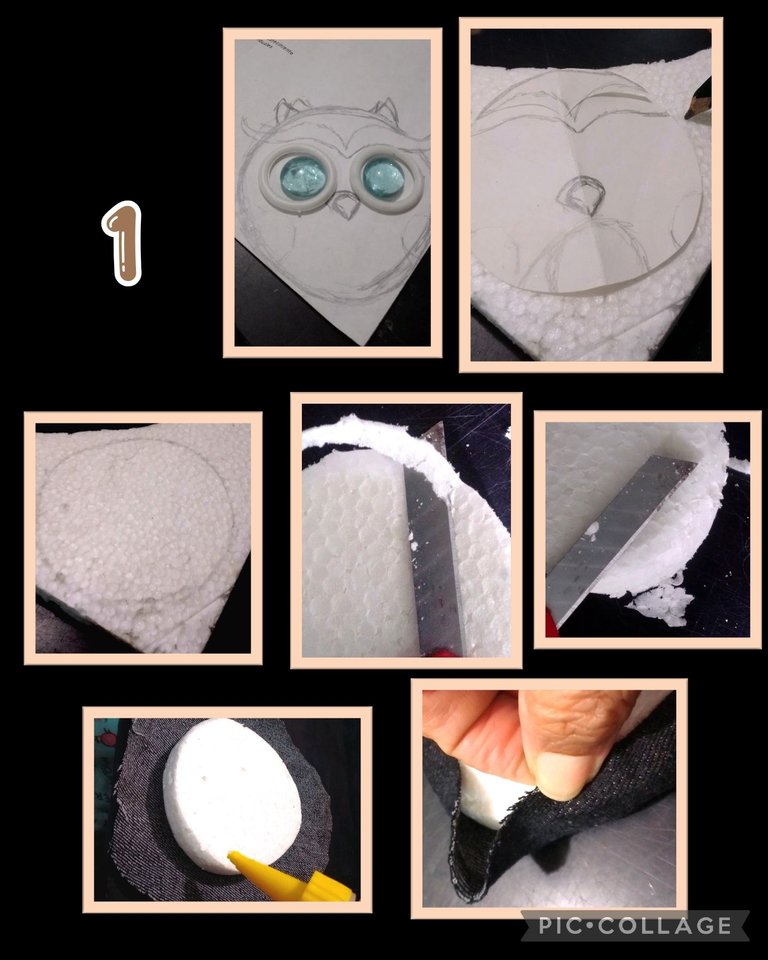
- Dibuja la forma que desees para tu buho, sino utiliza una impresión o calca.
- Después dobla el dibujo a la mitad y recorta para enderezar y los dos lados queden iguales, luego con el lápiz marca todo el contorno del dibujo sobre el anime o poliestireno, recorta y rebaja con el exacto para quitar el filo.
- Ahora recorta un círculo aumentando en la tela 3cm, aplica silicón en el poliestireno, dobla y pega. (ver foto)
Paso 2:

- Recorta con la tijera todos los dobleces (ver foto). recorta también marcando el contorno de la pieza sobre un pedacito de tela y pega en la parte de atrás.
- Ahora para realizar las cejas, recorta en hilo pabilo varias pedacitos aproximadamente 10 de 10cm de largo y uno en el centro anudando con un pedacito de hilo.
- Luego aplica un poco de cola blanca en tus dedos y pasa por los hilos hasta que se unan y deja secar.
- Ahora haz un seminudo con el hilo en la argolla e insera la aguja por el lado del frente luego hala con la aguja el hilo de la parte de atrás.
Paso 3:
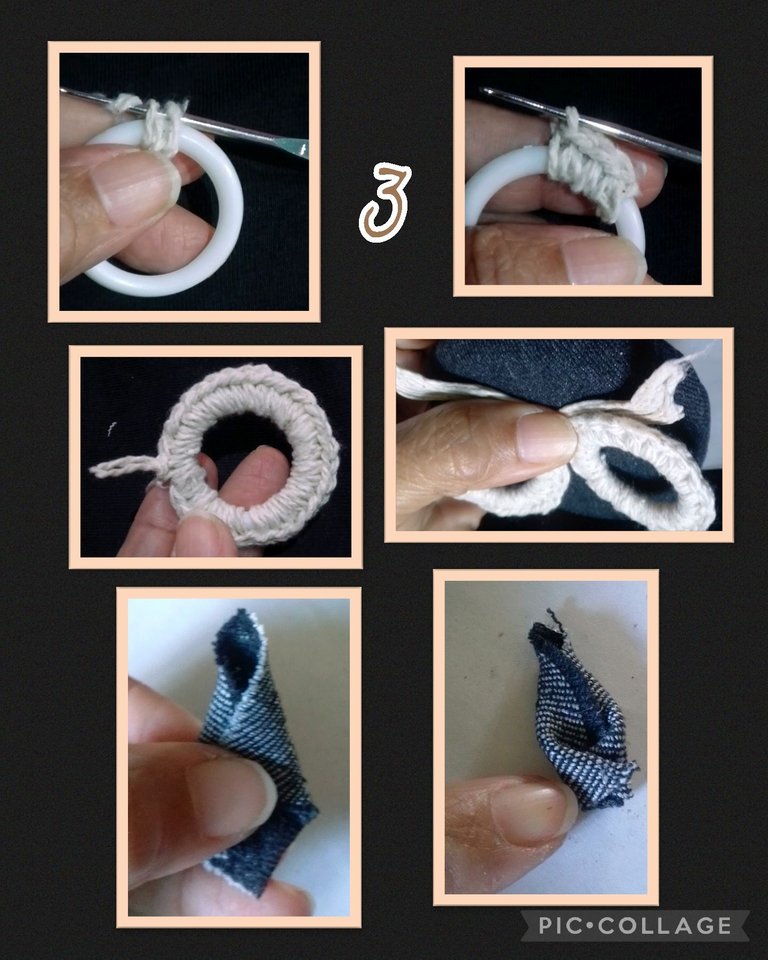
- Así comienzas a tejer medio punto por todo el contorno de la argolla, repite este paso con la otra argolla.
- Ahora coloca las argollas y cejas sobre el cuerpo del buho y mide para hacer las orejas, aquí recorta un cuadrado de tela de pantalón, dobla y pega uniendo en el centro (ver foto) y dobla en la parte inferior para reducir en ancho.
Paso 4:
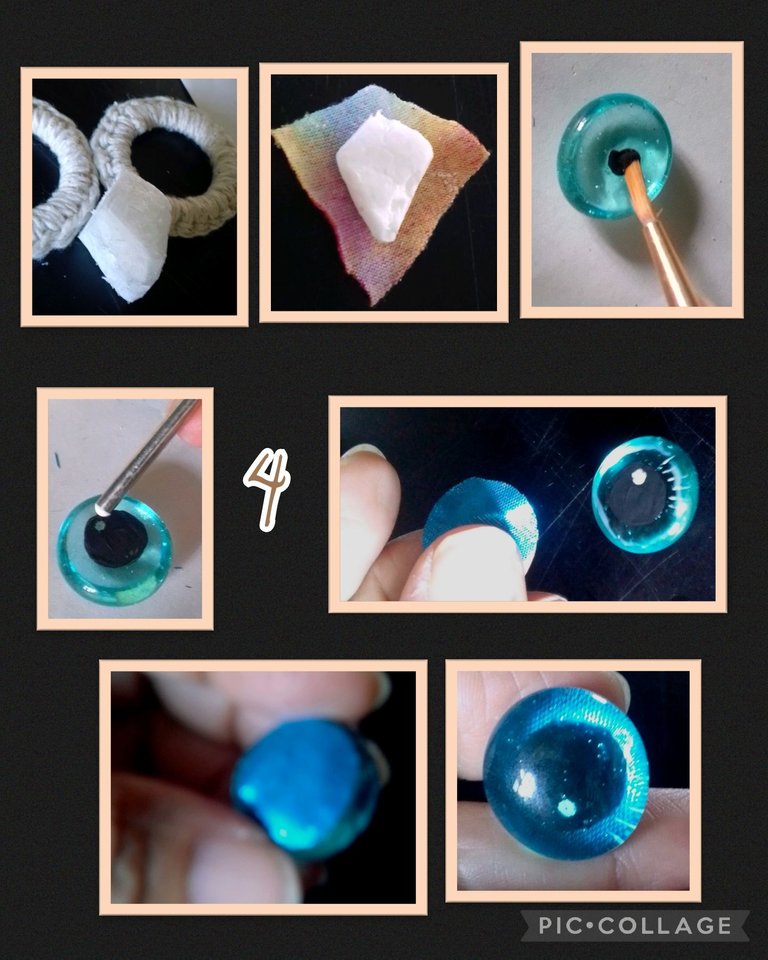
- Para hacer el pico, coloca las argollas una al lado de la otra y recorta un pequeño rombo en icopor y recorta a la mitad.
- Ahora coloca sobre un retacito de tela y recorta 1 ó 1/2 cm, aplica silicón y forra.
- Para los ojos, utiliza dos gemas de vidrio color azul y pinta el centro con pintura color negro en la parte inferior, deja secar y da dos o tres capas de pintura, luego con una aguja retira un poquito de pintura haciendo un mini círculo y con la aguja mojada en pintura blanca rellena el círculo para dar un punto de luz al ojo.
- Luego recorta dos círculos en lamé azul y pega en la parte inferior de la gema (ver foto), Así puedes ver como queda de bonito y real.
Paso 5:
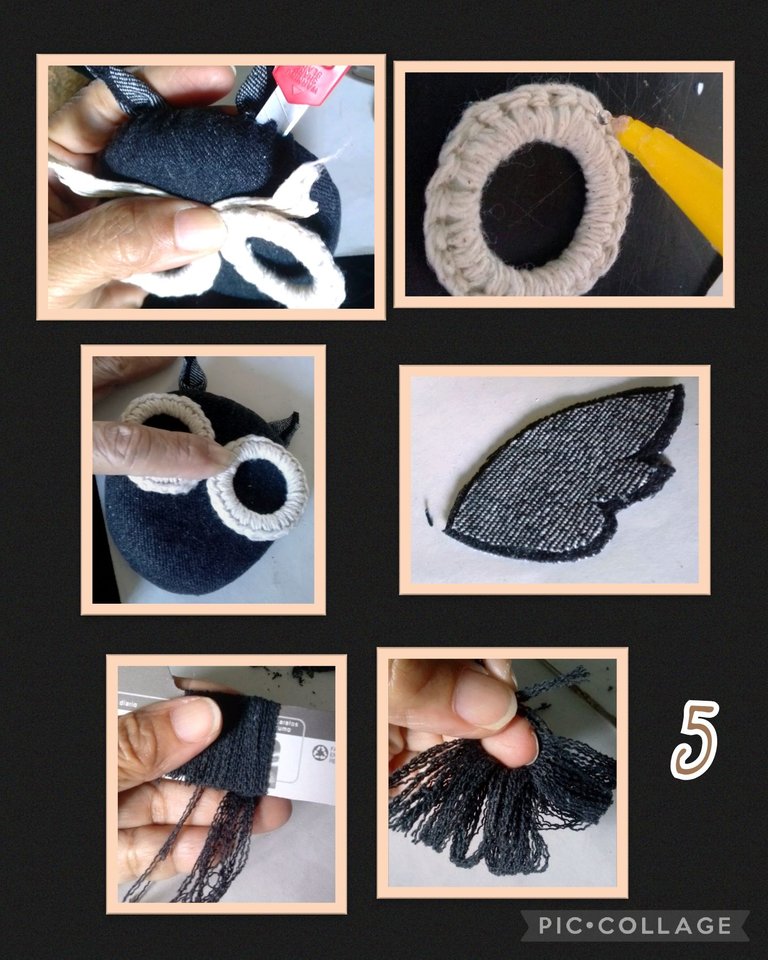
- Para colocar las orejas, haz una pequeña abertura con el exacto, aplica silicón e inserta una a una.
- Aplica silicón en las argollas y pega partiendo del centro.
- Recorta 4 piezas para las alas, 2 más pequeñas y pega con silicón.
- Deshilacha un pedazo del jean y saca hilos de 20cm de largo y cuando tengas aproximadamente 1cm de ancho, recorta un cartón de 5cm de largo por 2 de ancho y enrolla al cartón, luego saca del cartón y amarra, con esto harás la cola del buho.
Paso 6:
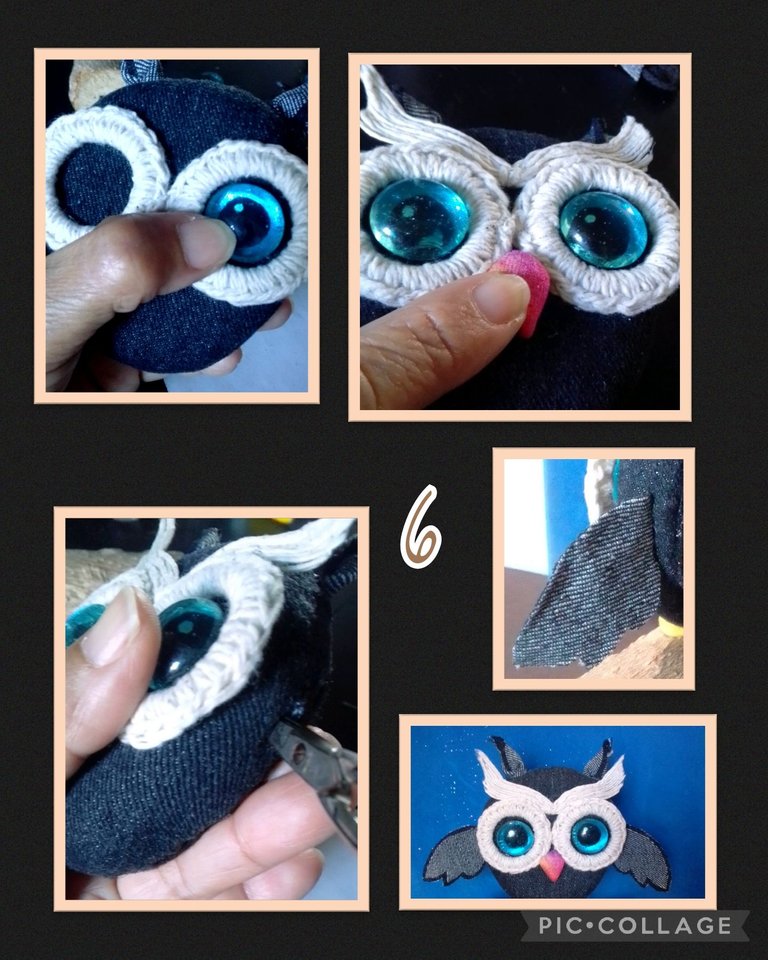
- Aplica silicón en los ojos y pega centrando dentro de las argollas, luego pega el pico y haz presión hasta que pegue bien.
- Ahora recorta con la tijera o exacto y has aberturas para meter las alas.
Paso 7:
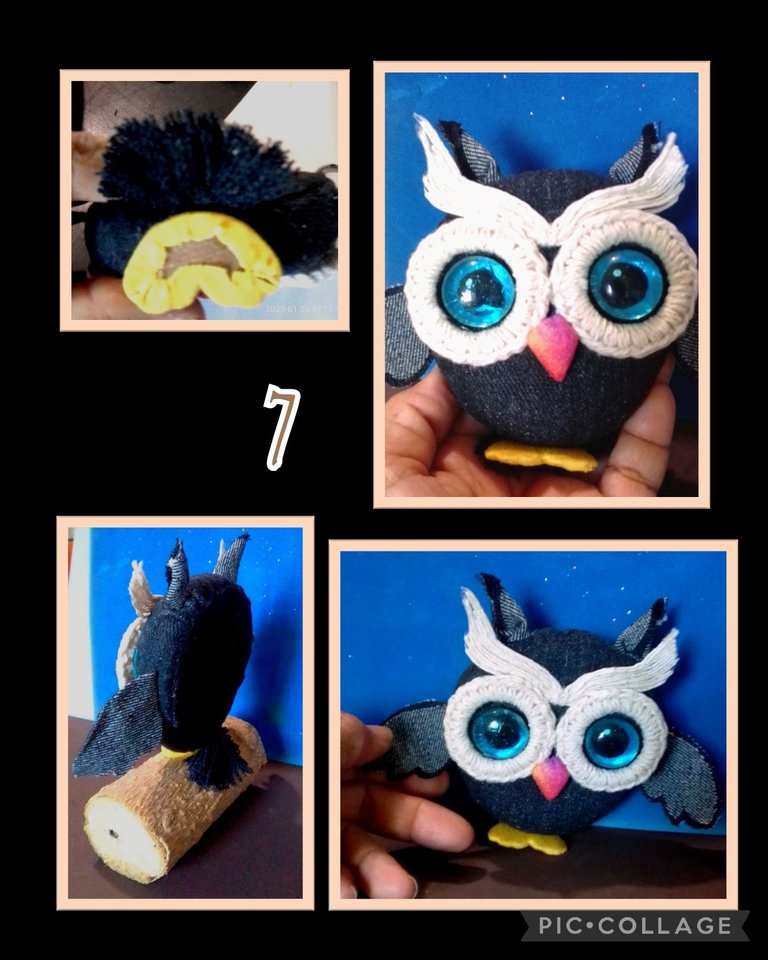
- Dibuja, recorta en cartón y forra con tela las patas y pega al buho, así quedará listo, le puedes colocar los colores que desees y hacer a tu gusto.
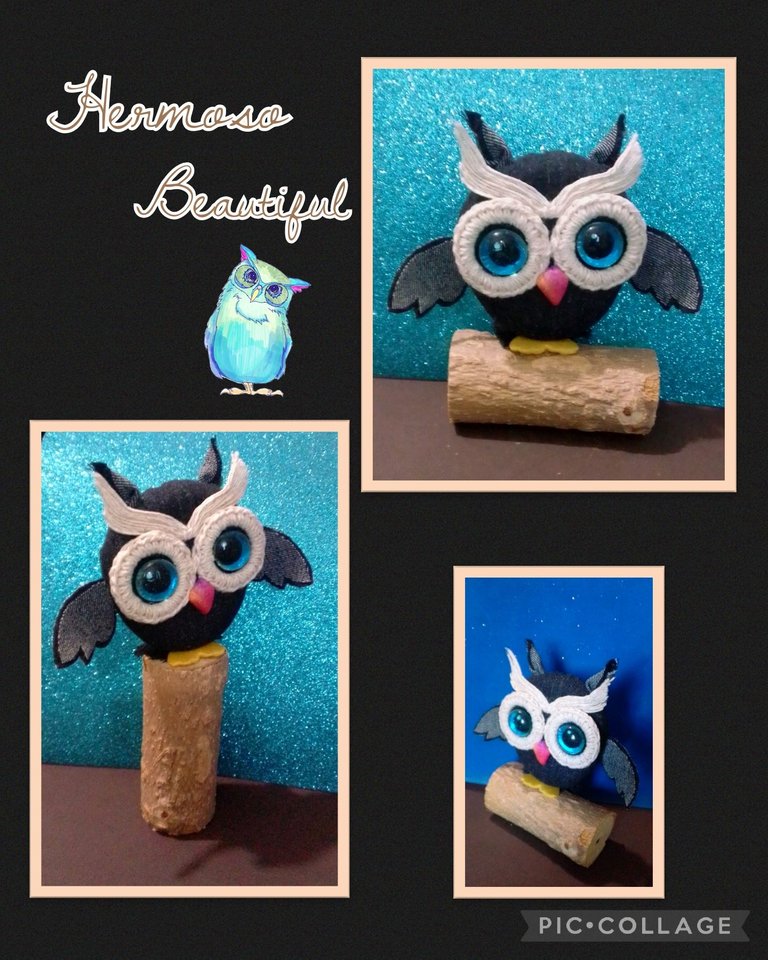
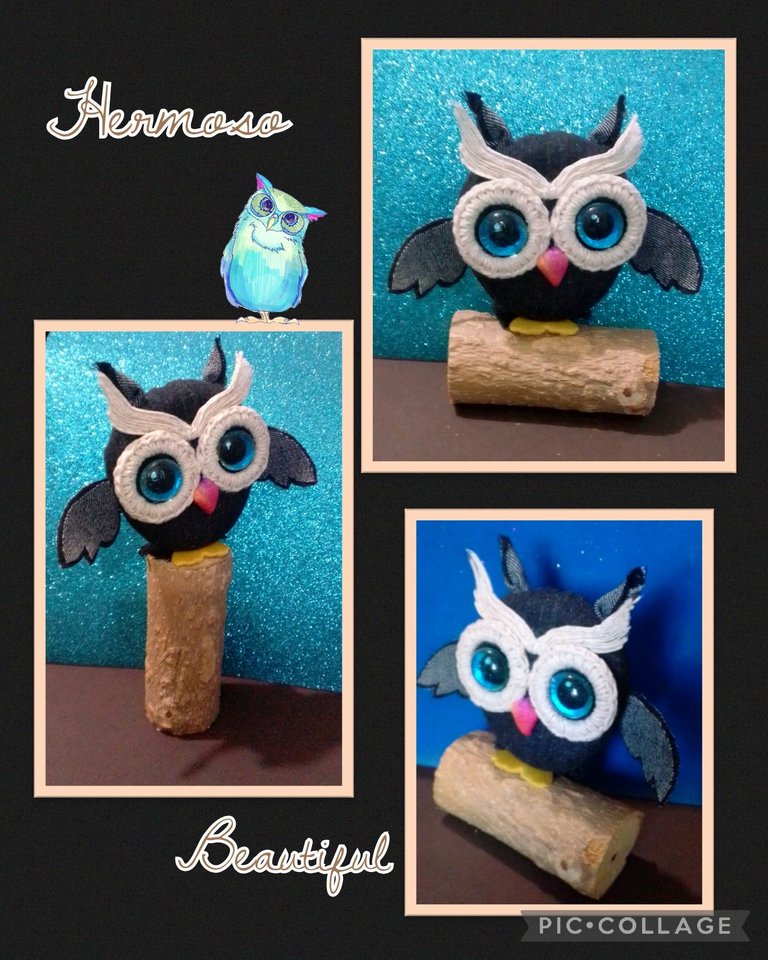
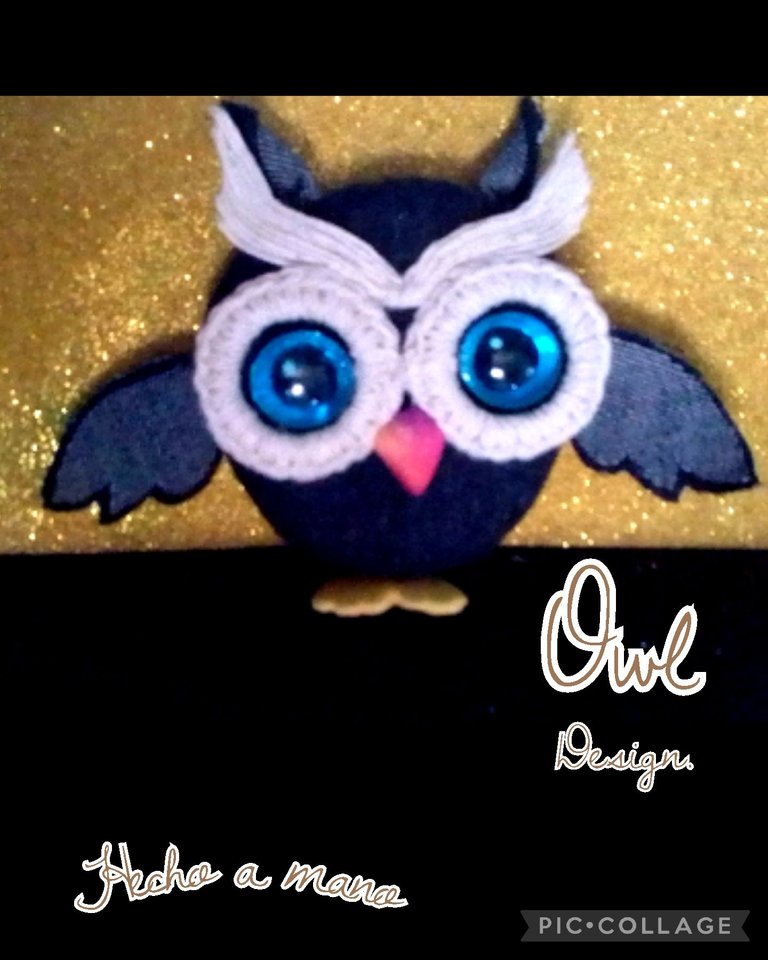
Por último puedes colocar sobre un trozo de rama o tronco.
Espero te guste!
Mira las fotos que te voy a dejar por aquí.

Agradecida de tu visita, me despido feliz de haber compartido mi tutorial contigo, espero te gusto y de ser así, me encantará ver y responder tu comentario.
English:
Hello dear friends, welcome everyone to my creative place!
Blessed evening to you all.
Let's get started:
You are going to need:
| Used trouser fabrics, blue lamé and cotton (scraps) | Wisp or weaving thread |
|---|---|
| Plastic loops | Woven needle |
| Scissors | Knife or exacto blade |
| White glue | Icopor or polystyrene (small piece) |
| Carton box | Blue glass gems |
| Paints and paintbrushes | Silicone |
| Tree trunk | Drawing or mold of an owl |
Let's get started:
Step 1:
- Draw the shape you want for your owl, if not use a print or decal.
- Then fold the drawing in half and cut to straighten and the two sides are equal, then with the pencil mark the entire outline of the drawing on the anime or polystyrene, cut and trim with the exact to remove the edge.
- Now cut out a circle increasing in the fabric by 3cm, apply silicone on the polystyrene, fold and glue (see photo).
Step 2:
- Cut out all the folds with the scissors (see photo). Also cut out the outline of the piece by marking it on a piece of fabric and glue on the back.
- Now to make the eyebrows, cut out several small pieces of thread, approximately 10 pieces of 10cm long and one in the center, knotting it with a small piece of thread.
- Then apply a little white glue on your fingers and pass through the threads until they join and let dry.
- Now make a half knot with the thread in the ring and insert the needle on the front side then pull the thread from the back with the needle.
Step 3:
- You begin to knit a half stitch all the way around the ring, repeat this step with the other ring.
- Now place the rings and eyebrows on the owl's body and measure to make the ears, here cut out a square of trouser fabric, fold and glue joining in the center (see photo) and fold at the bottom to reduce in width.
Step 4:
- To make the beak, place the rings side by side and cut a small rhombus out of Styrofoam and cut in half.
- Now place on a small piece of fabric and cut out 1 or 1/2 cm, apply silicone and line.
- For the eyes, use two blue glass gems and paint the center with black paint on the bottom, let dry and give two or three coats of paint, then with a needle remove a little paint making a mini circle and with the needle dipped in white paint fill the circle to give a point of light to the eye.
- Then cut out two circles in blue lamé and glue on the bottom of the gem (see photo), so you can see how beautiful and real it looks.
Step 5:
- To place the ears, make a small opening with the exact one, apply silicone and insert them one by one.
- Apply silicone to the rings and glue from the center.
- Cut out 4 pieces for the wings, 2 smaller ones and glue with silicone.
- Unravel a piece of the jean and pull out 20cm long threads and when you have approximately 1cm wide, cut a 5cm long by 2cm wide cardboard and roll it to the cardboard, then pull it out of the cardboard and tie it, with this you will make the owl's tail.
Step 6:
- Apply silicone on the eyes and glue centering inside the rings, then glue the beak and press until it sticks well.
- Now cut out with scissors or exacto and make openings for the wings.
Step 7:
- Draw, cut out of cardboard and cover the legs with fabric and glue to the owl, so it will be ready, you can put the colors you want and do to your liking.
Finally you can place it on a piece of branch or trunk.
I hope you like it!
Look at the pictures I'm going to leave here.
Grateful for your visit, I say goodbye happy to have shared my tutorial with you, I hope you like it and if so, I will be happy to see and answer your comment.