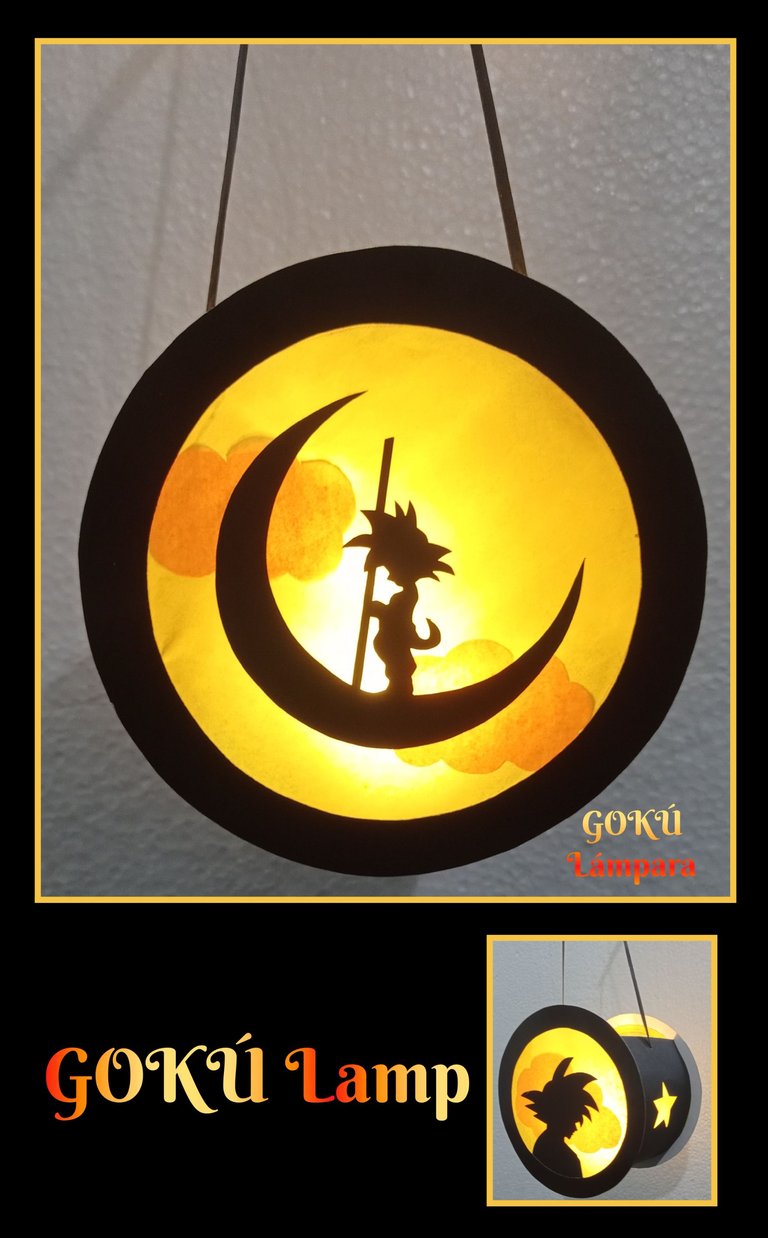
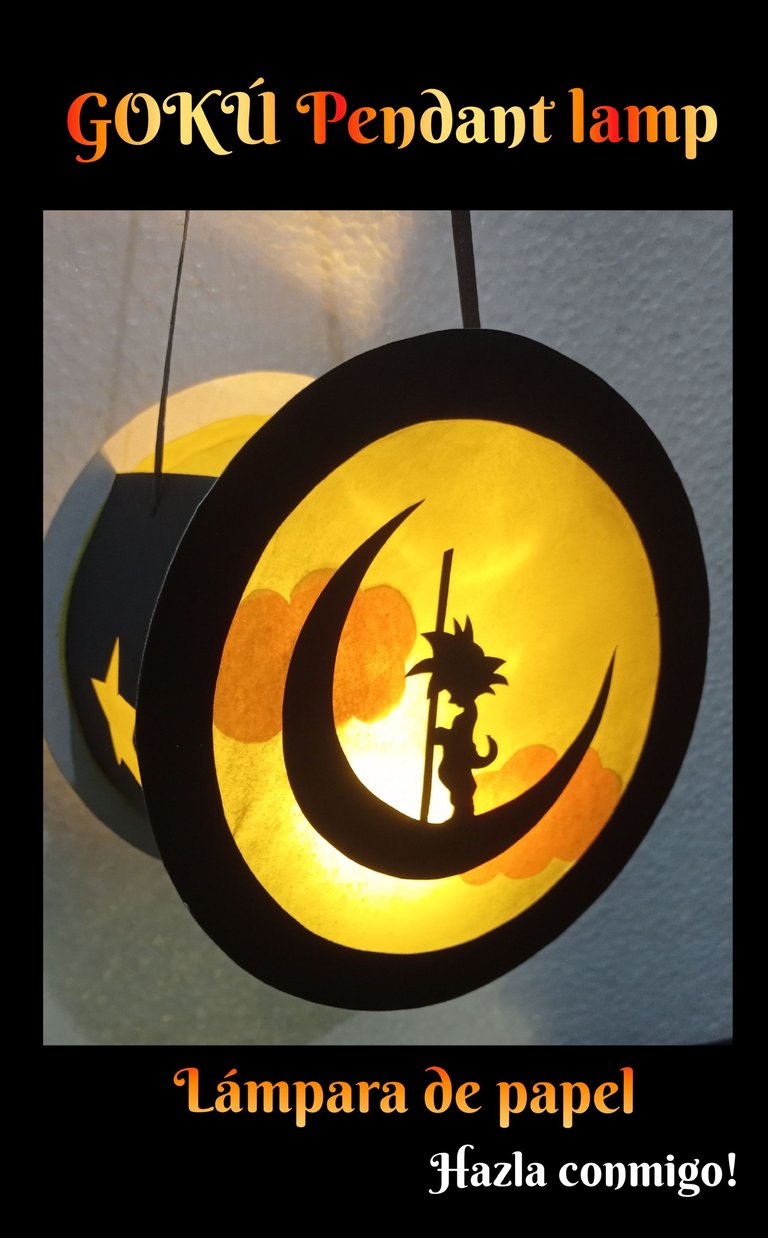
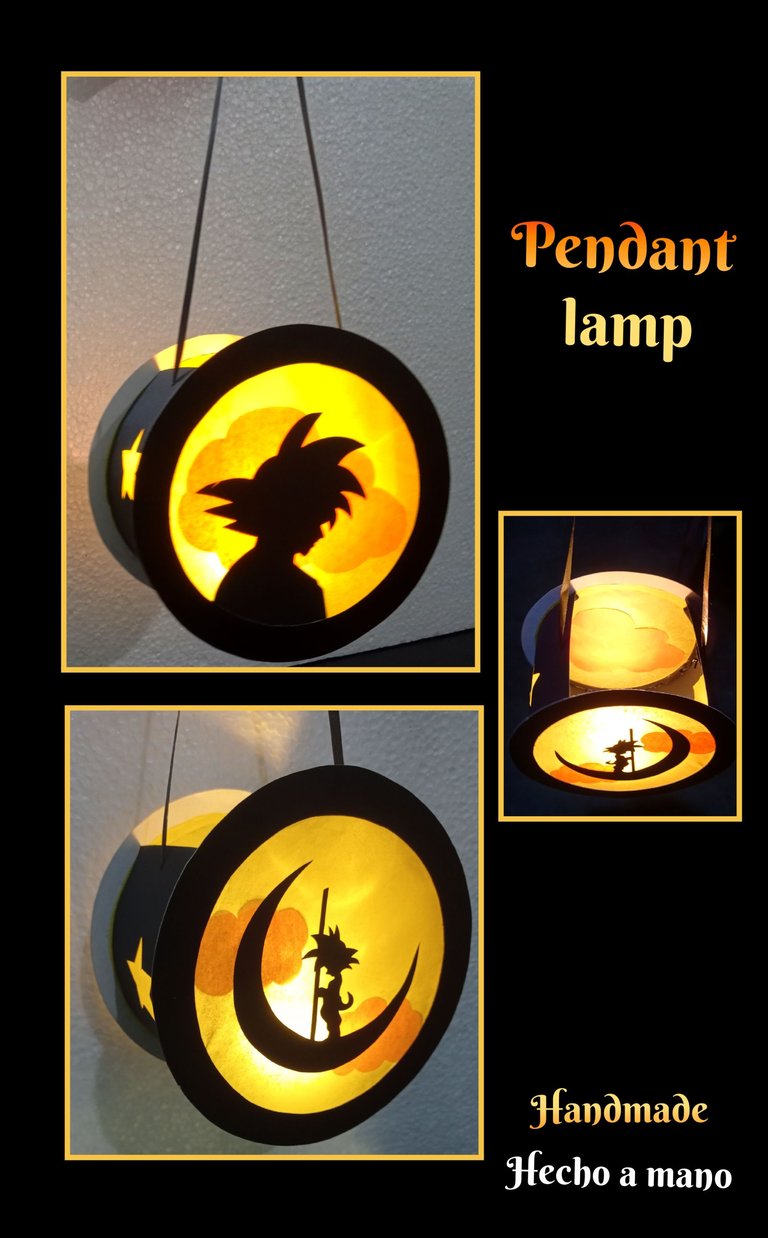
Saludos y bendecida noche para todos los amigos que me visitan.
Espero su día haya sido muy provechoso!
Así que no te hago esperar más.
Comenzaré por los materiales que vas a usar:
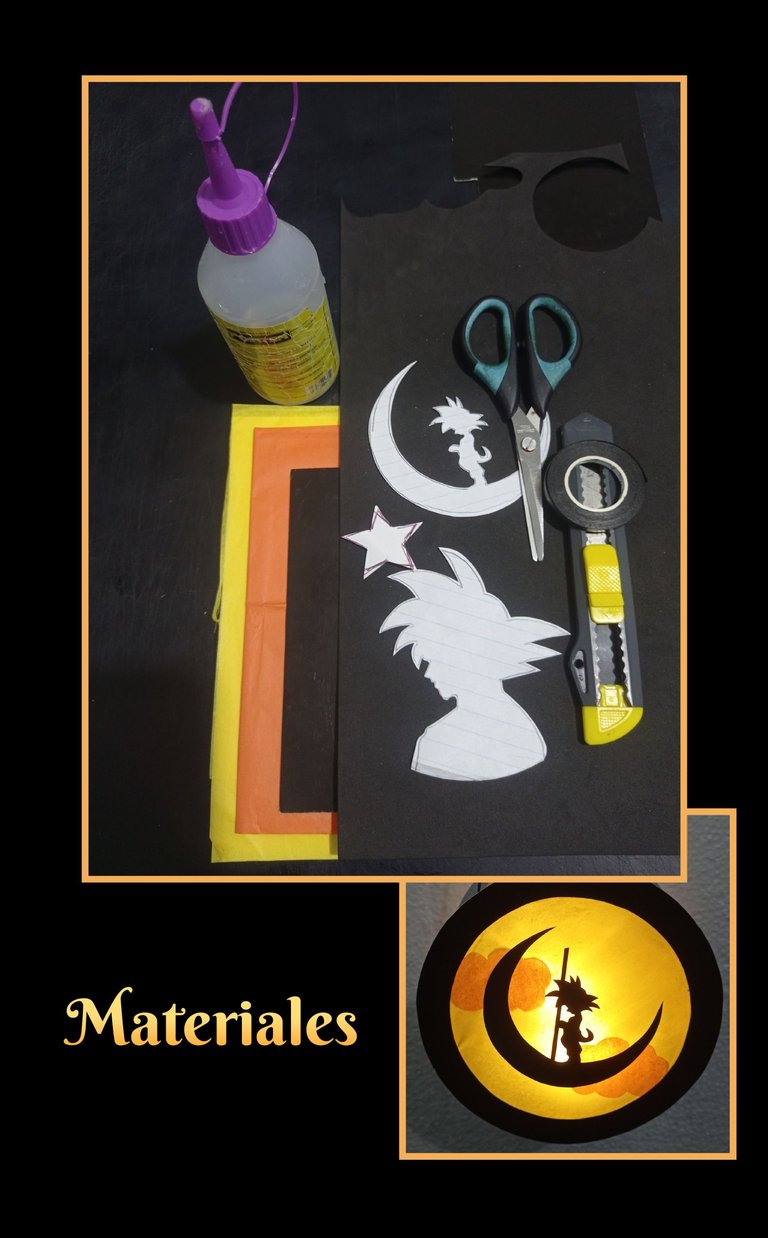
| Papel de seda | Cartulinas doble faz o escolar |
|---|---|
| Moldes o dibujos | Cinta de papel o tela |
| Tijera | Cuchilla |
| Silicón | Lápiz y regla |
| Bombillo led | Tira de foami |
Ahora te invito a que me acompañes en el proceso:
Paso 1:
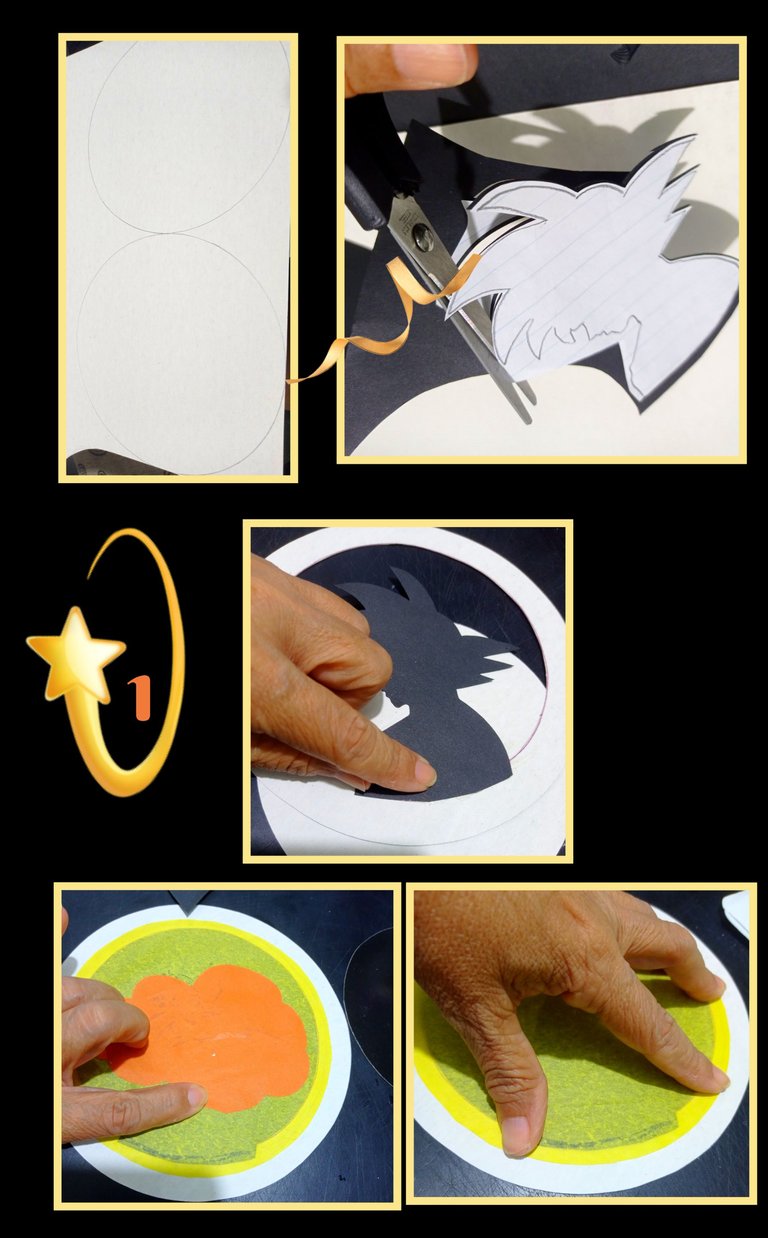
- Marca dos (2) círculos en cartulina doble faz y recorta.
- Luego recorta en cartulina negra escolar las siluetas de gokú.
- En los círculos recortados marca 1,5cm hacia adentro y traza otro círculo y recorta para dejar solo un aro, esto lo repetirás con el 2 círculo, luego aplica silicón en la parte baja de la silueta y pega en el borde del aro como se ve en la foto.
- Ahora recorta dos círculos en papel de seda amarillo y pega uno sobre la silueta y después recorta una nube en papel de seda naranja y pega en el centro.
- Luego haz igual con la otra figura y pega en el otro aro.
Paso 2
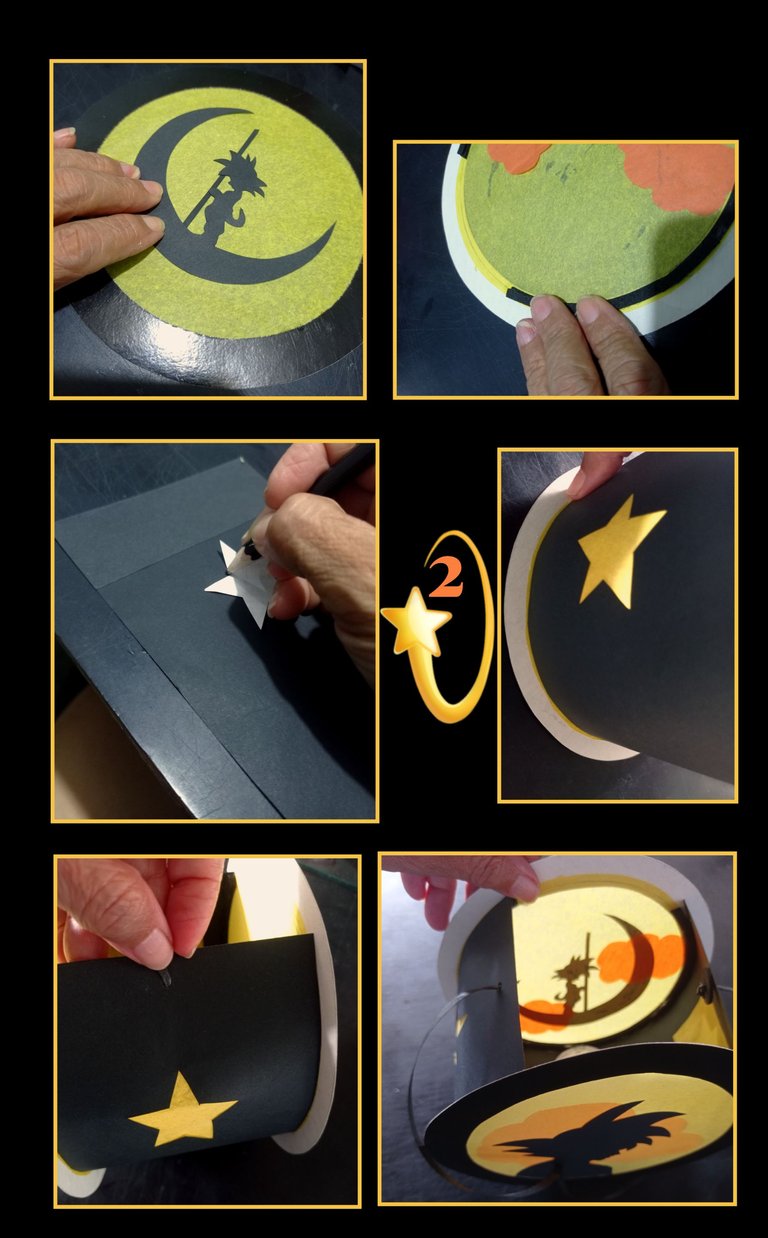
Así quedará por la parte del frente.
Recorta una tira en foami de 3mm y pega por el borde del círculo de papel de seda (ver foto) este paso lo harás en las 2 caras.
Marca una tira de 10 cm de ancho y el largo el que necesites para tu lámpara. Marca 3 cms en cada extremos, dobla y pega.
Después marca una estrella justo debajo del doblez, recorta con la cuchilla y pega un cuadro para cubrir la estrella.
Ahora aplica silicón en el borde de la cartulina y pega por el contorno del foami haciendo presión hasta que pegue bien.
Luego abre un orificio en el centro de la cartulina e inserta la cinta.
Paso 3:

- Harás un orificio a cada lado para insertar la cinta, por último recorta dos (2)círculos pequeñitos de foami y pega por el lado interno a cada extremo de la cinta, introduces el bombillo en el centro y listo.
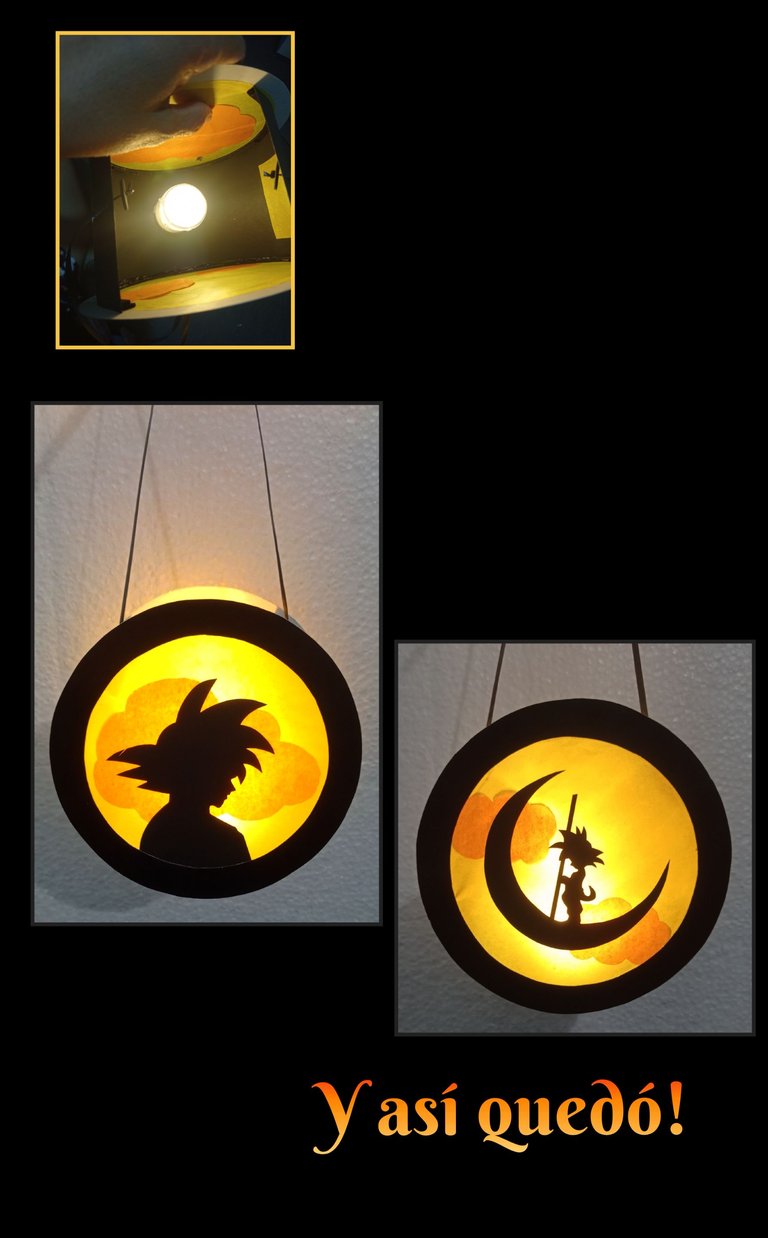
Como puedes ver, es un trabajo muy bonito y fácil de realizar!
Editado con: Etiquetas HTML
Teléfono: Redmi Note 9
Editor de fotos: GridArt.
Fuente:https://es.pinterest.com/pin/274578908524402995/
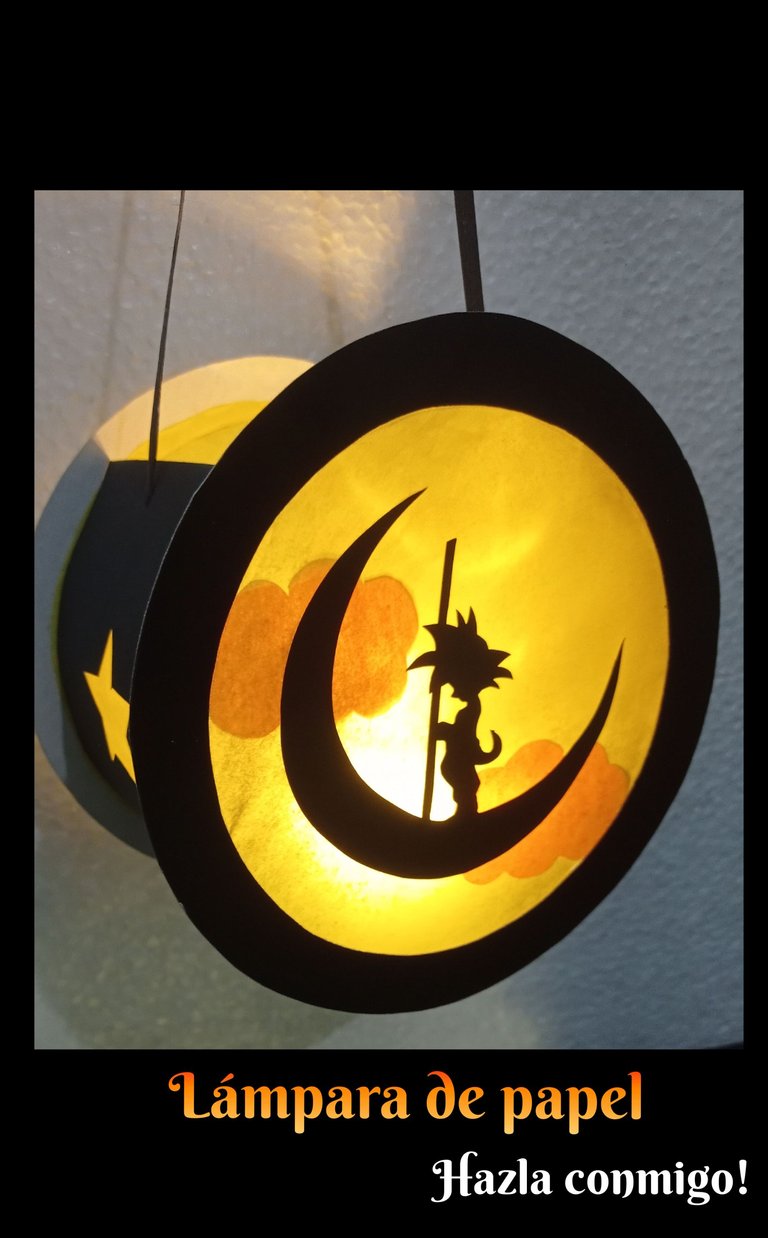

Llegó la hora de despedirme no sin antes agradecerte la visita y apoyo, espero te guste.
Hasta mi próxima publicación!


Greetings and blessed evening to all my visiting friends.
I hope your day has been very profitable!
So I won't make you wait any longer.
I will start with the materials you are going to use:

| Tissue paper | Double-sided or school cardstock |
|---|---|
| Molds or drawings | Paper or fabric tape |
| Scissors | Blade |
| Silicone | Pencil and ruler |
| Led bulb | Foami strip |
Now I invite you to join me in the process:
Step 1:

- Mark two (2) circles on double-sided cardboard and cut them out.
- Then cut out the goku silhouettes on black school cardstock.
- On the cut circles mark 1.5 cm inward and draw another circle and cut to leave only one ring, repeat this with the second circle, then apply silicone on the bottom of the silhouette and glue on the edge of the ring as shown in the photo.
- Now cut out two circles in yellow tissue paper and glue one on the silhouette and then cut out a cloud in orange tissue paper and glue in the center.
- Then do the same with the other figure and glue on the other hoop.
Step 2

This is how it will look on the front.
Cut out a 3mm foami strip and glue along the edge of the tissue paper circle (see photo). This step will be done on both sides.
Mark a strip 10 cm wide and the length you need for your lamp. Mark 3 cm at each end, fold and glue.
Then mark a star just below the fold, cut with the knife and glue a square to cover the star.
Now apply silicone on the edge of the cardboard and glue along the contour of the foami, pressing until it sticks well.
Then open a hole in the center of the cardboard and insert the ribbon.
Step 3

- You will make a hole on each side to insert the ribbon, finally cut two (2) small circles of foami and glue on the inner side at each end of the ribbon, insert the bulb in the center and that's it.

As you can see, it's a very nice and easy job to do!
Edited with: HTML tags
Phone: Redmi Note 9
Photo editor: GridArt.
Fuente:https://es.pinterest.com/pin/274578908524402995/


It's time to say goodbye, but first I want to thank you for your visit and support, I hope you liked it.
Until my next publication!


