Happy evening to have all my little breads welcome once again to my blog, tonight I want to present a nice work focused on the sewing of a fabric doll that was named standing hairs hahaha, I hope you like it, the important thing is that you are encouraged to do it at home.
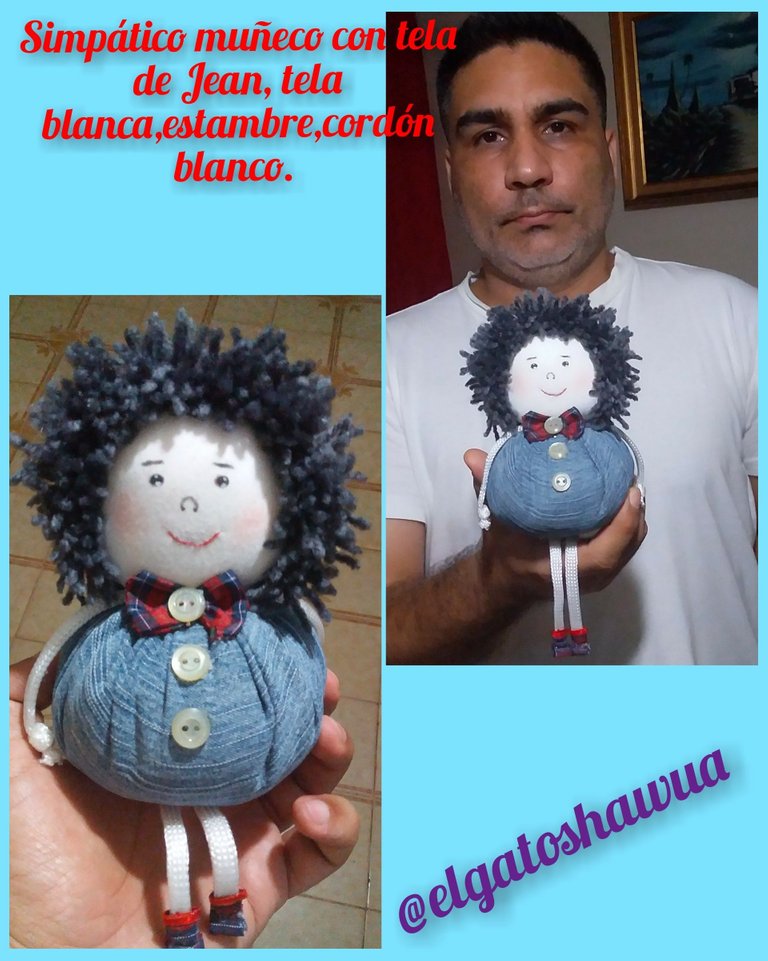
Feliz noche tengan todos mis panitas bienvenido sea una vez más a mi blog, la noche de hoy quiero presentarles un simpático trabajo enfocado en la costura de un muñeco de tela que le puso por nombre pelos parado jajaja, espero que sea de su agrado lo importante de esto es que se animen a realizarlo ustedes en casa.
Materials:
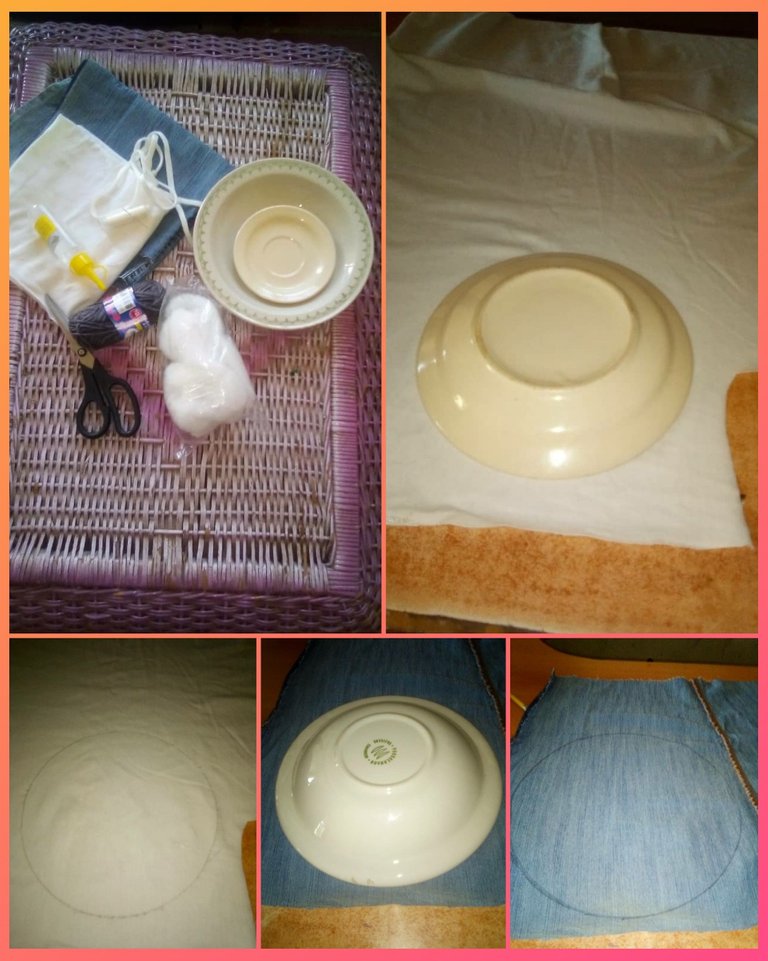
Reused jean fabric, white fabric, thread, needle, scissors, worsted, stuffing or wadding, buttons, cut out of plaid fabric, white cord, red thread, black/white paint, red ribbon.
Materiales:
Tela de jean reusada, tela blanca, hilo, aguja, tijera, estambre, relleno o guata, botones, recorte de tela de cuadro, cordón blanco, hilo rojo, pintura negra/ blanca, cinta roja.
Step by step:
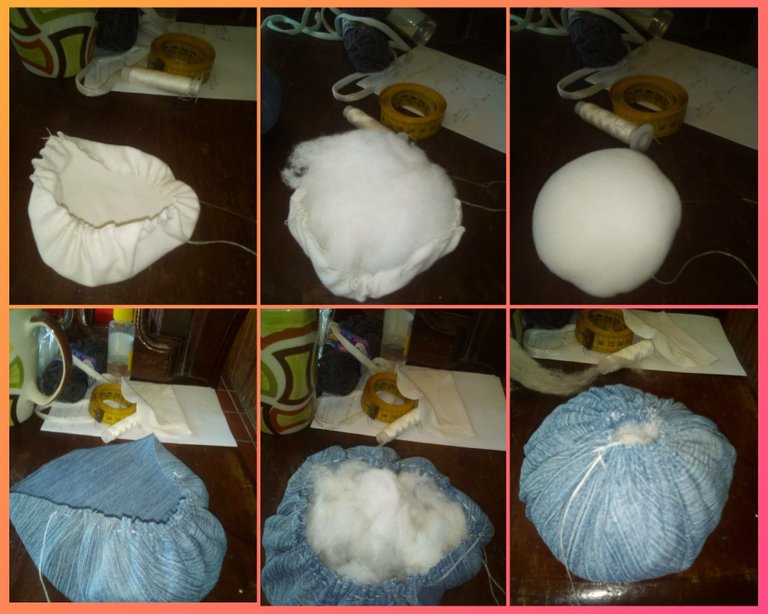
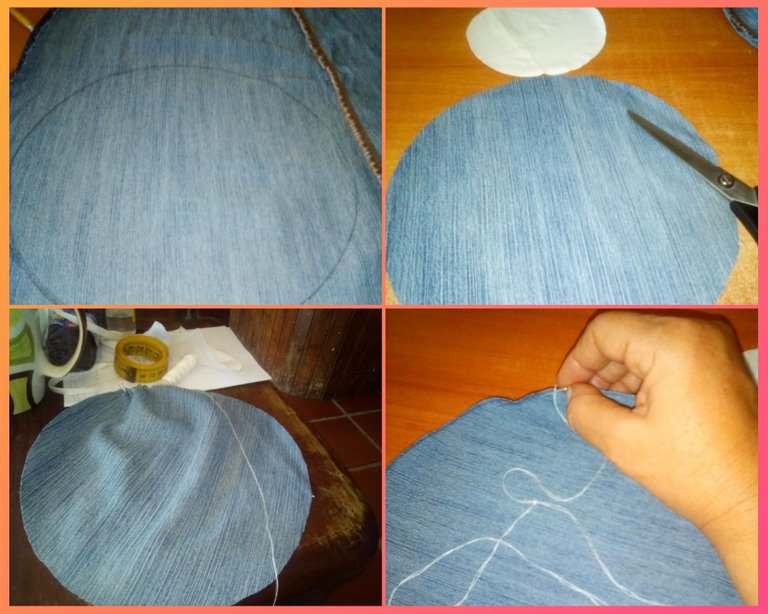
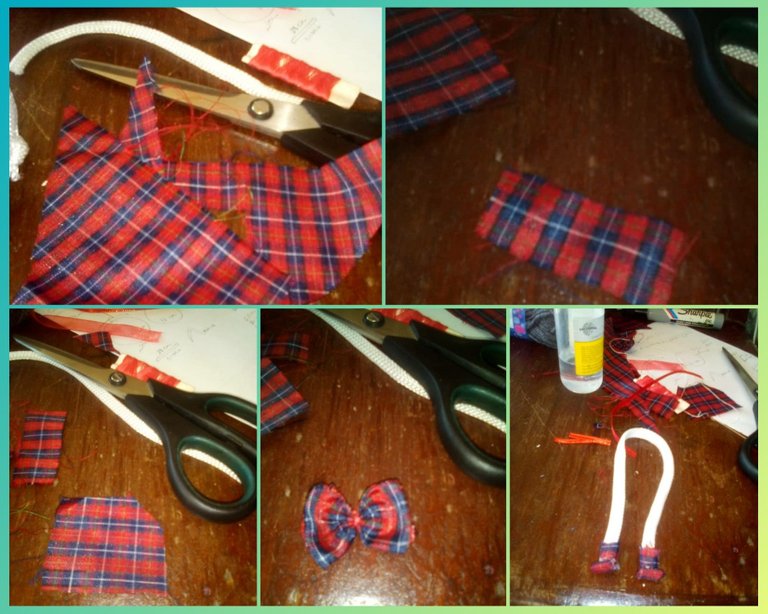
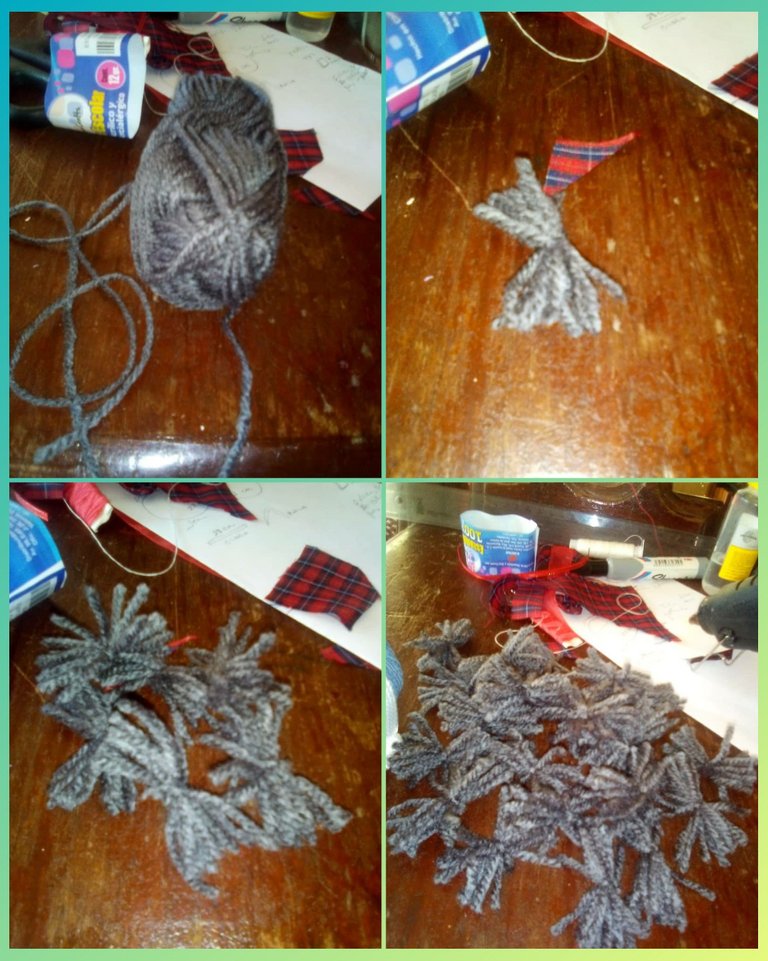
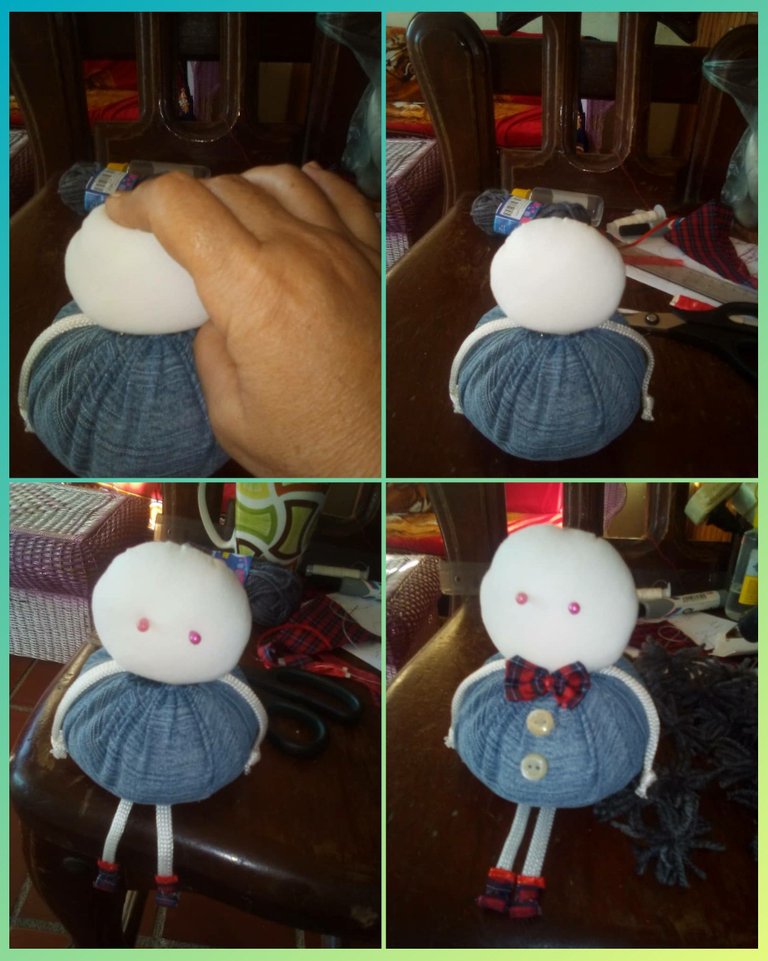
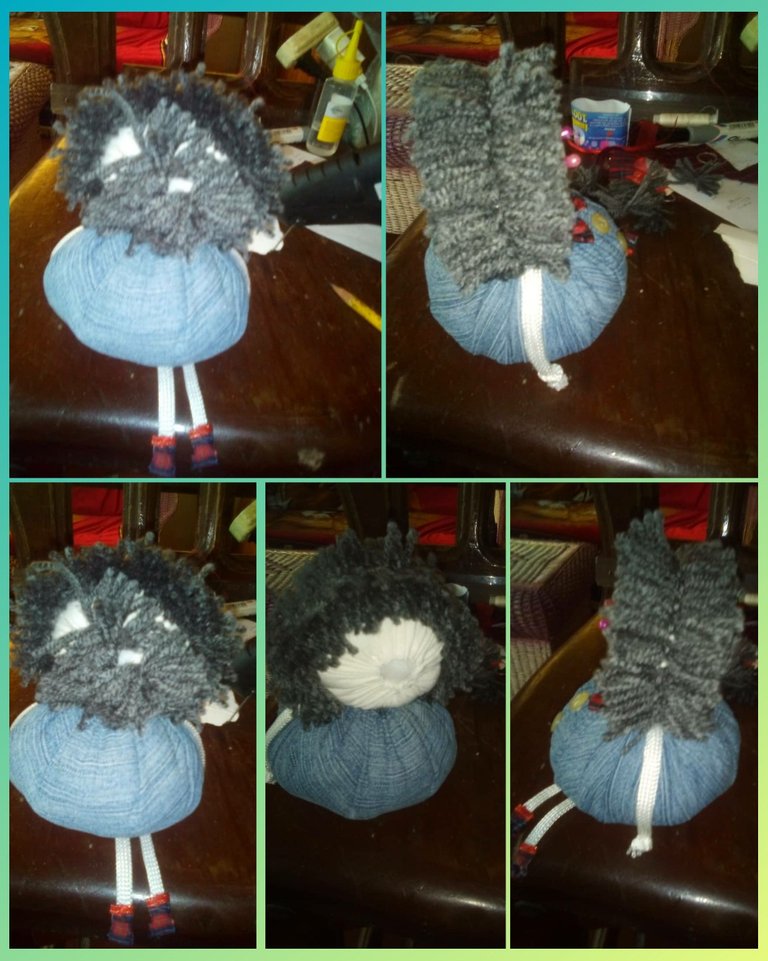
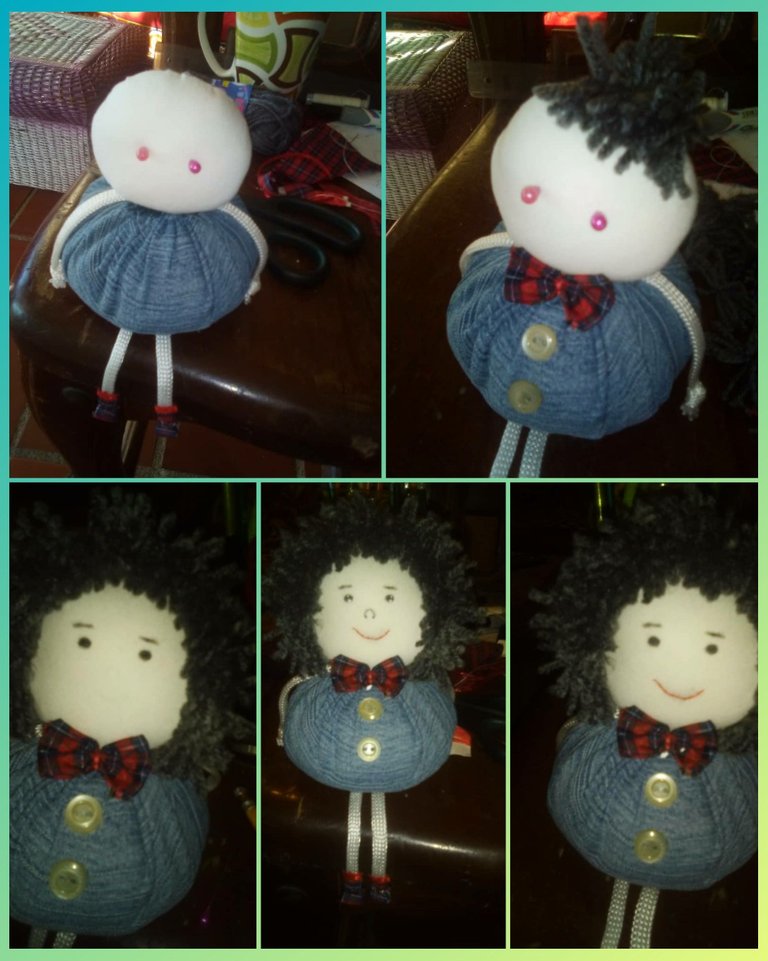
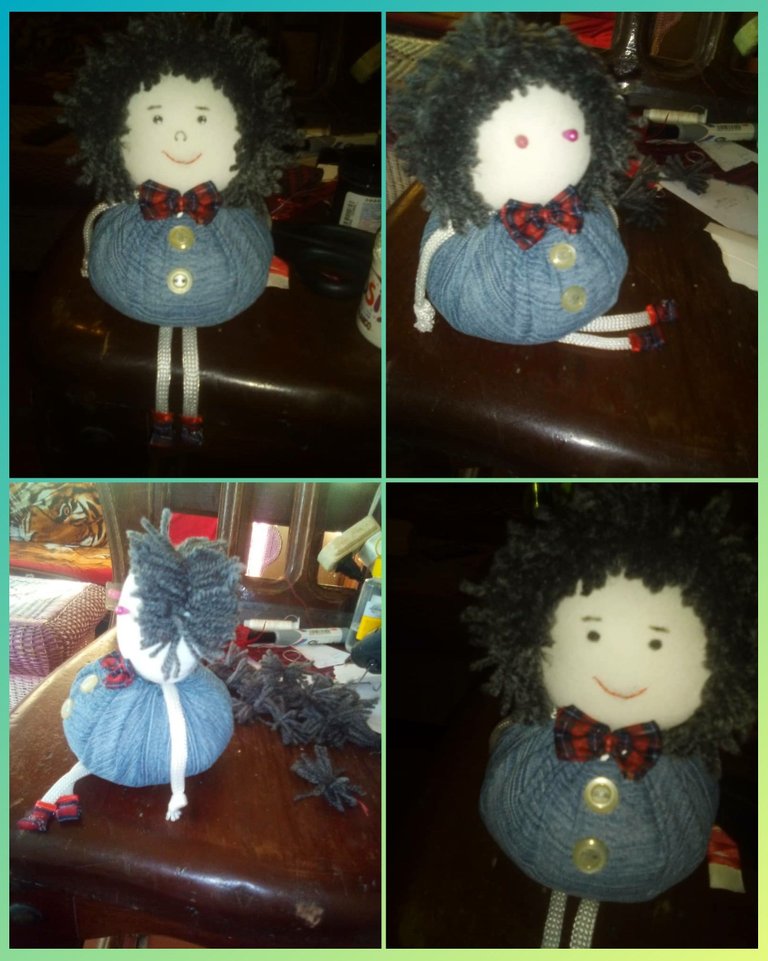
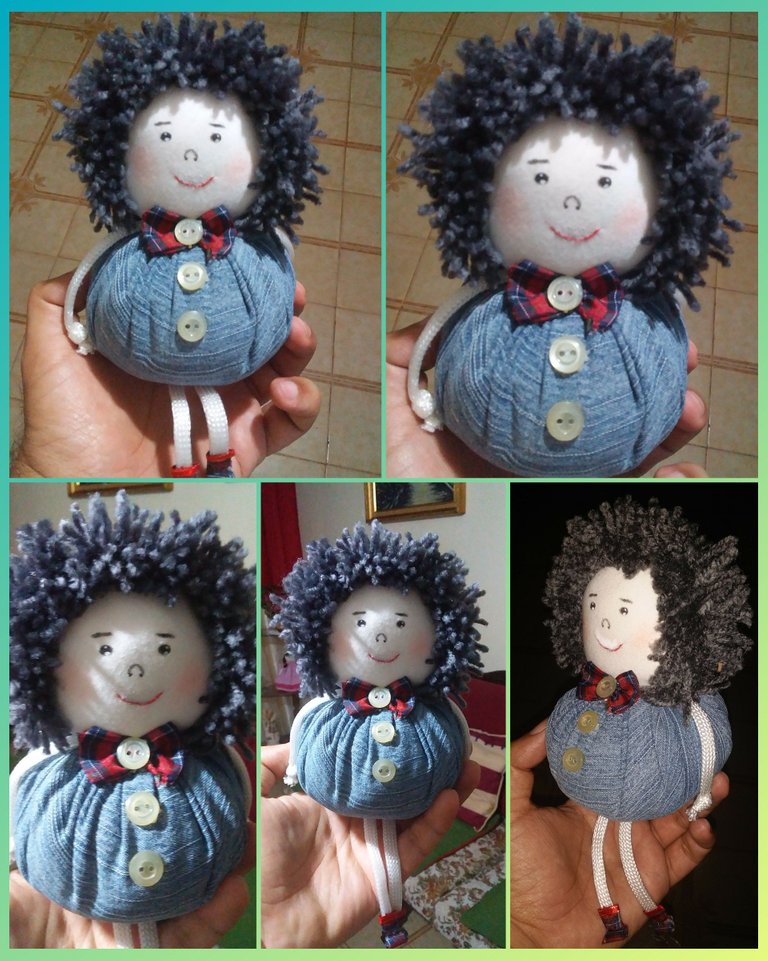
We begin this work by marking with the help of a plate on the white fabric a circumference we proceed to cut and bake along the edge we are going to fight and introduce the stuffing or wadding and close baking to get the doll's head in the same way we mark with the same plate a circumference of the jean fabric, We cut out and repeat the procedure previously worked to obtain these two pieces we help us with a little silicone we join the two parts then with the cut out of fabric we will cut a rectangle and we will make a small bow or bow tie we will join and decorating with three buttons that we will paste to the front of the body of the doll. we will also cut out two rectangles which we will fold and we will make the shape of the doll's slippers and in one of its parts we will glue a little red ribbon putting it to the ends of the white string which we will glue to the bottom of the jean fabric we will also glue two pieces of string to each of the sides, We are going to make a knot at the ends that will simulate the arms and with the yarn we are going to make the hair which we are going to glue one next to the other until we cover the area of the head being very original with its standing hairs and to finish we are going to paint the eyes, eyebrows, nose and finally the mouth will be embroidered with the red thread, being like this as I show you in the pictures.
Paso a paso:
Iniciamos este trabajo marcando con ayuda de un plato en la tela blanca una circunferencia procedemos a recortar y a cocer por la orilla vamos a luchando e introducimos el relleno o la guata y cerramos cociendo para obtener la cabeza de muñeco de igual manera marcamos con el mismo plato una circunferencia de la tela de jean, recortamos y repetimos el procedimiento antes trabajado al obtener estas dos piezas nos ayudamos con un poco de silicón unimos las dos partes luego con el recorte de tela de cuadro vamos a recortar un rectángulo y vamos a realizar un pequeño lazo o corbatín vamos a unir y decorando con tres botones que vamos a pegar al frente del cuerpo del muñeco igualmente recortaremos dos rectángulos los cuales vamos a doblar y me vamos a sacar la forma de los zapaticos del muñeco y en una de sus partes le vamos a pegar un poco de cinta roja poniéndolo a los extremos del cordón blanco el mismo vamos a pegar en la parte de abajo de la tela de jean también vamos a cocer dos pedazos de cordón a cada uno de los lados, vamos a hacer un nudo en los extremos que van a simular los brazos además con el estambre vamos a ir haciendo el cabello qué vamos a ir pegando uno al lado del otro hasta cubrir el área de la cabeza quedando muy original con sus pelos parados y para finalizar vamos a pintarle los ojos, cejas, la nariz por último se bordara la boca con el hilo rojo, quedando así como les presento en las fotos.
Photos by me @elgatoshawua.
Translated by DeepL.
Fotos de mi autoría @elgatoshawua.
Traducido por DeepL
