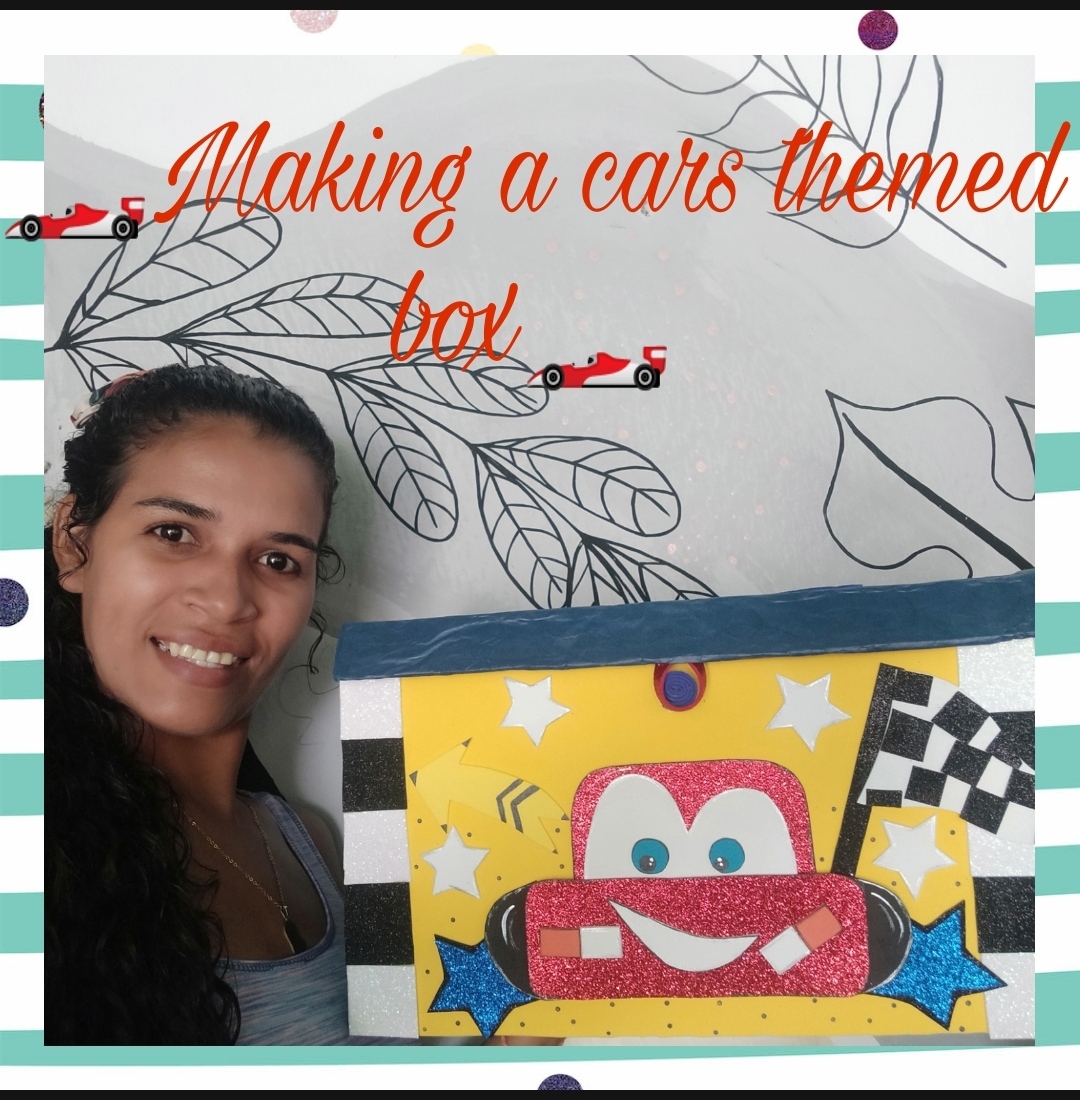
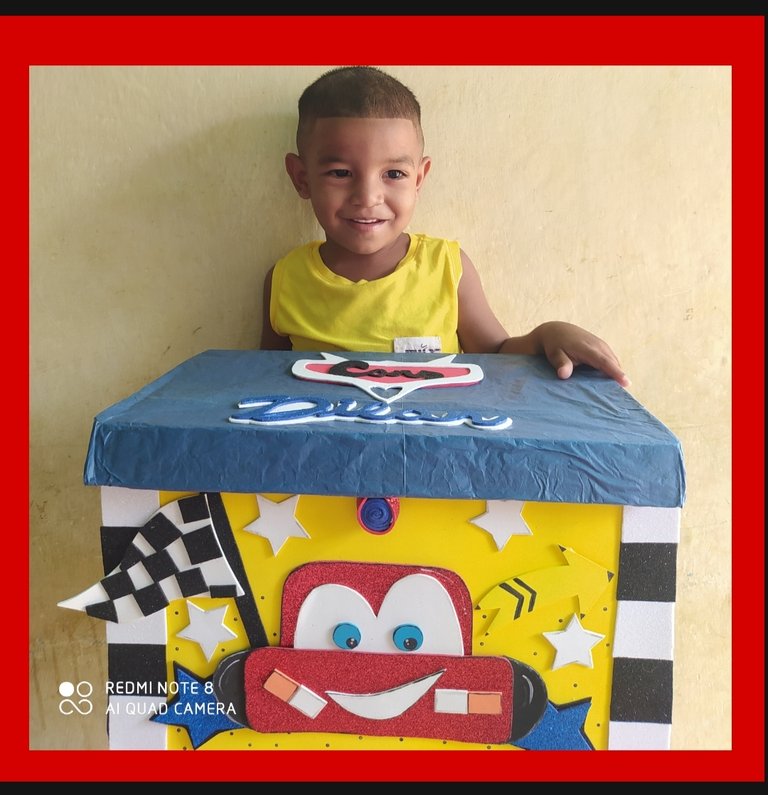
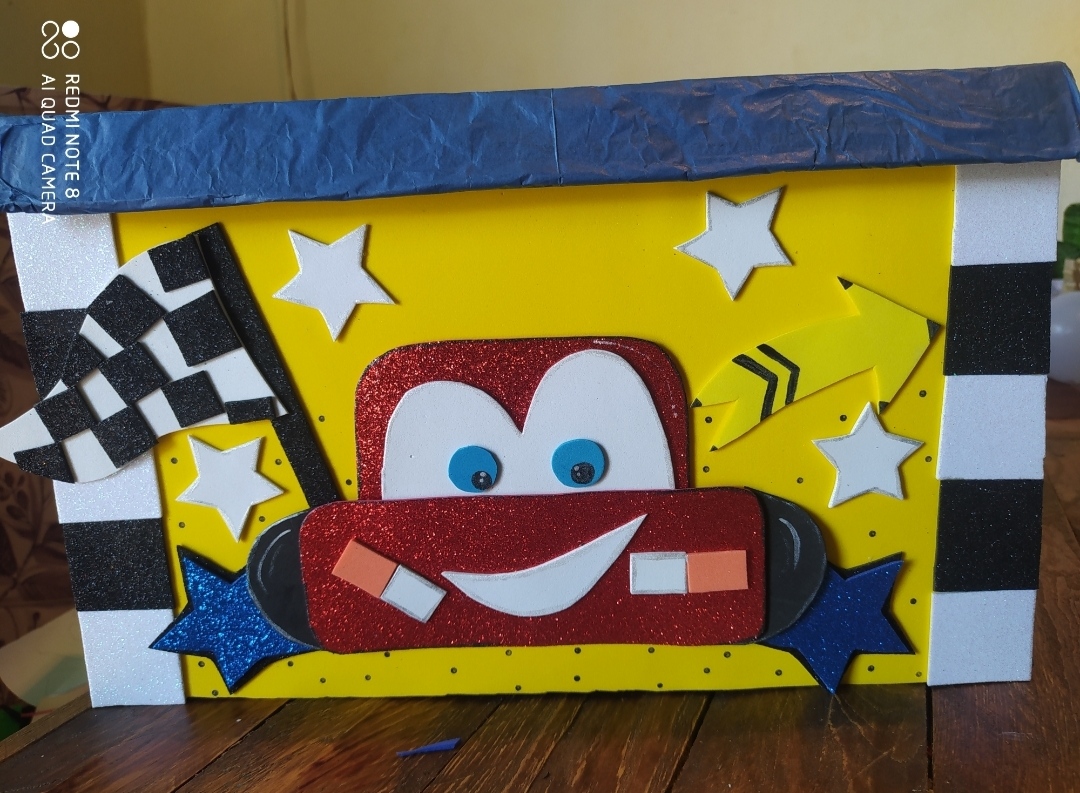
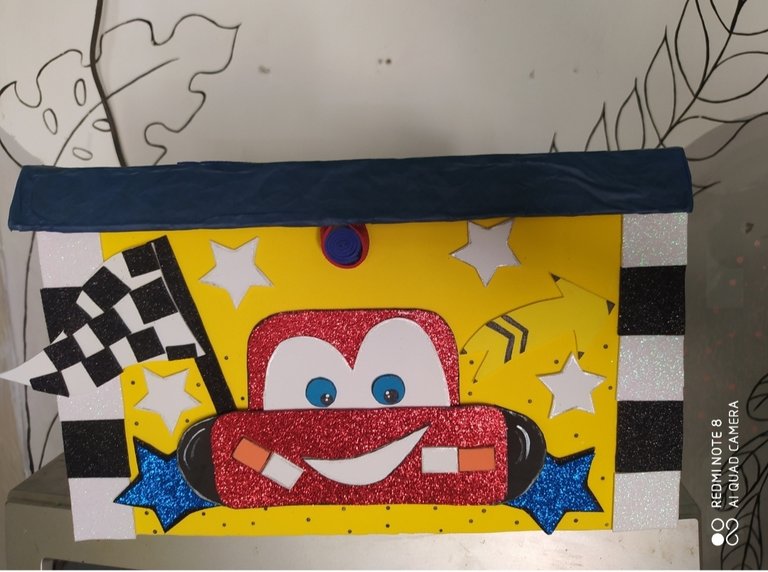
Welcome to my blog, dear friends of this great Hive platform and @hivediy community, blessed Sunday to all, today I want to share with you a Cars-themed box that I made for a very special person, the smallest of the family, my nephew Dilan, they asked for this at school to store their toys, lunch boxes and/or school supplies, he really likes cars and motorcycles, that's why I decided to take the figure from the Cars movie, to decorate this cute little box, I It took me a little while, since there were many details, but today I finished it to give it to him, because today he was visiting the house. I tell you that he was very happy to see it, he was very happy, for my part I felt very Well, seeing it like this, later I will show you the step by step for this beautiful multipurpose box, I hope you all like it and it can be of help to you.
Without further ado to add greetings and blessings.
Bienvenidos a mi blog queridos amigos de esta gran plataforma de Hive y comunidad de @hivediy ,bendecido Domingo para todos , hoy les quiero compartir una cajita con temática de Cars que elabore para uno persona muy especial,el más chiquito de la familia , mi sobrino Dilan ,está se la pidieron en la escuela para guardarles sus juguetes,loncheras y/o útiles escolares ,a él le gusta mucho los carritos y las motos por eso decidí tomar la figura de la película de Cars ,para decorarle está linda cajita ,me llevo un poco de tiempo ,ya que fueron muchos los detalles, pero hoy se la termine para entregársela ,por que hoy estuvo de visita en la casa .les cuento que se alegro mucho al verla , estaba muy contento, por mi parte me sentí muy bien al verlo así ,más adelante les iré mostrando el paso a paso para esta linda cajita multiusos,espero les gusten a todos y les pueda ser de ayuda .
Sin más que agregar saludos y bendiciones.
🚗🚗 materials used 🚗🚗
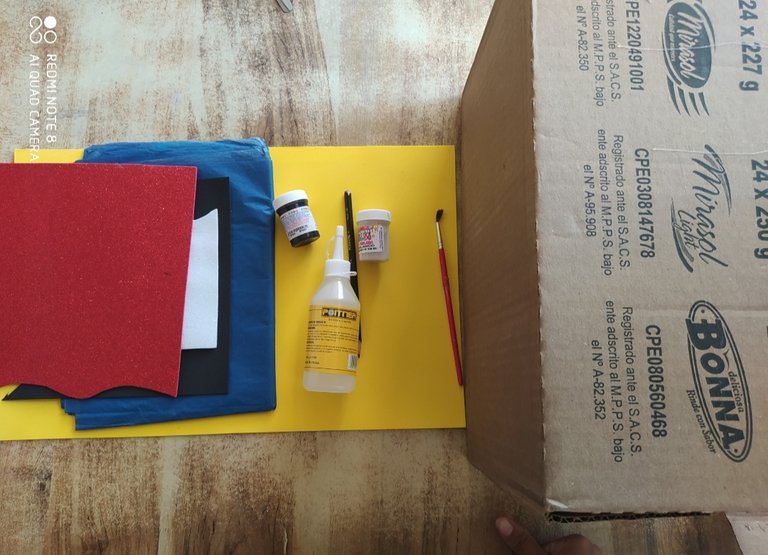
*Carton box
*Scissors
*Pencil
*Liquid silicone
*Yellow foam
*Frosty red foam
*Frosty blue foam
*White foam
*Black foam
*Dark blue glossy paper
*Brush
*Black cold paint
*White cold paint
🚗🚗 materiales utilizados 🚗🚗
*Caja de cartón
*Tijera
*Lápiz
*Silicón líquido
*Foami amarillo
*Foami rojo escarchado
*Foami azul escarchado
*Foami blanco
*Foami negro
*Papel lustrillo azul oscuro
*Pincel
*Pintura al frio negra
*Pintura al frio blanca
**What are the steps we must follow for preparation:
**Cuáles son los pasos que debemos seguir para la elaboración:
*🚗First step:
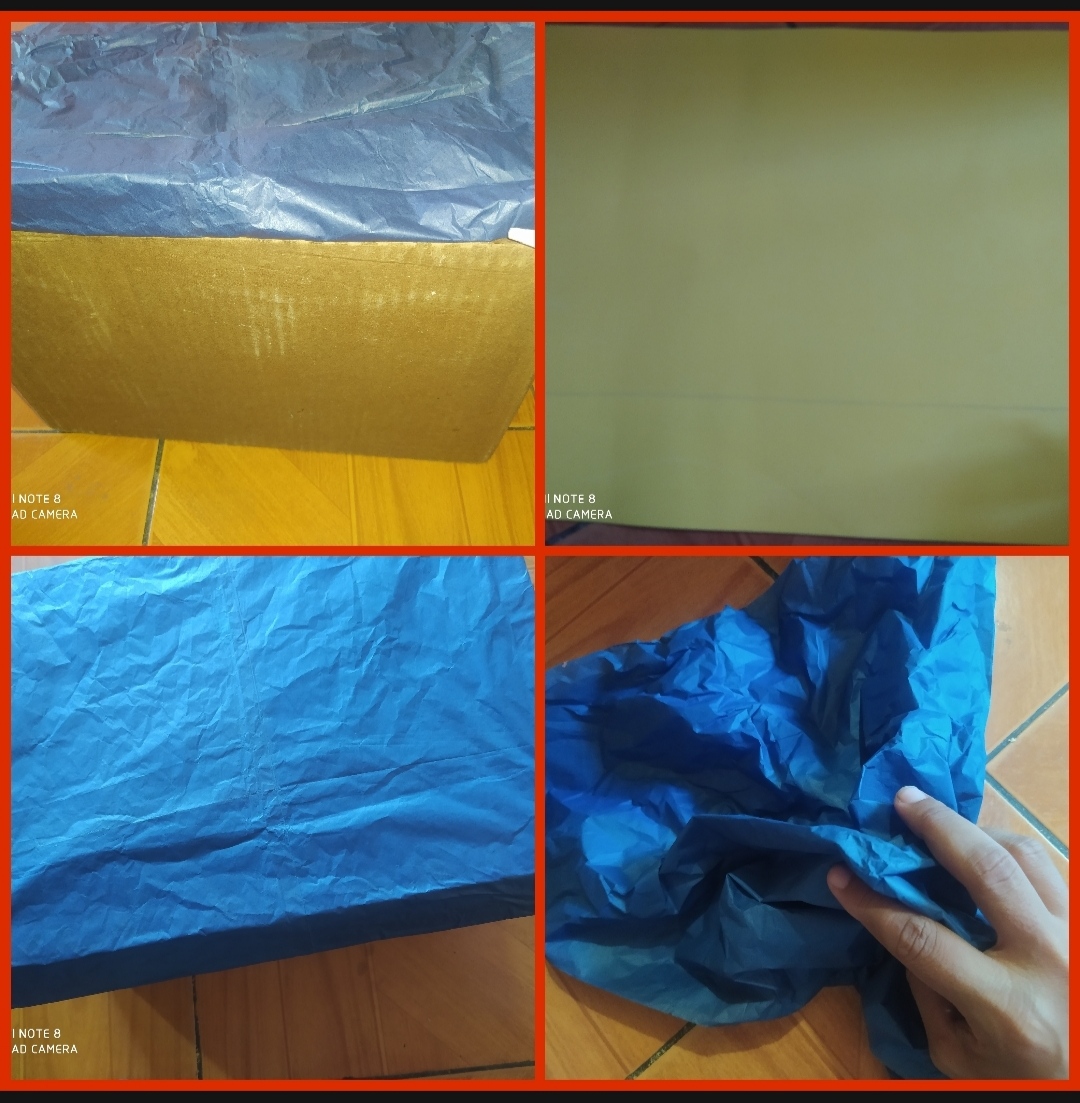
The first thing we must do is wrinkle the glossy paper a little and then we are going to stick it on the box until it is completely covered, both outside and inside.
*🚗Primer paso :
Lo primero que debemos hacer es arrugar un poco el papel lustrillo y luego lo vamos a ir pegando en la caja hasta forrarla toda totalmente ,tanto por fuera como por dentro
*🚗 Second step:
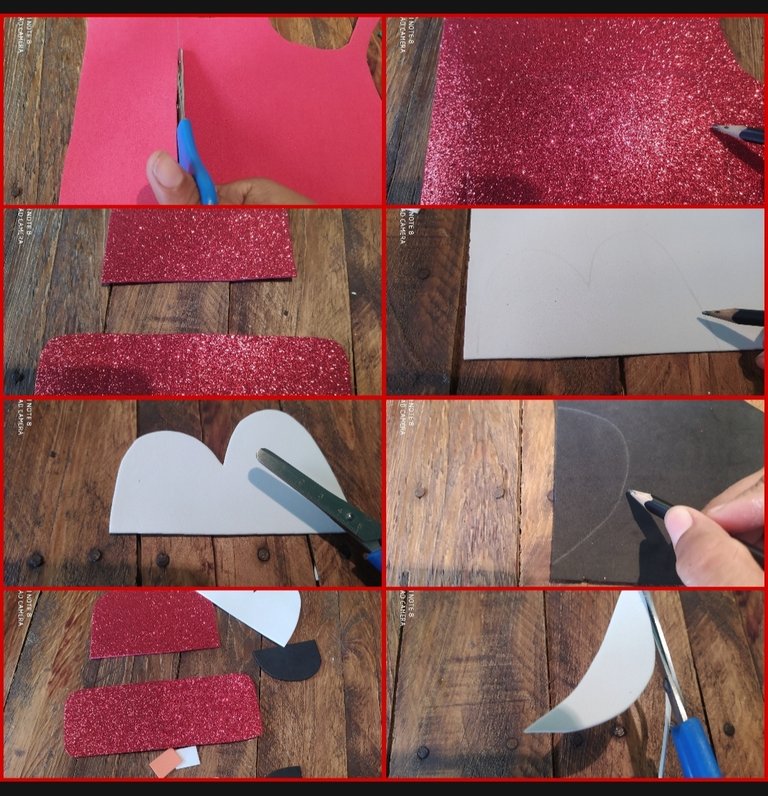
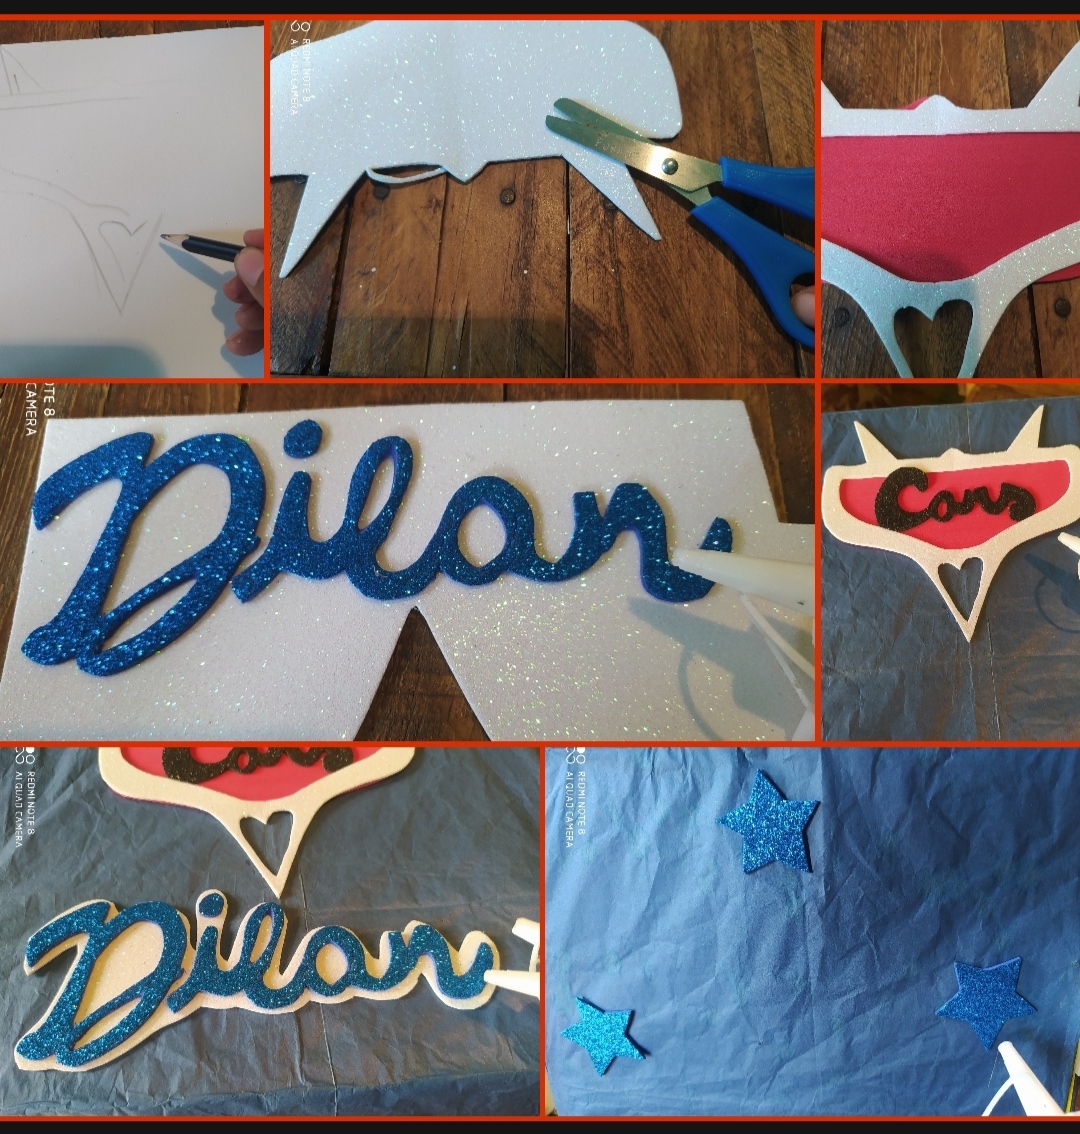
In this step we are going to make the Cars theme, we mark the top and bottom part in the red frosty foam, then in the white foam we mark the eyes and mouth of this figure and in the black the rubber, cut all this out .
*🚗 Segundo paso :
En este paso vamos hacer la temática de Cars , se marca la parte de arriba y la de abajo en el foami escarchado rojo , después en el foami blanco marcamos los ojos y boca de esta figura y en el negro los cauchos , todo esto de recorta .
*🚗Third step:
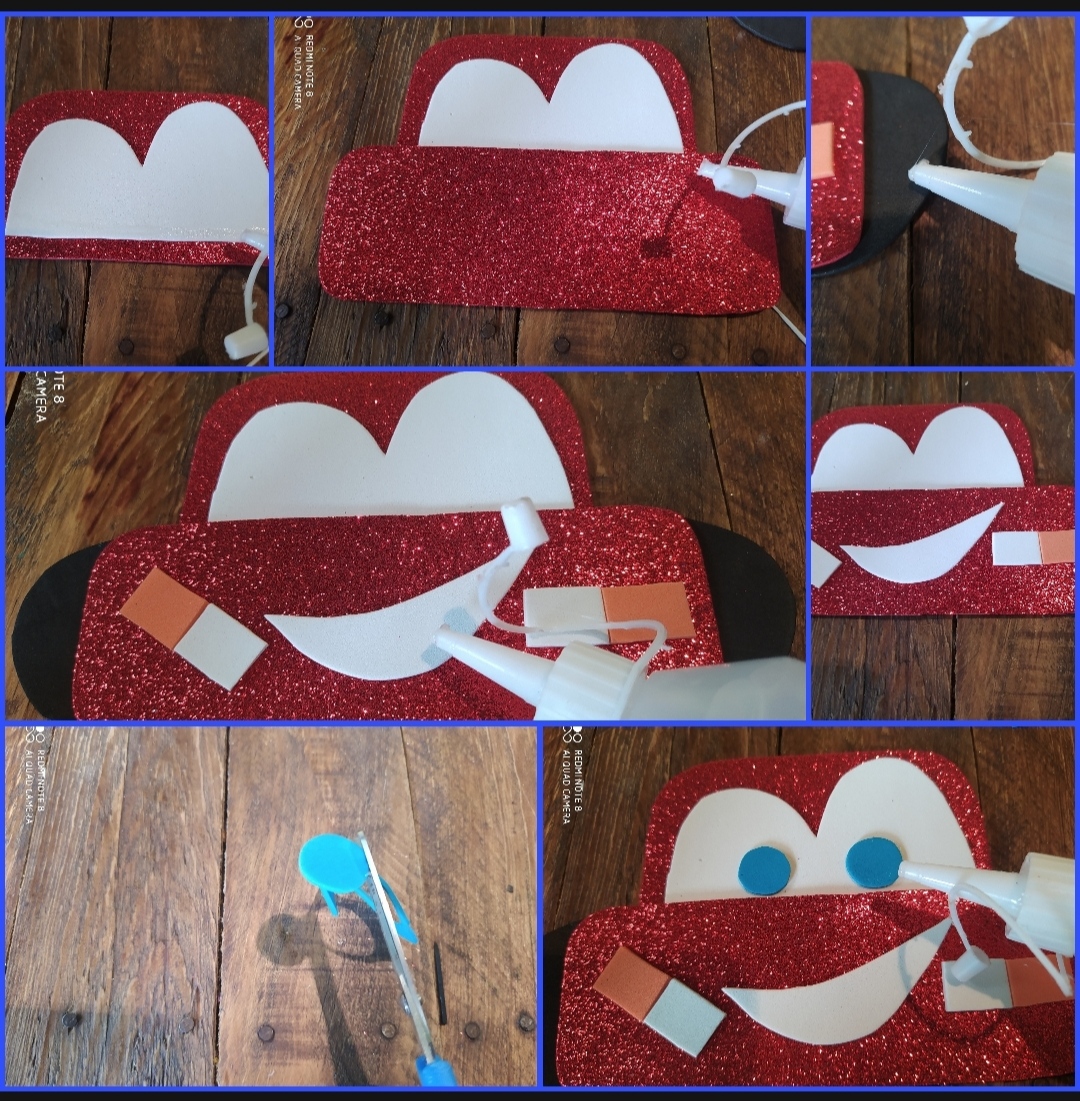
Once we have all our pieces, we are going to proceed to assemble this Cars, glue the eyes to the top of the car, then glue the bottom part to assemble the Cars, glue the tires, cut them out the eyes stick to the blue foam.
*🚗Tercer paso :
Una vez que tenemos todas nuestras piezas ,vamos a proceder a armar este Cars ,se pega los ojos a la parte de arriba del carro ,luego se pega está de la parte de abajo armando el Cars ,se le pega los cauchos , se le recortan en el foami azul los ojos y se le pegan .
*🚗Fourth step:
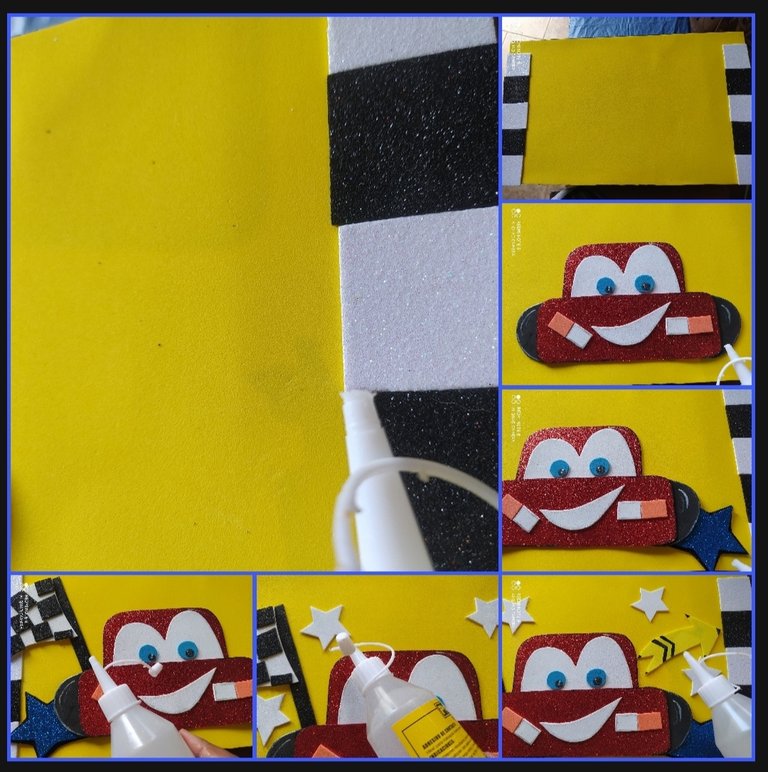
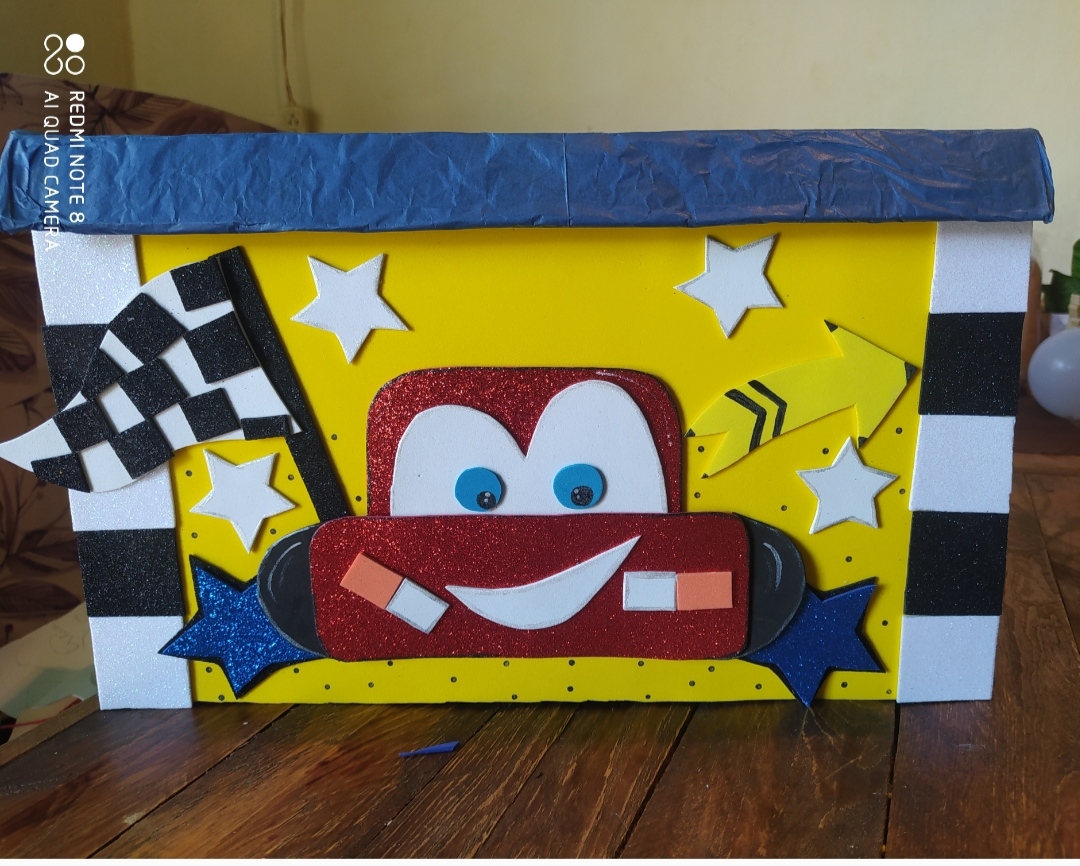
Some black and white squares are cut out, they are glued to the corners of the box, then the Cars is glued, followed by two stars on the tires, a flag is marked on the white foam, it is cut out and several black squares are glued to it. When it is ready, it is glued in a corner of Cars, then we mark some small stars on the white foam and an arrow on the yellow foam and we glue it around the theme.
*🚗Cuarto paso:
Se recortan unos cuadros negros y blancos ,se le pegan por las esquinas de la caja , después se le pega el Cars ,seguido dos estrellas en los cauchos , se marca una bandera en el foami blanco ,se recorta y se le pegan varios cuadros negros ,cuando está lista se le pega en una esquina de Cars , despues marcamos unas estrellas pequeñas en el foami blanco y una flecha en el foami amarillo y se lo pegamos por el alrededor de la temática.
- Fifth step:
To finish, we mark and cut out some stars on the blue foam and glue them on the sides of the box. Then we mark an ornament on the white foam and cut it out. When we finish this, we glue it on the lid of the box and on the Blue foam we mark the name, it is cut out, it is glued on top of white, this is cut out to make the 3D letters and glued to the lid.
- Quinto paso:
Para finalizar ,se marcan y recortan unas estrellas en el foami azul y se le pega en los lados de la caja ,después marcamos un adorno en el foami blanco se recorta ,cuando terminamos esto se le pega en la tapa de la caja y en el foami azul marcamos el nombre ,se recorta ,se pega encima de blanco este se recorta para hacer las letras en 3D y se le pega en la tapa.
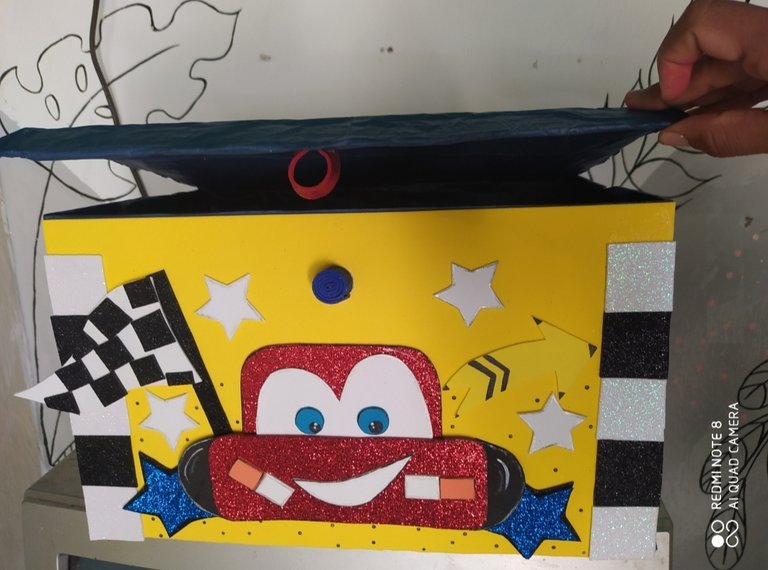
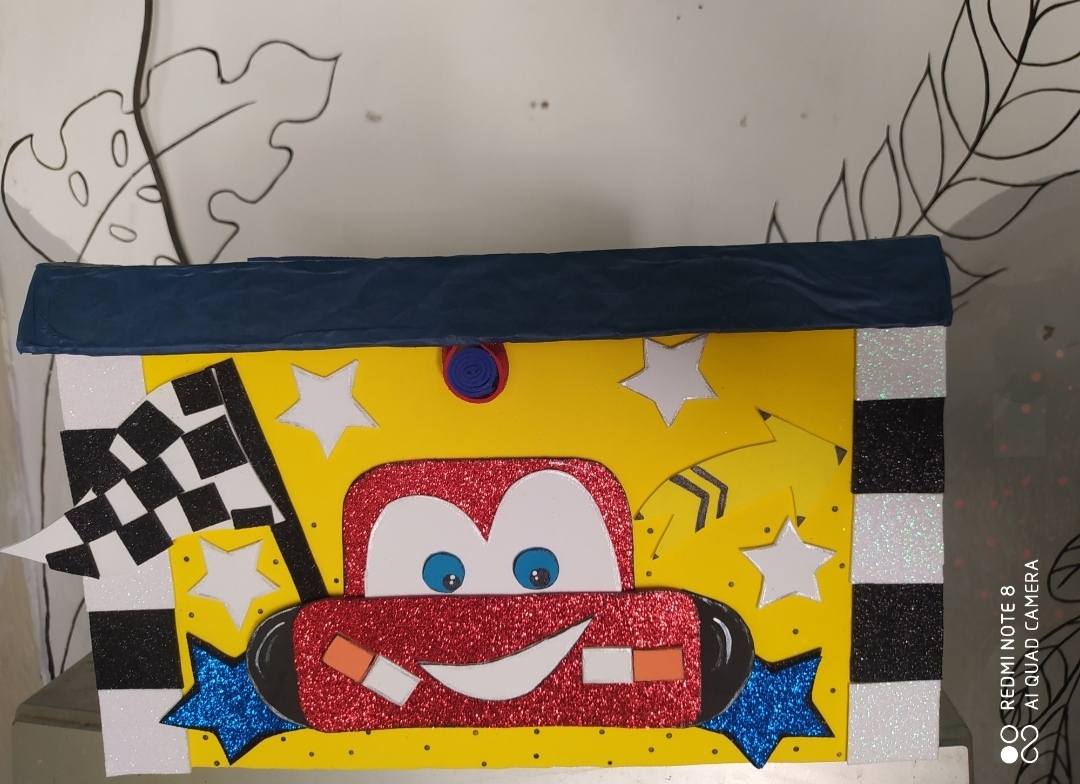
This beautiful Cars box will look like this:
Está hermosa cajita de Cars nos quedará de esta manera :

Gracias por visitar mi blog bendiciones para todos ,buenas noches .
Thank you for visiting my blog, blessings to all, good night.
📱The photos are my property, they were taken with my Redmi Note 8 and I used Google Translate.
📱Las fotos son de mi propiedad fueron tomadas con mi Redmi Note 8 y utilice traductor de Google.