Hola amigos de Hive ❤️ hoy les quiero compartir un nuevo proyecto de dibujo y diseño sobre tela, pero ésta vez con la participación de una iniciativa inspirado en este arte de decorar camisas ¡Actívate creando!...por mi parte, mi diseño está inspirado en aquellos amantes de un genero y artista en particular ya que el logo principal es la imagen de un álbum que es uno de mis favoritos, no solo por lo variado del ritmo sino por la originalidad de todo el concepto en si, los colores literalmente y la buena vibra que puedes sentir e identificarte con cualquiera de ellos.
El álbum se llama Colores de J Balvin, y está representado por una flor multicolor, hasta ahí todo bien con el diseño, pero yo quería algo más y se me ocurrió agregarle la frase "good vibes" que significa buenas vibras, ya que para mí eso es lo que transmite, o por lo menos era lo que quería proyectar y nunca olvidar, con una buena vibra todo fluye más bonito. Ya con esto hecho era hora de dar inicio al proceso de pintura y darle color a esa prenda básica que querramos personalizar. En muy sencillos pasos les mostraré como hacerlo si te animas y lo intentas conmigo.

- Camisa básica (azúl)
- Pinturas acrílicas o para tela
- Pinceles planos
- pincel liner (para delinear)
- gel escarchado
- papel carbón
- patrón del diseño

El primer paso una vez pasamos el diseño a la hoja, es calcar, para ello yo uso papel carbón para transferir el dibujo a la tela, y ya con el boceto marcado para guiarme es hora de pintar.

Para este diseño fue un poco complicado por la variedad de color, muchos tonos diferentes que debía combinar porque no tengo exactamente ese color, así que fui por los colores primarios, luego combinando entre si para crear las diferencias combinaciones, y para terminar agregue blanco para bajarle la saturación y que éstos tonos no fueran tan oscuros. Antes de darle cualquier color, yo quise empezar con el blanco, siempre me gusta comenzar desde el color más claro hasta el más oscuro que sería el negro.
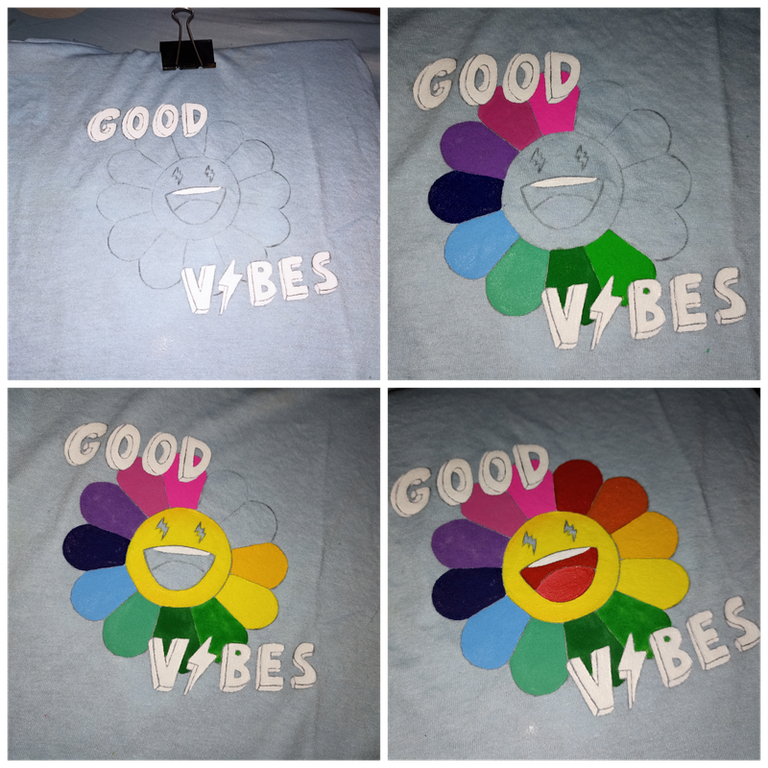
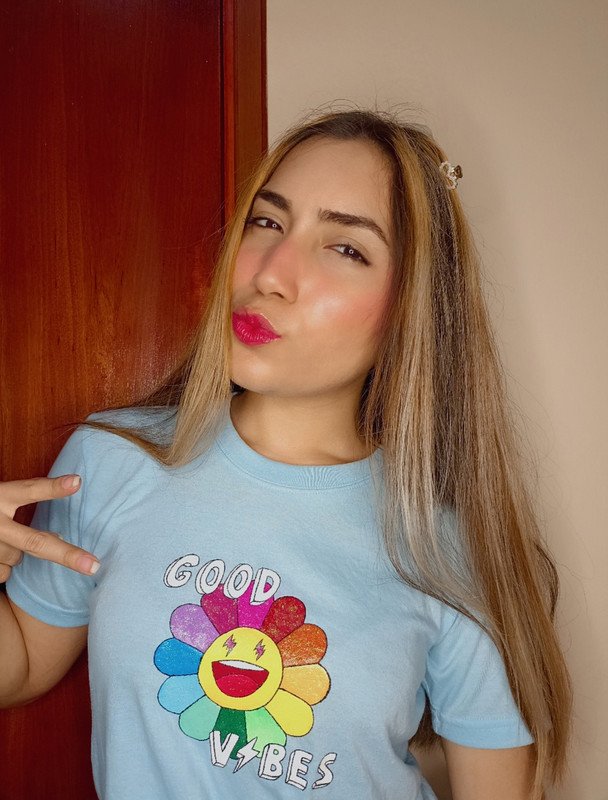
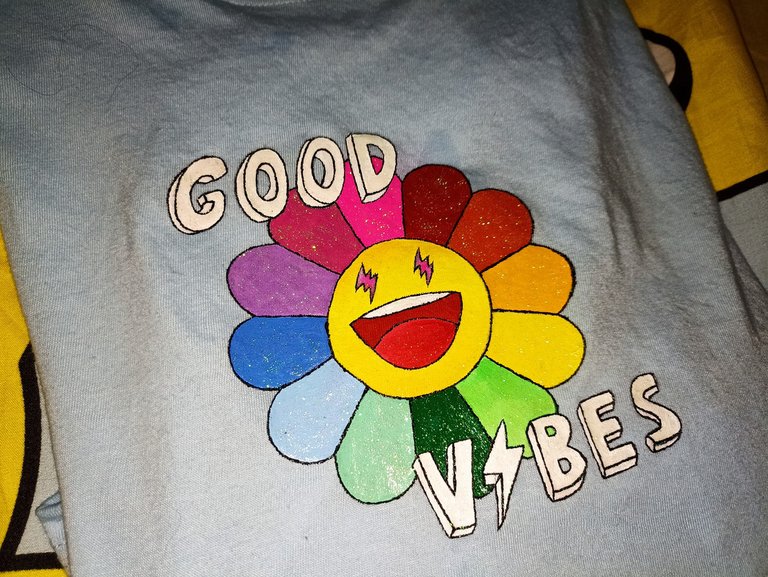
Cuando ya tengo los colores con las capas suficientes, también aprovecho para darle ese efecto de sombras y el diseño quede con más profundidad y no con una apariencia plana, ésto lo hice sobre todo en la parte central de la flor que llevaba más detalle. Cuando ya la parte de color está hecho, paso a la parte de delinear, primero empecé con las letras para luego terminar con la flor. Por último y mi toque especial es el brillo o glitter sobre esas partes que quiero resaltar, el producto que uso es disconacar, en dónde aplicando una pequeña capa de este gel la pintura queda con ese lindo y llamativo efecto escarchado.

Y aquí les muestro el trabajo terminado, con un lindo diseño personalizado inspirado en ese logo de mi álbum favorito, muy colorido y transmitiendo buenas vibras 😊!!, me gustaría invitar a @eveyese1312 a participar...espero les haya gustado y compartirles muy pronto nuevos trabajos como este que vaya creando, con mucho cariño me despido y será hasta la próxima!!💕
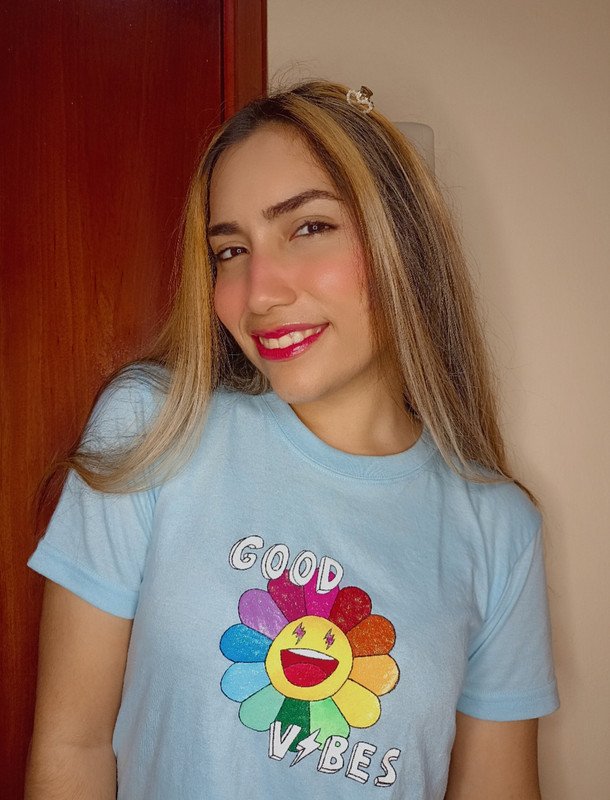


Hello friends of Hive ❤️ today I want to share with you a new project of drawing and design on canvas, but this time with the participation of an initiative inspired by this art of decorating shirts.... For my part, my design is inspired by those lovers of a particular genre and artist since the main logo is the image of an album that is one of my favorites, not only for the varied rhythm but for the originality of the whole concept itself, the colors literally and the good vibe that you can feel and identify with any of them.
The album is called Colores de J Balvin, and is represented by a multicolored flower, so far so good with the design, but I wanted something more and I thought of adding the phrase "good vibes" which means good vibes, because for me that's what it conveys, or at least it was what I wanted to project and never forget, with a good vibe everything flows nicer. With this done it was time to start the painting process and give color to that basic garment that we want to customize. In very simple steps I will show you how to do it if you dare and try it with me.
- Basic shirt (blue)
- Acrylic or fabric paints
- Flat brushes
- liner brush (for outlining)
- frosting gel
- carbon paper
- design pattern

The first step once we transfer the design to the sheet, is to trace, for this I use carbon paper to transfer the drawing to the fabric, and with the sketch marked to guide me it is time to paint.
For this design it was a little complicated because of the variety of color, many different tones that I had to combine because I don't have exactly that color, so I went for the primary colors, then combining them together to create the different combinations, and to finish I added white to lower the saturation so that these tones were not so dark. Before giving it any color, I wanted to start with white, I always like to start from the lightest color to the darkest color which would be black.
When I already have the colors with enough layers, I also take the opportunity to give the effect of shadows and the design is with more depth and not with a flat appearance, I did this especially in the central part of the flower that had more detail. When the color part is done, I move on to the outlining part, first I started with the letters and then finish with the flower. Finally and my special touch is the glitter or glitter on those parts that I want to highlight, the product I use is disconacar, where applying a small layer of this gel the paint is with that nice and striking frosted effect.
And here I show you the finished work, with a nice custom design inspired by that logo of my favorite album, very colorful and transmitting good vibes 😊!!!, I would like to invite @eveyese1312 to participate...I hope you liked it and share with you very soon new works like this that I am creating, with much affection I say goodbye and will be until next time!!!💕
Todo el contenido es de mi autoría y las imágenes son de mi propiedad
Cámara: Redmi note 10s
Uso un aro de luz LED como base para mi teléfono y tomarme las fotos
All content is my own and images are my property
Camera: Redmi note 10s
I use an LED light ring as a base for my phone to take pictures of myself

Edición y Separador|Editing and Separator
App PicMonkey - App Picsart - App Canva
Traductor|Translator
DeepL
Fuente imagen logo flor|Source image logo flower
Fuente imagen letras|Image source letters