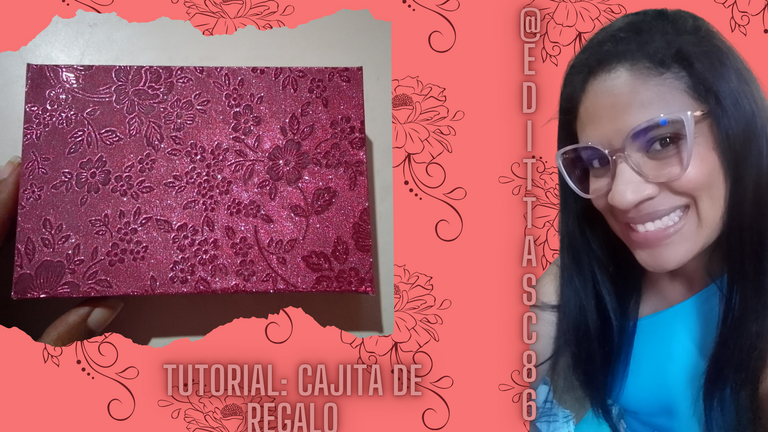
Hola comunidad Hive Diy 🌺.. Saludos a todos..
Hace días con unas amigas emprendedoras de la localidad donde resido, nos unimos para realizar un concurso con motivo del día de las madres, realmente para activarnos, y para hacernos conocer un poco más..
Me gustan mucho los detalles así que para la entrega del obsequio de mi emprendimiento (se llama @edittastore en Instagram sigueme 😉) quise realizar una cajita preciosa, ademas que mis accesorios también son hermosos estos me gustaron muchos, yo los realice y lo publique y les dejo acá el link por si quieren ver como los realice y hacer su versión de este hermoso Set.. lo ame, está de más decirlo (risas)..
Puedes ver el tutorial aqui ❤️
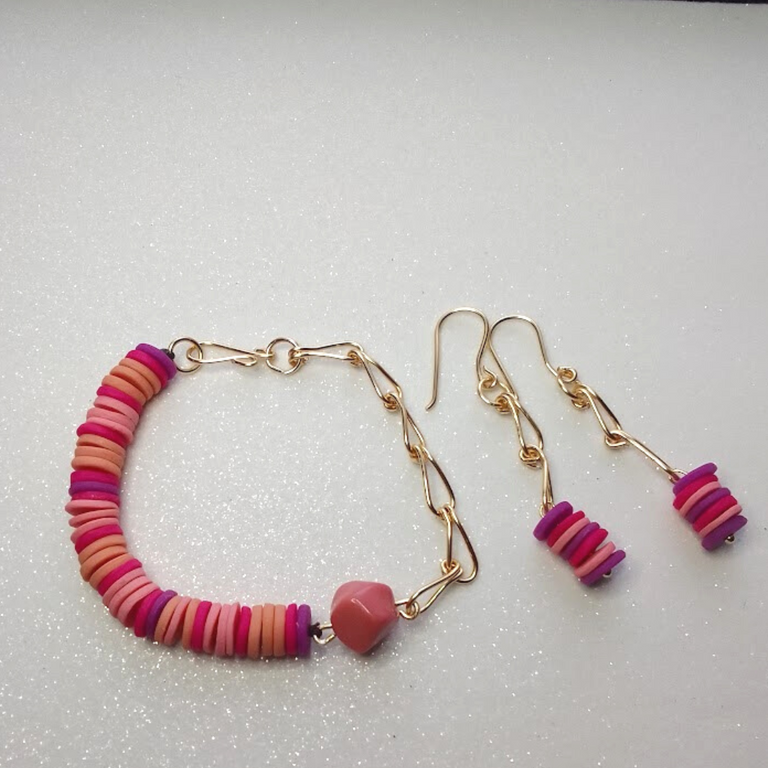
Estos son los accesorios 😍:
Ahora para le entrega de estas bellezas y como el concurso era del dia de la madre compre una cartulina con un motivo de florecitas para el dia, me gusto mucho:
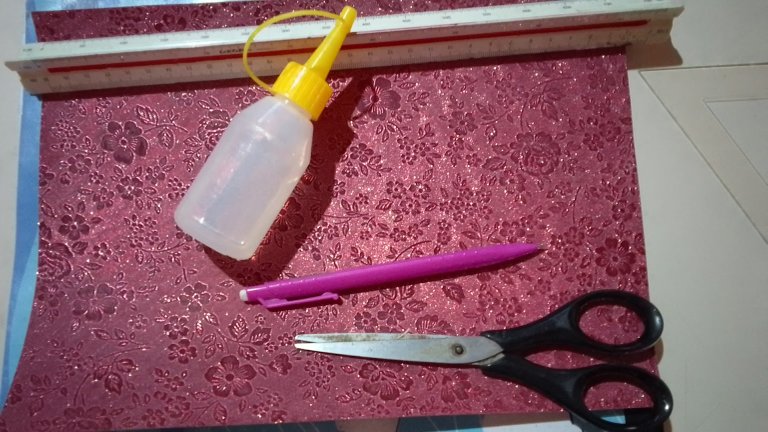
los Materiales que utilice son estos:
📍Cartulina de Flores
📍Regla o escalímetro (no encontré mi regla)
📍Lápiz o Portaminas
📍Silicona líquida
📍Tijera
📍El ingrediente más importante Amor
La cajita es muy sencillo de realizar, y no ocupa mucho tiempo, así que esta ideal para salir de un apuro, bueno si cuentas también con estos materiales o similares la creatividad no es limitada 😅😉, la cajita la realice de la siguiente manera:
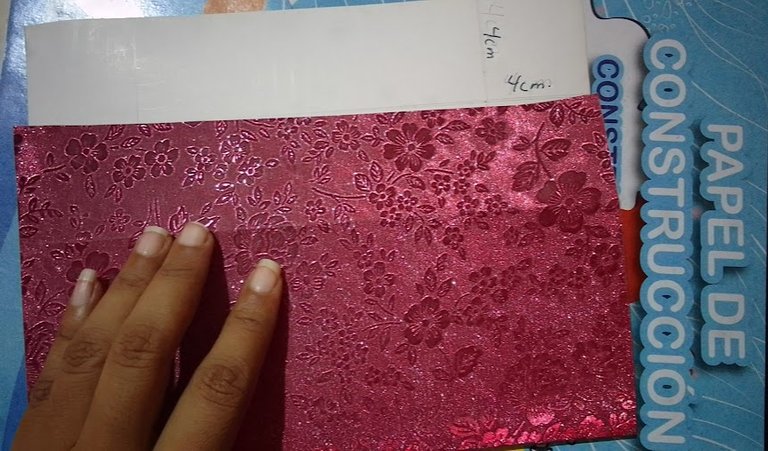
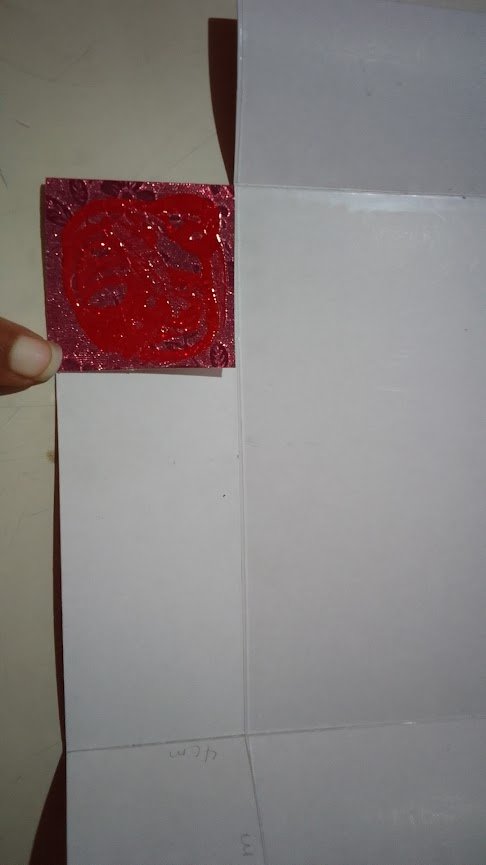
1.- En la cartulina con la ayuda del escalímetro (nota: no encontré mi regla en ese momento y bueno el escalímetro estaba yo yo 😅)realice un borde de 4cm en cada lado, como muestro en la imagen:
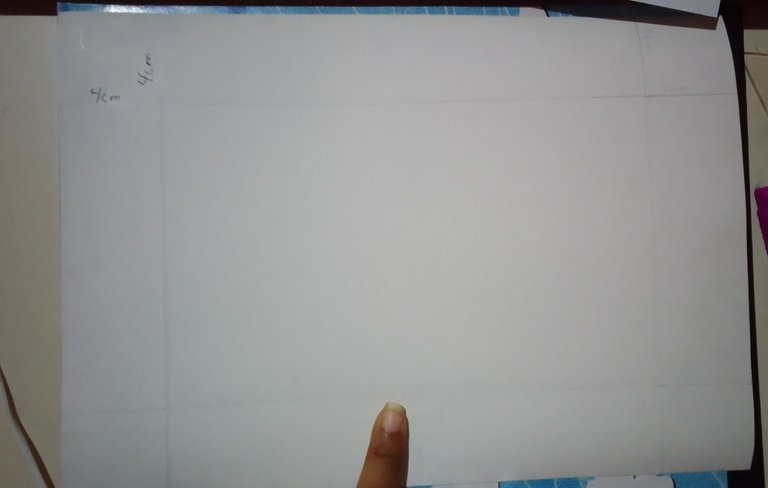
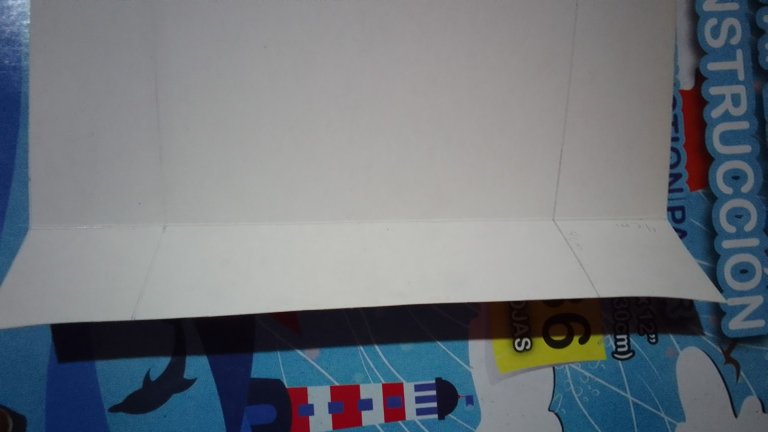
2.- Luego, tome el extremo inferior de la hoja y lo marqué con la tijera pasandola con una ligera presión sobre la cartulina para doblar con más facilidad, luego lleve la hoja hasta la línea superior y doble..
 |  |
|---|
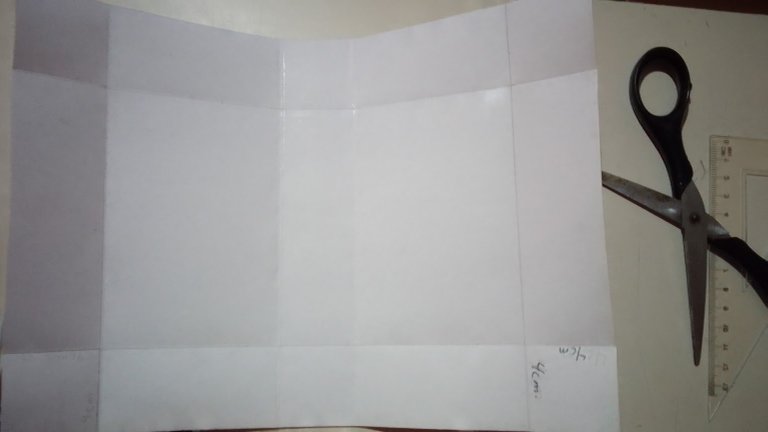
3.- lo mismo realice con el otro extremo, es decir, repetimos el procedimiento anterior y la hoja quedó dividida de esta manera:
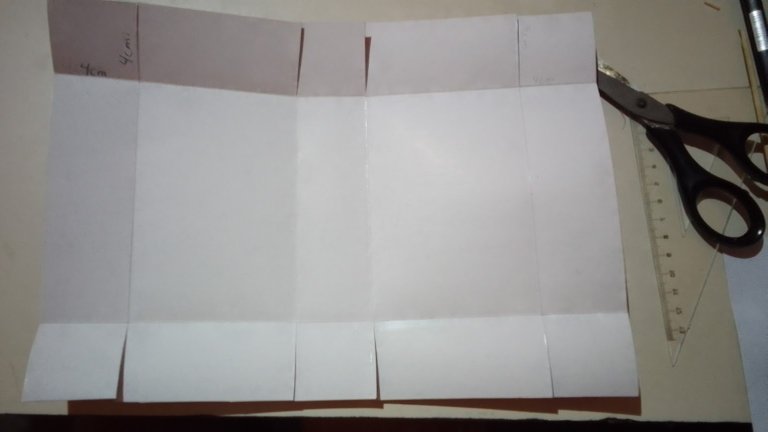
4.- Después de realizar el doble, con la tijera corté los cuadritos que se formaron al doblar, así como se muestra:
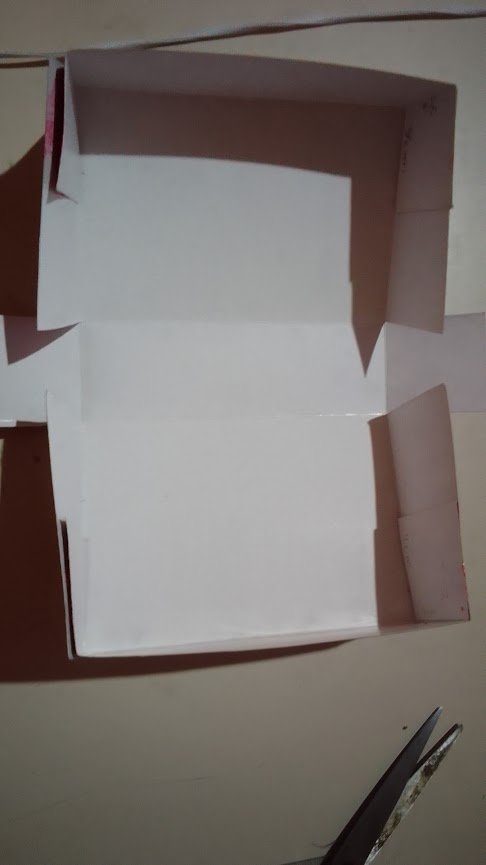
5.- El siguiente paso: armar la cajita, para ello con la pega silicona tome una de las esquinas le aplique pega y pegue ese cuadrito hacia adentro para unir los extremos, lo mismo hice en las otras 3 esquinas, y quedó así:
 |  |
|---|
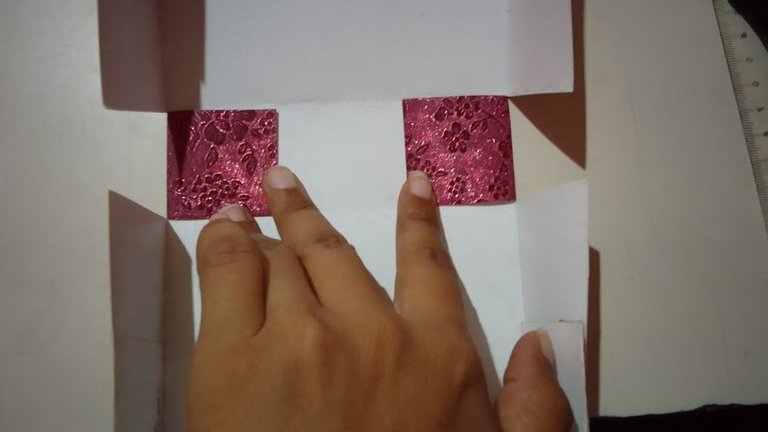
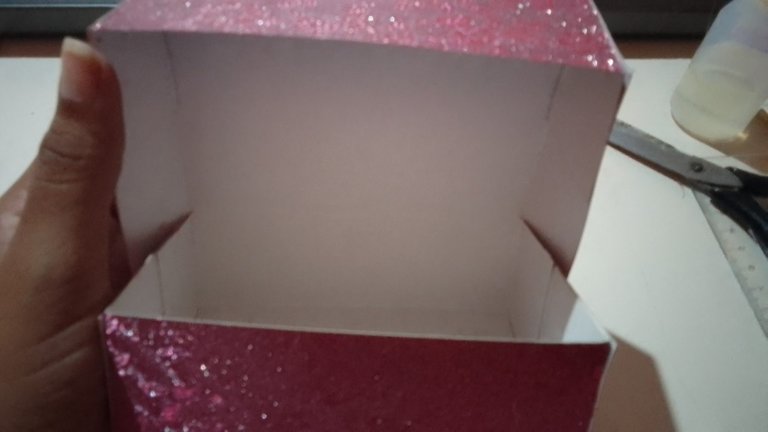
6.- luego en esos dos cuadritos de la parte central, aplique pegue hacia adentro de la caja para formar la parte de tapa.. y se ve así:
 |  | 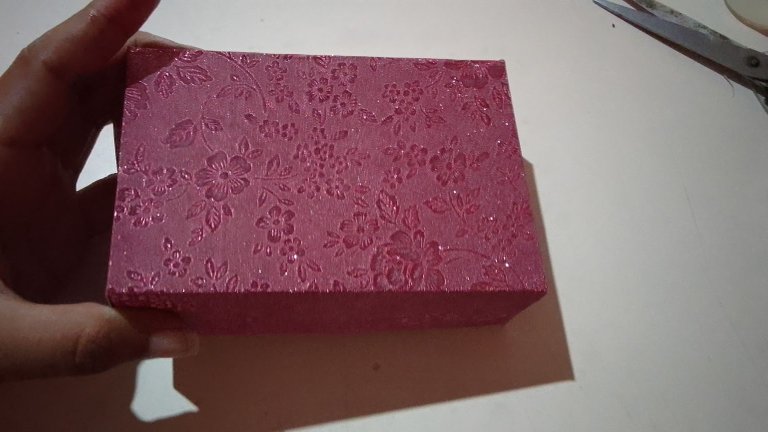 |
|---|
y asi quedo esta hermosa caja...
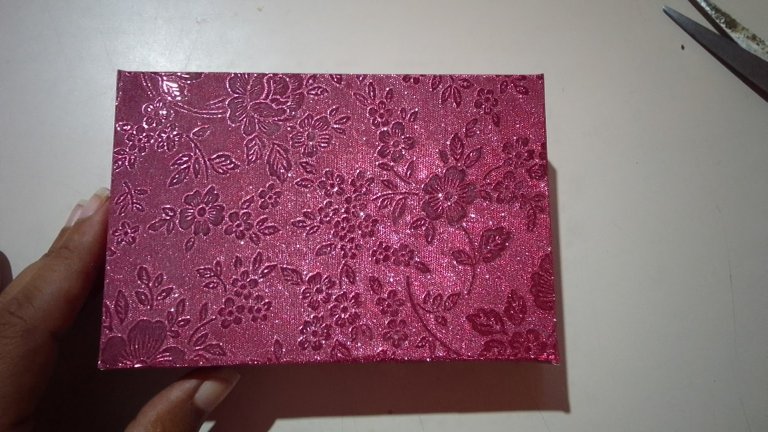
El sorteo se realizo el dia viernes 12 de mayo, y esta fue la mamita que resultó ganadora, y se llevó la hermosa cajita con un juego de accesorios super lindo..
En la foto mi hijo me acompañó a realizar la entrega, Ella quedó encantada..
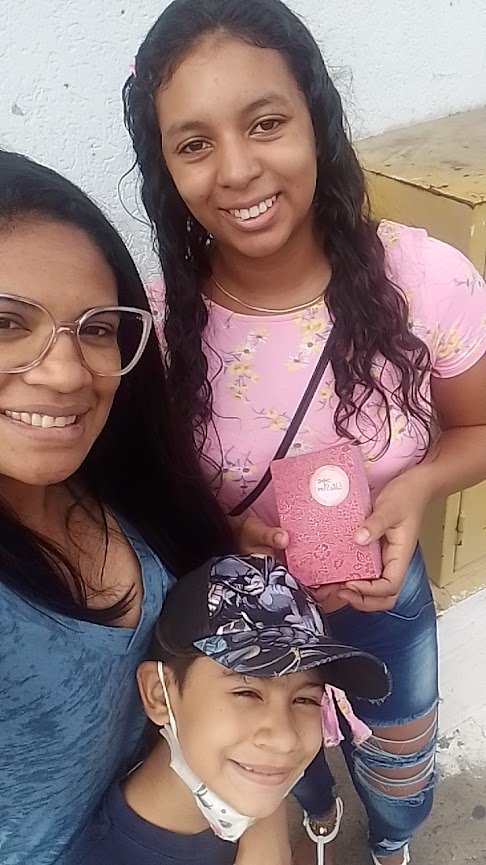
Espero les haya gustado la cajita, hermosa y sencilla..
Gracias por leer mi post..🌺

Hello Hive Diy community 🌺.... Greetings to all...
Days ago with some enterprising friends of the town where I live, we joined together to make a contest on the occasion of mothers day, really to activate us, and to make us know a little more..
I really like the details so for the delivery of the gift of my venture (it's called @edittastore on Instagram follow me 😉) I wanted to make a beautiful box, besides my accessories are also beautiful these I liked a lot, I made them and published it and I leave here the link if you want to see how to make them and make your version of this beautiful set... I love it, needless to say (laughs)...
You can see the tutorial here ❤️
These are the accessories 😍:

Now for the delivery of these beauties and as the contest was for mother's day I bought a cardboard with a little flower motif for the day, I really liked it:

the Materials I used are these:
📍Flower card stock.
📍Ruler or scalimeter (I couldn't find my ruler).
📍Pencil or mechanical pencil.
📍Liquid silicone.
📍Scissors
📍The most important ingredient Love.
The little box is very simple to make, and does not take much time, so it is ideal to get out of a hurry, well if you also have these materials or similar creativity is not limited 😅😉, the little box is made as follows:
1.- On the cardboard with the help of the scalimeter (note: I did not find my ruler at that time and well the scalimeter was me 😅)make a border of 4cm on each side, as shown in the image.

2.- Then, take the lower end of the sheet and mark it with the scissors passing it with a light pressure on the cardboard to fold more easily, then take the sheet to the top line and fold.
 |  |
|---|
3.- I did the same with the other end, that is, we repeated the previous procedure and the sheet was divided in this way:

4.- After making the fold, with the scissors I cut the squares that were formed when folding, as shown:

5.- The next step: to assemble the box, to do this with the silicone glue I took one of the corners and applied glue and glued that square inward to join the ends, I did the same in the other 3 corners, and it looked like this:
 |  |
|---|
6 .- then in those two squares of the central part, apply glue inside the box to form the lid part .. and it looks like this:
 |  |  |
|---|
and this is the way this beautiful box looks like this..

The drawing took place on Friday May 12, and this was the mommy who was the winner, and she got the beautiful box with a super cute set of accessories....
In the picture my son accompanied me to make the delivery, she was delighted....

I hope you liked the box, beautiful and simple ...
Thanks for reading my post, 🌺

Cover and Banner edited in canva
Separator made in PowerPoint
Photos of my property

