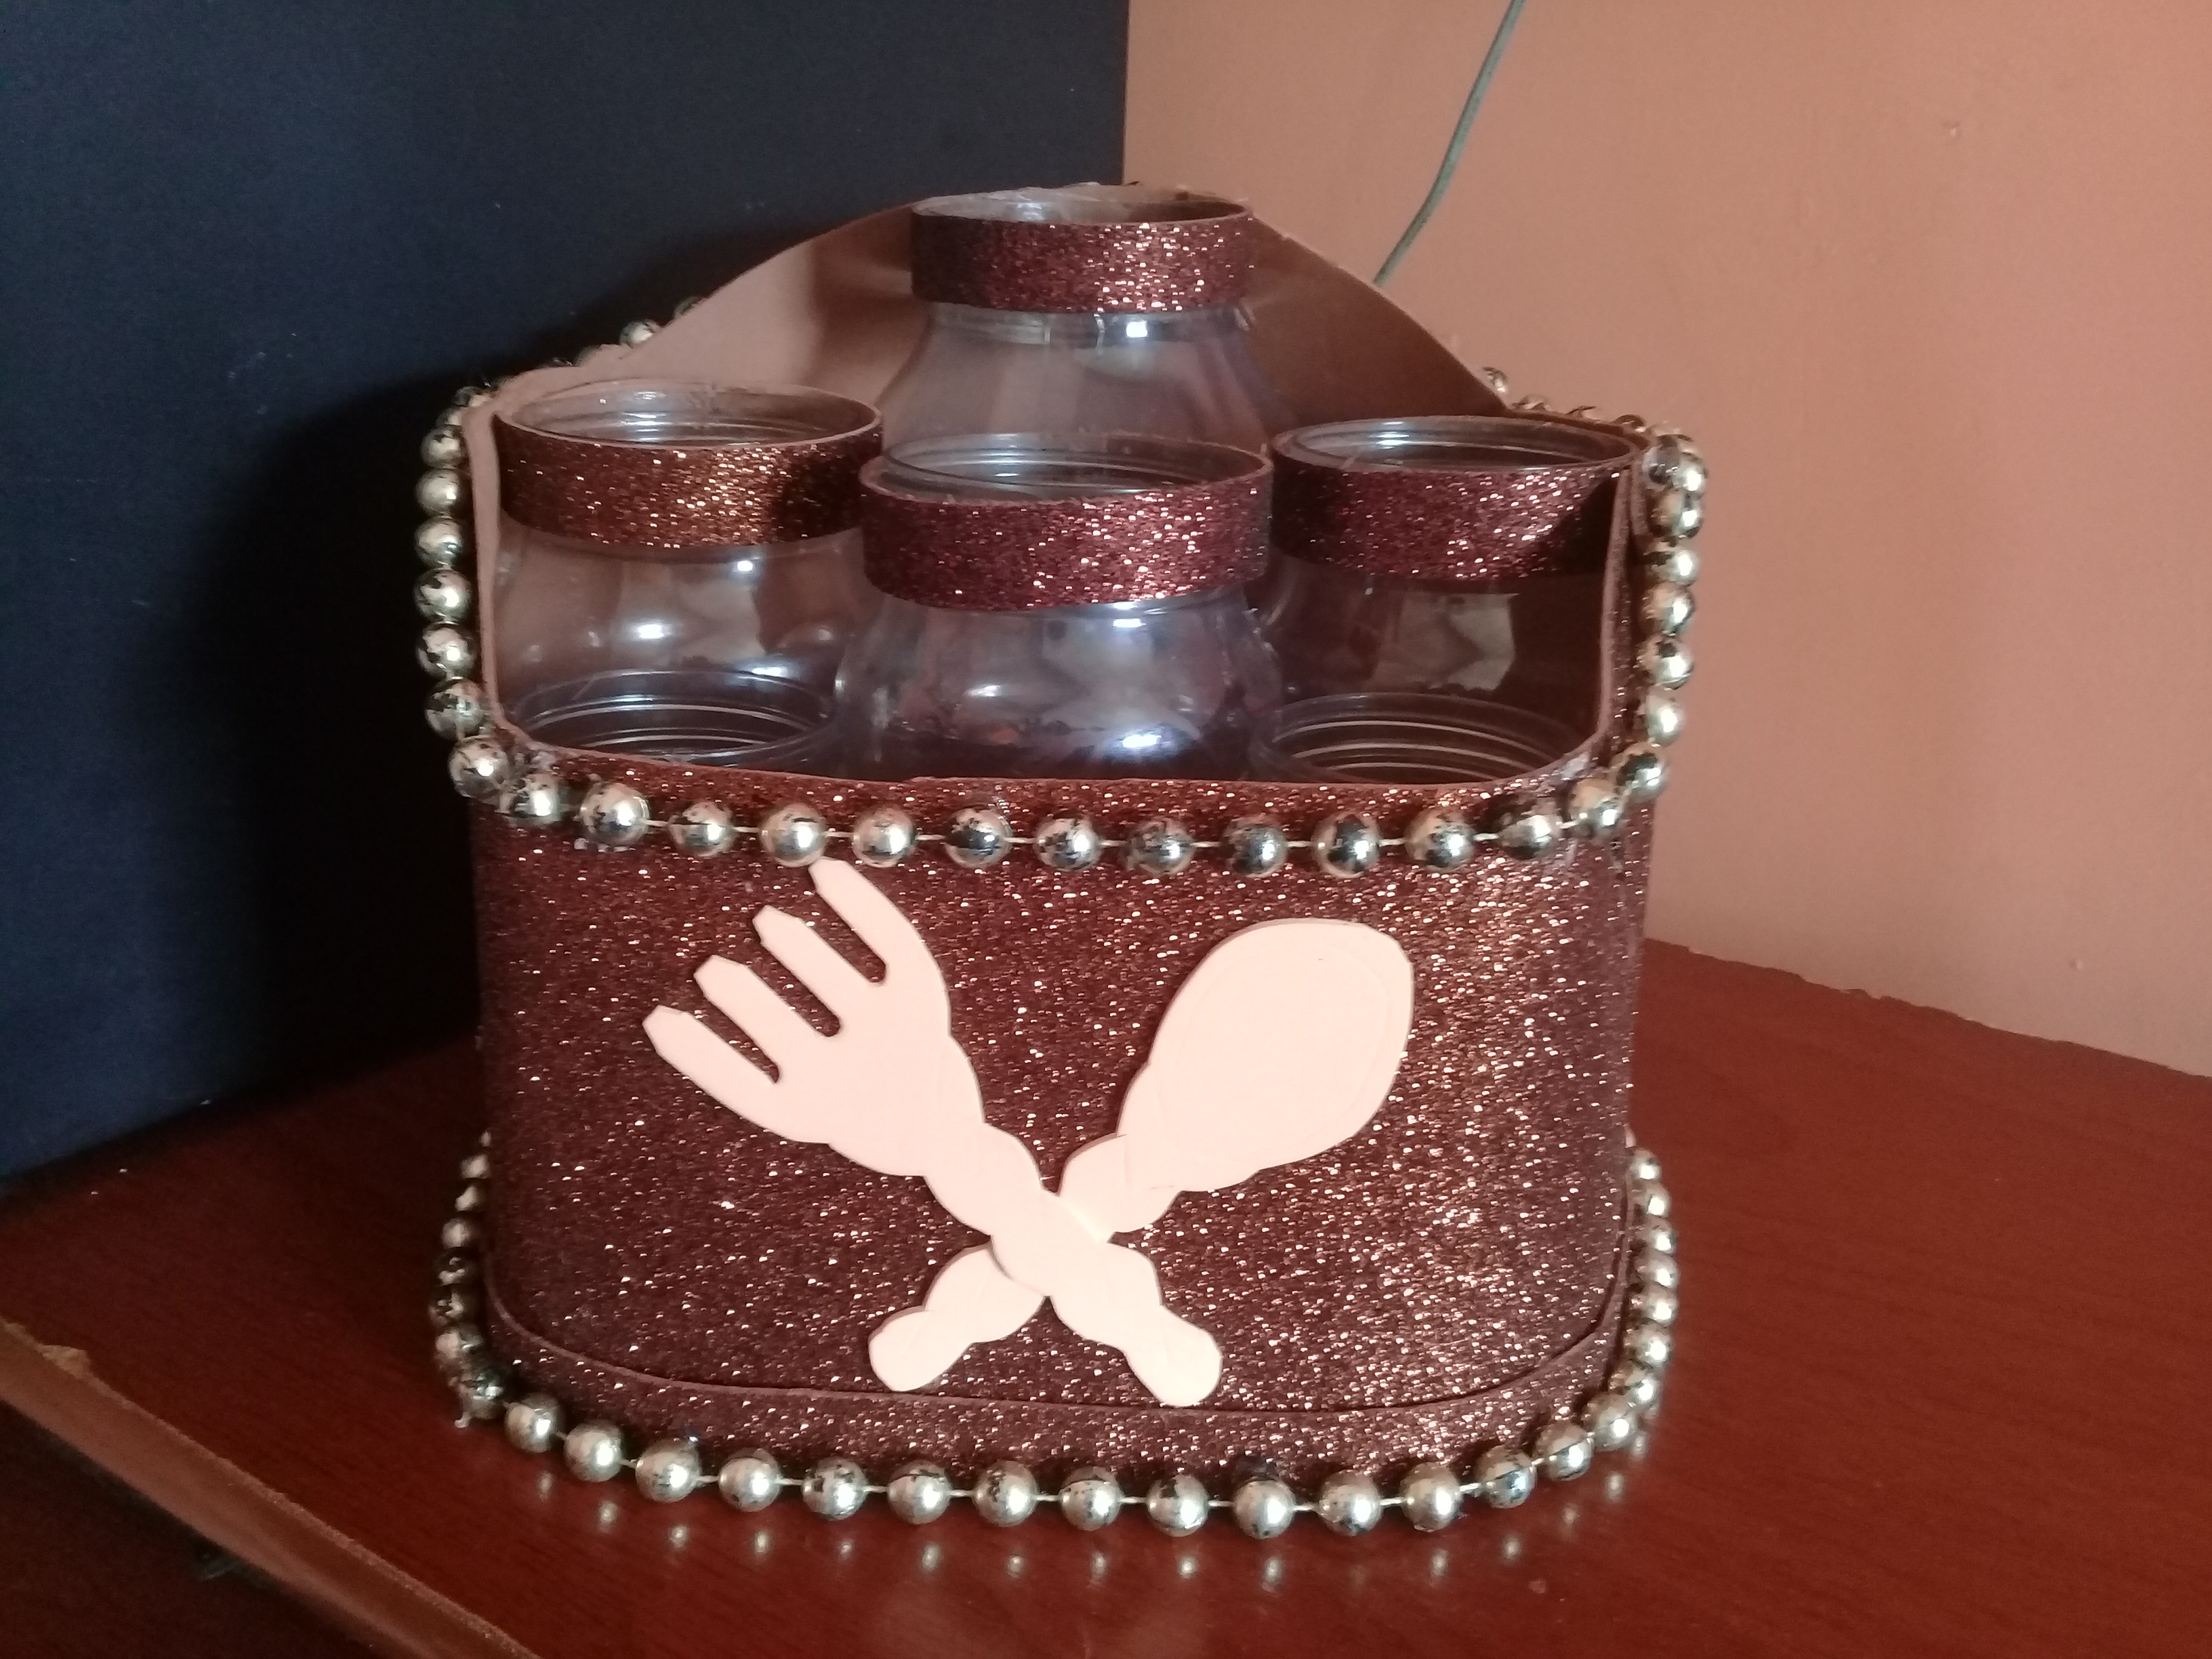

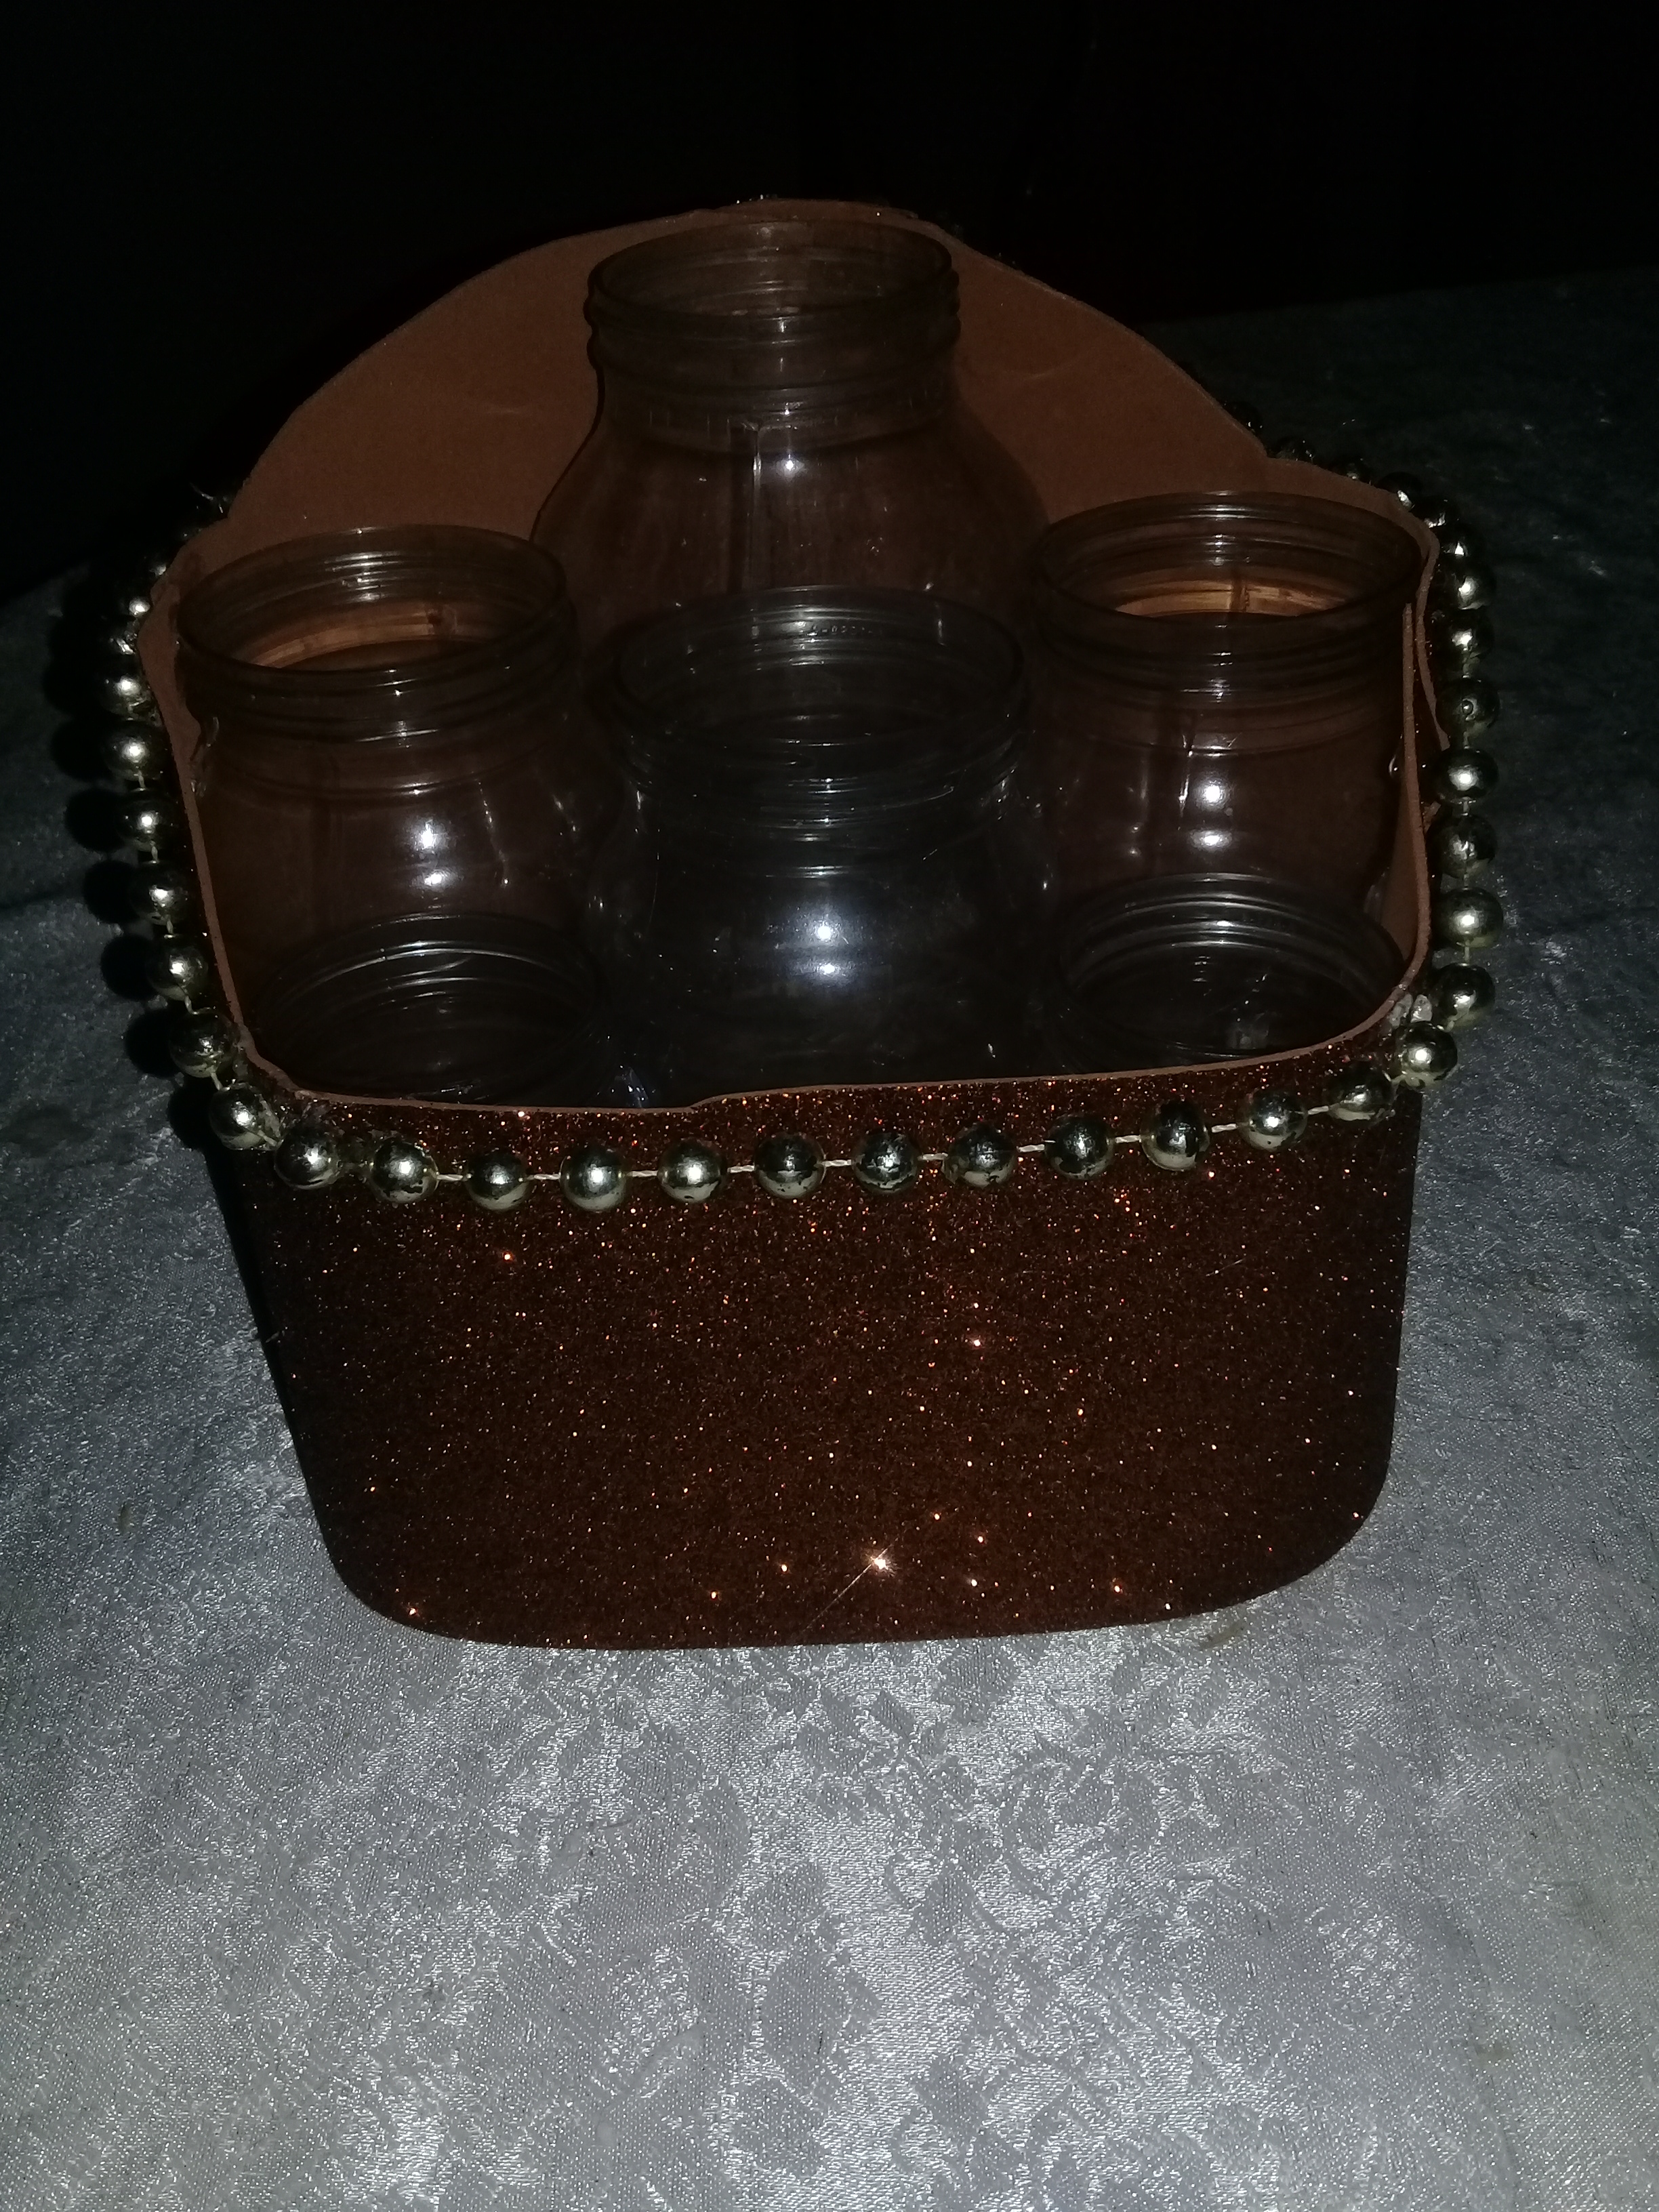
Hola querida comunidad de Hive, espero se encuentren bien de salud, como amante de la cocina y aficionada del reciclaje, hoy tengo el agrado de compartir con ustedes un nuevo tutorial creativo hecho con mis propias manos, una idea muy linda y magnifica un organizador de cubiertos elaborado con material de provecho, diseñado con un brillo luminoso que sorprenderá con su iluminación tu hermosa cocina, decorado con una figura de cubiertos y perlas corridas, para resaltar su utilidad y su belleza ja ja ja espero que te guste.
Hello dear Hive community, I hope you are in good health, as a lover of the kitchen and recycling enthusiast, today I am pleased to share with you a new creative tutorial made with my own hands, a very nice and magnificent idea a ** cutlery organizer** made with waste material, designed with a bright glow that will surprise with its lighting your beautiful kitchen, decorated with a figure of cutlery and pearls run, to highlight its usefulness and beauty ha ha ha ha I hope you like it.
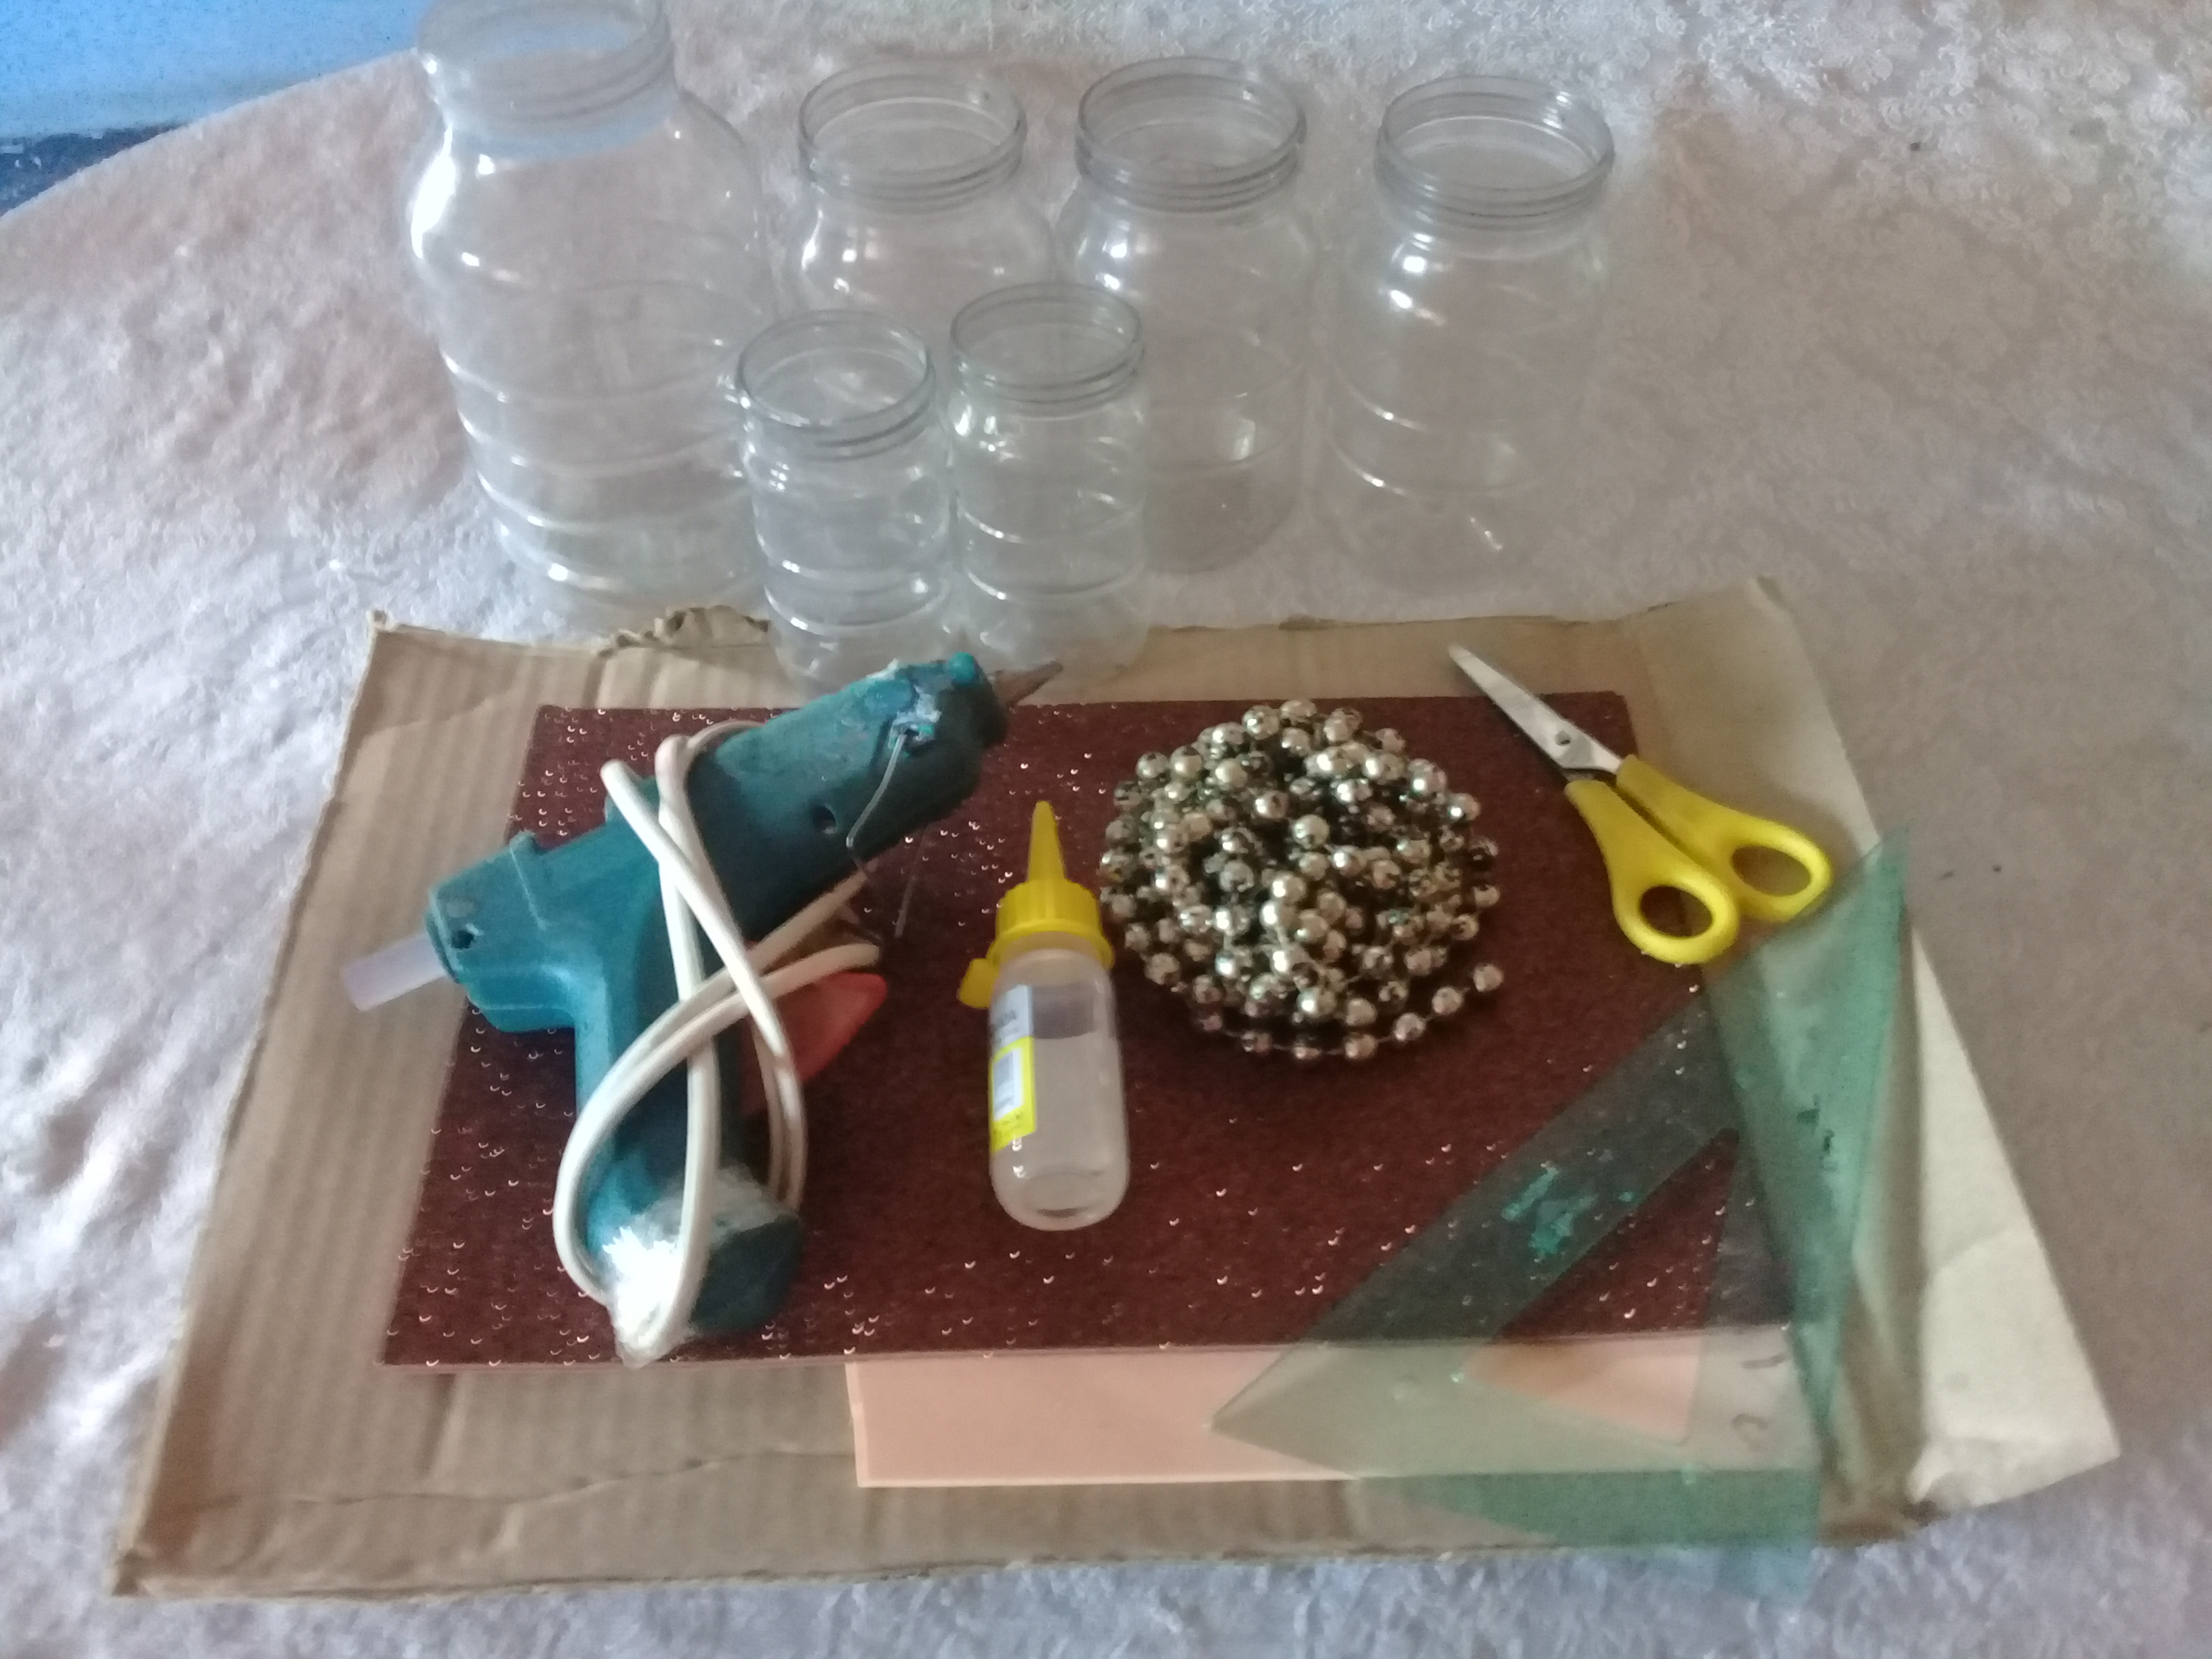
Materiales:
- 1 Frasco grande plástico.
- 3 Frasco mediano.
- 2 Frasco pequeño.
- Foami luminoso.
- silicona.
- Tijera.
- Cartón.
- Celoven.
- Perla corrida.
- Regla.
Materials:
- 1 Large plastic bottle.
- 3 Medium bottle.
- 2 Small flask.
- Luminous Foami.
- Silicone.
- Scissors.
- Cardboard.
- Celoven.
- Running pearl.
- Ruler.
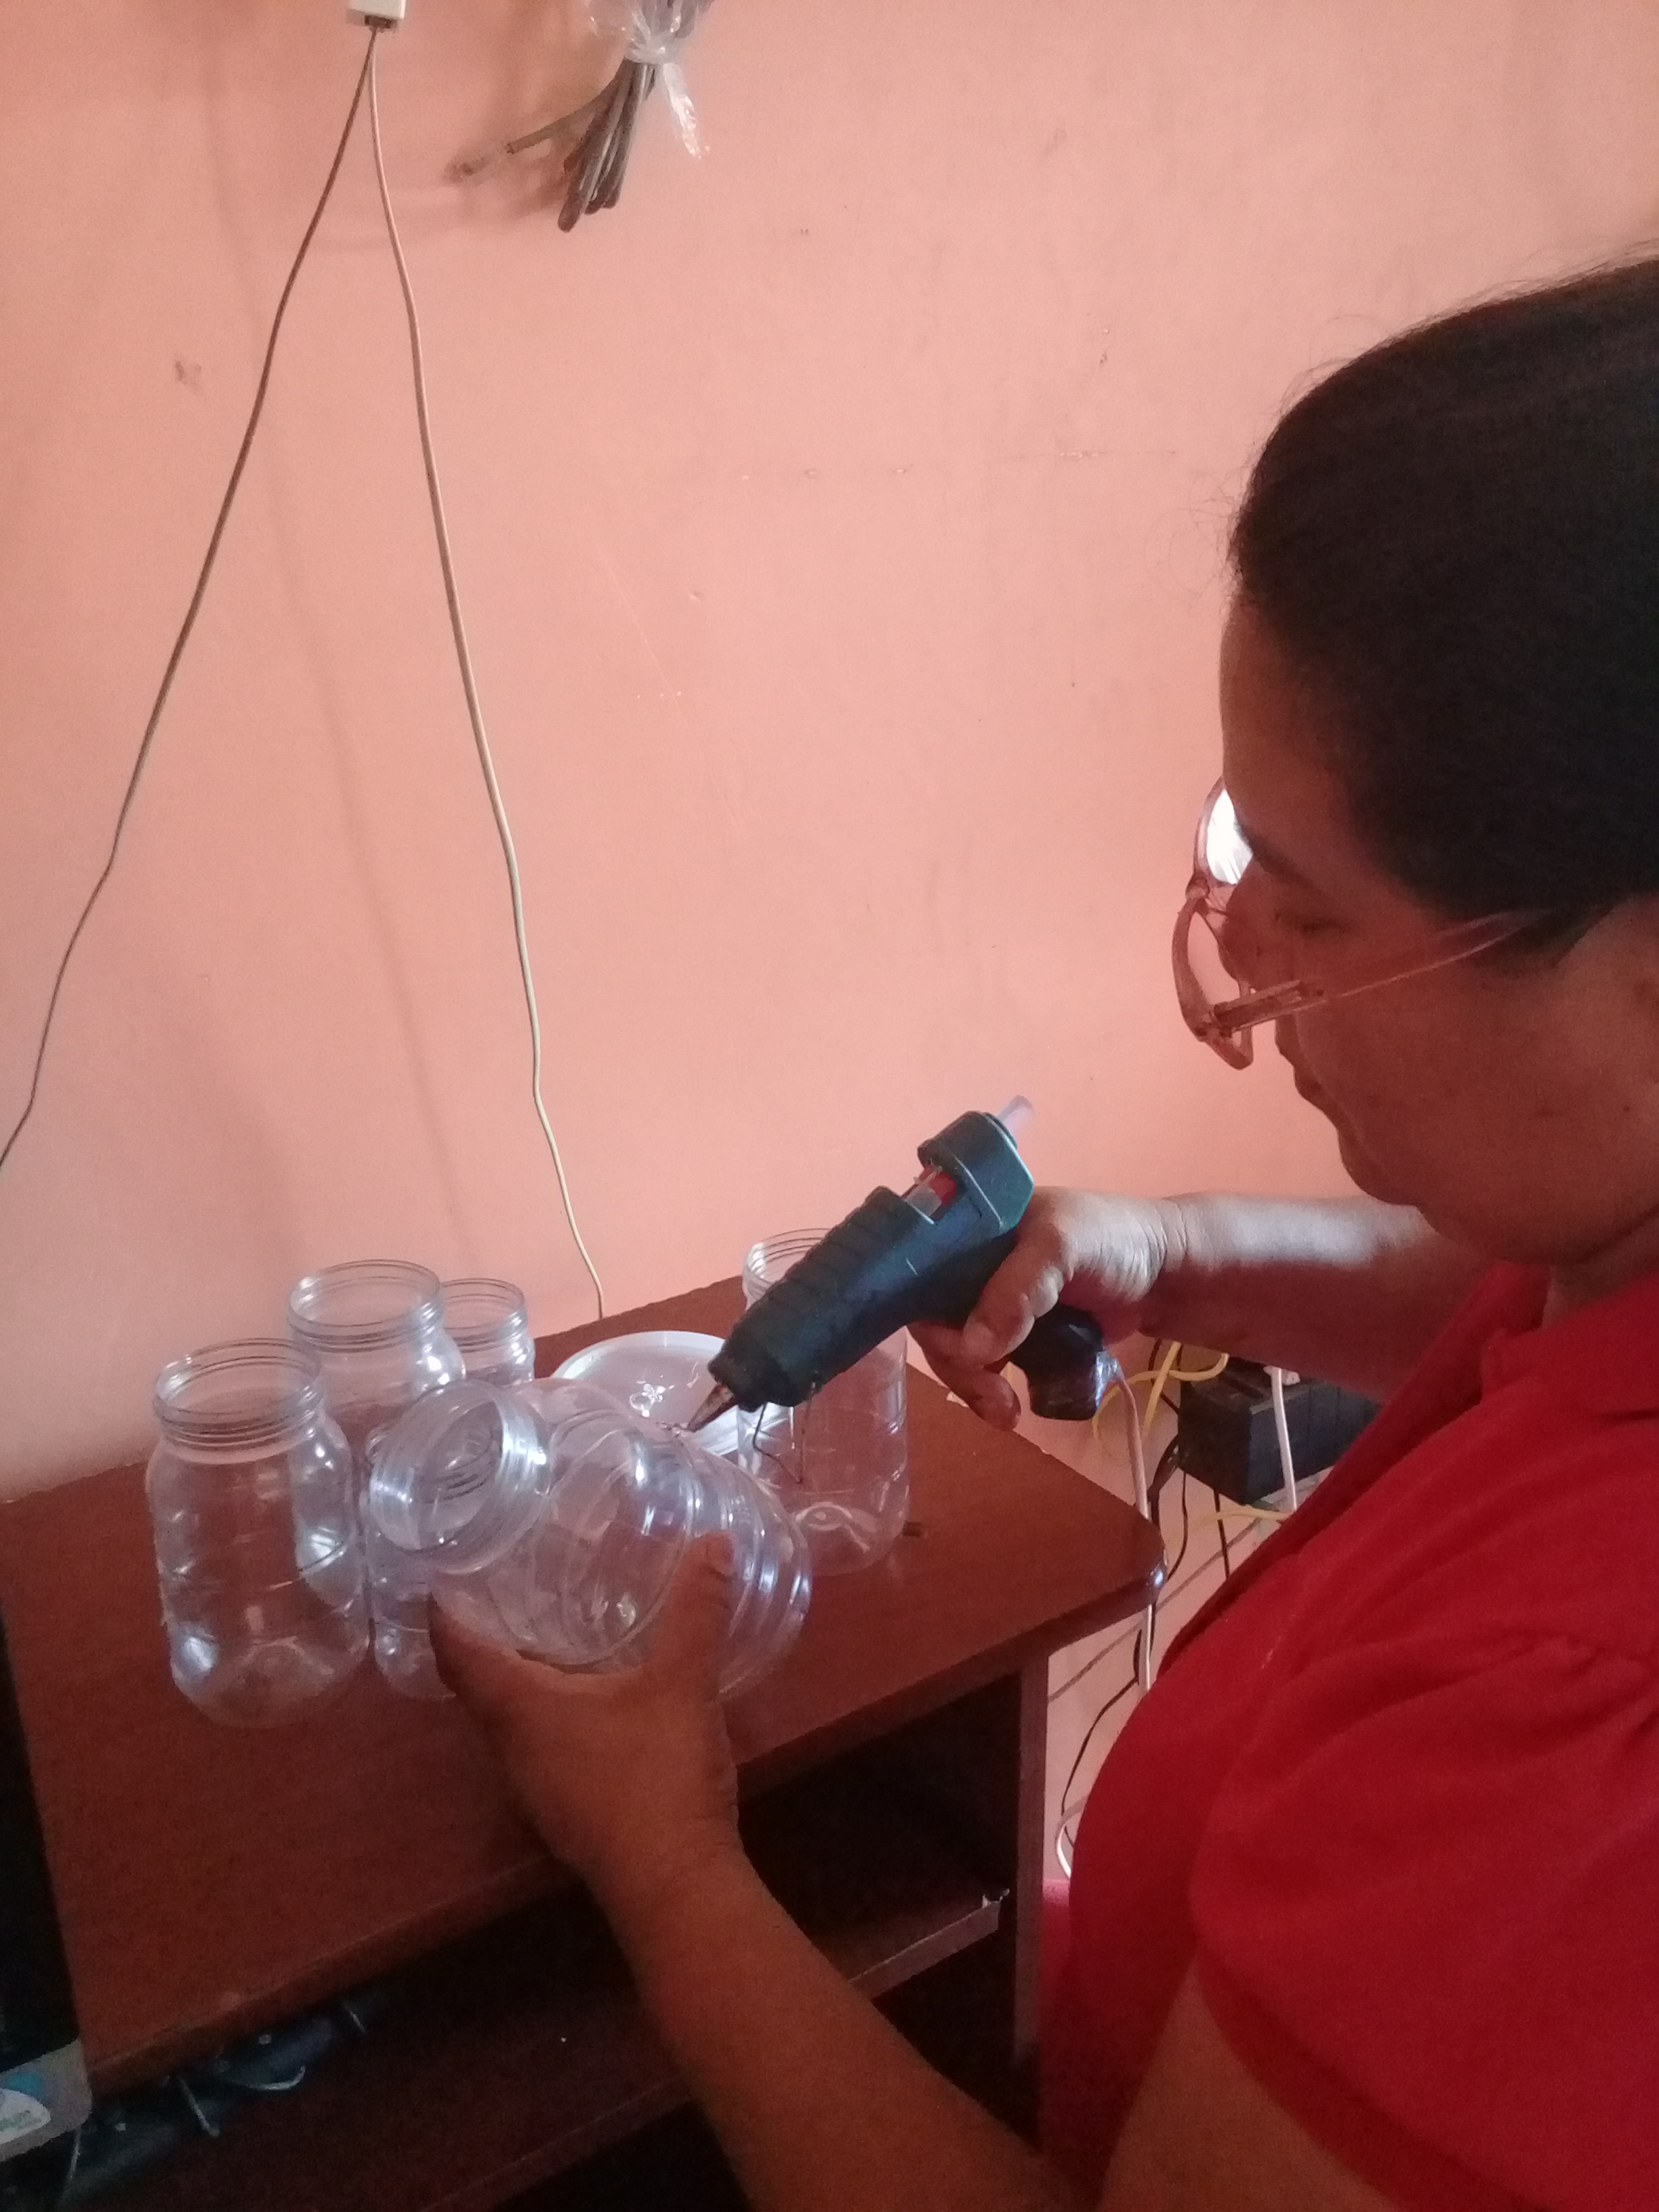
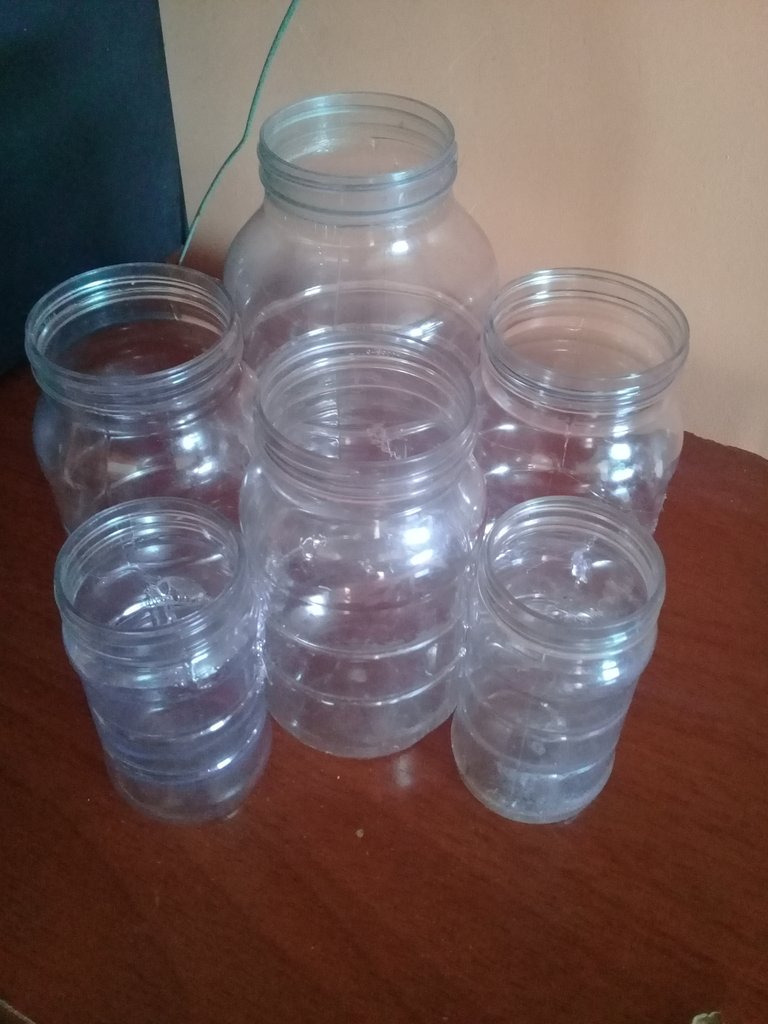
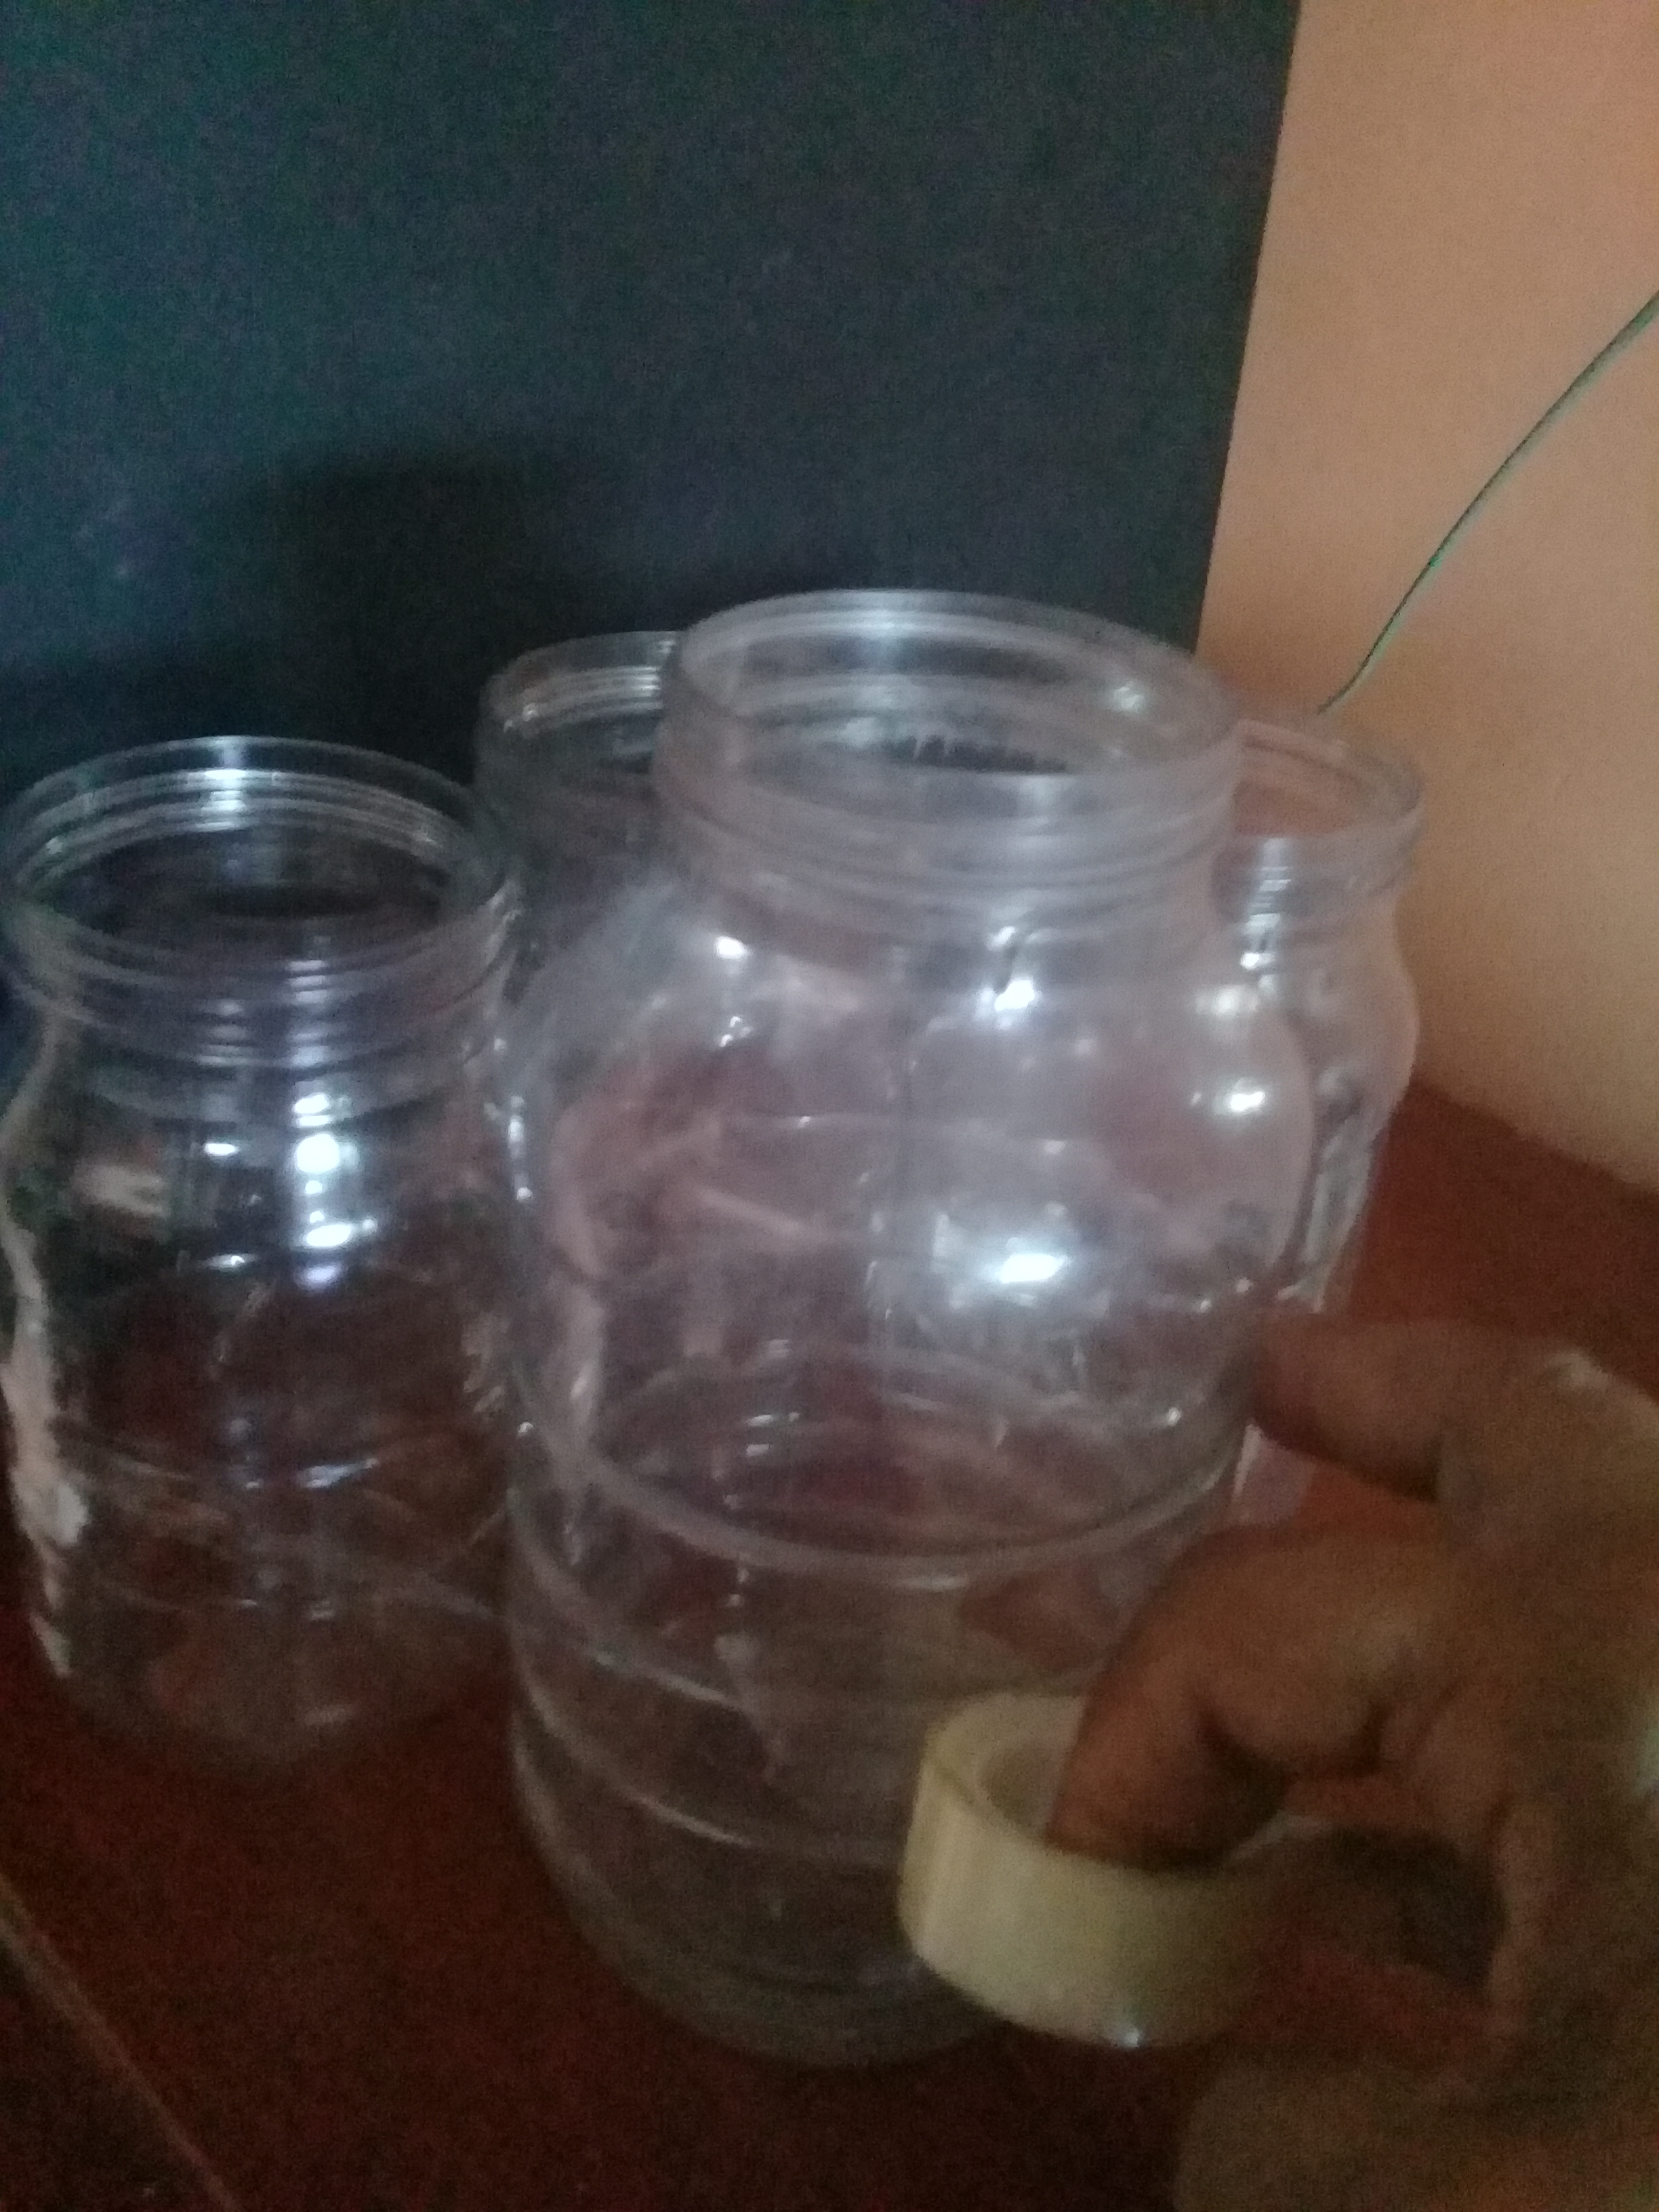
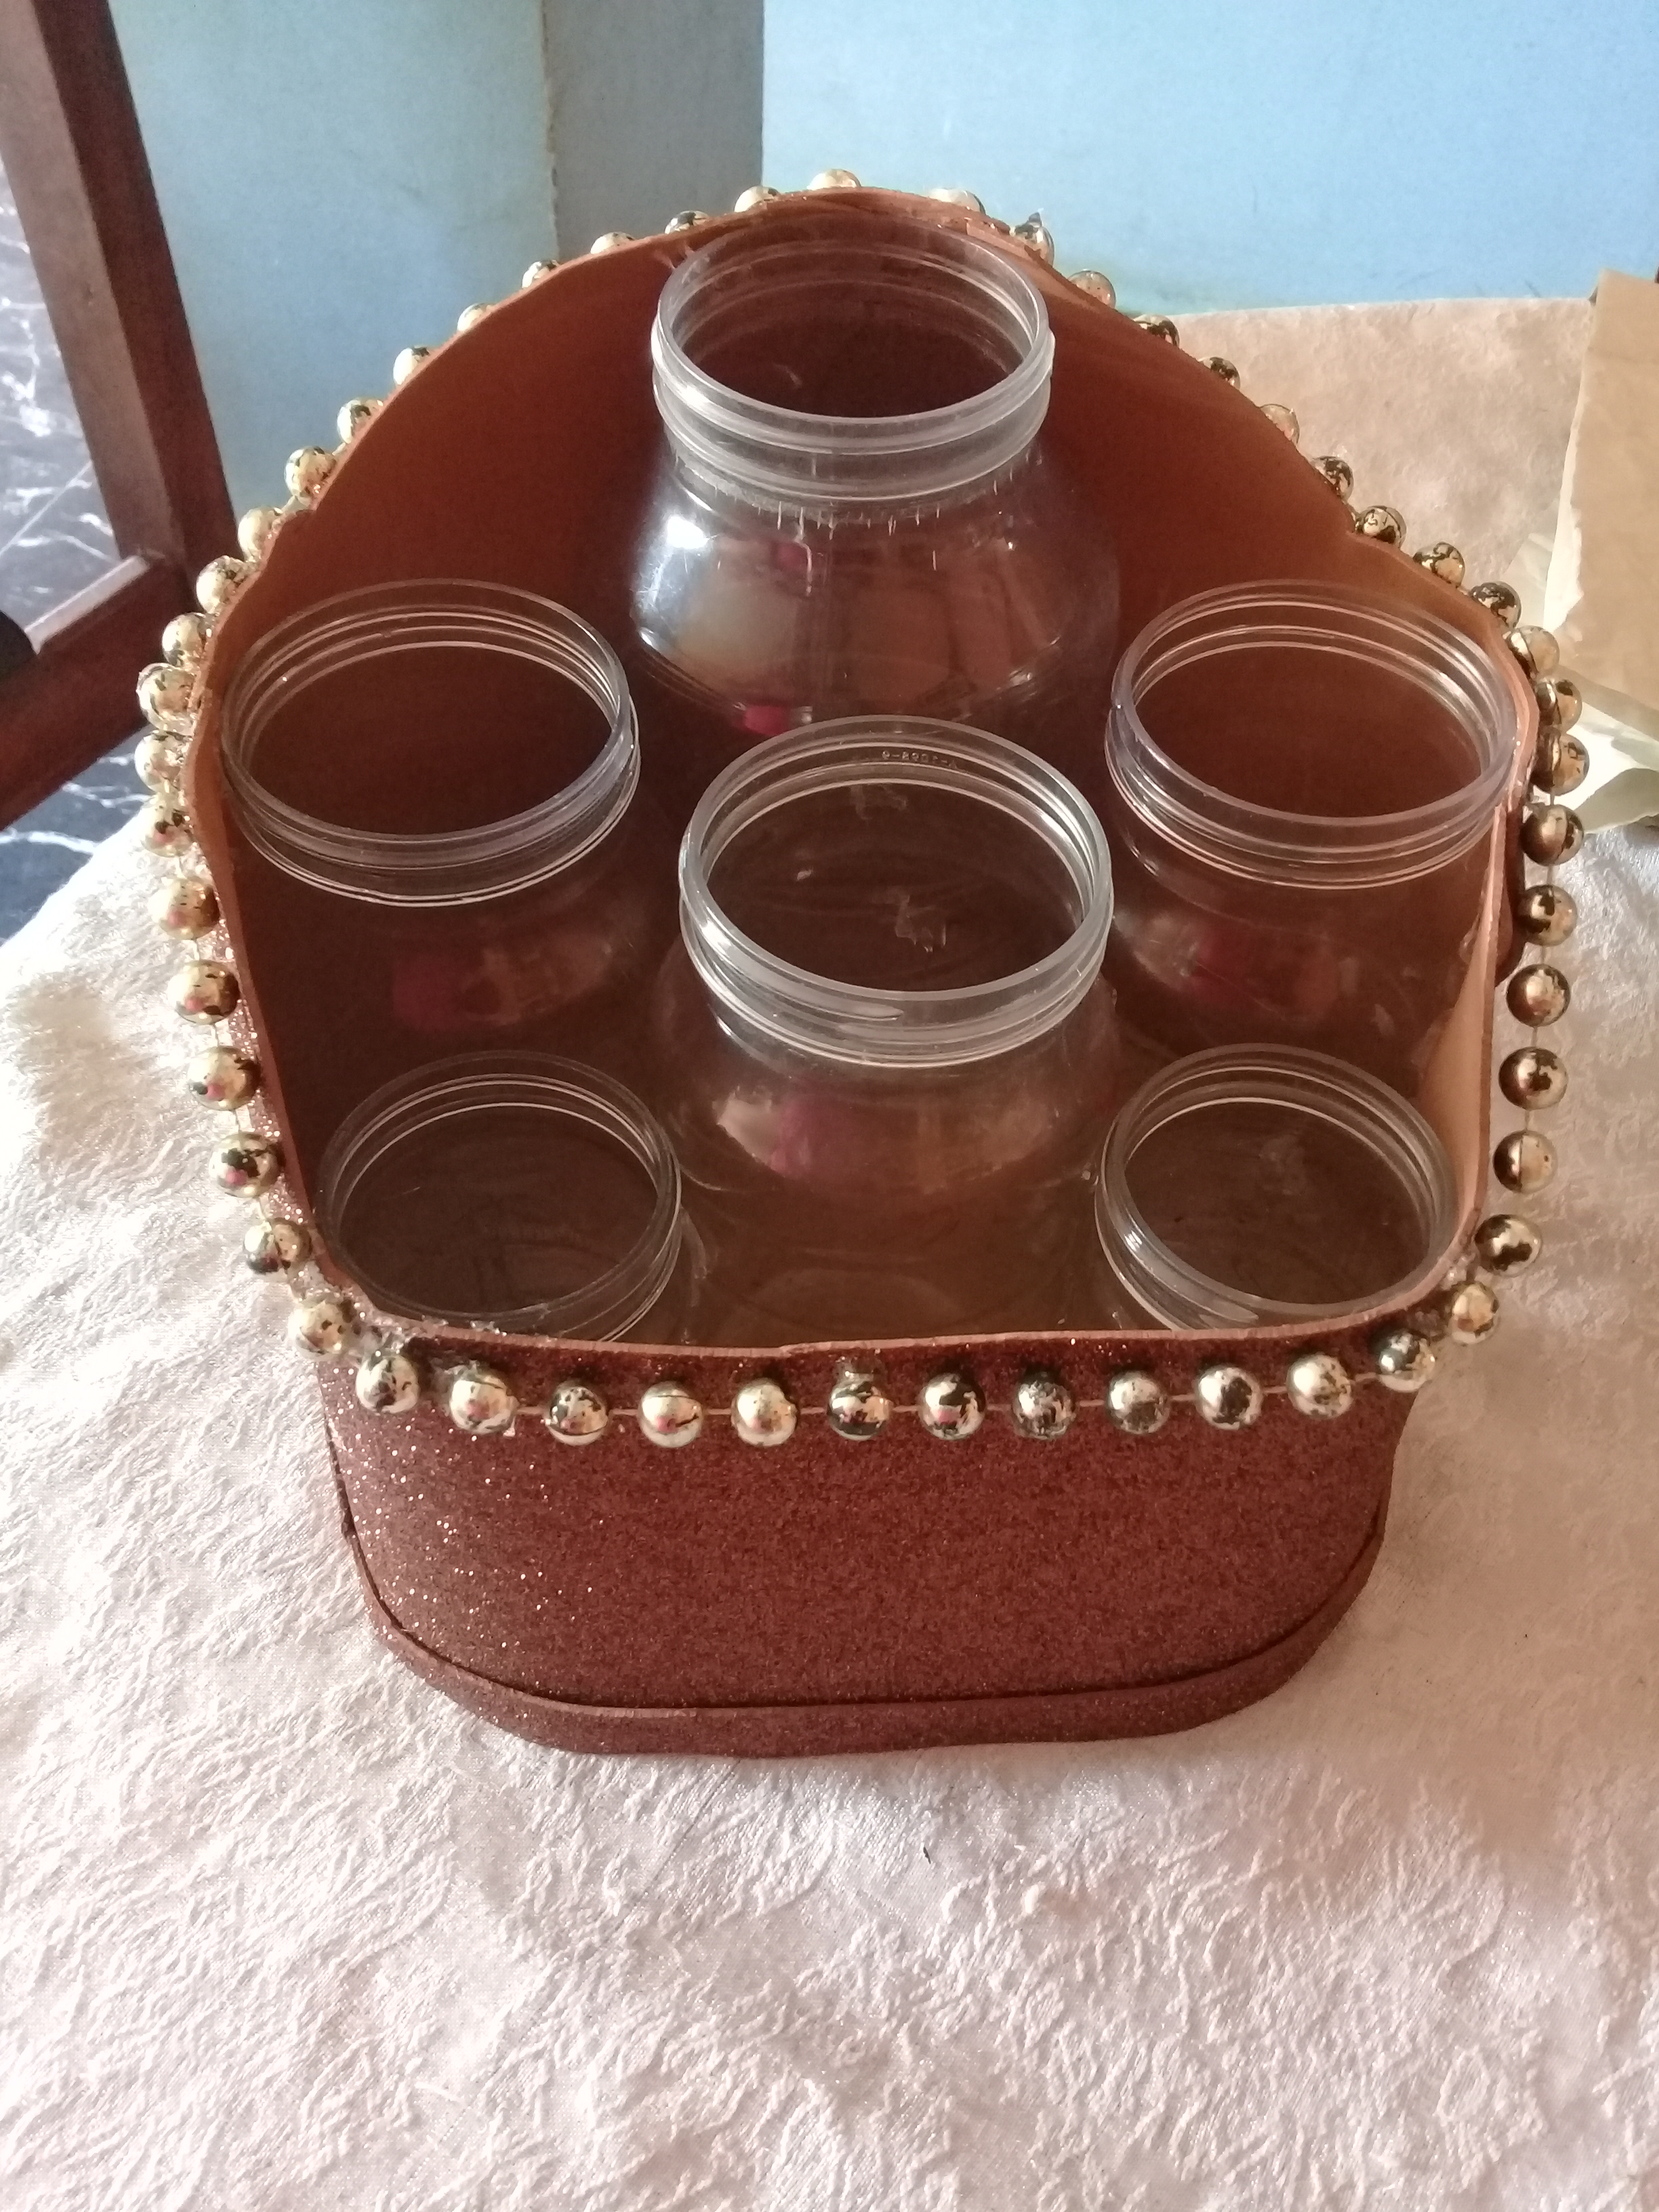
Paso # 1: Ubicar los frasco de mayor a menor, después pegamos con silicona, luego añade celoven por el medio para apretarlos hasta quedar fuertes.
Step # 1: Place the jars from largest to smallest, then glue with silicone, then add celoven in the middle to tighten them until they are strong.
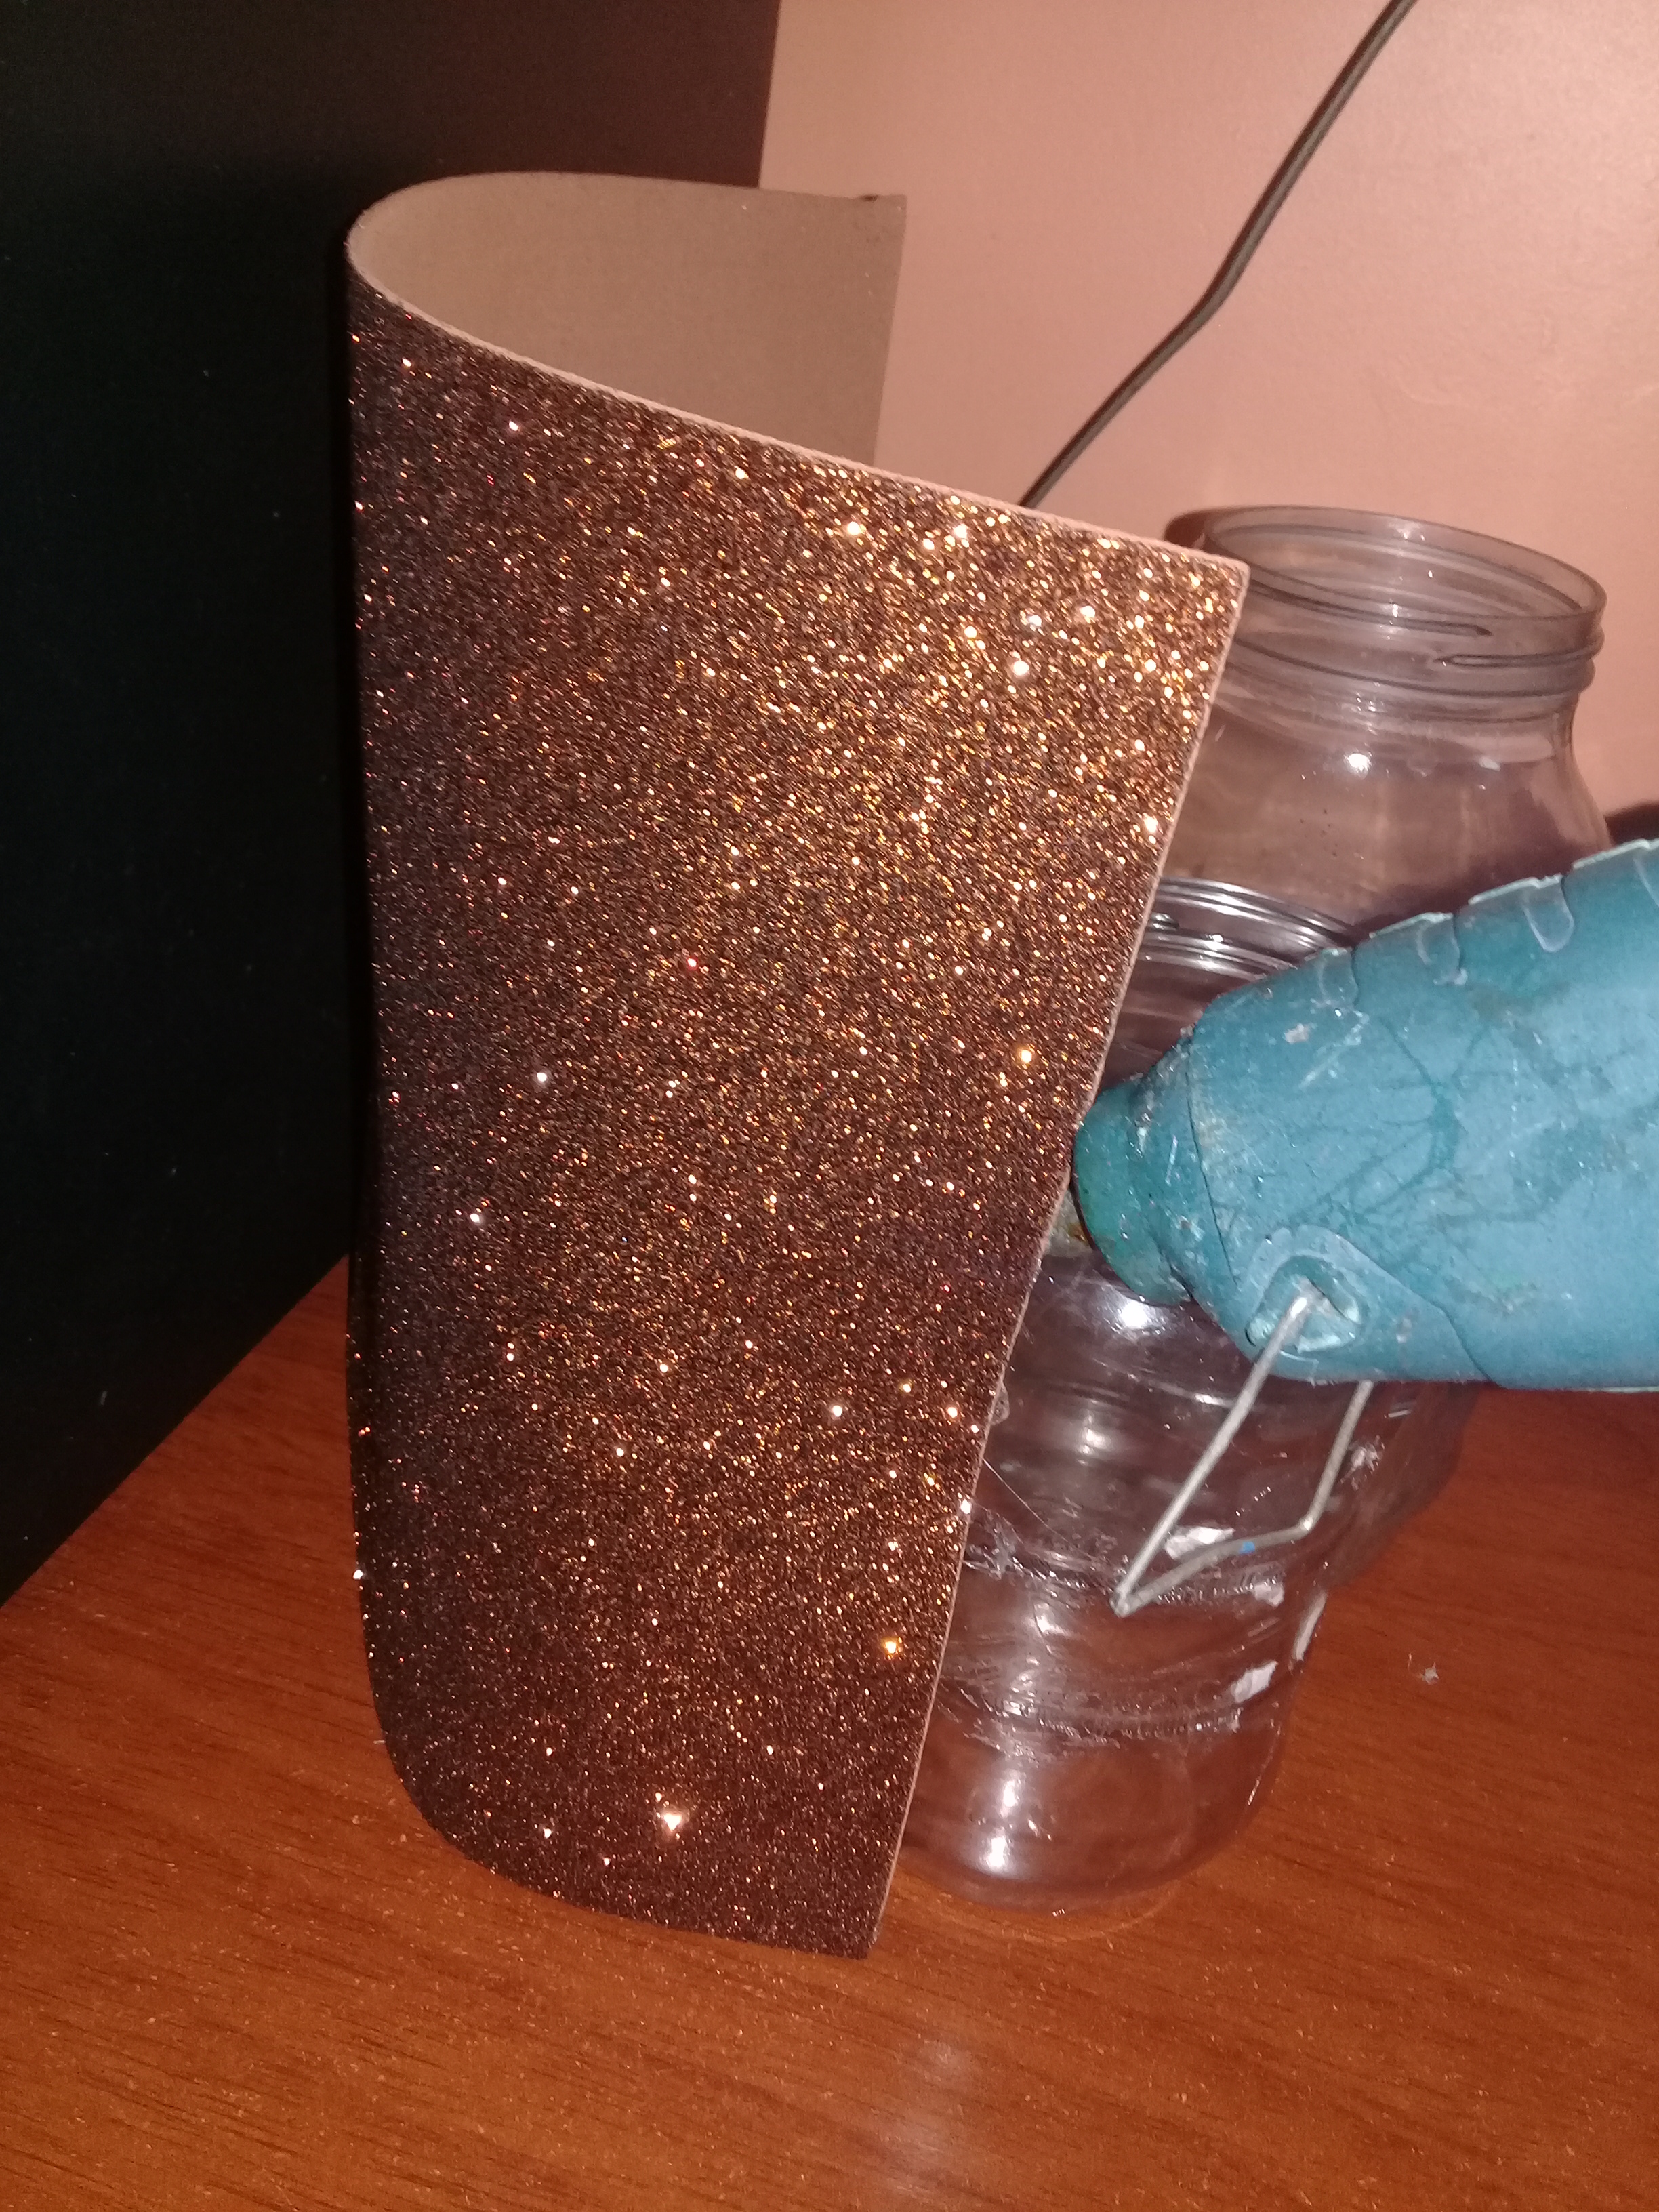
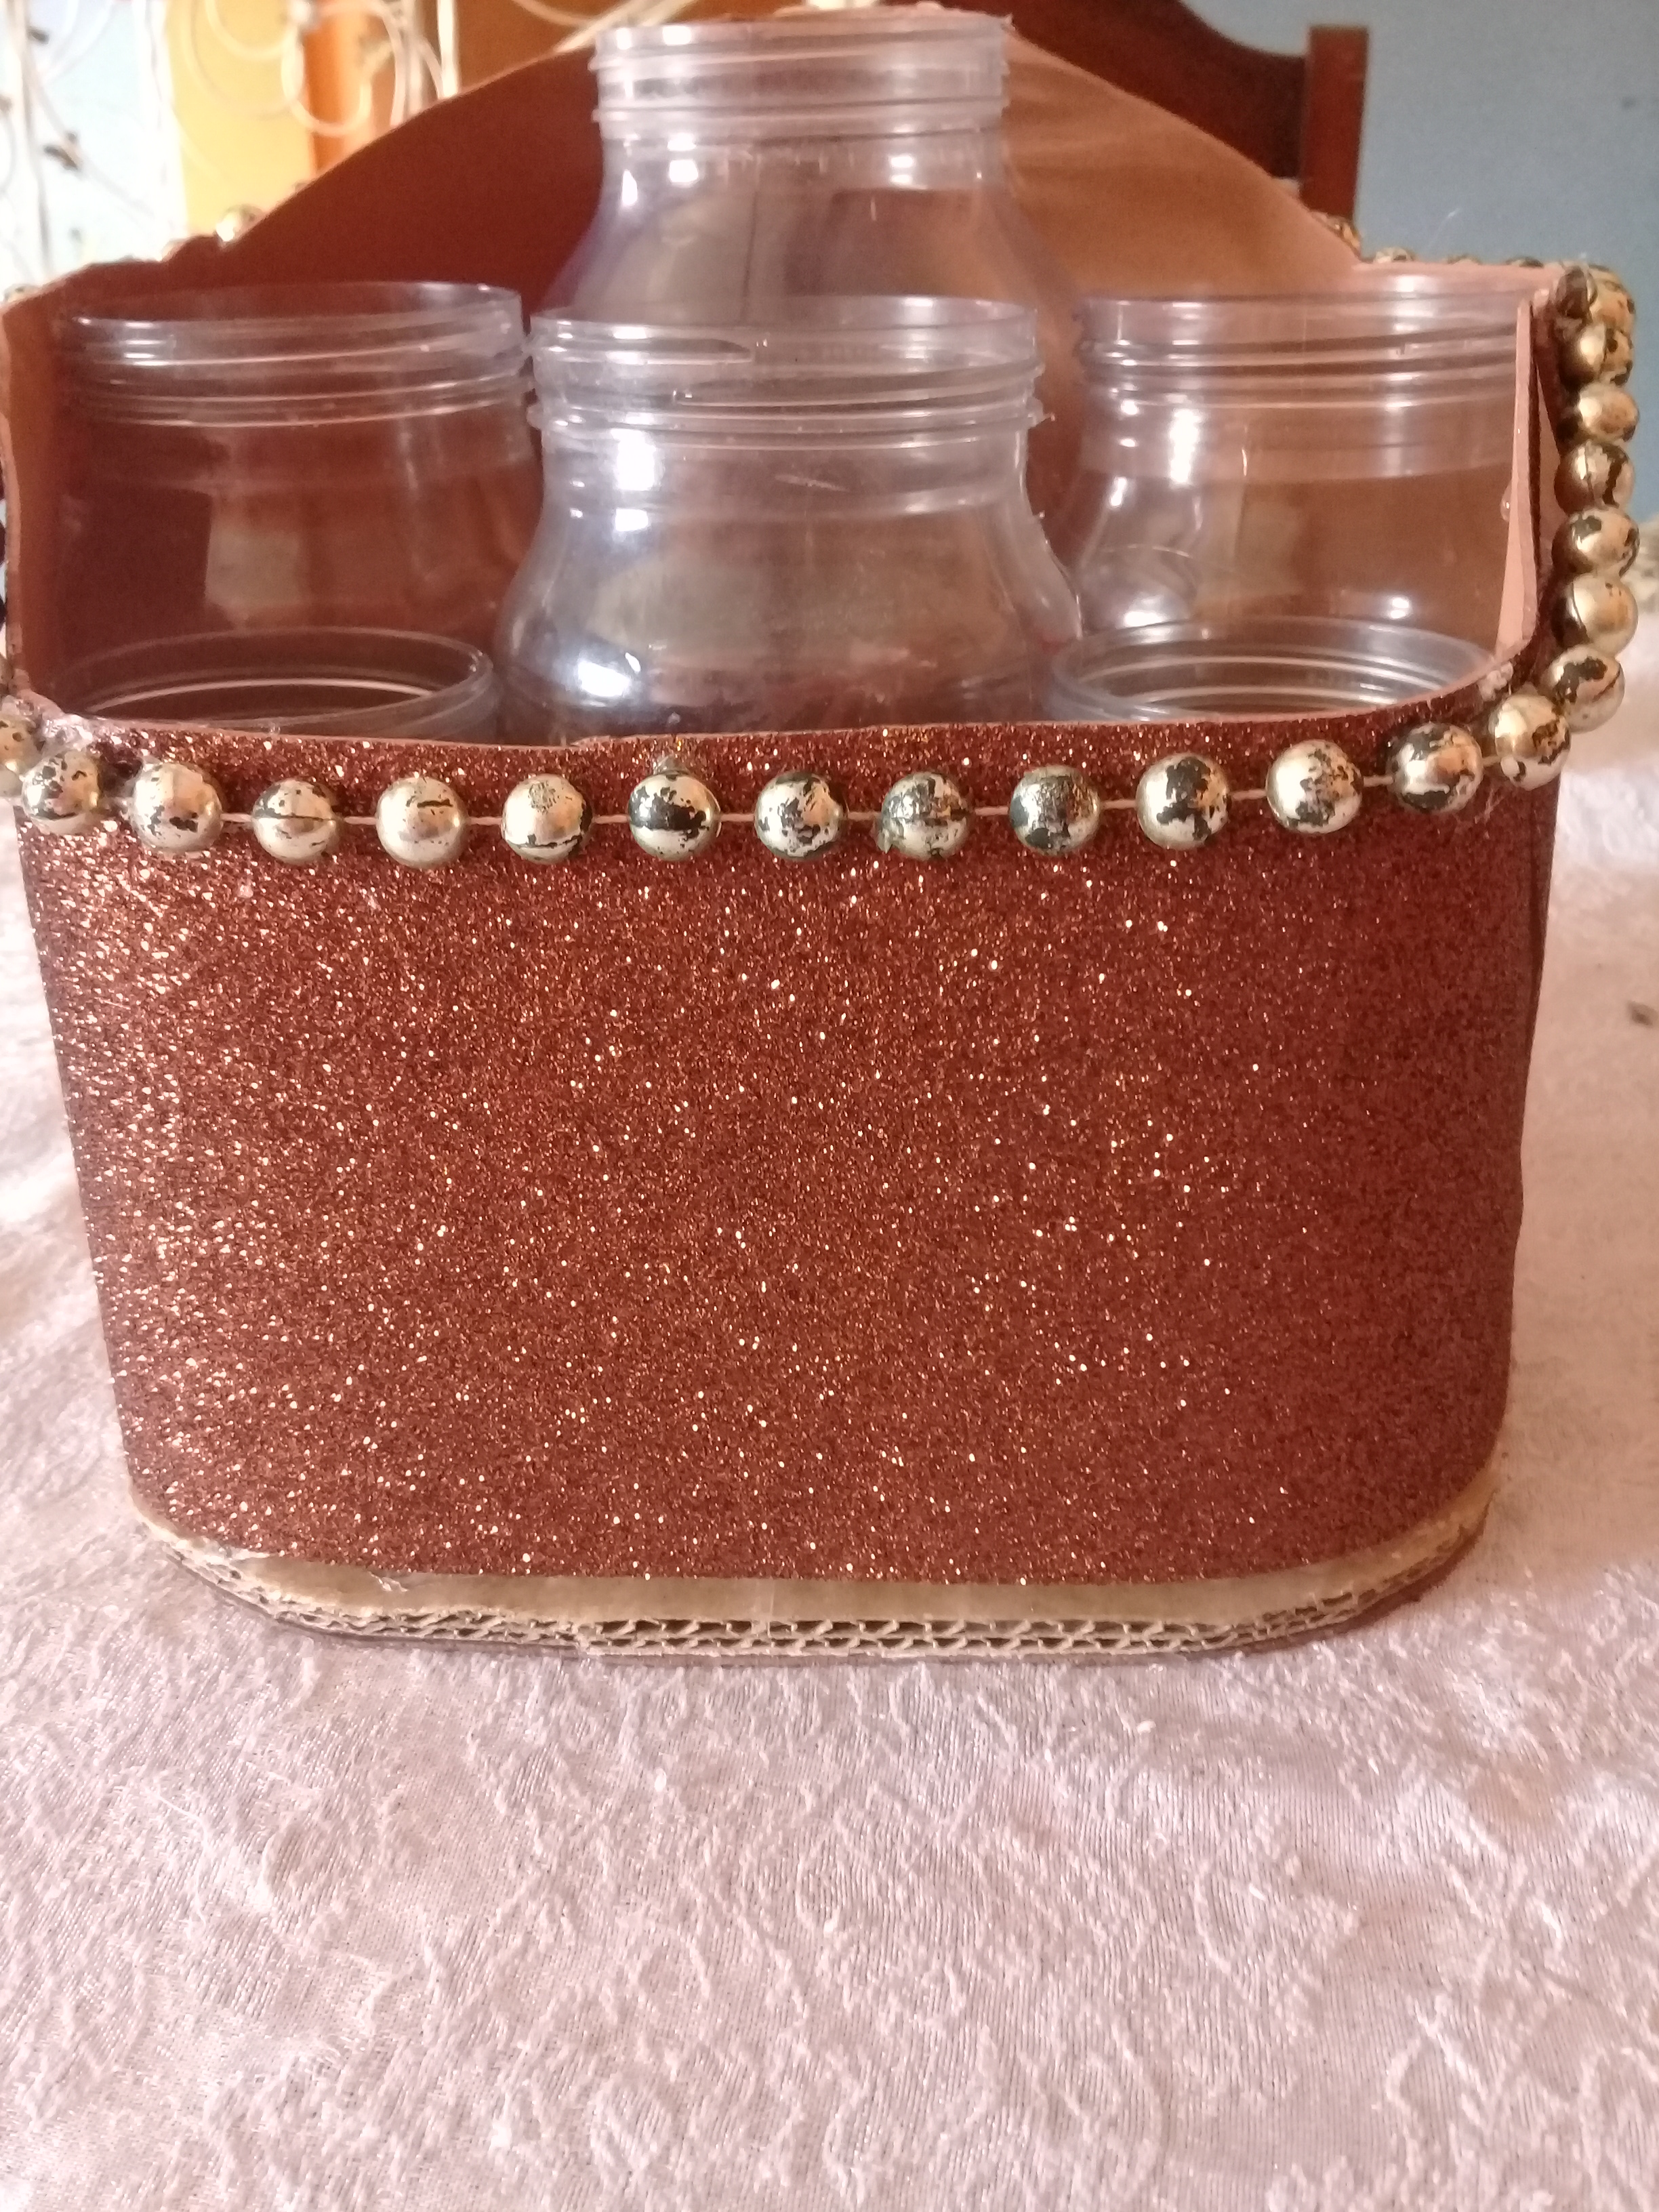
Paso # 2: Utilizar silicona para pegar el foami por el alrededor de los frasco, luego recorta el sobrante, colocar la cinta de perlas de corrida por todo el borde.
Step 2: Use silicone to glue the foami all around the jars, then trim the excess, place the pearl ribbon all around the rim.
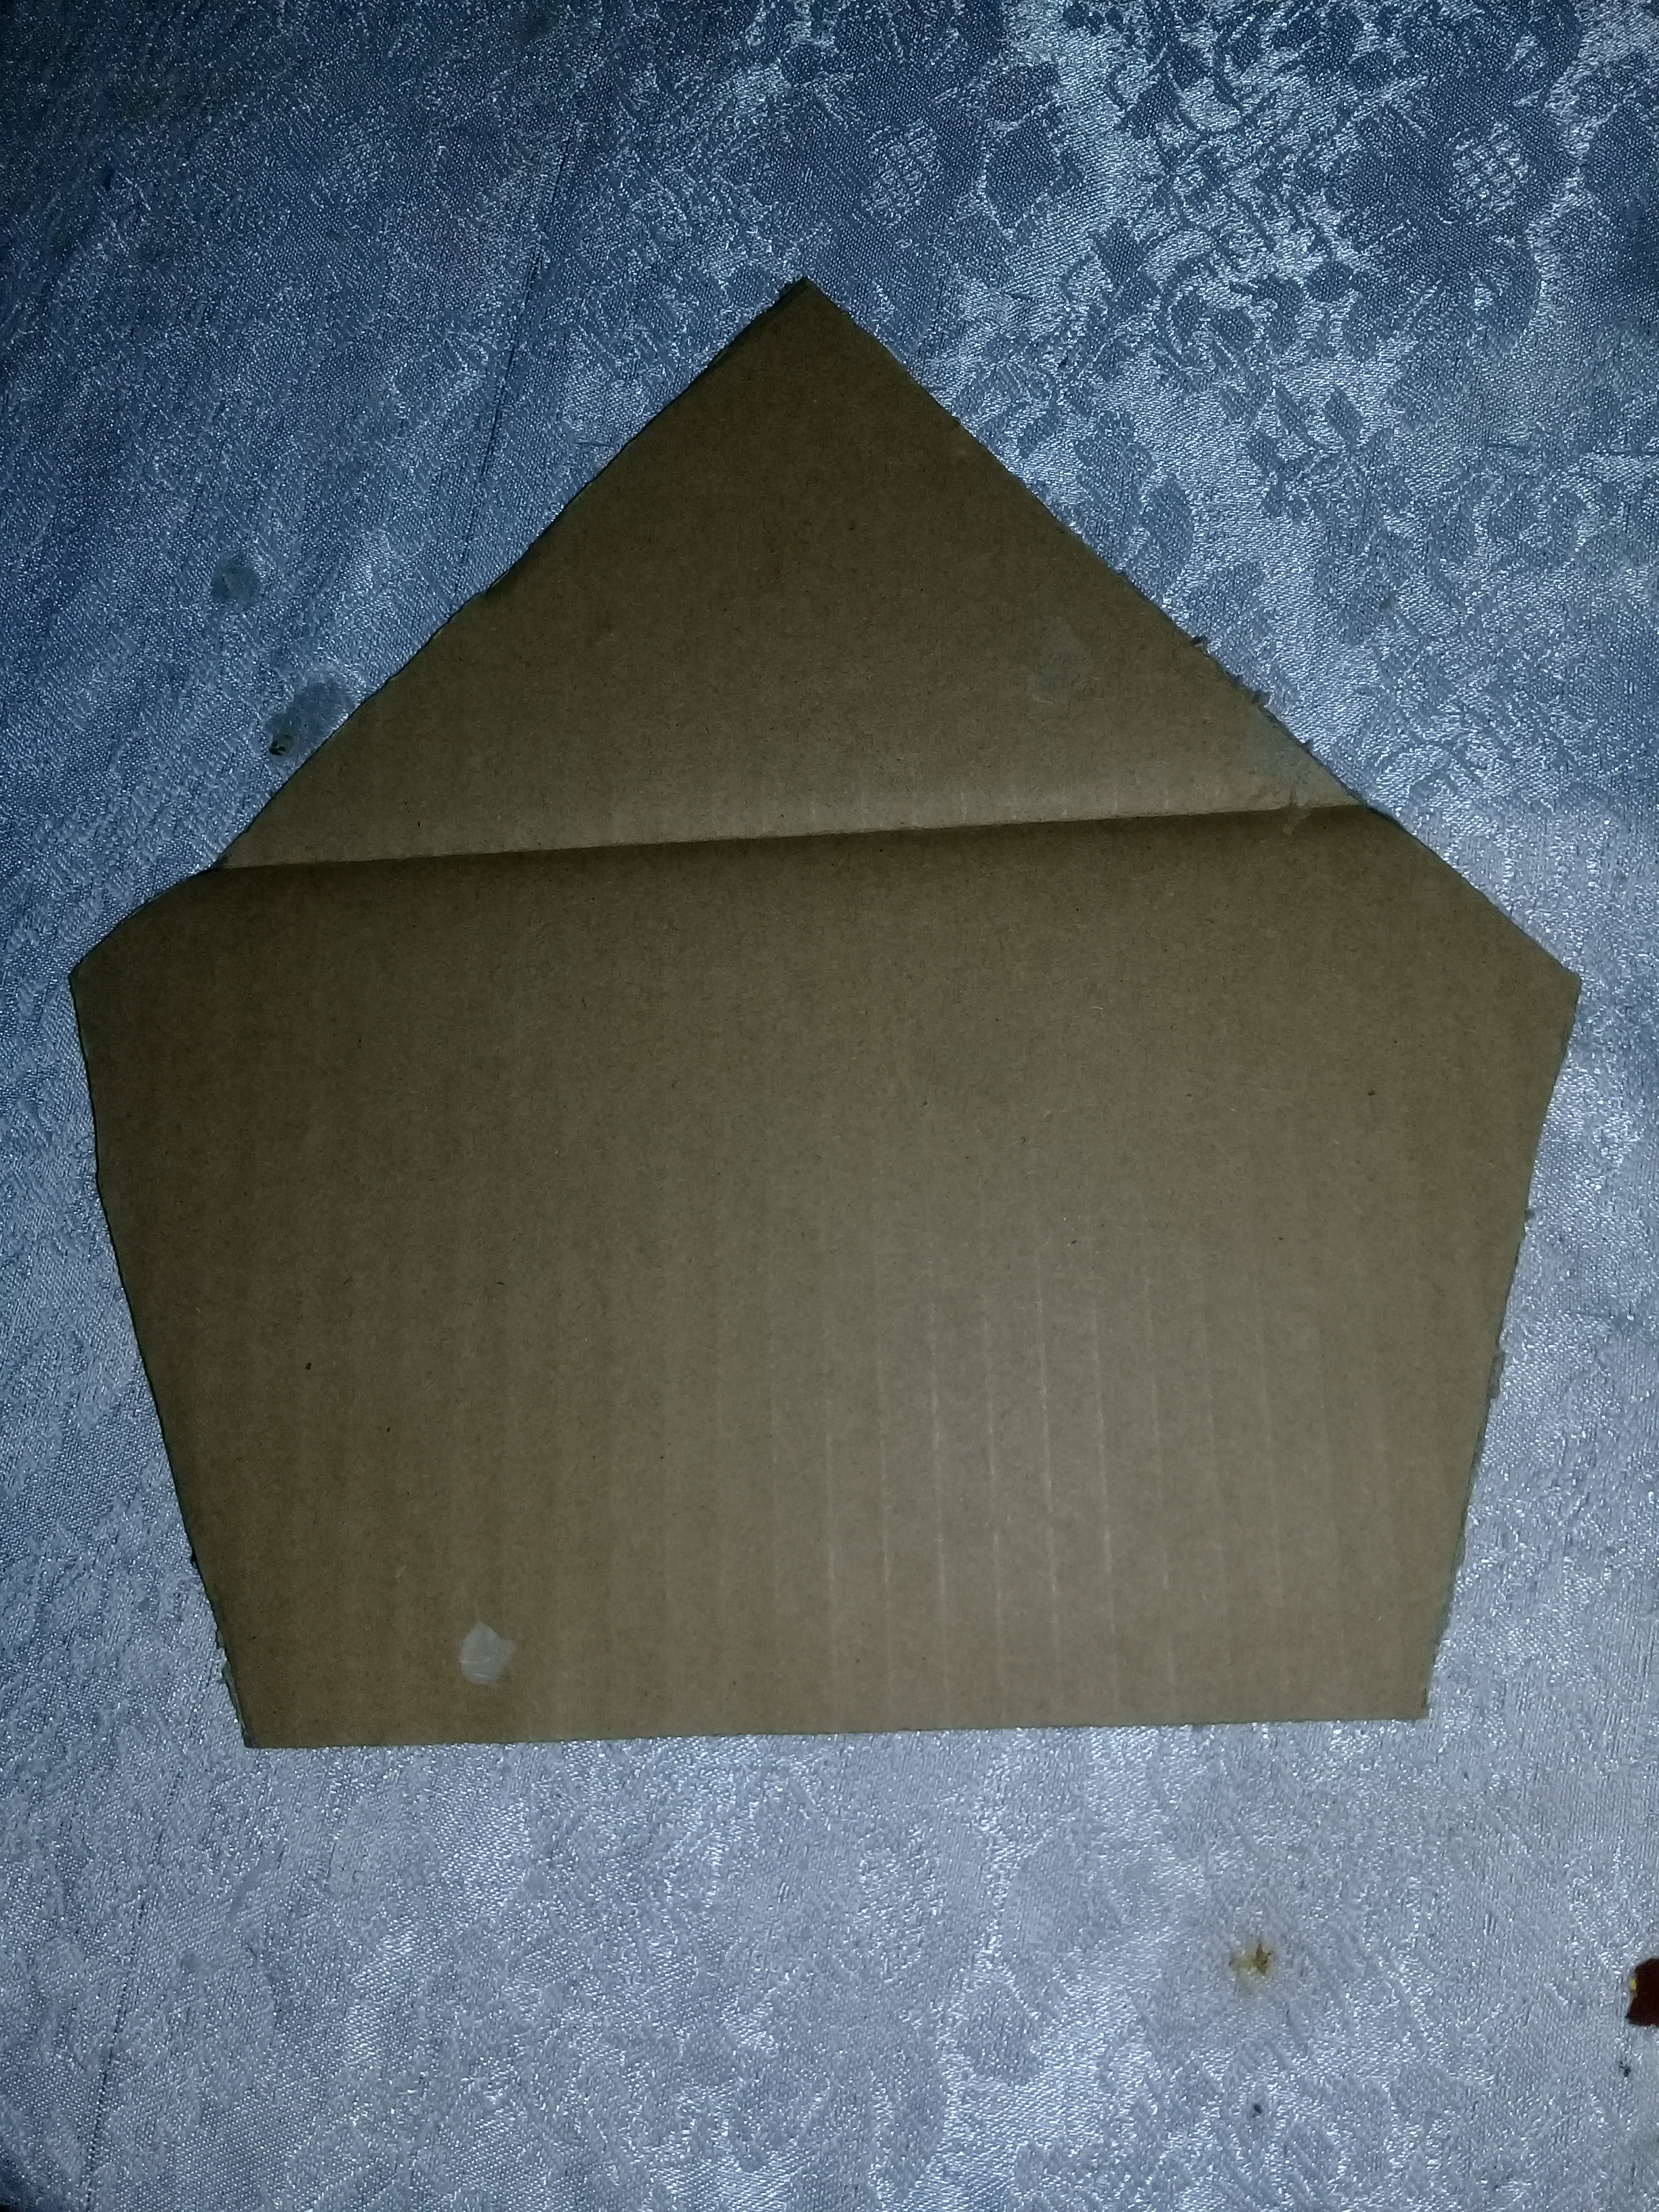
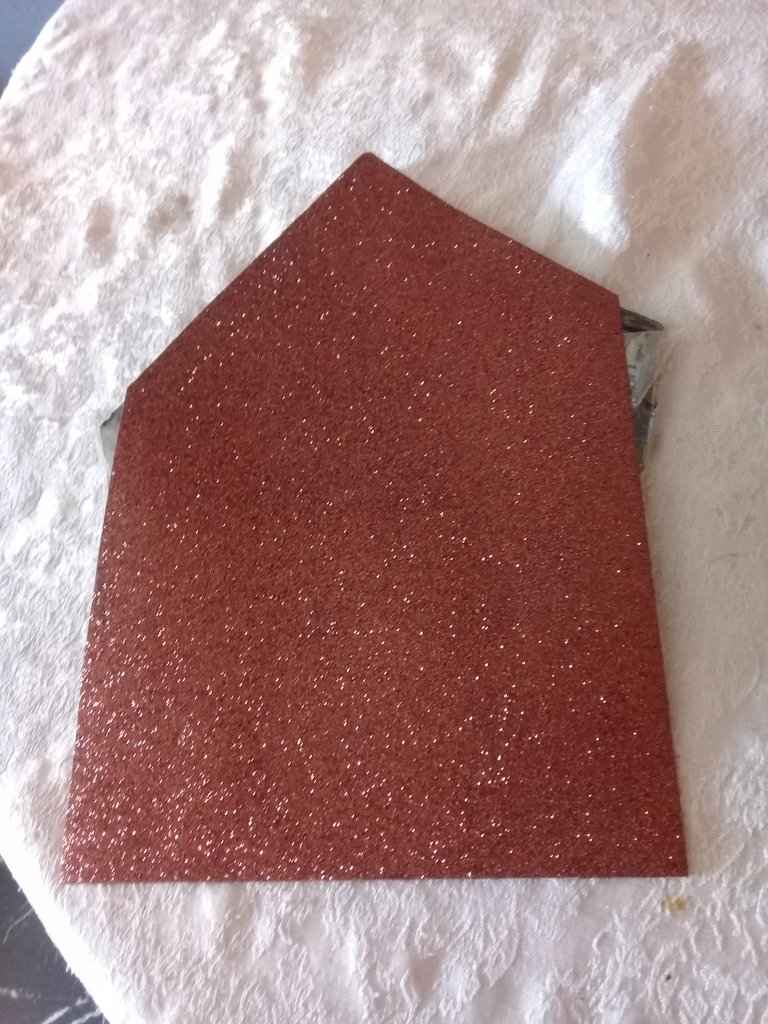
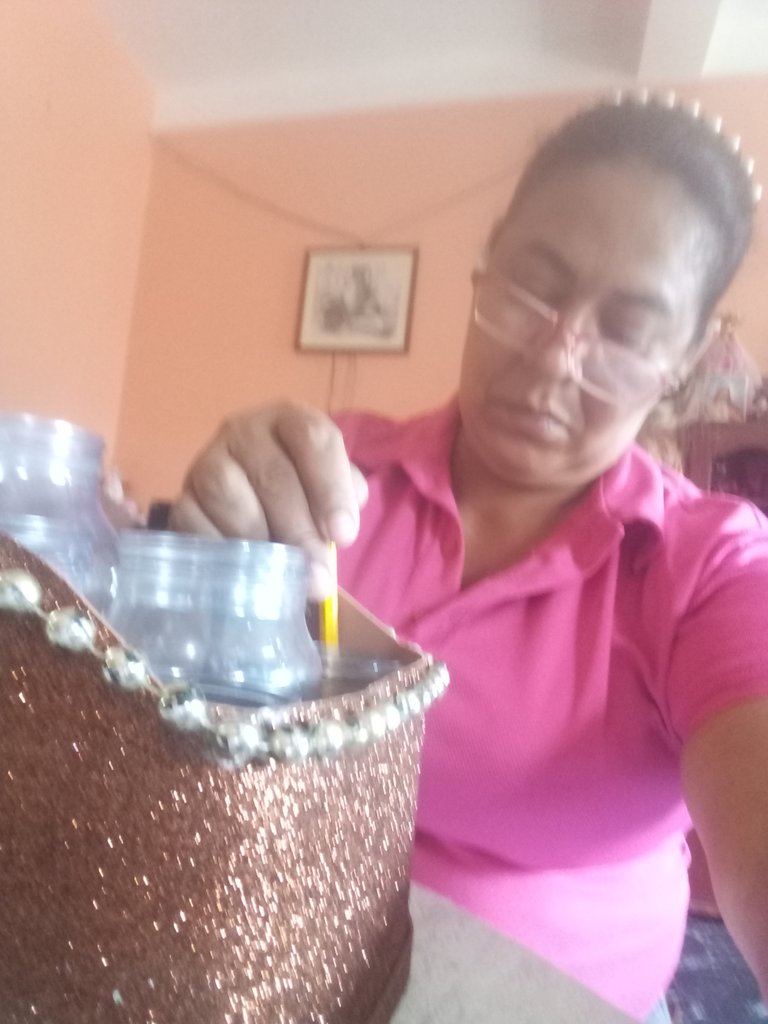
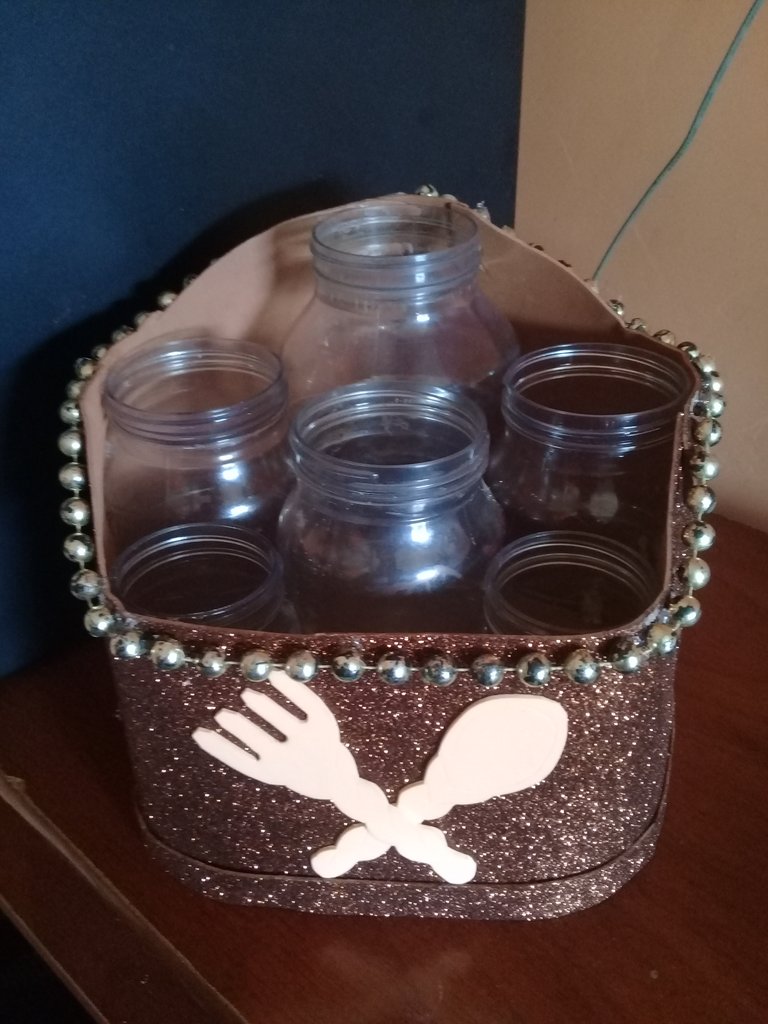

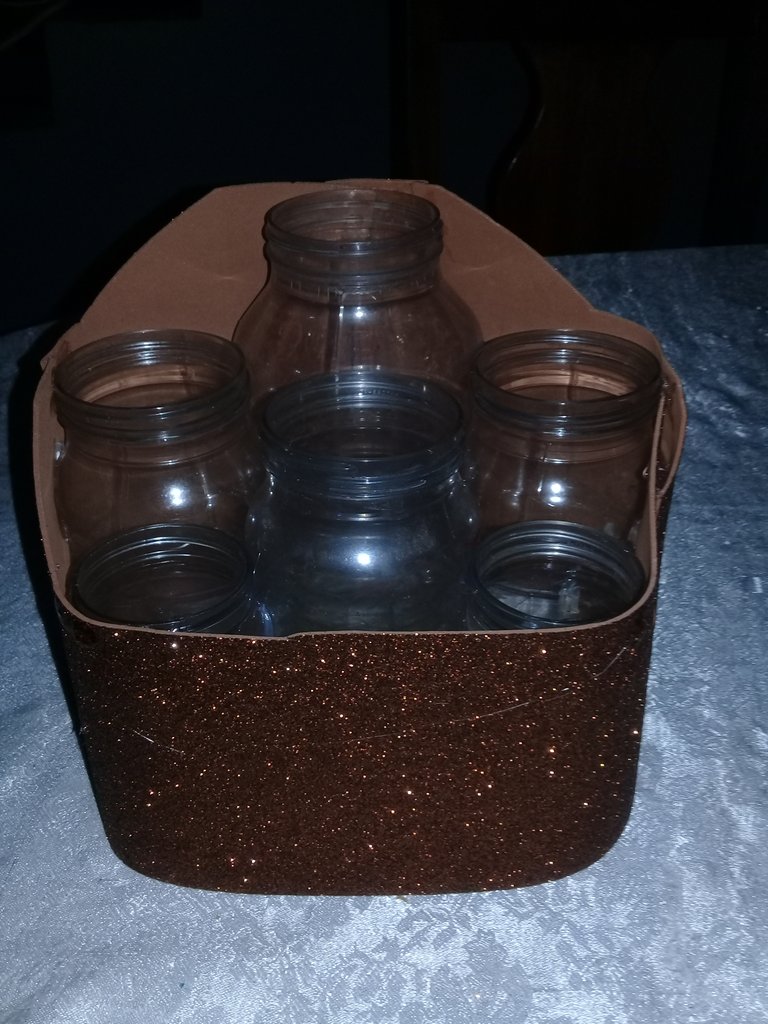
Paso # 3: Presenta los frascos encima del cartón y recorta el modelo use la silicona para pegar el foami en uno de los dos lados del patrón, pegamos muy bien los tarros encima del cartón, recorta tiras de foami con una medida 1.50 cm y pegarlas en el parte inferior, también en la boquilla de cada frasco grande y mediano del organizador, decorar con una figura de cubierto o alguna de su preferencia.
Step # 3: Place the jars on top of the cardboard and cut out the pattern, use the silicone to glue the foami on one of the two sides of the pattern, glue the jars on top of the cardboard, cut out strips of foami with a measure of 1.50 cm and glue them on the bottom, also on the nozzle of each large and medium jars of the organizer, decorate with a figure of cutlery or one of your preference.
.jpg)
.jpg)
.jpg)
Finished my creativity I hope you liked it there, until a new tutorial.
Thank you for viewing my posts, all photos are my own taken from my Sansung Galaxi J2 smartphone.