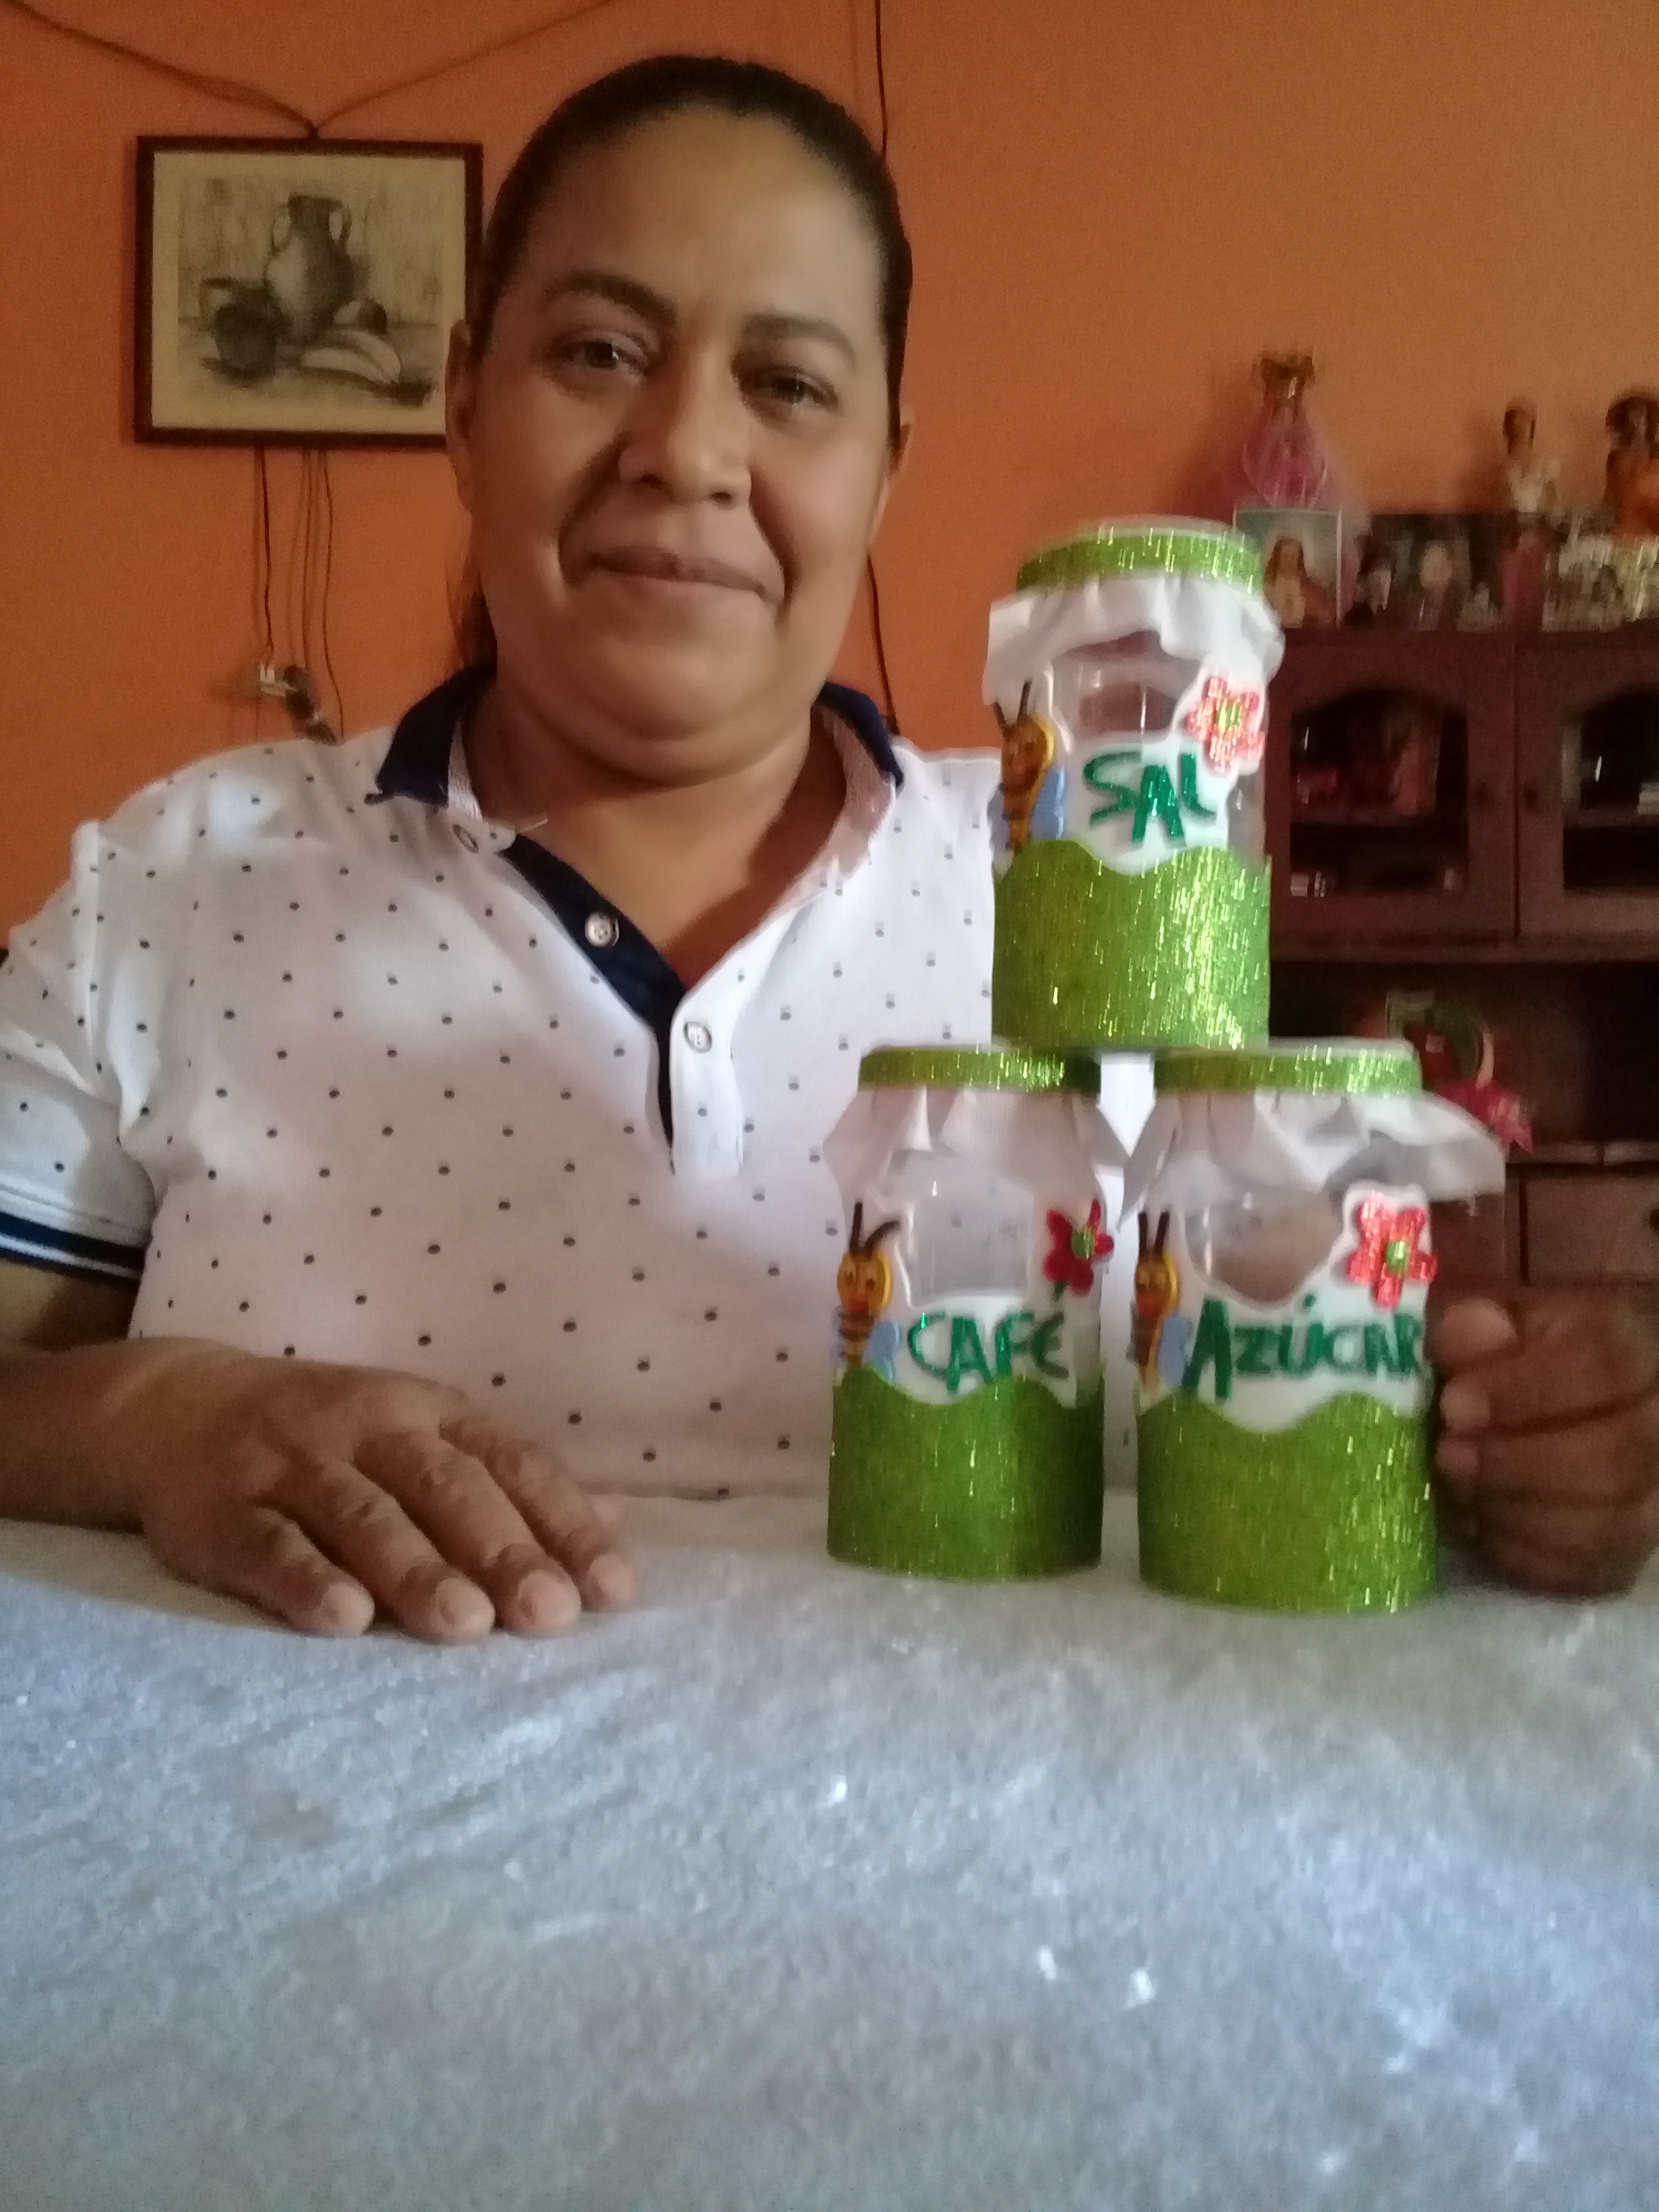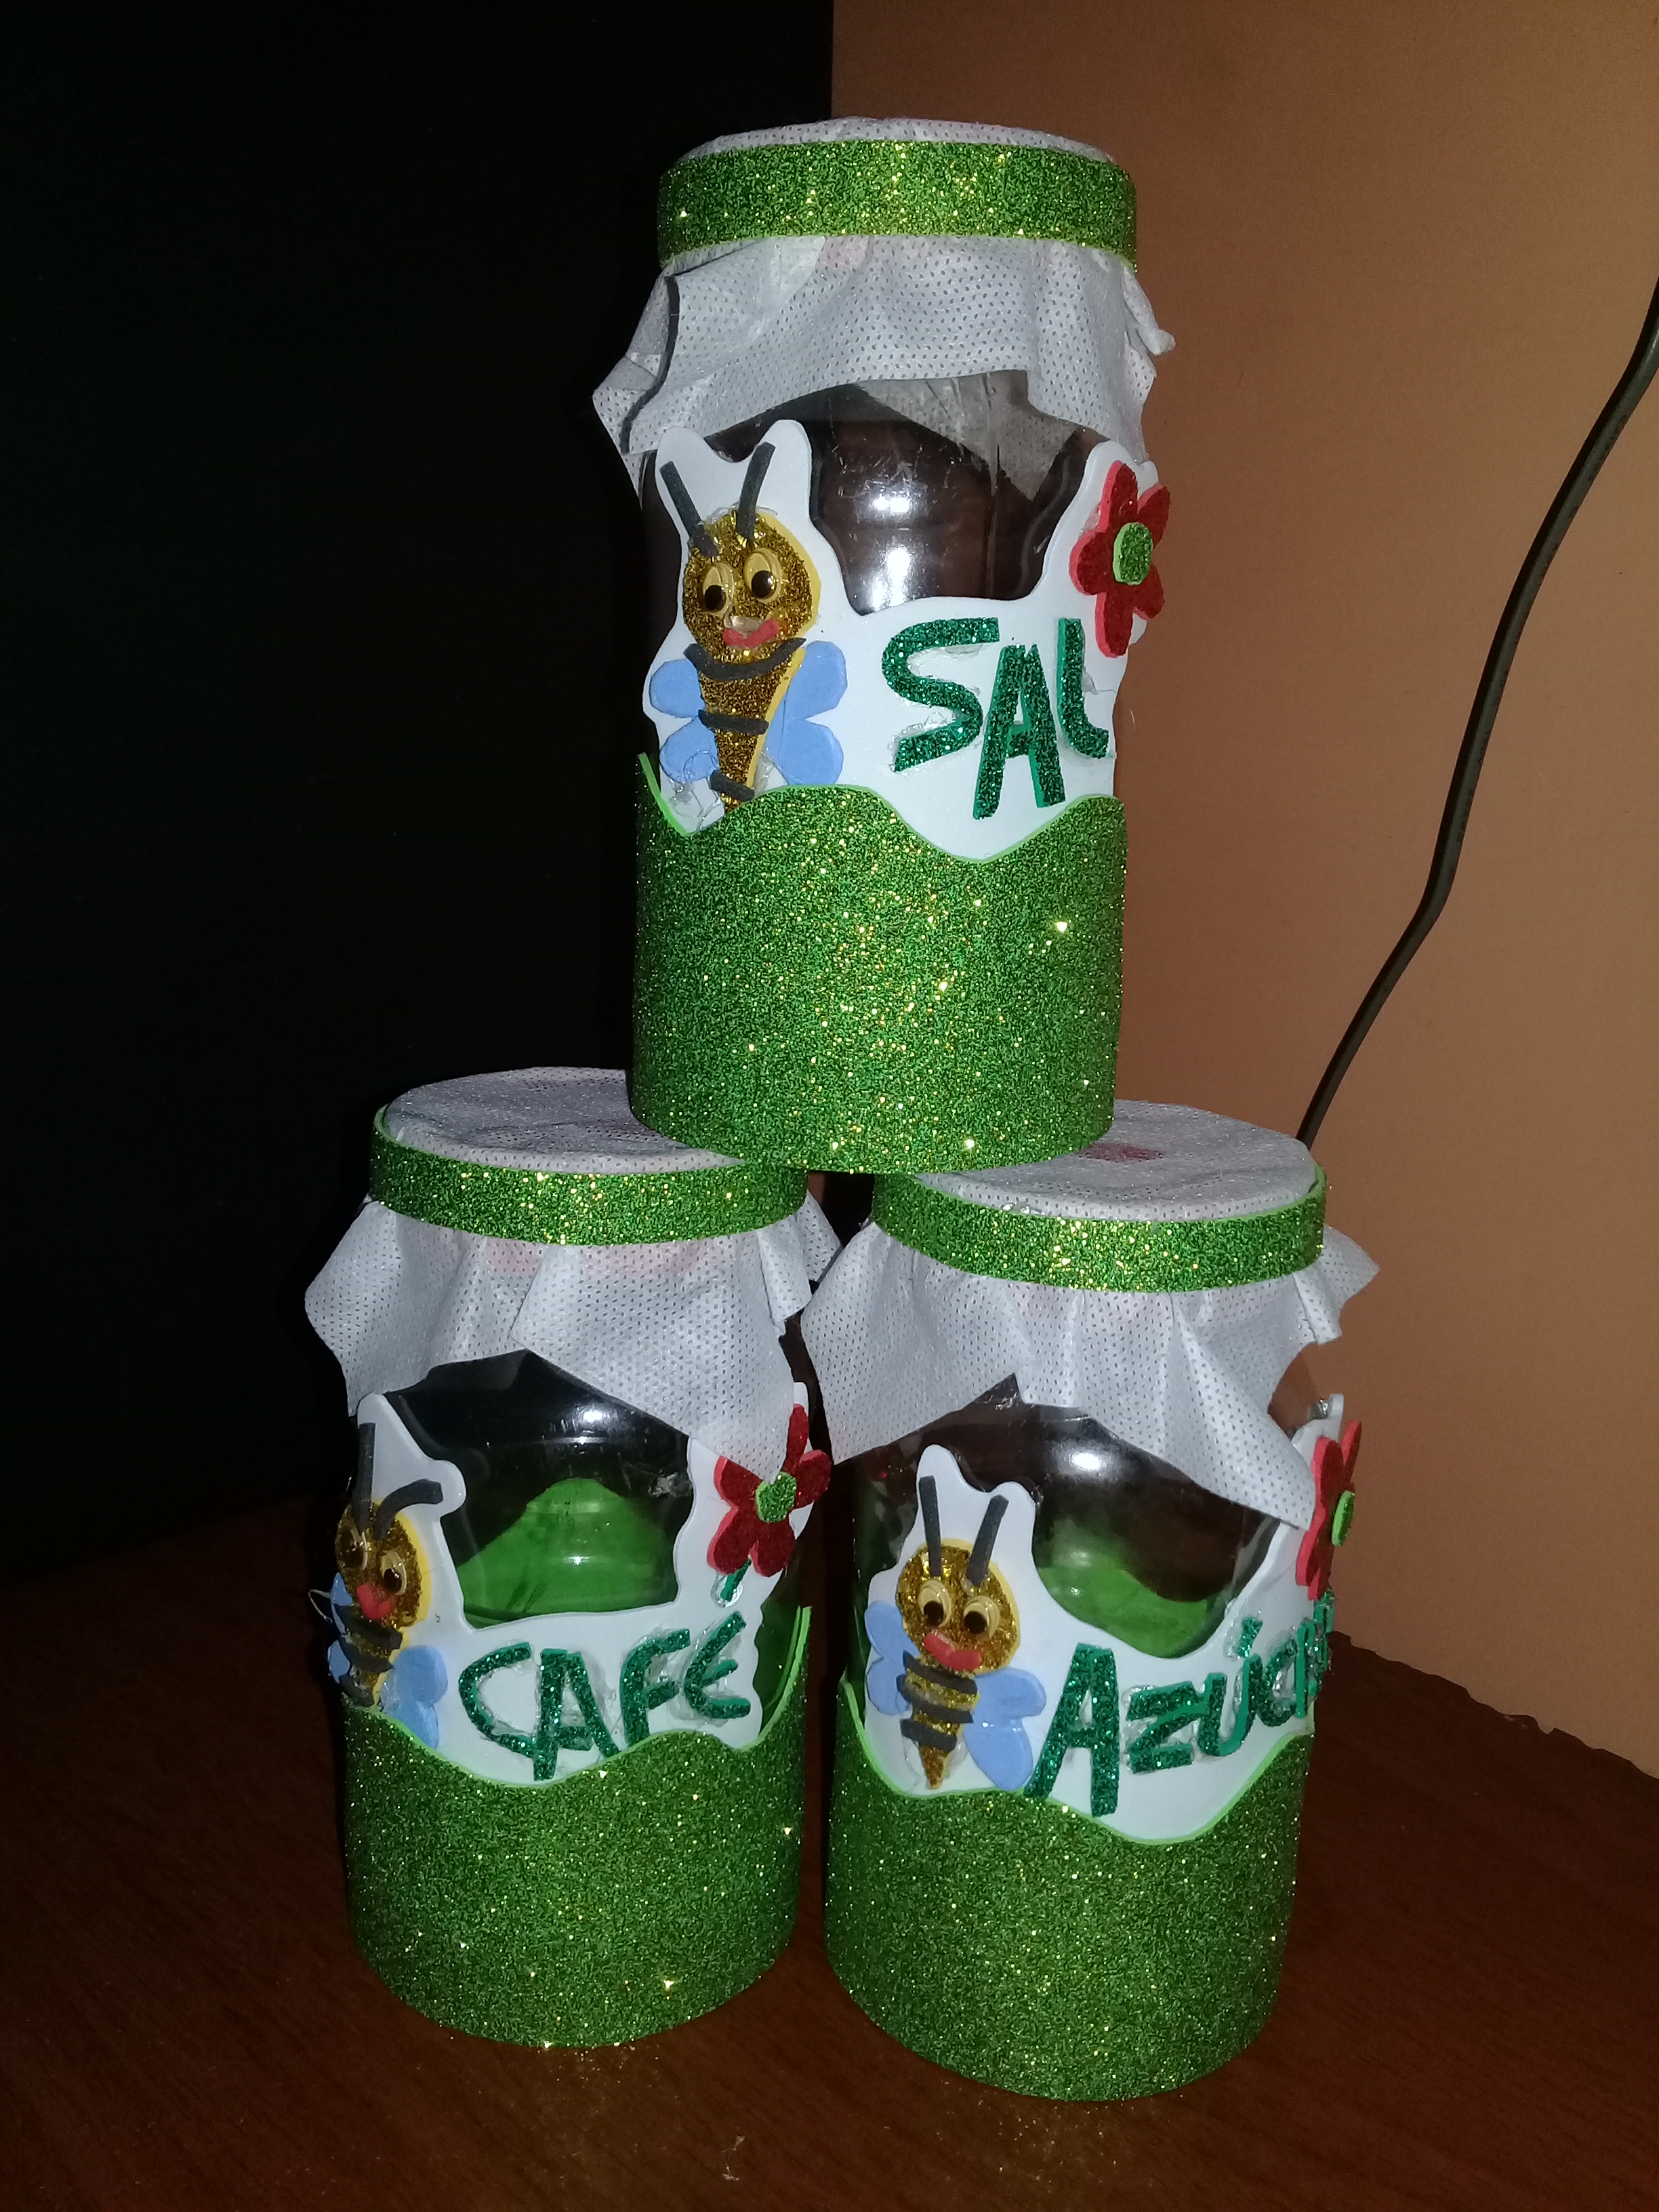

Hola querida comunidad de Hive, espero se encuentren bien de salud, como amante de la cocina y aficionada del reciclaje, hoy tengo el placer de compartir con ustedes un tutorial creativo hecho con mis propias manos una idea muy bonita y hermosa un juego de organizador para la cocina elaborado con material de provecho y decorado con imagen de abeja y flor, diseño muy dulce que asombrara con su brillo tu hermosa cocina ja ja ja espero que les guste.
Hello dear Hive community, I hope you are in good health, as a lover of the kitchen and recycling enthusiast, today I am pleased to share with you a creative tutorial made with my own hands a very nice and beautiful idea a set of kitchen organizer made with waste material and decorated with image of bee and flower, very sweet design that will amaze with its brightness your beautiful kitchen ha ha ha ha I hope you like it.
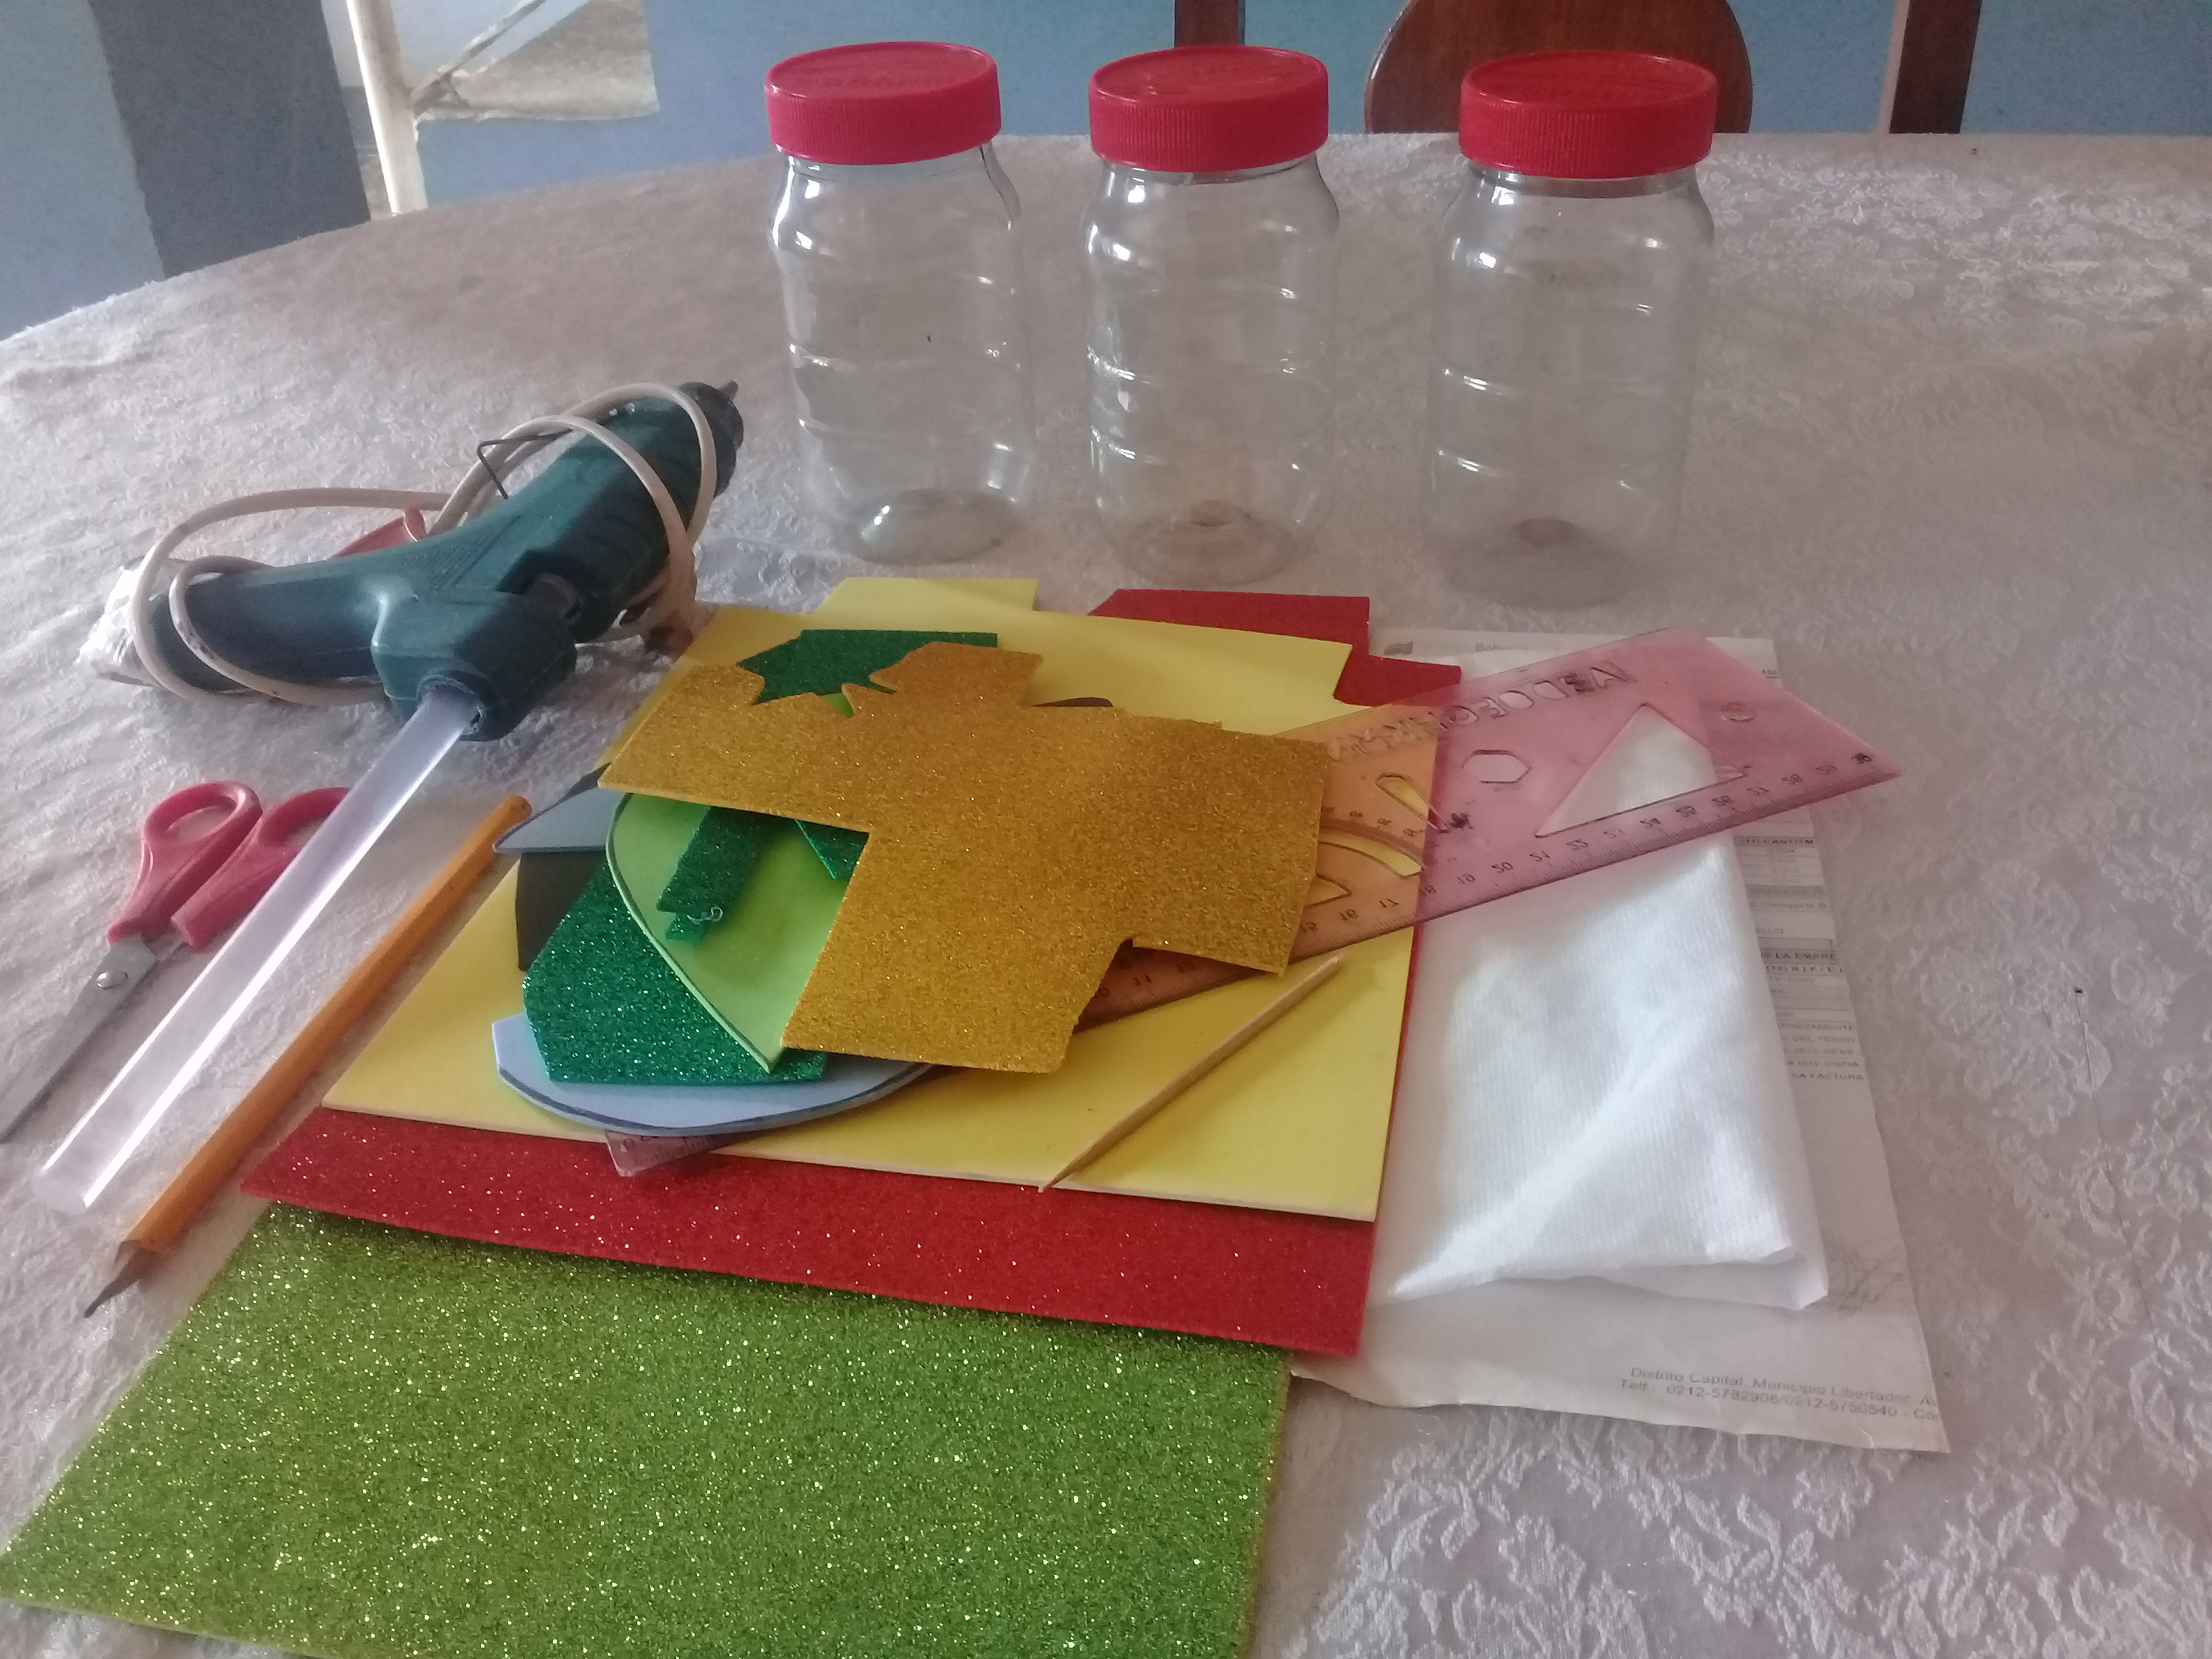

Materiales:
- 3 tarro plástico.
- Foami luminoso de color verde claro y oscuro, amarillo, rojo.
- Foami blanco, negro.
- Tela blanca.
- Lápiz.
- Regla.
- Tijera.
- Barra de silicona.
- Ojos saltones.
- 3 plastic jars.
- Light green, dark green, yellow, red luminous foami.
- White and black foami.
- White cloth.
- Pencil.
- Ruler.
- Scissors.
- Silicone stick.
- Bulging eyes.
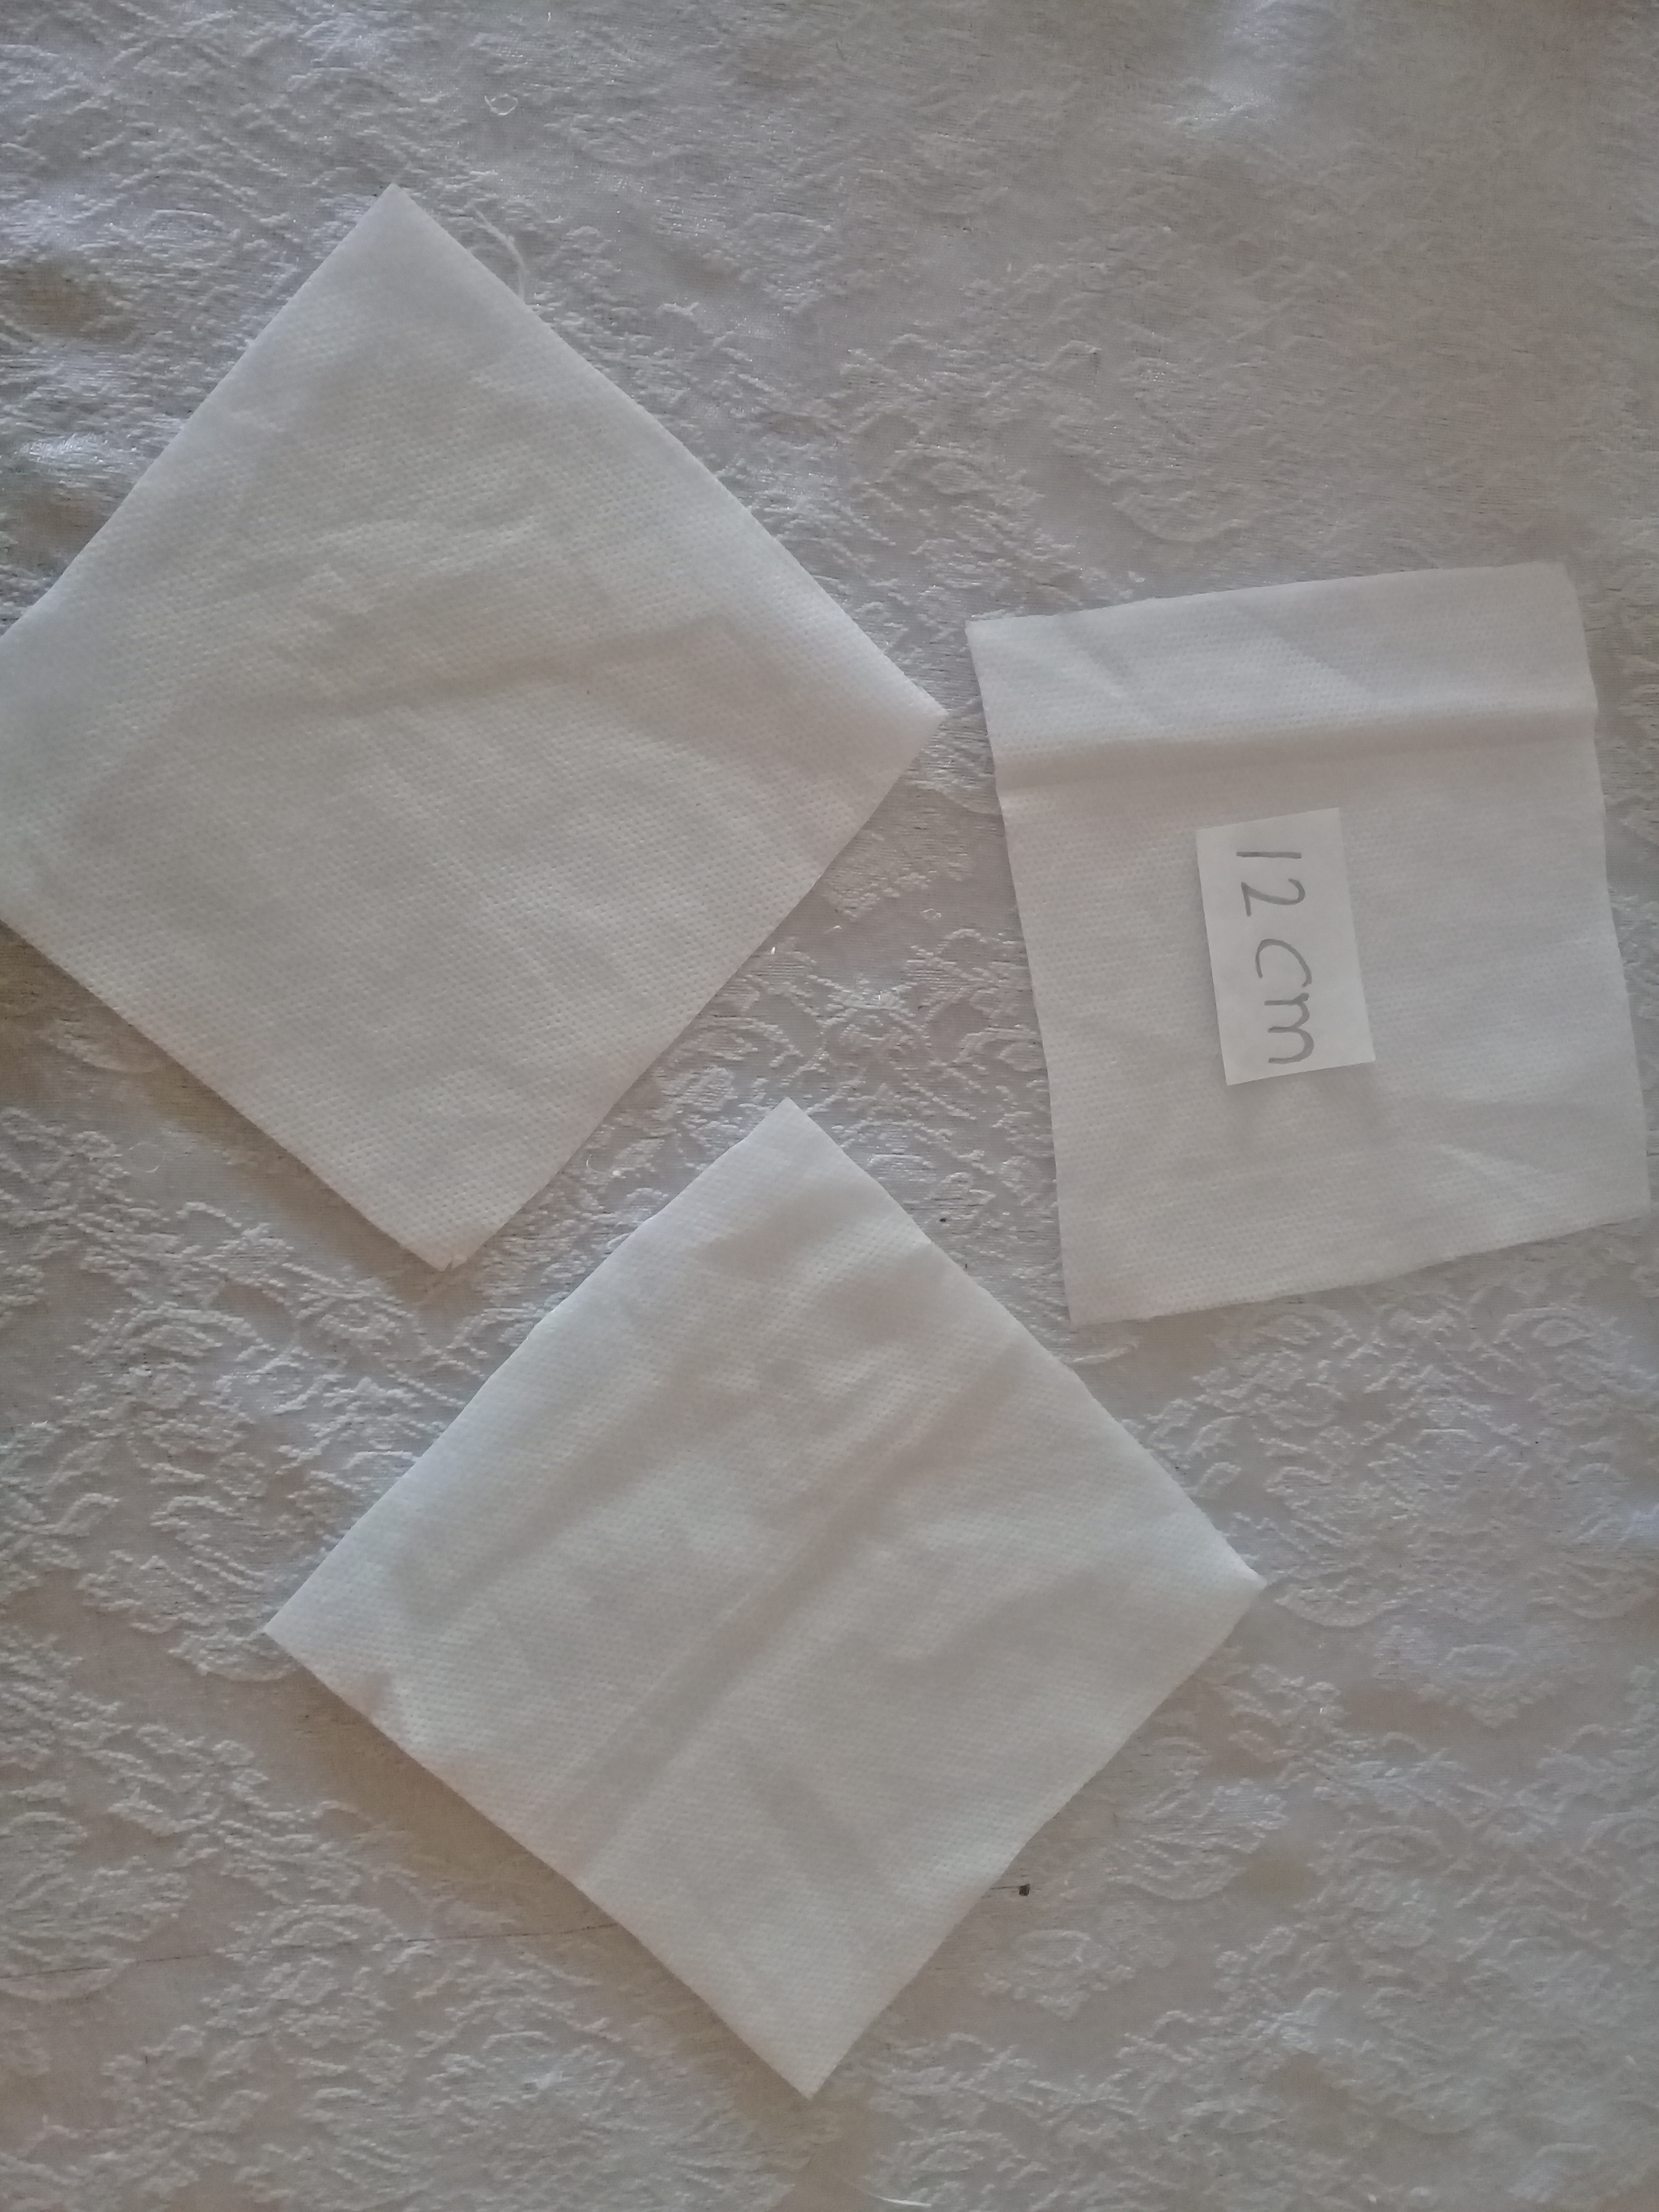
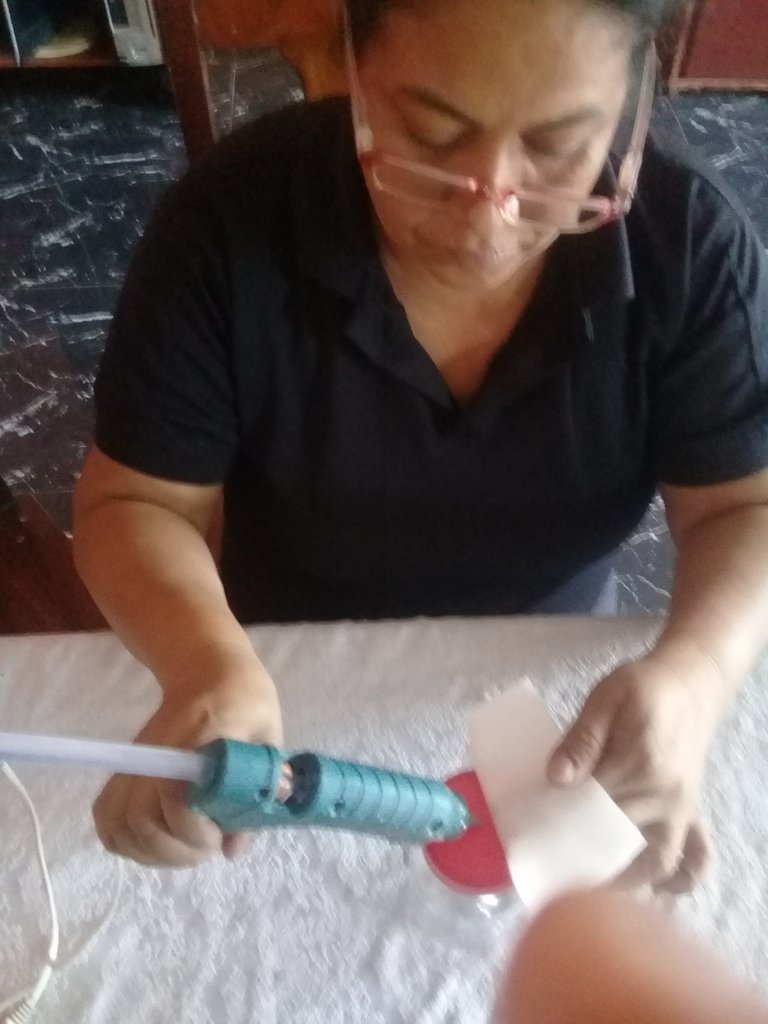
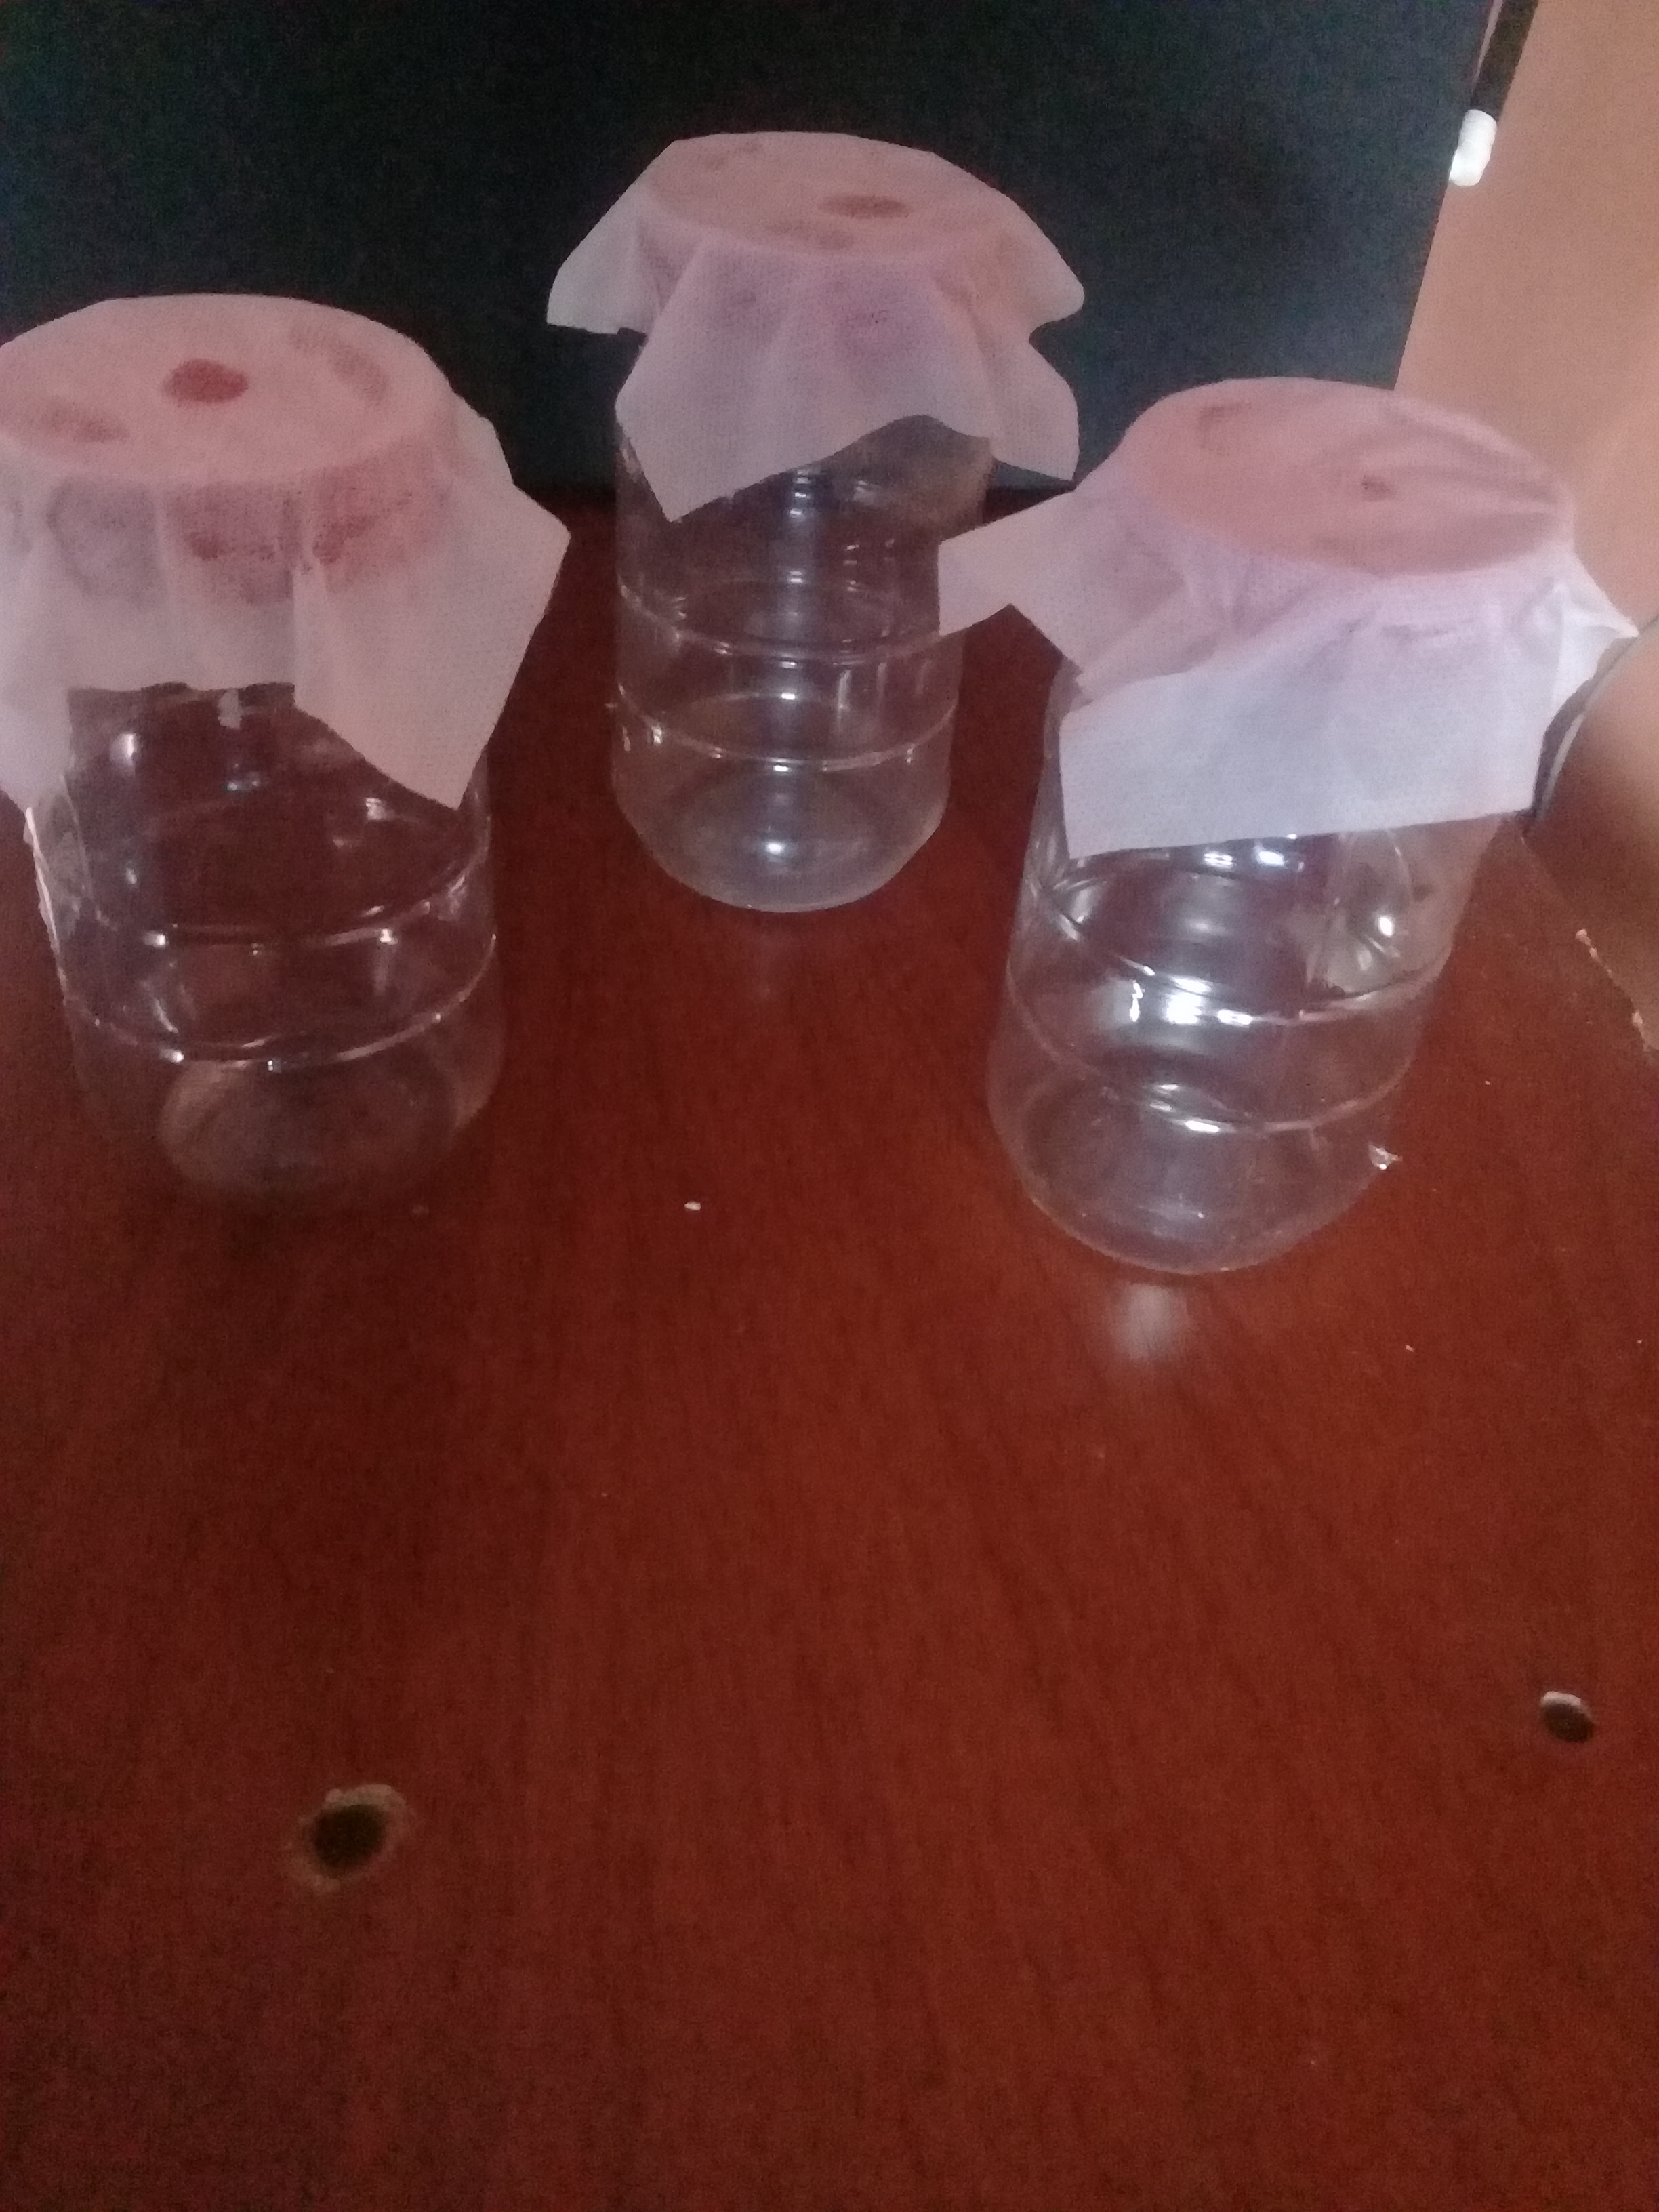
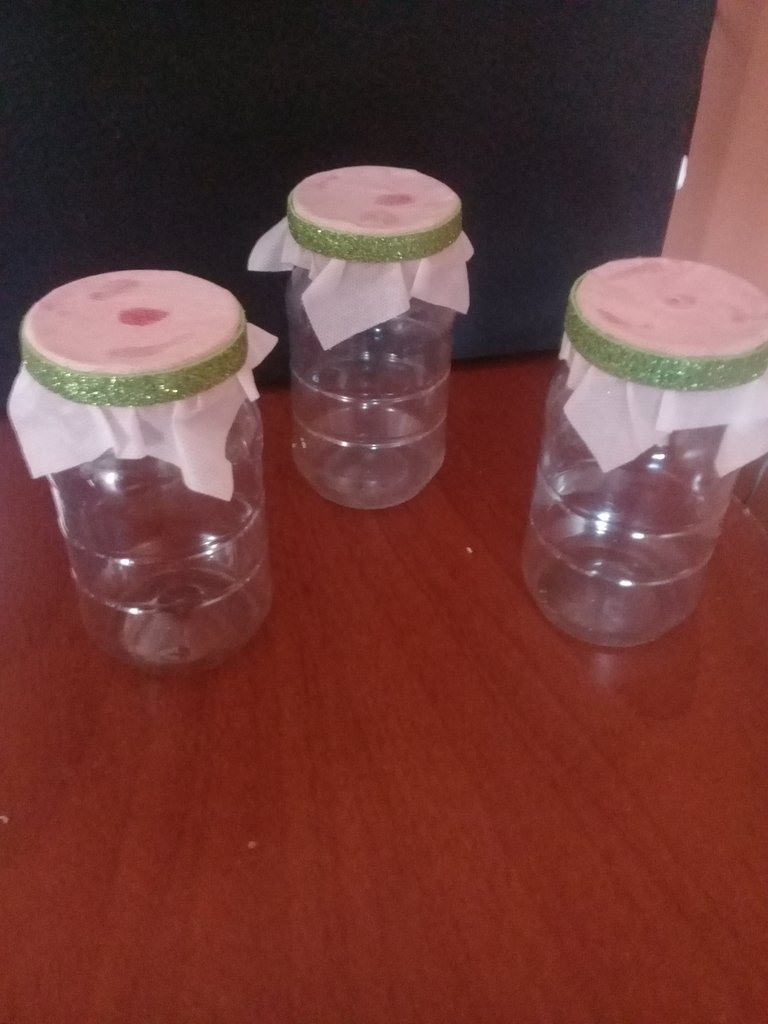

PASO 1: Recortar tres cuadro de 12 cm de la tela blanca, un cuadro para cada tarro, luego pegamos la tela en la tapa, después cortamos tiras finas del foami verde claro y pega por el alrededor del frasco.
STEP 1: Cut out three 12 cm squares from the white fabric, one square for each jar, then glue the fabric on the lid, then cut thin strips of the light green foami and glue around the jar.
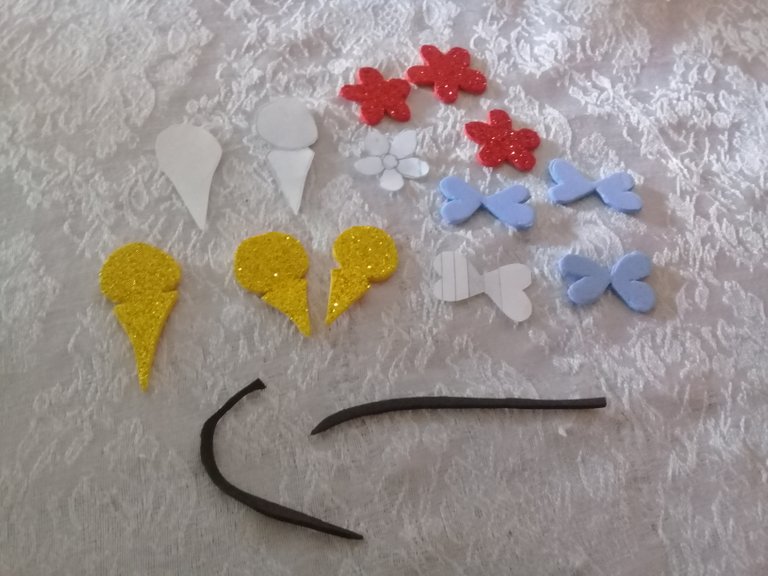
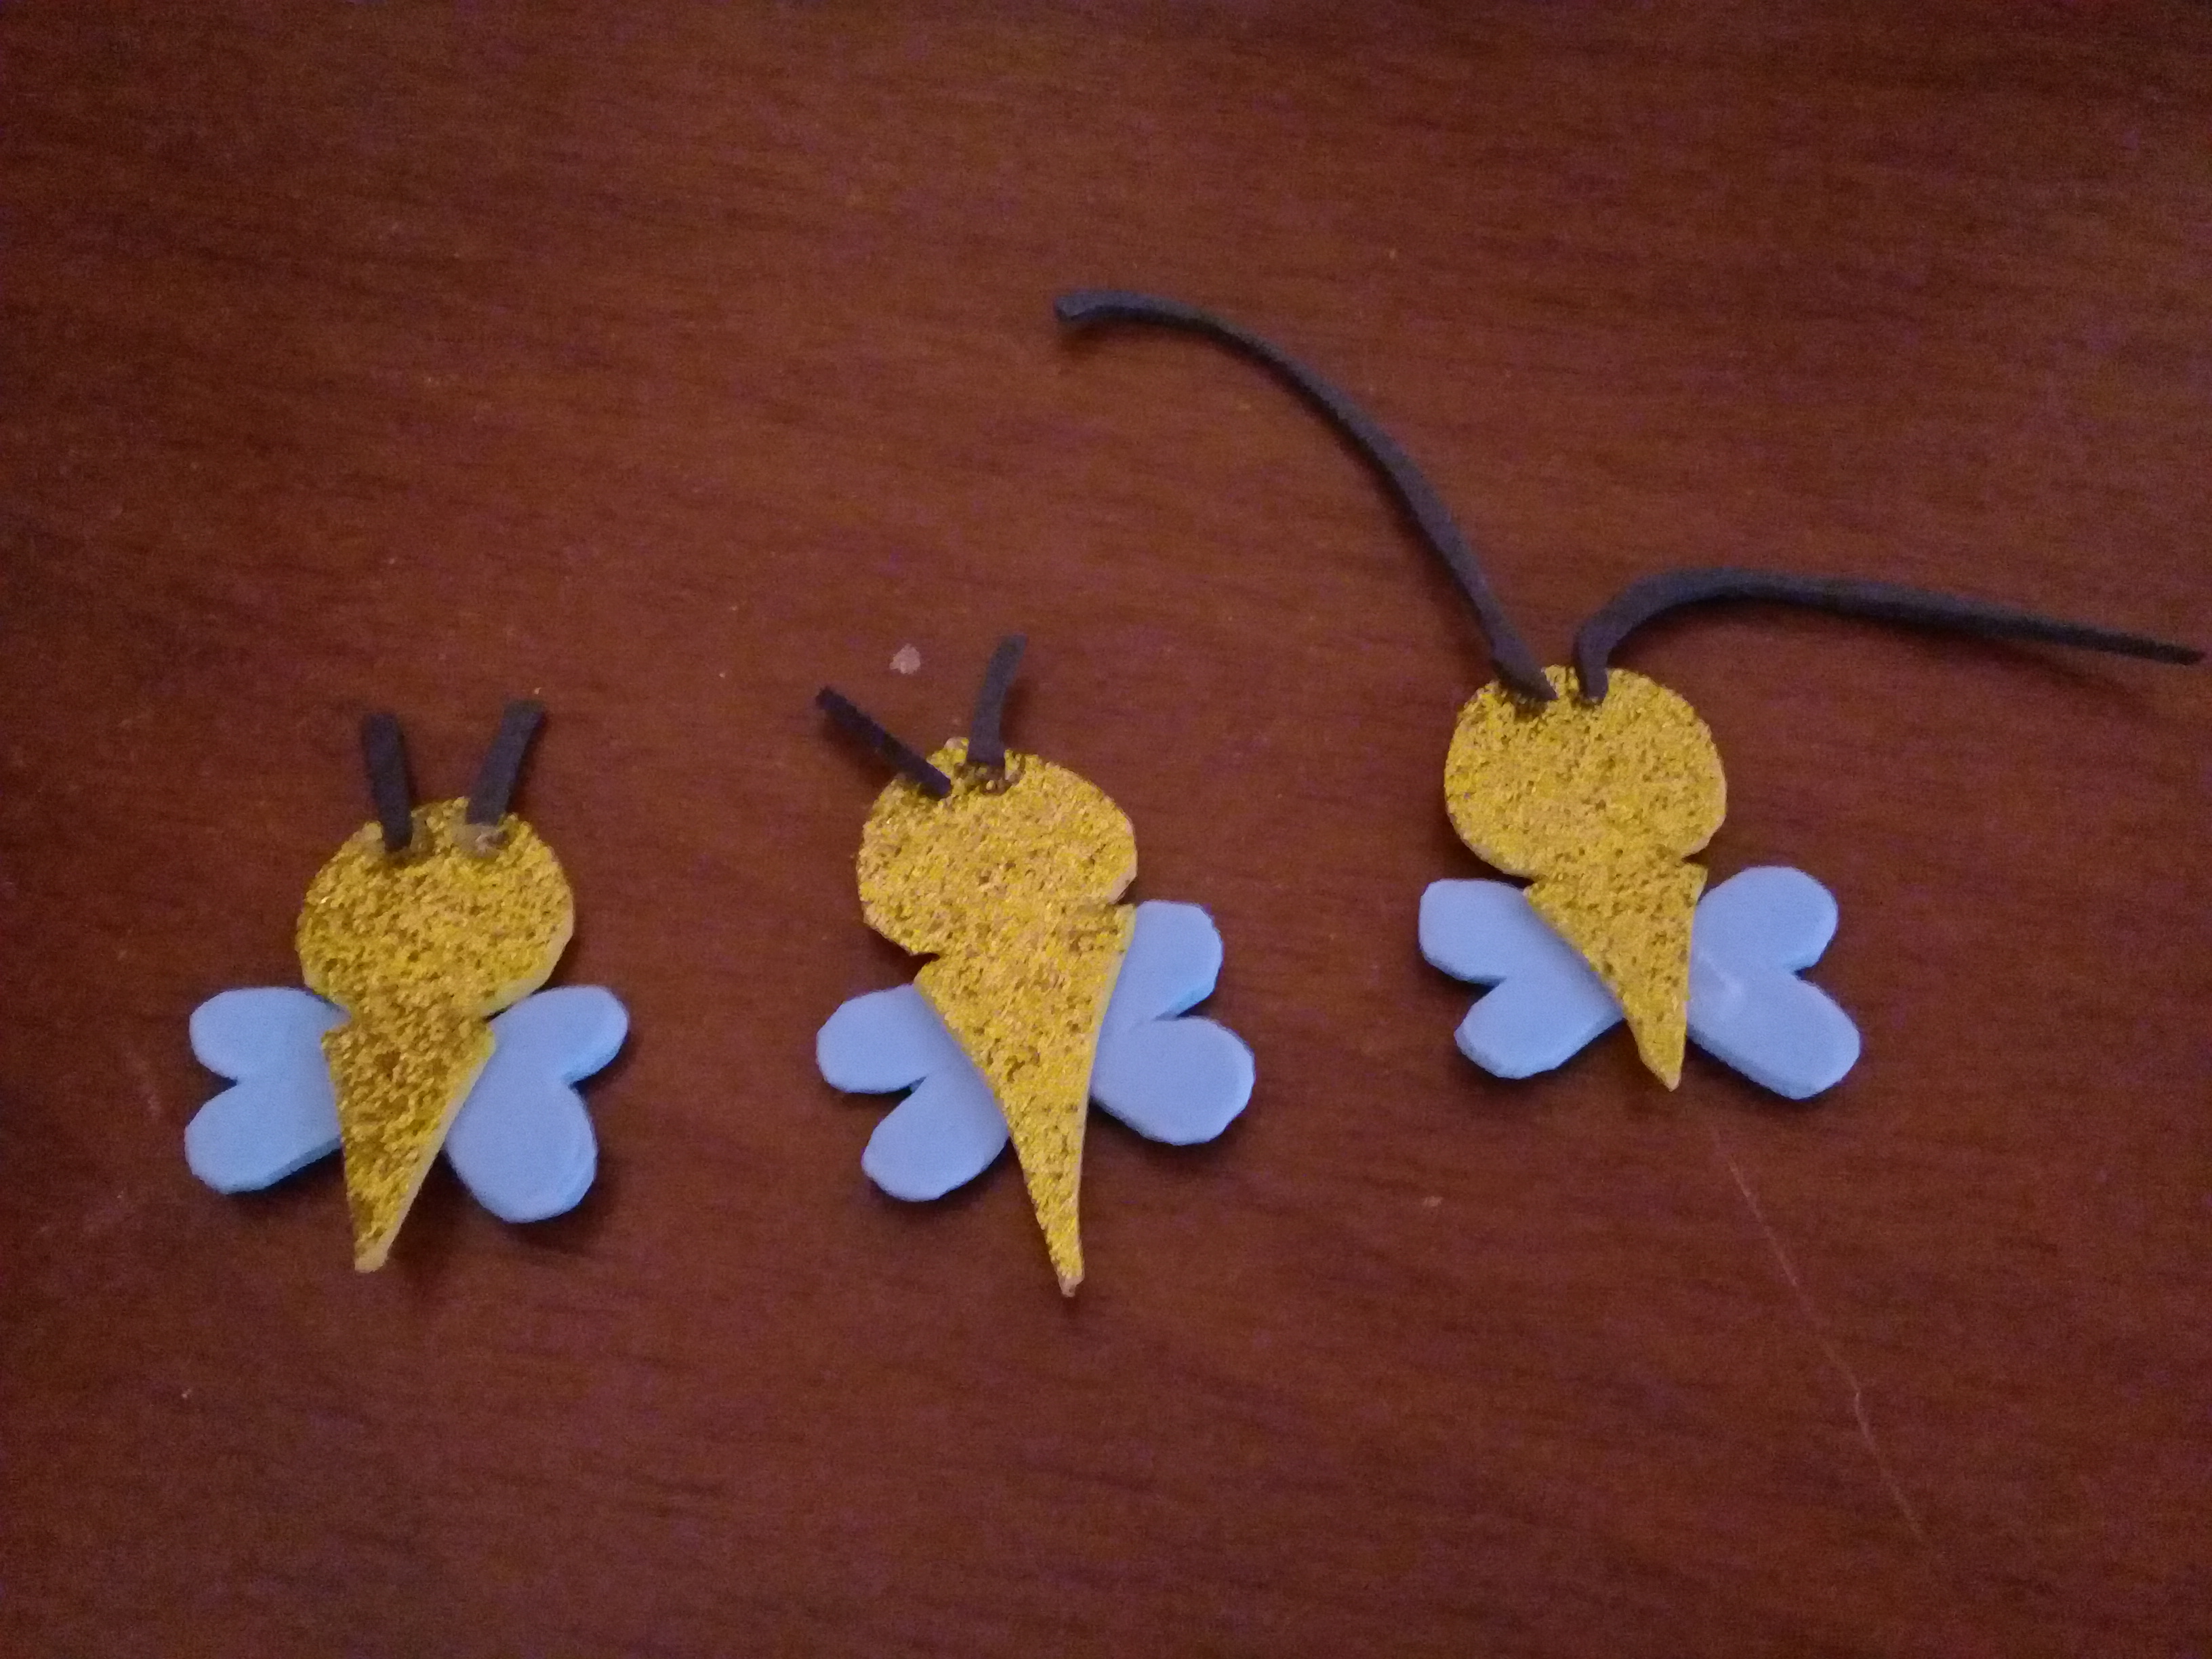
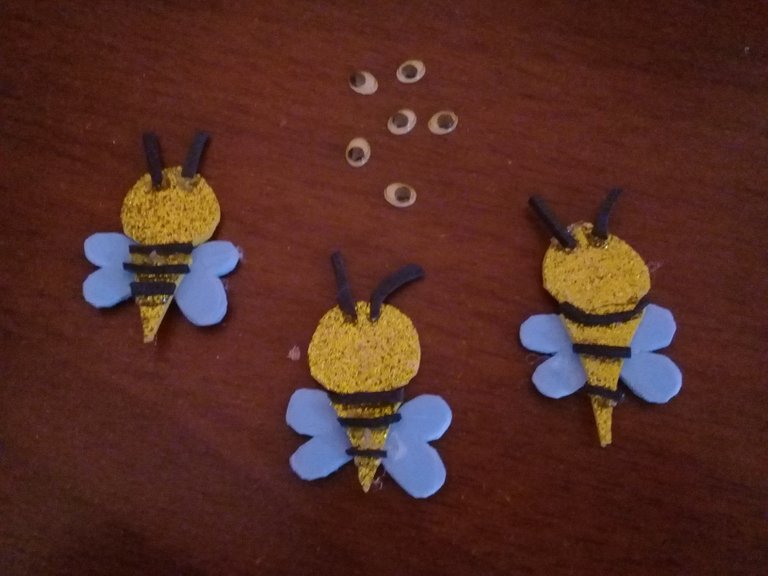
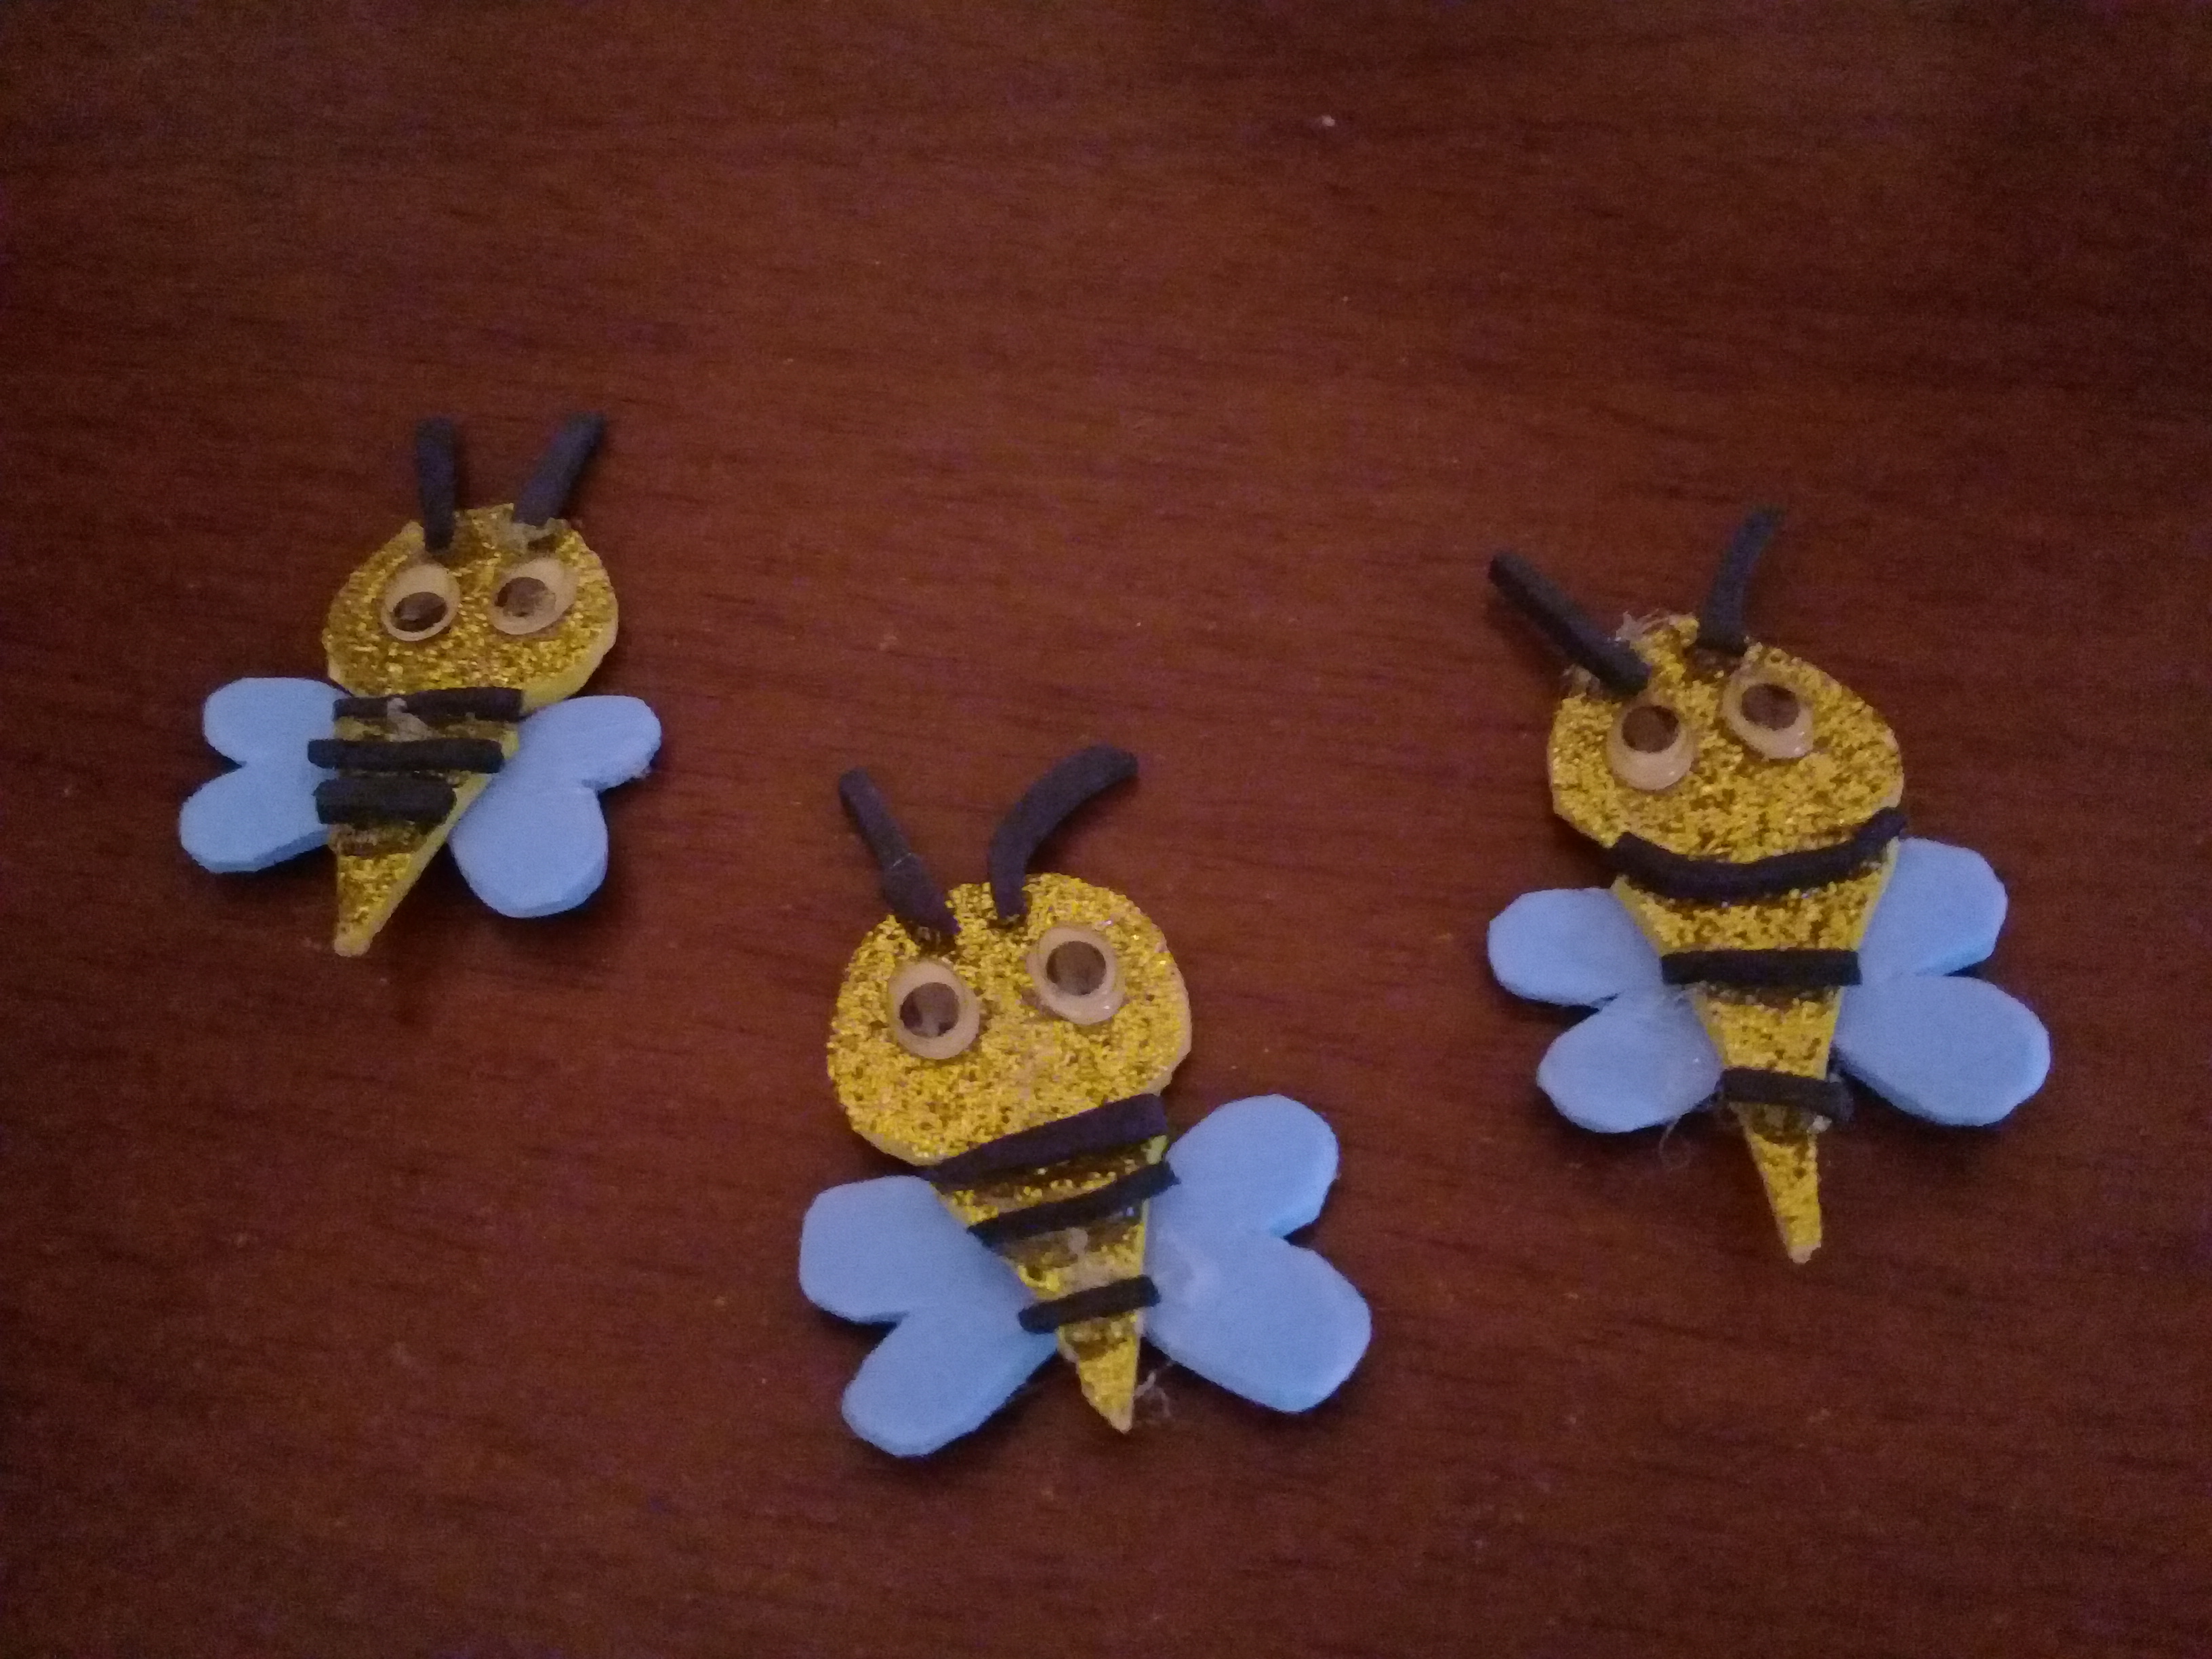

Paso 2: Diseño abejas y flor para decorar el frasco, después de haber recortado mi figura elegida, procedo armar mi imagen y pego con silicon.
Step 2: I design bees and flowers to decorate the jar, after having cut out the chosen figure, I proceed to assemble my image and glue with silicone.
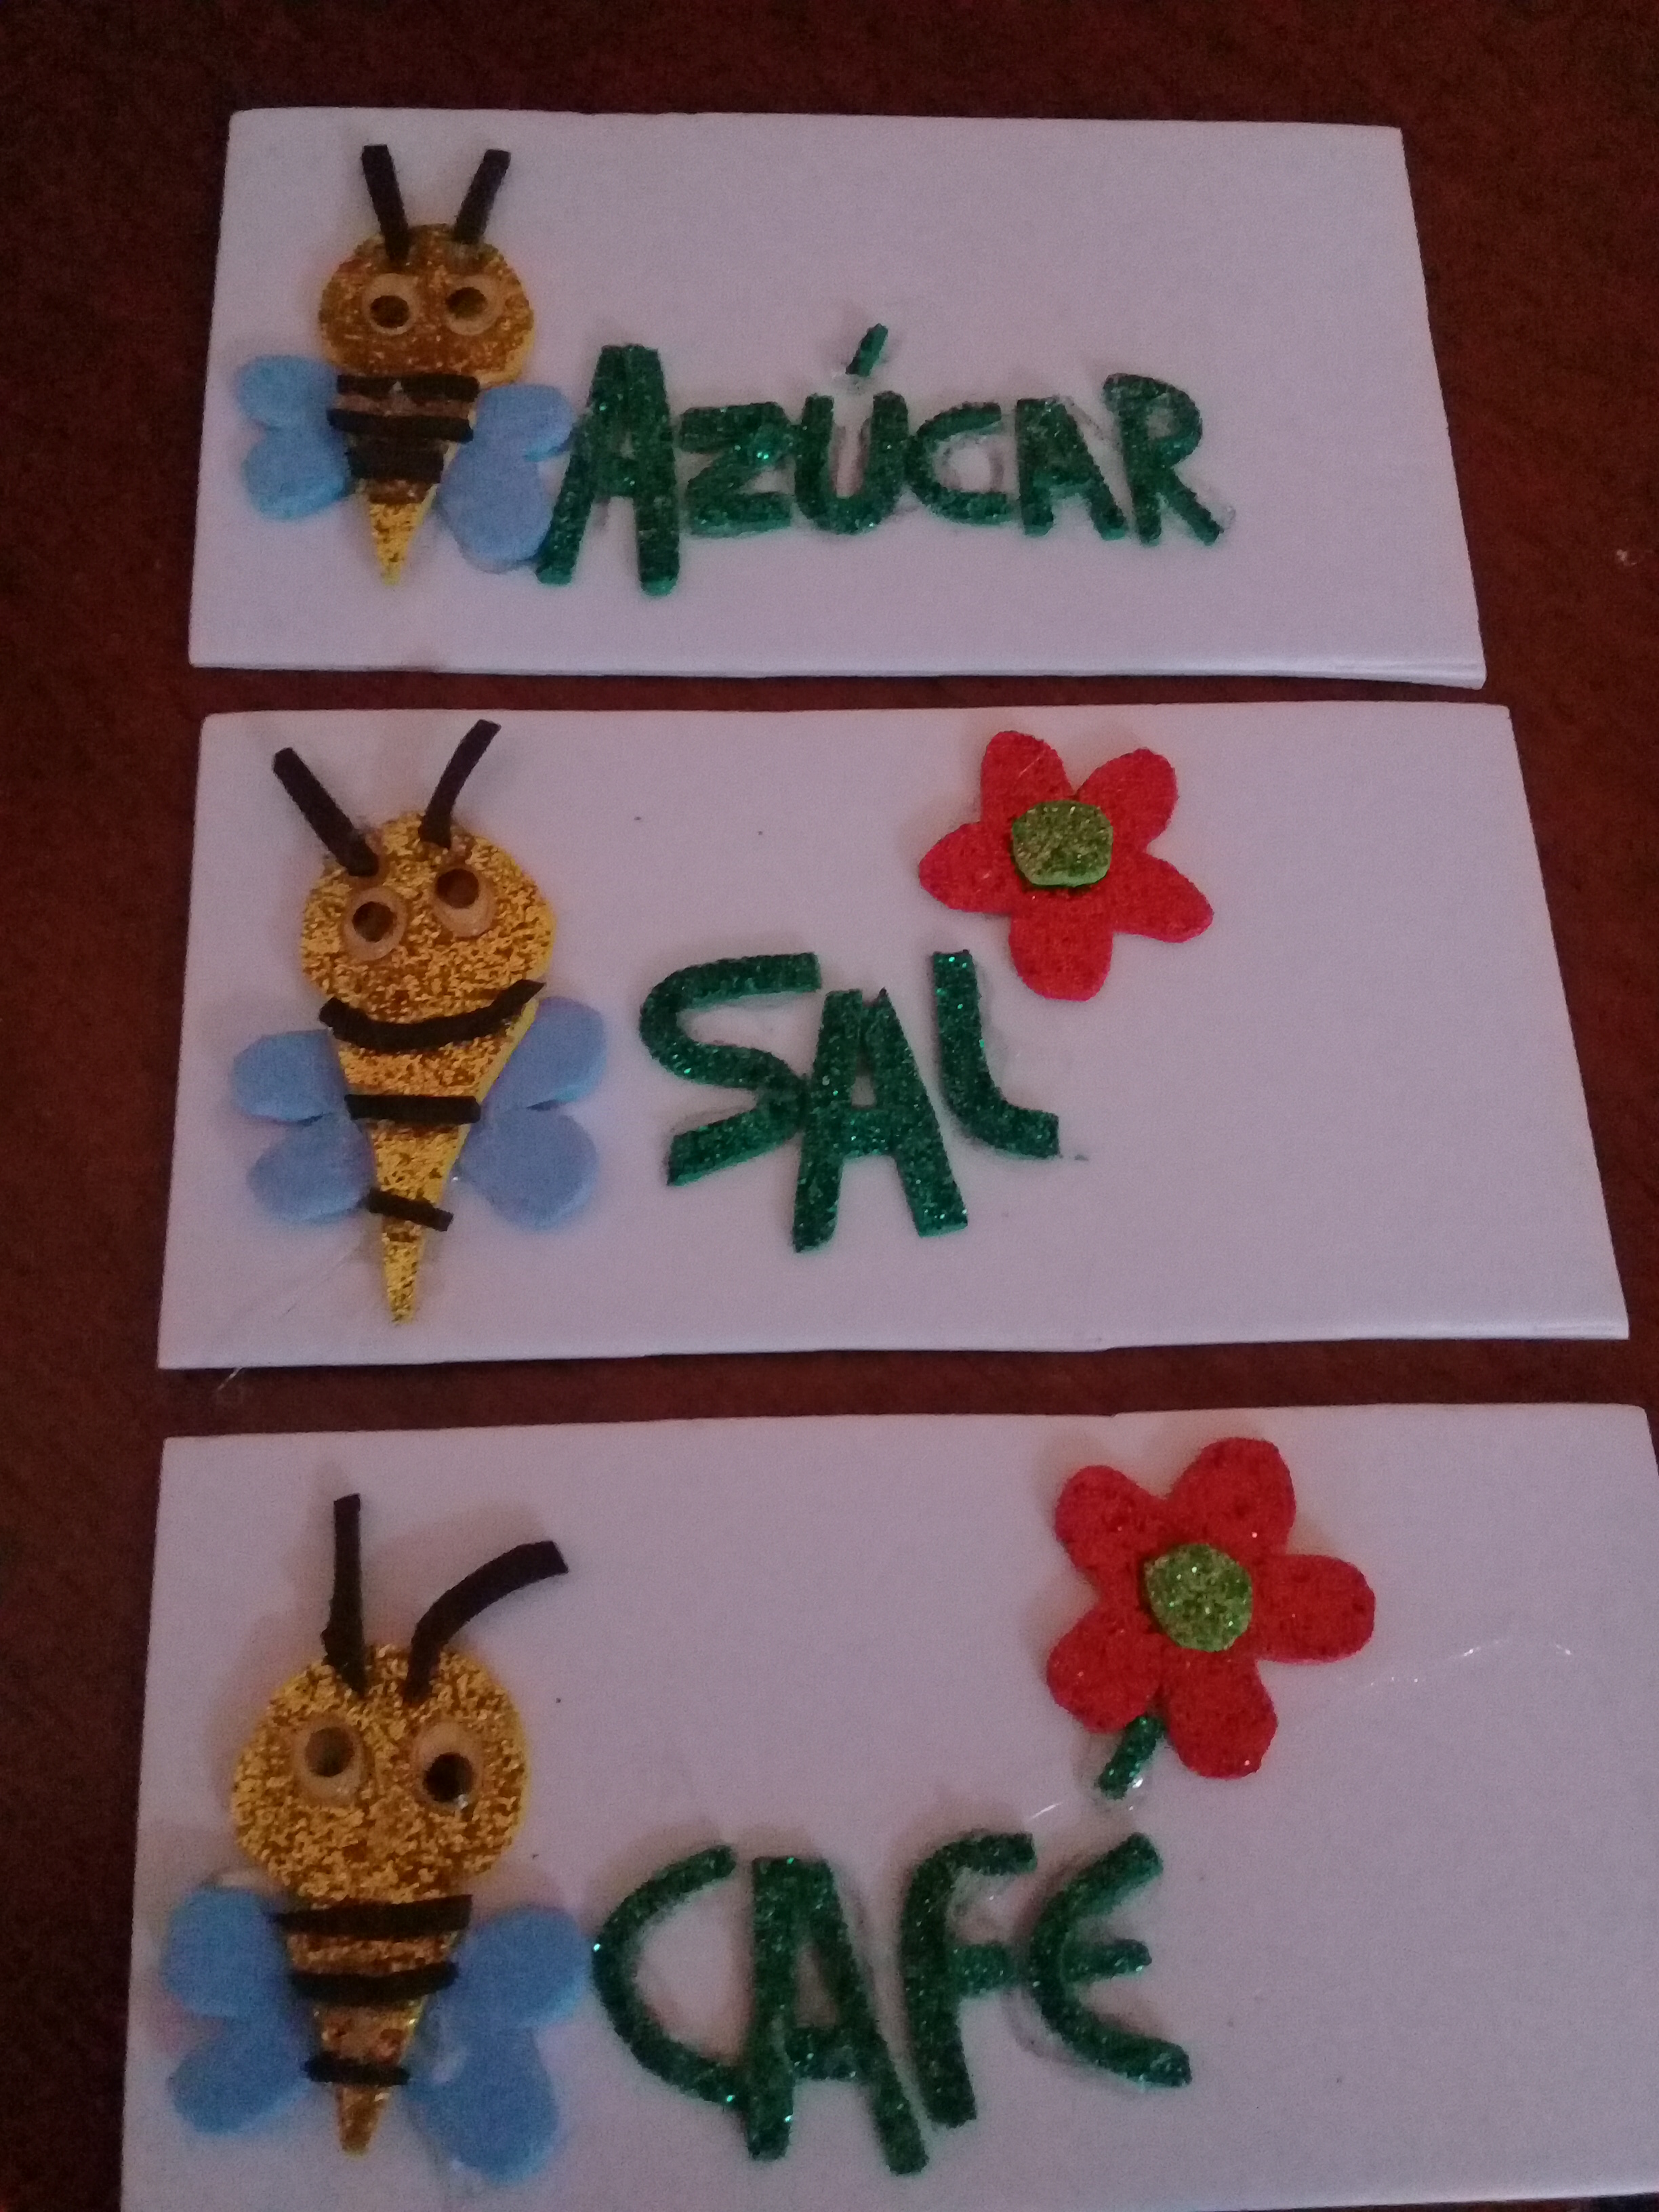
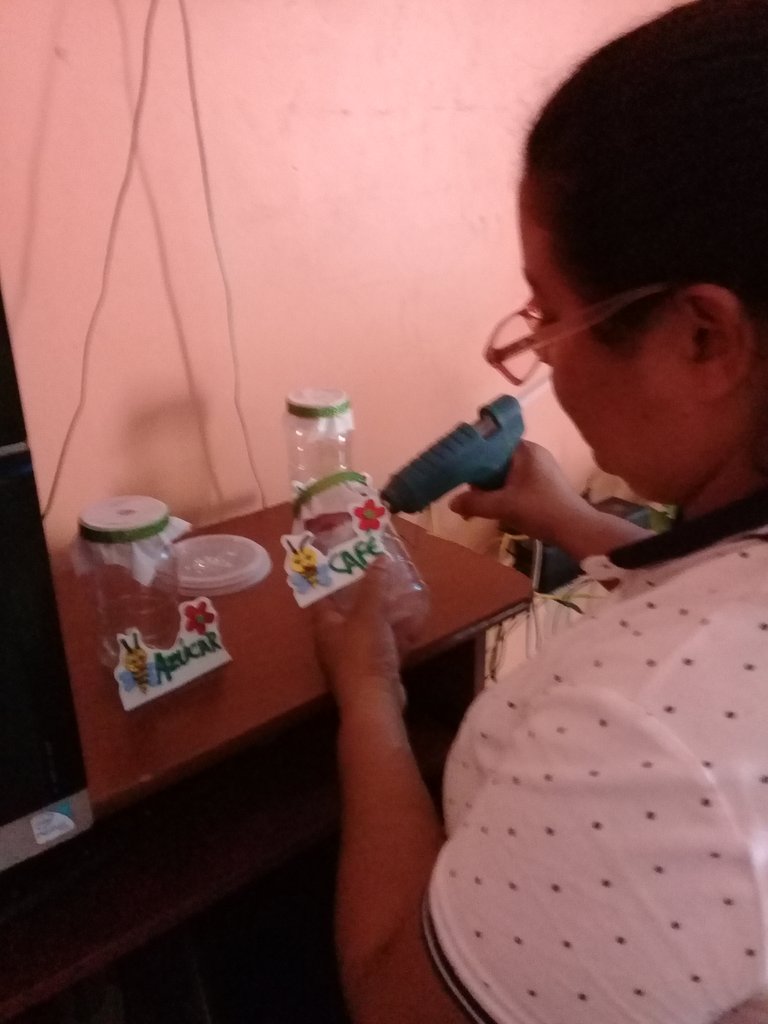
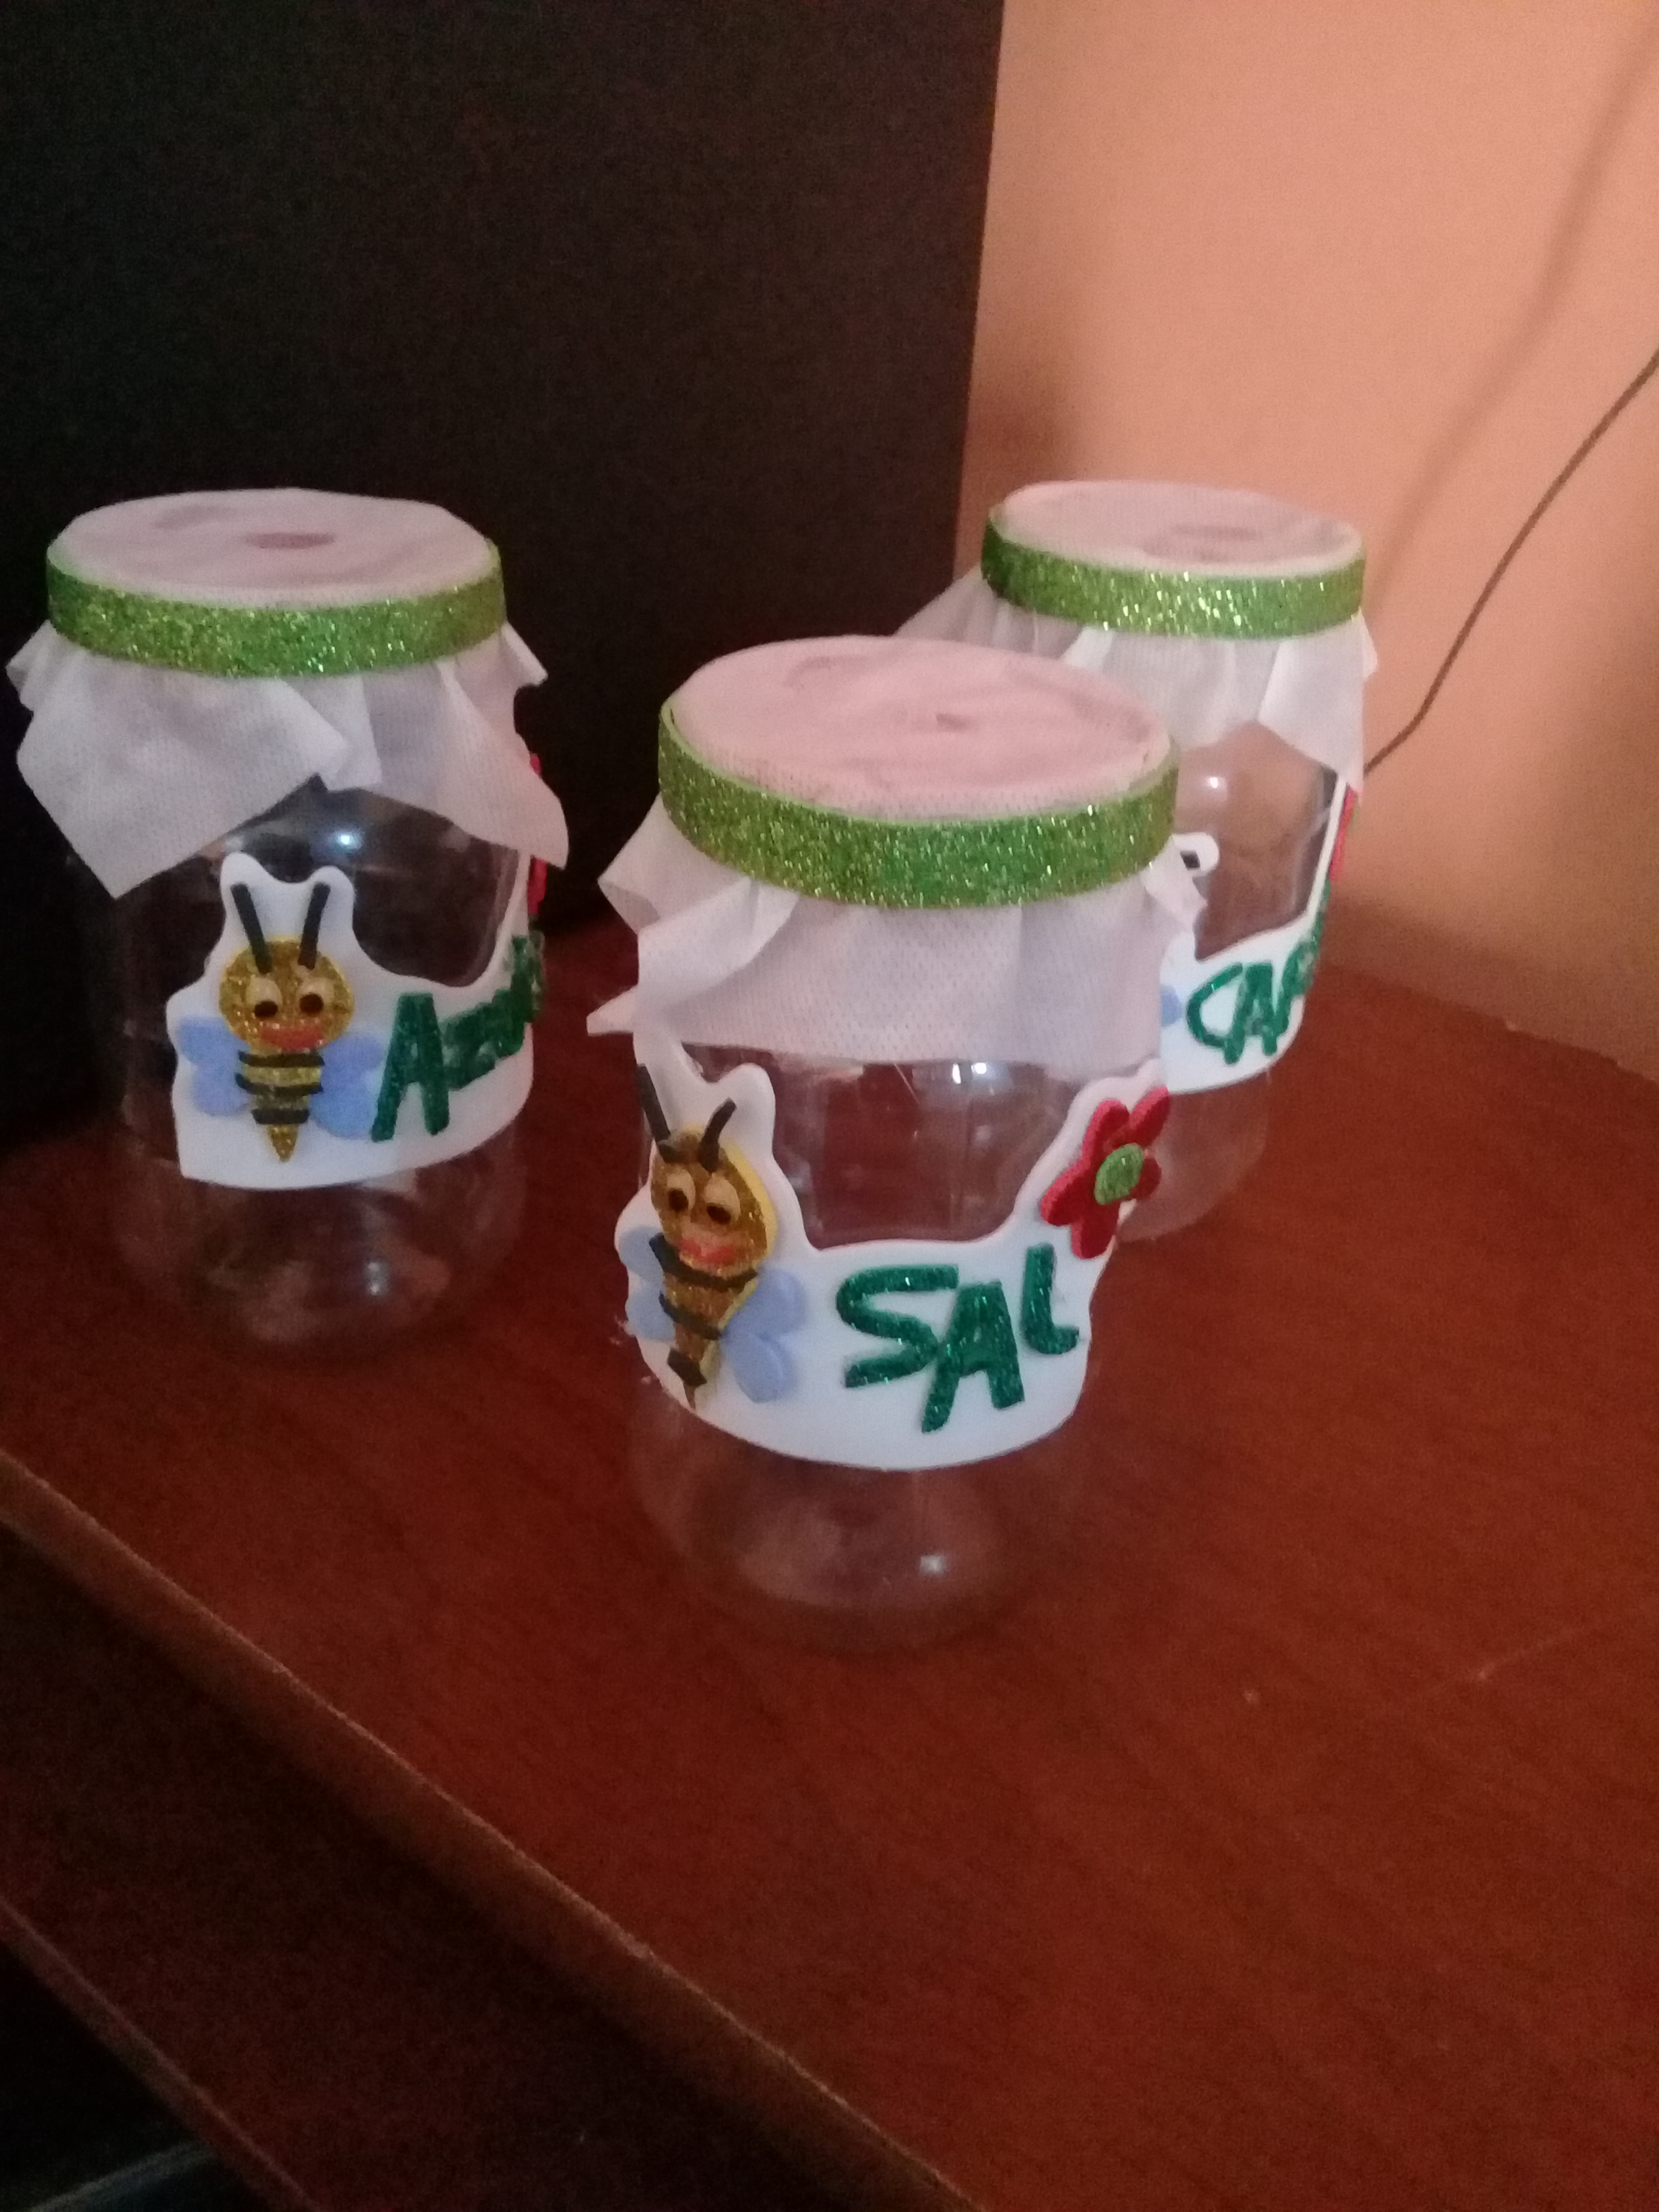
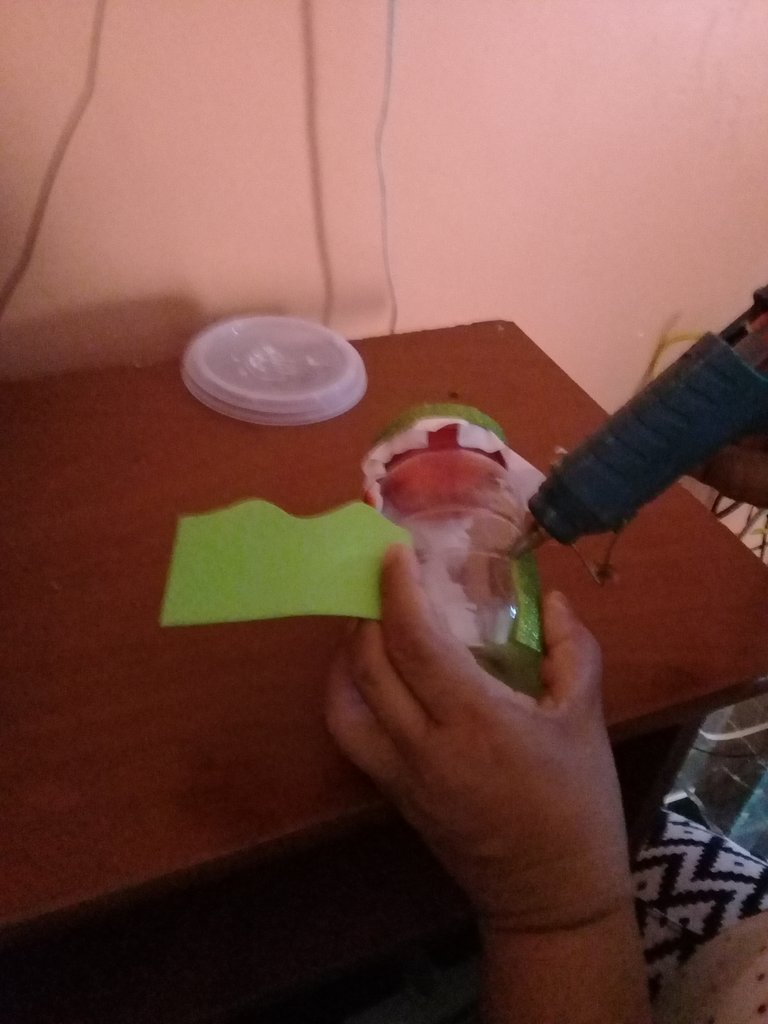

Paso 3: La figura diseñada la presentamos en el foami blanco y agregamos el nombre para su utilidad, pegamos y recortamos por el alrededor para luego pegarlo en el tarro, después en el foami verde medimos 5 cm y recortamos en forma de faralao, lo pegamos en la parte de abajo para rematar decoración.
Step 3: We present the designed figure in the white foami and add the name for its usefulness, we glue and cut around it and then paste it on the jar, then in the green foami we measure 5 cm and cut in the shape of a faralao, we glue it on the bottom to finish the decoration.

