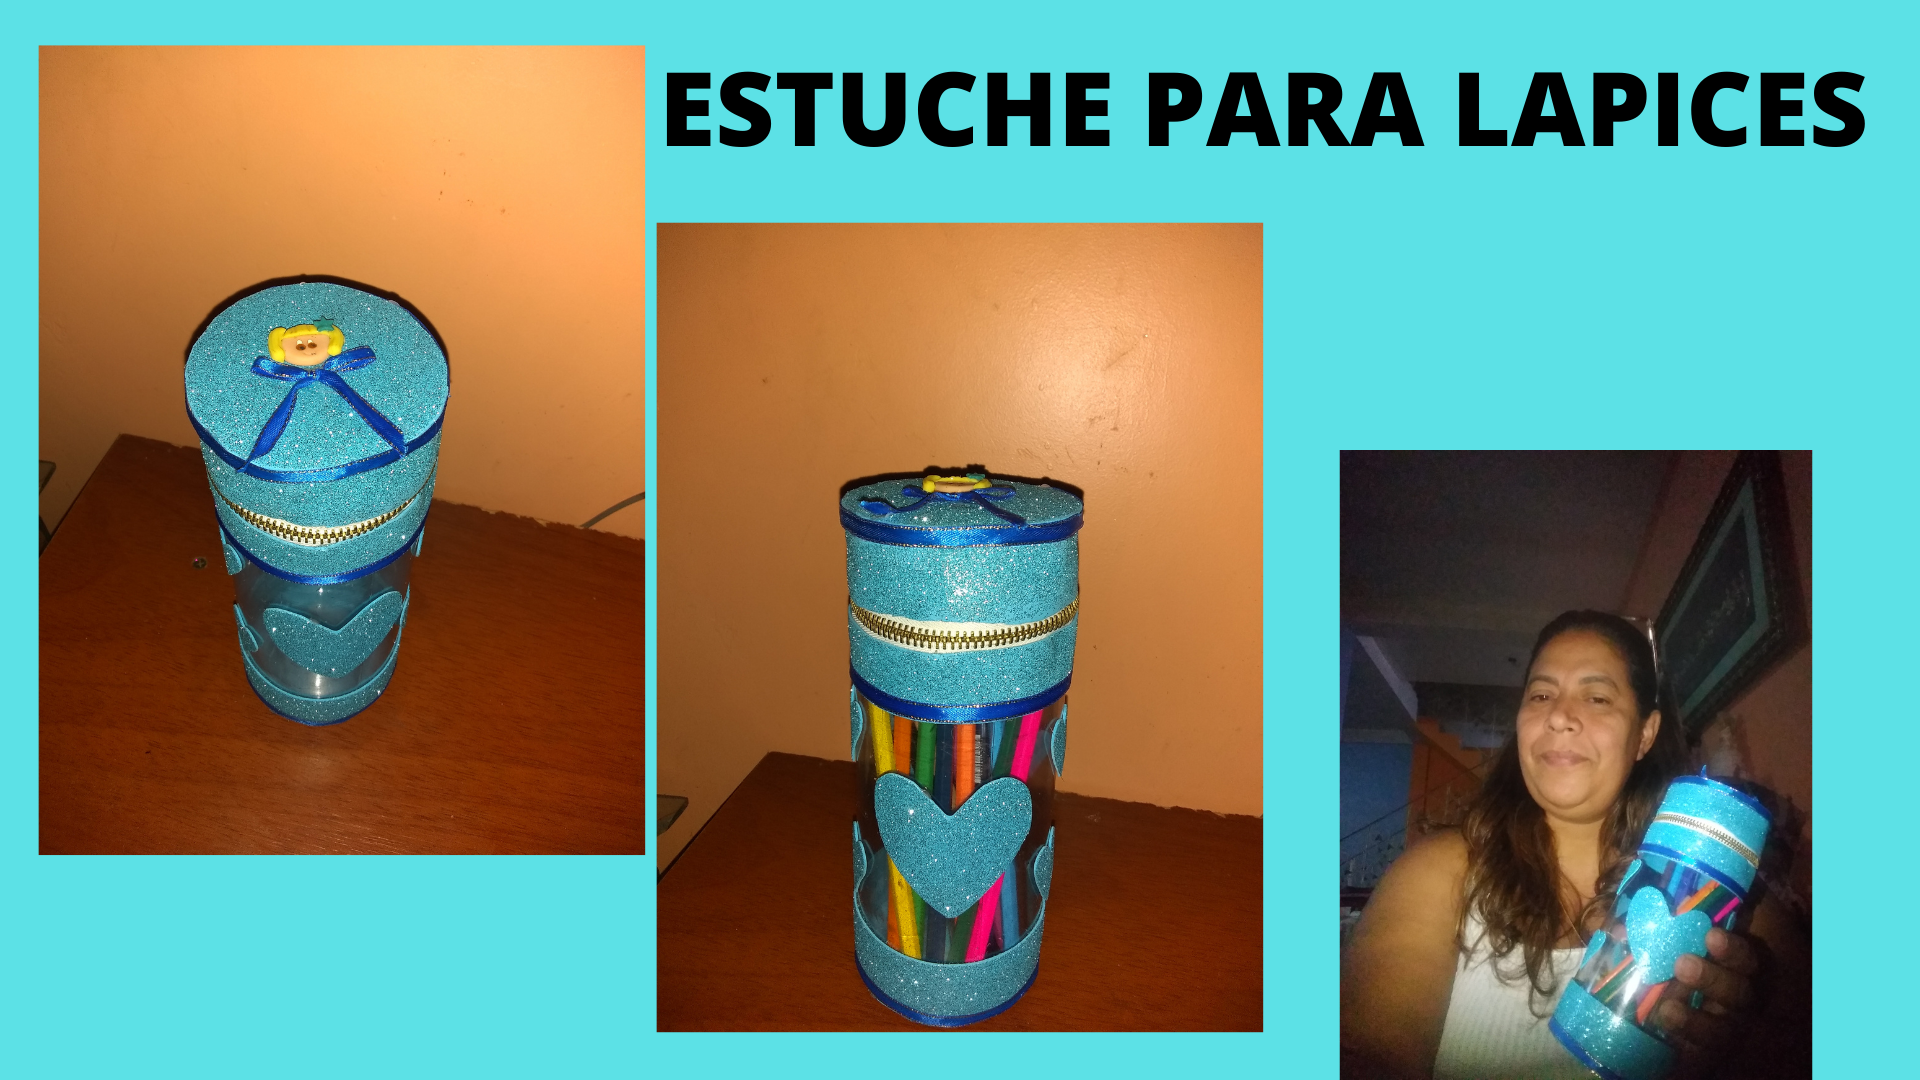

Hola querida comunidad de Hive, espero se encuentren bien de salud, como fanática del reciclaje hoy tengo el gusto de compartir con ustedes una bella idea creativa útil y fácil, un bonito estuche para lapices, elaborado con una botella plástica de esa que después de consumirnos el producto lo desechamos, ahora lo reutilizamos por segunda ves y me gustaría que observaran mi manual, hecho con mis propias manos, espero que te guste.
Hello dear community of Hive, I hope you are in good health, as a fan of recycling today I am pleased to share with you a beautiful creative idea useful and easy, a nice pencil case, made with a plastic bottle that after consuming the product we discard it, now we reuse it for the second time and I would like you to observe my manual, made with my own hands, I hope you like it.
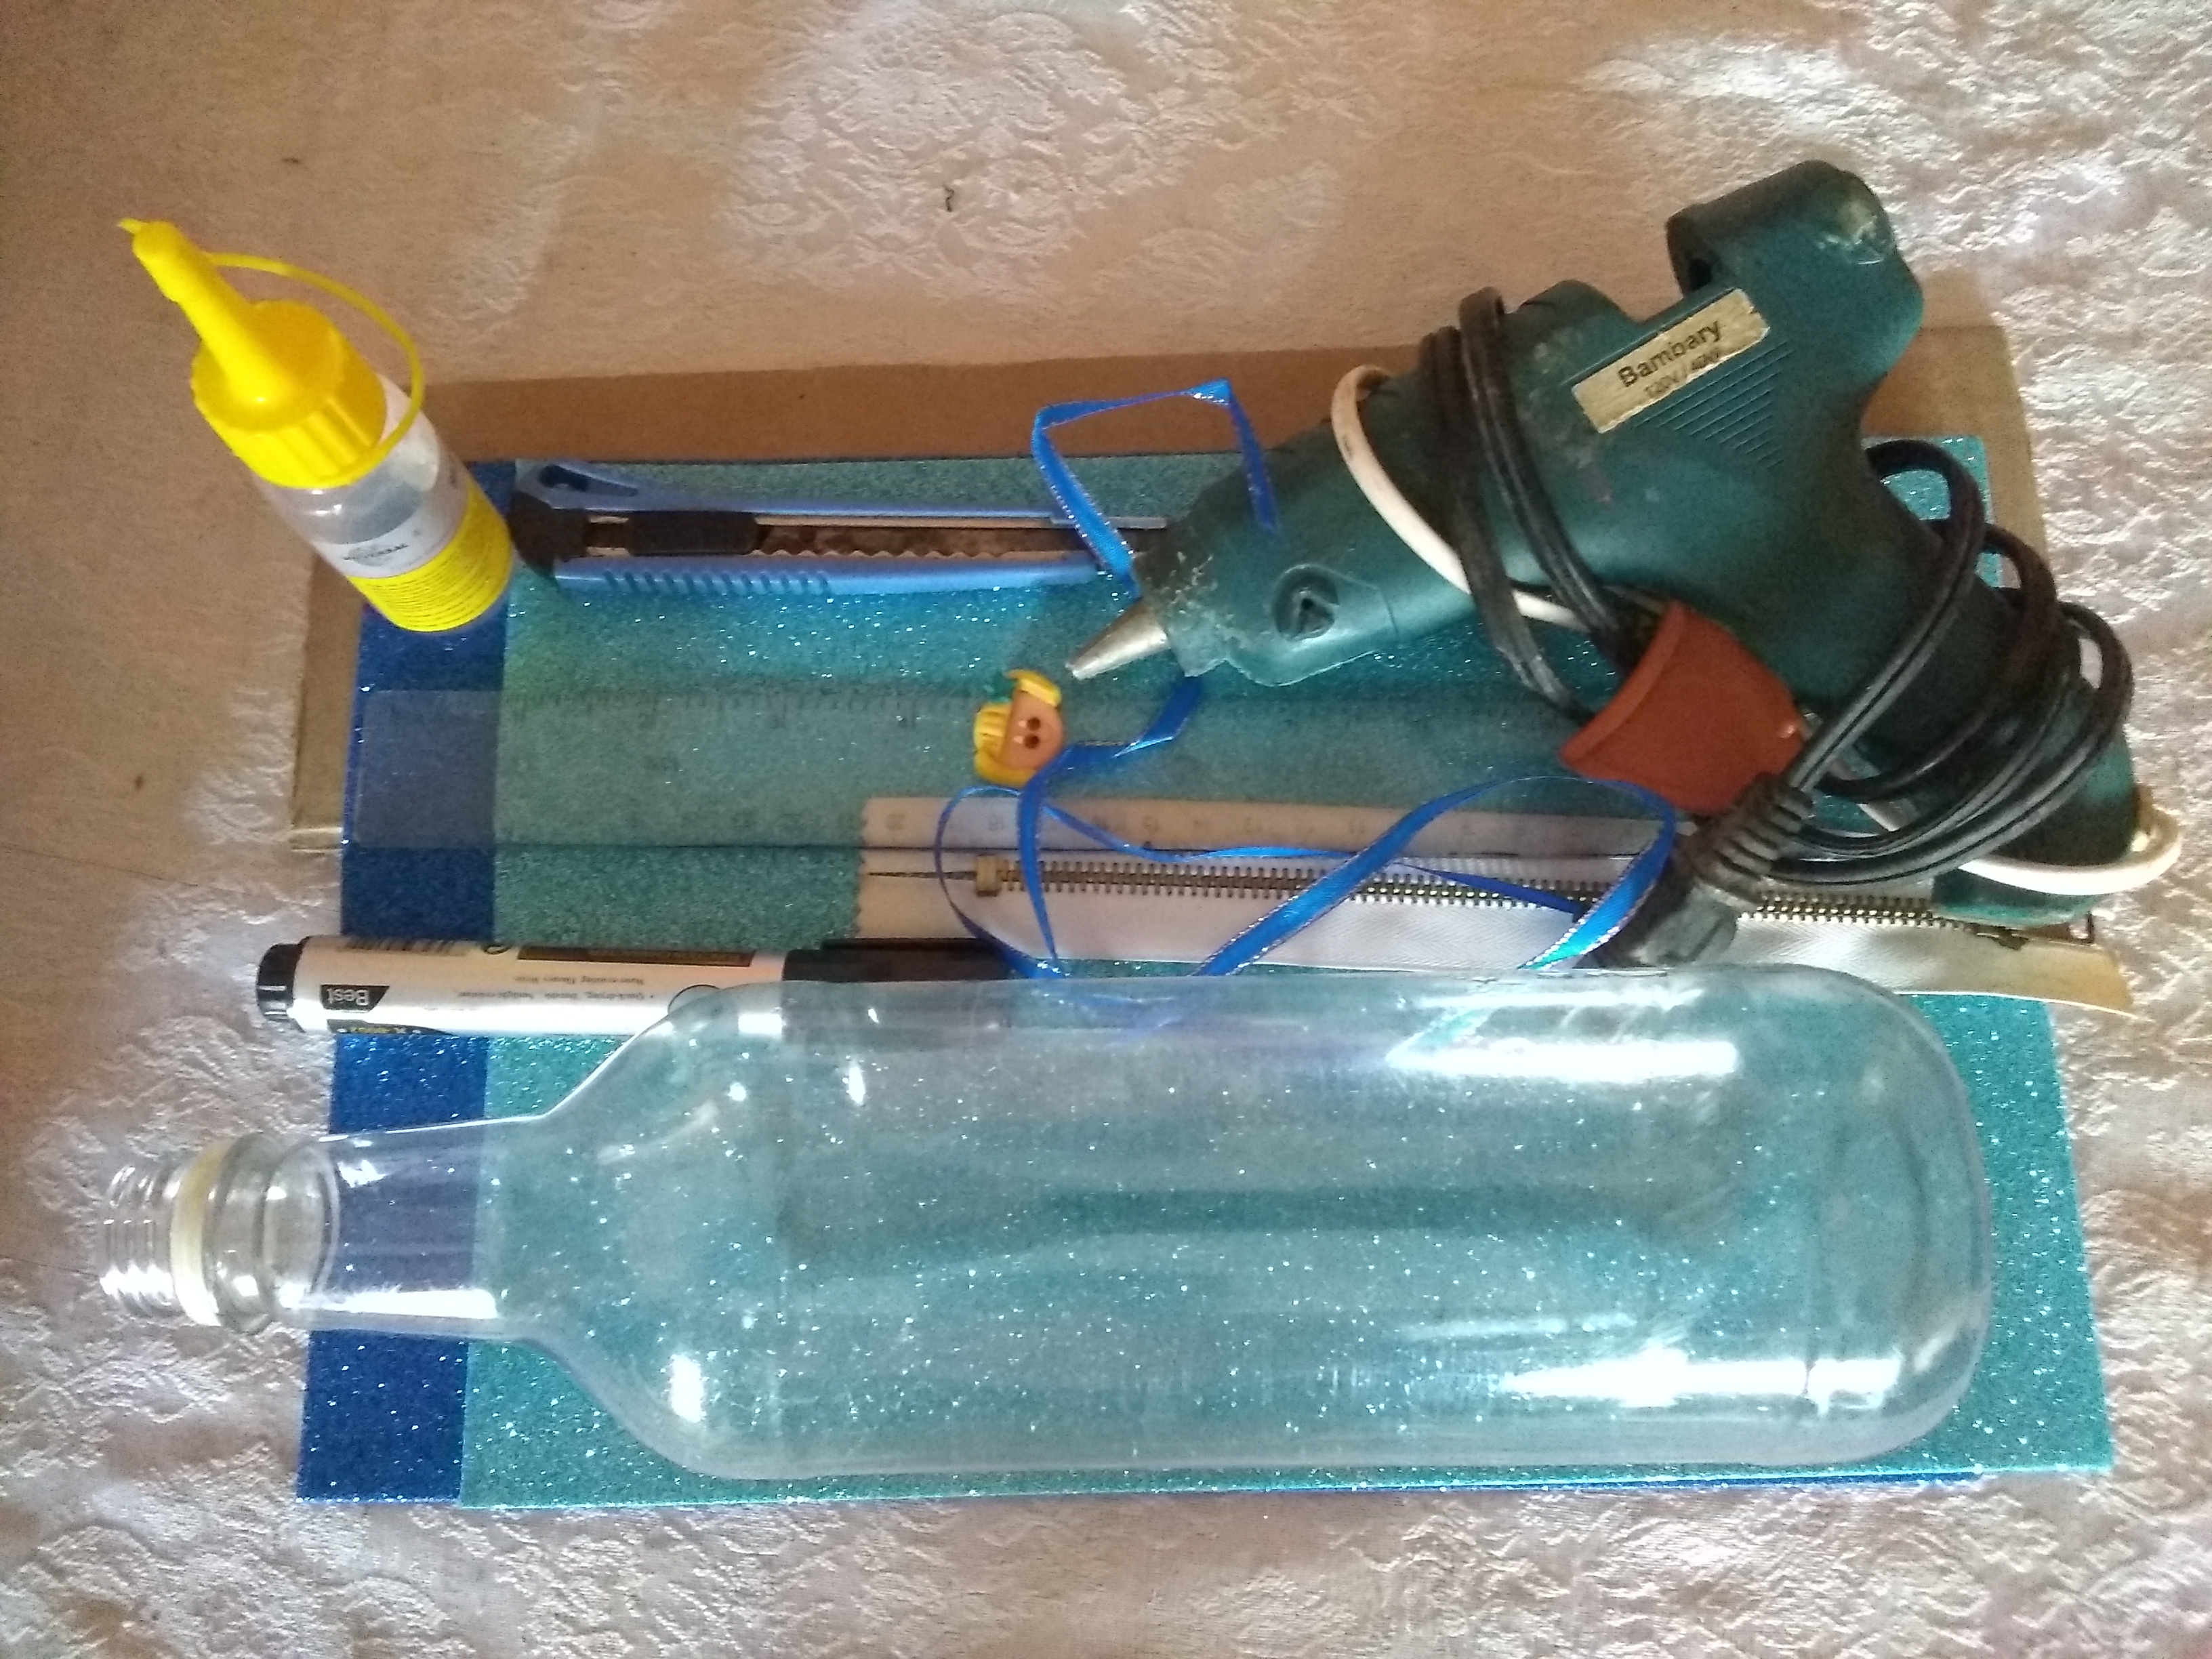
Materiales:
- Botella plástica.
- Regla.
- Marcador.
- Tijera.
- Cutter.
- Silicona.
- Cierre.
- Goma Eva.
Materials:
- Plastic bottle.
- Ruler.
- Marker.
- Scissors.
- Cutter.
- Silicone.
- Closing.
- Eva rubber.
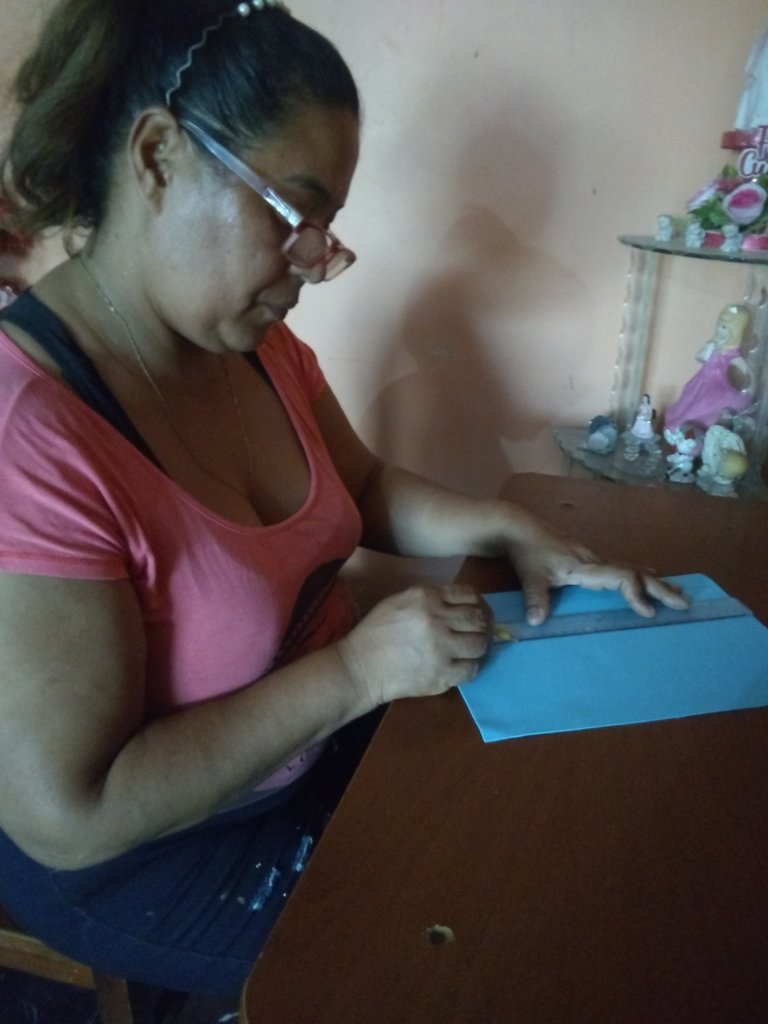
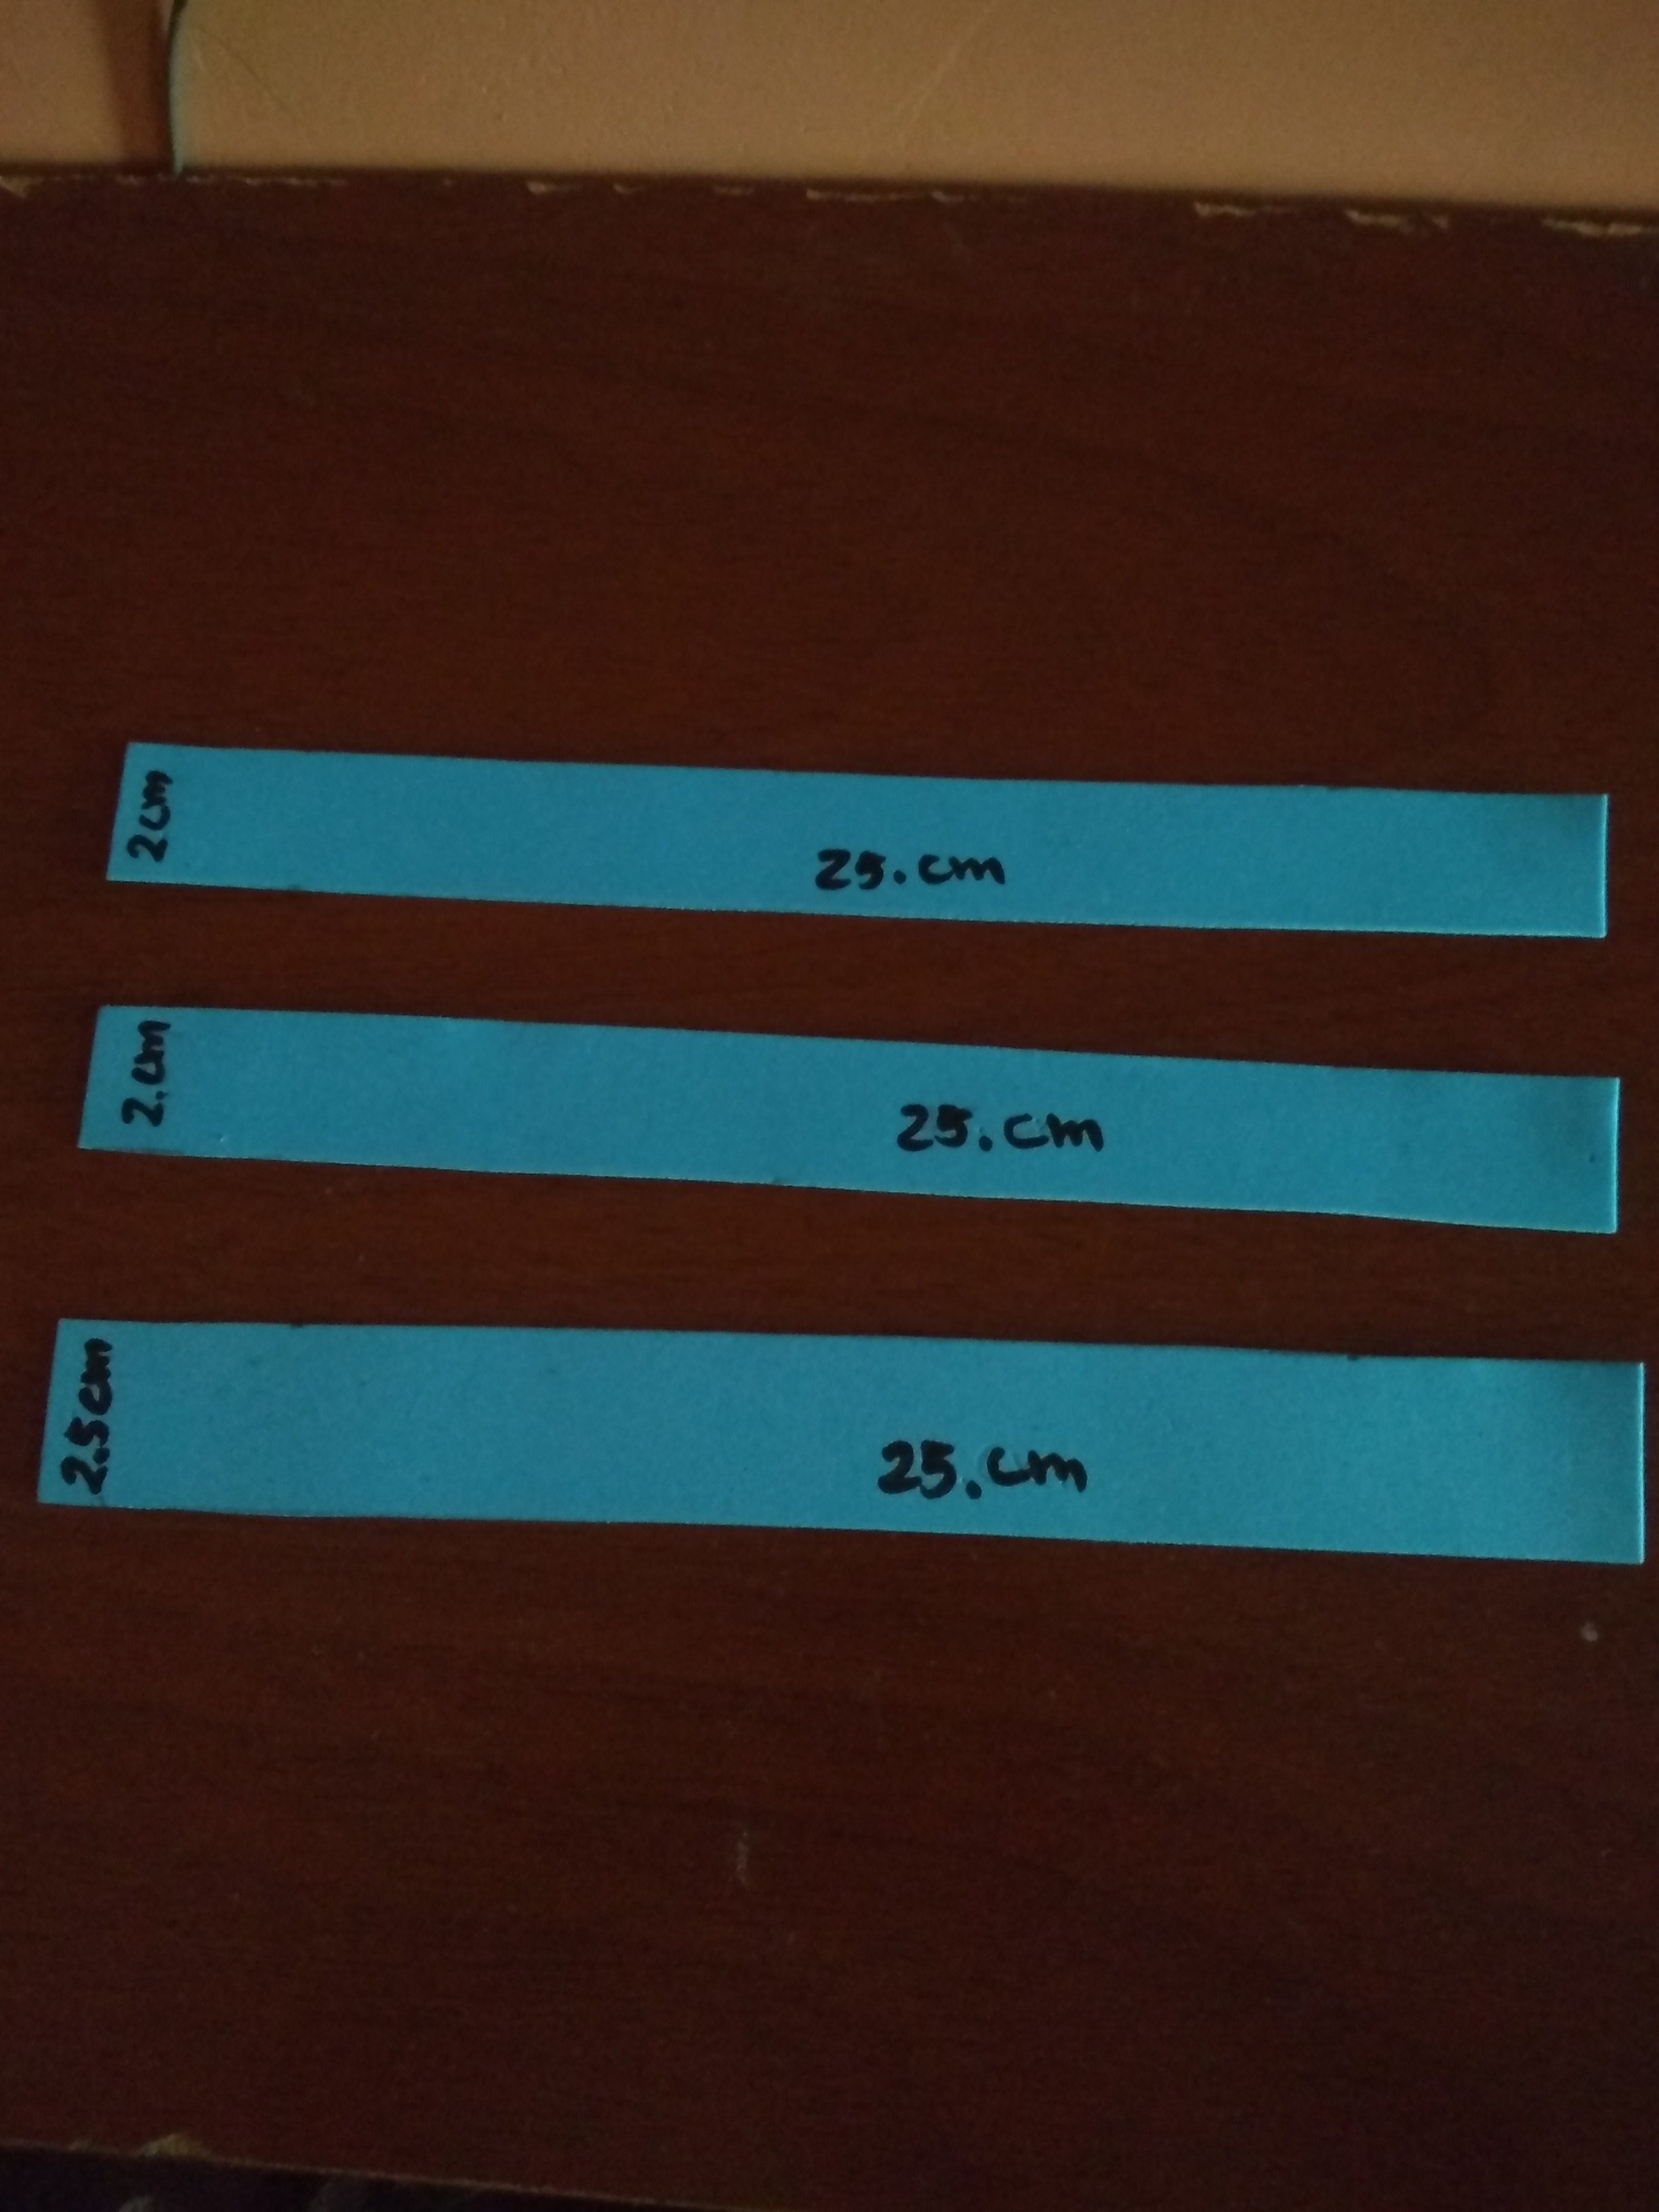
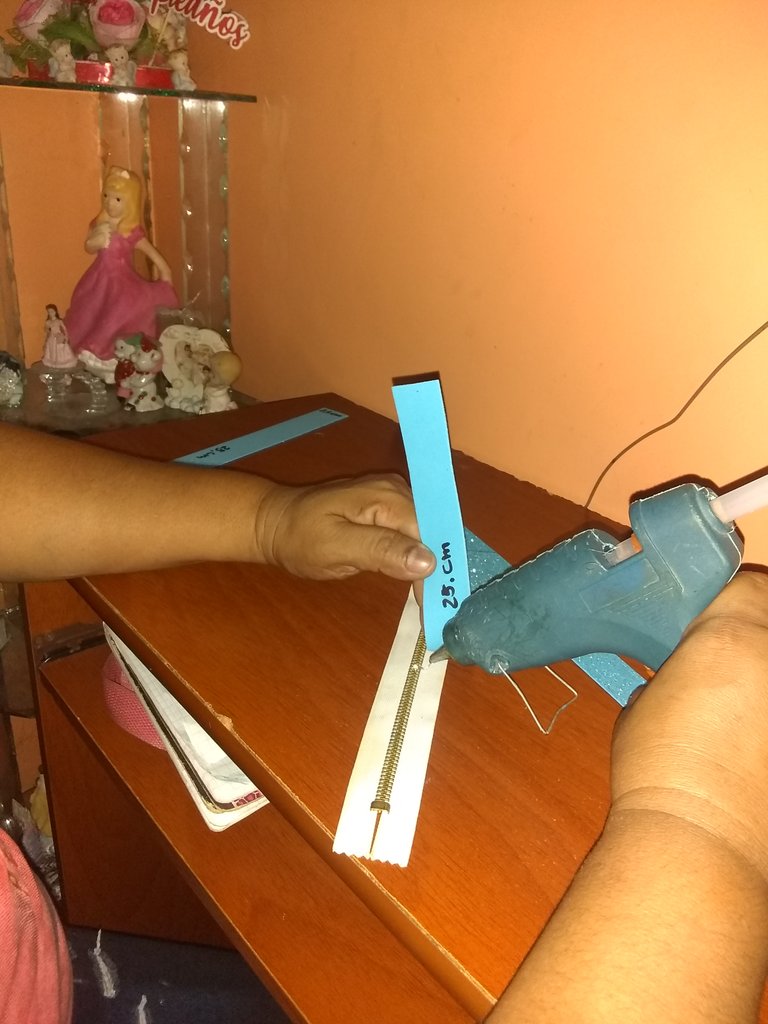
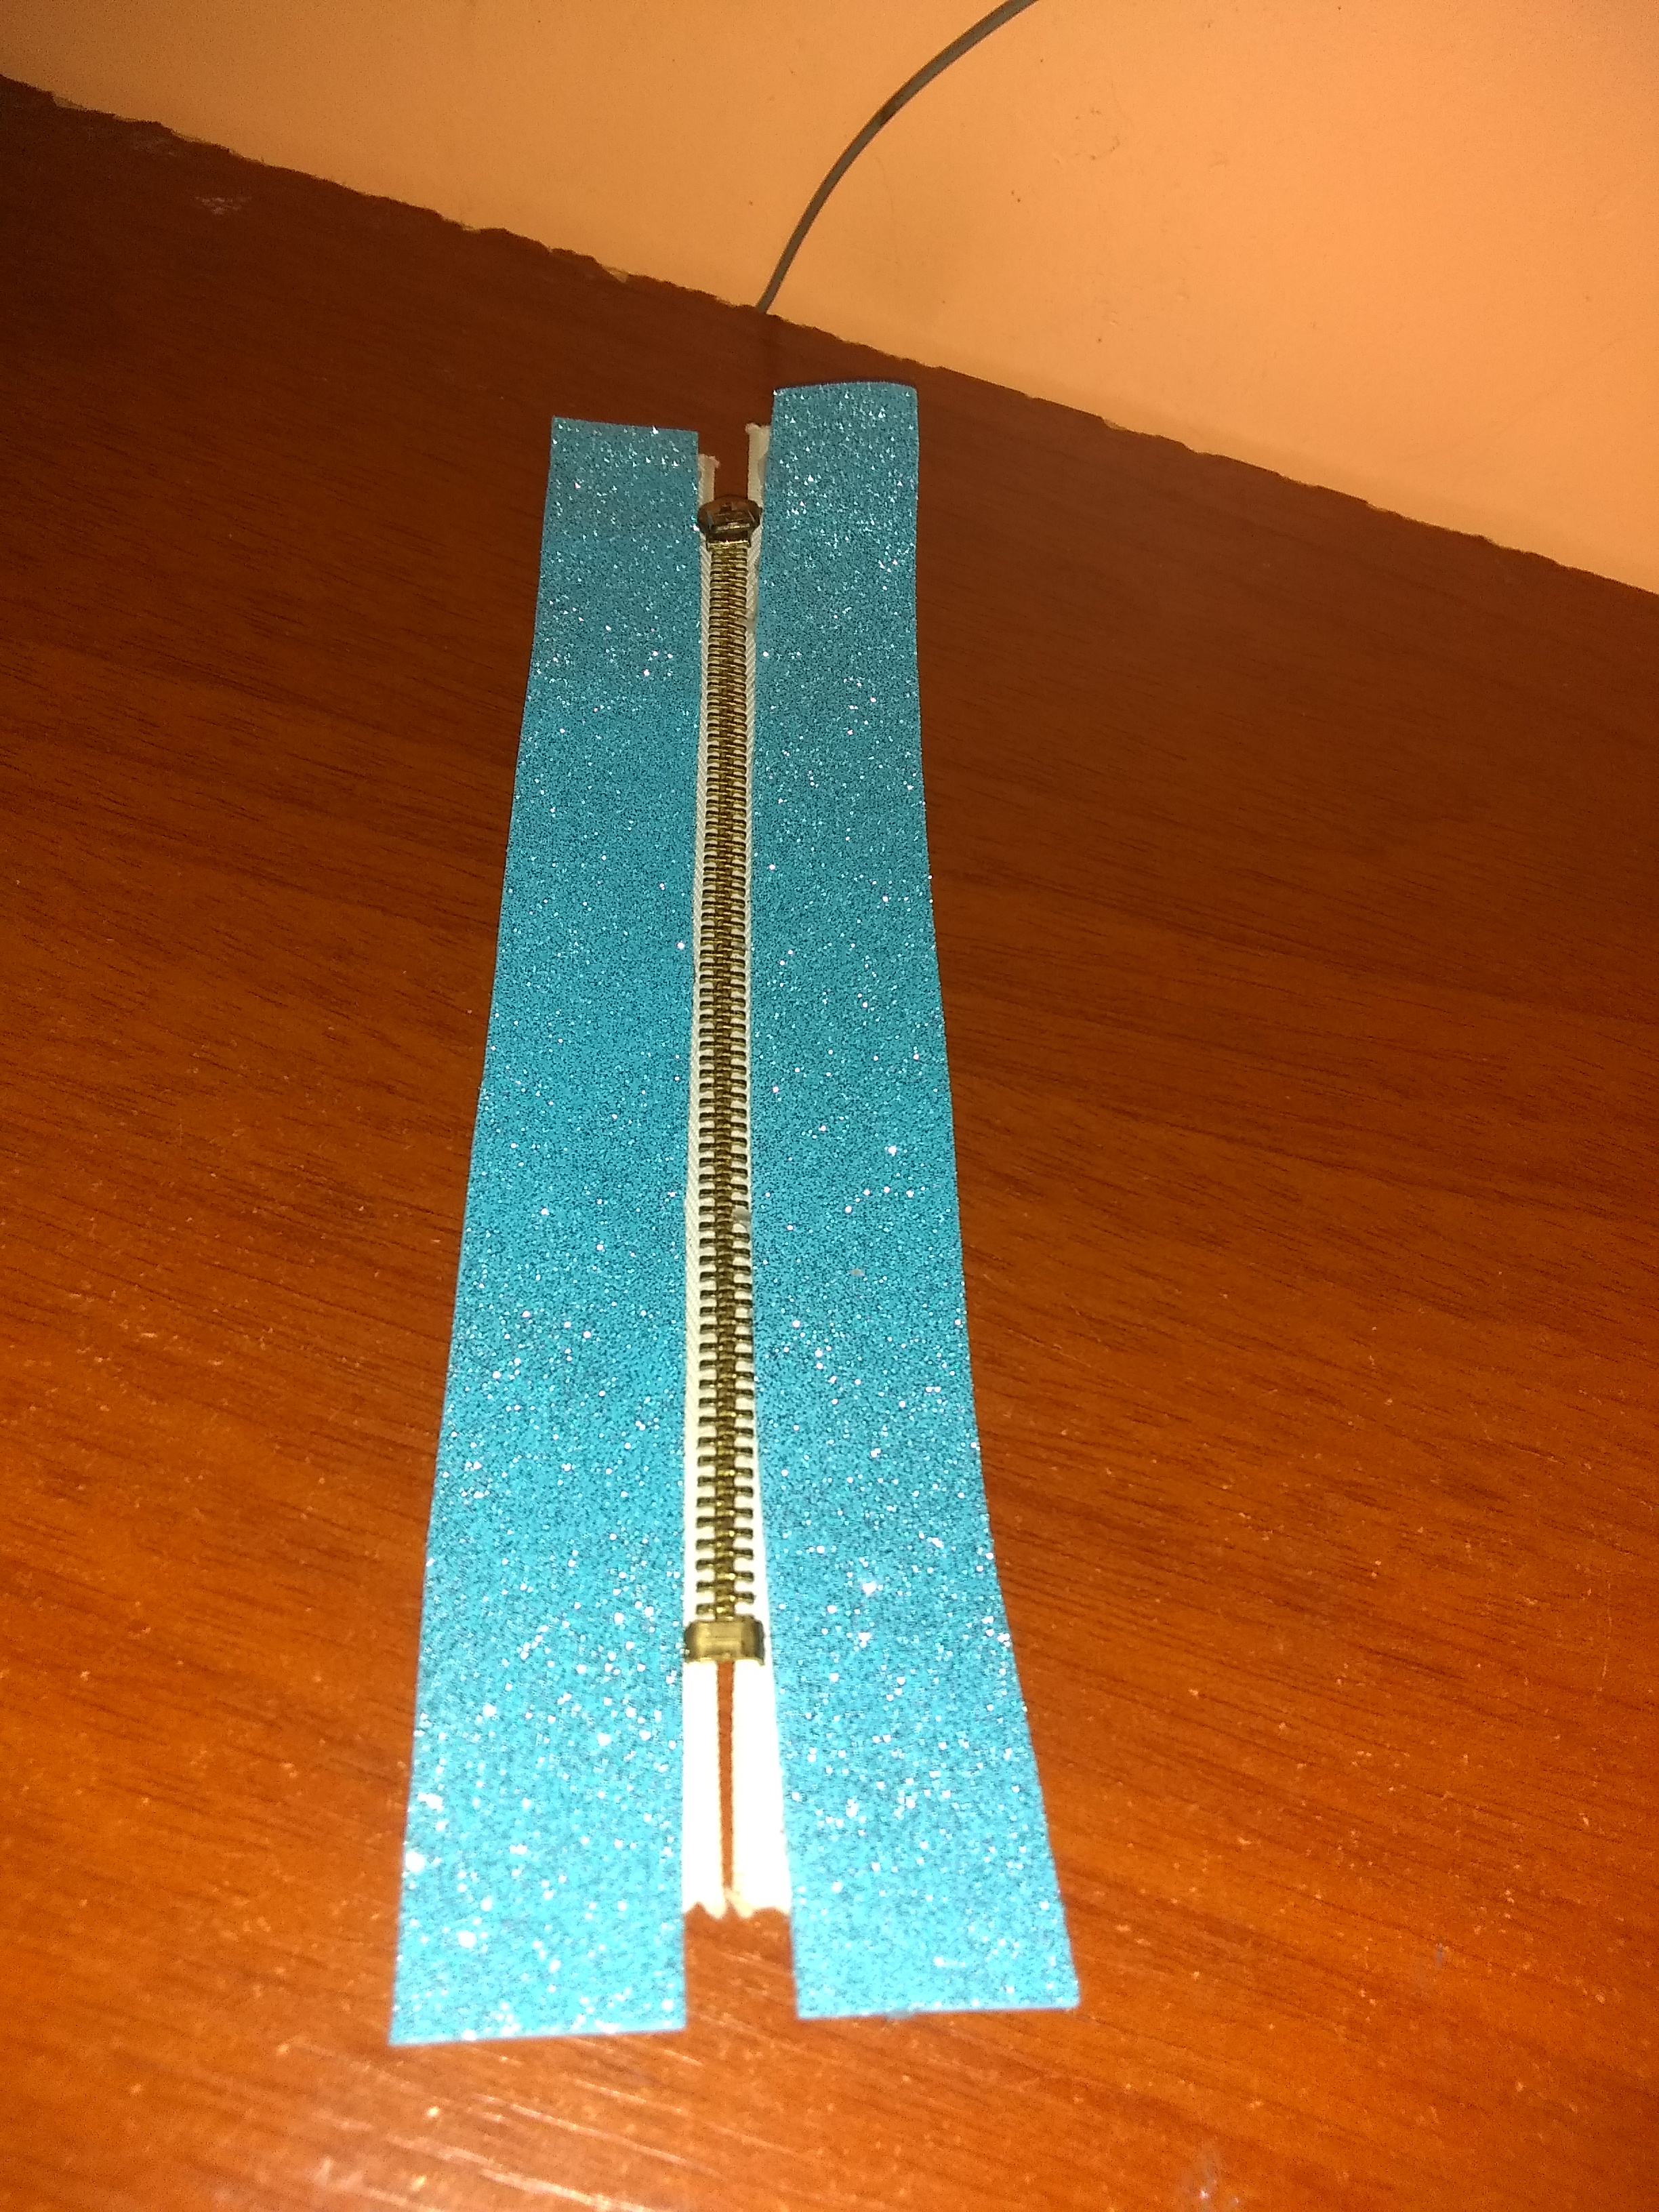
Paso # 1: Primeramente se recorta 3 tiras de goma Eva
2 de 2.0 cm de ancho y 25 cm de largo,
1 de 2.5 cm de ancho y 25 de largo luego tomamos el cierre que tiene como medidas 25 cm de largo y pegamos con silicon caliente el foami.
Step # 1: First cut 3 strips of Eva rubber
2 of 2.0 cm wide and 25 cm long,
1 of 2.5 cm wide and 25 cm long then we take the zipper which measures 25 cm long and we glue with hot silicon the foami.
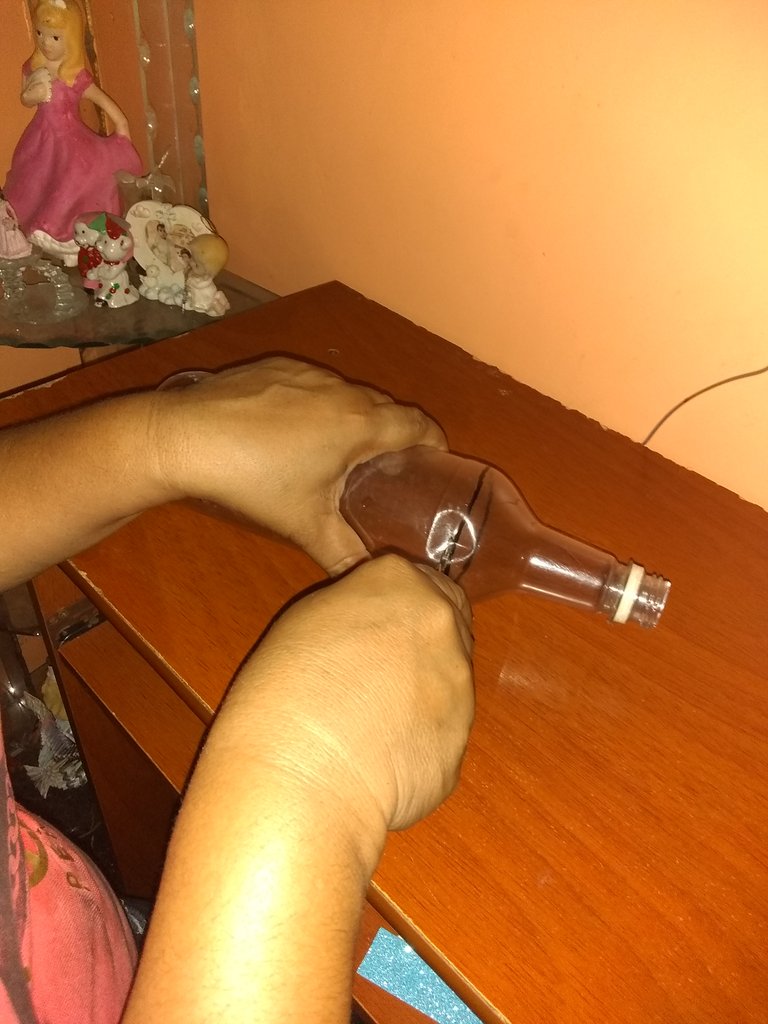
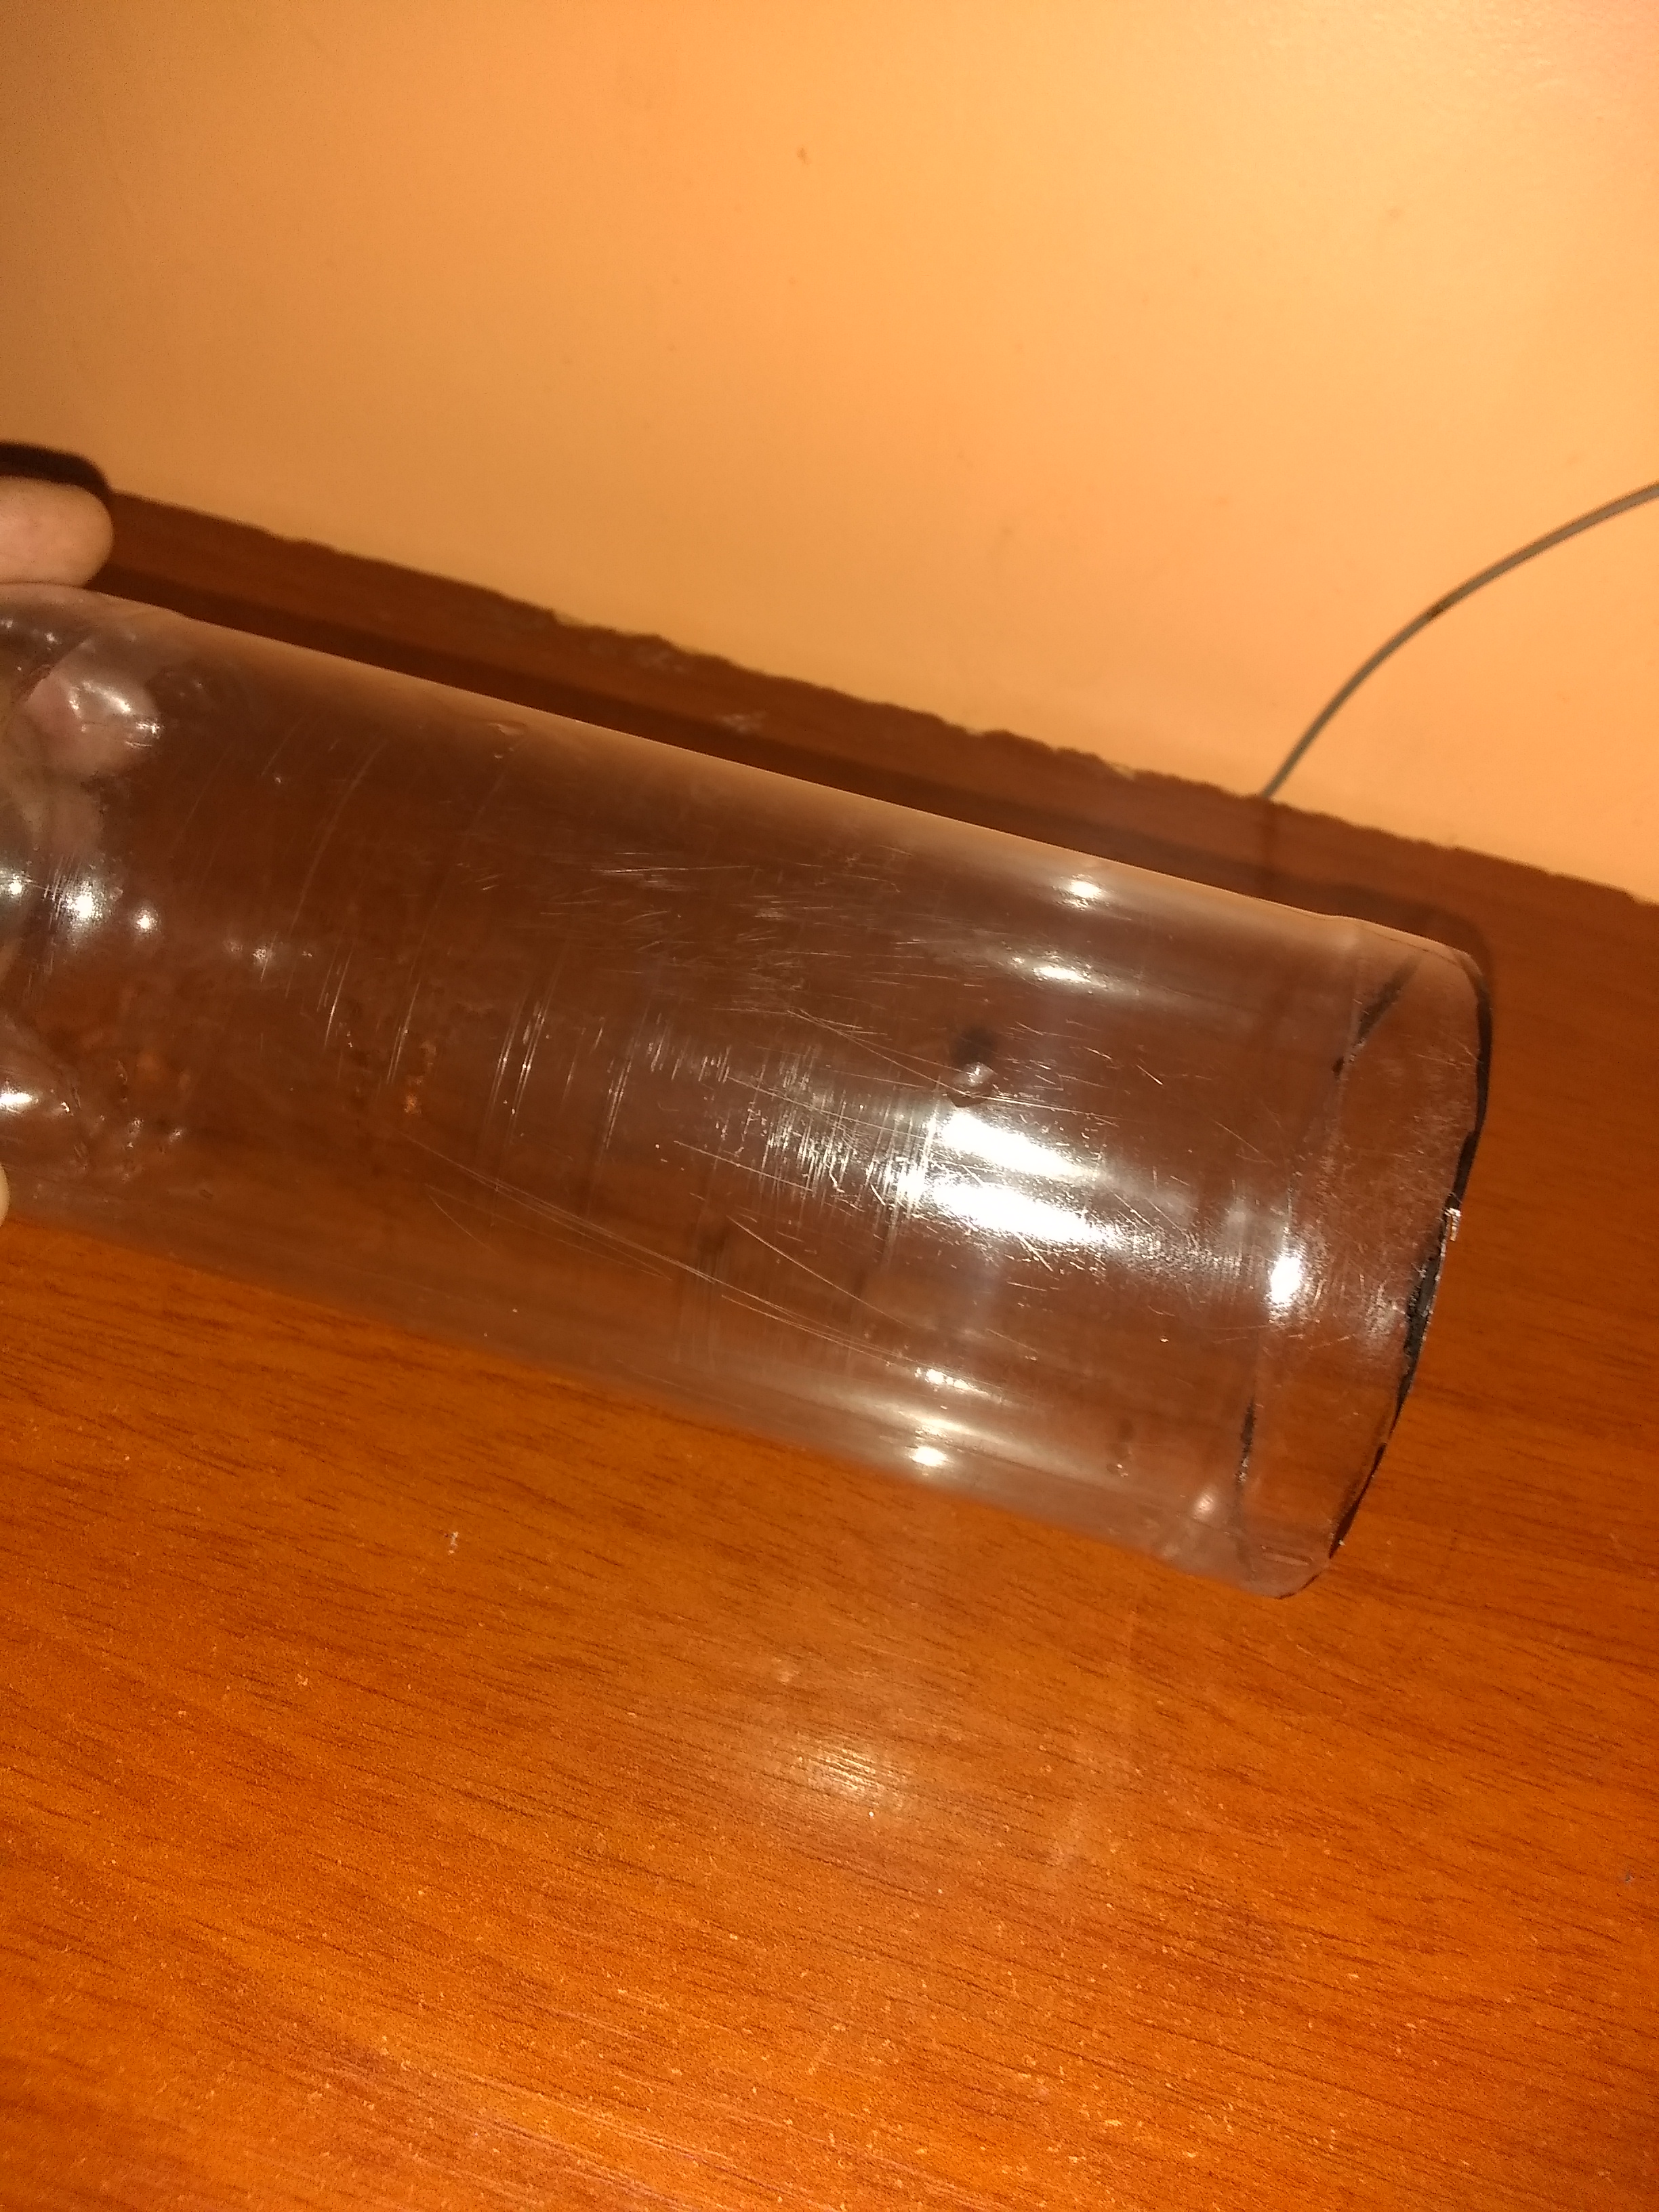
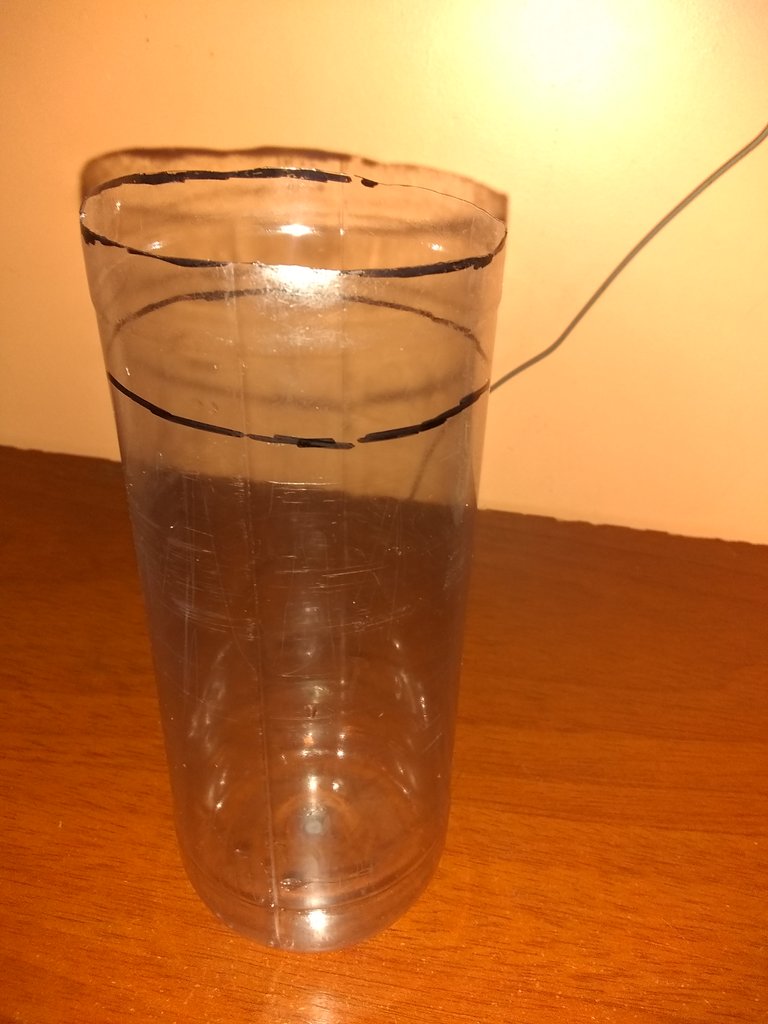
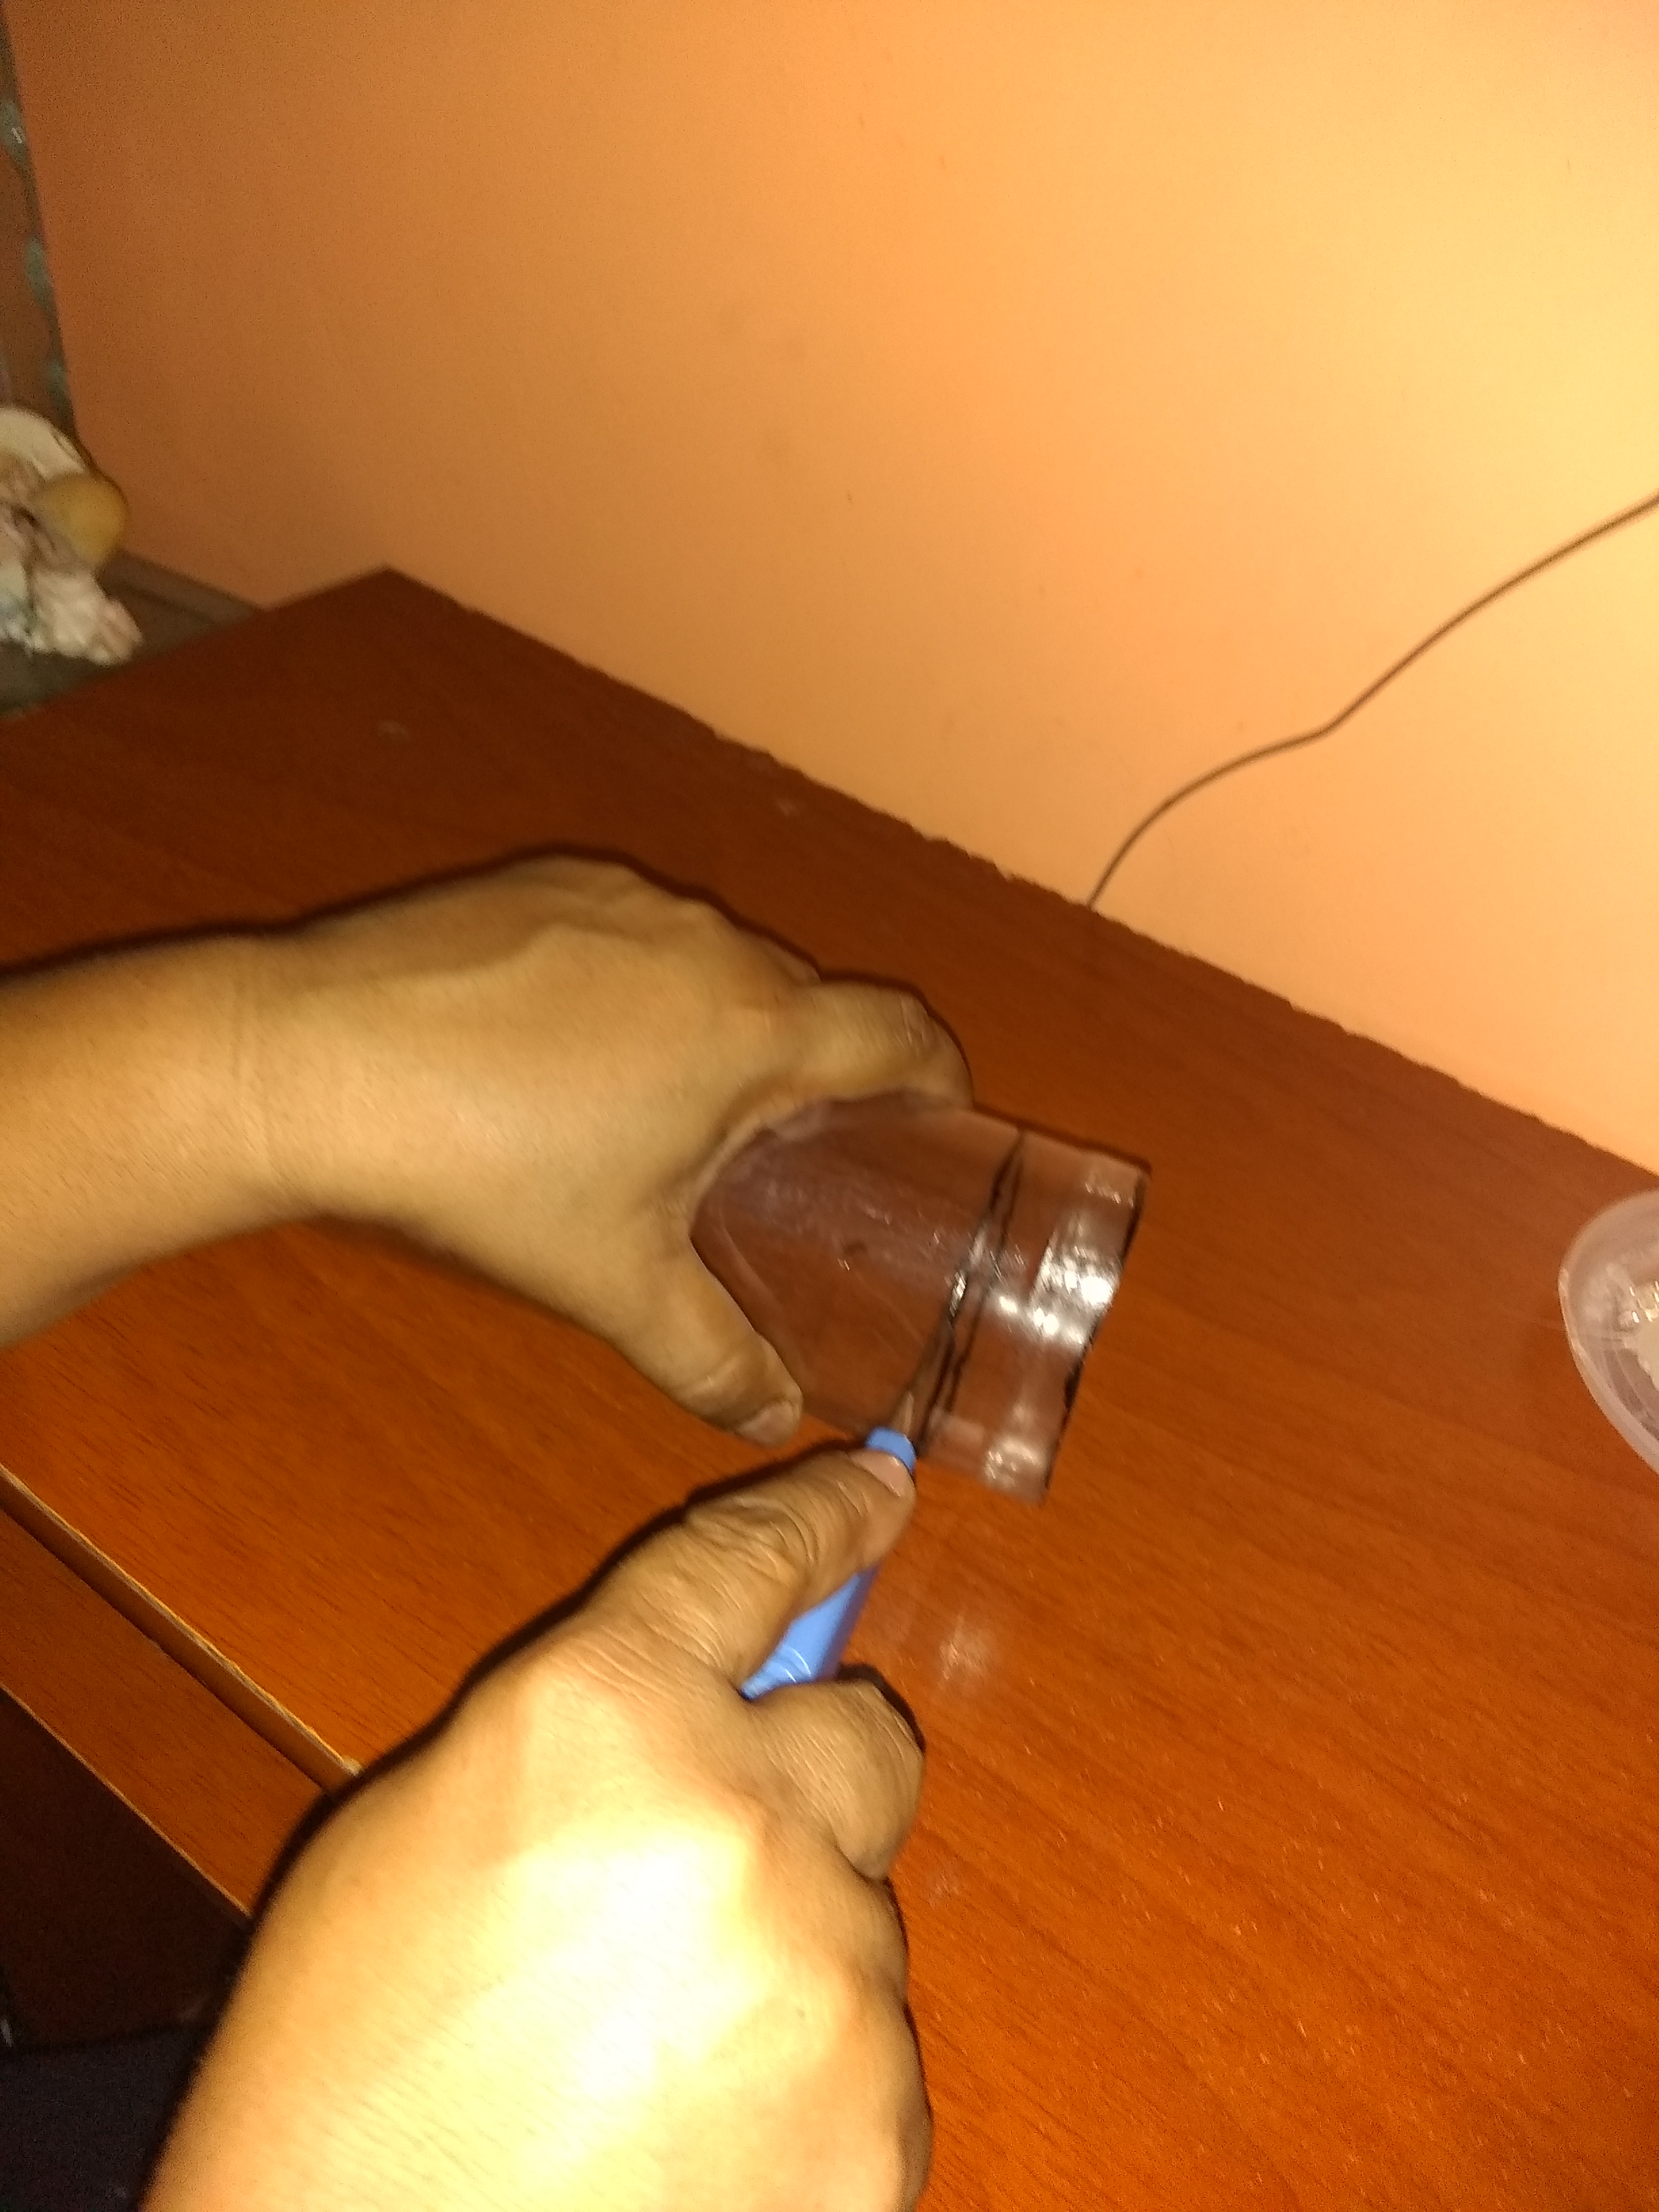
Paso# 2: Ahora vamos a medir 18 cm de largo de la botella y remarcamos luego recortamos con un cutter, después subraya 2.0 cm de ancho al rededor de la botella y recorta otra ves.
Step # 2: Now we measure 18 cm length of the bottle and mark it, then cut it with a cutter, then underline 2.0 cm width around the bottle and cut it again.
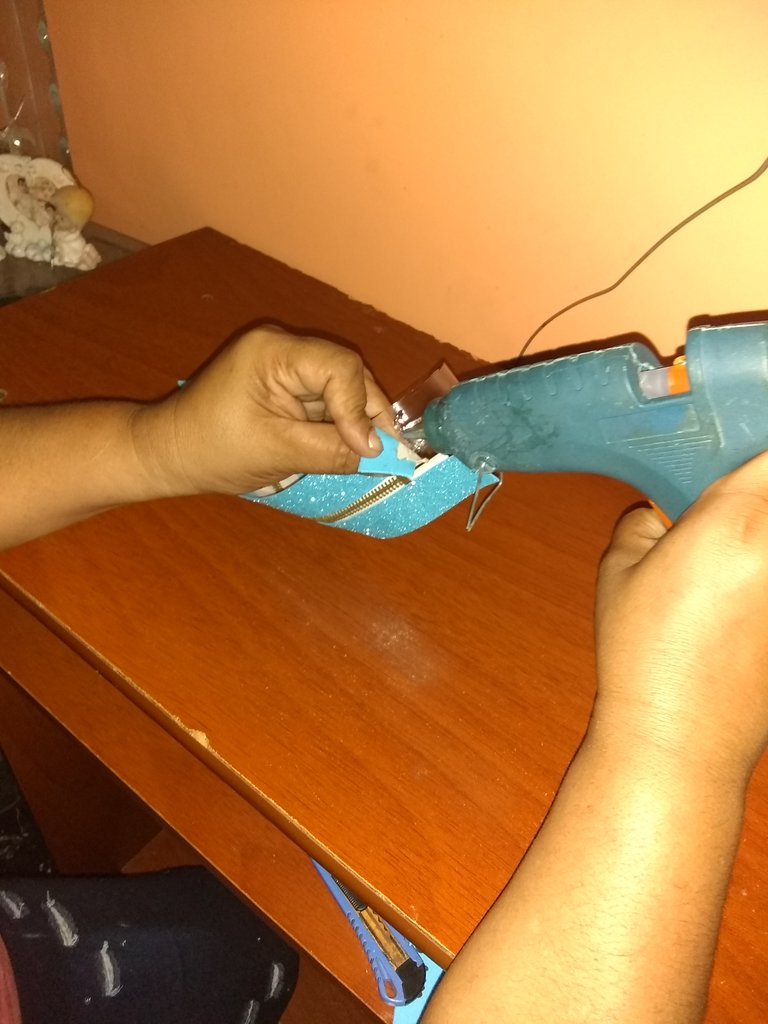

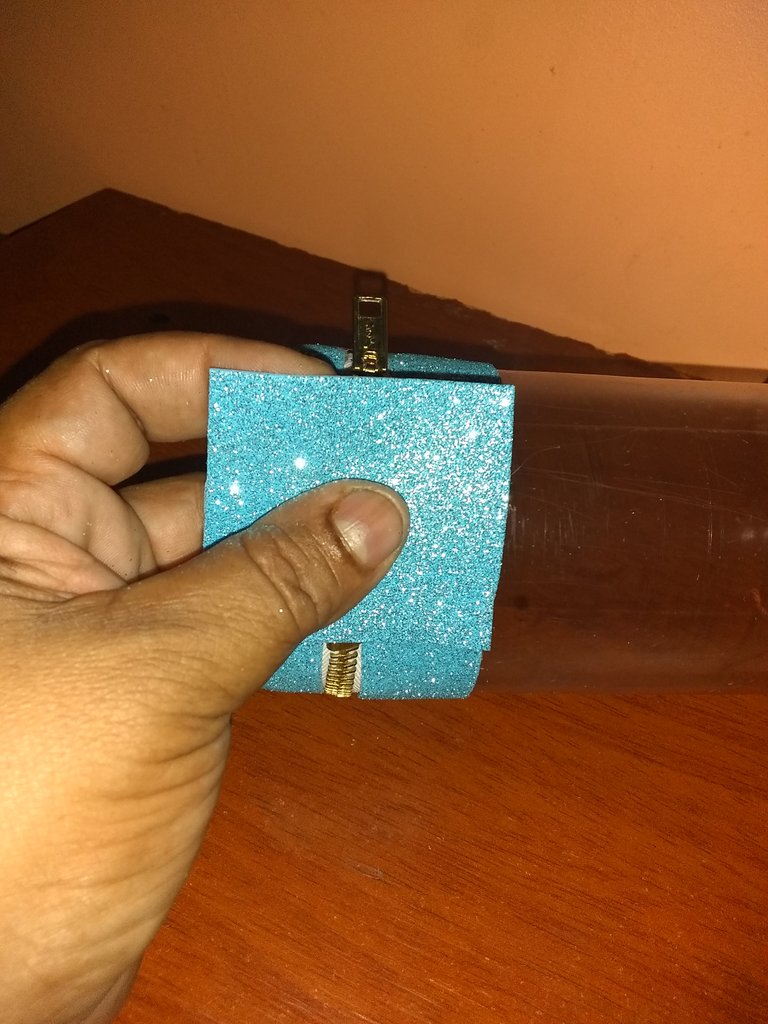
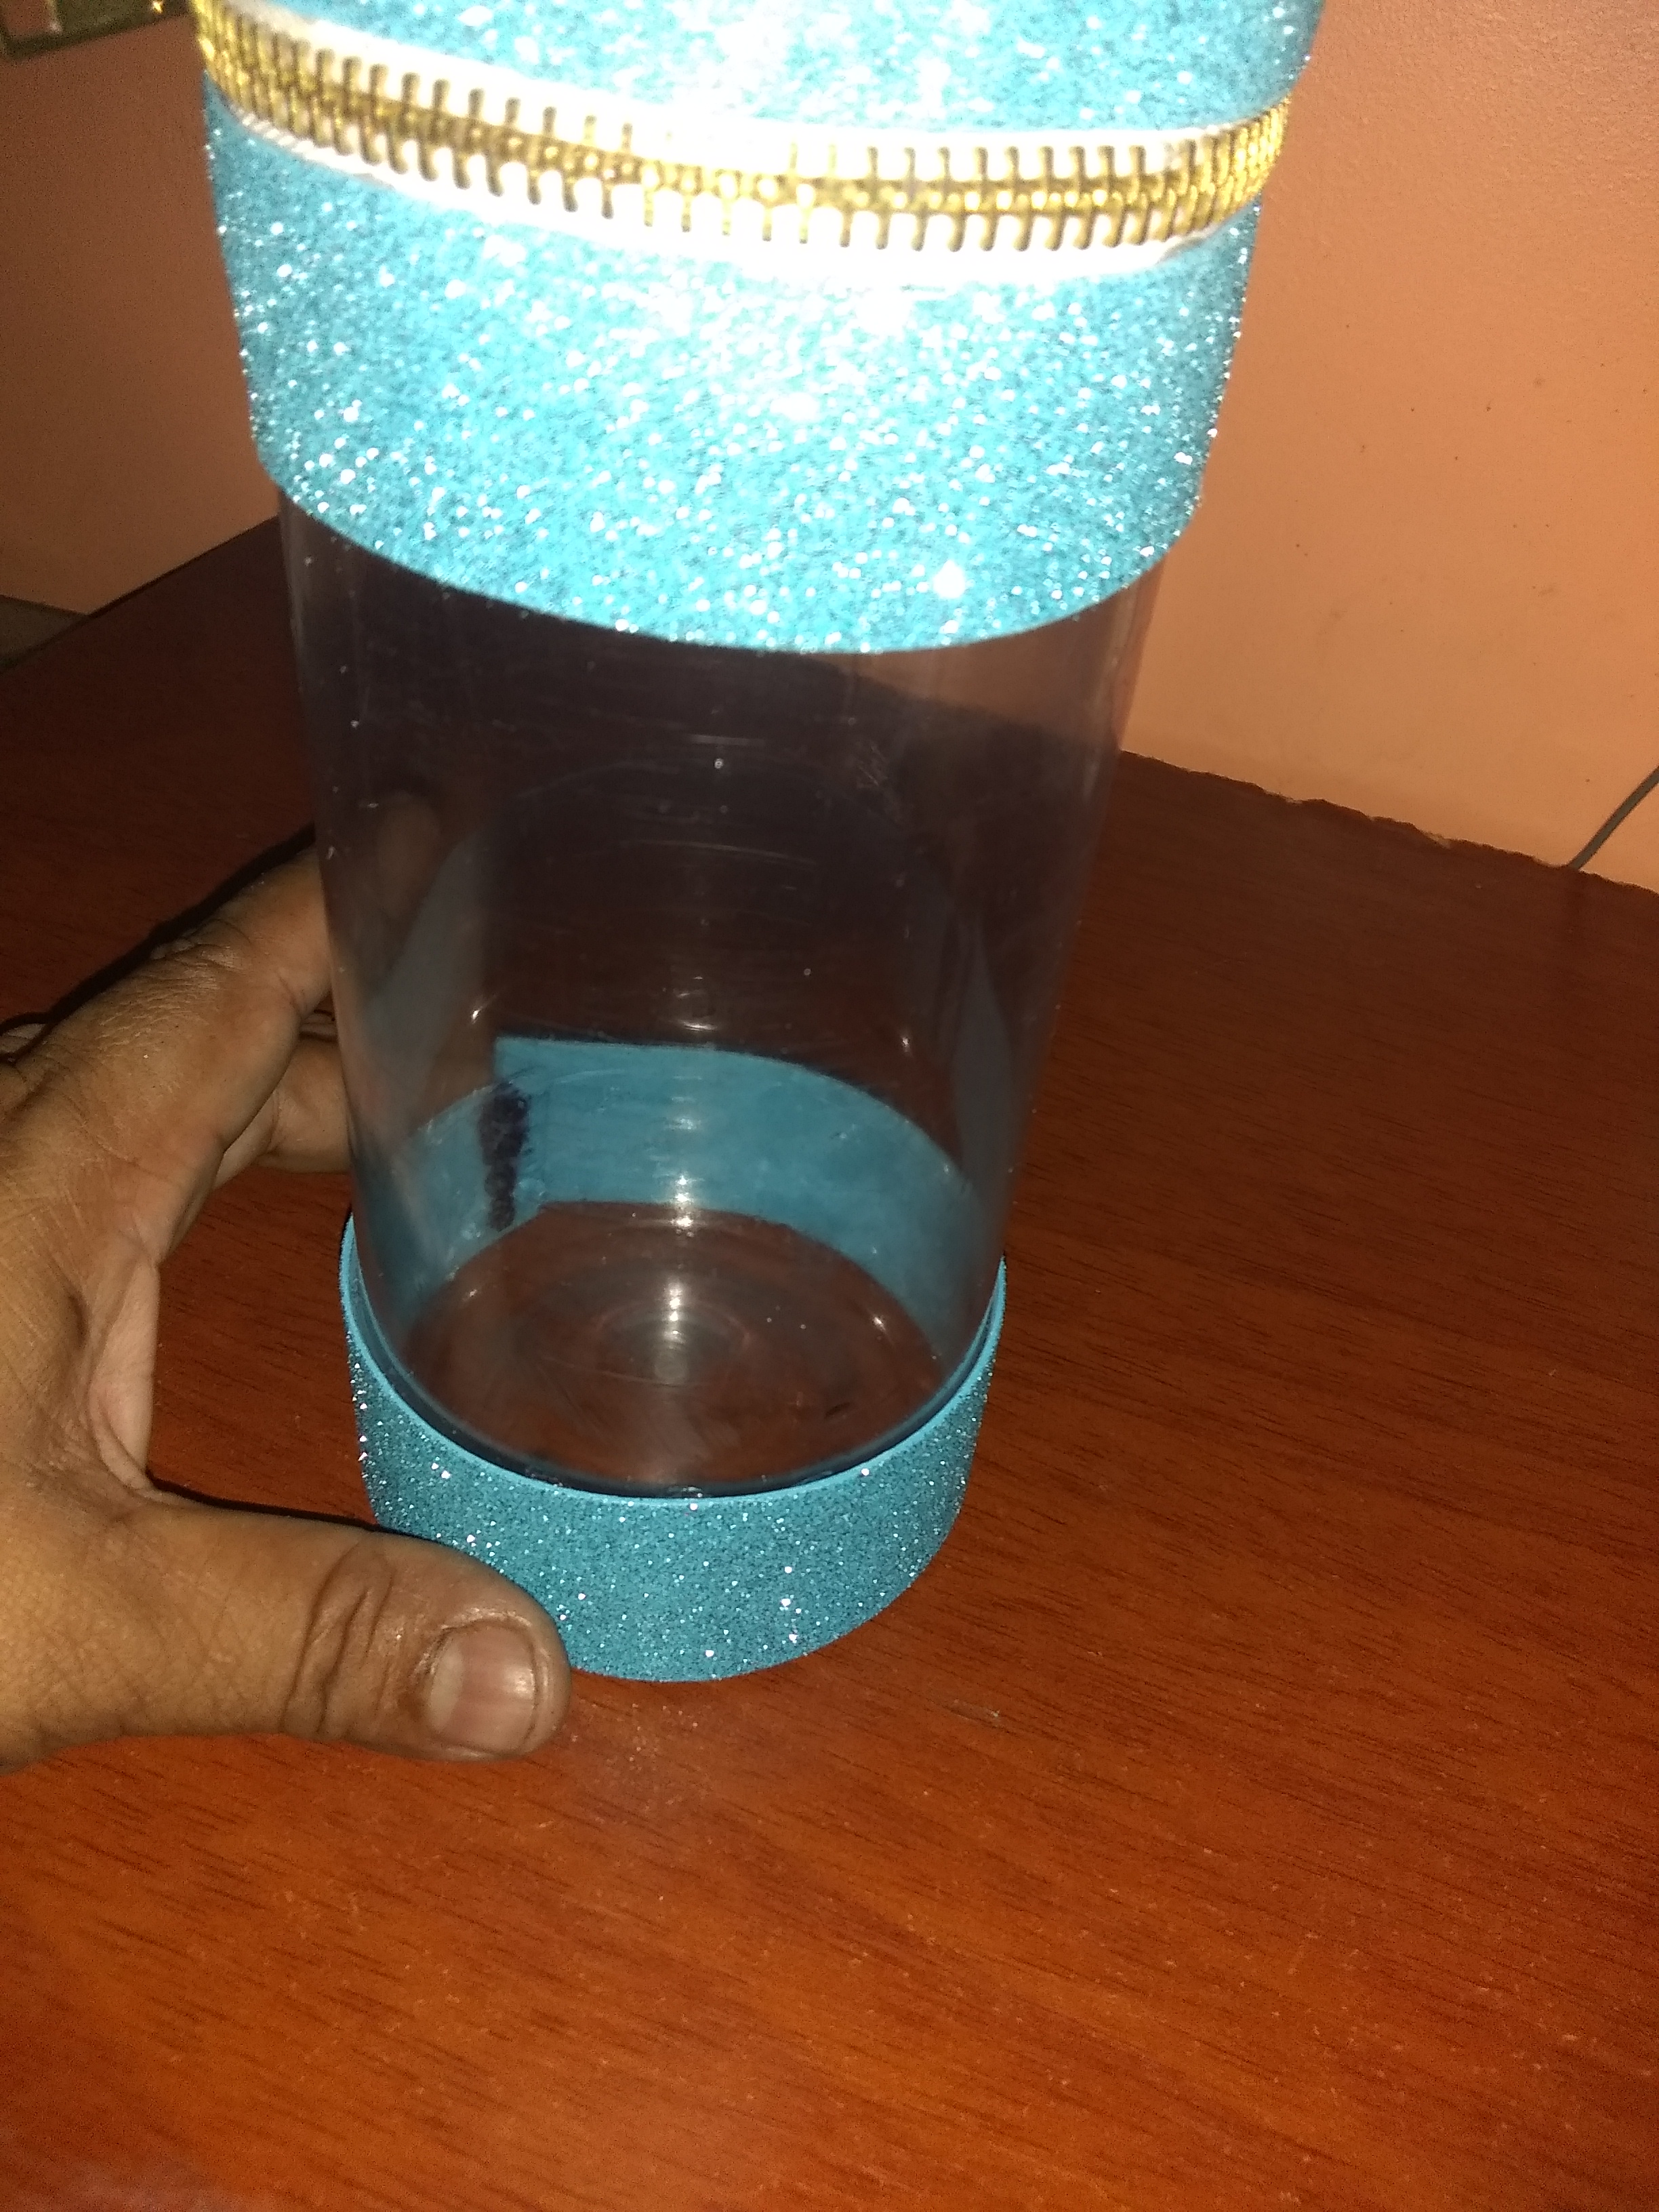
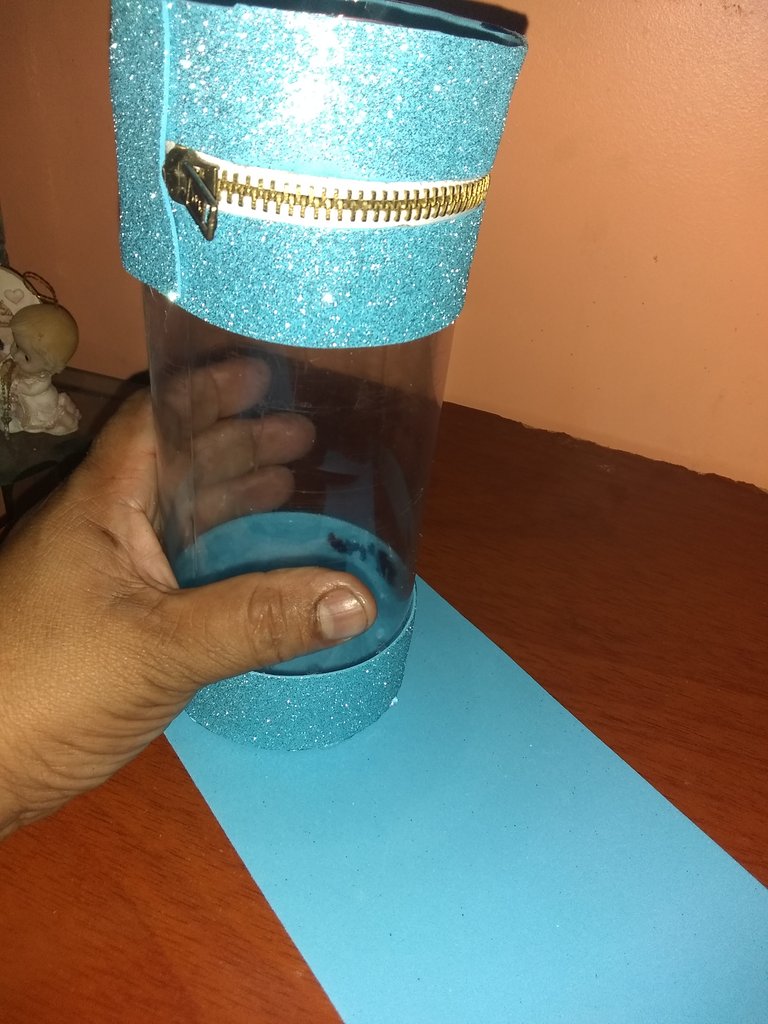
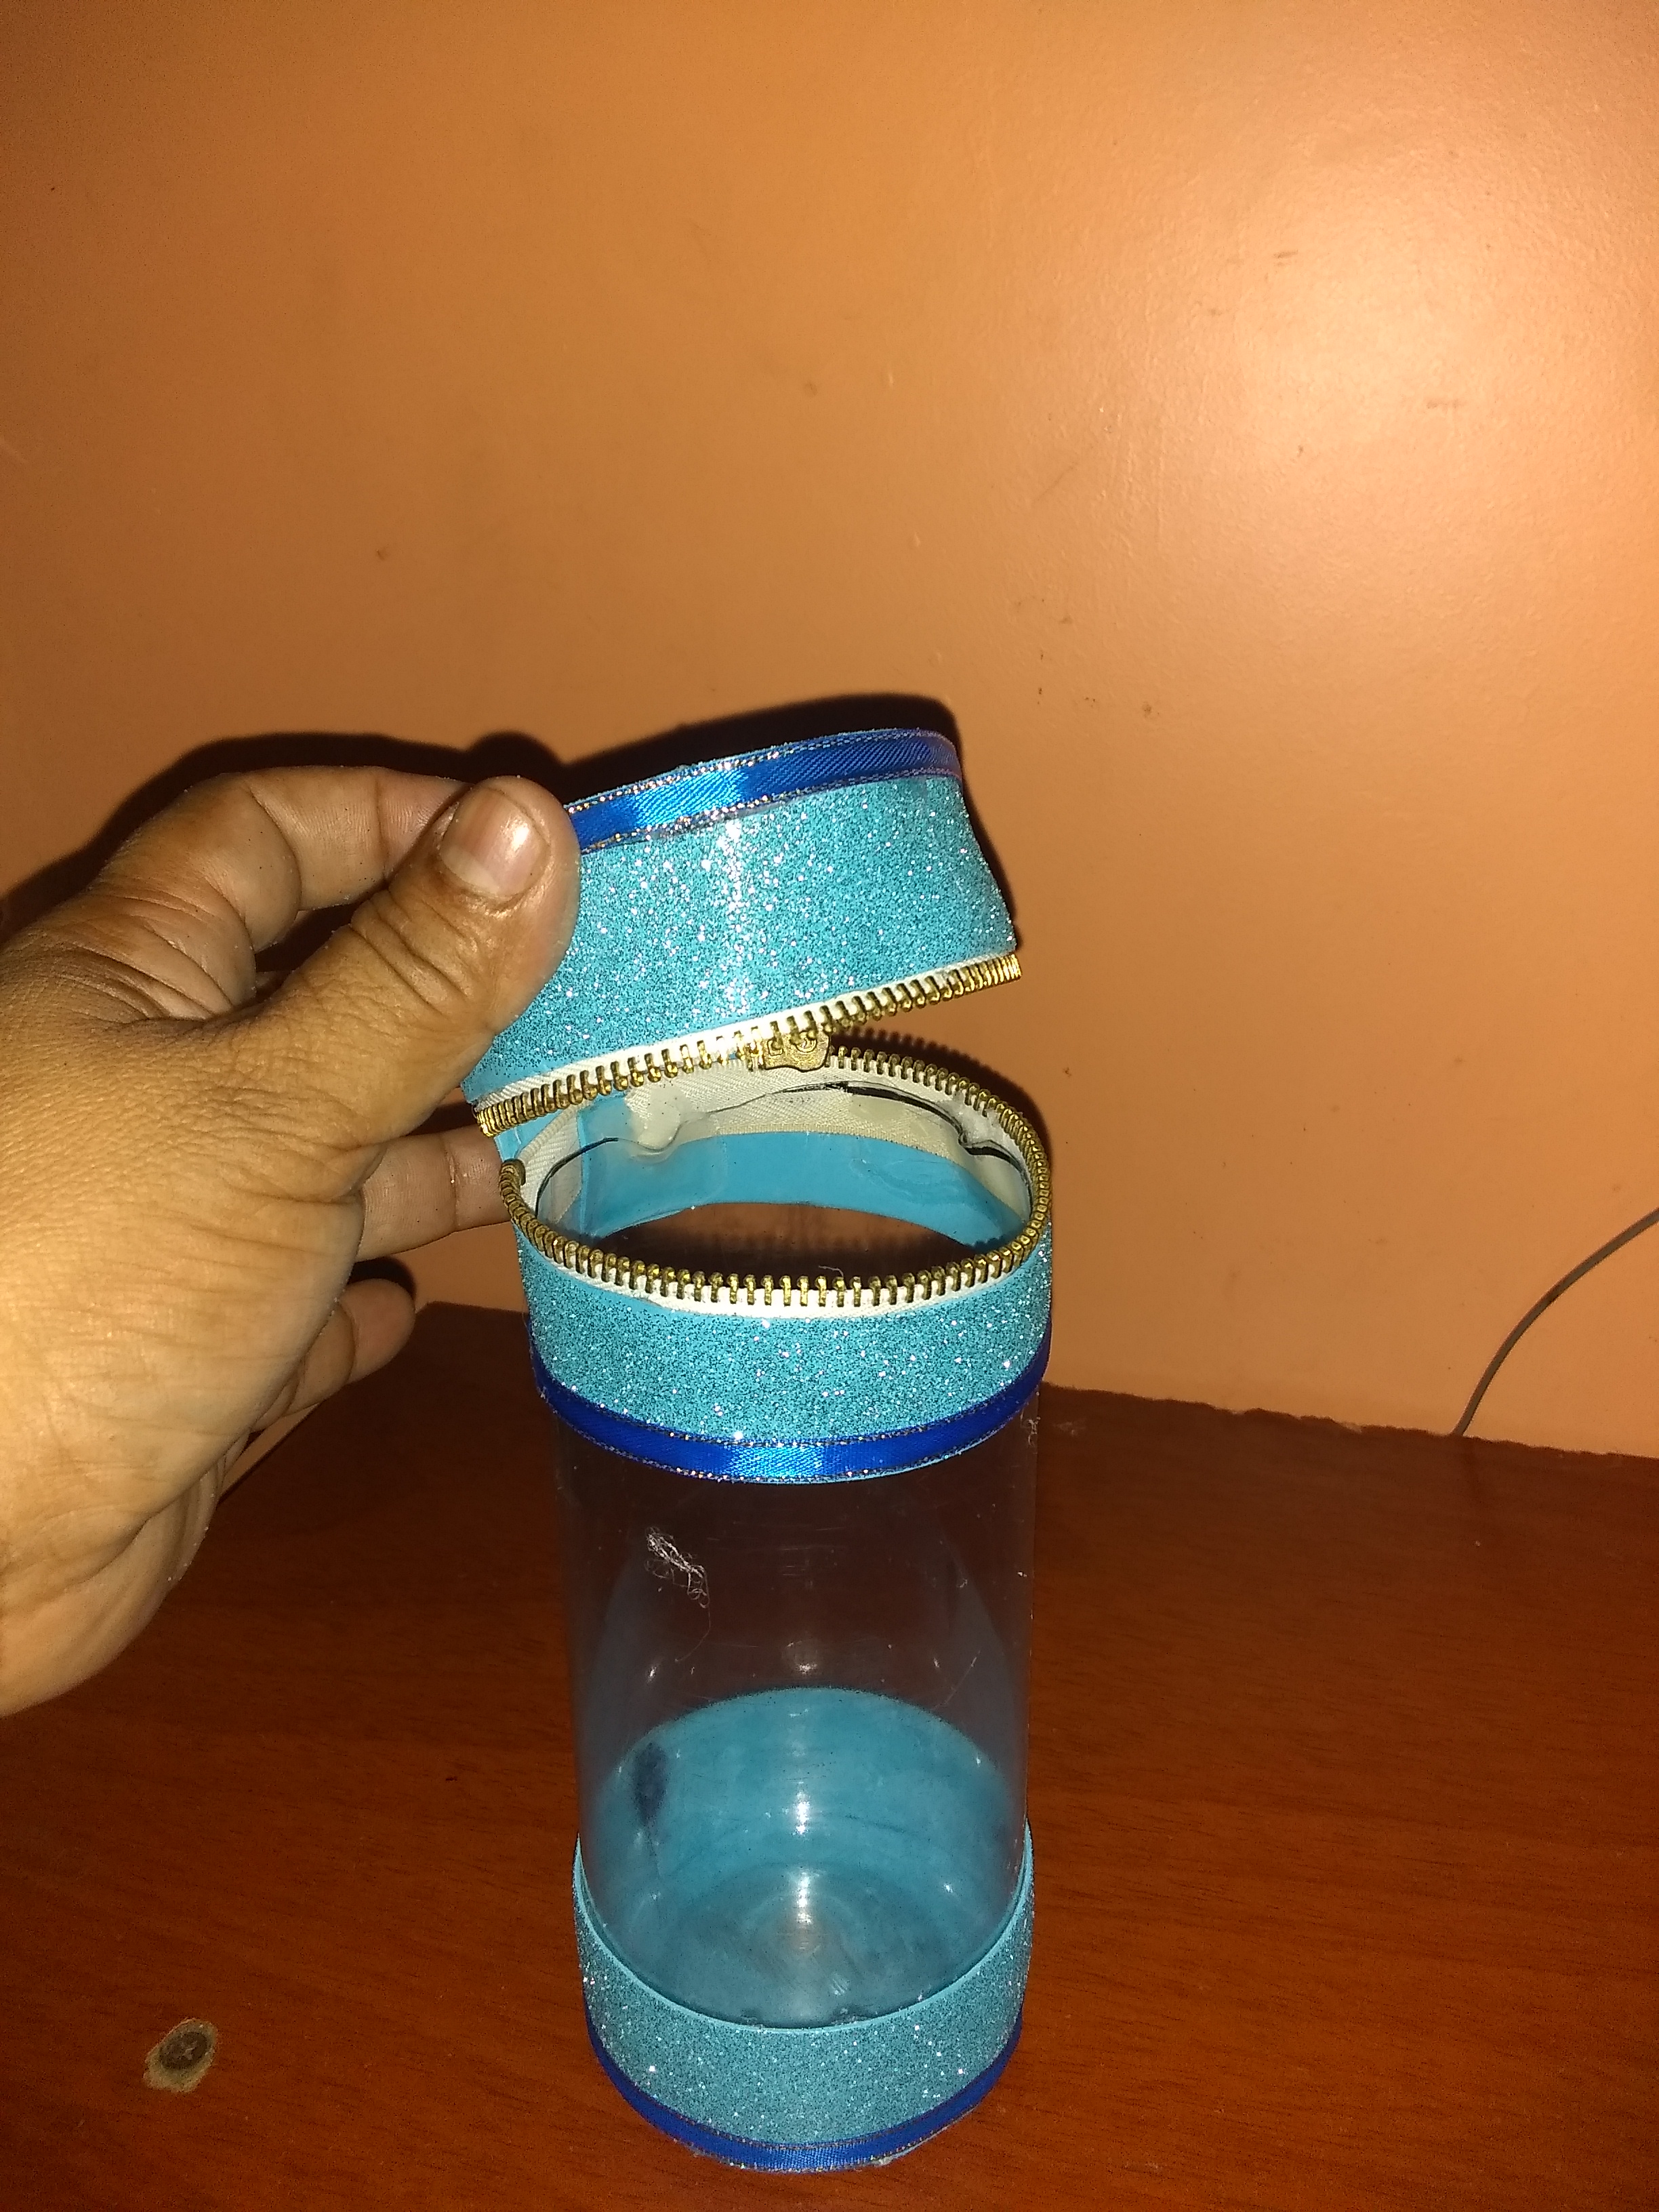
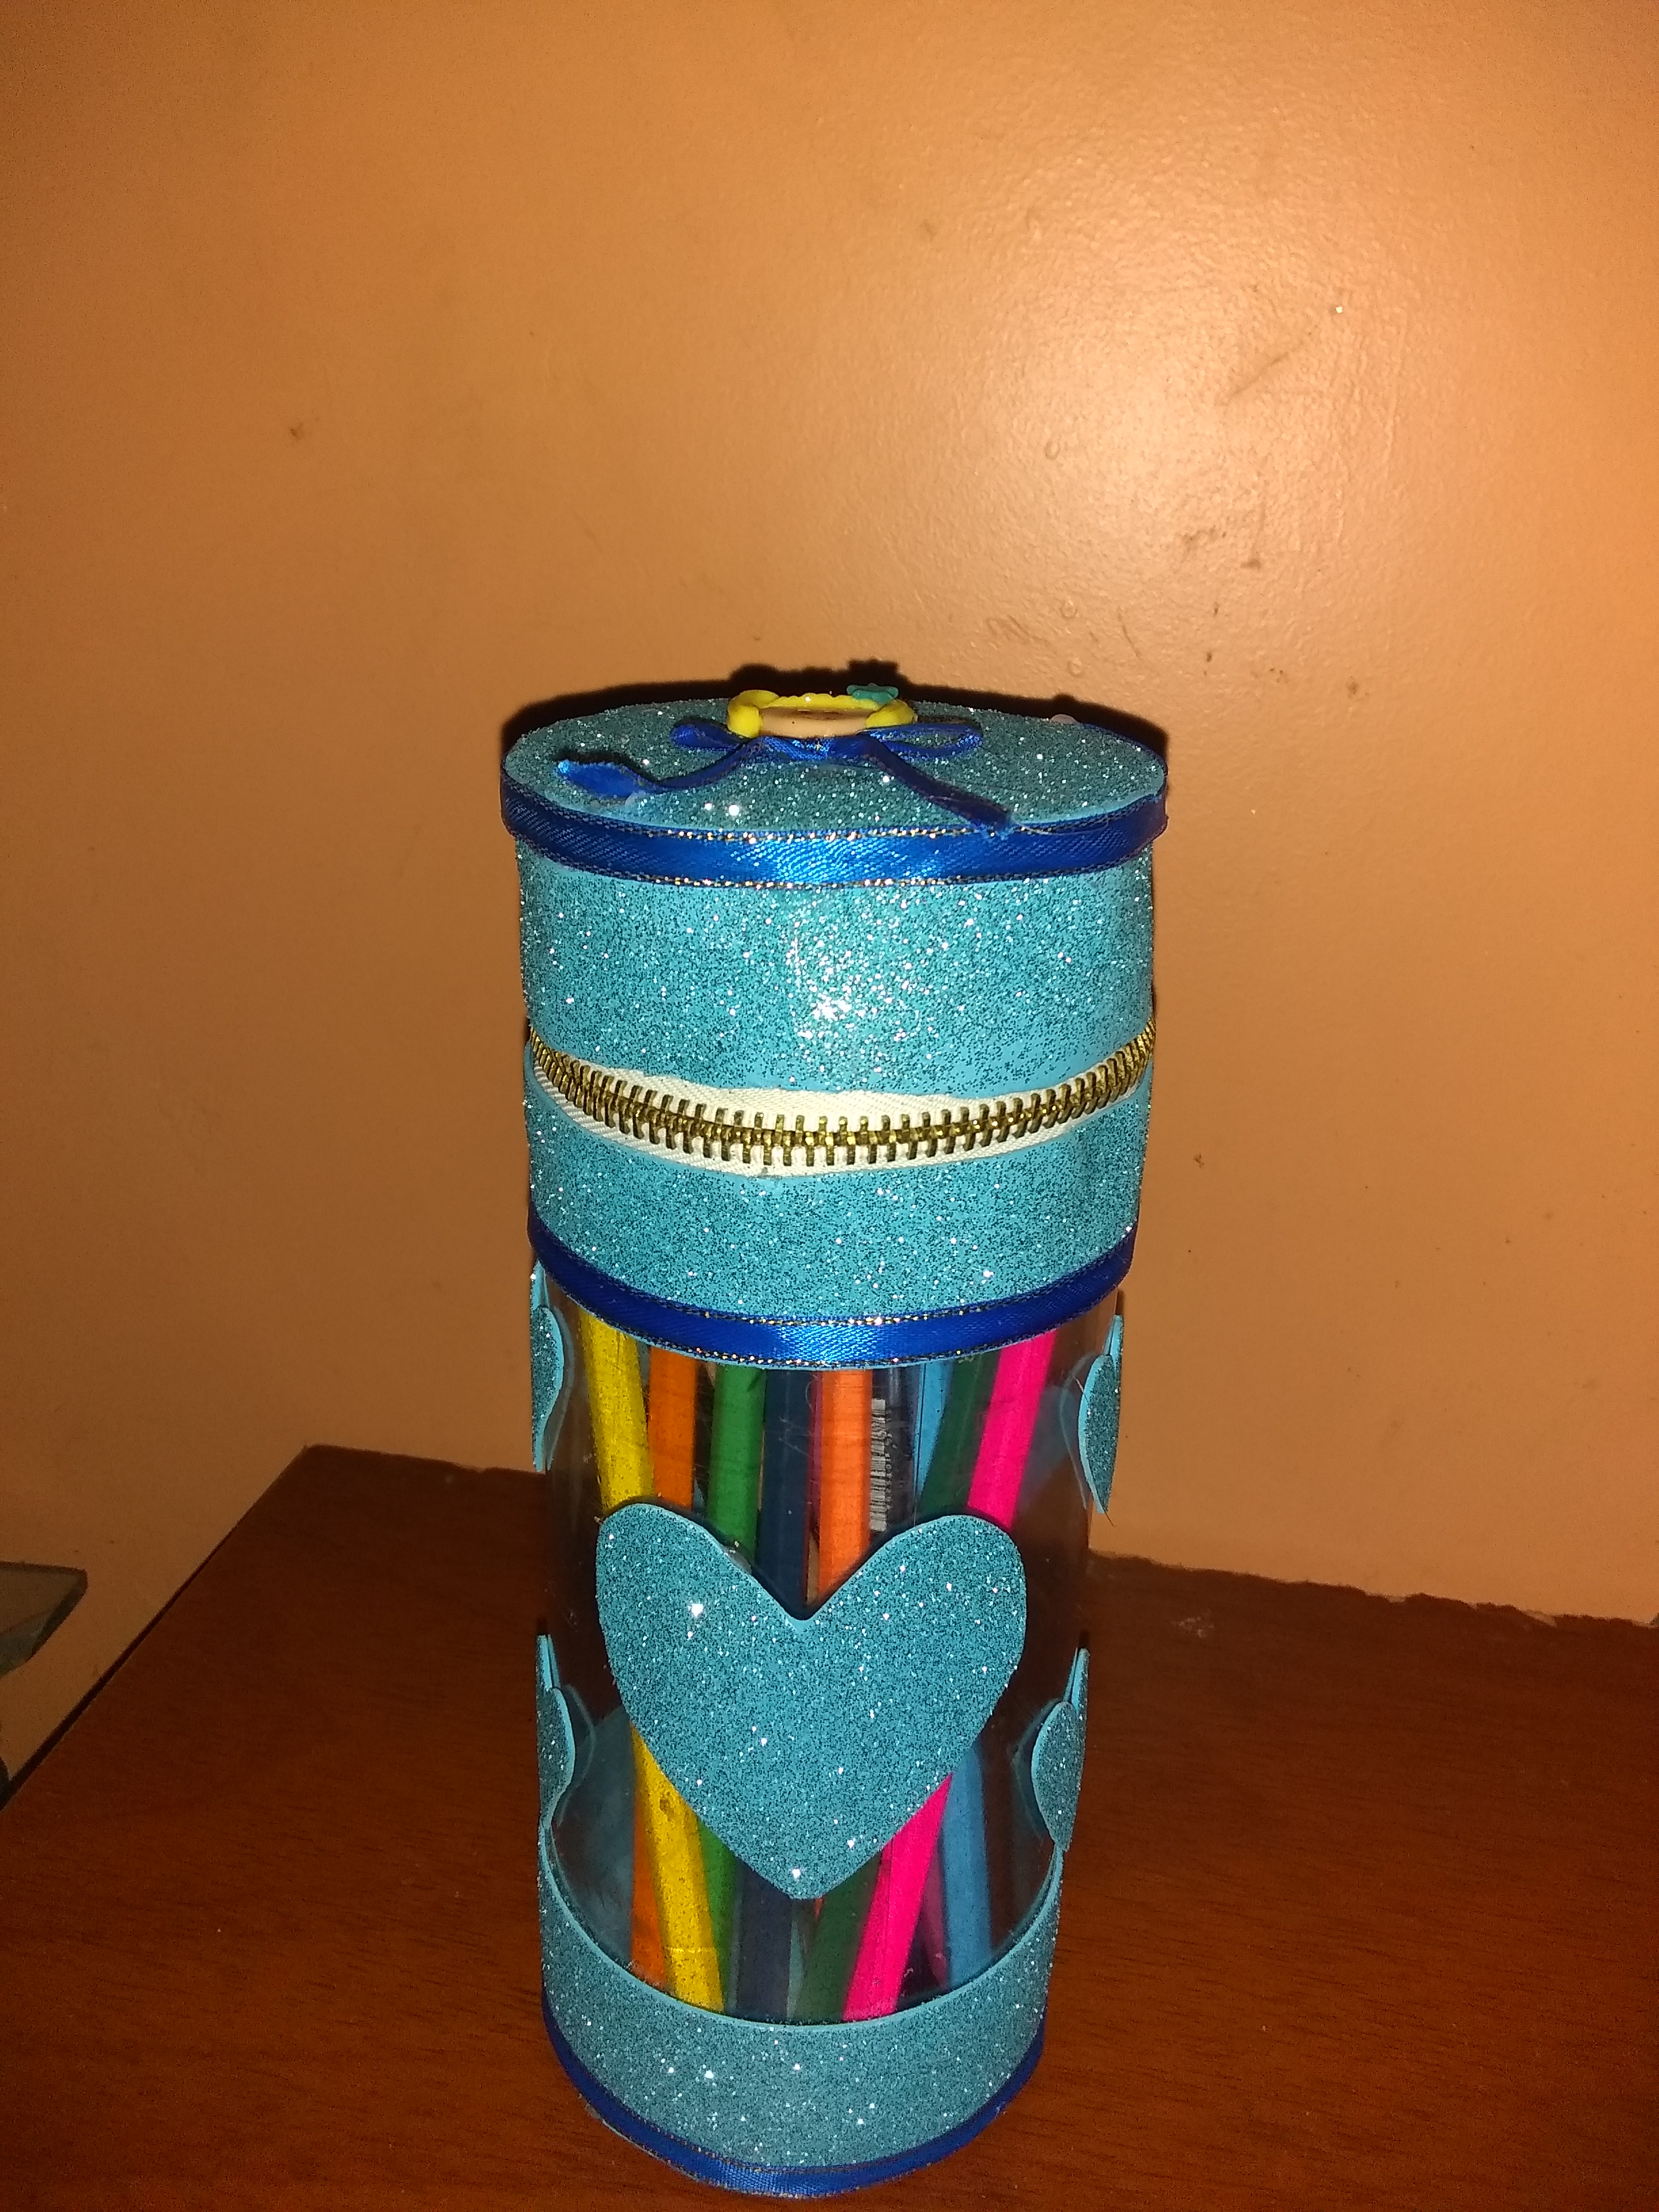
Paso # 3: Tomamos el circulo de 2 cm de la botella y pegamos el cierre con silicona caliente luego el otro extremo lo pegas en la botella , con un trocito de goma Eva hacemos un acabado en el cierre nos debe de quedar así, después la otra tira la pegamos en la parte inferior, ahora nos dirigimos a tapar los dos lados abiertos con un circulo de foami y cartón y listo ya tenemos un estuche para los lapices con material de provecho, después podremos decórala a nuestra preferencia yo utilice una cara de niña un laso pequeño y muchos corazones.
Step # 3: We take the 2 cm circle of the bottle and glue the closure with hot silicone then the other end you glue it on the bottle, with a piece of Eva rubber we make a finish on the closure we should be like this, then the other strip we glue it at the bottom, now we go to cover the two open sides with a circle of foami and cardboard and ready we have a pencil case with useful material, then we can decorate it to our preference I used a girl's face a small laso and many hearts.
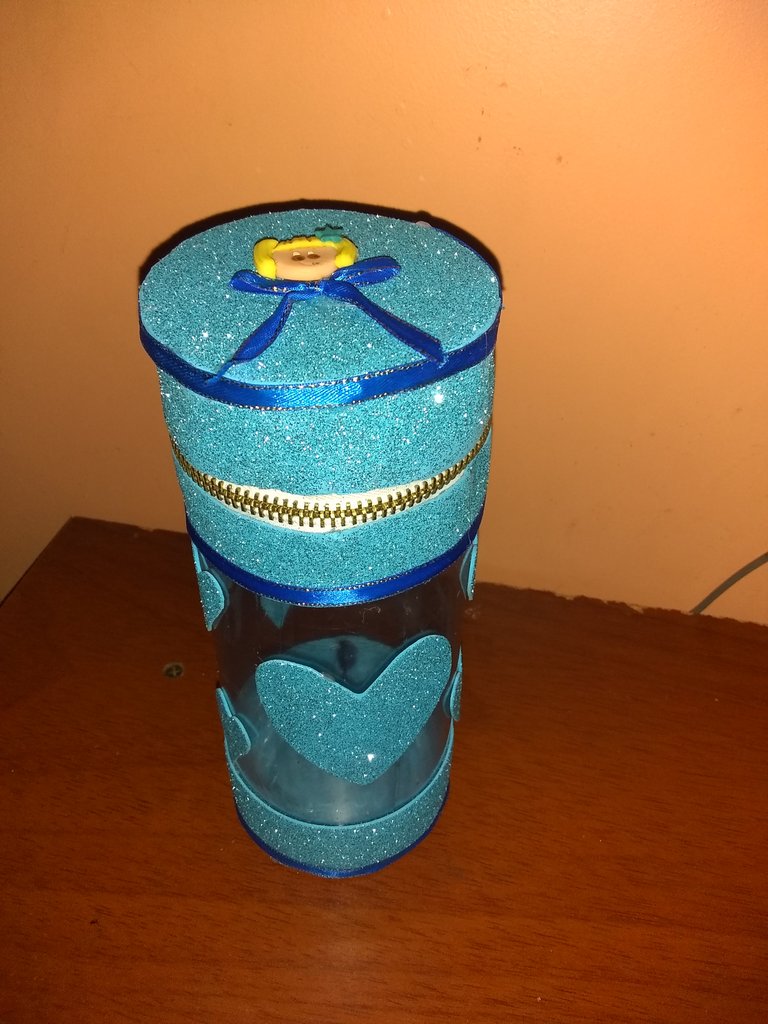
Thank you for seeing my posts, many blessings to all, see you later.
All the photos are my own, taken from my Motorola moto e5 Play smartphone, the presentation elaborated in canva.

