Greetings, community of artisans.
Recently, I had the pleasure of receiving the visit of a friend and his wife at my home. After chatting for a while, I showed them some of my crafts and they were delighted with the design of the key holder I published a few days ago. You can see it here if you don't know what I'm talking about.
Faced with such a situation, I had no choice but to promise to make them an ornament inspired by the key holder, since I was not going to give them mine to remove the hooks, because they did not want the key holder as such, but rather the upper part.
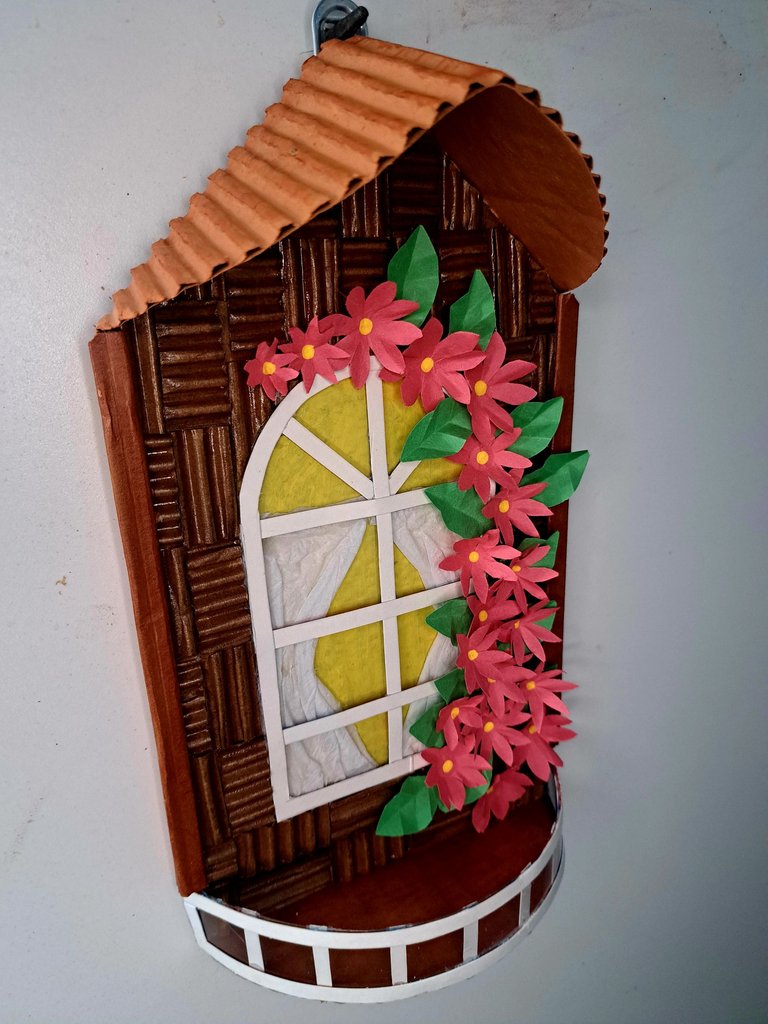
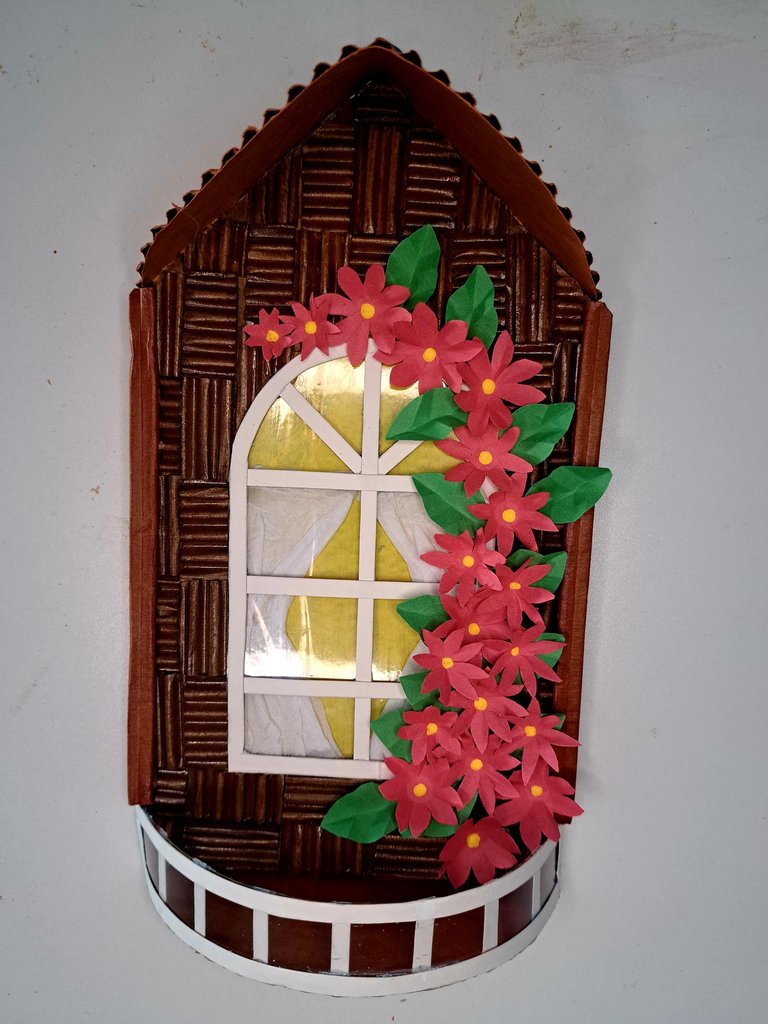
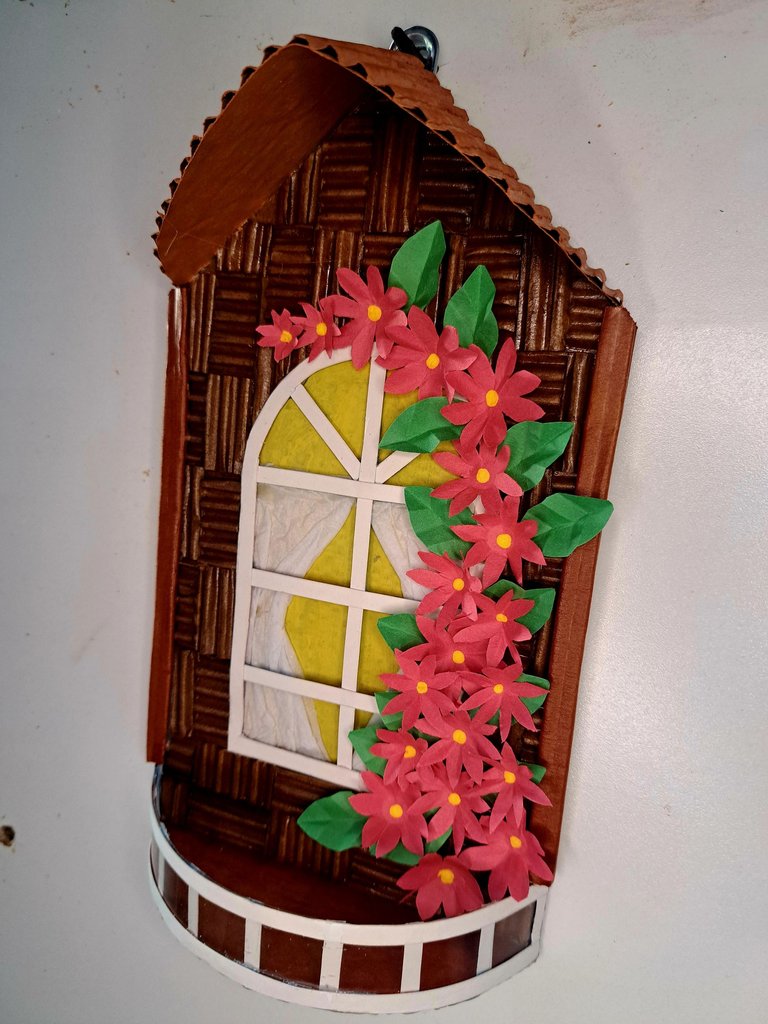
So today I bring you a tutorial in which I will be showing you how to make a wall hanging inspired by one I made earlier. The design is roughly the same: a wall of a house with a window, curtains and flowers around it. To avoid doing the same thing and not recycle content, I changed the window design, the flowers, added new techniques, elements and changed many of the materials. I hope you like it. Let's start...
Saludos, comunidad de artesanos.
Recientemente, tuve el placer de recibir la visita de un amigo y su esposa en mi casa. Luego de conversar un rato, les mostré algunas de mis manualidades y quedaron encantados con el diseño del porta llaves que publiqué hace algunos días. Puedes verlo aquí si no sabes de qué hablo.
Ante tal situación, no me quedó más remedio que prometer que les haría un adorno inspirado en el porta llaves, ya que no iba a regalarles el mío para que le quitaran los enganches, pues no querían el porta llaves como tal, sino más bien la parte superior.
Es así como el día de hoy les traigo un tutorial en el cual les estaré mostrando cómo elaborar un adorno para pared inspirado en uno que hice anteriormente. El diseño es a grandes rasgos el mismo: una pared de una casa con una ventana, cortinas y flores alrededor. Para evitar hacer lo mismo y no reciclar contenido, cambié el diseño de la ventana, las flores, agregué nuevas técnicas, elementos y cambié muchos de los materiales. Espero que les guste. Comencemos…
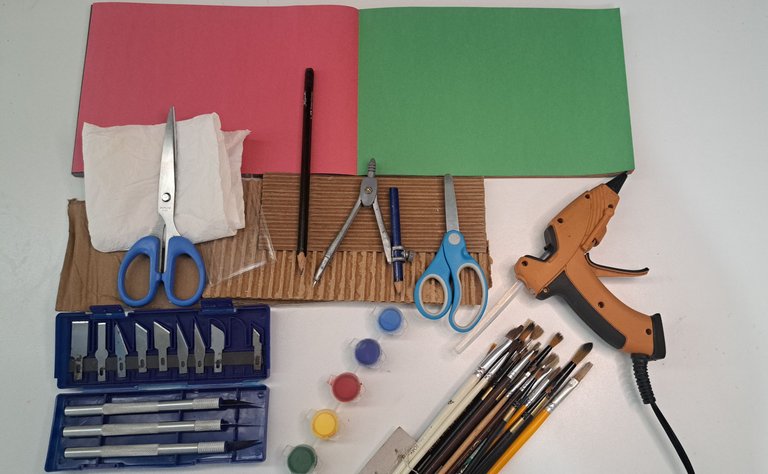
Materials // Materiales
| ✔️ Recycled cardboard | ✔️ Cartón reciclado |
| ✔️ White poster board | ✔️ Cartulina blanca |
| ✔️ Red and green origami paper | ✔️ Papel para origami rojo y verde |
| ✔️ Scissors, pencil and compass | ✔️ Tijeras, lápiz y compás |
| ✔️ Kitchen paper | ✔️ Papel de cocina |
| ✔️ Cutting and milling set | ✔️ Set de corte y tallado |
| ✔️ Paintbrushes | ✔️ Pinceles |
| ✔️ Carmelite and yellow paint | ✔️ Pintura carmelita y amarilla |
| ✔️ Transparent plastic sheeting | ✔️ Láminas de plástico transparente |
| ✔️ Hot silicone | ✔️ Silicona caliente |
Step by step // Paso a paso
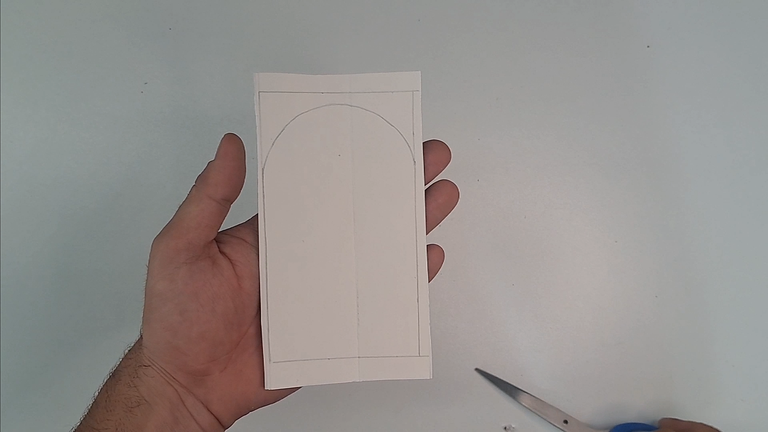
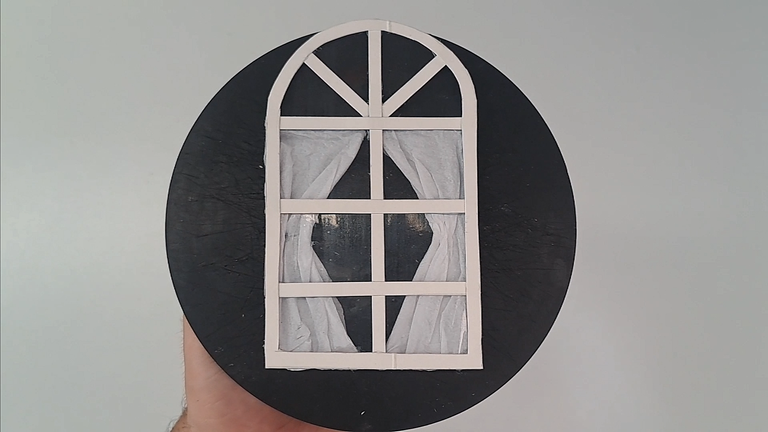
1️⃣ Mark and cut out of cardboard a figure in the shape of a house with the following dimensions: 24 cm x 13 cm x 9 cm. Mark and cut out on white cardboard the outline of a window measuring 14 cm x 8 cm.
Marcar y recortar en cartón una figura con forma de casa con las siguientes dimensiones: 24 cm x 13 cm x 9 cm. Marcar y recortar en cartulina blanca el contorno de una ventana de 14 cm x 8 cm.
 |
 |
 |
 |
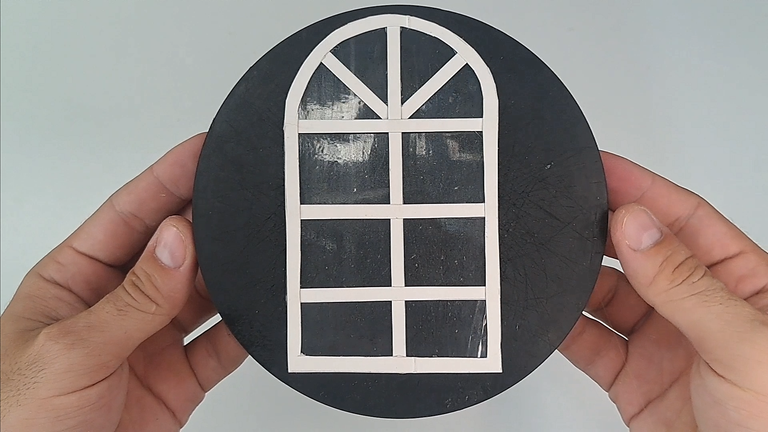
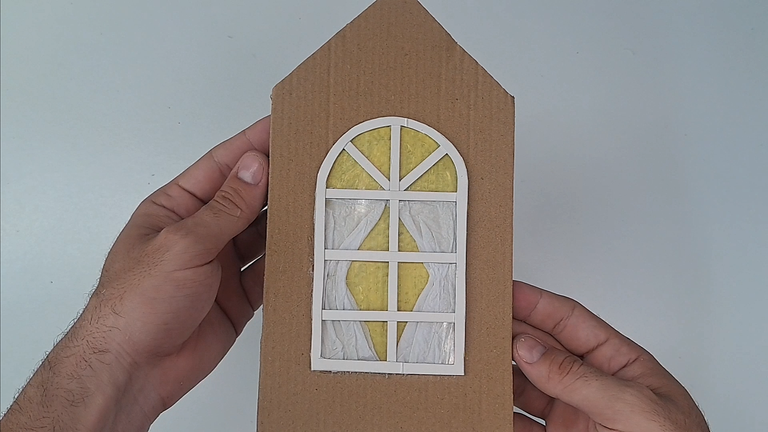
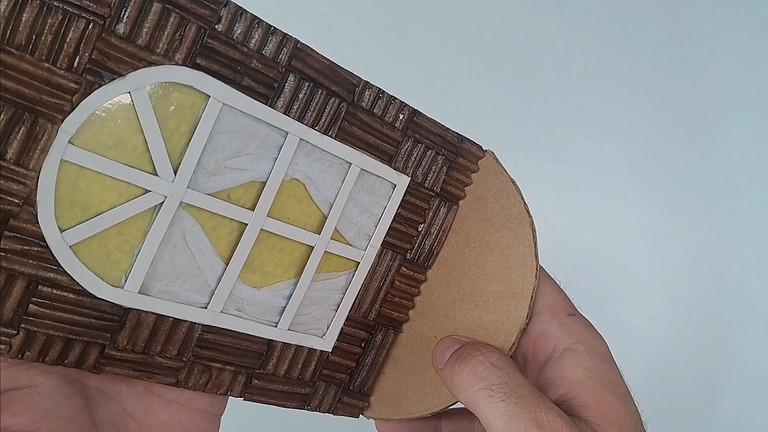
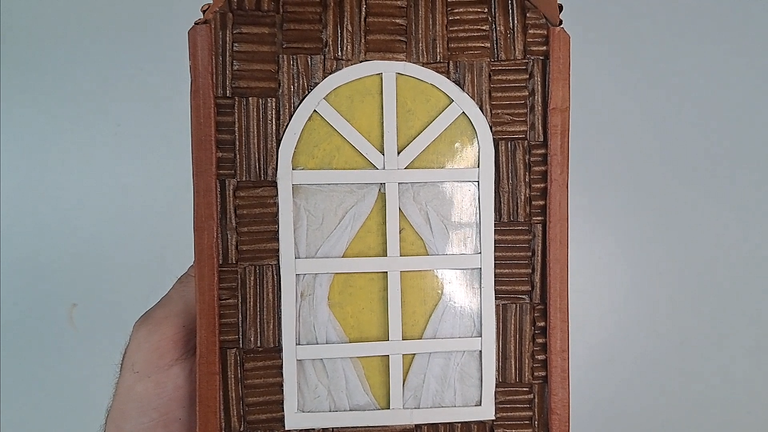
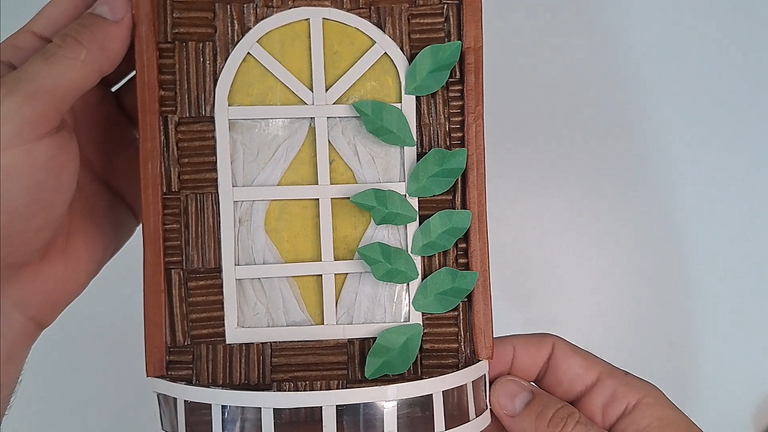
2️⃣ Trim the inside of the window to a thickness of 5 mm. With the rest of the cardboard, create a colonial window design. Glue on the back of the window a piece of transparent cardboard and with two pieces of kitchen paper make some curtains and glue them to the windows.
Mark the outline of the window on the silhouette of the house. Paint the inside of the marked outline yellow and glue the window on top.
Recortar el interior de la ventana a un grosor de 5 mm. Con el resto de la cartulina, crear un diseño de ventana colonial. Pegar en el reverso de la ventana un pedazo de cartulina trasparente y con dos partes de papel de cocina hacer unas cortinas y pegarlas a las ventanas.
Marcar el contorno de la ventana en la silueta de la casa. Pintar de amarillo el interior del contorno marcado y pegar la ventana encima.
 |
 |
 |
 |
 |
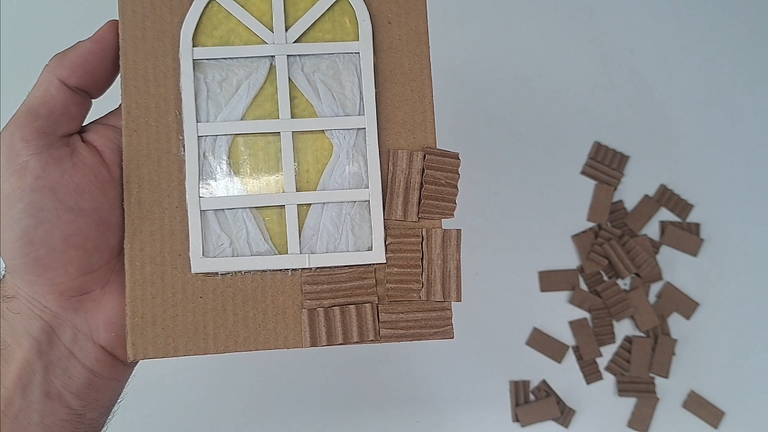
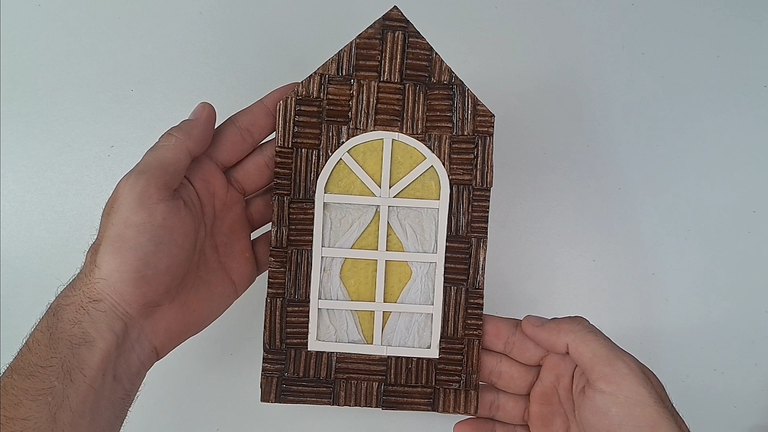
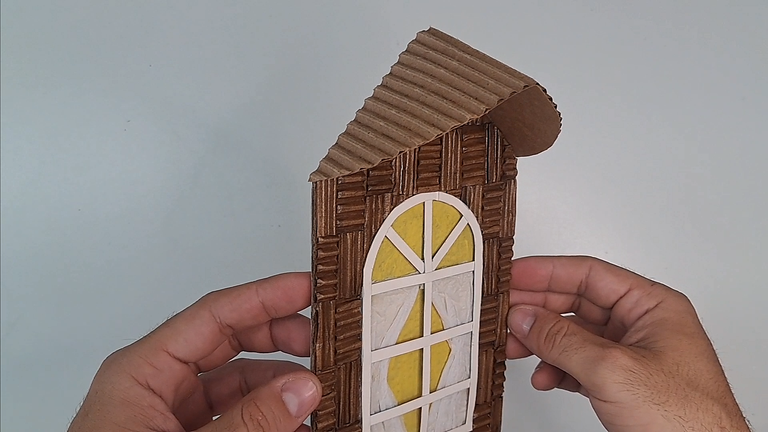
3️⃣ Cut out several pieces of corrugated cardboard and glue them to the silhouette of the house around the window. Apply a coat of clear varnish to the entire facade of the house, except for the window.
Recortar varios trozos de cartón ondulado y pegarlos en la silueta de la casa alrededor de la ventana. Aplicar una capa de barniz transparente a toda la fachada de la casa, exceptuando la ventana.
 |
 |
 |
 |
 |
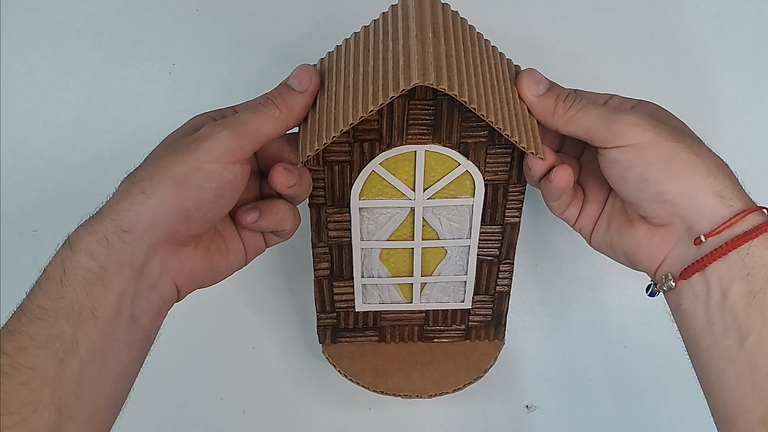
4️⃣ On a 13 cm x 5 cm piece of cardboard, cut out a semicircle and glue it to the bottom of the house. With a piece of corrugated cardboard, cut out a fan and glue it on top.
En una pieza de 13 cm x 5 cm recortar un semicírculo y pegarlo en la parte inferior de la casa. Con una pieza de cartón ondulado, recortar un abanico y pegarlo en la parte superior.
 |
 |
 |
 |
 |
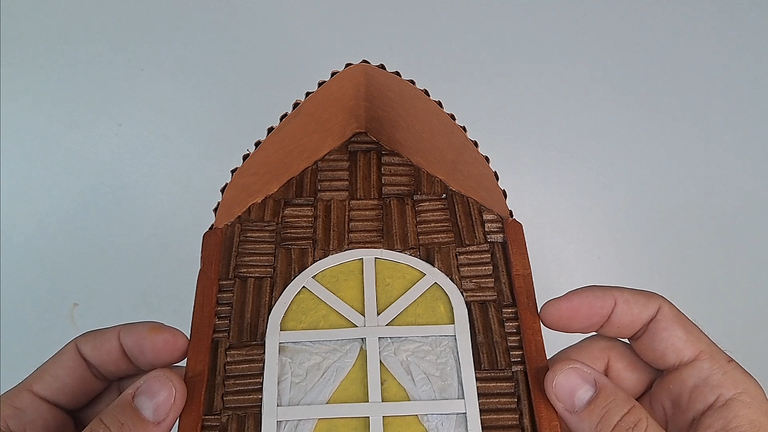
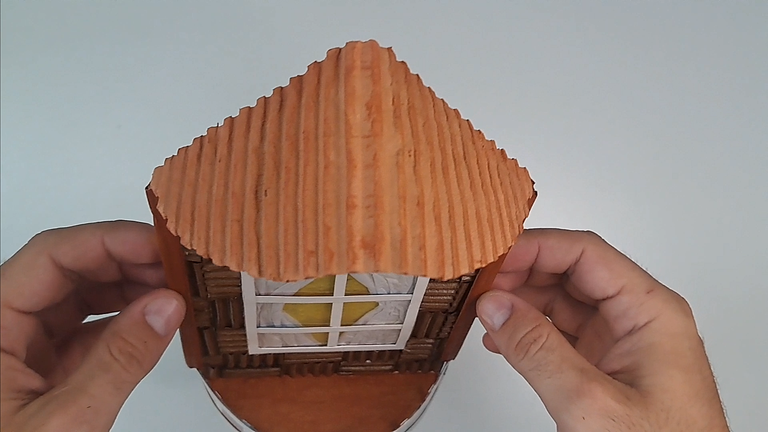
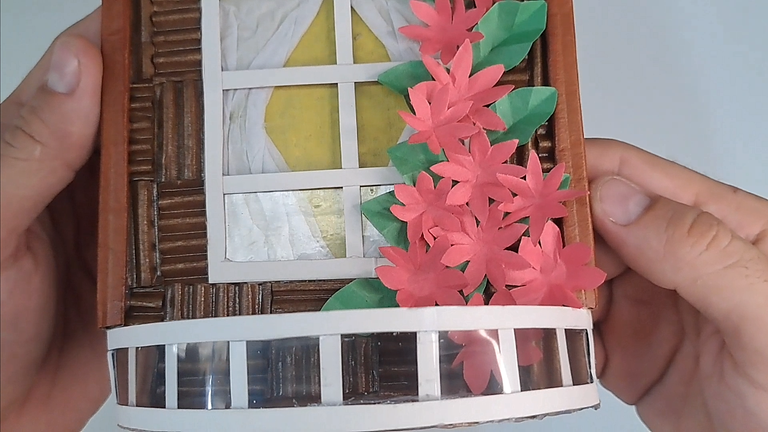
5️⃣ Make a front fence using clear plastic sheeting and thin strips of cardboard. Glue corrugated cardboard columns to the side of the house. Paint the columns a caramel color and the roof a light caramel color with touches of dark caramel color.
Hacer una cerca frontal utilizando una lámina de plástico transparente y tiras finas de cartulina. Pegar al costado de la casa columnas de cartón ondulado. Pintar las columnas de color caramelo y el techo de color caramelo claro con toques de color caramelo oscuro.
 |
 |
 |
 |
 |
 |
 |
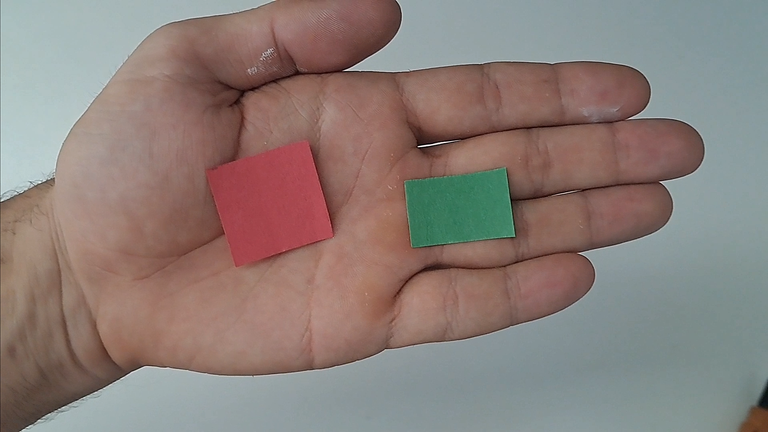
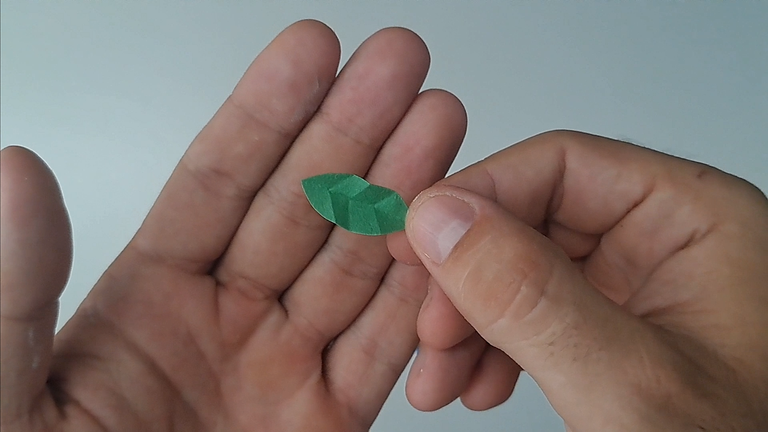
6️⃣ Create flowers and leaves for the facade using red and green origami paper. Procedure explained in detail in the video.
Crear flores y hojas para la fachada utilizando papel para origami de color rojo y verde. Procedimiento explicado a detalle en el video.
 |
 |
 |
 |
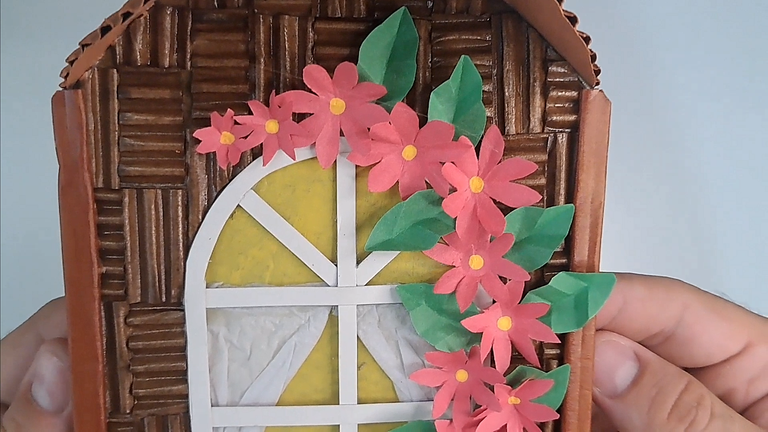
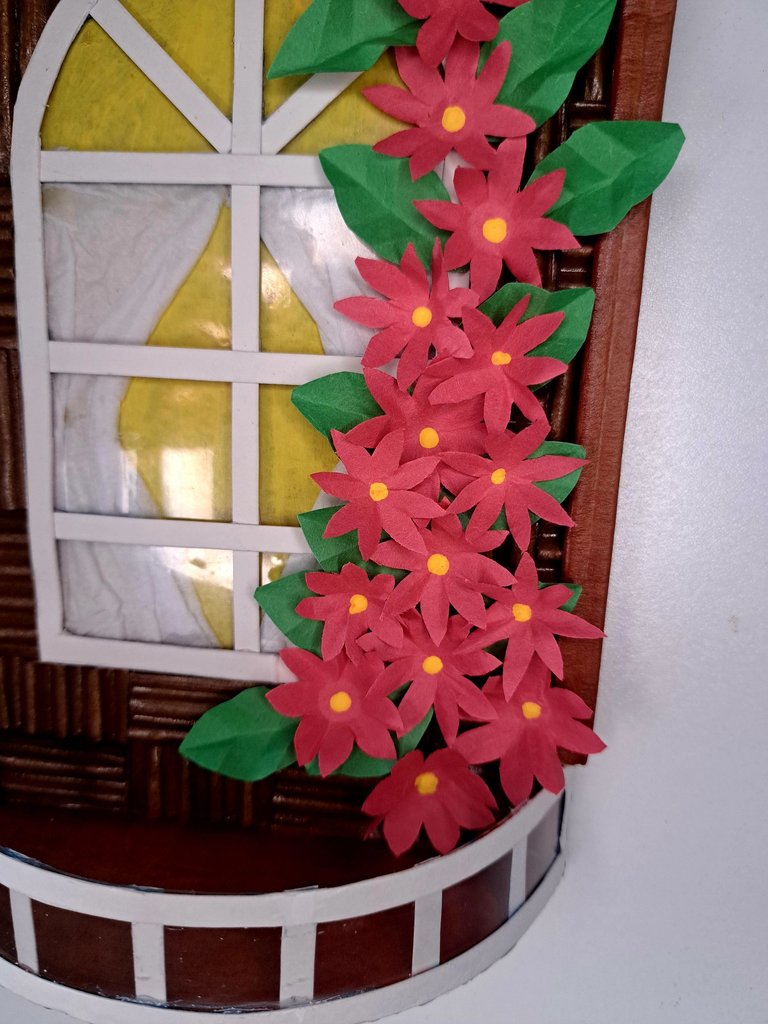
7️⃣ Glue the leaves and then the flowers on the left side of the facade. With the tip of a paintbrush, color the inside of the flowers yellow. Finally, glue on the upper back a sheet of an aluminum can to be able to hang it on the wall.
Pegar las hojas y posteriormente las flores en la parte izquierda de la fachada. Con la punta de un pincel, colorear de amarillo el interior de las flores. Para finalizar, pegar en el reverso superior una chapilla de una lata de aluminio para poder colgarlo en la pared.
 |
 |
 |
 |
 |
Once again, we come to the end of the tutorial and, as usual, I encourage you to leave me your questions and suggestions in the comments section. Don't forget that I will be happy to read and answer them. I'll say goodbye until next time, where I'll be sharing with you again another little piece of my creative world.
Una vez más, llegamos al final del tutorial y, como de costumbre, los animo a dejarme sus dudas y sugerencias en la sección de comentarios. No olviden que estaré encantado de leerlos y responderles. Me despido hasta una próxima ocasión, donde estaré nuevamente compartiendo con ustedes otro pedacito de mi mundo creativo.
Finished Work // Trabajo Terminado
 |
 |
 |
 |
 |

Thank you very much for reading my post. If you liked it, please leave a comment and consider following me so you don't miss my next posts. I'd love to know your opinion and your thoughts about the topic I discussed in this post, see you in the next one!
Credits and Resources // Créditos y Recursos
Cover page created in Canva
Translated by DeepL
Video and images captured with my Samsung Galaxy A53 5G
Edited in Wondershare Filmora 13
Music by u_oyayh5ybip from Pixabay


▶️ 3Speak