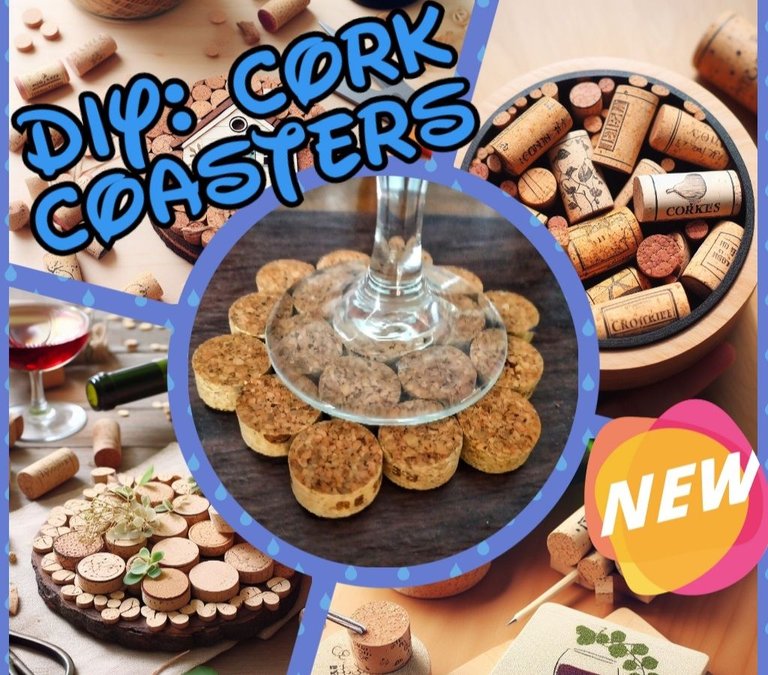
PhotoGrid + Bing Dalle-E
¡Saludos amantes de las manualidades! Hace poco estaba de visita en casa de mis suegros, y me comentaron que la mayoría de los posavasos de cartón que tenían se habían estropeado. Fue entonces cuando seme prendió el foco, pues me vino a la mente, una creativa y a la vez respetuosa con el medio ambiente: ¡hacer posavasos con corchos de botellas! Me di cuenta de que los corchos son un material versátil y fácilmente disponible que puede transformarse en hermosos posavasos. Así que decidí crear un tutorial para compartir esta idea con todos ustedes.
Greetings craft lovers! I was recently visiting my in-laws' house, and they told me that most of the cardboard coasters they had had gone bad. That's when the light bulb came on, as a creative yet environmentally friendly craft came to mind: making coasters out of bottle corks! I realized that corks are a versatile and readily available material that can be transformed into beautiful coasters. So I decided to create a tutorial to share this idea with you all.

Materiales necesarios - Materials required
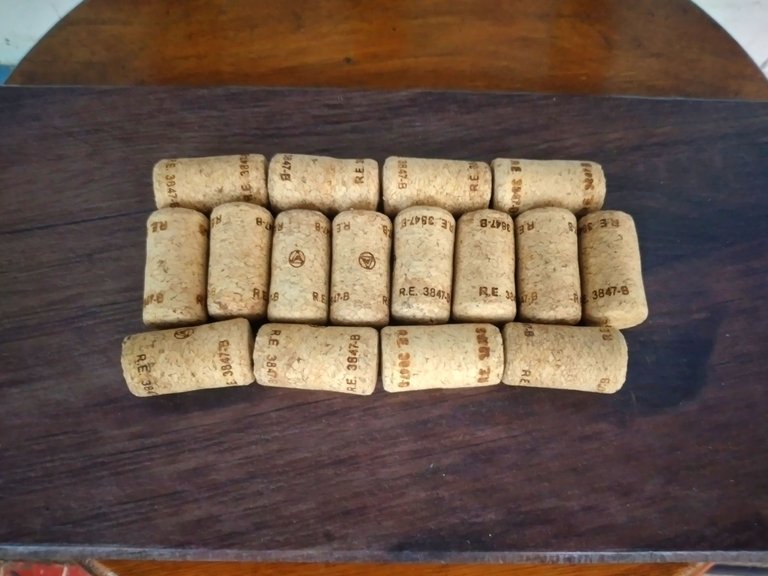
- Corchos de botellas: Asegúrate de tener una buena cantidad de corchos para crear varios posavasos.
- Cuchillo afilado o cúter: Este será tu aliado para cortar los corchos en rodajas. - Copa: Usaremos una para trazar una plantilla.
- Tabla de cortar: Proporcionará una superficie estable para cortar los corchos.
- Pegamento resistente: Elige un pegamento adecuado para adherir los corchos entre sí.
- Papel cartulina o cartón: Puedes utilizar cualquier pedazo de cartón de una caja.
- Tijeras: Las necesitarás para recortar el papel según el tamaño de la base de las copas.
- Esponja protectora (opcional): En mi caso la utilizo para que el pegamento no caiga sobre la tabla de cortar o el banco de trabajo.
- Barniz o pintura (opcional): Si deseas proteger tus posavasos y darles un acabado brillante, puedes aplicar barniz transparente al finalizar.
- Bottle corks: Make sure you have a good amount of corks to create several coasters.
- Sharp knife or box cutter: This will be your ally to cut the corks into slices. - Cup: We will use one to draw a template.
- Cutting board: This will provide a stable surface for cutting the corks.
- Strong glue: Choose a suitable glue to adhere the corks together.
- Cardboard or cardboard: You can use any piece of cardboard from a box.
- Scissors: You will need these to cut the paper to the size of the base of the cups.
- Protective sponge (optional): In my case I use it so the glue doesn't get on the cutting board or workbench.
- Varnish or paint (optional): If you want to protect your coasters and give them a glossy finish, you can apply clear varnish at the end.
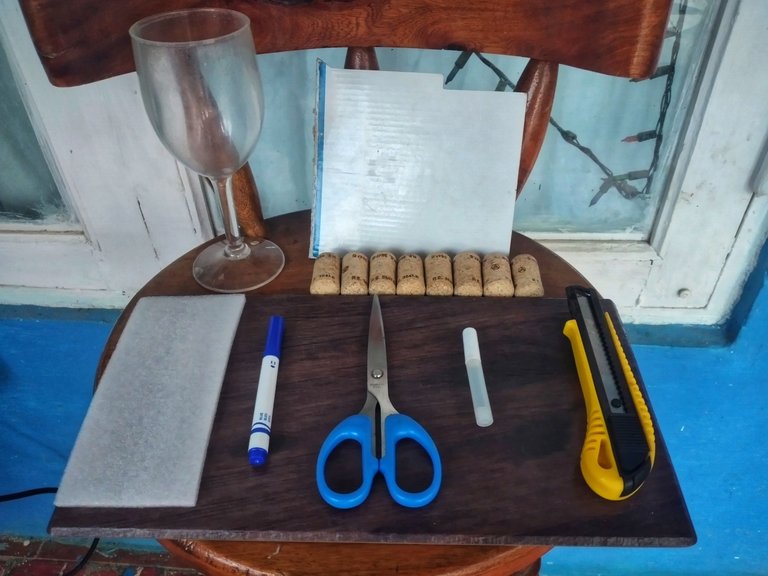
Materiales

Paso a paso: cómo hacer los posavasos con corchos de botellas:
Step by step: how to make coasters with bottle corks:
Paso 1 - Step 1
Limpia y seca los corchos de las botellas. Asegúrate de que estén libres de cualquier residuo o humedad para obtener un mejor resultado.
Clean and dry the corks of the bottles. Make sure they are free of any residue or moisture for best results.
Paso 2 - Step 2
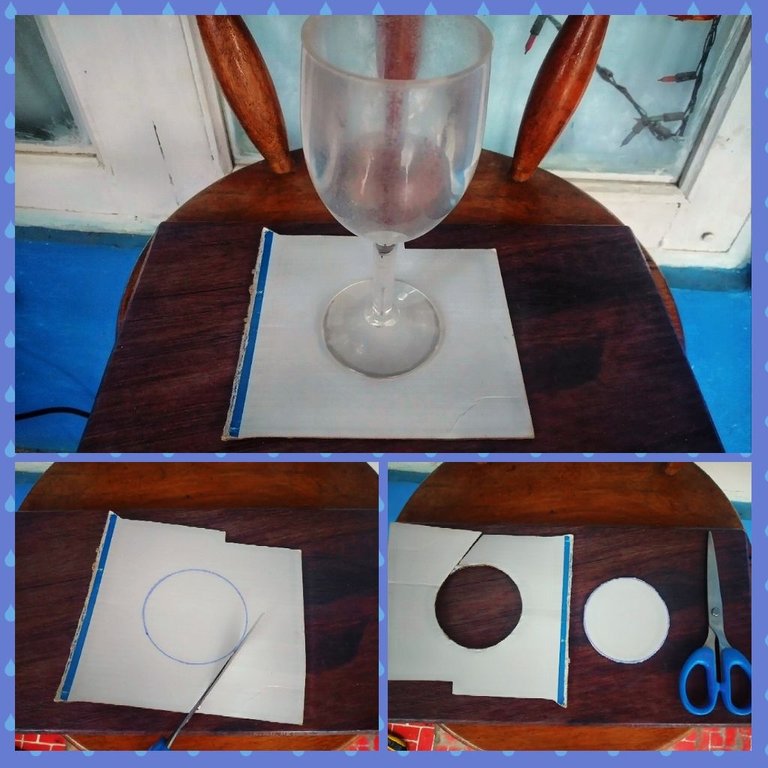
Marca la base de una copa sobre el cartón y recórtala utilizando las tijeras para crear una plantilla.
Mark the base of a cup on the cardboard and cut it out using the scissors to create a template.
Paso 3 - Step 3
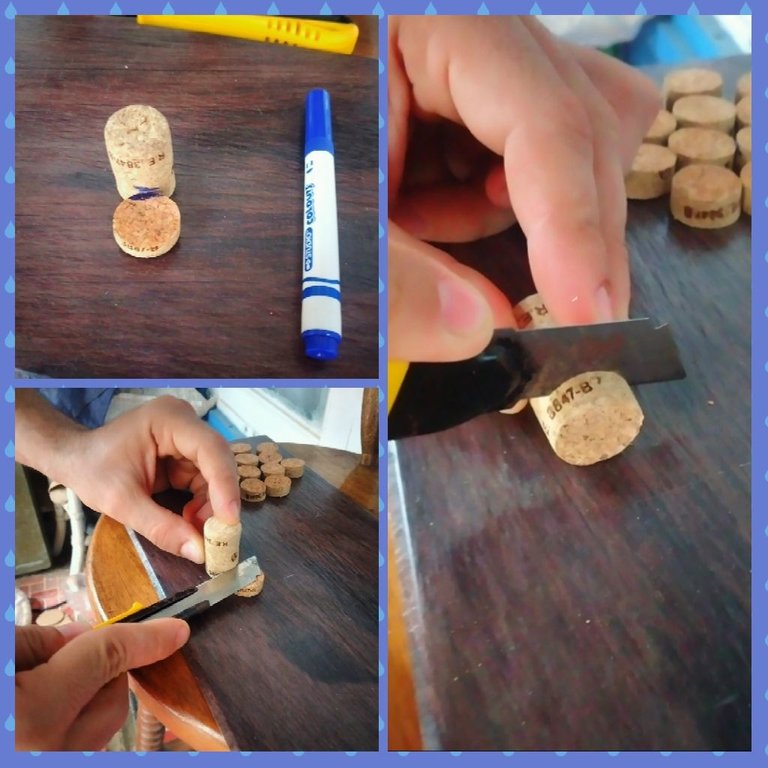
Corta una primera rodaja de corcho que servirá como muestra. La altura de las rodajas depende de los gustos de cada cual, puedes hacer marcas con un marcador para que todas queden del mismo tamaño. En mi caso la corté un poco ancha para que fuera más resistente el posavasos.
Cut a first slice of cork that will serve as a sample. The height of the slices depends on your taste, you can make marks with a marker so that they are all the same size. In my case I cut it a little wide to make the coaster more resistant.
Paso 4 - Step 4
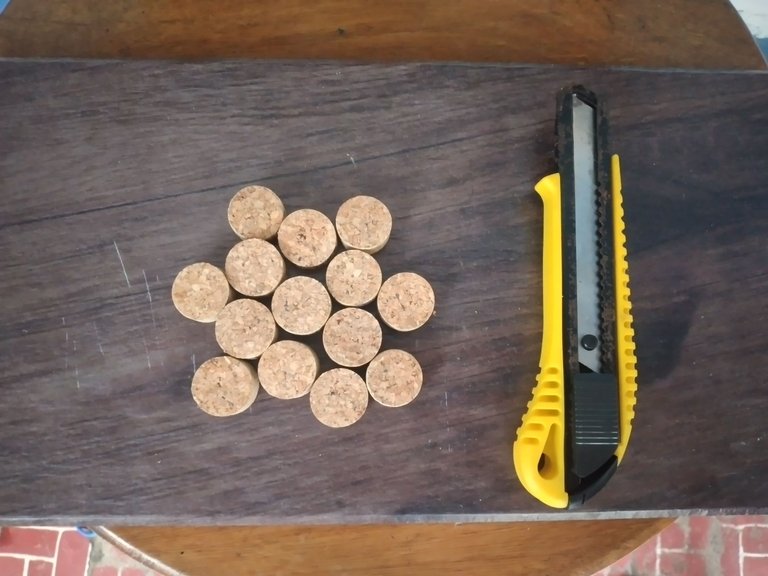
Con ayuda del cúter, corta los demás corchos en rodajas utilizando la muestra. Puede variar la cantidad de rodajas que obtendrás dependiendo del grosor de los corchos y del tamaño deseado de los posavasos.
Using the cutter, cut the remaining corks into slices using the sample. You can vary the amount of slices you will get depending on the thickness of the corks and the desired size of the coasters.
Paso 5 - Step 5
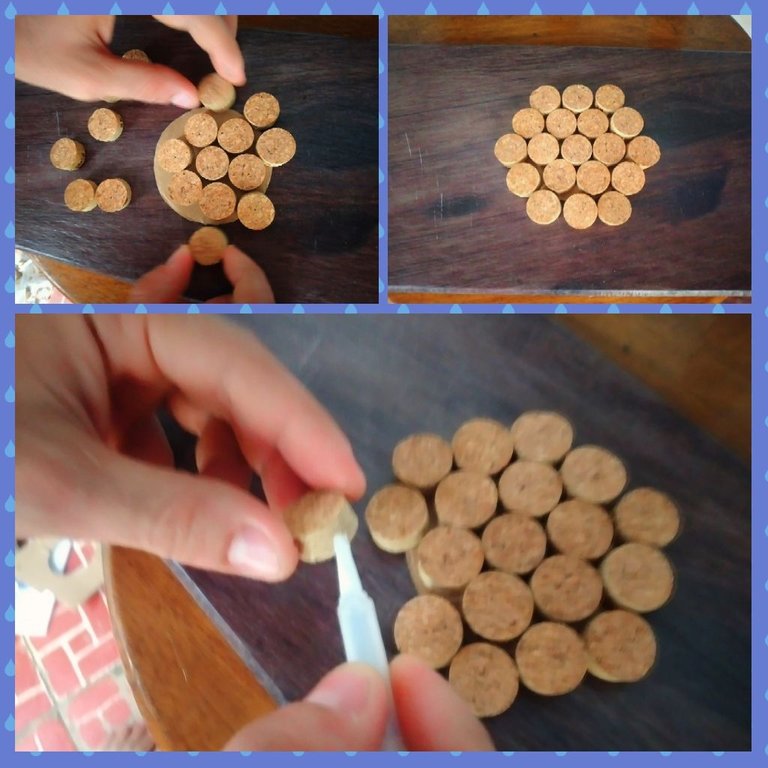
Coloca las rodajas juntas creando un diseño que cubra completamente el área de la plantilla. Puedes usar el diseño que quieras, yo me decidí por uno en forma de panal.
Place the slices together creating a design that completely covers the stencil area. You can use any design you like, I decided on a honeycomb design.
Paso 6 - Step 6
Aplica una capa delgada de pegamento resistente a uno de los lados del corcho. Colócalo sobre la plantilla de cartón, asegurándote de que esté centrado. Presiona suavemente para que se adhiera correctamente.
Apply a thin layer of strong glue to one side of the cork. Place it over the cardboard template, making sure it is centered. Press gently to adhere properly.
Paso 7 - Step 7
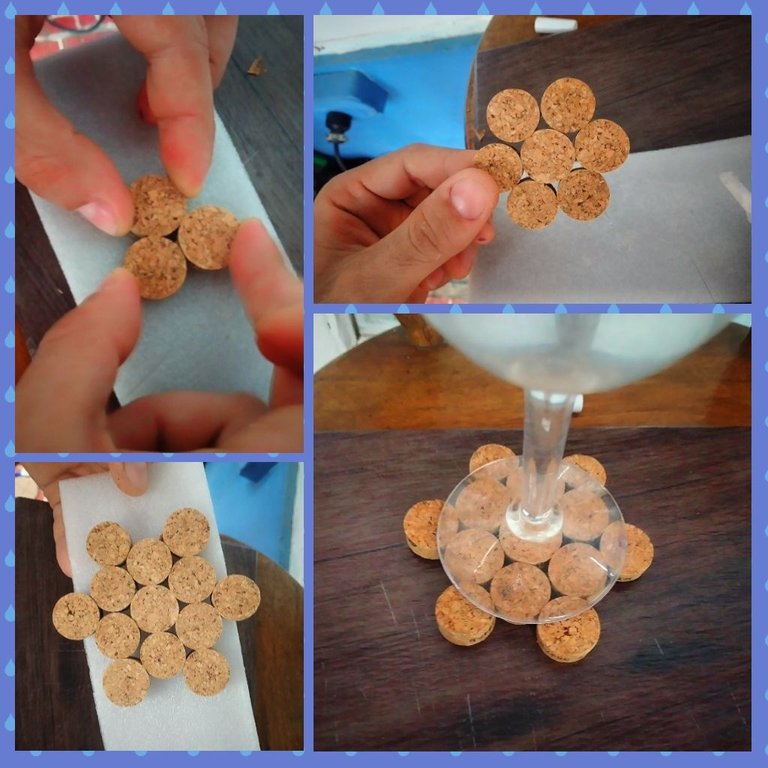
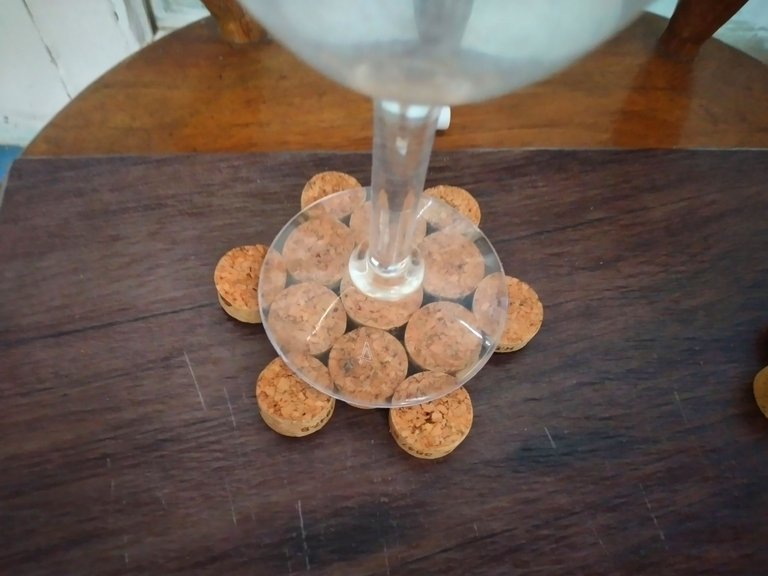
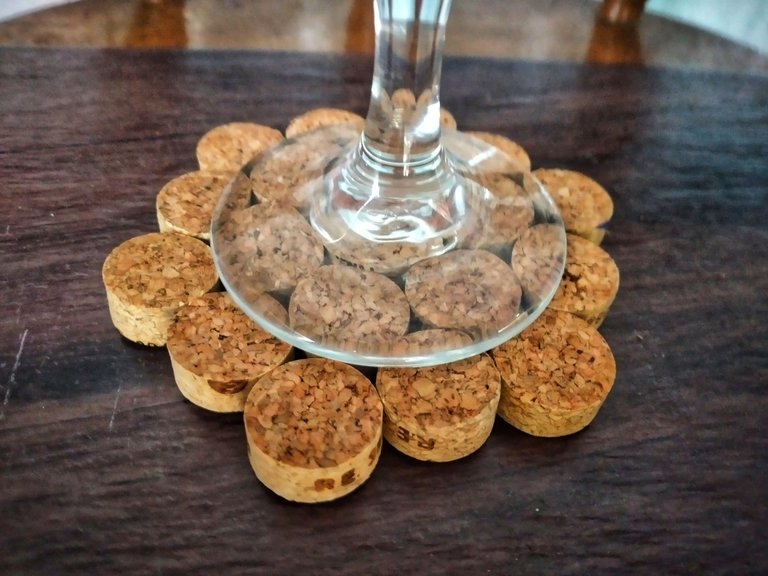
En mi caso, aunque la plantilla estaba cubierta, decidí agregar más rodajas de corchos, ya que hay copas cuya base es más grande que la que utilicé de muestra. Si lo prefieres Puedes saltarte este paso.
In my case, although the template was covered, I decided to add more cork slices, since there are cups whose base is larger than the one I used as a sample. You can skip this step if you prefer.
Paso 8 - Step 8
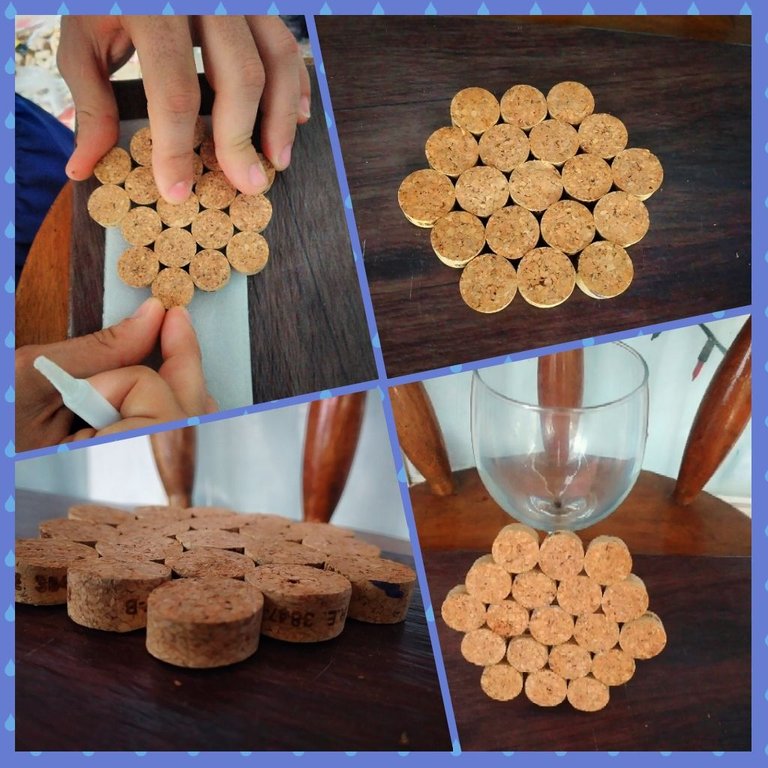
Repite el paso 7 para cada posavasos, asegurándote de que el pegamento se haya secado completamente antes de manipularlos. Recuerda que normalmente se suelen hacer de 4 a 6 posavasos, pero puedes hacer la cantidad que quieras.
Repeat step 7 for each coaster, making sure the glue has dried completely before handling. Remember that 4 to 6 coasters are usually made, but you can make as many as you like.
Paso 9 - Step 9 (opcional - optional)
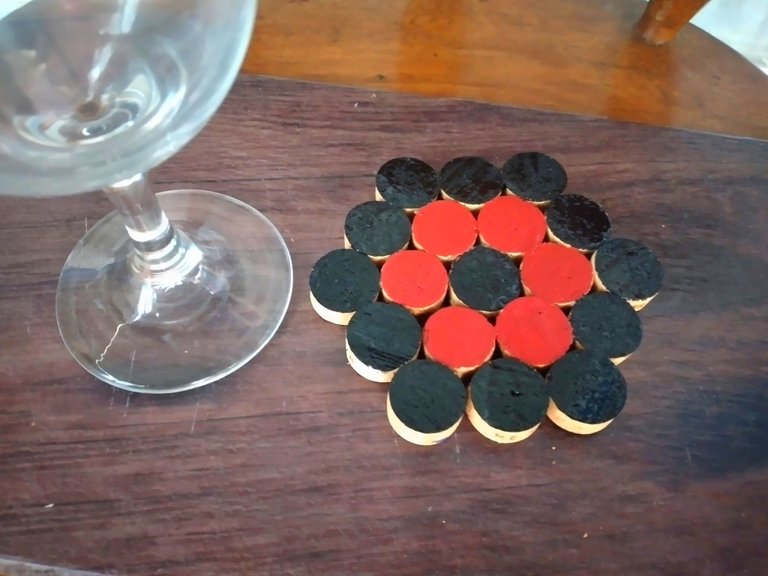
Si deseas proteger tus posavasos y darles un acabado brillante, puedes aplicar una capa de barniz transparente o de pintura según las instrucciones del producto.
If you want to protect your coasters and give them a glossy finish, you can apply a coat of clear varnish or paint according to the product instructions.
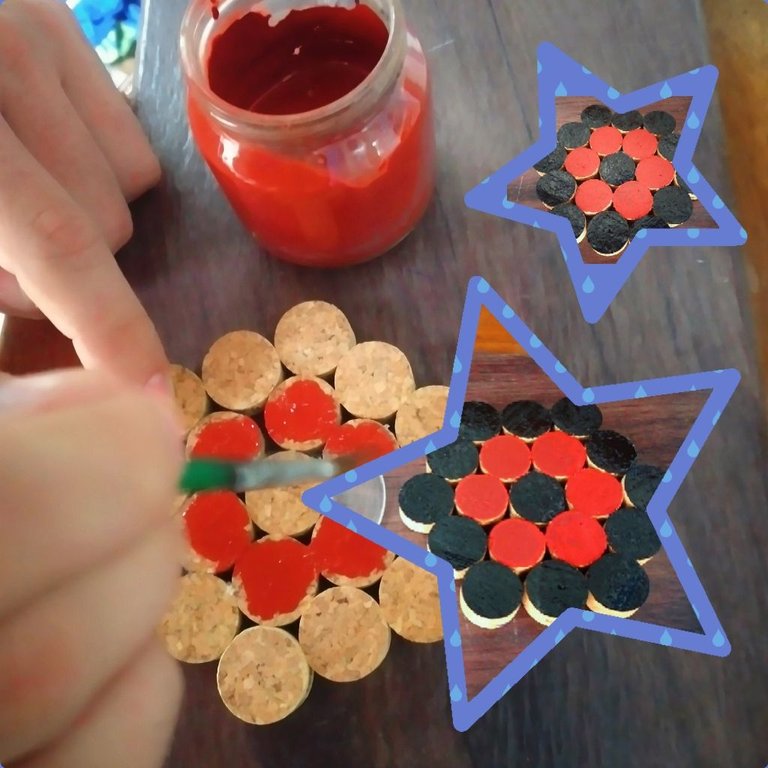

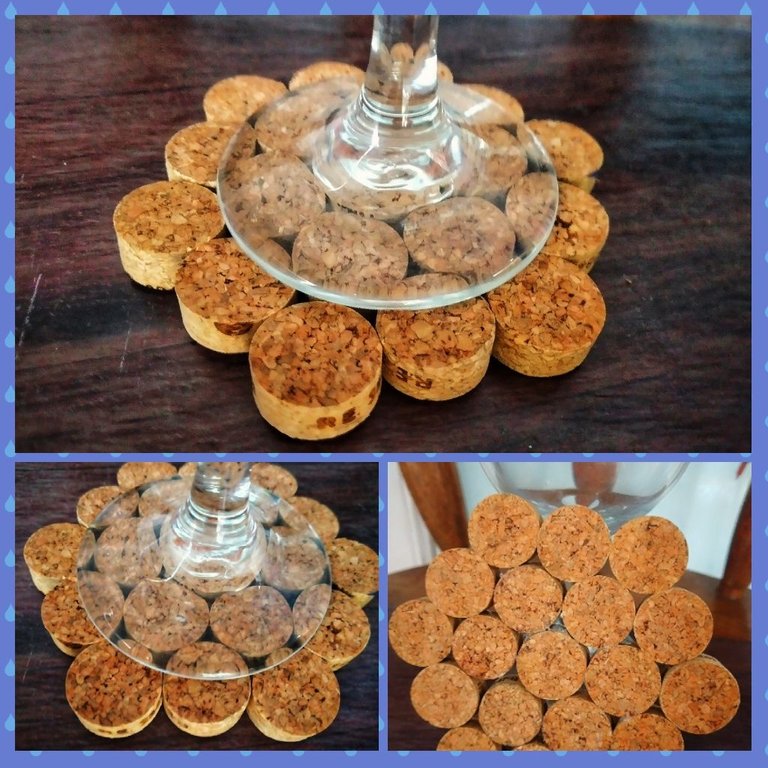
¡Y eso es todo! Ahora tendrás tus propios posavasos hechos a mano empleando corchos de botellas. Estos serán tanto funcionales como decorativos, y lo mejor de todo es que estarás reutilizando materiales de manera creativa. ¡Disfruta de tus nuevos posavasos mientras te relajas y compartes momentos especiales con tus seres queridos!
And that's it! Now you'll have your own handmade coasters using bottle corks that will be both functional and decorative, and best of all, you'll be creatively reusing materials. These will be both functional and decorative, and best of all, you'll be reusing materials in a creative way. Enjoy your new coasters while you relax and share special moments with your loved ones!

Muchas gracias por leer mi post. Si te gustó, por favor deja un comentario y considera seguirme para no perderte mis próximas publicaciones. Me encantaría saber tu opinión y tus ideas sobre el tema que traté en este post. ¡Nos vemos en el próximo!
Thank you very much for reading my post. If you liked it, please leave a comment and consider following me so you don't miss my next posts. I'd love to know your opinion and your thoughts about the topic I discussed in this post, see you in the next one!

Translated by DeepL

