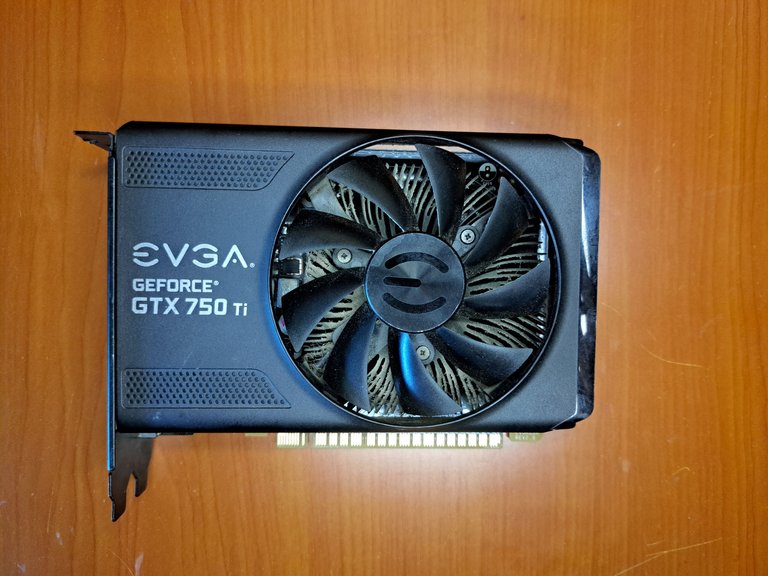
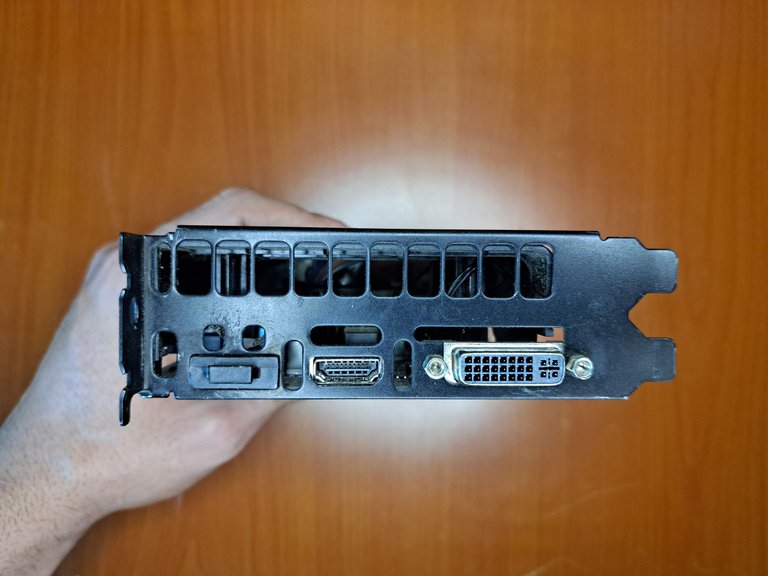
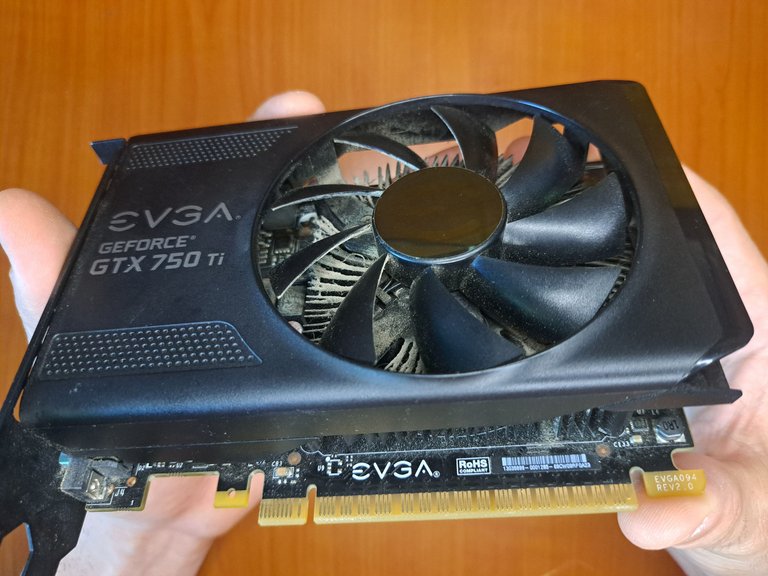
A few days ago I got my hands on a small Nvidia GTX 750 Ti from the assembler EVGA. Although this is an old video card, being more than 6 years old, it is capable of running a wide variety of games in 720p resolution. The board was brought to me with two problems, the first was overheating and the second was a vibration noise produced by fractures in the plastic casing that covers the heatsink.
When we talk about overheating, the first thing to do is to check the thermal paste and the dust conditions it is in. It is most likely that it has not been maintained for a long time. This is how then the noise that produces the breaks in the case increases as the fan speed increases, which is not able to cope with the constant increase in temperatures.
So if you have any video card the same or similar and you are interested in knowing how is the process of assembling and disassembling, join me in this tutorial where I will show you step by step to apply a maintenance to this Nvidia GTX 750 Ti. Let's start ...!
! [Spanish Version Here]
Hace unos días llegó a mis manos una pequeña Nvidia GTX 750 Ti del ensamblador EVGA. Si bien esta es una placa de video algo vieja, teniendo ya más de 6 años, es capaz de mover una amplia variedad de juegos en resolución 720p. La placa me la trajeron con dos problemas, el primero era sobrecalentamiento y el segundo era un ruido de vibración producido por fracturas en la carcasa plástica que recubre el disipador.Cuando hablamos de sobrecalentamiento, lo primero que se debe hacer es revisar la pasta térmica y las condiciones de polvo en las que se encuentra. Lo más seguro es que hace mucho tiempo que no recibe mantenimiento. Es así como entonces el ruido que produce las roturas en la carcasa aumenta al aumentar la velocidad del ventilador, el cual no da abasto ante el incremento constante de las temperaturas.
Así que si tienes alguna placa de video igual o similar y te interesa saber cómo es el proceso de armado y desarmado, acompáñame en este tutorial donde te mostraré el paso a paso para aplicarle un mantenimiento a esta Nvidia GTX 750 Ti. ¡Comencemos…!
 |
 |
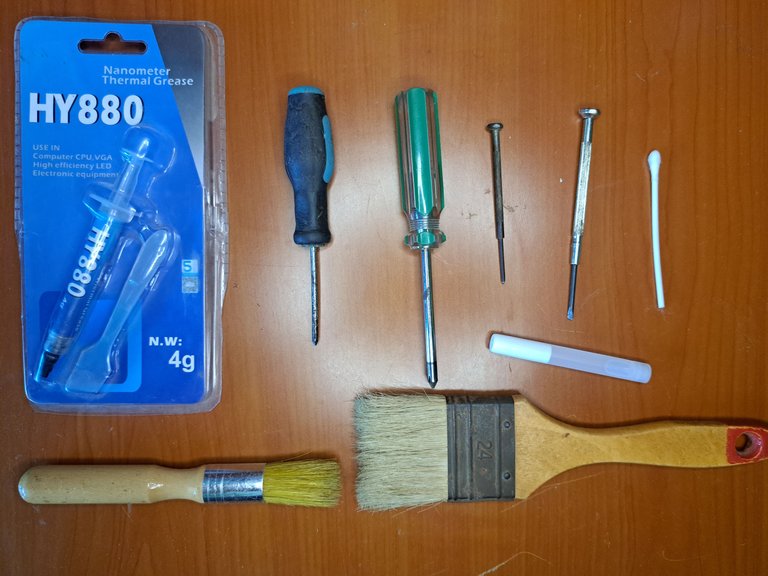
Materials // Materiales
| ✔️ Thermal Paste HY880 | ✔️ Pasta Térmica HY880 |
| ✔️ Screwdrivers | ✔️ Desarmadores |
| ✔️ Brushes with non-conductive fiber | ✔️ Brochas con fibra no conductiva |
| ✔️ Acrylic adhesive | ✔️ Pegamento acrílico |
| ✔️ Cotton swab | ✔️ Bastoncillo de algodón |
Step by step // Paso a paso
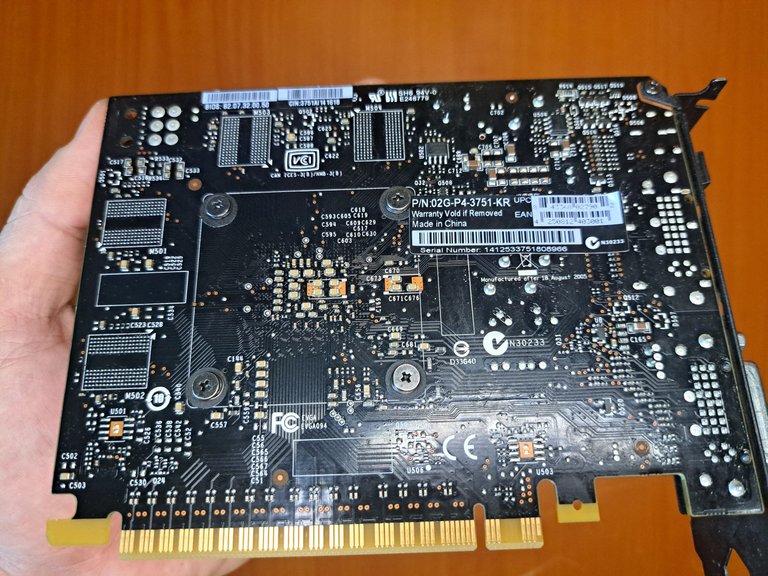
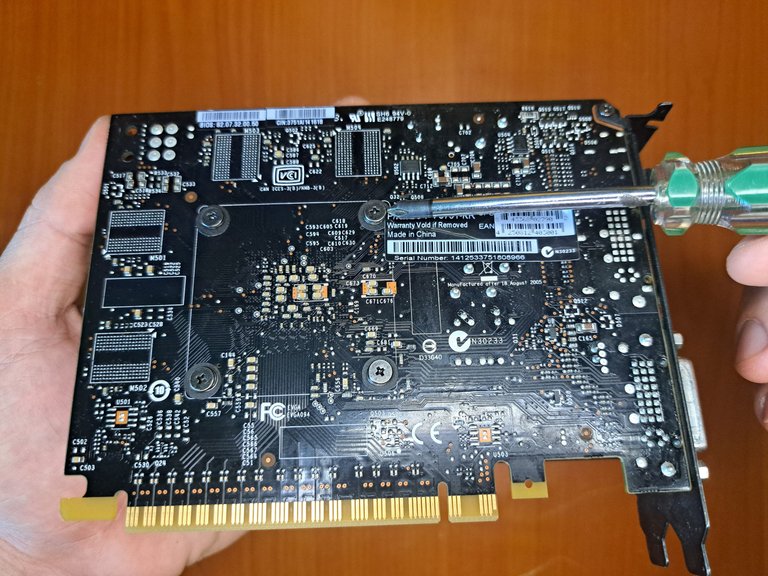
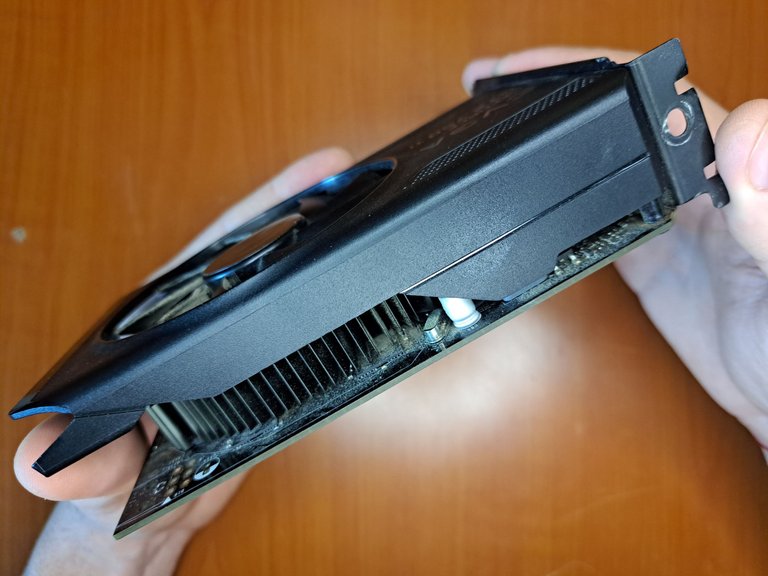
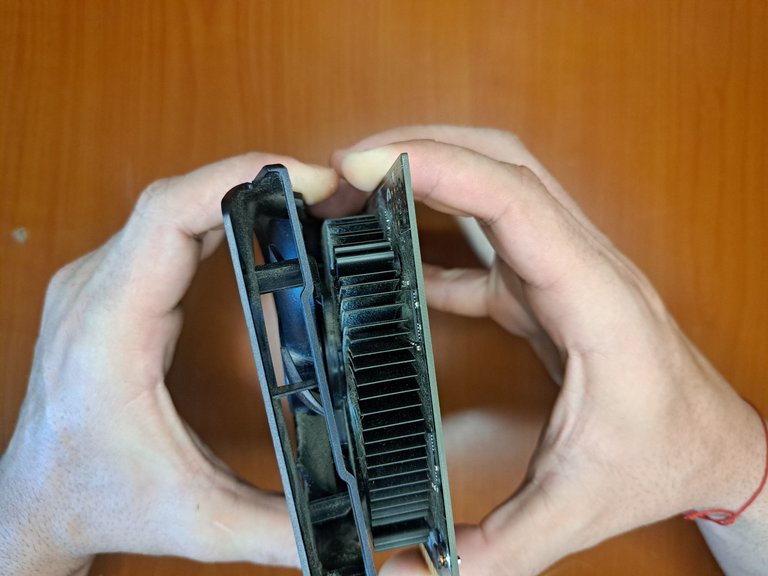
1️⃣ The first thing to do is to perform a cursory inspection to determine the anchor points of the heatsink to the board and the fan cable connection. You should also try to locate any small cracks or signs of mishandling, or any reported breakage, as the case fracture may have been caused by a fall.
! [Spanish Version Here]
Lo primero que se debe hacer es realizar una inspección superficial para determinar los puntos de anclaje del disipador a la placa y la conexión del cable del ventilador. También se debe tratar de ubicar alguna pequeña rotura o señal de mala manipulación, o alguna rotura reportada, ya que la fractura de la carcasa pudo ser provocada por una caída.
 |
 |
 |
 |
 |
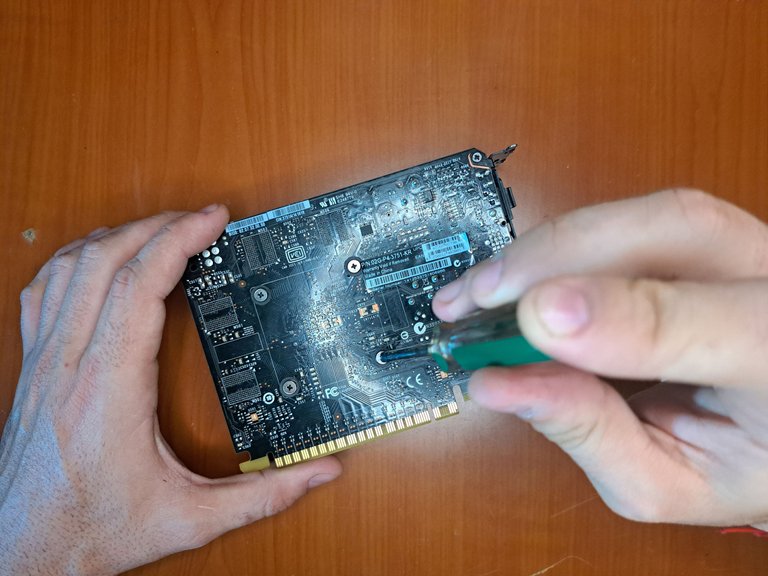
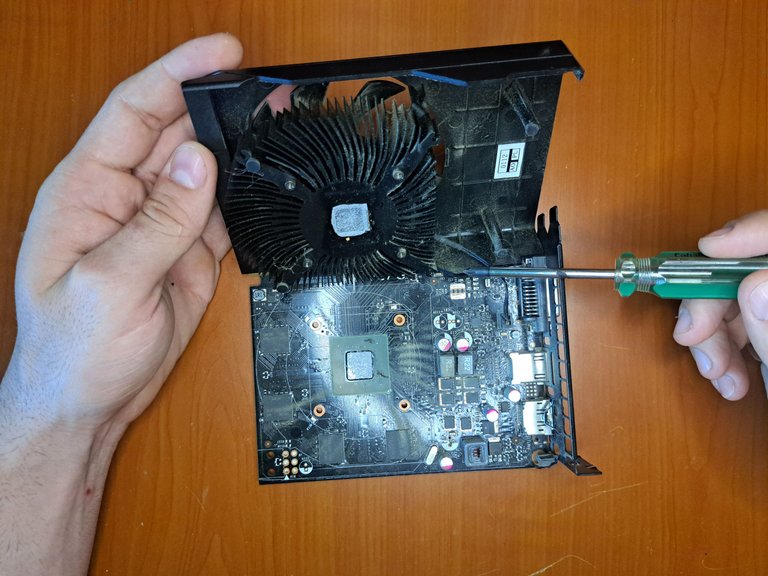
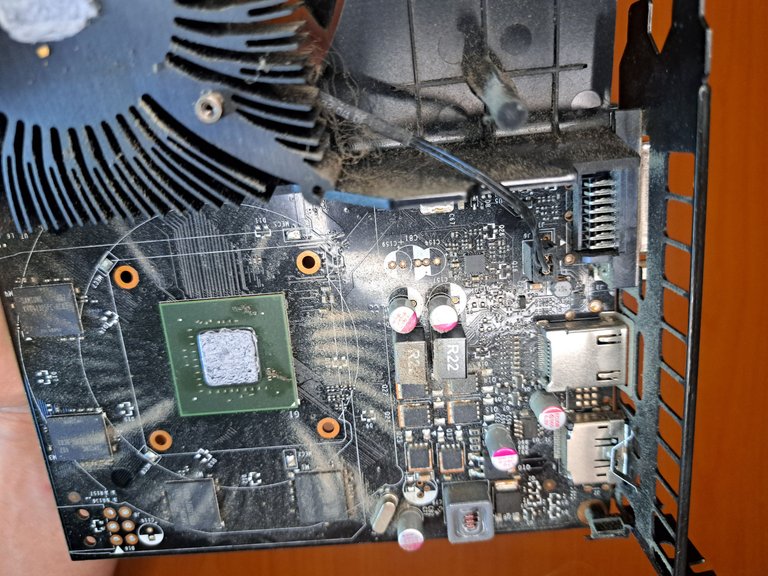
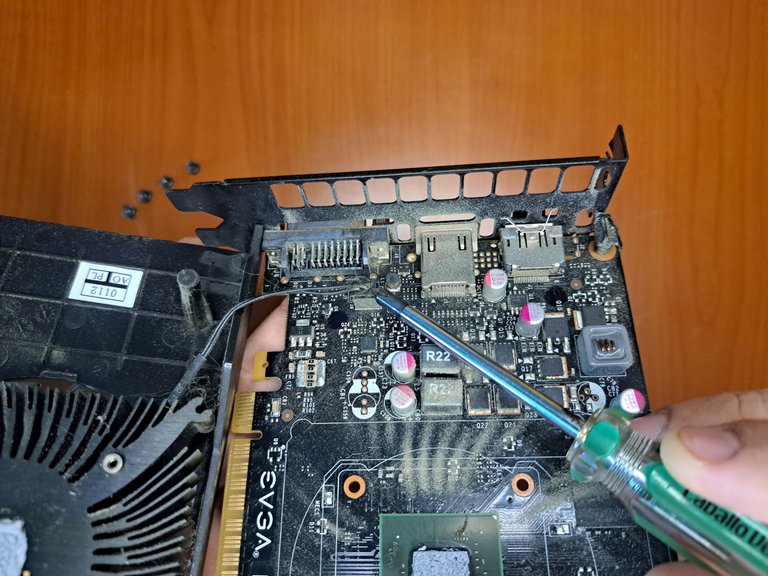
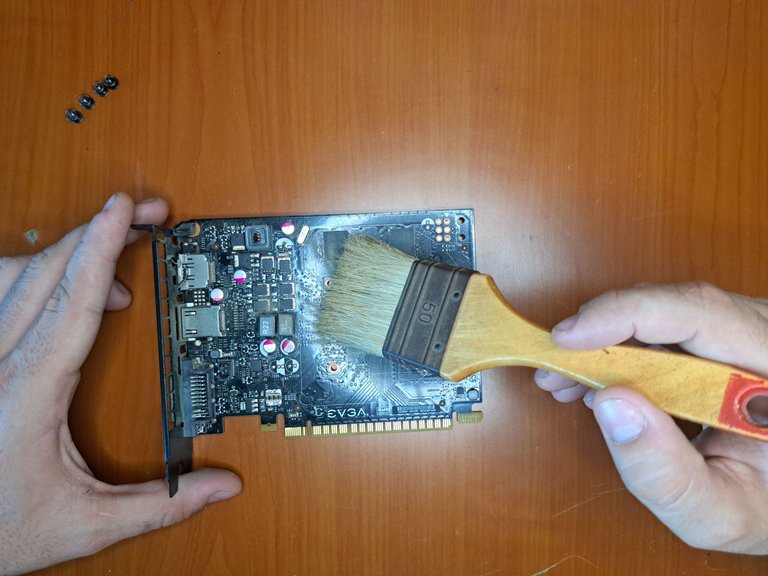
2️⃣ After locating the damaged places, we proceed with the total disassembly of all parts of the heatsink, case and fan. A superficial cleaning is applied and an in-depth inspection of the components that were previously hidden and were now revealed when the heatsink was removed.
! [Spanish Version Here]
Luego de ubicar los lugares dañados, se procede con el desarme total de todas las partes del disipador, carcasa y ventilador. Se aplica una limpieza superficial y se realiza una inspección en profundidad de los componentes que antes estaban ocultos y que ahora fueron revelados al retirar el disipador.
 |
 |
 |
 |
 |
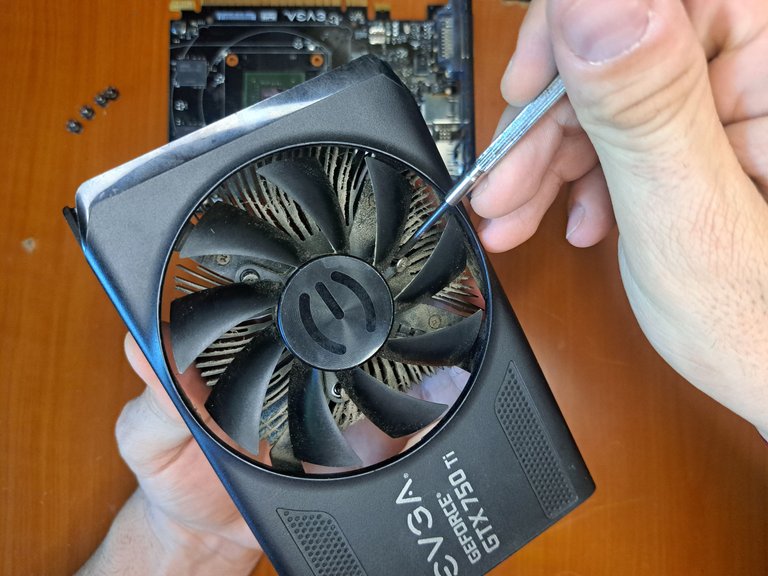
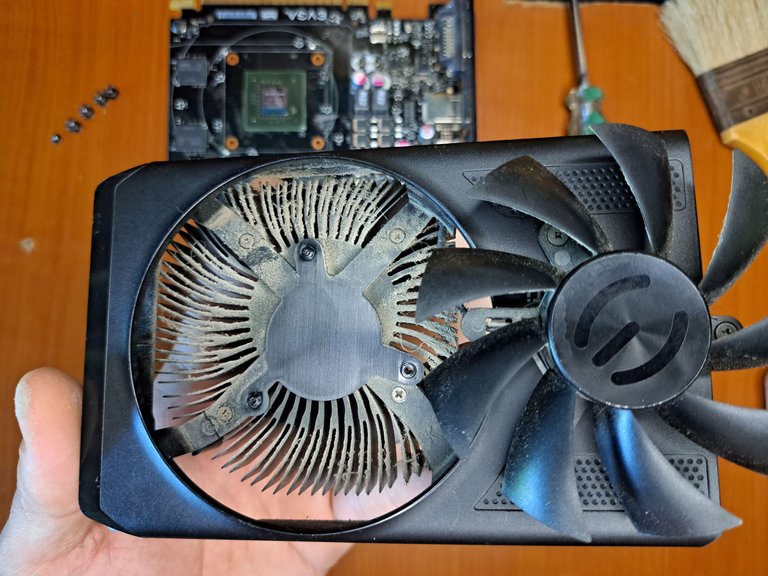
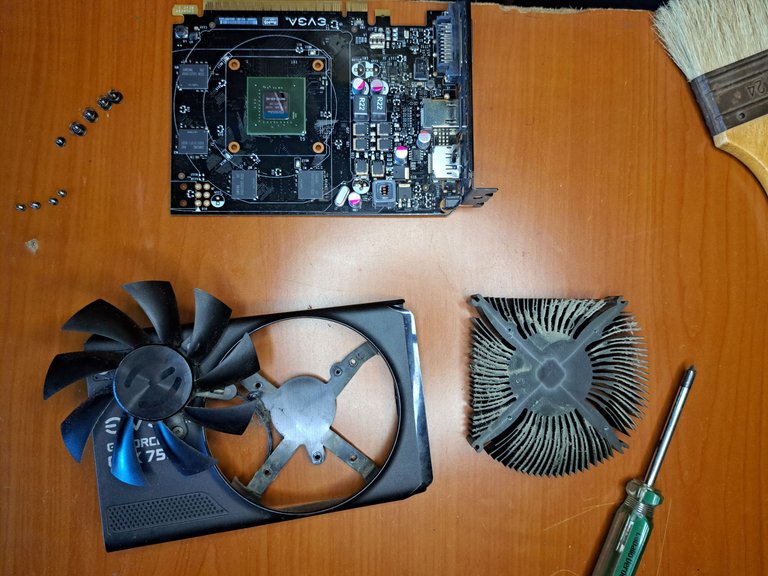
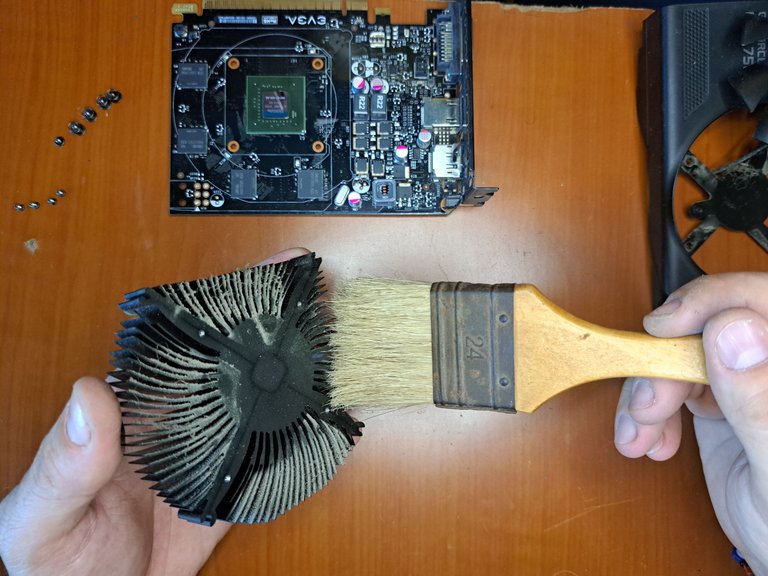
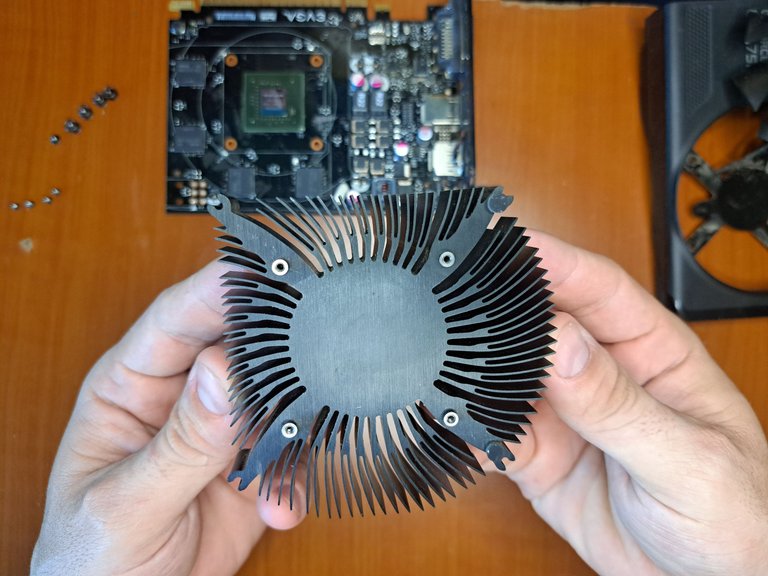
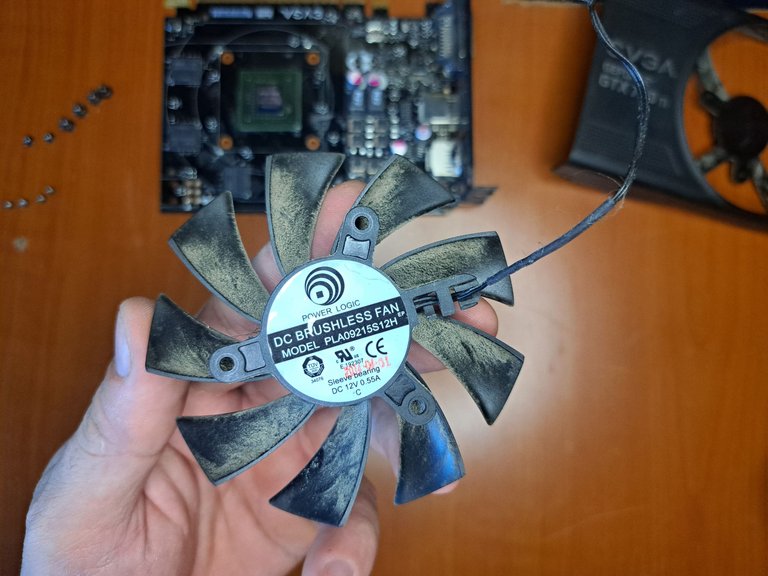
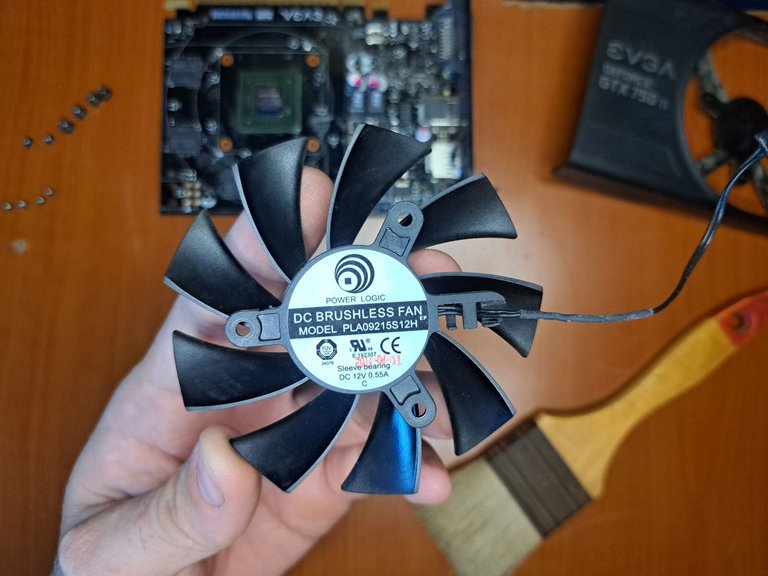
3️⃣ Next we proceed to disassemble the heatsink, which is made up of three parts: the plastic casing, the fan and the metal dissipation grid. Each of these components is cleaned in depth separately. Great care must be taken when handling the fan blades, as they are very fragile.
! [Spanish Version Here]
A continuación procedemos a desarmar el disipador que está compuesto por tres partes: la carcasa plástica, el ventilador y la rejilla metálica de disipación. A cada uno de estos componentes se les realiza una limpieza en profundidad por separado. Se debe tener mucho cuidado a la hora de manipular las aspas del ventilador, pues son muy frágiles.
 |
 |
 |
 |
 |
 |
 |
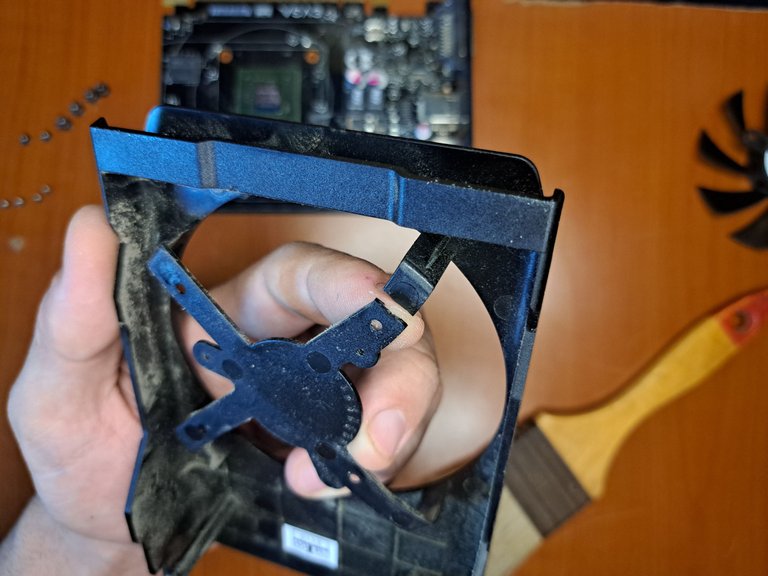
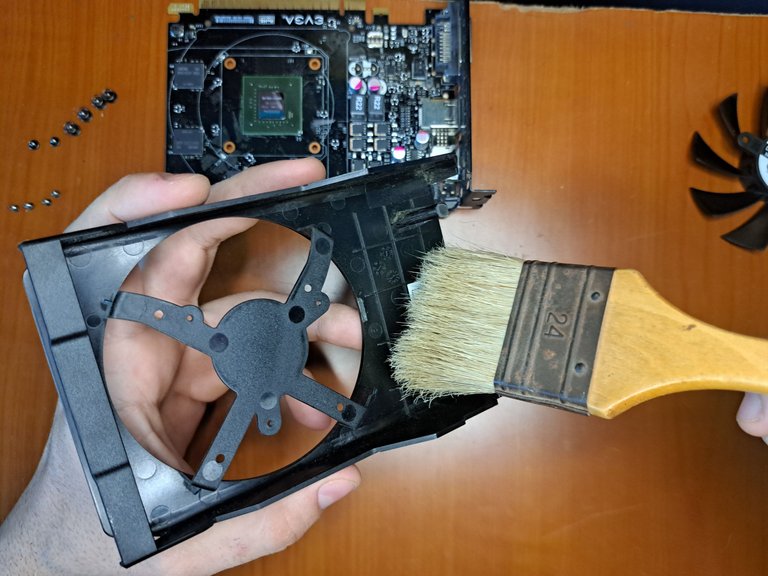
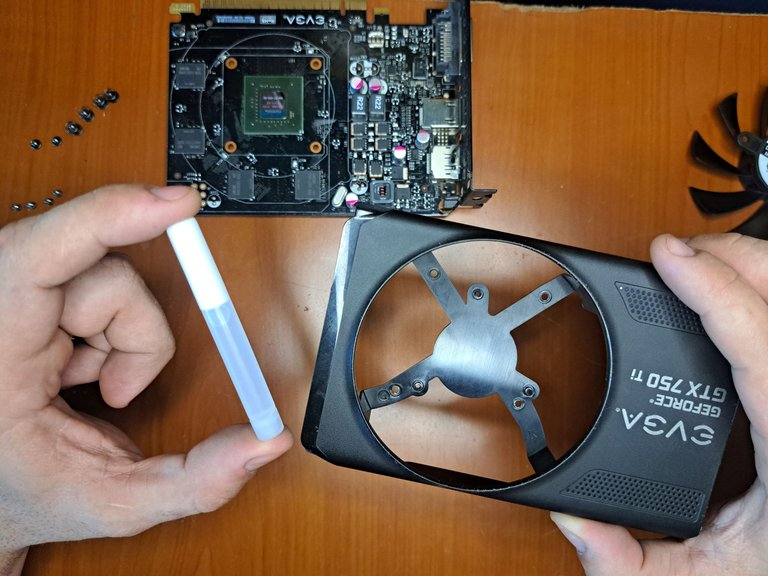
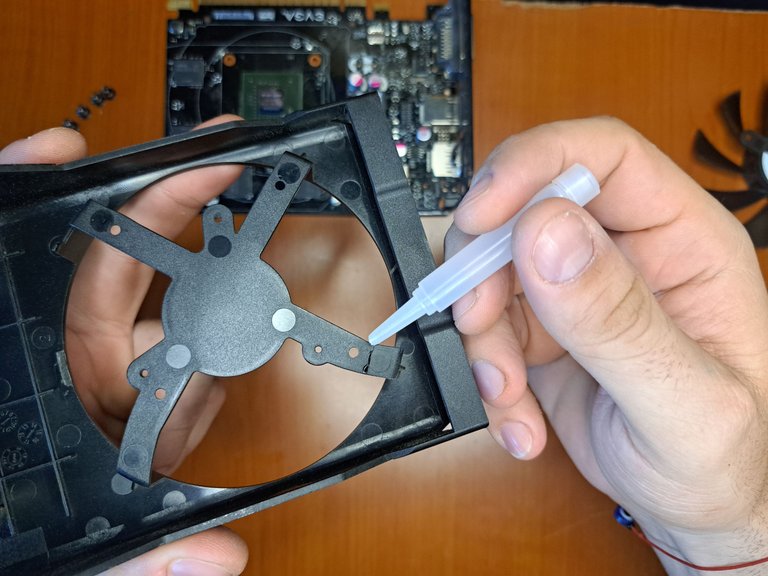
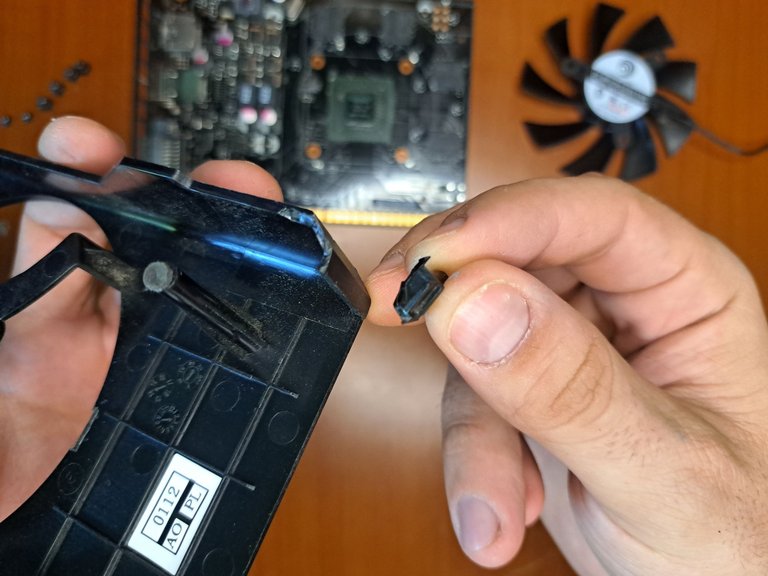
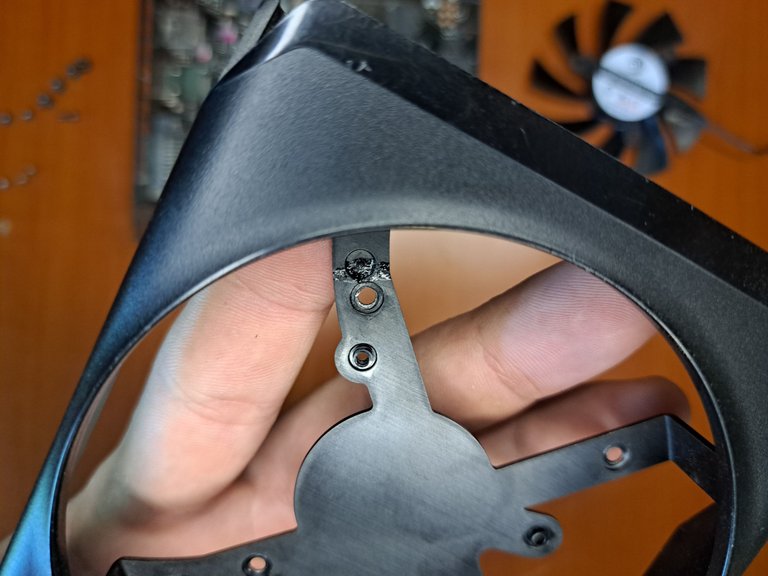
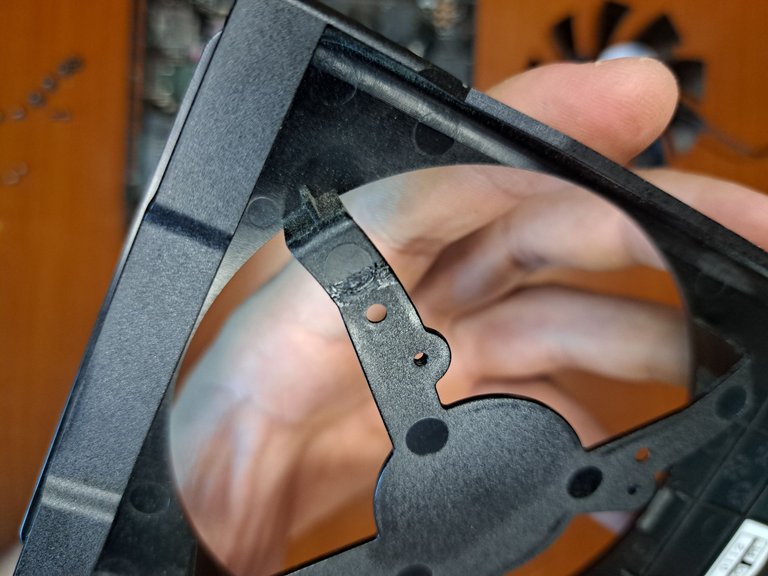
4️⃣ Once the casing is properly cleaned, the damaged plastic areas are glued. A thin layer of acrylic glue is applied to join the parts together, and glue is also applied at each end to reinforce the joints. If possible, a layer of carbon powder can be applied together with the glue, but proceed with caution, since this element is conductive.
! [Spanish Version Here]
Una vez que la carcasa se encuentra debidamente limpia, se procede a pegar las zonas plásticas dañadas. Se aplica una fina capa de pegamento acrílico para unir las partes, y por cada uno de los extremos también se aplica pegamento para reforzar las uniones. Si es posible, se puede aplicar junto con el pegamento una capa de polvo de carbono, pero se debe proceder con cautela, ya que este elemento es conductor.
 |
 |
 |
 |
 |
 |
 |
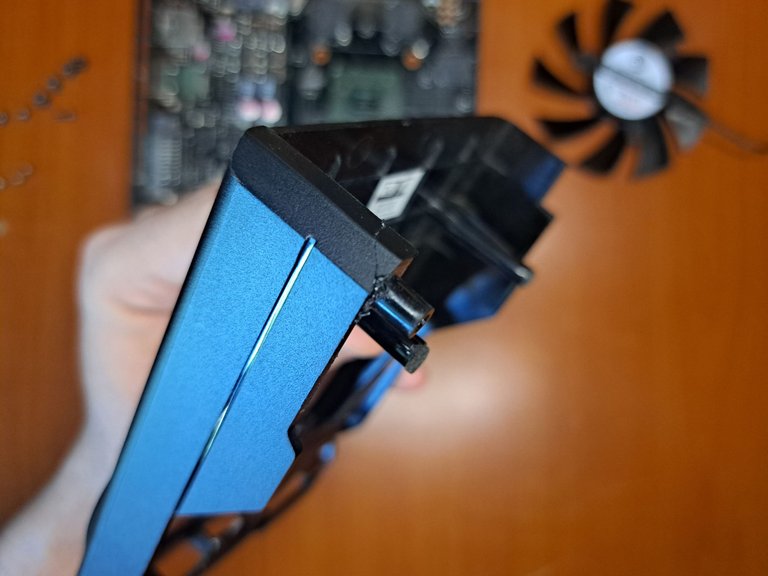
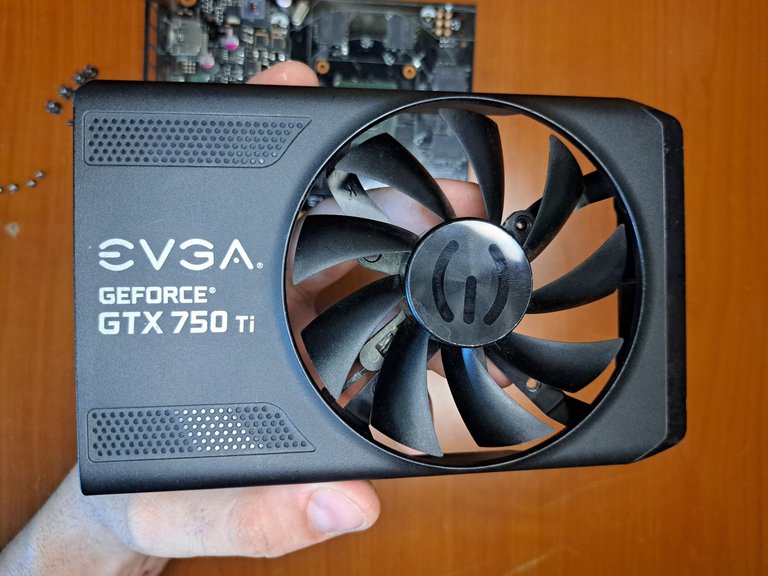
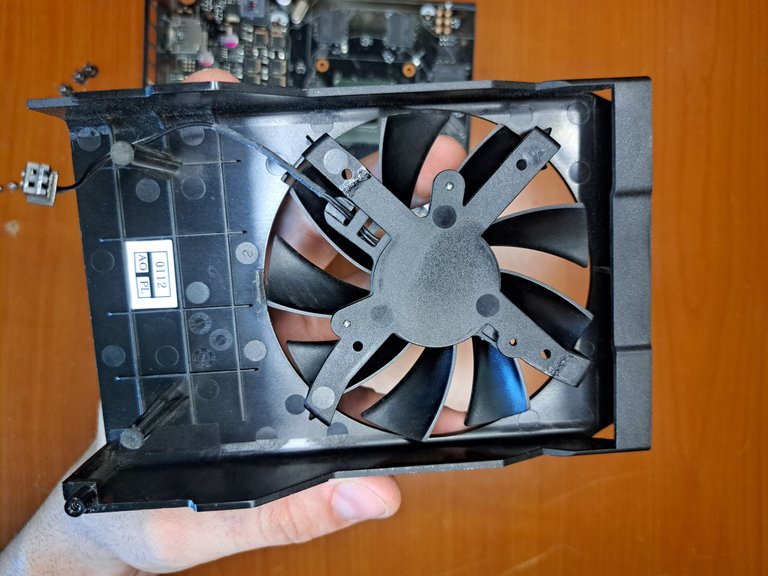
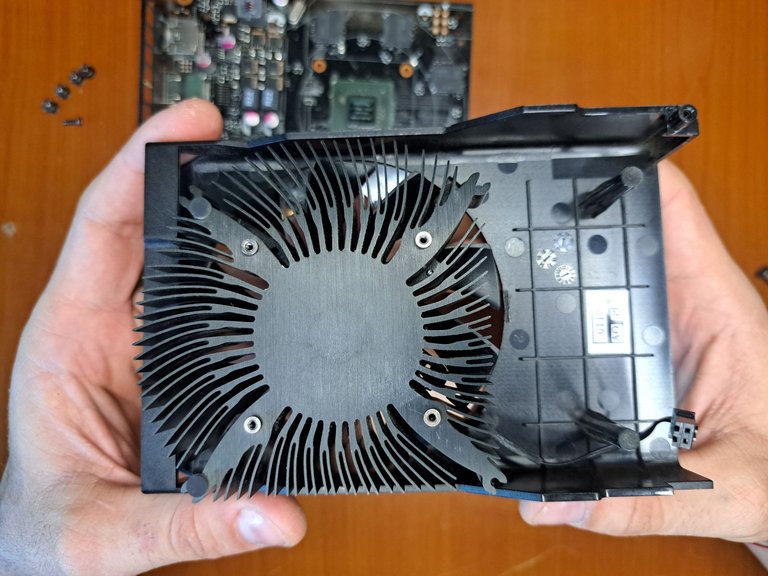
5️⃣ After gluing all the damaged areas, all the parts of the heatsink must be assembled to make sure that the fan fits correctly and does not make contact with the edges. Also check that each of the parts is well screwed to avoid vibrations and annoying noises when the card is working at its maximum.
! [Spanish Version Here]
Luego de pegar todas las zonas dañadas, se deben ensamblar todas las partes del disipador para corroborar que el ventilador quede correctamente y no haga contacto con los bordes. También se comprobará que cada una de las partes esté bien atornillada para evitar vibraciones y ruidos molestos cuando la tarjeta esté trabajando al máximo.
 |
 |
 |
 |
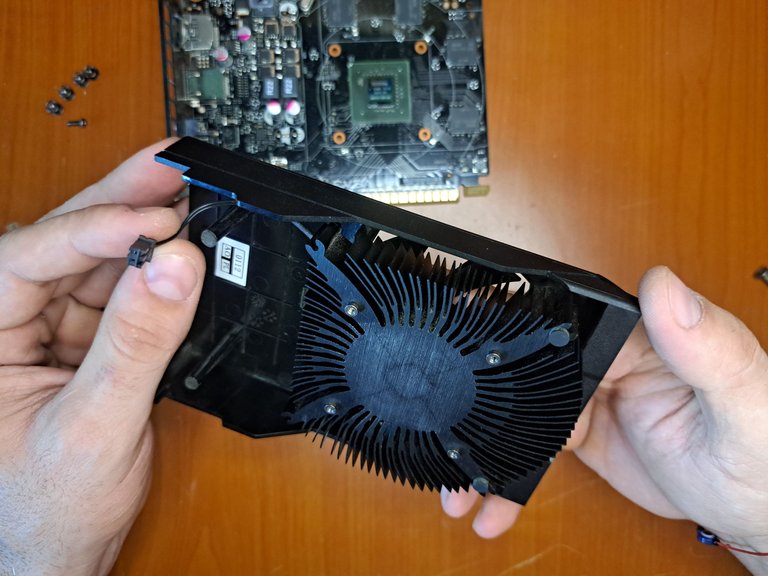 |
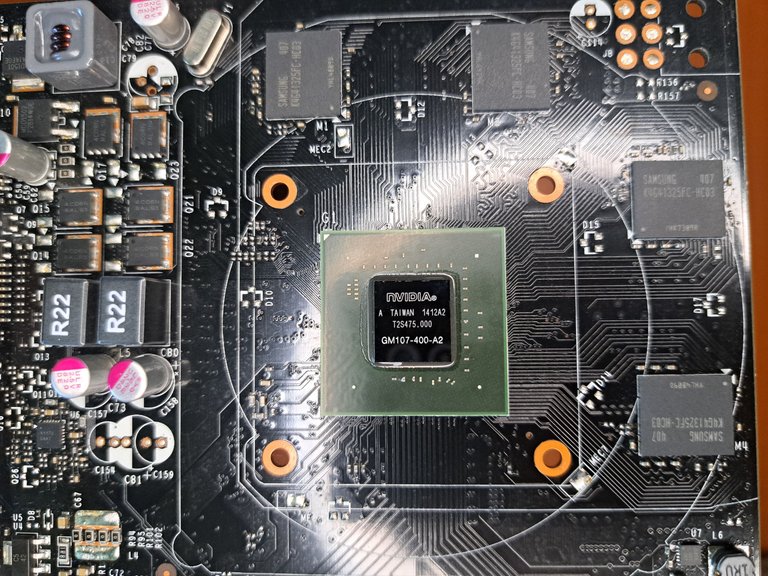
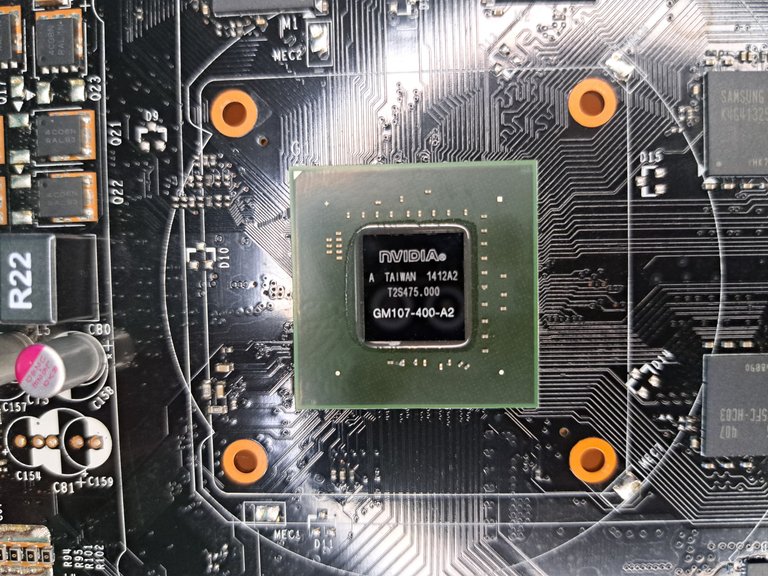
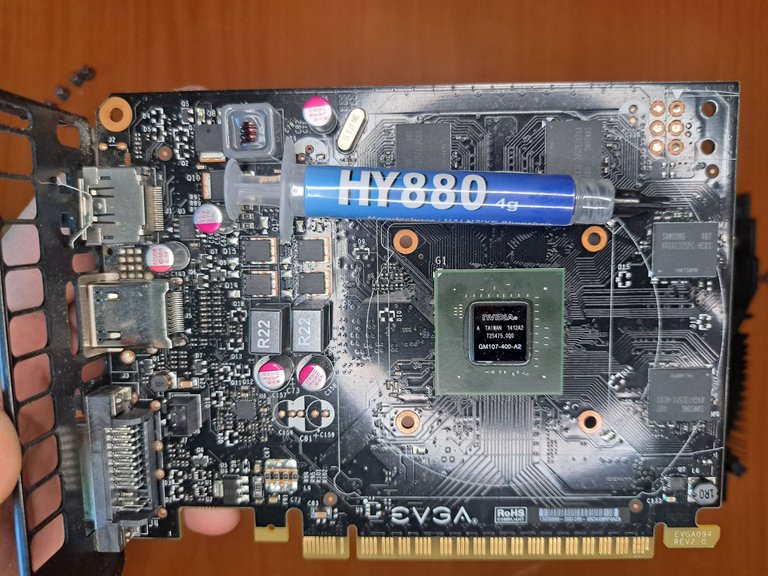
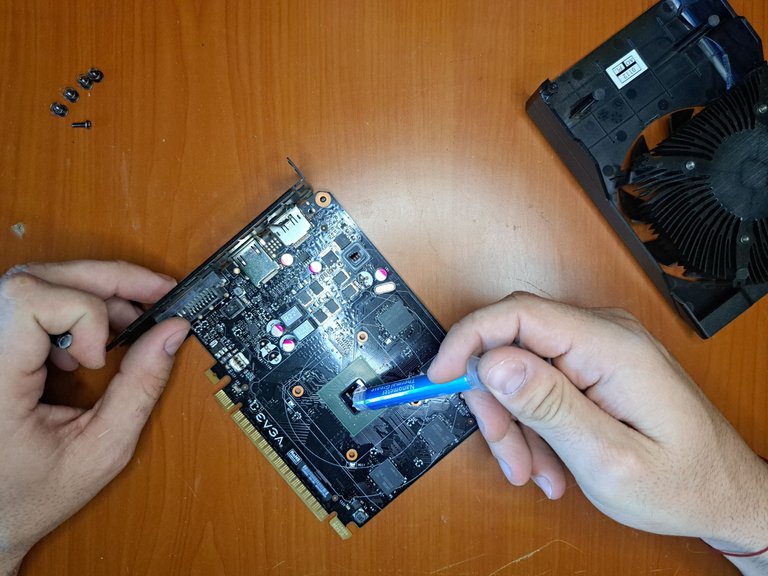
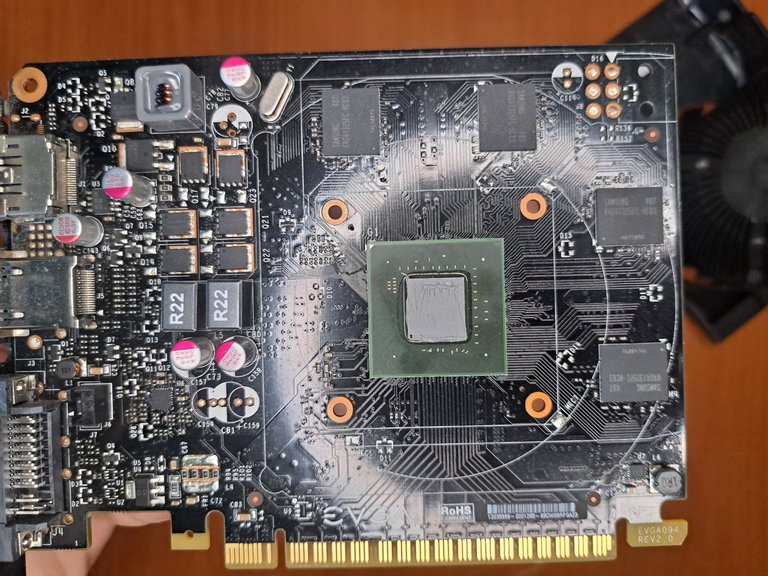
6️⃣ With the heatsink ready, the noise problem is solved. Now we will continue with the GPU chipset. To remedy the overheating problem, remove the thermal paste on top of the chipset and apply a new one. In the case of newer boards, the thermal pads on the VRAM memory should also be replaced. But in the case of this model, the heatsink does not make contact with the VRAM, so there is no need to use thermal pads.
! [Spanish Version Here]
Con el disipador listo, ya estaría resuelto el problema del ruido. Ahora se continuará con el chipset de la GPU. Para remediar el problema del sobrecalentamiento, se debe remover la pasta térmica de encima del chipset y aplicar una nueva. En el caso de placas más modernas, también se debe reemplazar los pads térmicos de las memorias VRAM. Pero en el caso de este modelo, el disipador no hace contacto con las memorias VRAM, así que no hay necesidad de usar pads térmicos.
 |
 |
 |
 |
 |
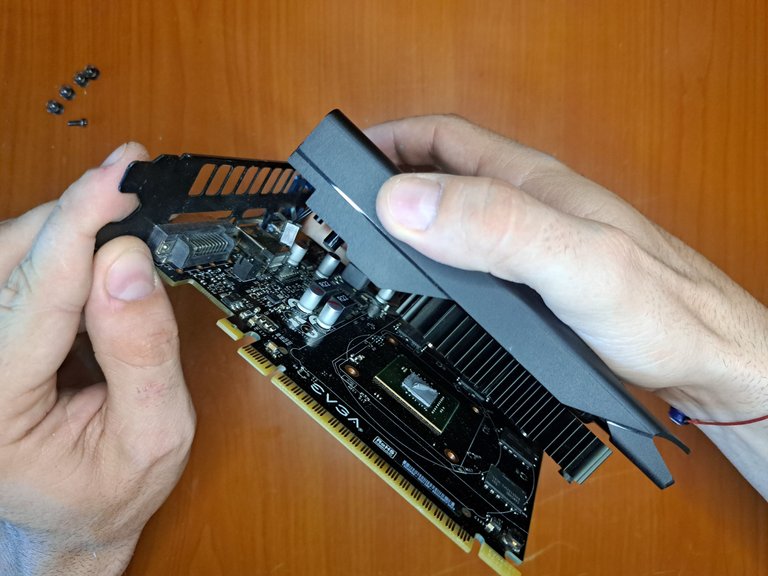
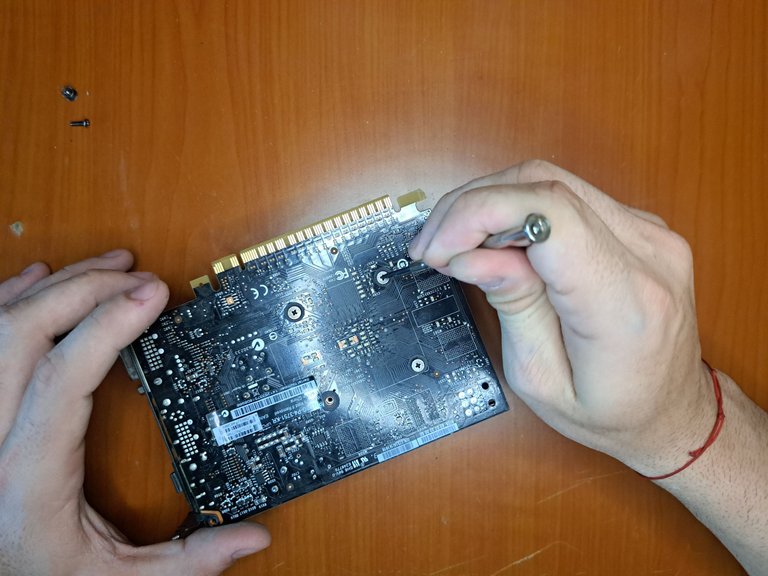
7️⃣ At this point, the only thing left to do is to assemble everything. You must start by connecting the fan cable to the socket on the board and then place the heatsink turrets in the holes on the board to screw one by one the spring clips that it brings.
! [Spanish Version Here]
Llegados a este punto, solo queda armar todo. Se debe comenzar conectando el cable del ventilador a la toma de la placa y luego colocar las torretas del disipador en los orificios de la placa para atornillar uno a uno las sujeciones con muelles que esta trae.
 |
 |
 |
 |
 |
 |
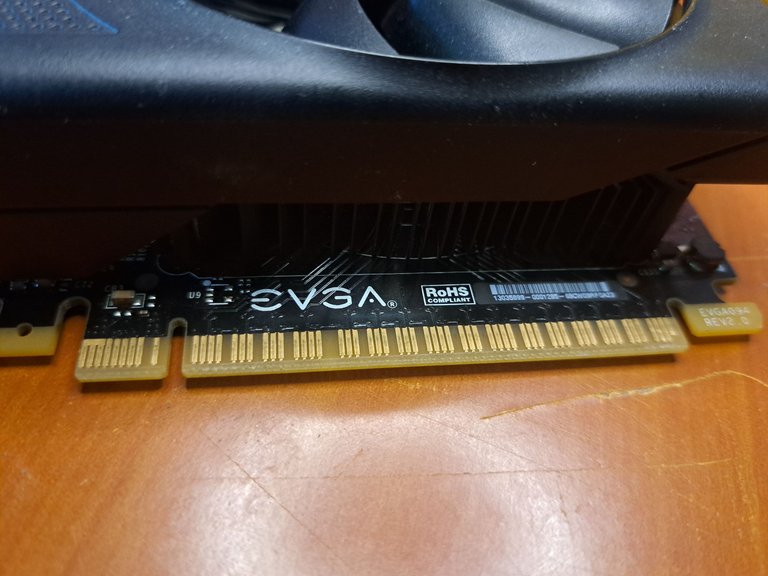 |
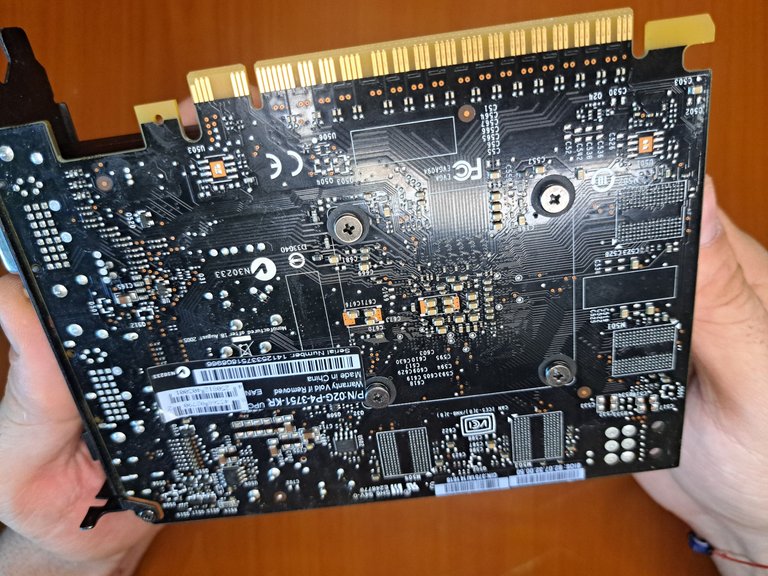
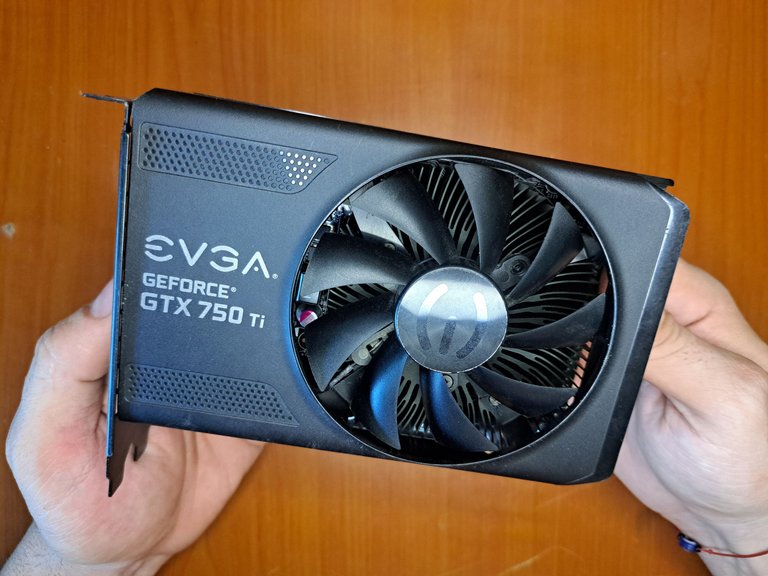
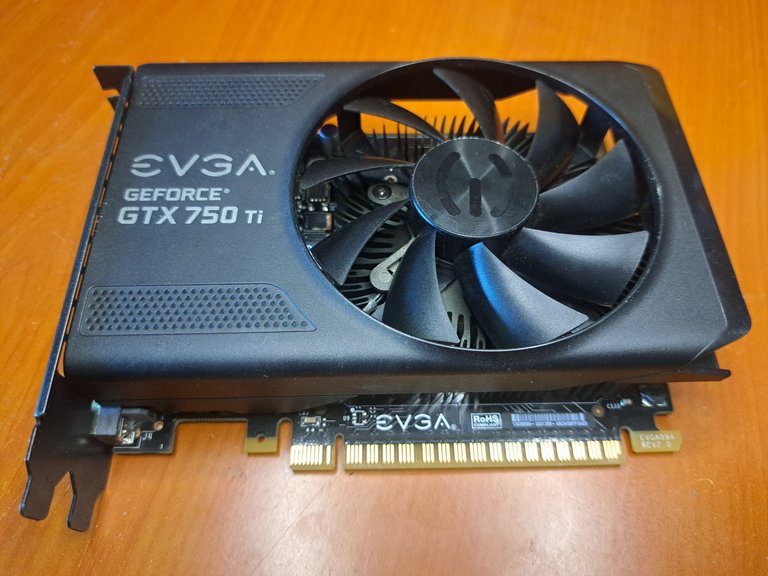
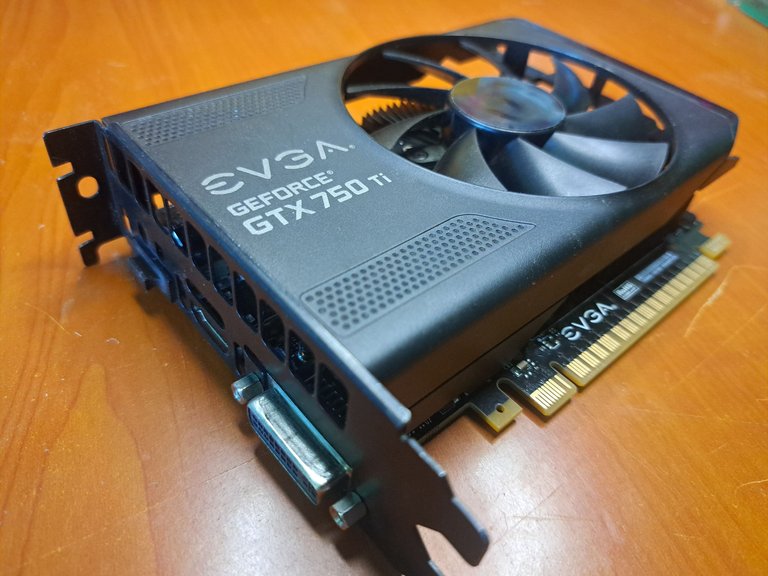
And that's how this little warrior would be ready, with a lot still to give. Although its 2 GB of VRAM are insufficient for today's requirements, I think many will find it useful for multimedia and office work. I hope you liked the tutorial, I'll say goodbye and see you soon!
! [Spanish Version Here]
Y así es como esta pequeña guerrera estaría lista, con mucho aún por dar. Aunque sus 2 GB de VRAM son insuficientes para los requisitos actuales, creo que muchos encontrarán utilidad en ella para multimedia y trabajos de ofimática. Espero que les haya gustado el tutorial, por mi parte me despido. ¡Hasta pronto!

Thank you very much for reading my post. If you liked it, please leave a comment and consider following me so you don't miss my next posts. I'd love to know your opinion and your thoughts about the topic I discussed in this post, see you in the next one!

Cover page created in Canva Pro
Translated by DeepL


