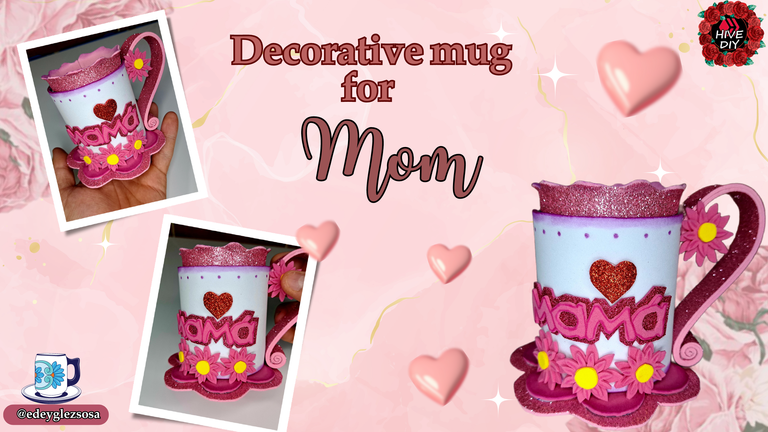
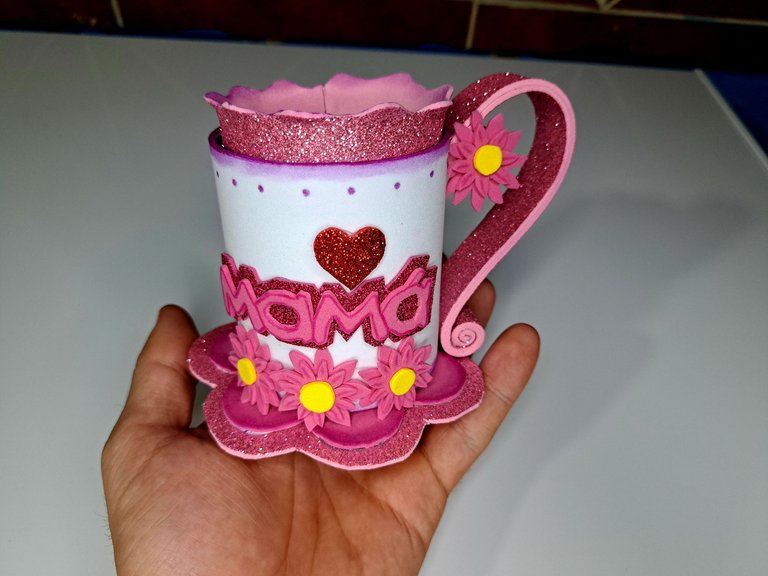
For several days the community has been full of creative ideas in honor of the upcoming Mother's Day. As this date is extremely important to me, I didn't want to miss the opportunity to create a decorative piece that could be a gift for mom.
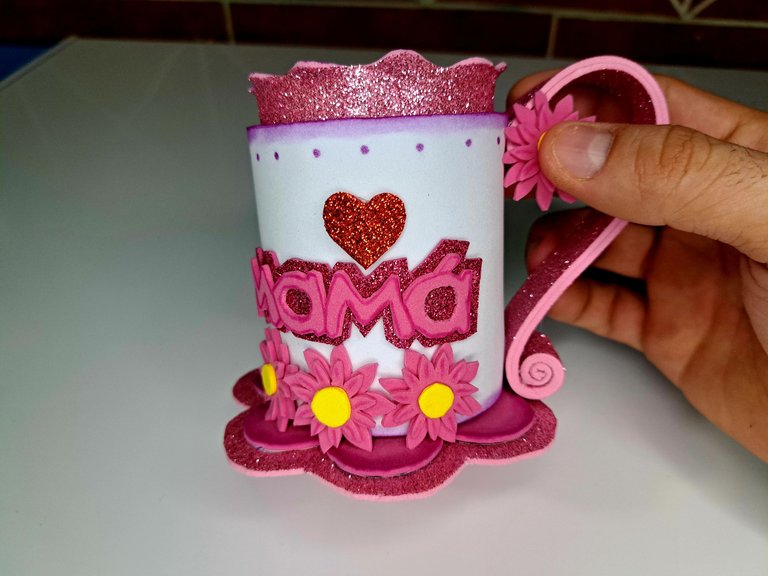
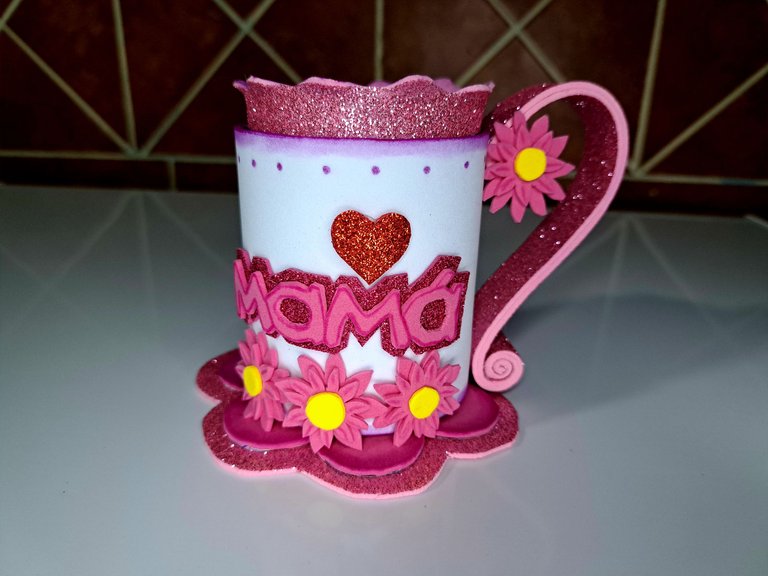
Today I bring you a tutorial in which I will explain step by step how to create a decorative mug made with fomi and a soda can. So without further hesitation, join me on this creative journey that starts right now.
! [Spanish Version Here]
Durante varios días la comunidad ha estado llena con ideas creativas en honor del venidero día de las madres. Como esa fecha es extremadamente importante para mí, no quise dejar pasar la oportunidad y crear una pieza decorativa que bien podría ser un regalo para mamá.El día de hoy les traigo un tutorial en el cual paso a paso explicaré cómo crear una taza decorativa hecha con fomi y una lata de refresco. Así que sin más vacilaciones, acompáñame en este viaje creativo que comienza justo ahora.
 |
 |
Materials // Materiales
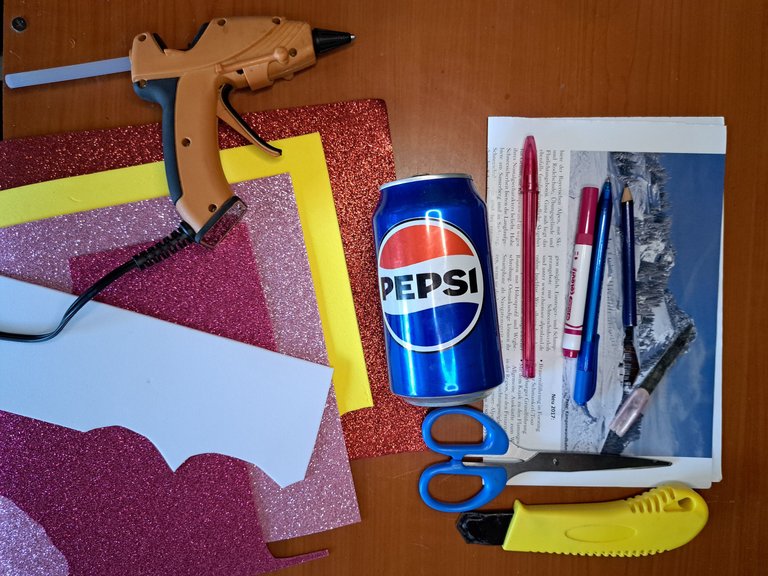
| ✔️ Soft drink can (soda can) | ✔️ Lata de refresco (gaseosa) |
| ✔️ Smooth white, pink and yellow fomi | ✔️ Fomi liso de color blanco, rosado y amarillo |
| ✔️ Red, light pink and fuchsia frosted fomi | ✔️ Fomi escarchado rojo, rosado claro y fucsia |
| ✔️ Purple marker and pen | ✔️ Marcador púrpura y bolígrafo |
| ✔️ Scissors and box cutter | ✔️ Tijeras y cúter |
| ✔️ Silicone gun | ✔️ Pistola de silicona |
| ✔️ Magazine sheets or cardboard for molds | ✔️ Hojas de revista o cartón para moldes |
Step by step // Paso a paso
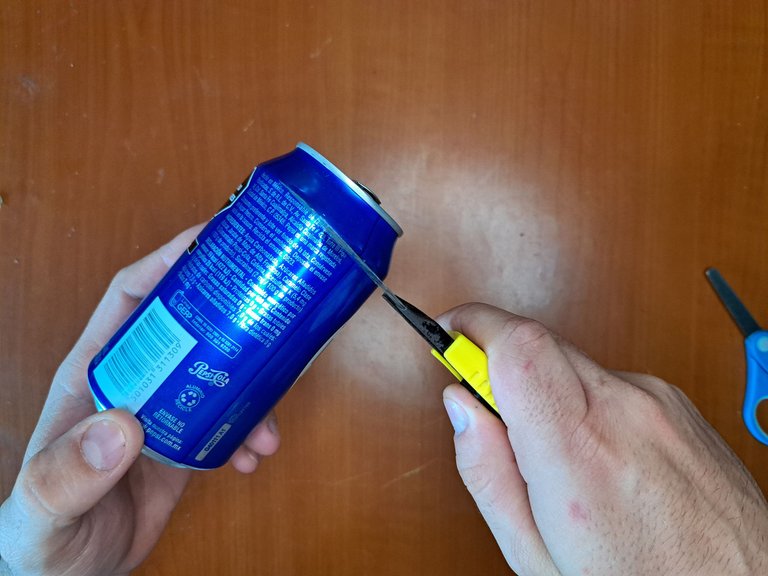
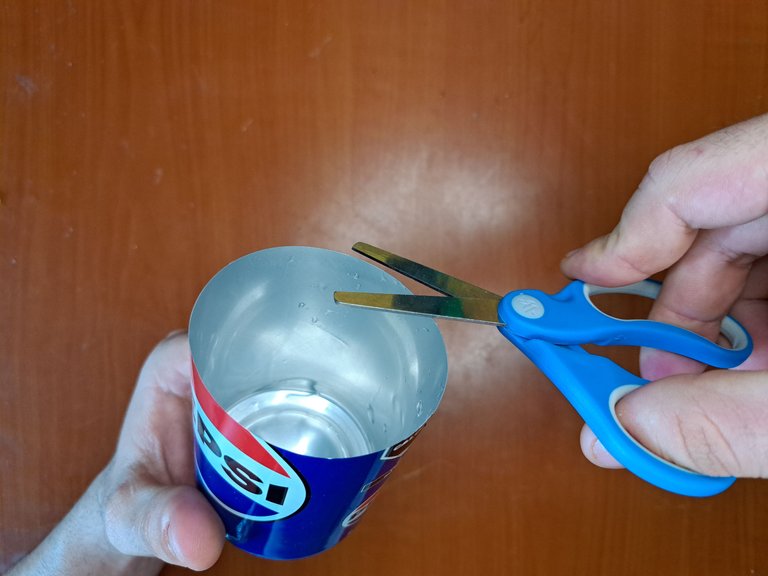
1️⃣ To begin, you must cut a soda can to a height of 8 cm. Be very careful when cutting the can, as it can cause injury, and be sure to even out the top edge of the can. You can remove the bottom of the can, although I left it off so it wouldn't warp, and also, instead of a can, you can use a plastic knob.
! [Spanish Version Here]
1️⃣ Para empezar, debes recortar una lata de refresco (gaseosa) a una altura de 8 cm. Ten mucho cuidado al cortar la lata, ya que puede producir heridas, y asegúrate de emparejar el borde superior de la lata. Puedes retirar el fondo de la lata, aunque yo lo dejé para que no se deformara, y también, en vez de una lata, puedes utilizar un pomo plástico.
 |
 |
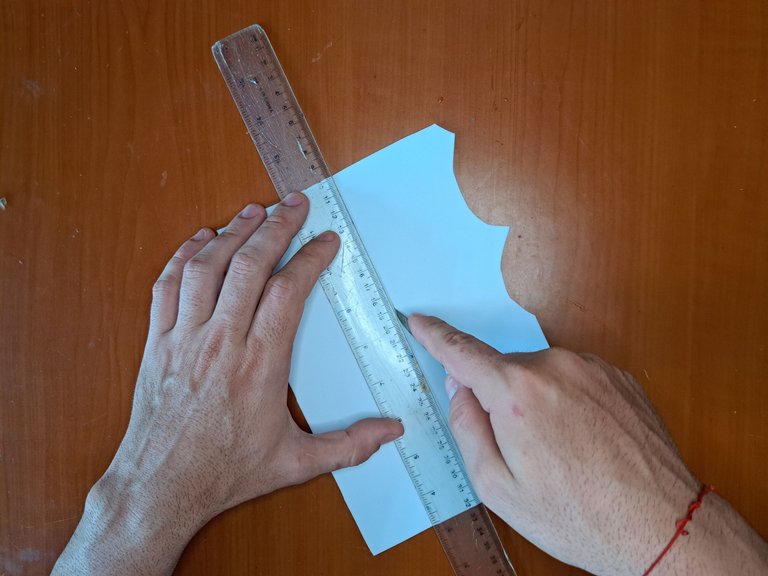
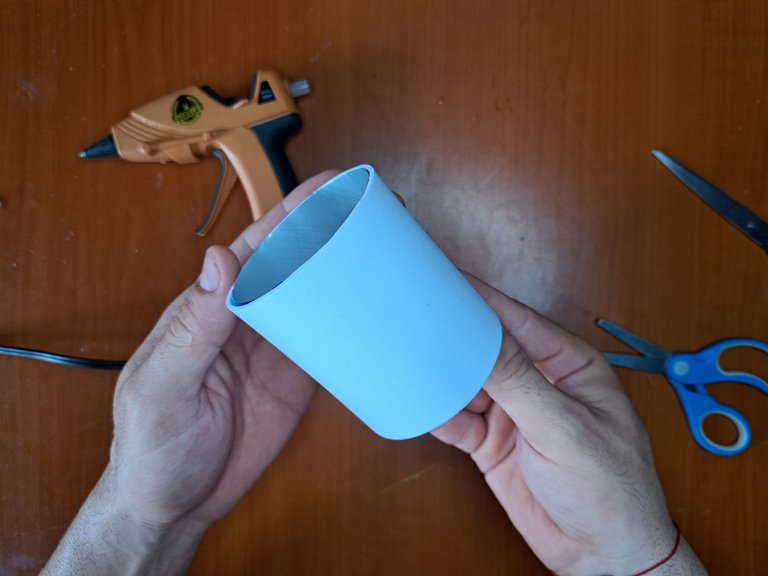
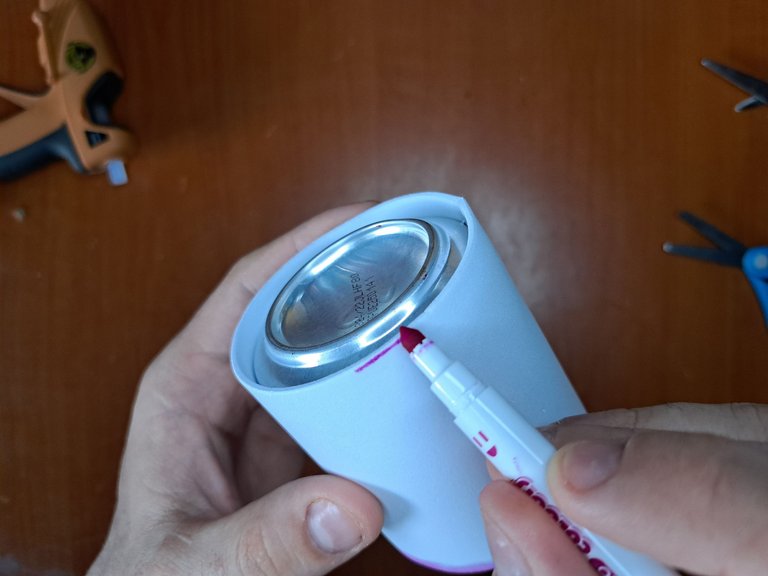
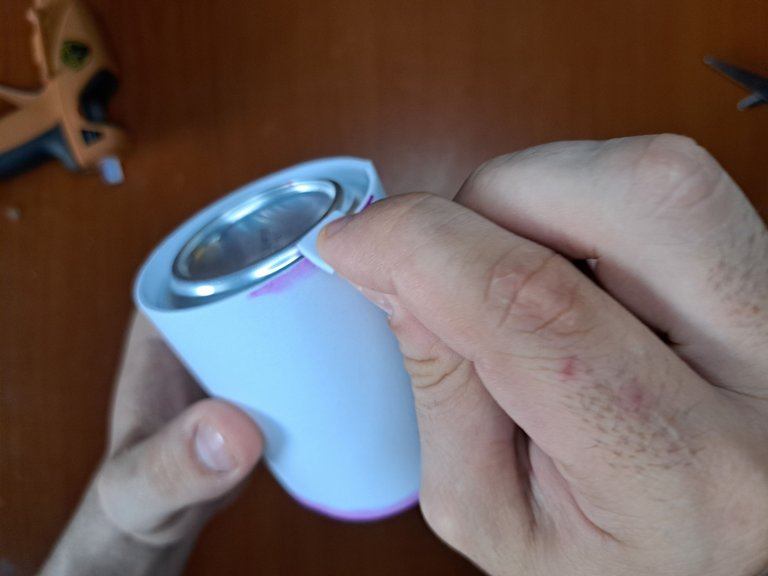
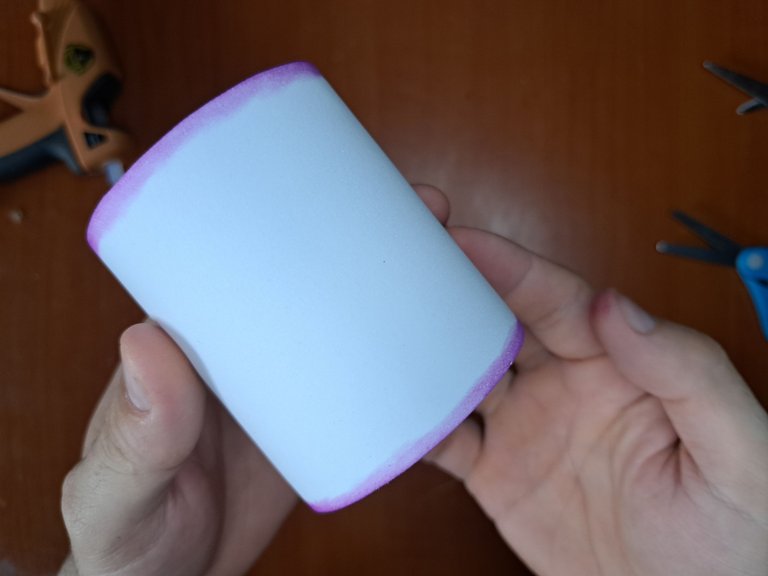
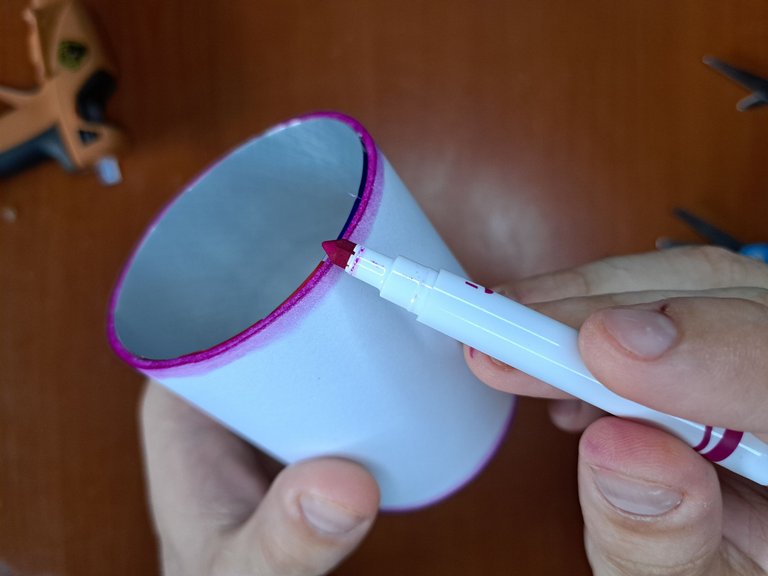
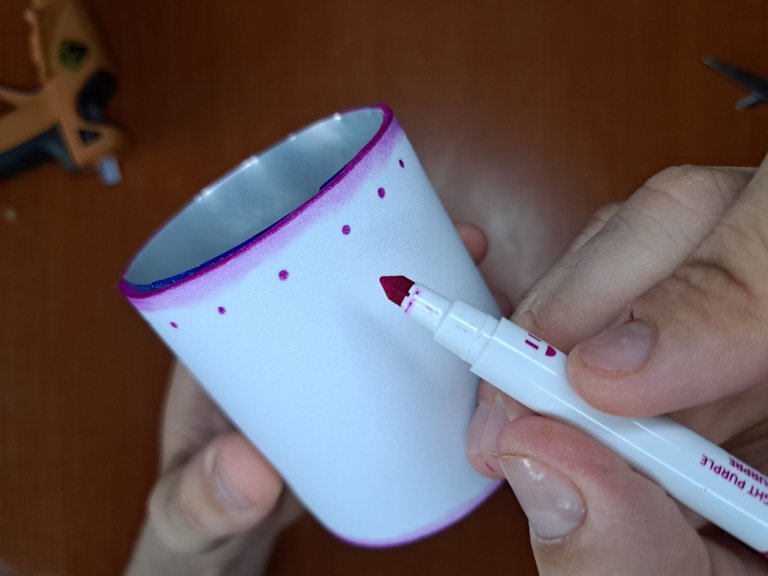
2️⃣ Next, cut out a piece of white fomi 8 cm wide and the same length as the outside surface of the can. Glue the fomi to the can and, with the help of a purple marker, paint and smudge the edges of the fomi. Also add small purple dots to the top edge of the fomi.
! [Spanish Version Here]
2️⃣ A continuación, recorta una pieza de fomi blanco de 8 cm de ancho y del mismo largo que la superficie exterior de la lata. Pega el fomi a la lata y, con la ayuda de un marcador morado, pinta y difumina los bordes del fomi. También agrega pequeños puntos morados al borde superior del fomi.
 |
 |
 |
 |
 |
 |
 |
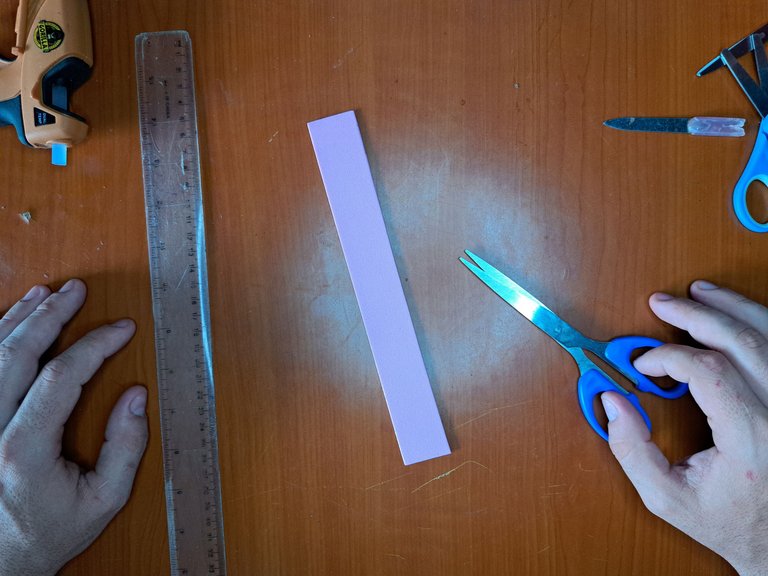
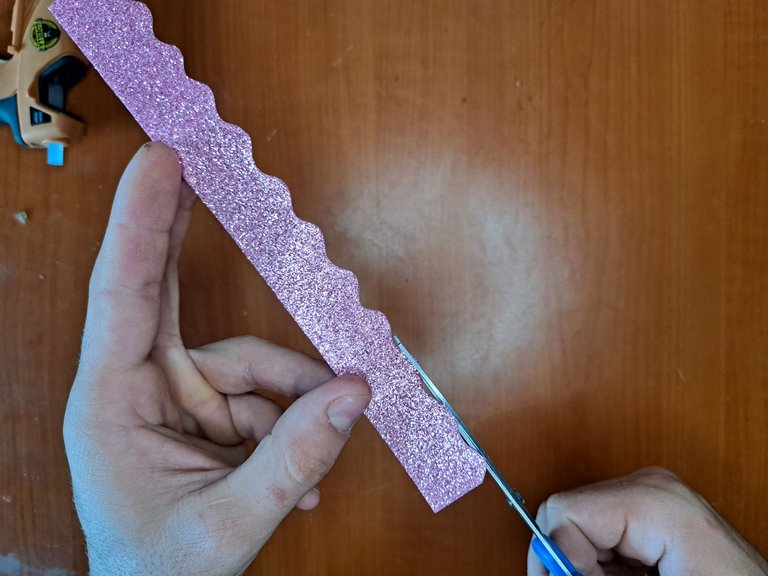
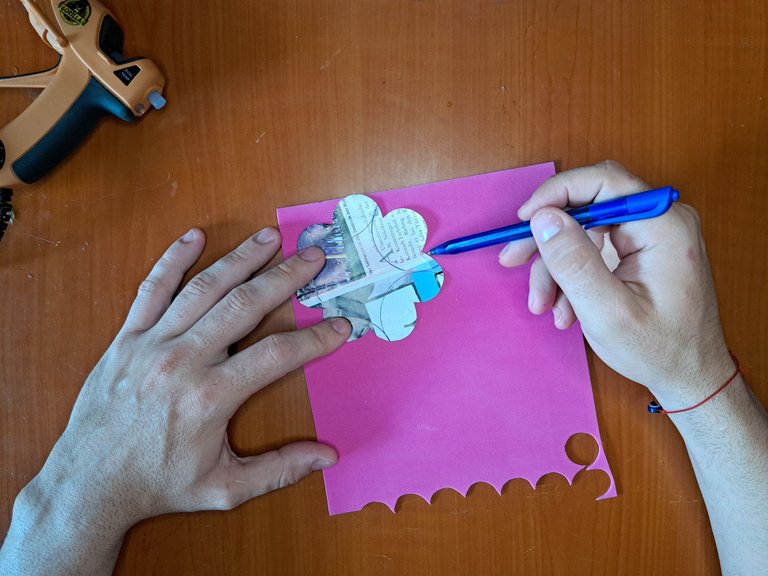
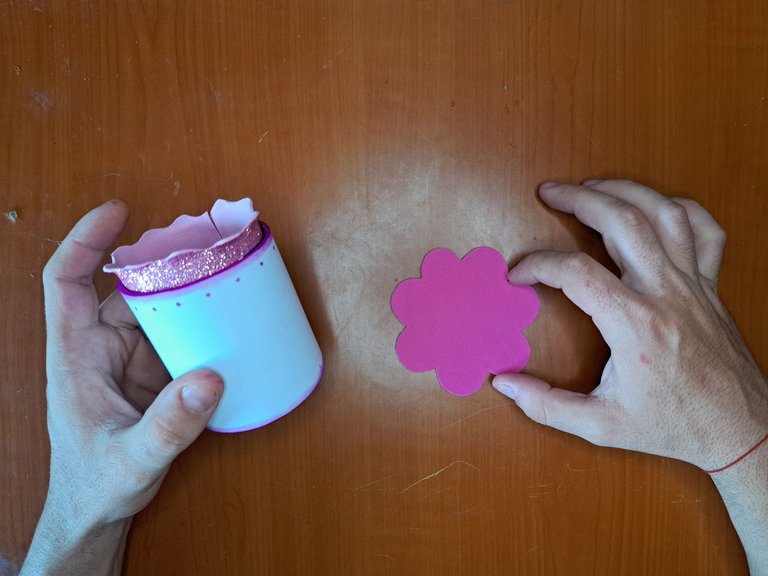
3️⃣ On a sheet of frosted pink fomi, cut out two 3 cm wide strips. Then, cut out a wavy pattern and glue one of the strips to the top of the cup. Also, in plain pink fomi, cut out a flower pattern and glue it to the base. You can use a sheet of magazine for the pattern or do it freehand. Once glued, smudge the top of the pink base.
! [Spanish Version Here]
3️⃣ En una hoja de fomi rosa escarchado, recorta dos tiras de 3 cm de ancho. Luego, recorta un patrón ondulado y pega una de las tiras en la parte de arriba de la taza. También, en fomi rosa liso, recorta el patrón de una flor y pégalo en la base. Puedes utilizar una hoja de revista para el patrón o hacerlo a mano alzada. Una vez pegado, difumina la parte superior de la base rosada.
 |
 |
 |
 |
 |
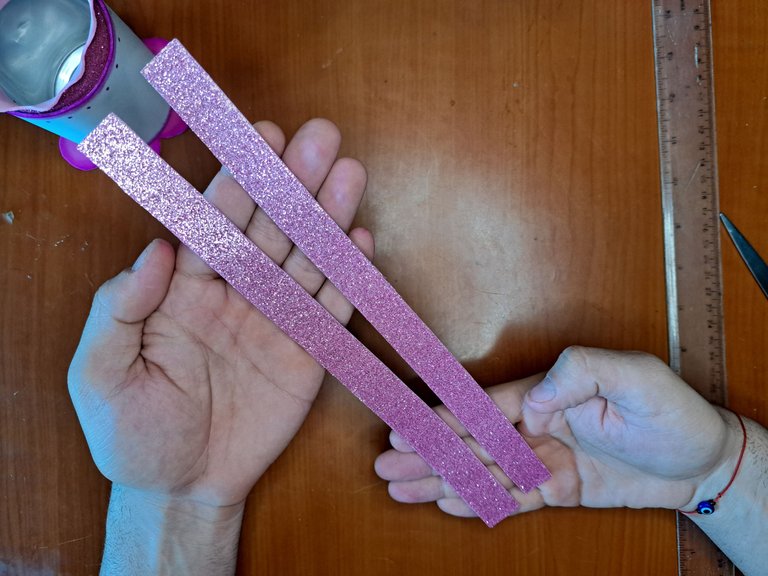
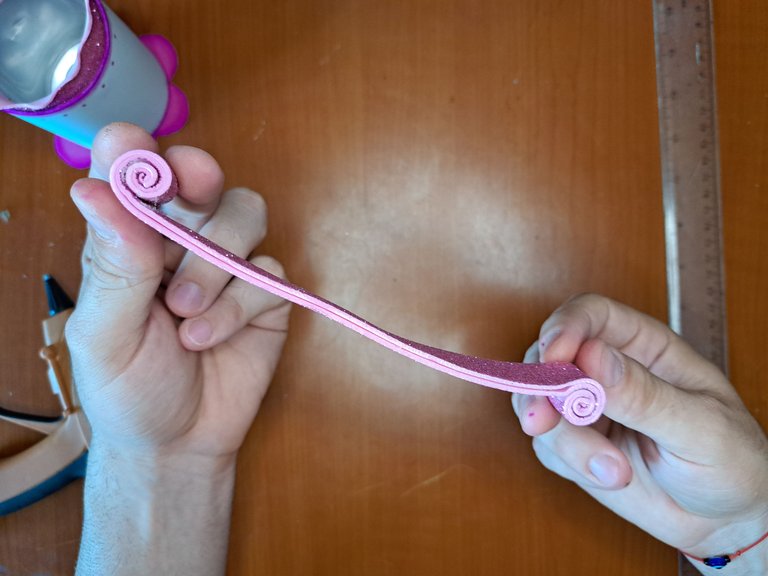
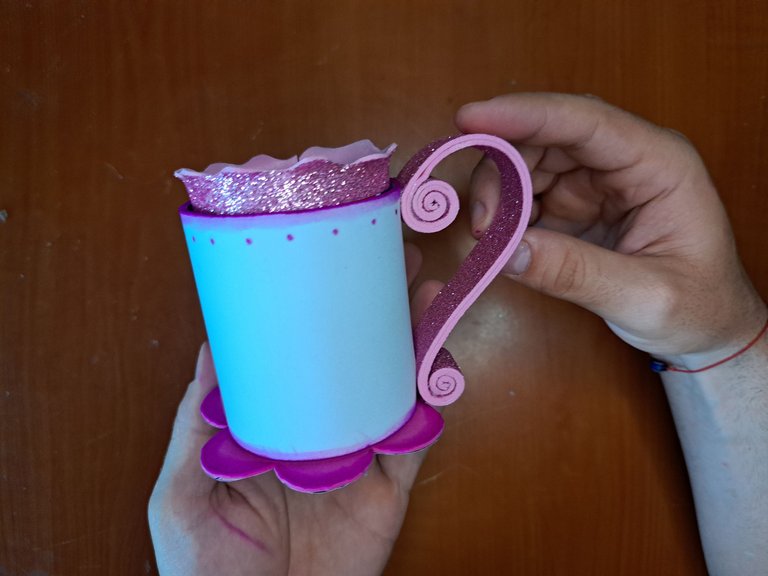
4️⃣ Next, cut two strips of frosted pink fomi 2 cm wide and 15 cm long, glue both strips on the smooth side. Next, wrap the fomi strip around the ends to form a handle and glue it to the side of the cup.
! [Spanish Version Here]
4️⃣ A continuación, recorta dos tiras de fomi rosado escarchado de 2 cm de ancho y 15 cm de largo, pega ambas tiras por la parte lisa. Seguidamente, envuelve la tira de fomi por los extremos hasta formar un asa y pégala en un costado de la taza.
 |
 |
 |
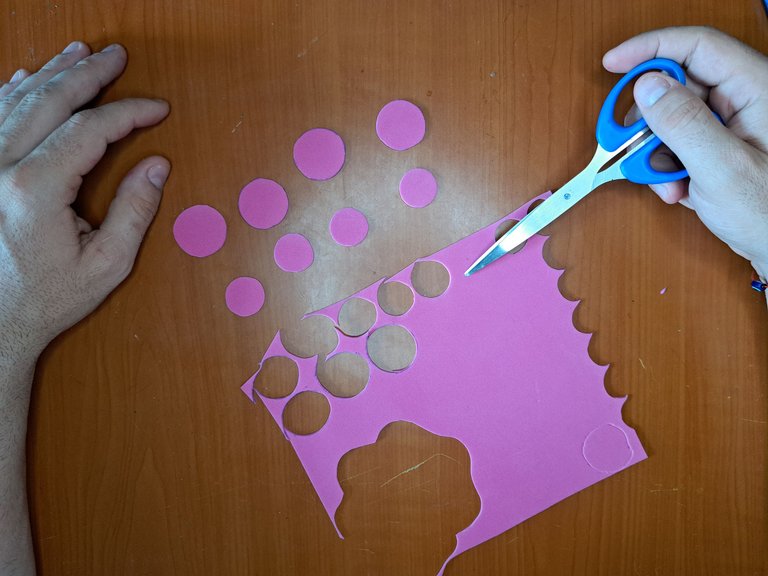
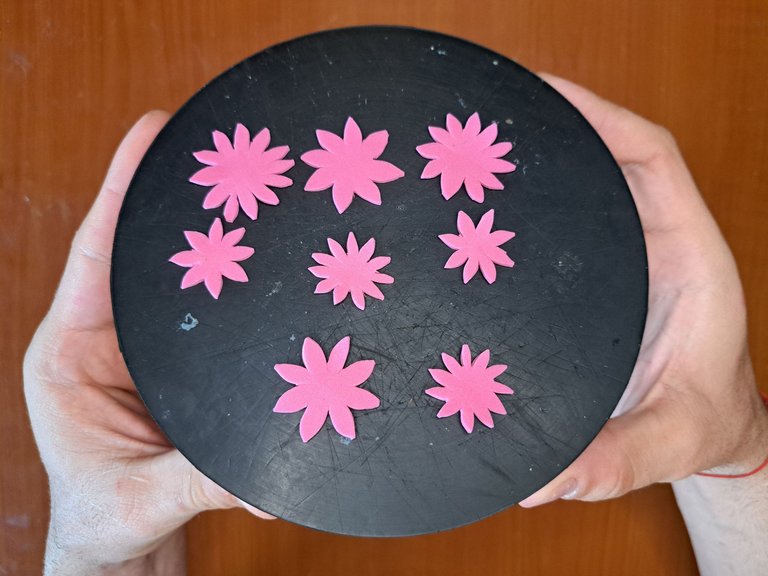
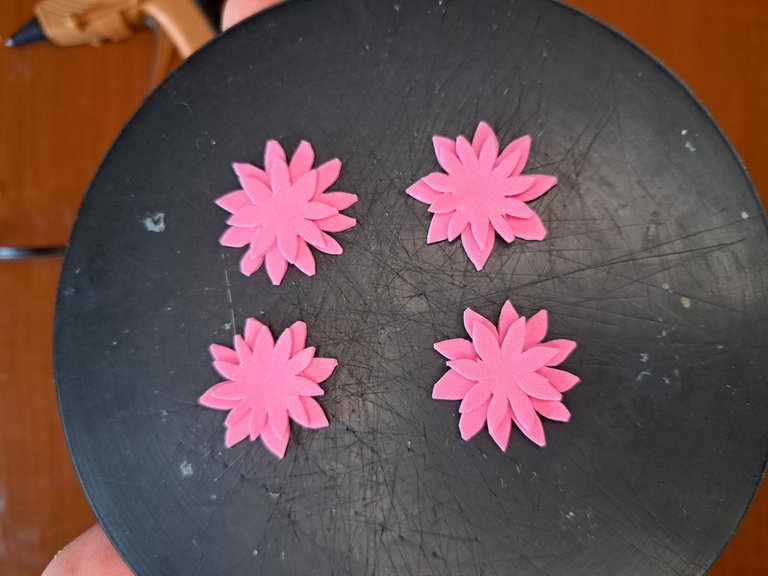
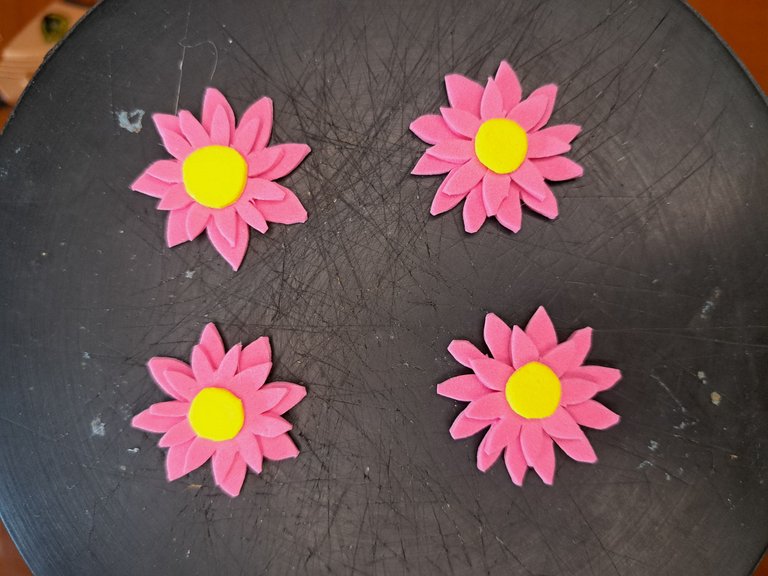
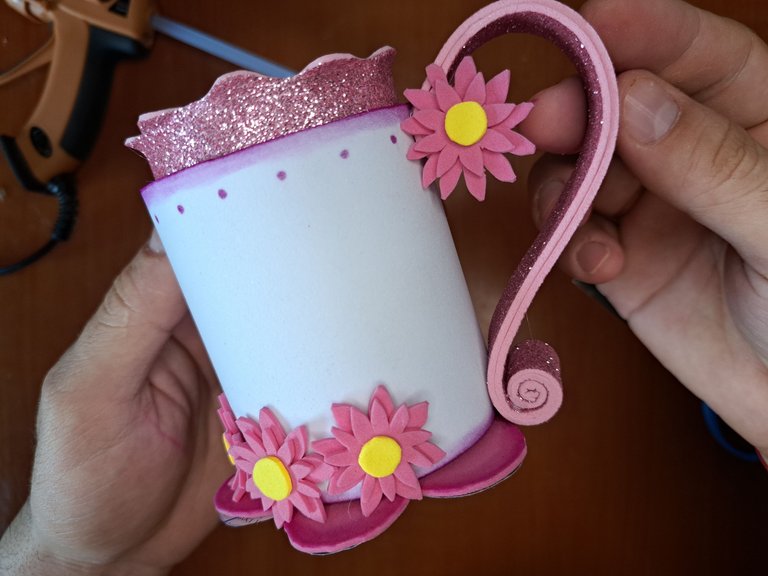
5️⃣ To continue, cut out 4 small and 4 large circles out of plain pink fomi. From each circle, cut small notches to form petals. Each of the petal patterns can be different. Place a small pattern on top of a large one, and on top of that, cut out and glue a small yellow circle. Then place three of the flowers at the junction of the base with the cup and the fourth flower glue it to the top of the handle.
! [Spanish Version Here]
5️⃣ Para continuar, recorta en fomi rosado liso 4 círculos pequeños y cuatro grandes. A cada círculo, recórtale pequeñas muescas para formar pétalos. Cada uno de los patrones de pétalos puede ser diferente. Coloca un patrón pequeño encima de uno grande y, sobre todo, recorta y pégalos un pequeño círculo amarillo. Luego coloca tres de las flores en la unión de la base con la taza y la cuarta flor pégala en la parte superior del asa.
 |
 |
 |
 |
 |
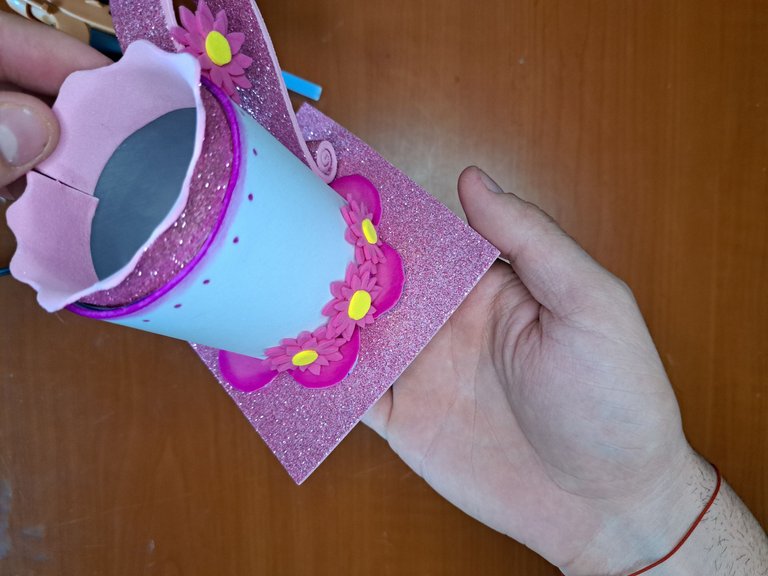
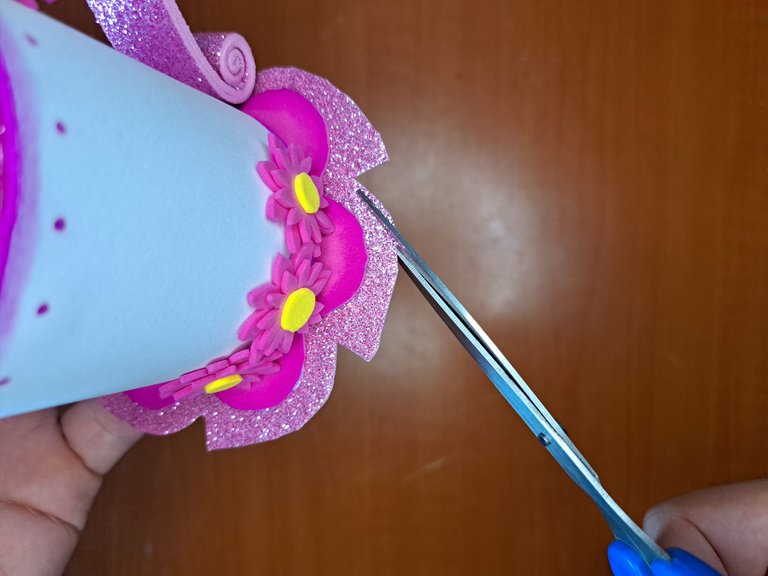
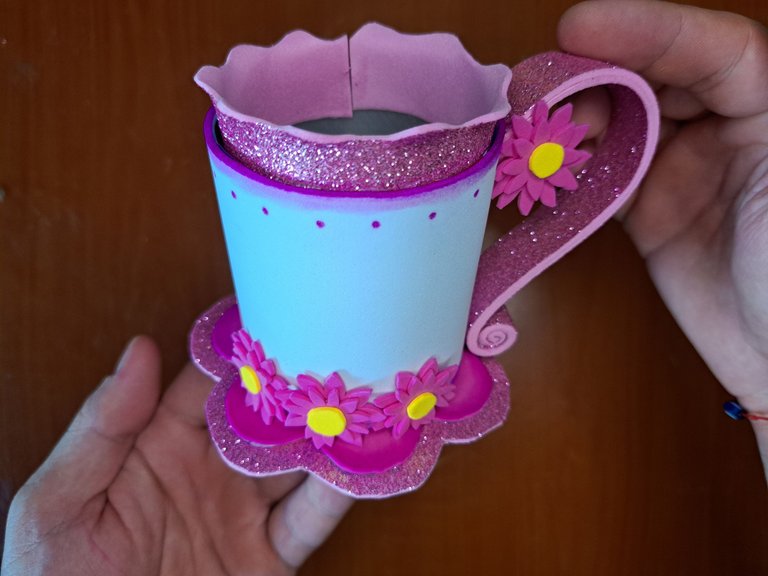
6️⃣ Next, glue the base of the cup onto a sheet of frosted pink fomi and cut out a round petal pattern that is wider than the one you placed before. This will not only give the ornament better stability, but will also add more volume.
! [Spanish Version Here]
6️⃣ A continuación, pega la base de la taza sobre una lámina de fomi rosado escarchado y recorta un patrón de pétalos redondo más ancho que el que colocaste anteriormente. Esto no solo le brindará mejor estabilidad al adorno, sino que también agregará más volumen.
 |
 |
 |
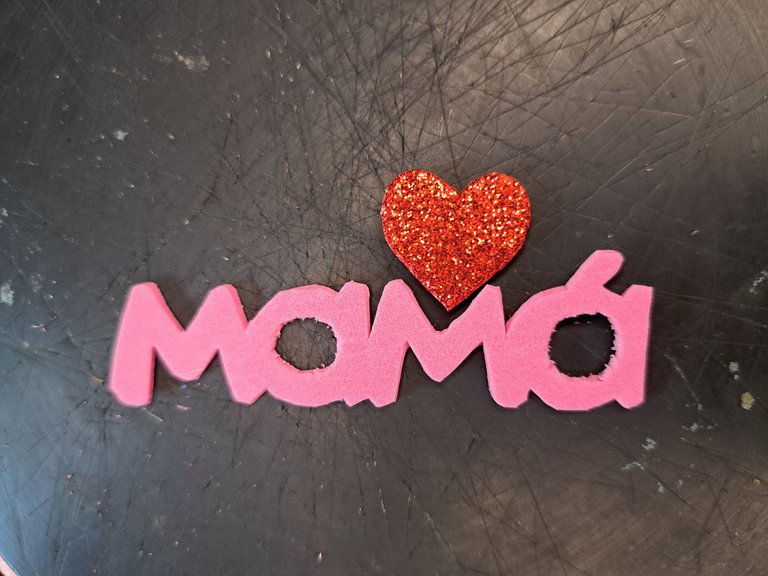
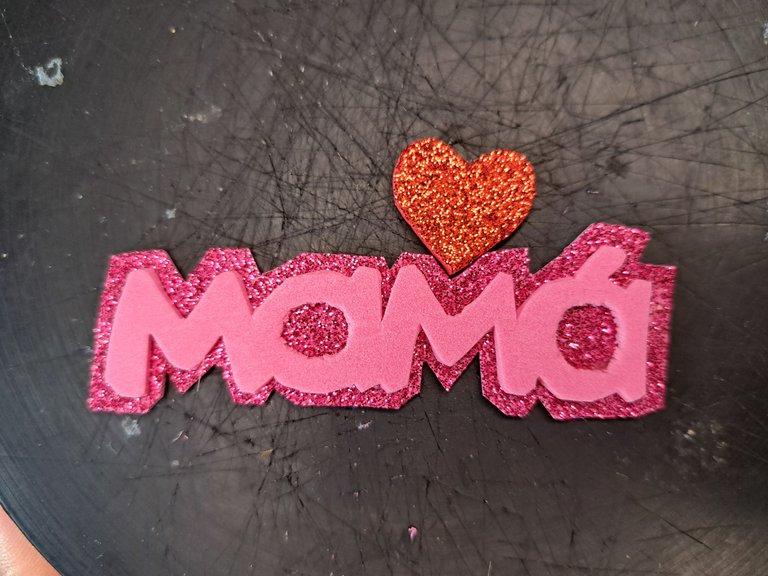
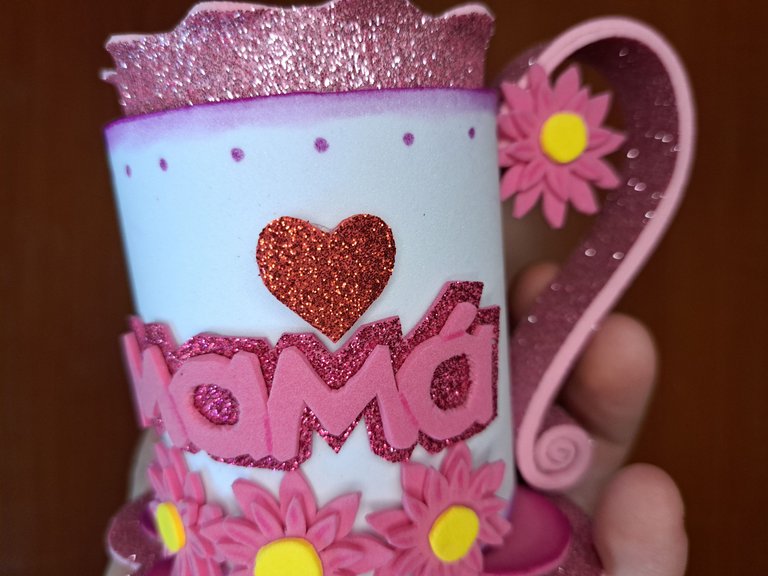
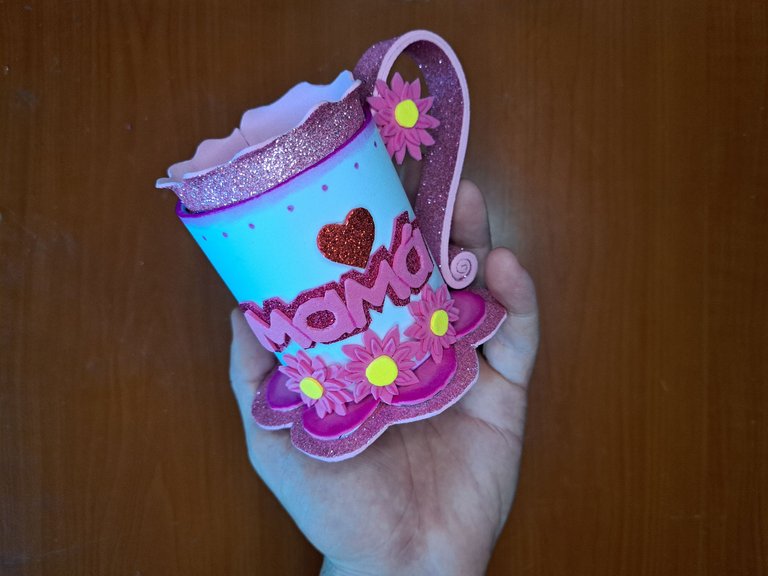
7️⃣ To finish, draw a sign that says "Mom " on a plain pink fabric. Cut it out and glue it on fuchsia frosted fomi. Glue the sign to the front of the cup and add a heart above the letter "m".
! [Spanish Version Here]
7️⃣ Para finalizar, dibuja en fomi rosado liso un letrero que diga "Mamá". Recórtalo y pégalo sobre fomi fucsia escarchado. Pega el letrero en la parte frontal de la taza y agrégale un corazón encima de la letra "m".
 |
 |
 |
 |
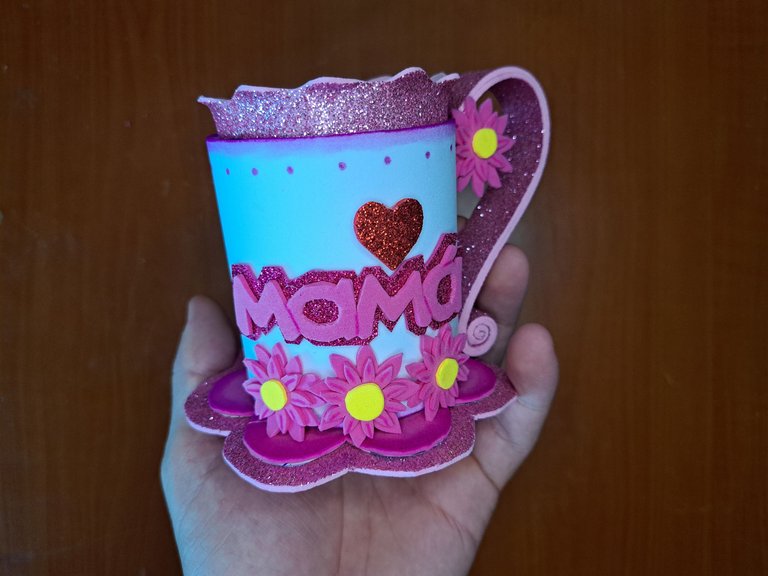 |
And that concludes the tutorial. I hope you found it useful and that you are encouraged to create your own version, which will surely be even prettier. For my part, I say goodbye, but not before wishing you a nice day. Remember to stay tuned to my publications and that soon I will be back to show you another part of my creative world.
! [Spanish Version Here]
Y así concluye el tutorial. Espero que te haya sido útil y que te animes a crear tu propia versión, que de seguro quedará aún más linda. Por mi parte, me despido, no sin antes desearte que pases un buen día. Recuerda mantenerte al tanto de mis publicaciones y que pronto volveré a mostrar otra parte de mi mundo creativo.
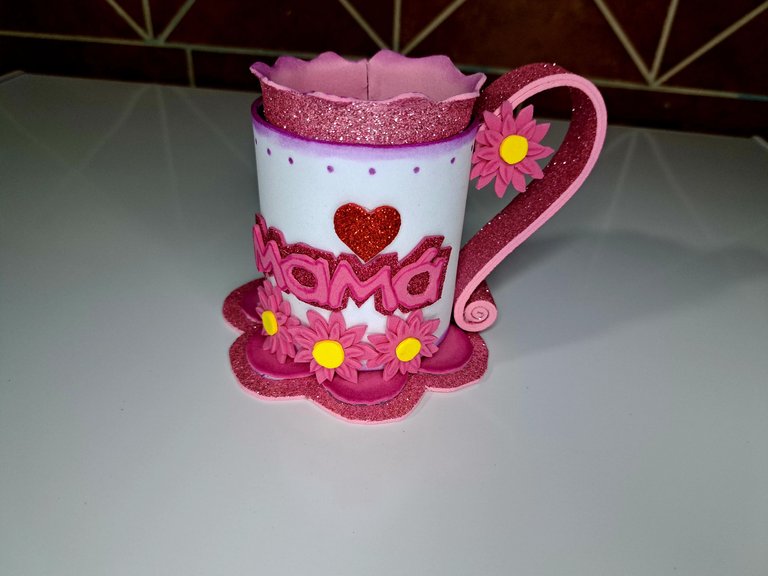
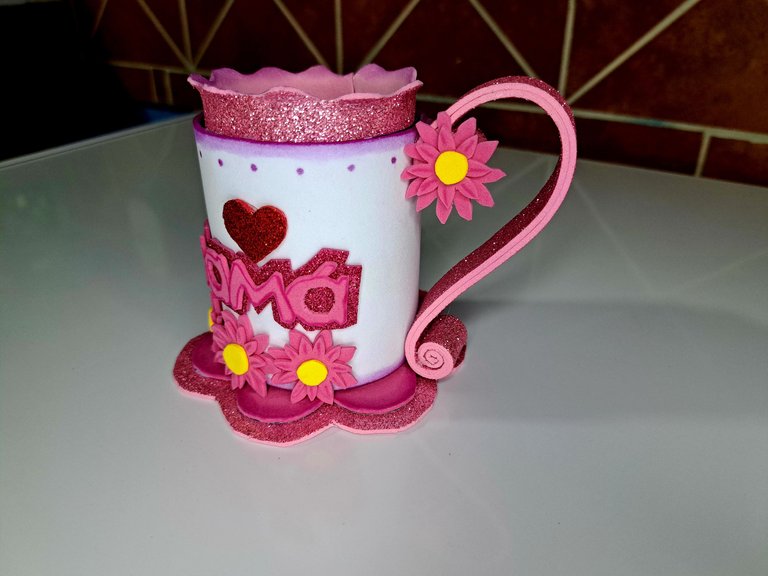
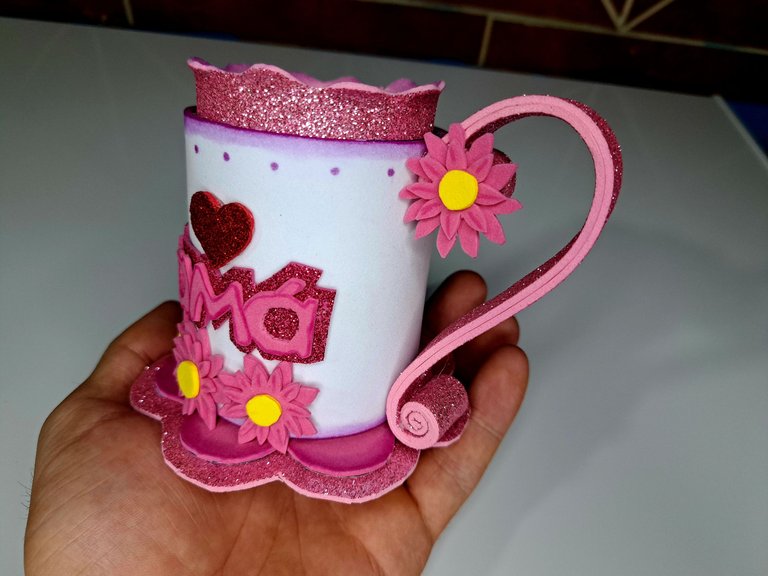
Final Result // Resultado Final
 |
 |
 |
 |

Thank you very much for reading my post. If you liked it, please leave a comment and consider following me so you don't miss my next posts. I'd love to know your opinion and your thoughts about the topic I discussed in this post, see you in the next one!
! [Spanish Version Here]
Muchas gracias por leer mi post. Si te gustó, por favor deja un comentario y considera seguirme para no perderte mis próximas publicaciones. Me encantaría saber tu opinión y tus ideas sobre el tema que traté en este post. ¡Nos vemos en el próximo!

Cover page created in Canva Pro
Translated by DeepL


