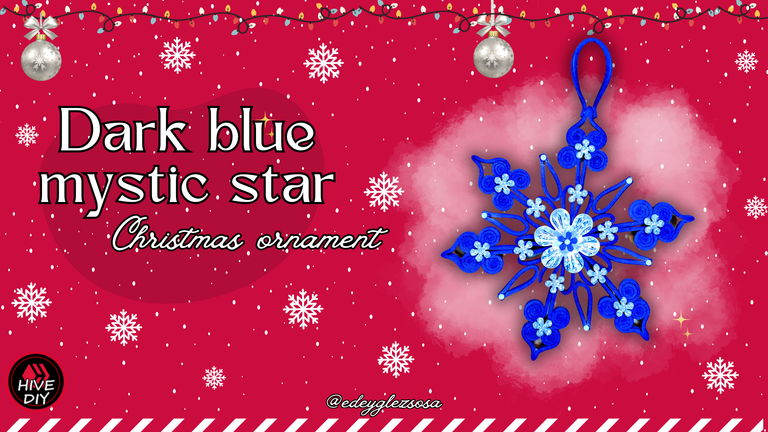
I wanted to make a blue ornament for my Christmas tree. Although it is not usually a representative color for Christmas, I wanted the ornament to be dark blue. I associate this color a lot with peace and serenity, so I wanted it to bring those qualities to my Christmas decorating. I also wanted to achieve a sort of connection with the divine and activate the protective properties attributed to this color. So I wanted to make a dark blue ornament and I did.
Not only is it dark blue, but it could not be without the brilli-brilli that characterizes this holiday season. I used silver frosting to give it that festive and eye-catching touch. So I invite you to read the following tutorial, where I will be explaining step by step how to make this Christmas ornament, which brings more than just aesthetics. Let's get started!
Quería hacer un adorno azul para mi árbol navideño. Aunque no suele ser un color representativo de las Navidades, quería que el adorno fuera azul oscuro. Este color lo asocio mucho con la paz y la serenidad, así que quería que le aportase dichas cualidades a mi decoración navideña. También buscaba lograr una especie de conexión con lo divino y activar las propiedades protectoras que se le atribuyen a este color. En fin quería hacer un adorno azul oscuro y lo hice.
No solo es azul oscuro, ya que no podía faltarle el brilli-brilli que caracteriza a estas festividades. Utilicé fomi escarchado plateado para darle ese toque festivo y llamativo. Así que te invito a leer el siguiente tutorial, donde estaré explicando paso a paso cómo realizar este adorno navideño, el cual aporta algo más que solo estética. ¡Comencemos!
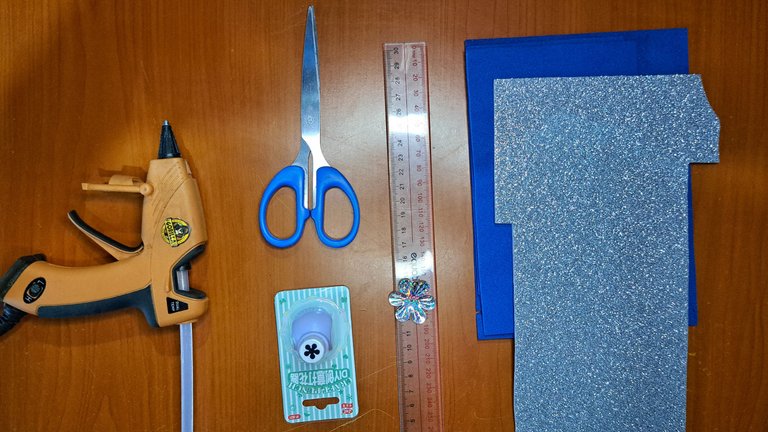
Materials // Materiales
| English | Español |
| ✔️ Dark blue plain fomi | ✔️ Fomi liso azul oscuro |
| ✔️ Silver Frosted Fomi | ✔️ Fomi escarchado plateado |
| ✔️ Silver plastic flower | ✔️ Flor plateada plástica |
| ✔️ Scissors, ruler and marker | ✔️ Tijeras, regla y marcador |
| ✔️ Flower-shaped hole punch | ✔️ Perforadora con forma de flor |
| ✔️ Hot silicone | ✔️ Silicona caliente |
Step by step // Paso a paso
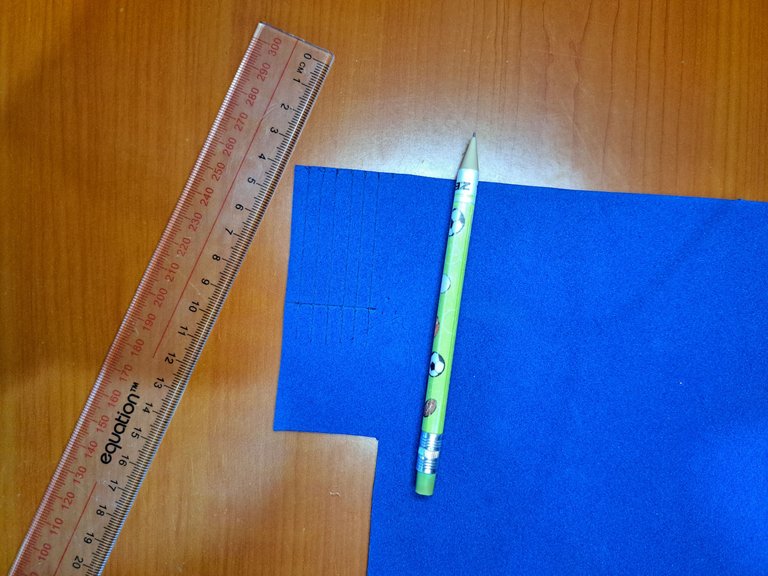
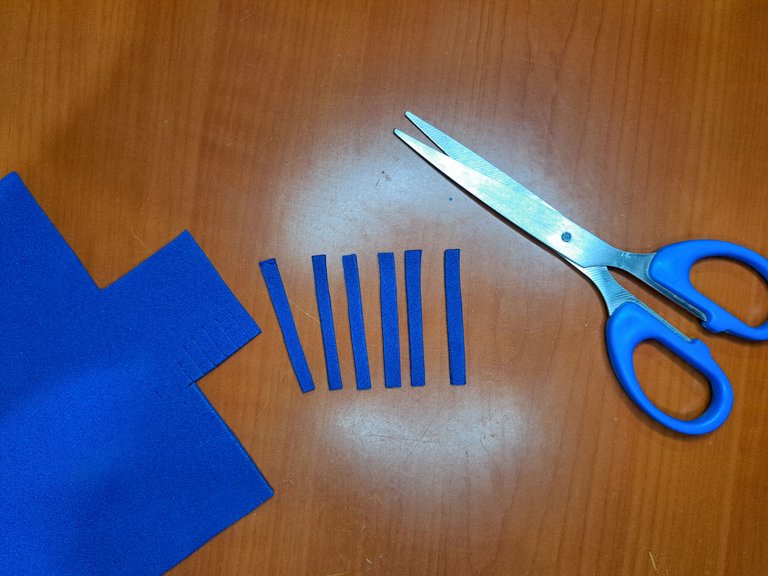
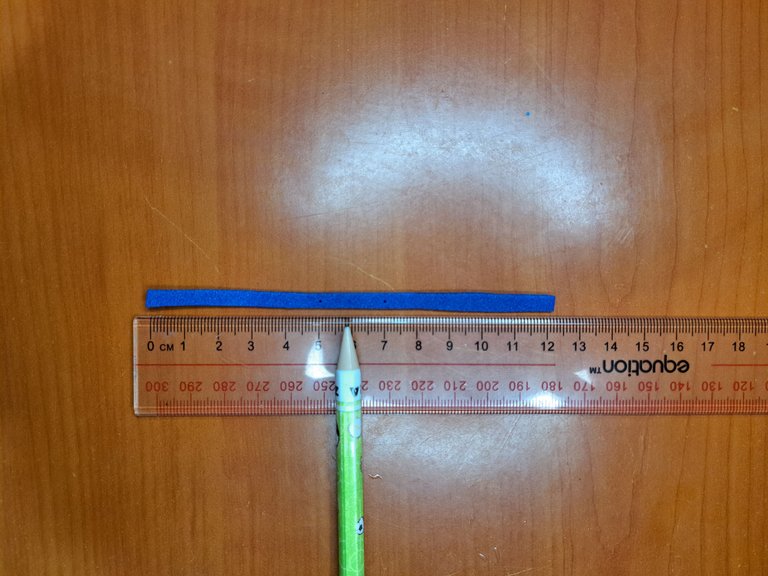
1️⃣ To begin, mark and cut out 6 strips of blue fomi with a diameter of 5 cm x 0.5 cm. Glue the ends of each of the strips together to form 6 drops. Each of the strips used to create the ornament is 0.5 cm wide, so from now on only the length will be specified.
Para empezar, marca y recorta 6 tiras de fomi azul con un diámetro de 5 cm x 0.5 cm. Pega las puntas de cada una de las tiras para formar 6 gotas. Cada una de las tiras utilizadas para crear el adorno tiene 0.5 cm de ancho, así que a partir de ahora solo se especificará el largo.
 |  |
 |  |
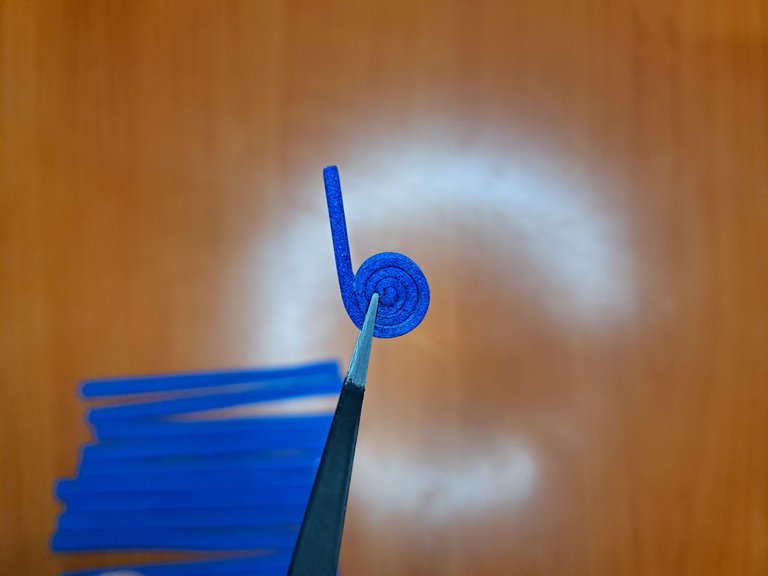
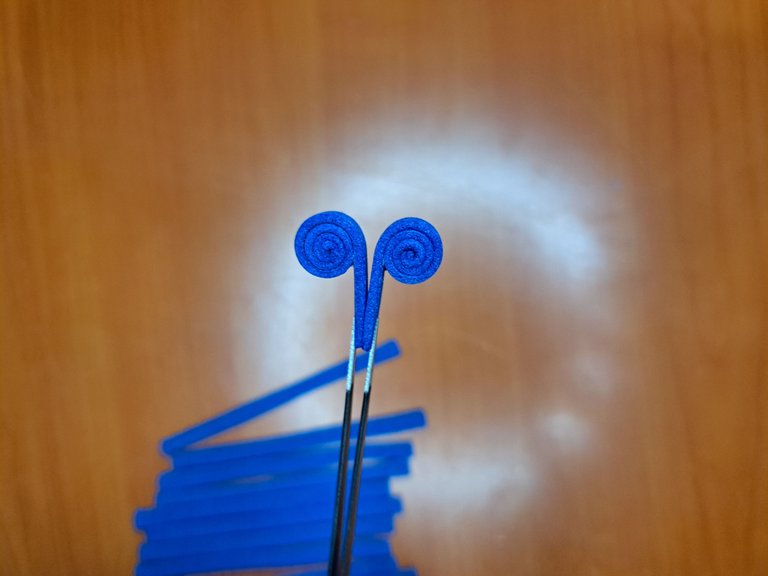
2️⃣ Mark and cut out 12 strips of blue fomi, 8 cm long. Mark each strip at 6.5 cm. Roll each strip on the opposite end from the mark and glue just above the mark. Then join each spiral at the back.
Marca y recorta 12 tiras de fomi azul de 8 cm de largo. Marca cada tira a 6.5 cm. Enrolla cada tira por el extremo opuesto de la marca y pégala justo encima de la marca. Luego une cada espiral por la parte posterior.
 |  |  |
 |  |
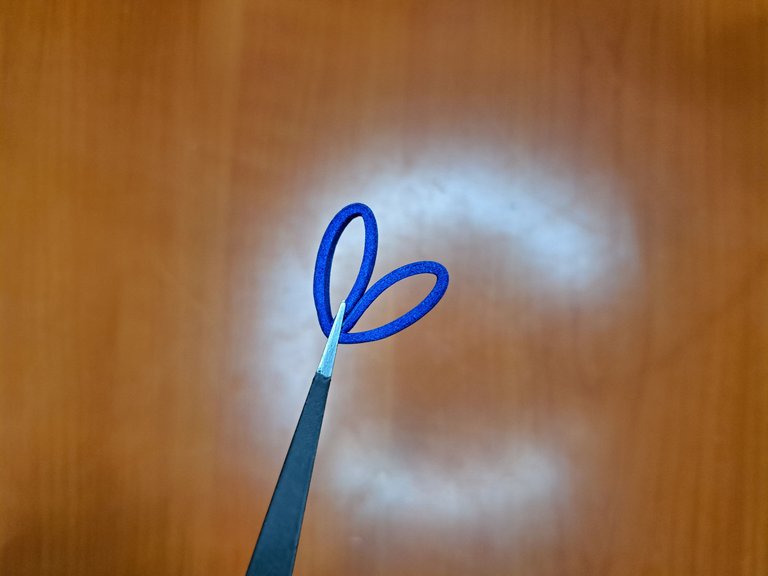
3️⃣ Next, mark and cut out 6 strips of blue fomi 12 cm long. Fold each strip and mark its middle. Glue the ends of the strips together, turn the glued end inwards and glue it to the previous mark, forming a kind of wide heart.
A continuación, marca y recorta 6 tiras de fomi azul de 12 cm de largo. Dobla cada tira y marca su medio. Pega las puntas de las tiras, gira la punta pegada hacia dentro y pégala en la marca anterior, formando una especie de corazón ancho.
 |  |
 |  |
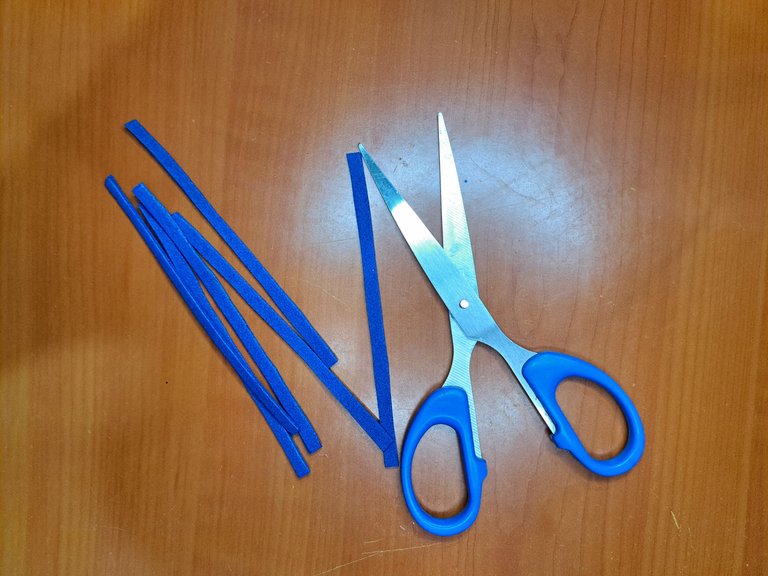
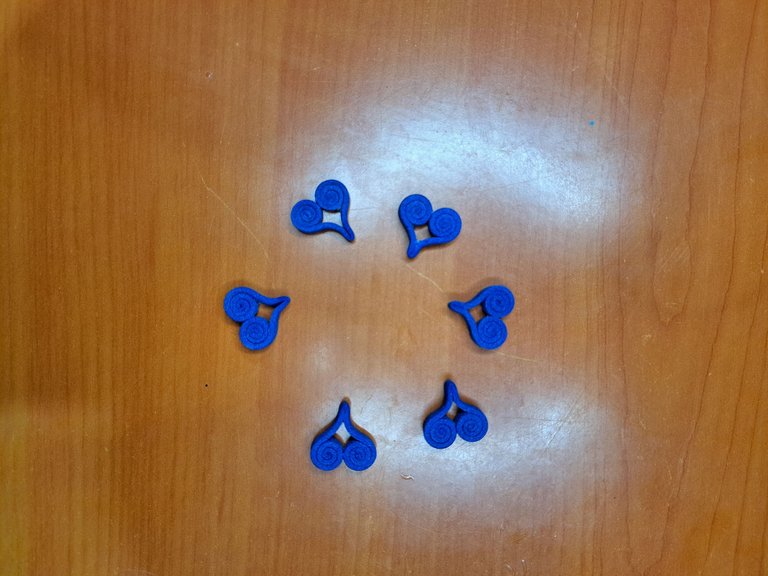
4️⃣ Next, cut 6 strips of dark blue fomi 12 cm long. Mark each strip at 5 cm and 7 cm. Repeat the procedure of the previous step and roll each end of the strip to its corresponding mark. Fold in half and glue both the fold and the rolled ends together, forming a heart with spirals.
Seguidamente, recorta 6 tiras de fomi azul oscuro de 12 cm de largo. Marca cada tira a los 5 cm y 7 cm. Repite el procedimiento del paso anterior y enrolla cada extremo de la tira hasta su marca correspondiente. Dobla por la mitad y pega tanto el doblez como los extremos enrollados, formando un corazón con espirales.
 |  |
 |  |  |
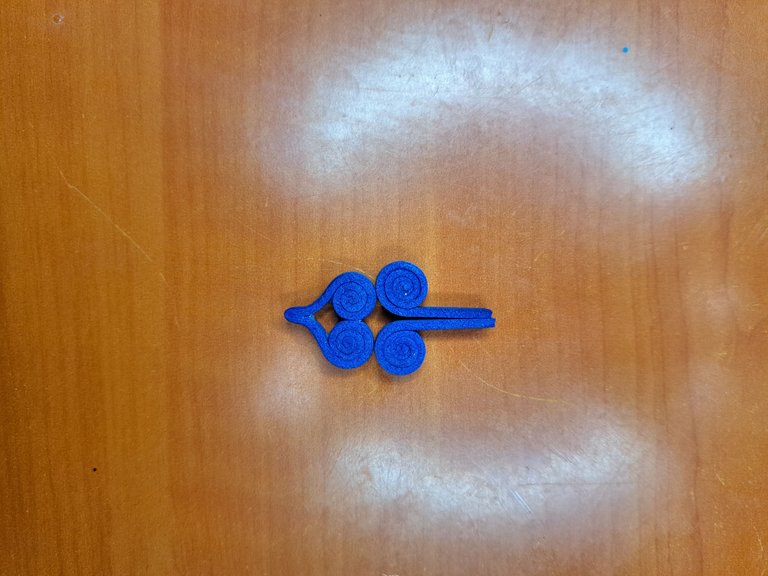
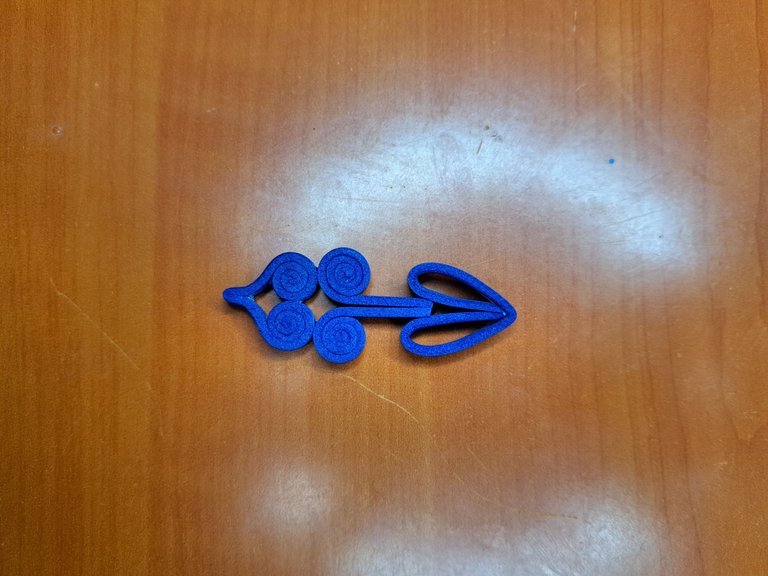
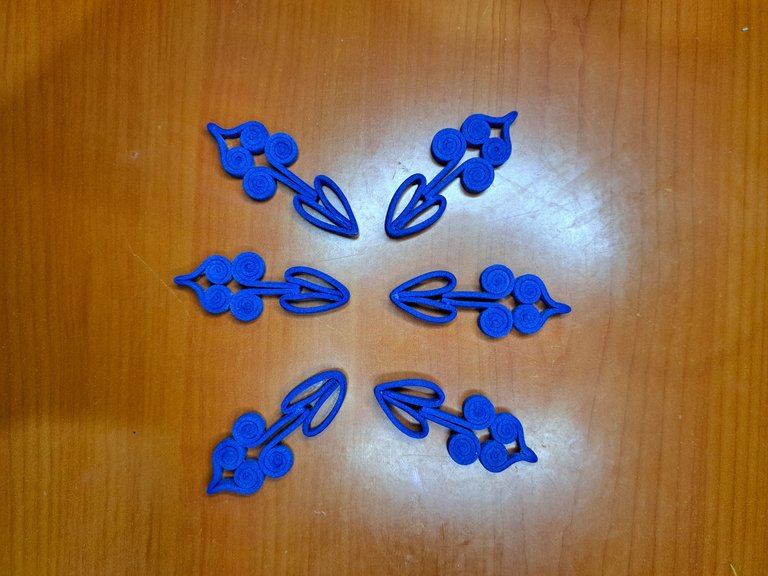
5️⃣ Glue the pieces from step 4 to the pieces from step 2, making sure the fomi spirals touch. Then, on the other end of the pieces from step 2, glue the wide hearts from step 3 to form the 6 points of the star. Be sure to glue each of the tips on the opposite end of the spirals to complete a 6-pointed star and at the end between each tip glue the teardrops from step 1.
Pega las piezas del paso 4 con las del paso 2, asegurándote de que las espirales de fomi se toquen. Luego, en el otro extremo de las piezas del paso 2, adhiere los corazones anchos del paso 3 para formar las 6 puntas de la estrella. Asegúrate de pegar cada una de las puntas por el extremo opuesto a las espirales hasta completar una estrella de 6 puntas y al final entre cada punta pega las lágrimas del paso 1.
 |  |  |
 |  |
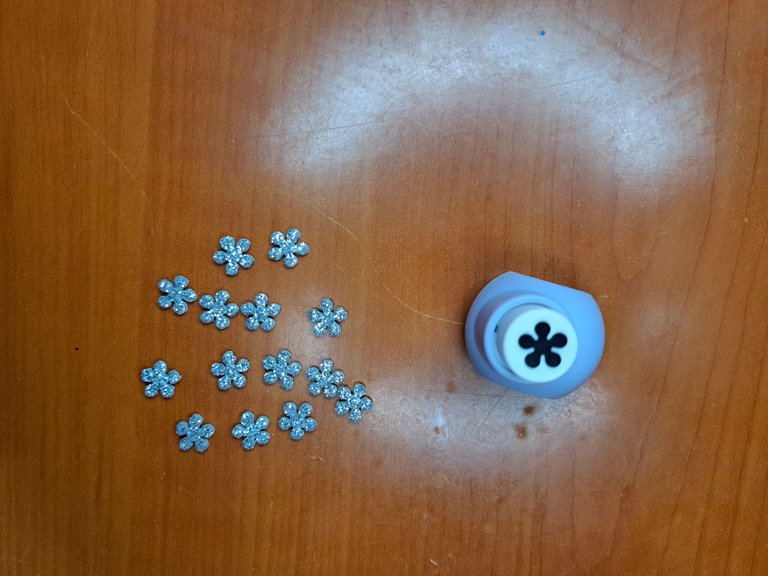
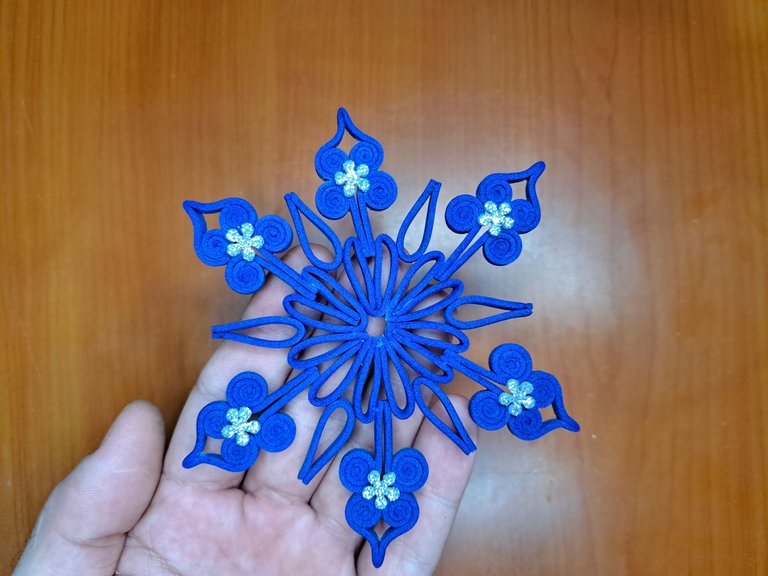
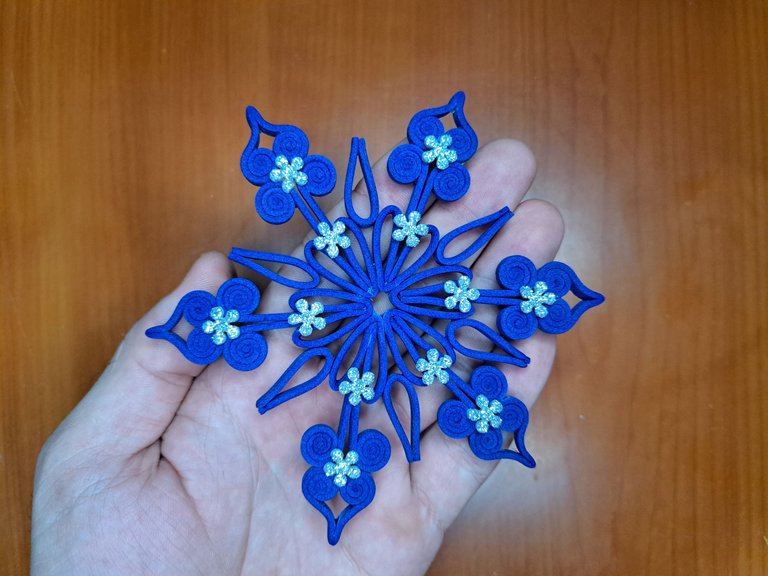
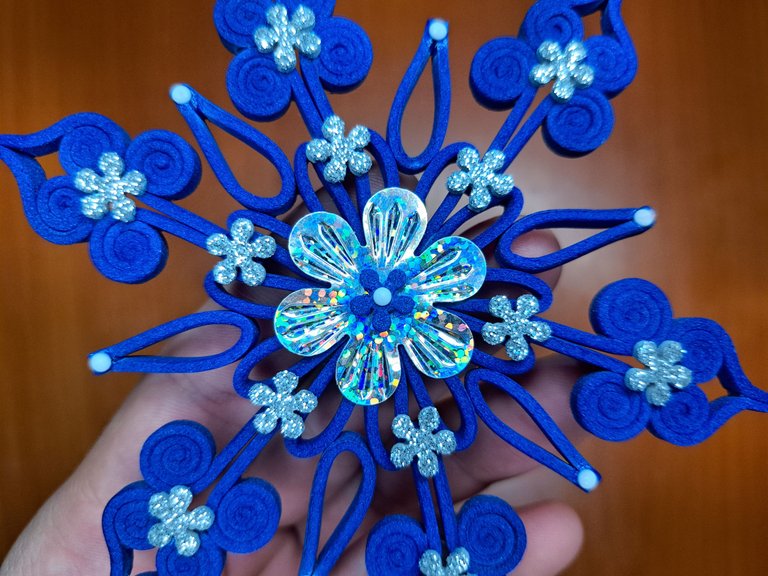
6️⃣ Cut out several small flowers from silver frosted fomi and place two flowers at each end of the star. In the center of the star, glue a larger flower to cover the joints of the tips. In my case, I used a flower-shaped hole punch and a silver plastic flower, but you can perfectly do everything using a pair of scissors.
Recorta varias flores pequeñas de fomi plateado escarchado y coloca dos flores en cada punta de la estrella. En el centro de la estrella, pega una flor más grande que cubra las uniones de las puntas. En mi caso, utilicé una perforadora con forma de flor y una flor plateada de plástico, pero perfectamente se puede hacer todo utilizando unas tijeras.
 |  |  |
 |  |
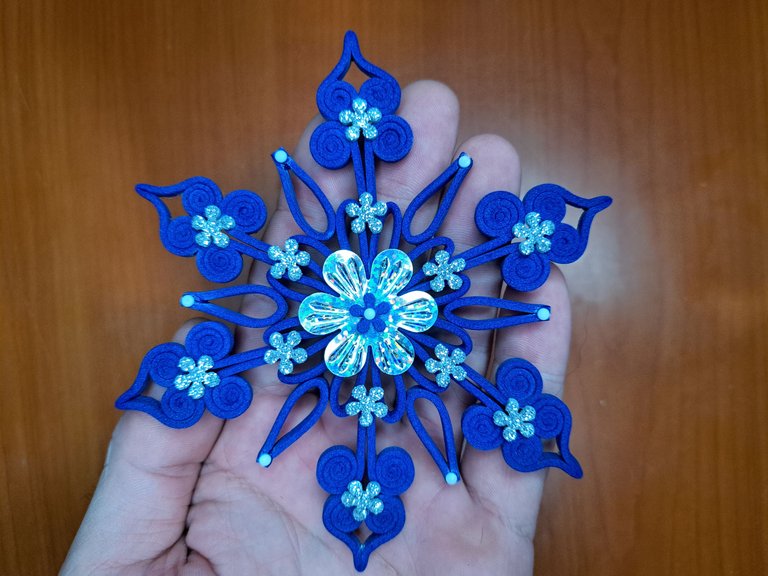
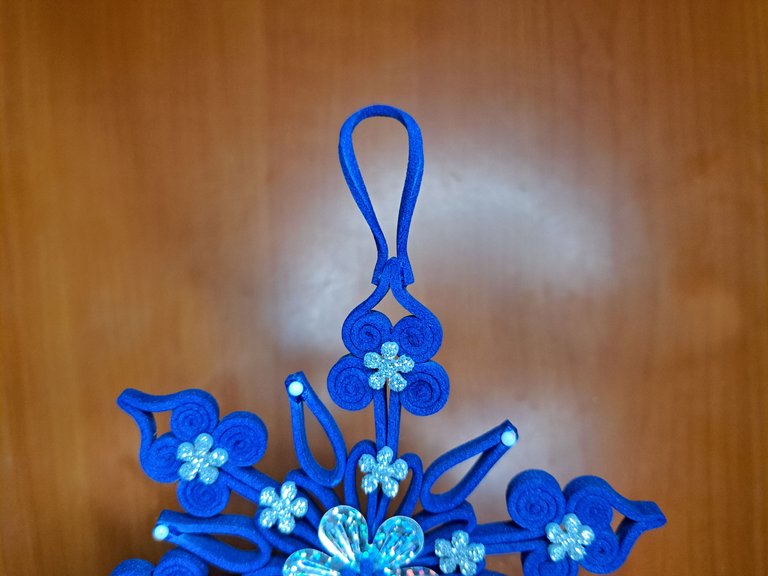
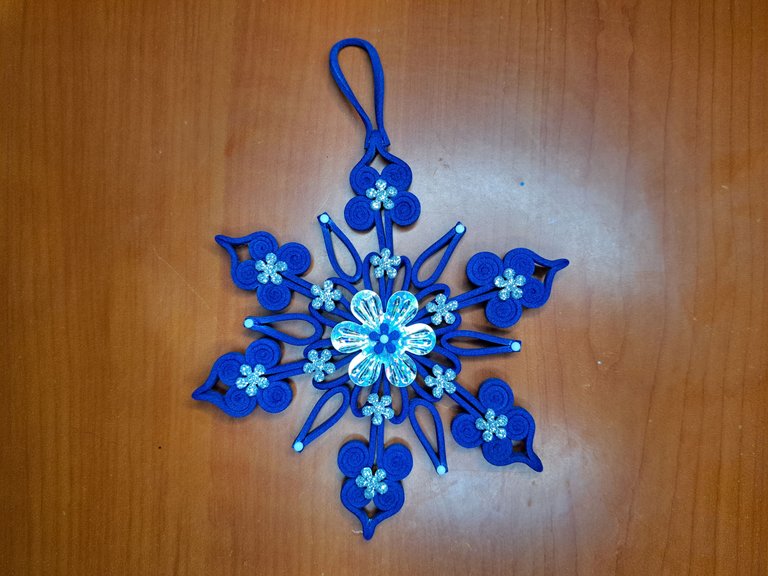
7️⃣ To finish, glue white half pearls or silver fomi beads to the smaller ends of the star. Also cut out a thin strip of fomi and glue it to one end to form the bow to hold the ornament in place.
Para finalizar, pega medias perlas blancas o bolitas de fomi plateado en las puntas más pequeñas de la estrella. También recorta una tira fina de fomi y pégala en uno de los extremos para formar el lazo de sujeción del adorno.
 |  |  |
 |  |
Finished Work // Trabajo Terminado
This way the ornament is ready. As I said at the beginning, this is an ornament that may be a bit out of the traditional aesthetics of Christmas ornaments, but it still has a very deep meaning, so if you decide to do it, it will surely be very nice on your Christmas tree. I hope you enjoyed the tutorial and see you next time.
De esta forma quedaría listo el adorno. Como bien dije al inicio, este es un adorno que puede llegar a salirse un poco de lo que es la estética tradicional de los adornos navideños, pero que aun así tiene un aspecto y significado muy profundo, así que si te decides a hacerlo, seguro quedará muy lindo en tu árbol navideño. Espero que hayas disfrutado el tutorial y hasta la próxima.
 |  |

Thank you very much for reading my post. If you liked it, please leave a comment and consider following me so you don't miss my next posts. I'd love to know your opinion and your thoughts about the topic I discussed in this post, see you in the next one!

Credits and Resources // Créditos y Recursos
Cover page created in Canva
Translated by DeepL
Images captured with my Samsung Galaxy A53


Posted Using InLeo Alpha