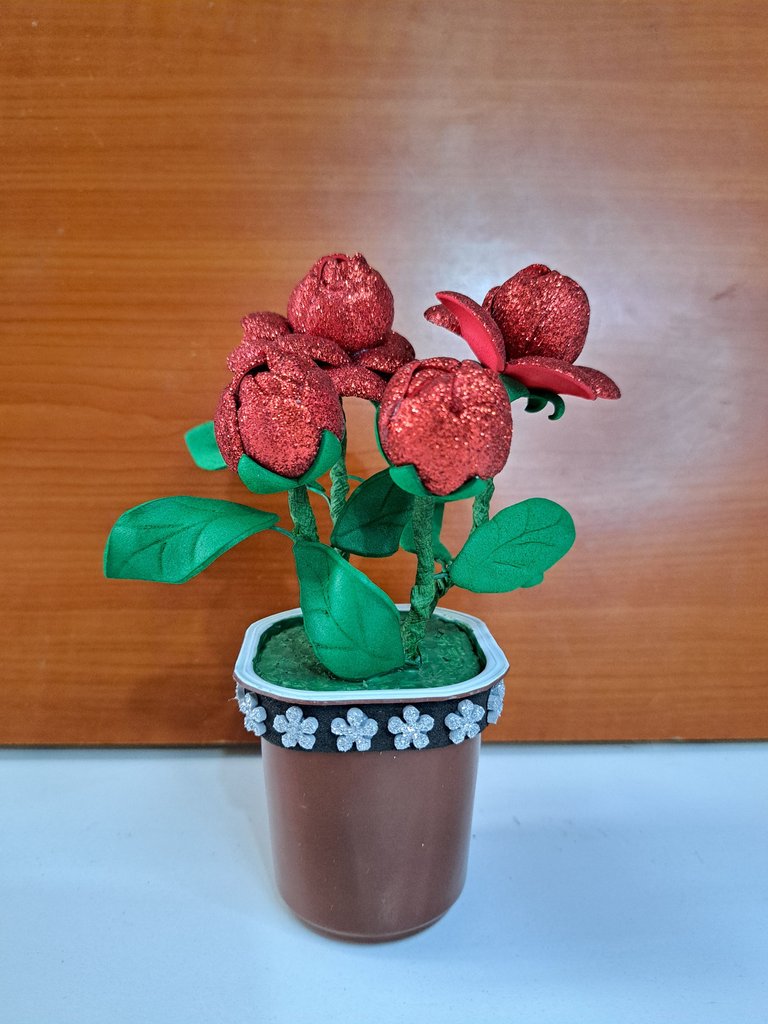
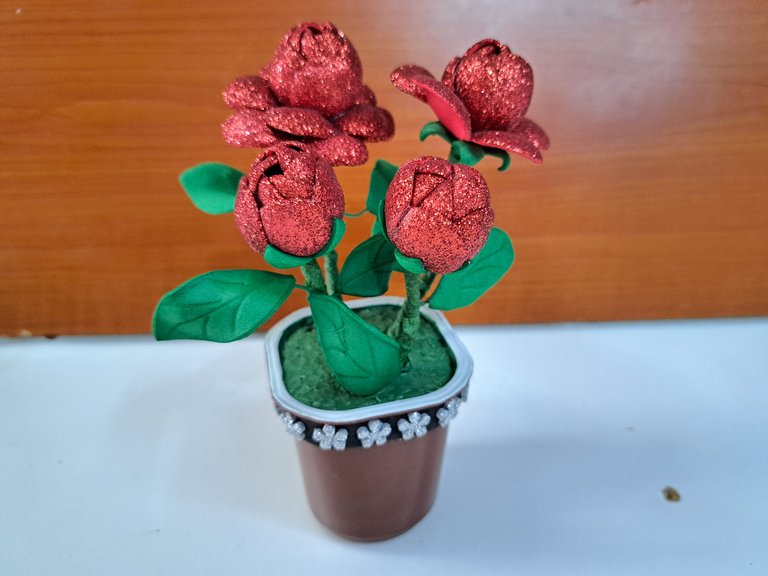
Greetings, dear friends of the crafting community. Today I want to share with you a pot of roses that, while it does not qualify as a miniature ornament, I think with its 12 cm height is very close.
In making this ornament, I had the goal of testing two things. The first was to find out which of the fomi thermoforming techniques could be applied to smaller works, and the second was to challenge myself to create flowers with different designs than usual and much smaller. After finishing, I realized that these materials are very versatile and allow me to work on a smaller scale, so next time I will try to make something smaller.
Saludos, queridos amigos de la comunidad de artesanos. El día de hoy quiero compartir con ustedes una maceta con rosas que, si bien no califica como un adorno en miniatura, creo que con sus 12 cm de altura está muy cerca.
Al hacer este adorno, tenía el objetivo de comprobar dos cosas. La primera era saber cuáles de las técnicas de termoformado de fomi se podían aplicar a trabajos más pequeños, y la segunda era autoimponerme un reto para crear flores con diseños distintos a los habituales y mucho más pequeñas. Luego de terminar, comprendí que estos materiales son muy versátiles y permiten trabajar a una escala más diminuta, así que en una próxima ocasión intentaré hacer algo más pequeño.
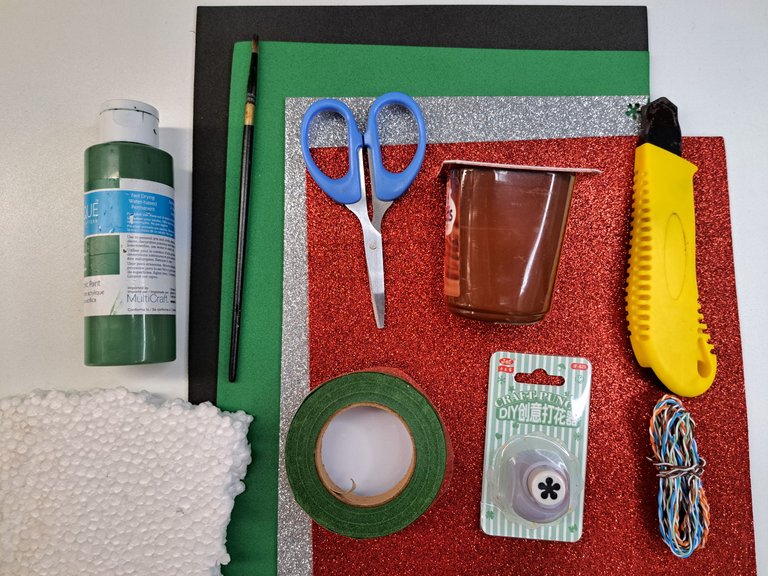
Materials // Materiales
| ✔️ Smooth green and black fomi | ✔️ Fomi liso verde y negro |
| ✔️ Red and silver frosted fomi | ✔️ Fomi escarchado rojo y plateado |
| ✔️ Small container of yogurt | ✔️ Envase pequeño de yogurt |
| ✔️ Scissors and cutter | ✔️ Tijeras y cúter |
| ✔️ Punching machine with flower design | ✔️ Ponchadora con diseño de flor |
| ✔️ Wire | ✔️ Alambre |
| ✔️ Floral ribbon | ✔️ Cinta floral |
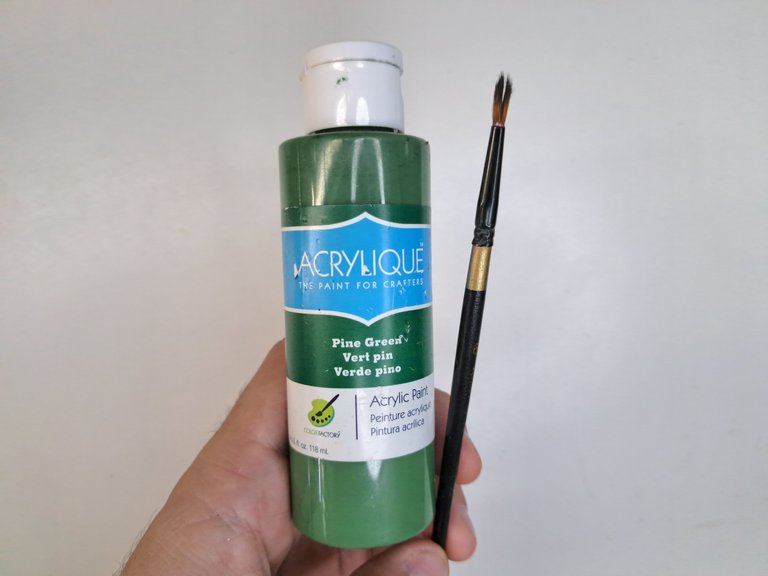
| ✔️ Green paint and brush | ✔️ Pintura verde y pincel |
| ✔️ Fragment of polystyrene | ✔️ Fragmento de poliestireno (poliespán) |
Step by step // Paso a paso
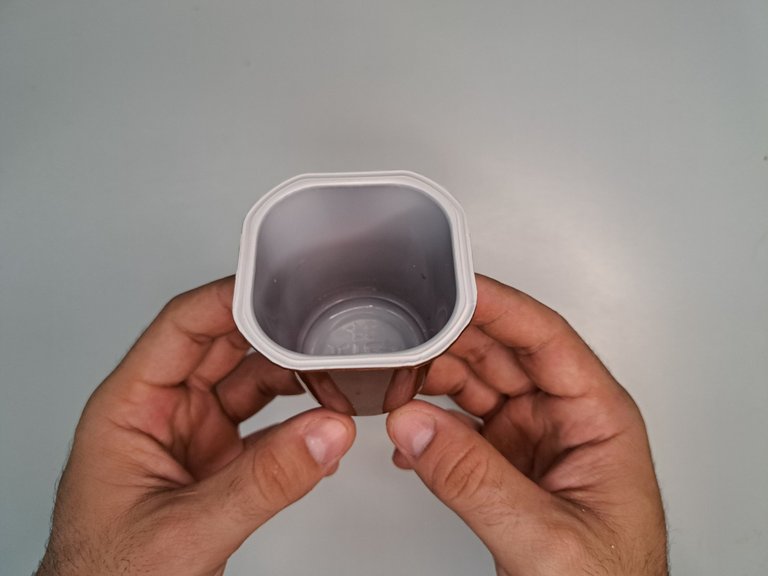
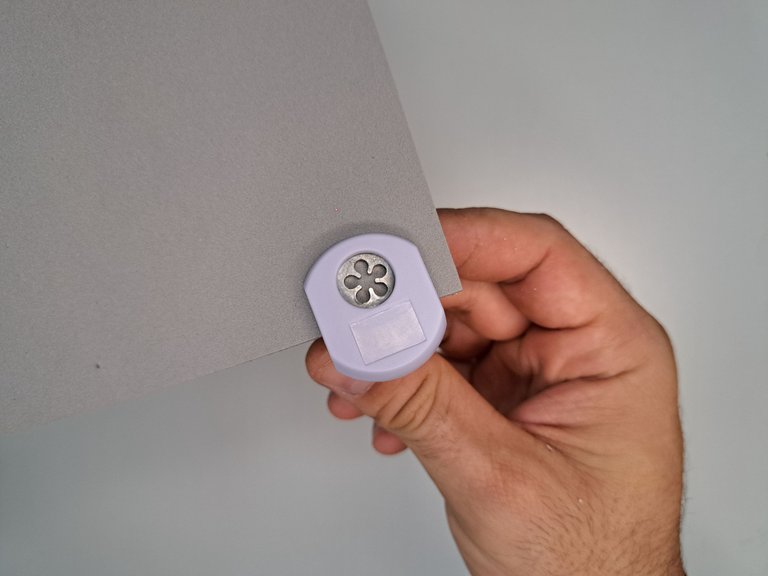
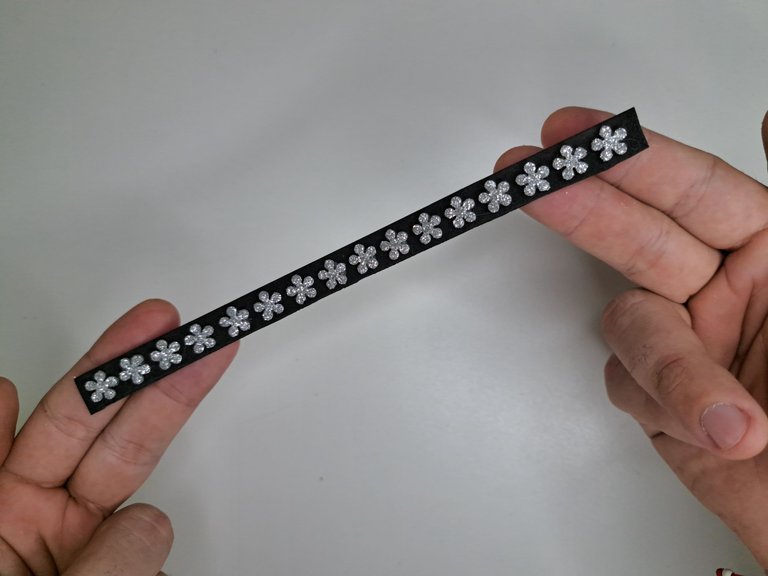
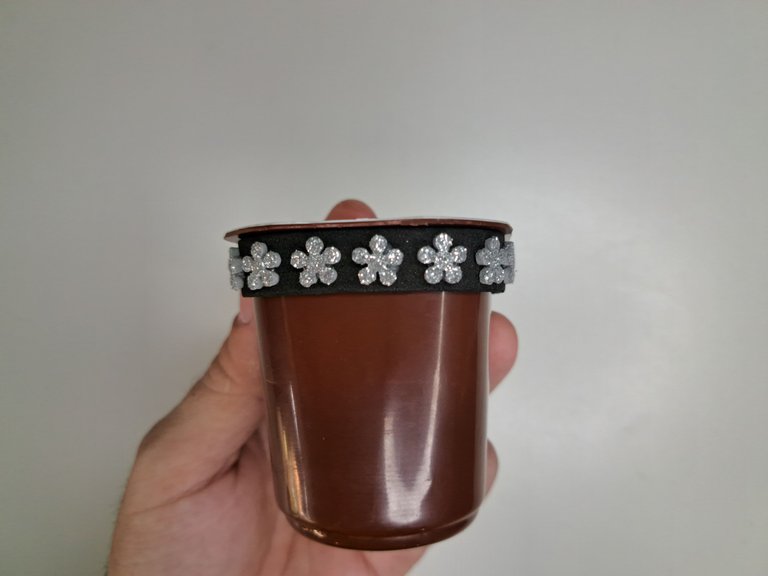
I will start by working on the planter by removing the labels and trimming the rim of the yogurt container. Since my container is a beautiful bright caramel color, I didn't paint it or cover it with fomi. To embellish the pot I cut out a 1 cm wide strip of fomi, which I glued around the pot, after covering it with little silver flowers, which I made using a sheet of silver frosted fomi and a hole punch.
Comenzaré trabajando en la maceta y para ello retiraré las etiquetas y recortaré el borde del envase de yogur. Como mi envase tiene un hermoso color caramelo brillante, no lo pinté ni cubrí con fomi. Para adornar la maceta recorté una tira de fomi de 1 cm de ancho, la cual pegué alrededor de la maceta, luego de cubrirla con pequeñas florecitas plateadas, las cuales elaboré utilizando una lámina de fomi plateado escarchado y una perforadora.
 |  |
 |  |  |
 |  |
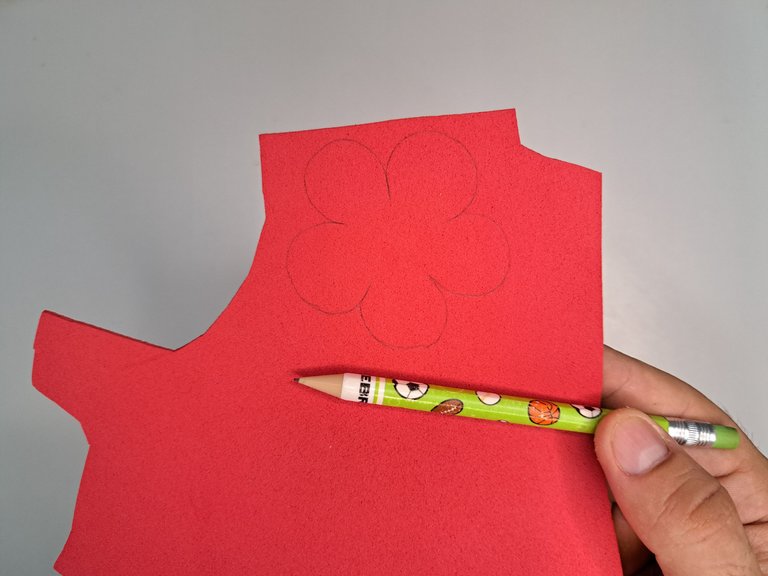
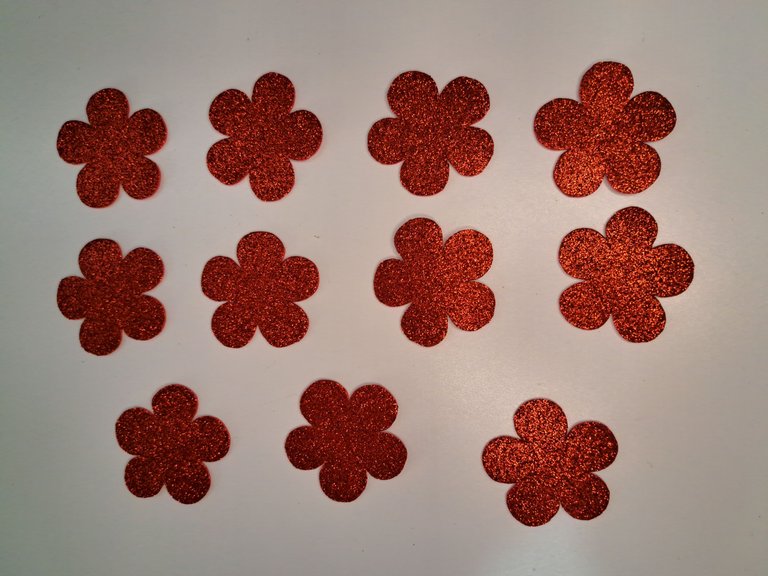
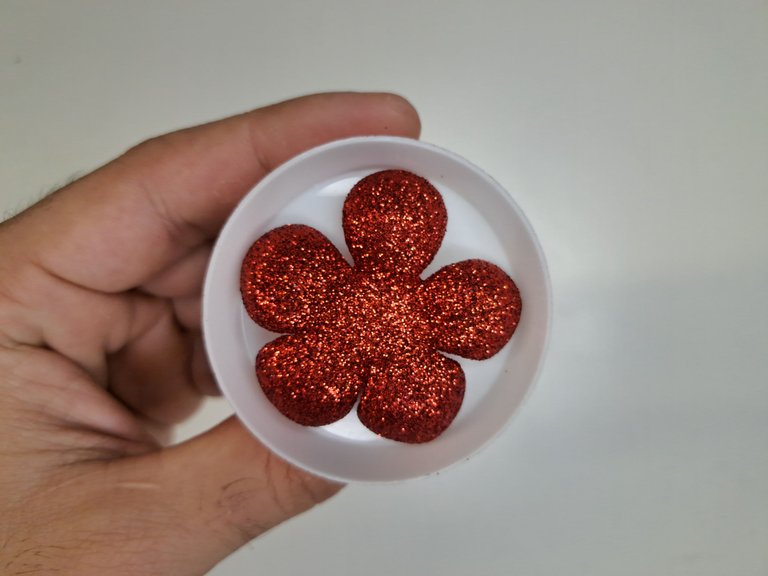
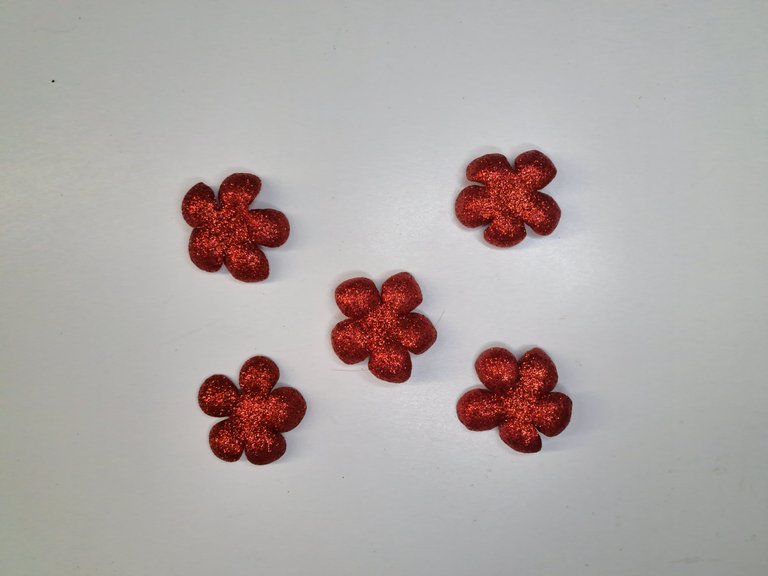
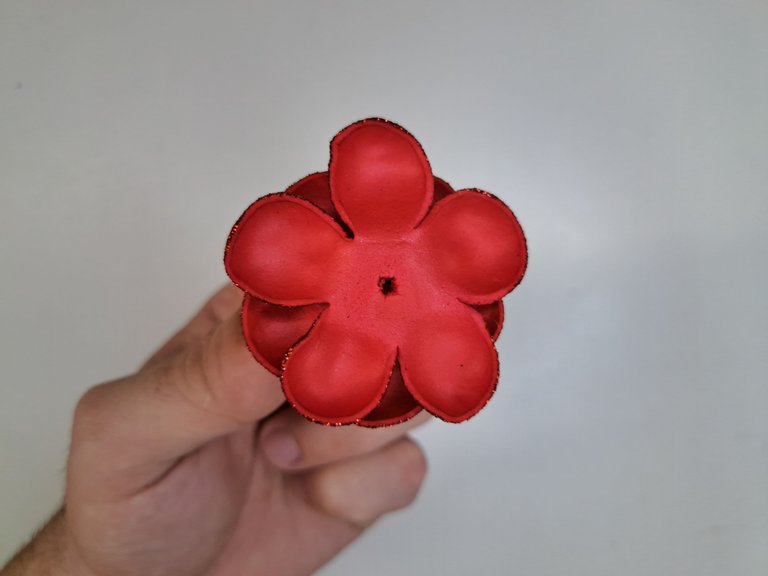
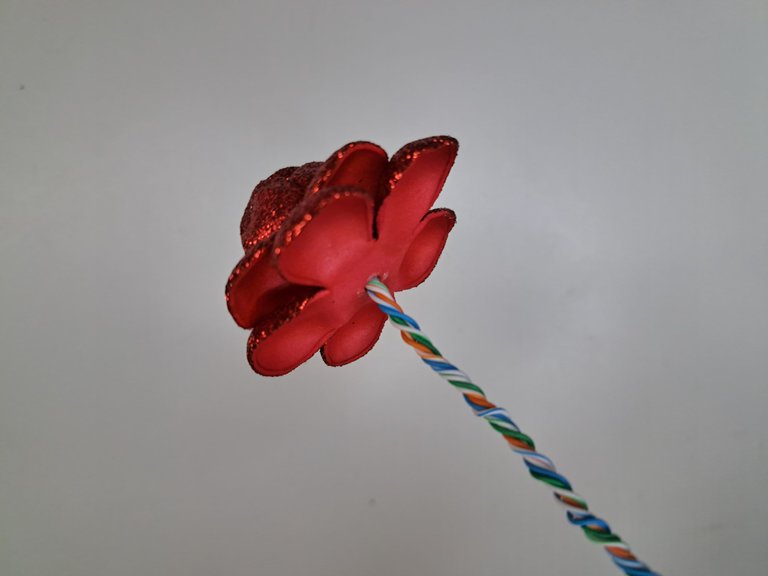
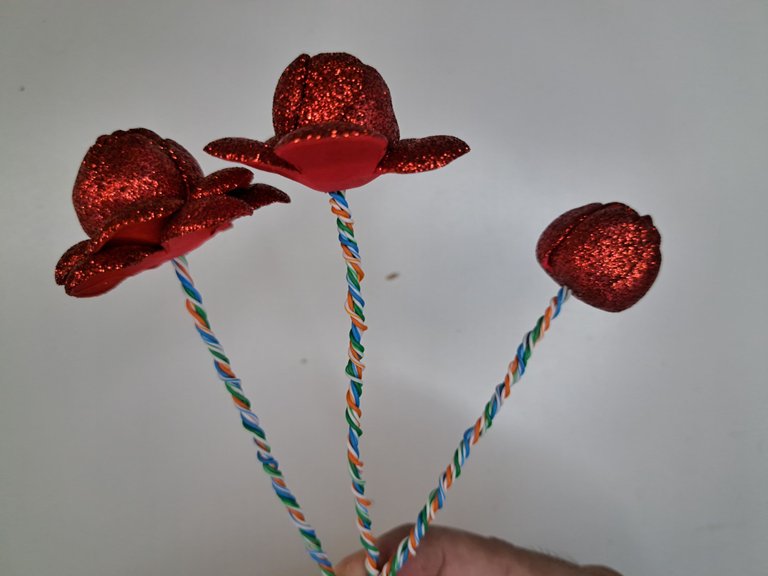
For now I will leave the pot aside and move on to work on the flowers. For the flowers it will be necessary to mark and cut out 11 patterns in frosted red fomi. Each pattern will have 5 petals, which I will heat to give them a rounded shape.
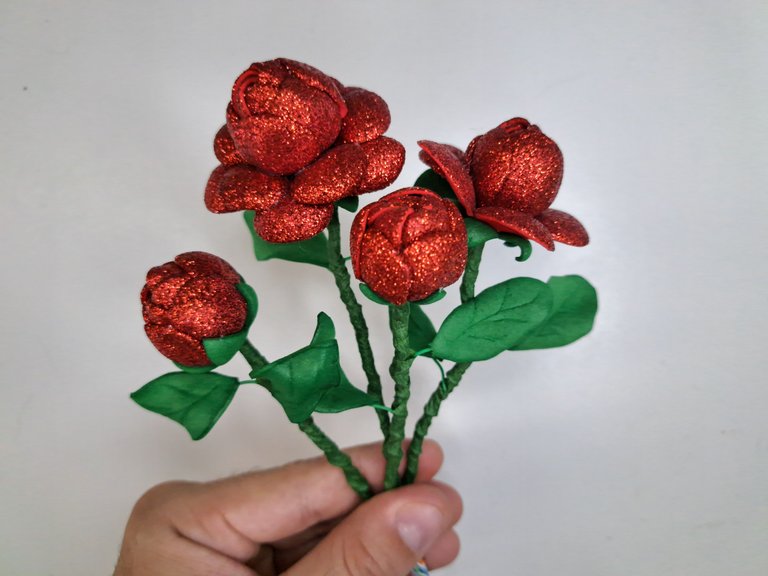
To start assembling the flowers, I will mount one petal on top of the other, as if it were a spiral. The flowers I will be creating will have the same design pattern, but I will vary the number of layers, which will allow me to change their dimensions. At the end, I get four flowers, of which there are two small ones or buttons, one medium and a fourth large one.
Por ahora dejaré de lado la maceta y pasaré a trabajar en las flores. Para las flores será necesario marcar y recortar 11 patrones en fomi rojo escarchado. Cada patrón tendrá 5 pétalos, los cuales calentaré para darles una forma redondeada.
Para empezar a armar las flores, iré montando un pétalo encima de otro y como si de una espiral se tratase. Las flores que estaré creando tendrán el mismo patrón de diseño, pero les iré variando la cantidad de capas, lo cual me permitirá cambiar sus dimensiones. Al finalizar, obtengo cuatro flores, de las cuales hay dos pequeñas o botones, una mediana y una cuarta grande.
 |  |
 |  |  |
 |  |
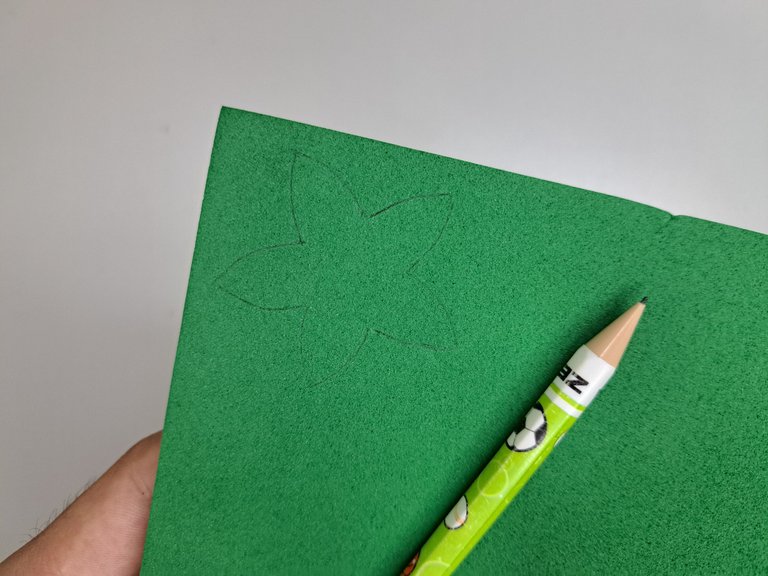
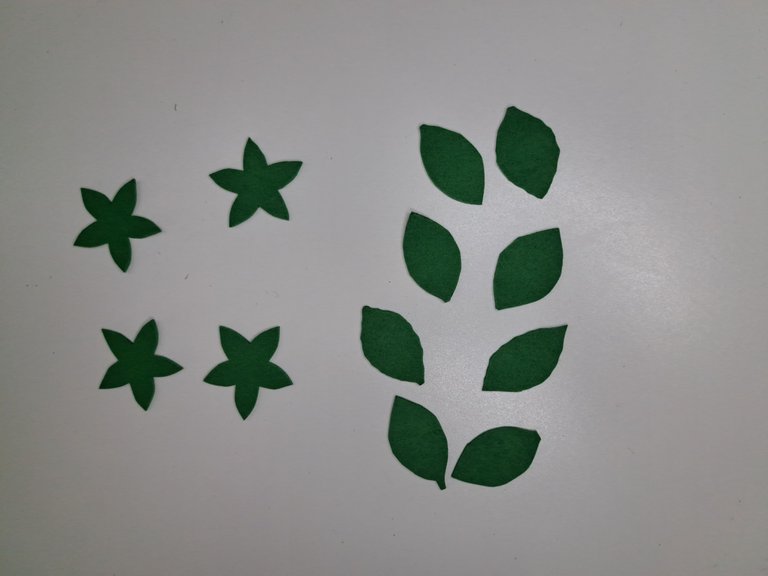
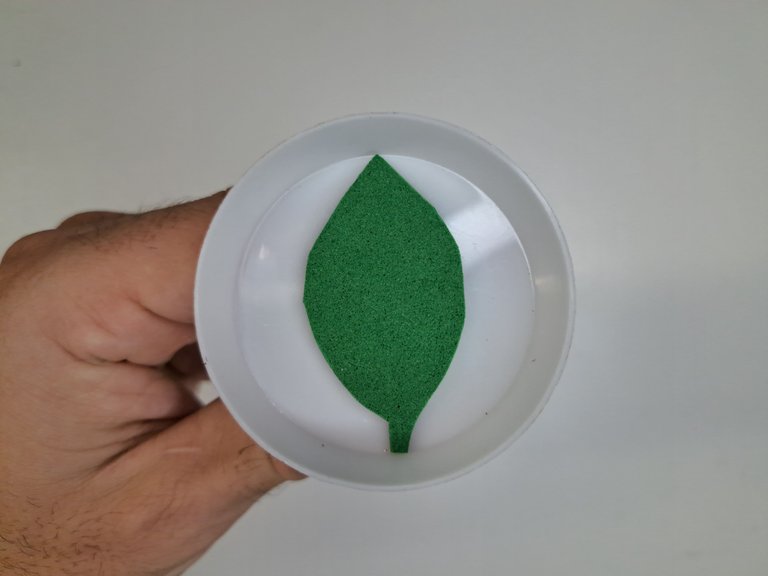
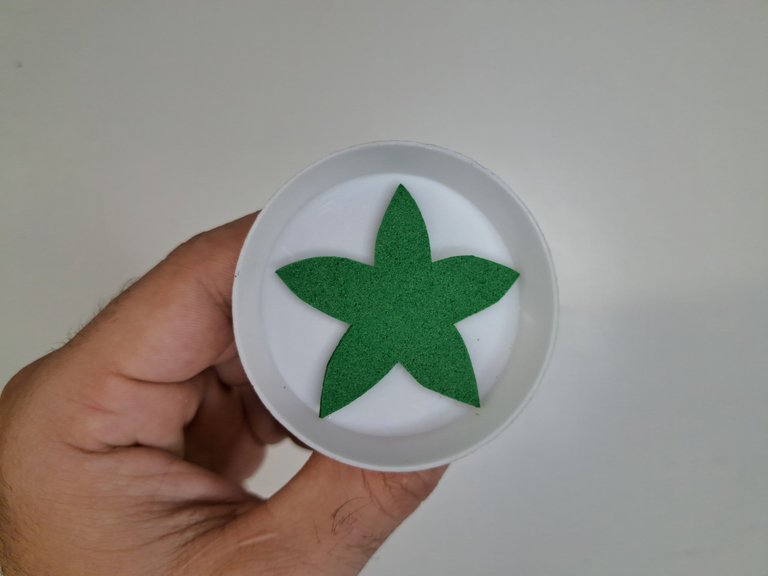
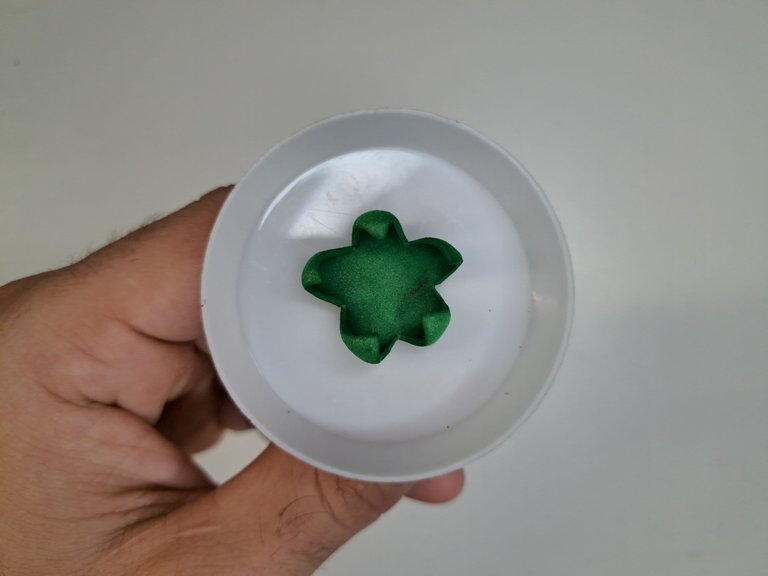
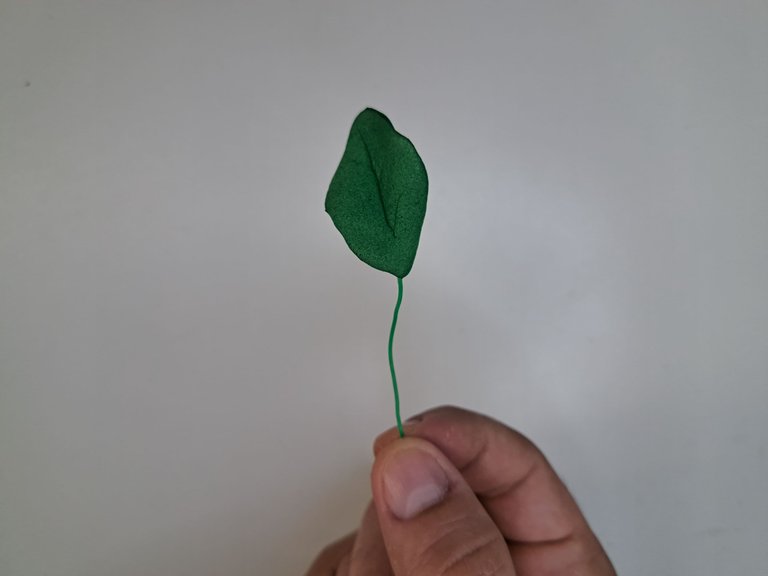
Now I will move on to the leaves and sepals. After marking and cutting out each of their shapes, I will heat them to change their shape. I will make some marks on the leaves by heating them and then twisting them to give them a natural look. In the case of the sepals, I will only heat their ends, which will cause them to close and adopt their characteristic shape.
Ahora pasaré a las hojas y los sépalos. Luego de marcar y recortar cada una de sus figuras, las calentaré para cambiar su forma. A las hojas les haré algunas marcas al calentarlas para luego torcerlas y darles una apariencia natural. En el caso de los sépalos, solo calentaré sus extremos, lo cual provocará que se cierren y adopten su forma característica.
 |  |
 |  |  |
 |  |
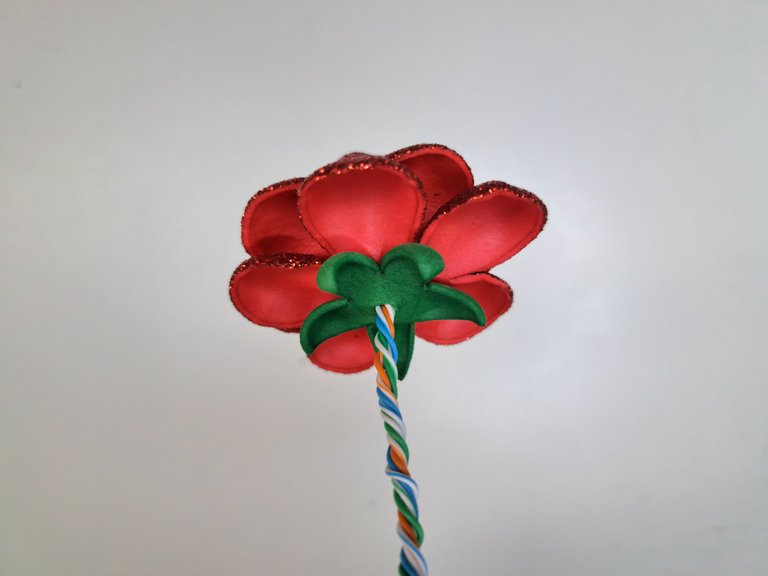
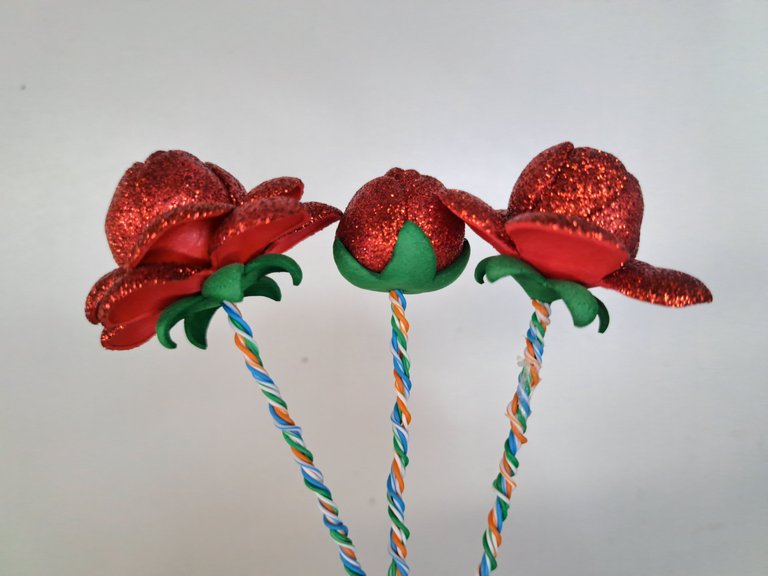
I would have almost everything ready to start assembling the flowers, but first I will wrap several wires, which I will use as stems. After wrapping the wires, I will pierce the lower end of the flowers to insert the stem. Next, I will also pierce the sepals to pass the stem through them and bring them to the base of the flowers. In the case of buds or small flowers, the sepal will be inverted or placed with the tips upwards.
Ya tendría casi todo listo para empezar a ensamblar las flores, pero antes voy a envolver varios alambres, los cuales utilizaré como tallos. Luego de envolver los alambres, agujerearé el extremo inferior de las flores para introducir el tallo. Seguidamente, agujerearé también los sépalos para pasarles el tallo por el interior y llevarlos hasta la base de las flores. En el caso de los botones o flores pequeñas, el sépalo irá invertido o se colocará con las puntas hacia arriba.
 |  |
 |  |  |
 |  |
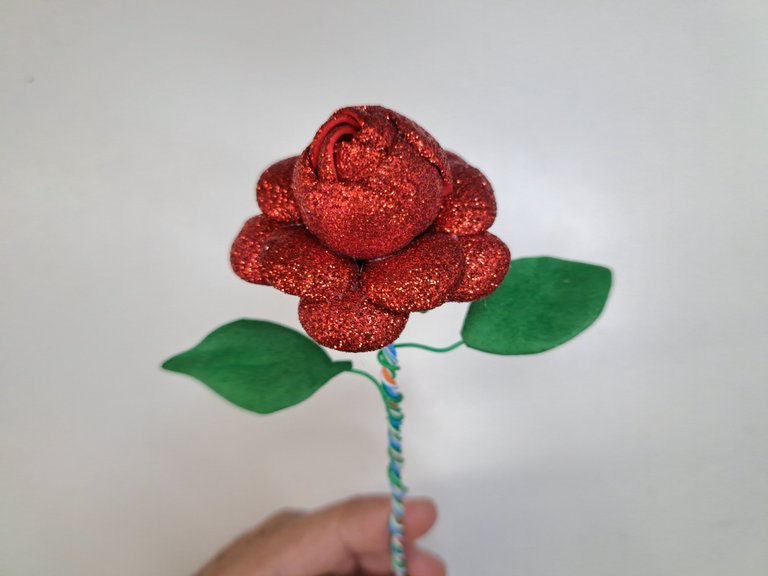
I will continue working on the stems and this time I will use some green wires to which I will attach the leaves at one end. Afterwards, I will attach the wires with the leaves to the stem of the flowers and wrap the whole stem with floral tape. It doesn't matter if the wire is a different color, because it can be painted green at the end.
Seguiré trabajando en los tallos y esta vez utilizaré unos alambres verdes a los cuales les colocaré las hojas en uno de sus extremos. Posteriormente, uniré los alambres con las hojas al tallo de las flores y envolveré todo el tallo con cinta floral. No importa si el alambre es de otro color, pues al final se puede pintar de verde.
 |  |  |
 |  |
The flowers are now ready, which means that I can now attach them to the pot. To do this, I will mark the shape of the pot on a piece of polystyrene and then, after cutting it out, I will insert the stems of the flowers. Next, I will fill the inside of the pot with sand and seal it with the cut out piece of polystyrene that now has the flower stems glued to it. Finally, I will paint the top of the pot green and the joints of the leaves as well.
Ya estarían listas las flores, lo cual significa que puedo pasar a unirlas a la maceta. Para ello, marcaré la forma de la maceta en una pieza de poliestireno y luego, de recortarla, le introduciré los tallos de las flores. Seguidamente, rellenaré la parte interior de la maceta con arena y la sellaré con la pieza de poliestireno recortada que ahora tiene pegados los tallos de las flores. Para finalizar, pintaré la parte superior de la maceta de color verde y las uniones de las hojas también.
 |  |
 |  |  |
 |  |
Finished Work // Trabajo Terminado
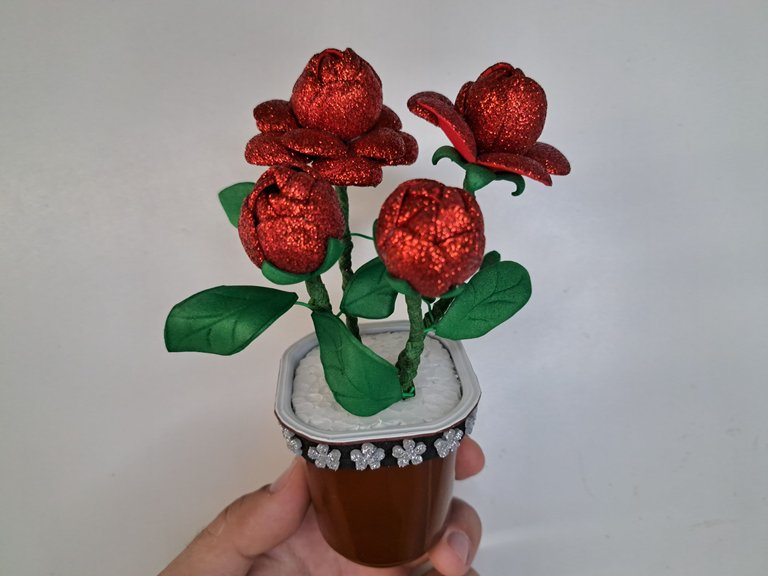
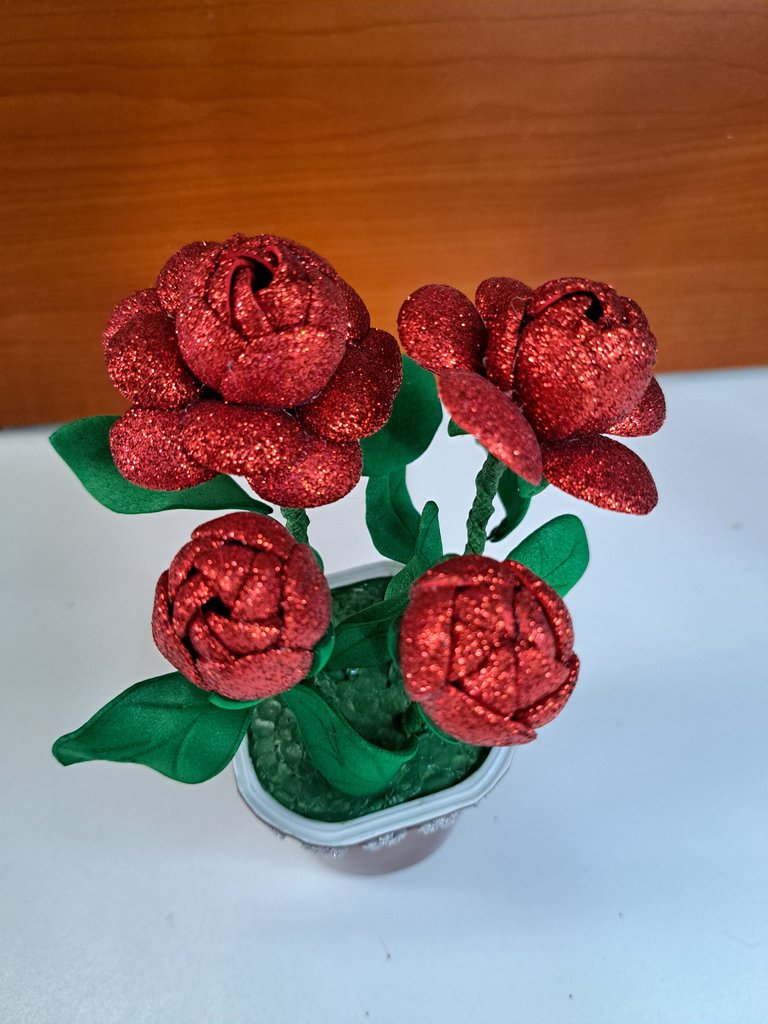
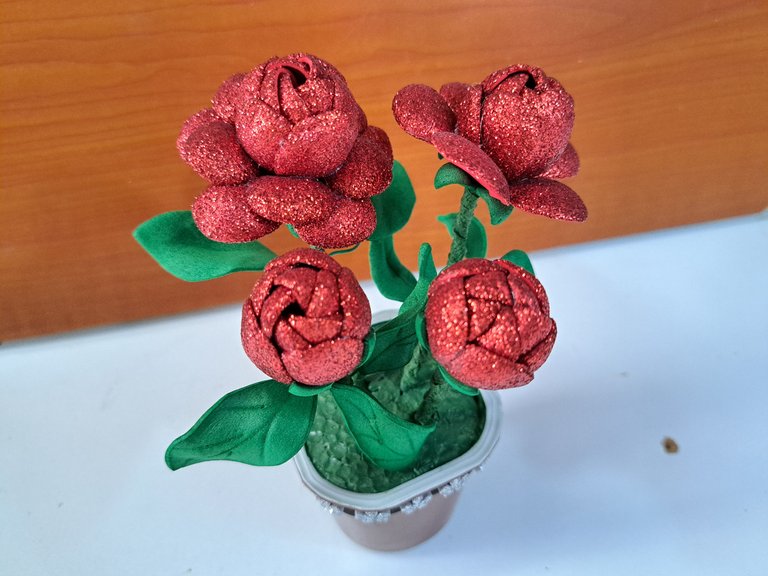
And this is how this small floral ornament is ready, which is nothing more than a pot with roses. As you can see, it is a very simple and tiny ornament, which means that you can place it almost anywhere and it won't bother you. I personally recommend it for offices or small workspaces. So, before I say goodbye, I want you to tell me what you thought of this little ornament and where you would place it.
Y de esta forma quedaría listo este pequeño adorno floral, el cual no es más que una maceta con rosas. Como han podido ver, es un adorno muy simple y pequeñito, lo cual significa que puedes colocarlo en casi cualquier lugar y no molestará. Yo personalmente lo recomiendo para oficinas o espacios de trabajo pequeños. Así que, antes de despedirme, quiero que me digas qué te pareció este pequeño adorno y dónde lo colocarías tú.
 |  |
 |  |

Thank you very much for reading my post. If you liked it, please leave a comment and consider following me so you don't miss my next posts. I'd love to know your opinion and your thoughts about the topic I discussed in this post, see you in the next one!
Credits and Resources // Créditos y Recursos
Cover page created in Canva Pro
Translated by DeepL
Images captured with my Samsung Galaxy A53


Posted Using InLeo Alpha
Cover page created in Canva Pro
Translated by DeepL
Images captured with my Samsung Galaxy A53
Posted Using InLeo Alpha


