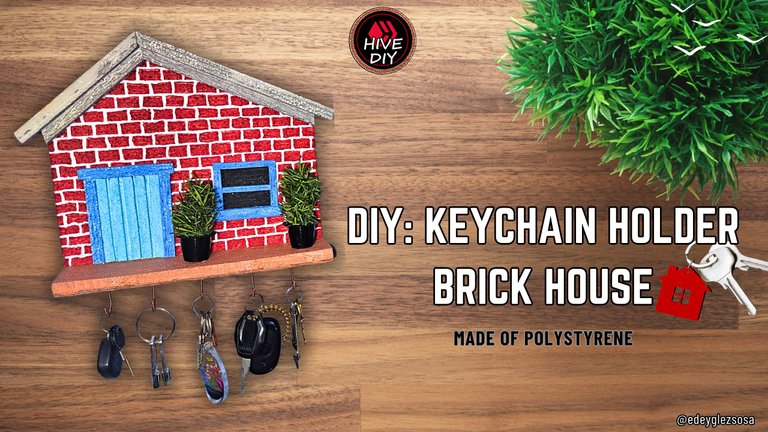
Greetings Hive Diy community.
Today's tutorial is the result of my curiosity. I've been wanting to try some polystyrene engraving techniques using heat for a long time, but even though I had the materials, I didn't dare to do it. When I finally got up the courage, I practiced a little and chose to make a key holder in the shape of a house to share with you.
The more perceptive people will be able to distinguish a change in the illumination of the tutorial images and that is because it took me longer than I imagined. Maybe it was the fact that the paint was not the right one and it took a long time to dry, or maybe it was that marking and painting the bricks took me forever. Anyway, I hope you like this key holder, so let's start with the tutorial.
Saludos comunidad Hive Diy.
El tutorial del día de hoy es el resultado de mi curiosidad. Les cuento que desde hace tiempo quería probar algunas técnicas de grabado en poliestireno utilizando calor, pero a pesar de que tenía los materiales, no me atrevía a hacerlos. Cuando por fin me llené de valor, practiqué un poco y elegí hacer un porta llaveros con forma de casa para compartir con ustedes.
Las personas más perceptibles podrán diferenciar un cambio en la iluminación de las imágenes del tutorial y eso se debe a que me tomó más tiempo del que imaginé. Quizás fue el hecho de que la pintura no era la adecuada y demoraba mucho en secar, o quizás fue que marcar y pintar los ladrillos me tomó una eternidad. En fin, espero que les guste este porta llaves, así que comencemos con el tutorial.
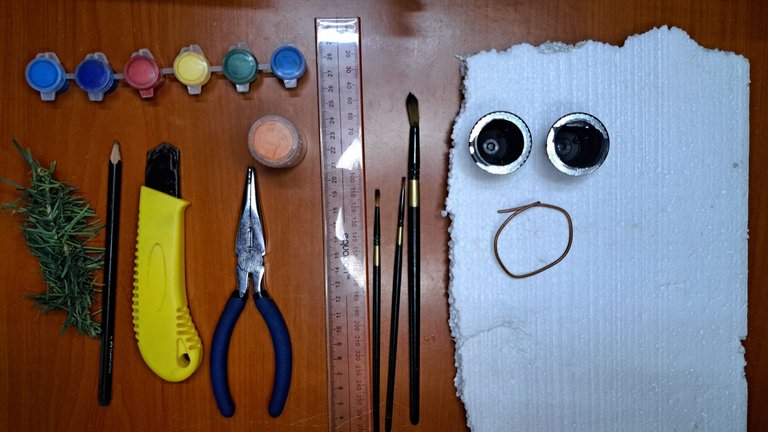
Materials // Materiales
| English | Español |
| ✔️ Polystyrene fragment | ✔️ Fragmento de poliestireno |
| ✔️ Cardboard sheets | ✔️ Láminas de cartón |
| ✔️ Copper wire | ✔️ Alambre de cobre |
| ✔️ Straight cut | ✔️ Cutter recto |
| ✔️ Tweezers | ✔️ Pinzas |
| ✔️ Ruler and marker | ✔️ Regla y marcador |
| ✔️ Red, light blue, dark blue, carmelite, black and gray paint. | ✔️ Pintura roja, azul claro, azul oscuro, carmelita, negra y gris |
| ✔️ Brushes | ✔️ Pinceles |
| ✔️ Coffee containers | ✔️ Envases de café |
| ✔️ Artificial foliage | ✔️ Follaje artificial |
| ✔️ Hot silicone | ✔️ Silicona caliente |
Step by step // Paso a paso
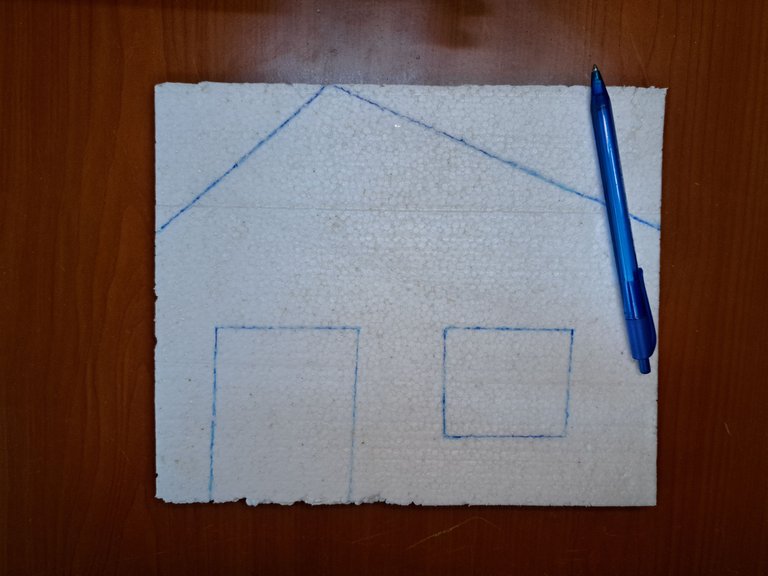
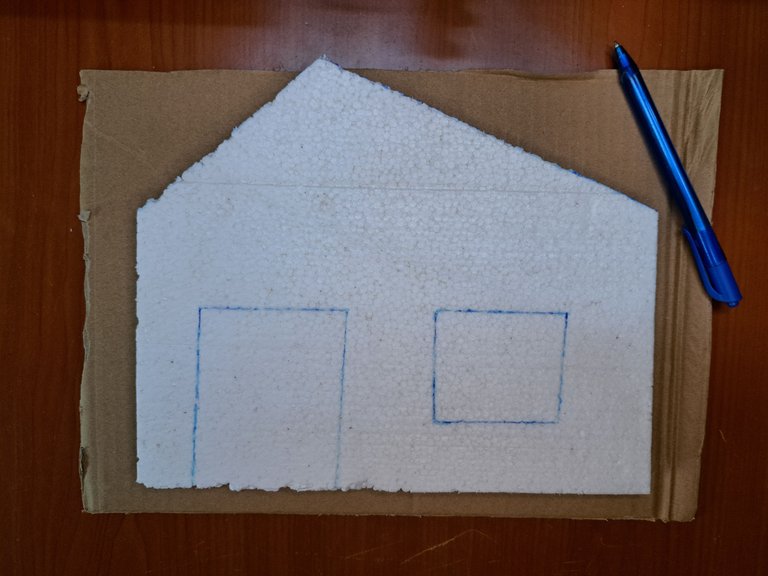
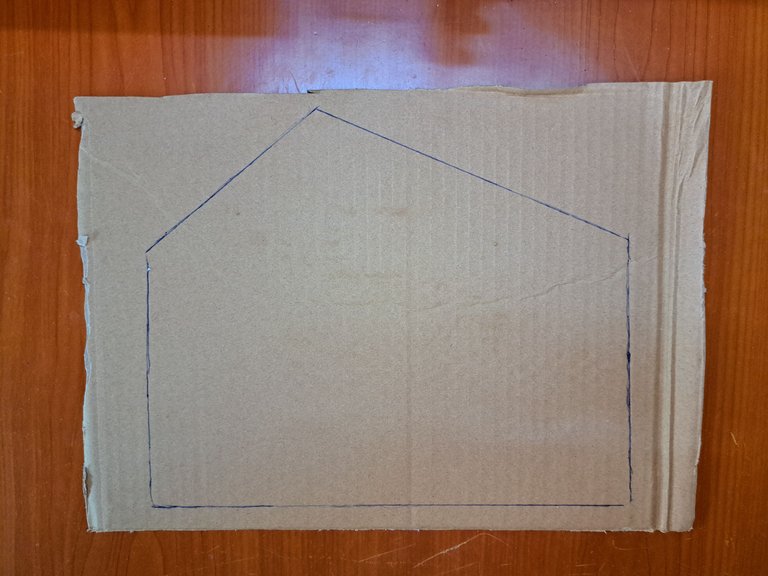
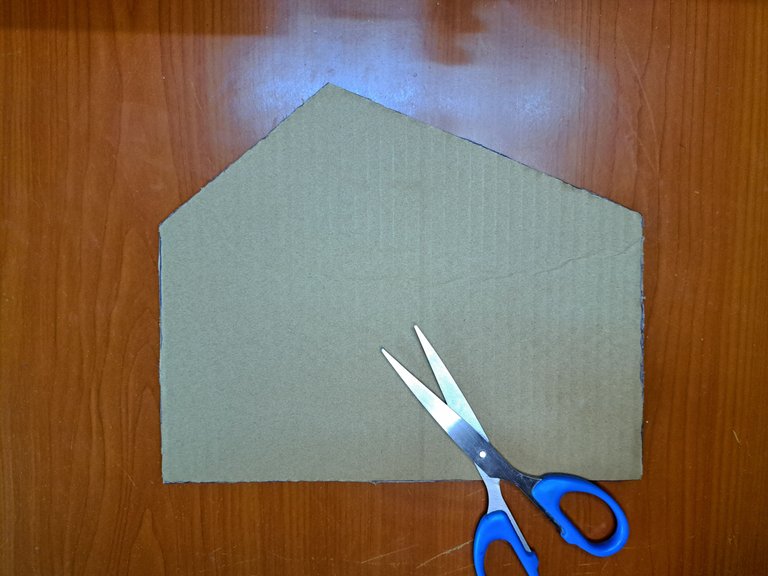
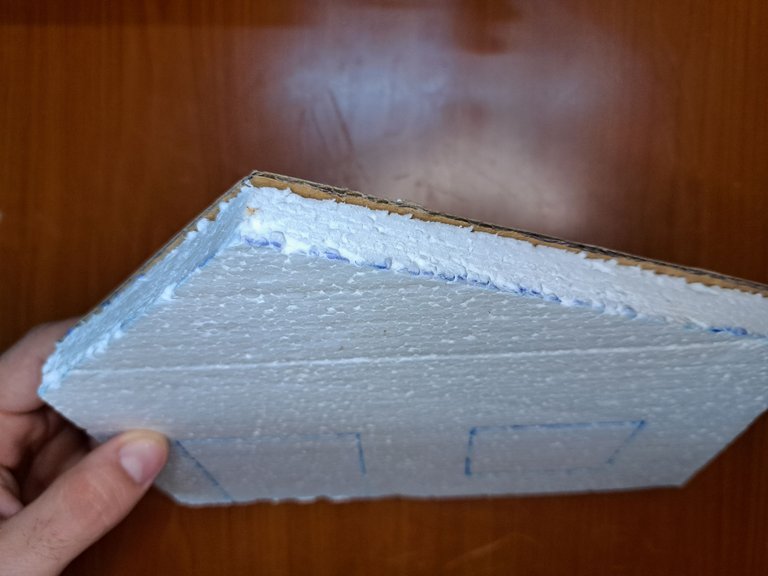
1️⃣ To begin, mark and cut out the design of the house on the polystyrene piece. Also mark and cut the silhouette of the house out of cardboard and glue it to the back of the styrofoam. The house is 25 cm wide x 23.5 cm high. The left roof is 14 cm and the right roof is 20 cm.
Para empezar, marca y corta el diseño de la casa en el fragmento de poliestireno. También marca y recorta la silueta de la casa en cartón y pégala en el reverso del poliestireno. La casa tiene 25 cm de ancho x 23,5 cm de alto. El techo izquierdo es de 14 cm y el derecho de 20 cm.
 |  |
 |  |  |
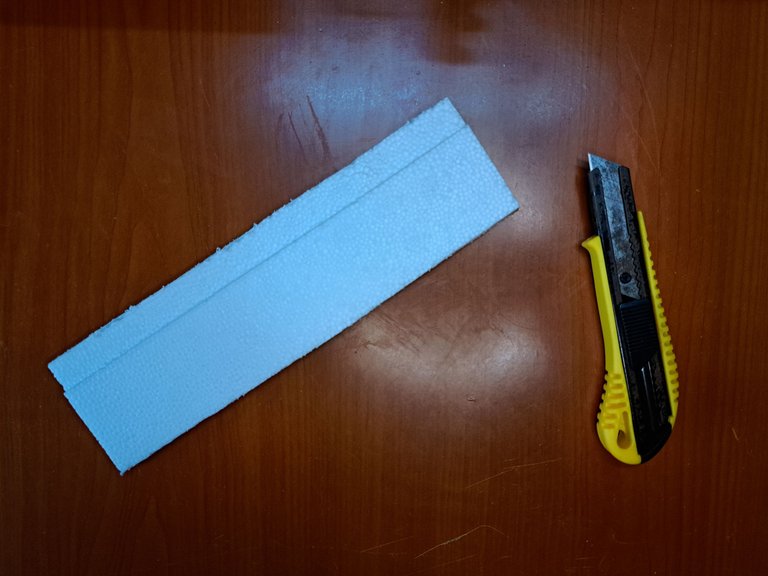
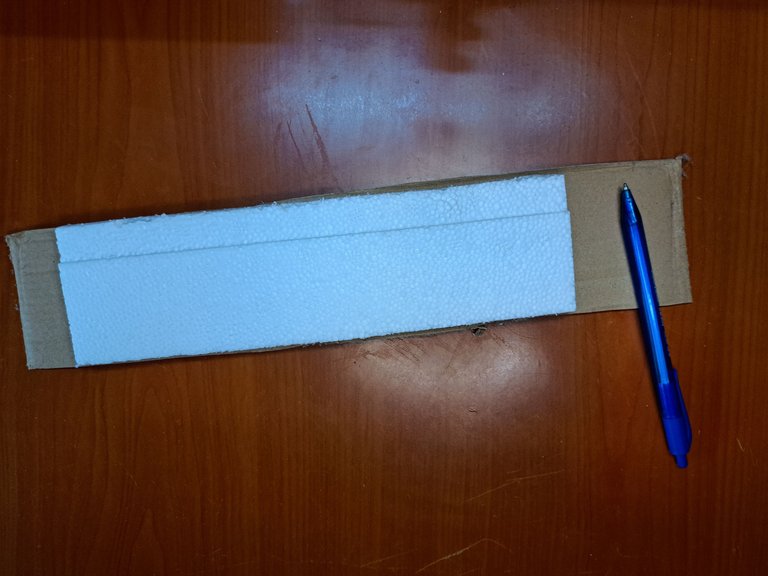
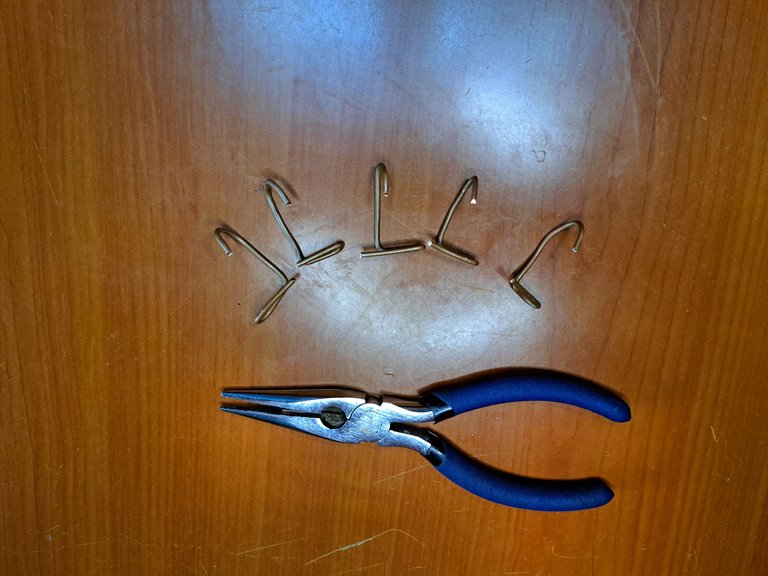
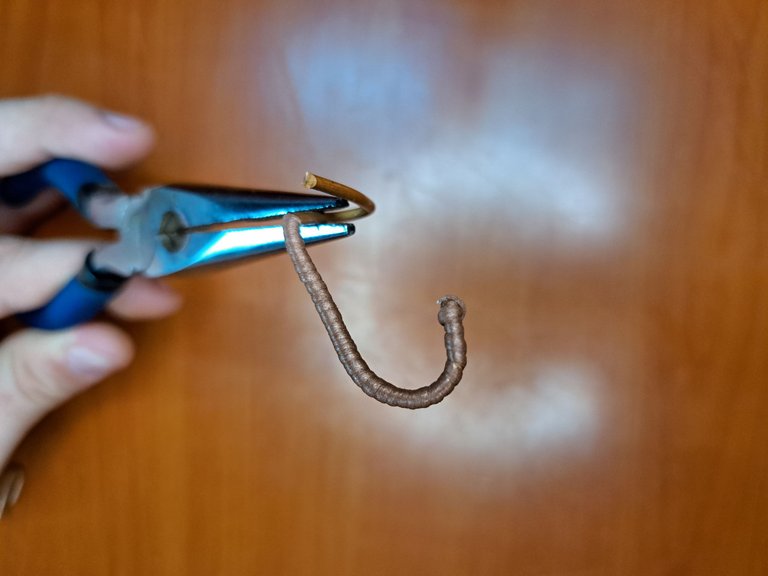
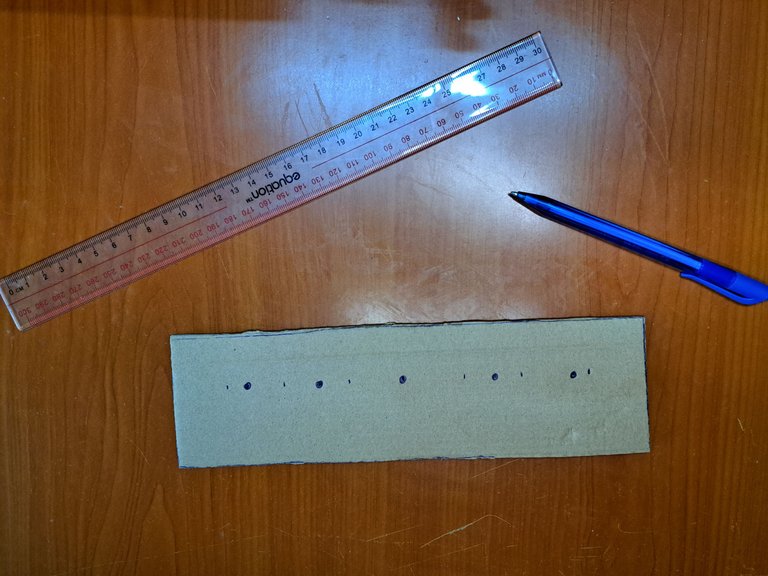
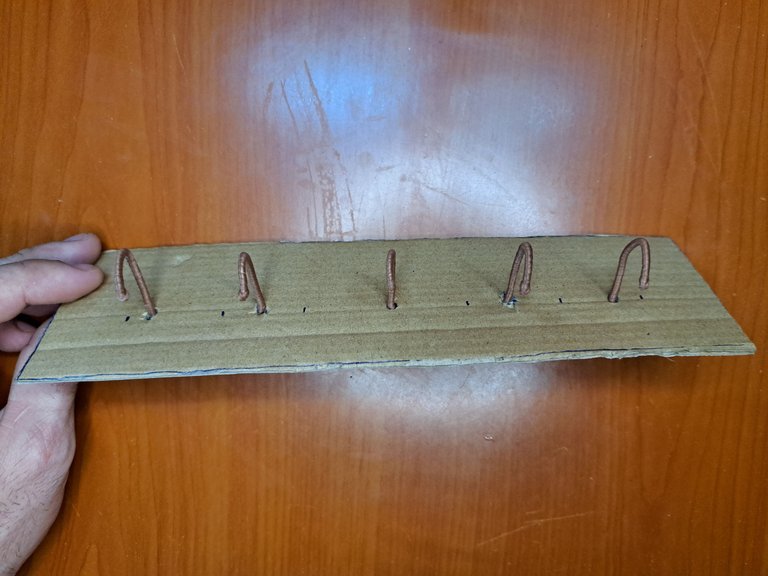
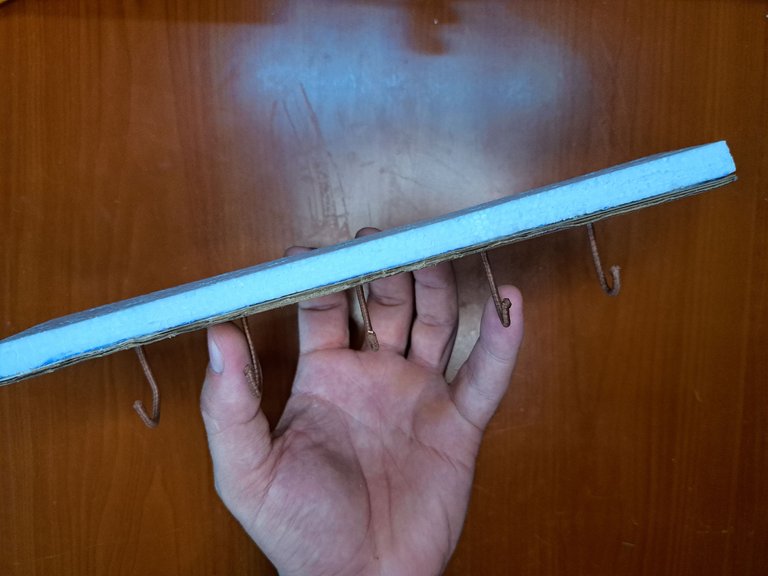
2️⃣ The hooks will be connected to the floor of the house, so cut a piece of polystyrene 25 cm x 7 cm. As for the house, mark and cut out the outline of the floor in cardboard, but don't glue them. Before gluing them, use the wire and tweezers to create five hooks, which after wrapping them with a strip of fomi will be inserted inside the cardboard sheet and their base will be glued between the polystyrene and the cardboard.
Los ganchos irán conectados al piso de la casa, así que corta un fragmento de poliestireno de 25 cm x 7 cm. Al igual que para la casa, marca y recorta la silueta del piso en cartón, pero no los pegues. Antes de pegarlos, utiliza el alambre y unas pinzas para crear cinco ganchos, los cuales luego de envolverlos con una tira de fomi irán insertados dentro de la lámina de cartón y su base quedará pegada entre el poliestireno y el cartón.
 |  |
 |  |  |
 |  |
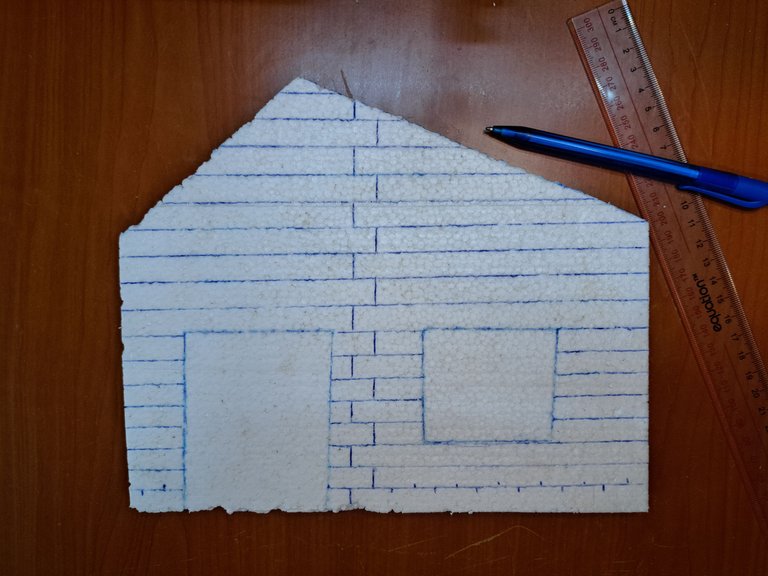
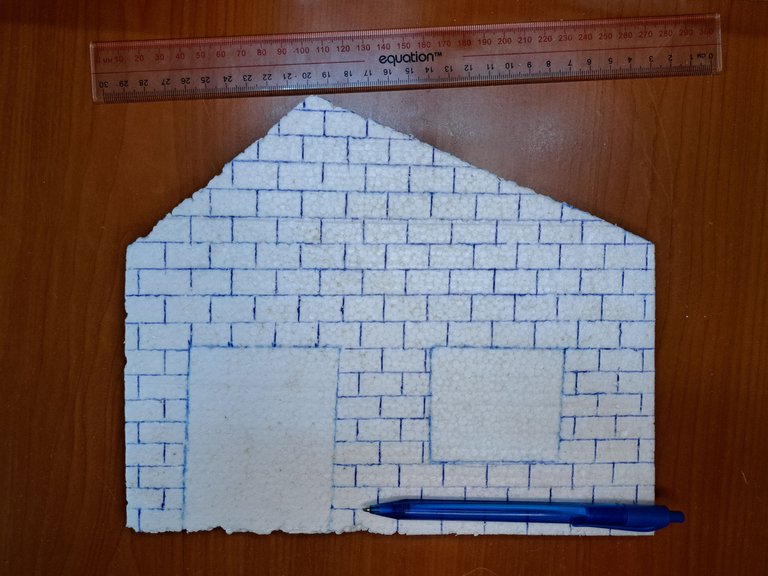
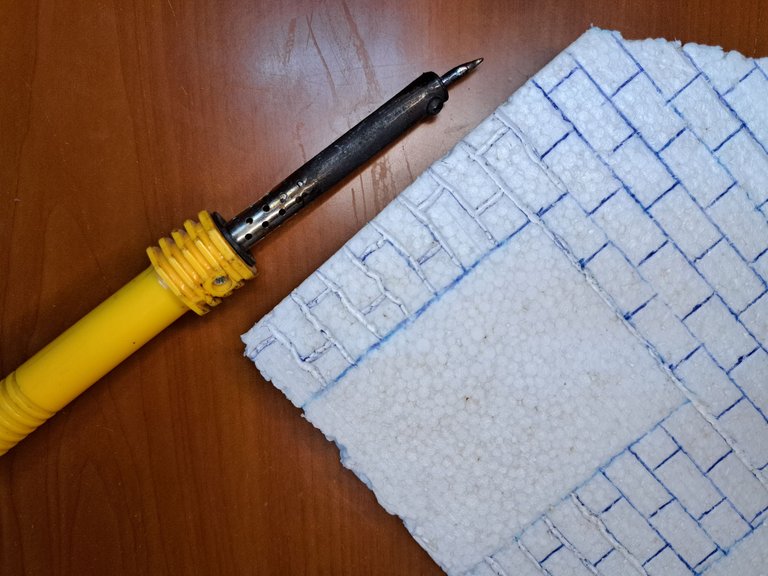
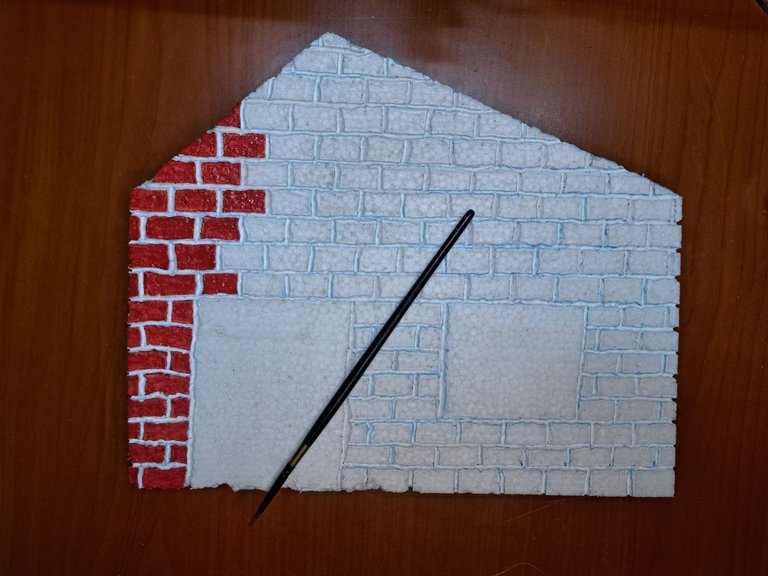
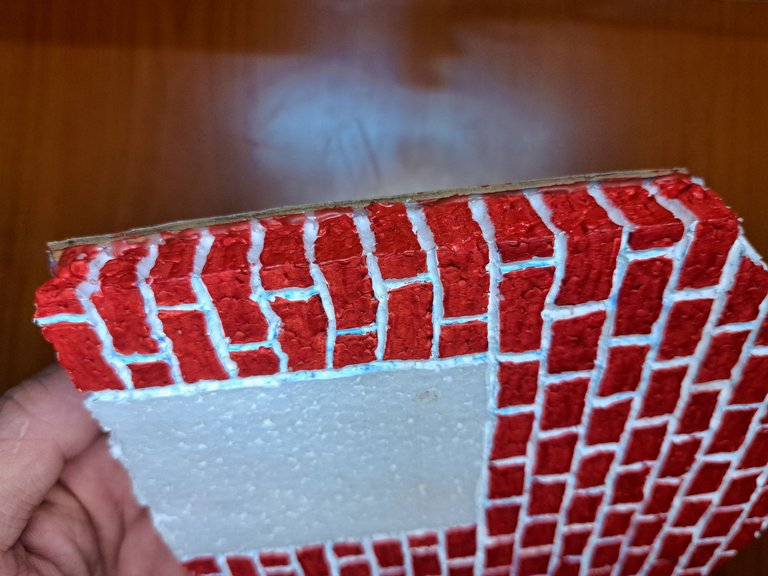
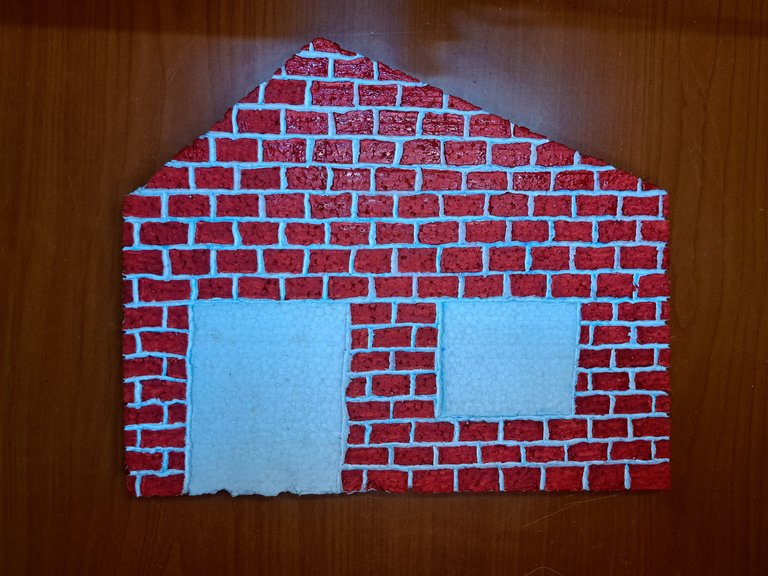
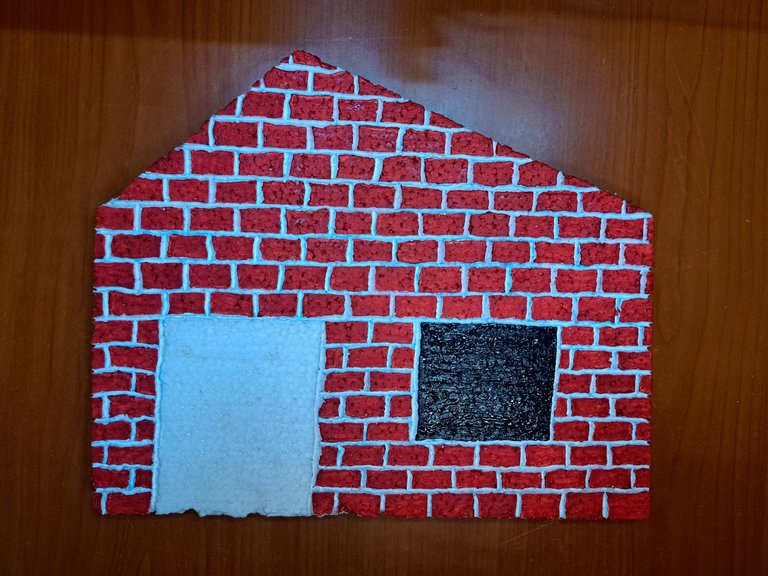
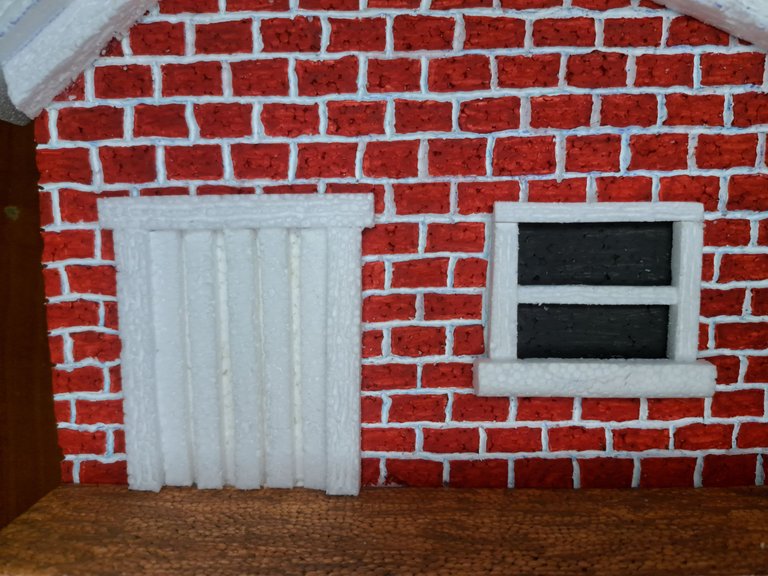
3️⃣ Use a ruler and a marker to draw the bricks on the facade of the house. Each brick measures 2 cm x 1 cm and, once drawn, use a tool, preferably a soldering iron, to draw the lines on the polystyrene. Next, paint each of the bricks red and the inside of the window black.
Utiliza una regla y un marcador para dibujar los ladrillos en la fachada de la casa. Cada ladrillo mide 2 cm x 1 cm y, una vez dibujados, se utilizará una herramienta, preferentemente un cautín, para trazar las líneas en el poliestireno. Seguidamente, pinta de rojo cada uno de los ladrillos y de negro el interior de la ventana.
 |  |
 |  |  |
 |  |
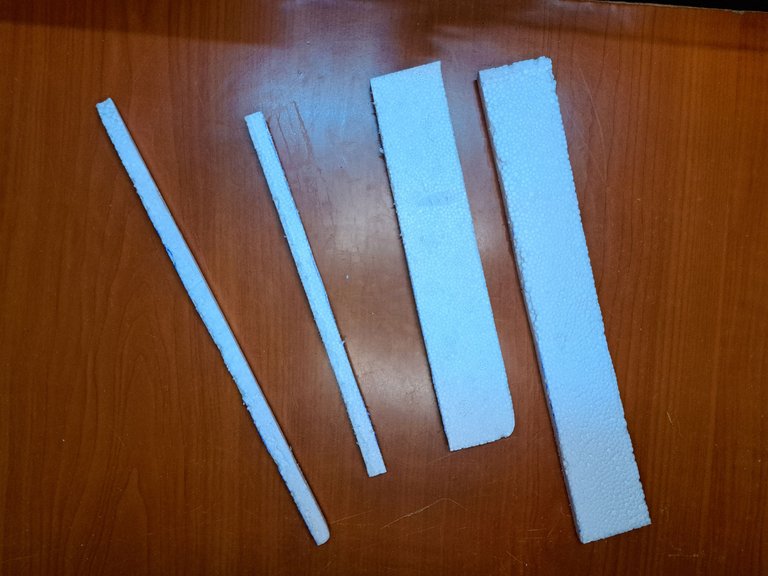
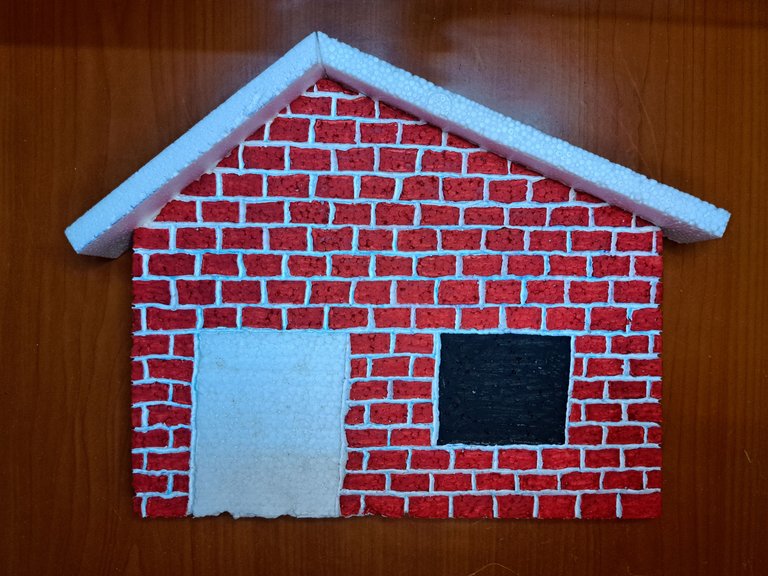
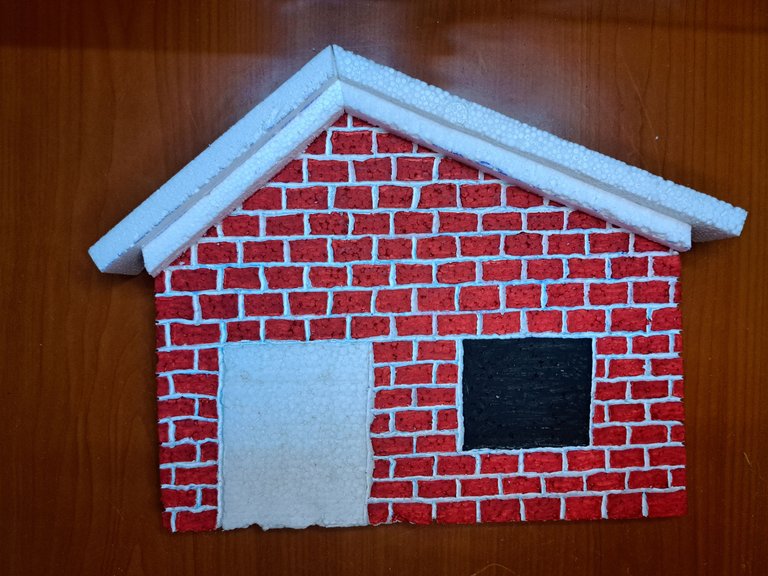
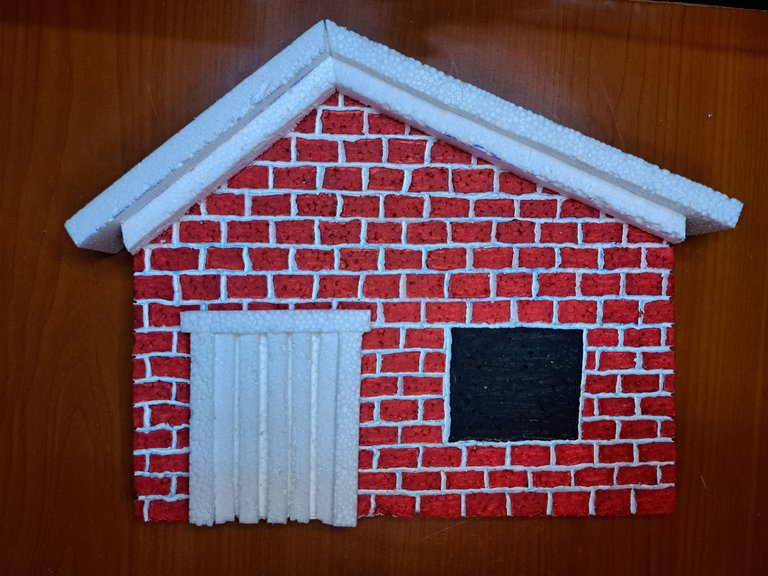
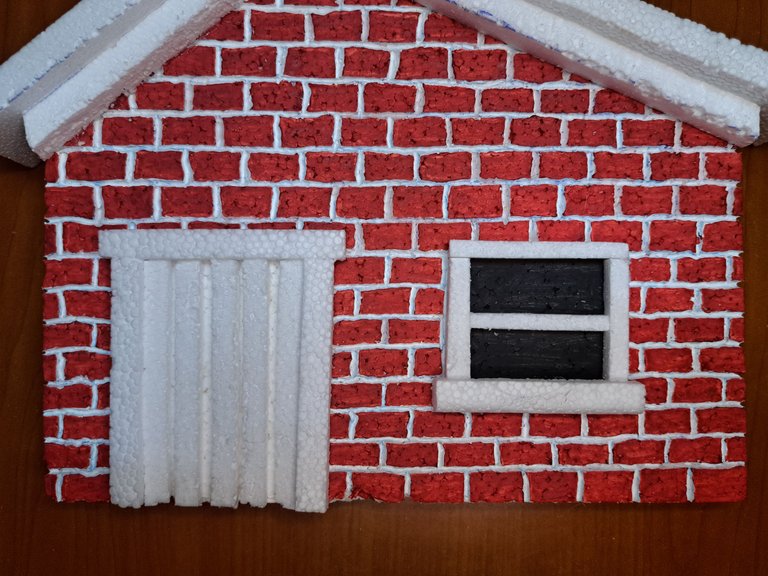
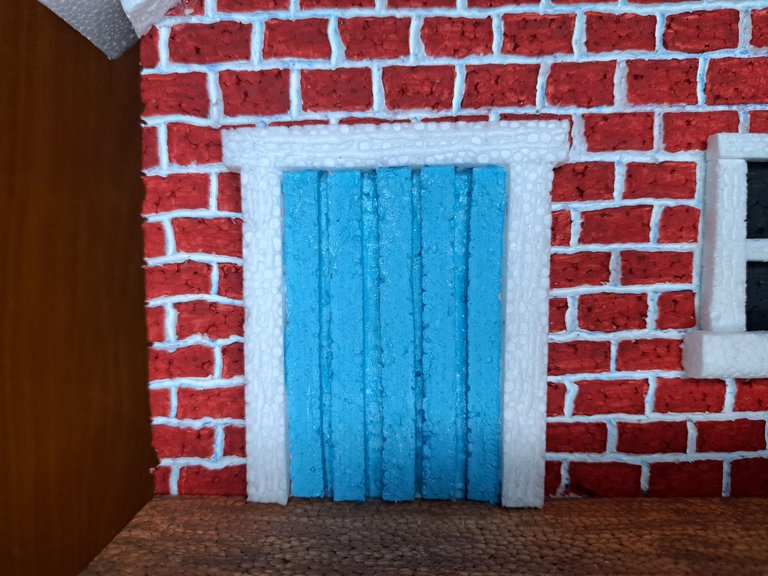
4️⃣ The measurements of the roof will be 20 cm x 4 cm and 14.5 cm x 4 cm for the right and left sides, respectively. Additionally, cut some thinner beams and glue them under the ceiling. Also cut small pieces of polystyrene to create the window and door frame. Before painting, use the soldering iron to create some lines in the styrofoam of the frames.
Las medidas del techo serán 20 cm x 4 cm y 14,5 cm x 4 cm para el lado derecho e izquierdo, respectivamente. Adicionalmente, recorta unas vigas más finas y pégalas debajo del techo. También corta pequeños pedazos de poliestireno para crear el marco de la ventana y la puerta. Antes de pintar, utiliza el cautín para crear algunas líneas en el poliestireno de los marcos.
 |  |  |
 |  |
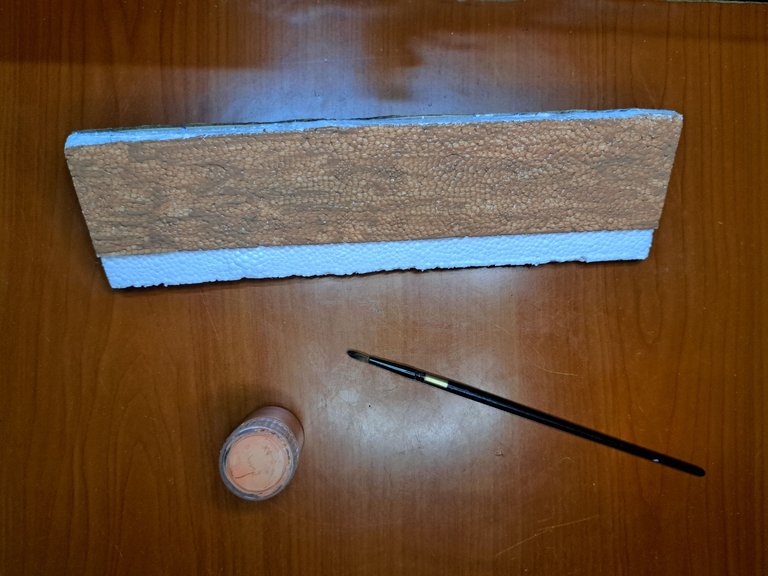
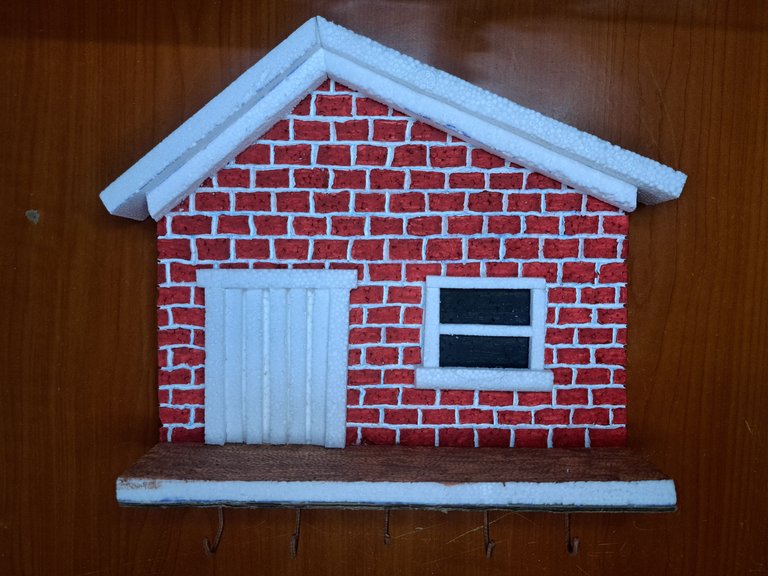
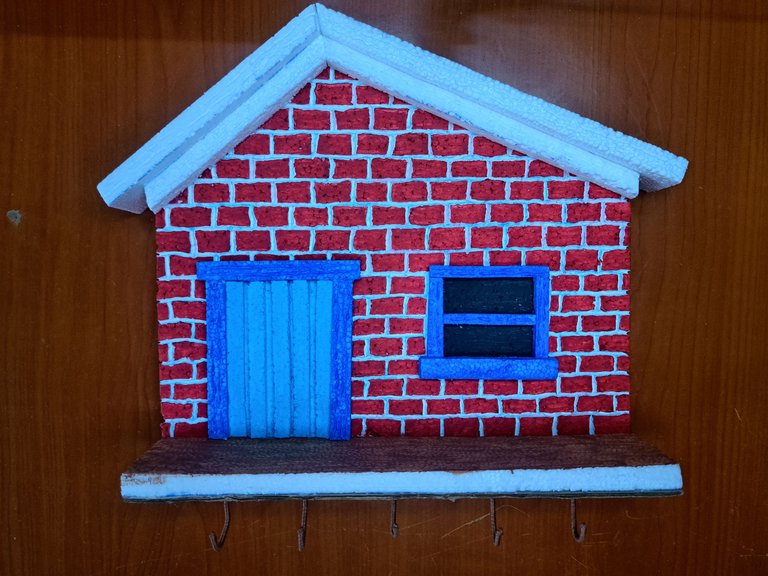
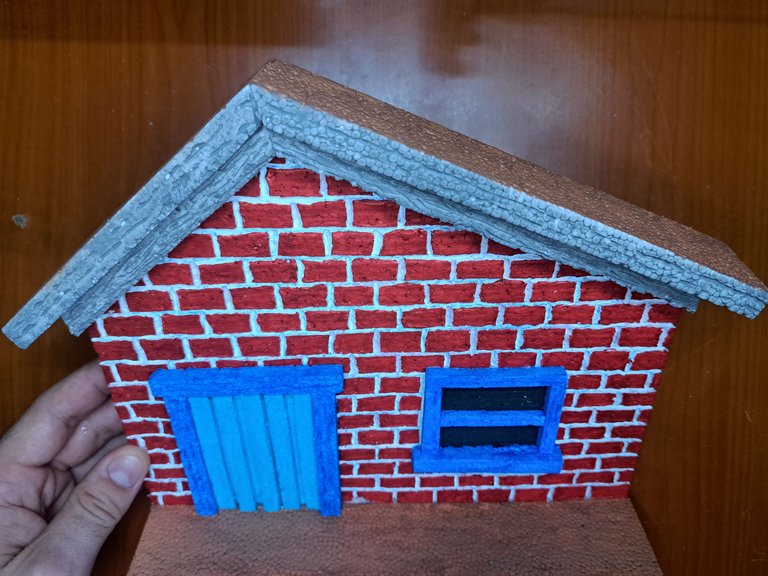
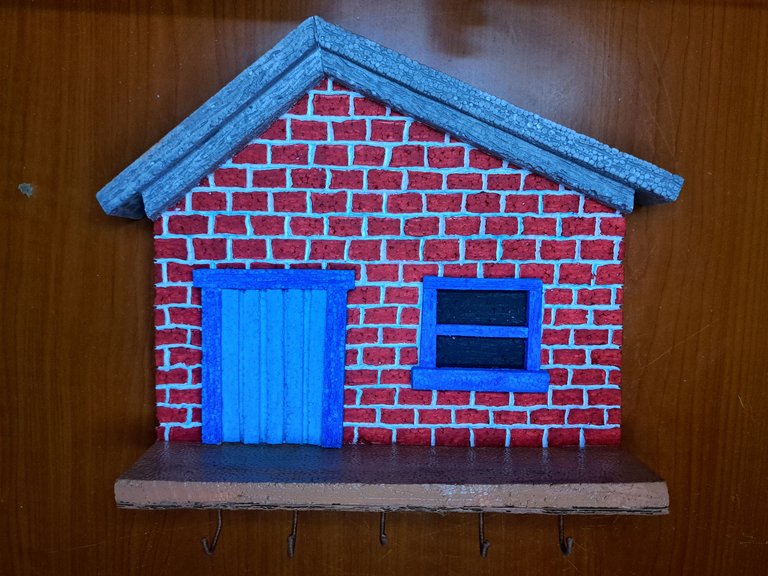
5️⃣ Paint the top of the floor in light carmelite and, once dry, glue it underneath the front of the house. Next, paint the door light blue and the door frame dark blue. Also paint the window frames dark blue and give a lighter shade of brown to the roof, finishing with a gray around the edges.
Pinta la parte superior del piso de color carmelita claro y, una vez seco, pégala por debajo de la fachada de la casa. Seguidamente, pinta la puerta de azul claro y el marco de azul oscuro. También pinta de azul oscuro el marco de las ventanas y da un tono castaño más claro al techo, terminando con un gris en los bordes.
 |  |
 |  |  |
 |  |
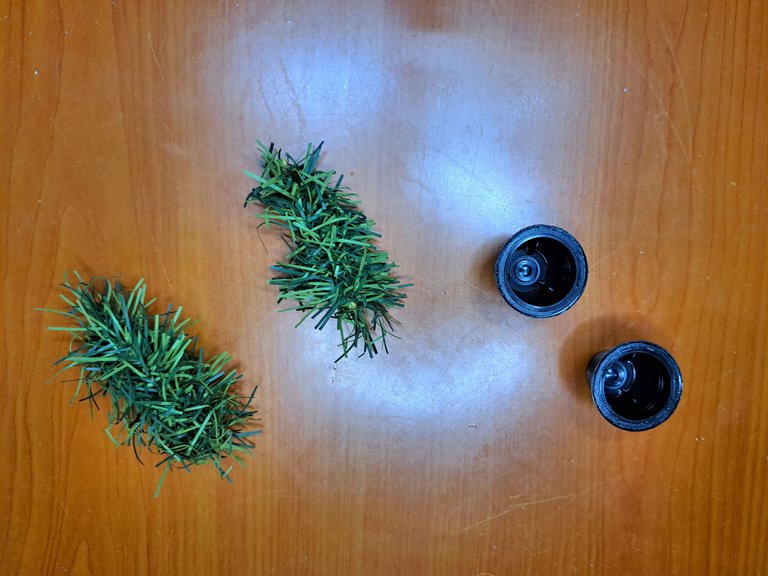
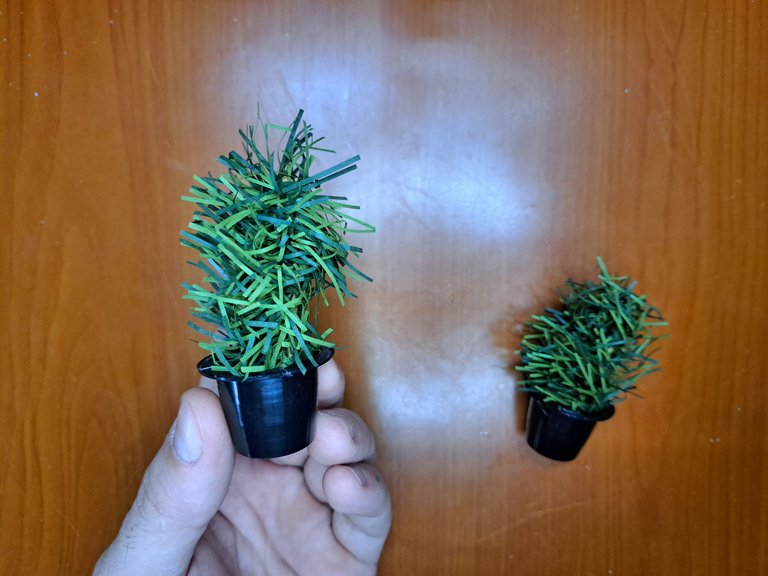
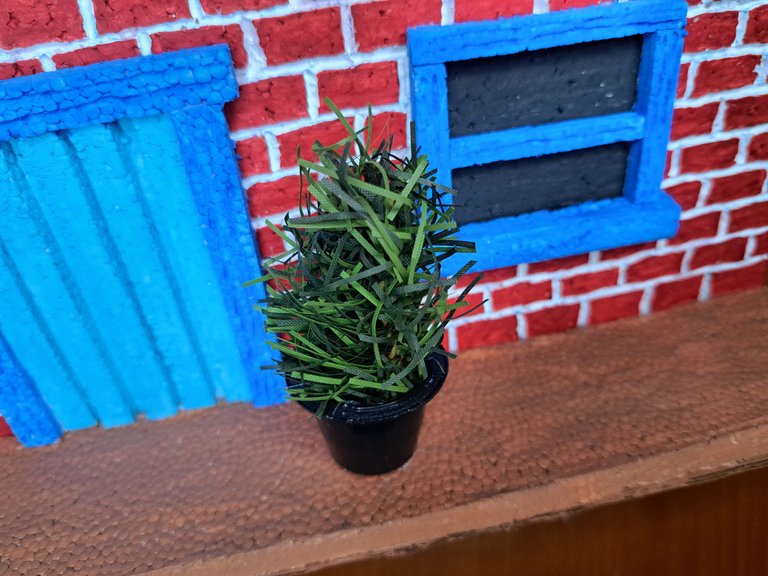
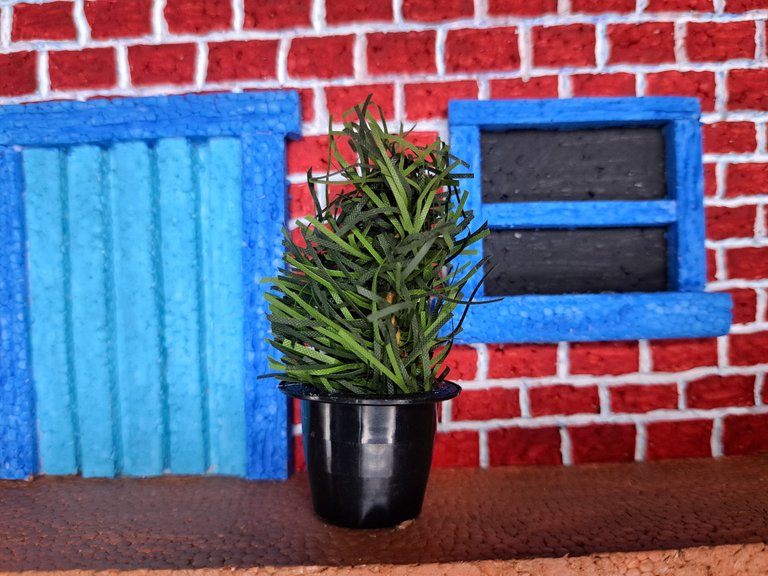
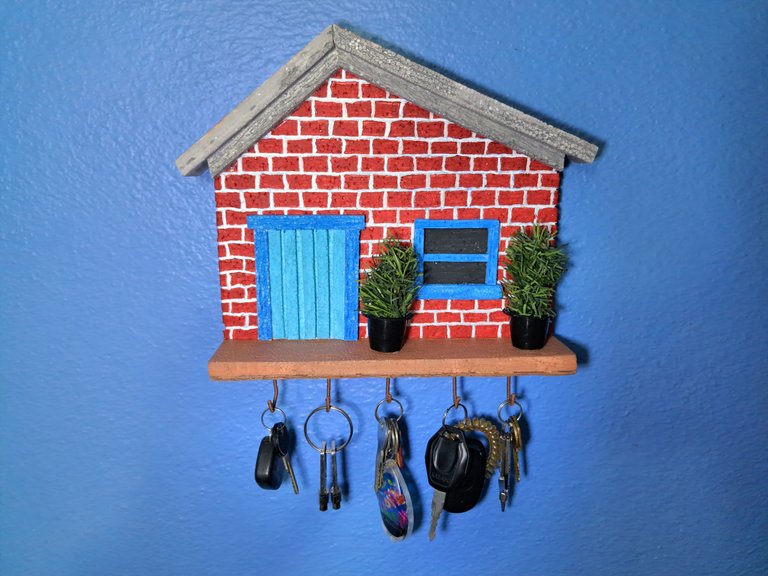
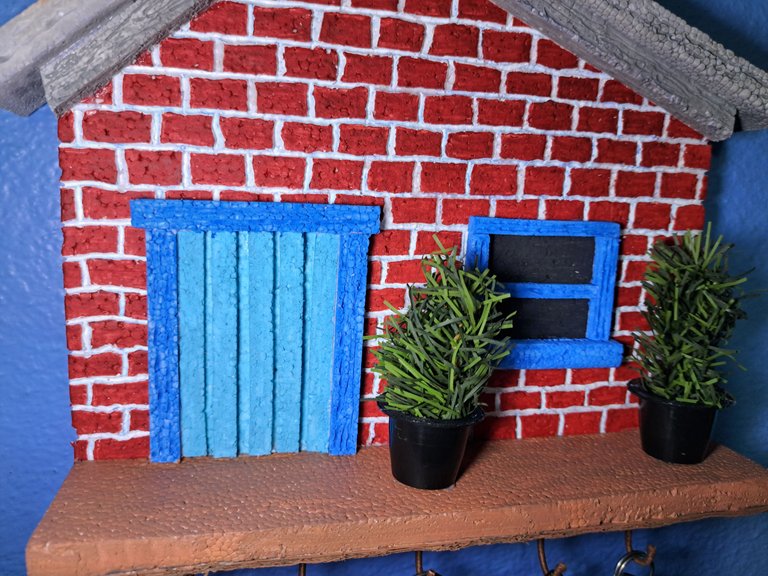
6️⃣ To finish, use some artificial foliage and a few small espresso containers to create a planter. Glue the pots to the front of the house, between the door and the window. And you're done.
Para terminar, utiliza un poco de follaje artificial y unos pequeños envases de café expreso para crear una maceta. Pega las macetas en el frente de la casa, entre la puerta y la ventana. Y ya estaría listo.
 |  |
 |  |
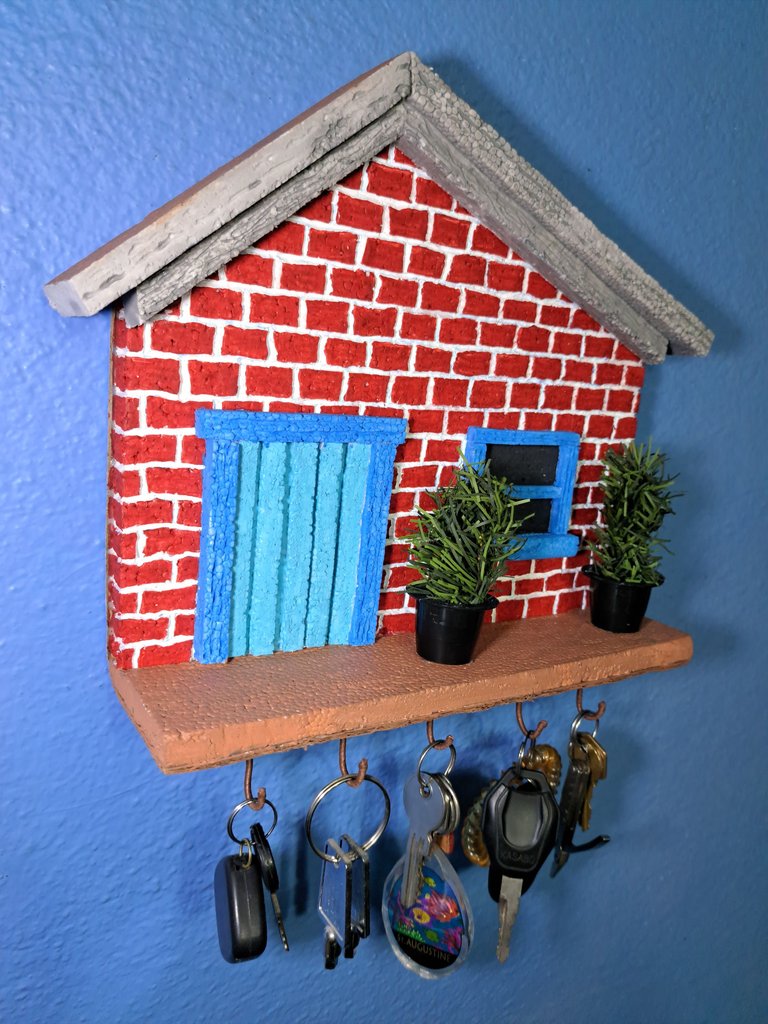
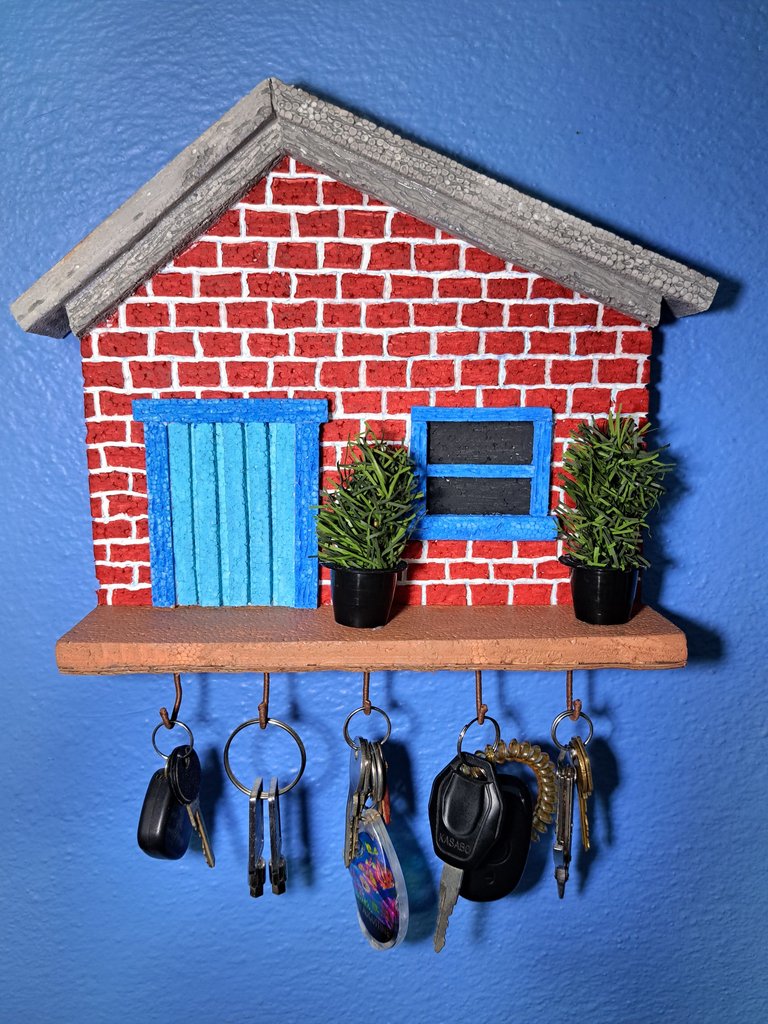
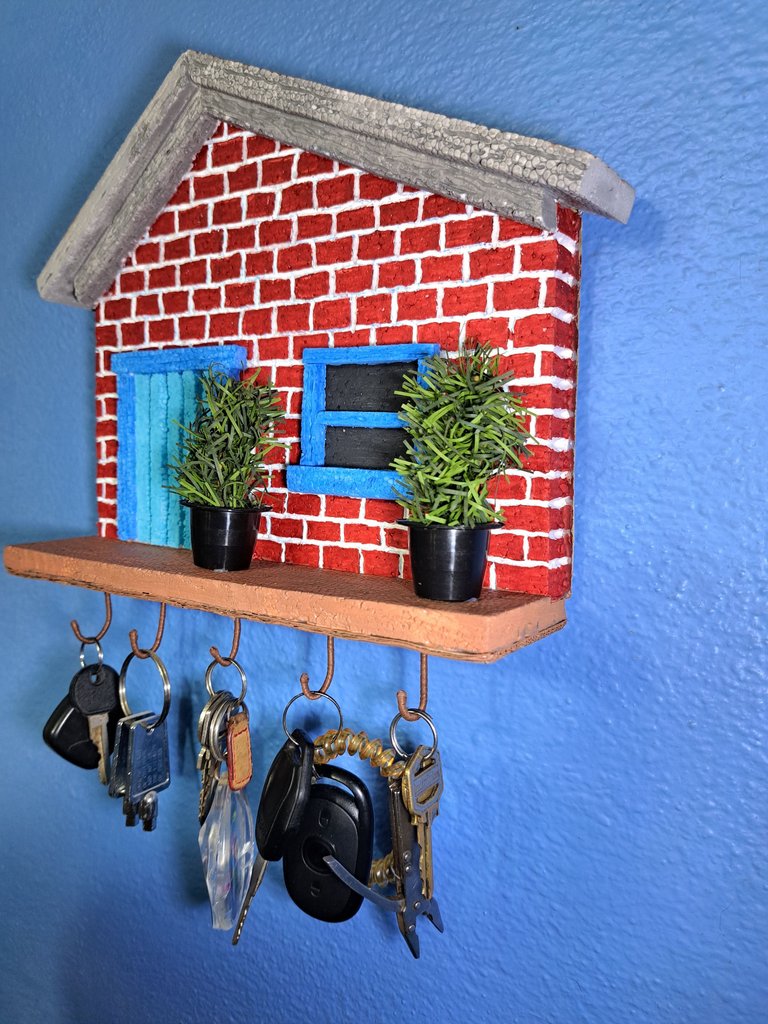
Finished Work // Trabajo Terminado
Once again, we come to the end of another tutorial. I must admit that, even though I couldn't add many details, I was quite satisfied with the result and I hope you are too. For now, I'll say goodbye, but I don't want to do it without reminding you that you can leave in the comments section any suggestions or doubts about the tutorial, as I'll be happy to read them.
Una vez más, llegamos al final de otro tutorial. Debo admitir que, a pesar de que no pude agregarle muchos detalles, quedé bastante satisfecho con el resultado y espero que ustedes también. Por ahora, me despido, pero no quiero hacerlo sin recordarles que pueden dejar en la sección de comentarios cualquier sugerencia o duda sobre el tutorial, pues estaré encantado de leerlos.
 |  |  |
 |  |

Thank you very much for reading my post. If you liked it, please leave a comment and consider following me so you don't miss my next posts. I'd love to know your opinion and your thoughts about the topic I discussed in this post, see you in the next one!

Credits and Resources // Créditos y Recursos
Cover page created in Canva
Translated by DeepL
Images captured with my Samsung Galaxy A53 5G


Posted Using InLeo Alpha
Cover page created in Canva
Translated by DeepL
Images captured with my Samsung Galaxy A53 5G


Posted Using InLeo Alpha
