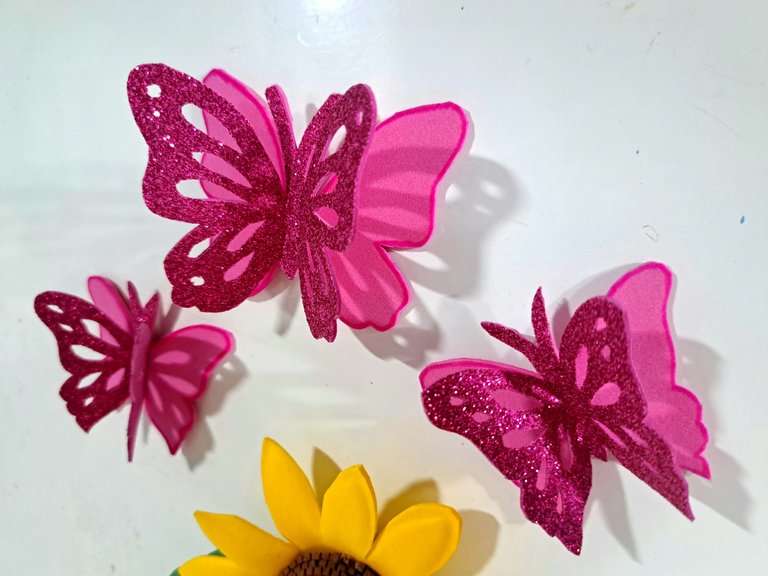
¡Hola a todos mis amigos creativos! Siempre es un placer para mí estar de nuevo aquí compartiendo con ustedes contenido sobre mis manualidades. Por eso, el día de hoy les traigo otro adorno hecho con fomi, el cual tiene como destino la puerta de la nevera de mi queridísima mamá. Definitivamente, mi mamá es mi mayor admiradora, por lo que siempre le regalo algún presente hecho por mí. A pesar de saber que no podré nunca pagarle todo lo que ha hecho por mí, le hago pequeños regalos que sé que le encantan.
Pero bueno, vayamos directo al grano y acompáñenme en este tutorial en el cual les mostraré el paso a paso de como elaborar un girasol y mariposas imantados. Espero que les guste y disfruten el proceso.
! [English Version Here]
Hello to all my creative friends! It is always a pleasure for me to be back here sharing with you content about my crafts. That's why today I bring you another ornament made with fomi, which is destined for my dearest mom's fridge door. Definitely, my mom is my biggest fan, so I always give her a present made by me. Even though I know I will never be able to repay her for all she has done for me, I give her little gifts that I know she loves.
But well, let's get straight to the point and join me in this tutorial in which I will show you step by step how to make a magnetized sunflower and butterflies. I hope you like it and enjoy the process.
 |  |
 |  |
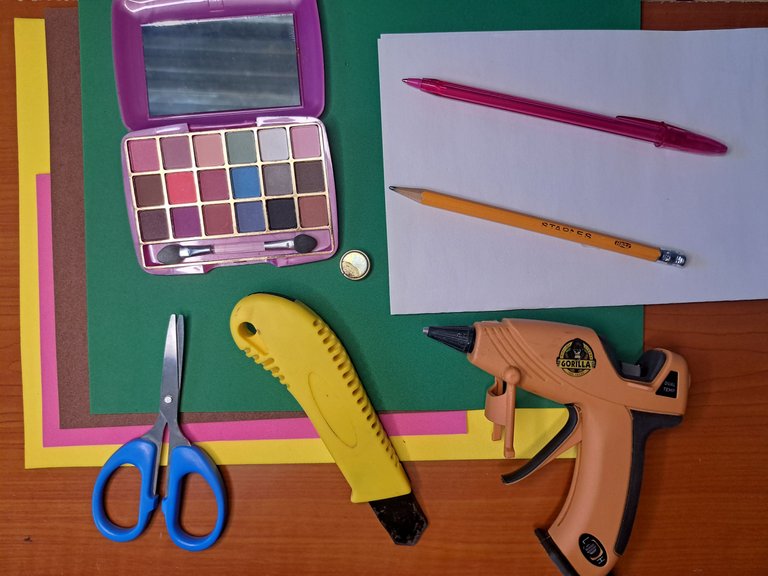
Materiales // Materials
| ✅ Fomi liso de color amarillo, rosado, carmelita y verde | ✅ Smooth yellow, pink, carmelite and green Fomi |
| ✅ Foami escarchado rosado | ✅ Pink frosted Foami |
| ✅ Hoja de papel blanca | ✅ White sheet of paper |
| ✅ Bolígrafo y lápiz | ✅ Pen and pencil |
| ✅ Tijera y cúter | ✅ Scissors and cutter |
| ✅ Silicona caliente | ✅ Hot silicone |
| ✅ Kit de maquillaje | ✅ Make-up kit |
| ✅ Imanes | ✅ Magnets |
| ✅ Moldes de hojas y girasol | ✅ Leaf and sunflower molds |
Paso a paso // Step by step
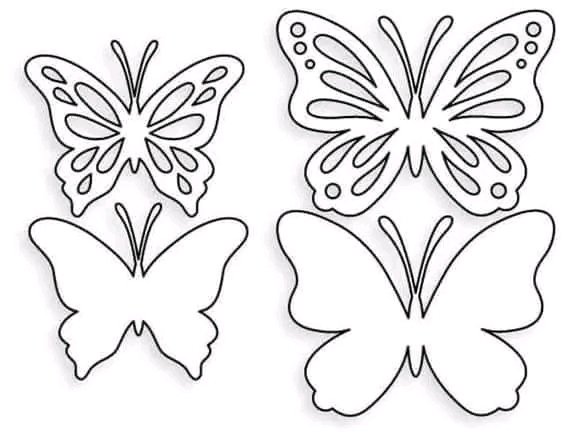
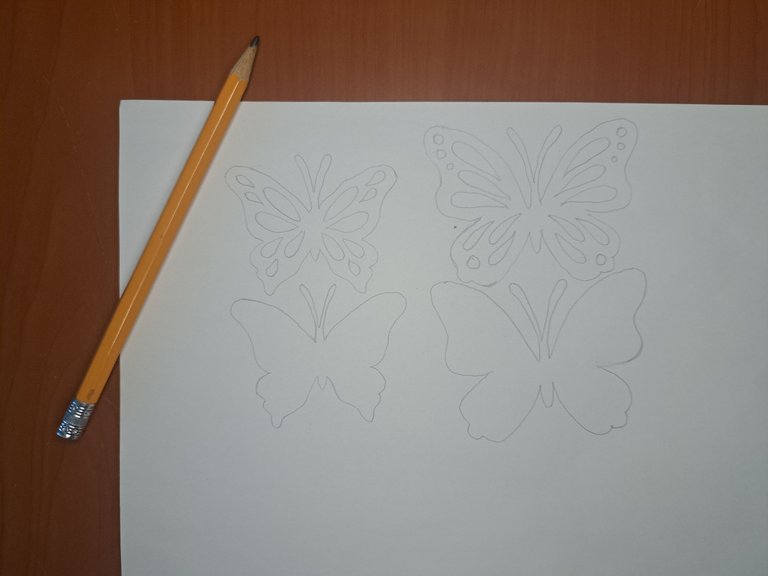
1️⃣ Para empezar marcamos y recortamos en una hoja la silueta de las alas de las mariposas. Para hacer esto pueden imprimir el molde que les dejo a continuación o pueden, como en mi caso, apoyar una hoja sobre la pantalla del ordenador y calcar la silueta.
! [English Version Here]
1️⃣ To begin, we mark and cut out the silhouette of the butterfly wings on a sheet of paper. To do this, you can either print the template I provide below or, as in my case, place a sheet of paper on the computer screen and trace the silhouette.
 |
 |
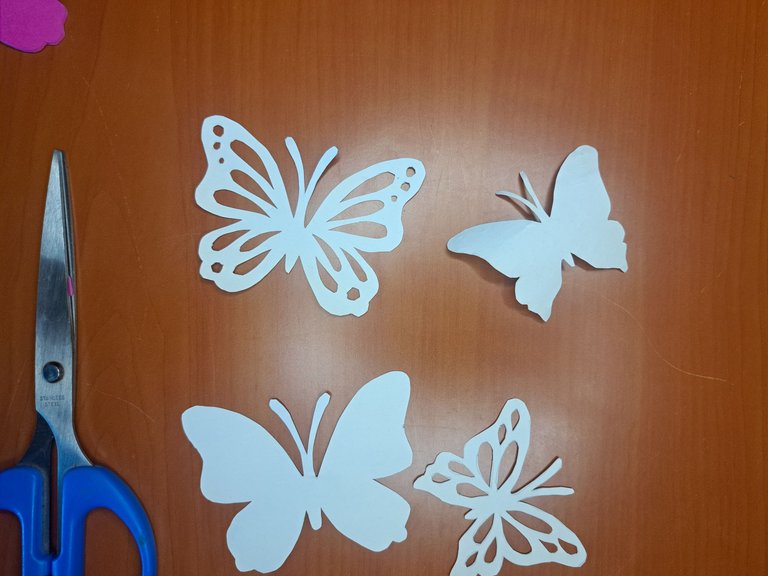 |
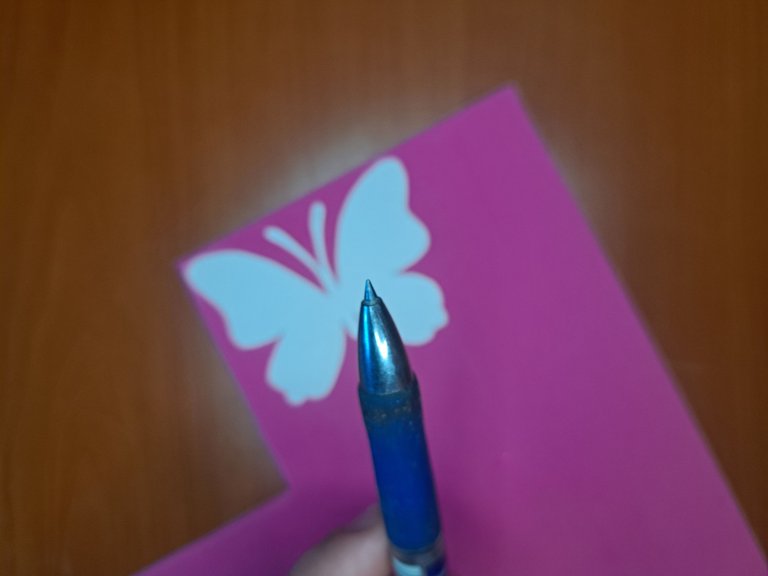
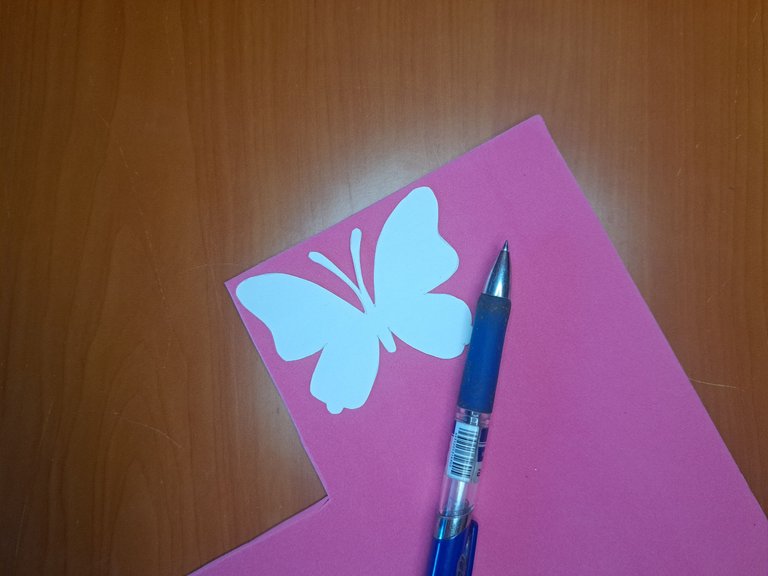
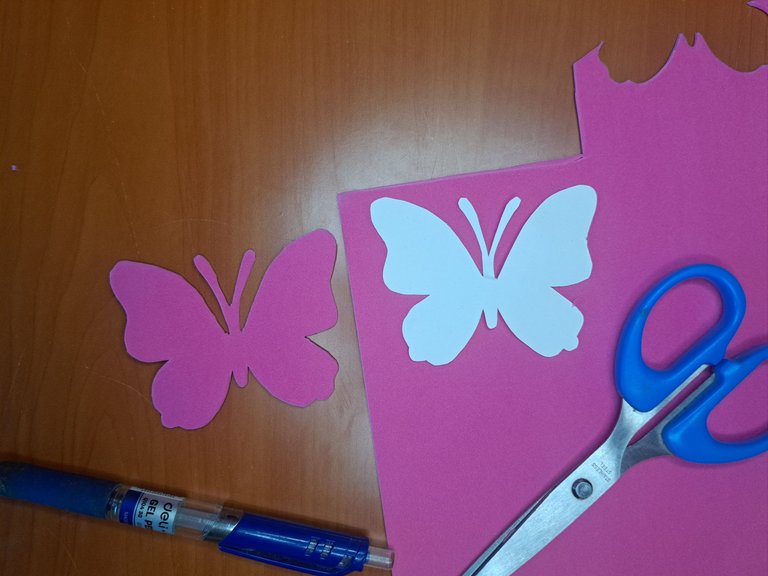
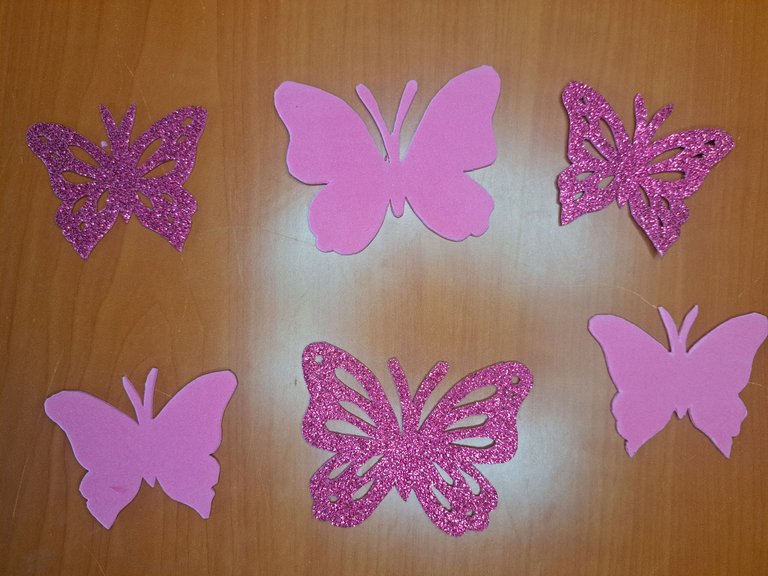
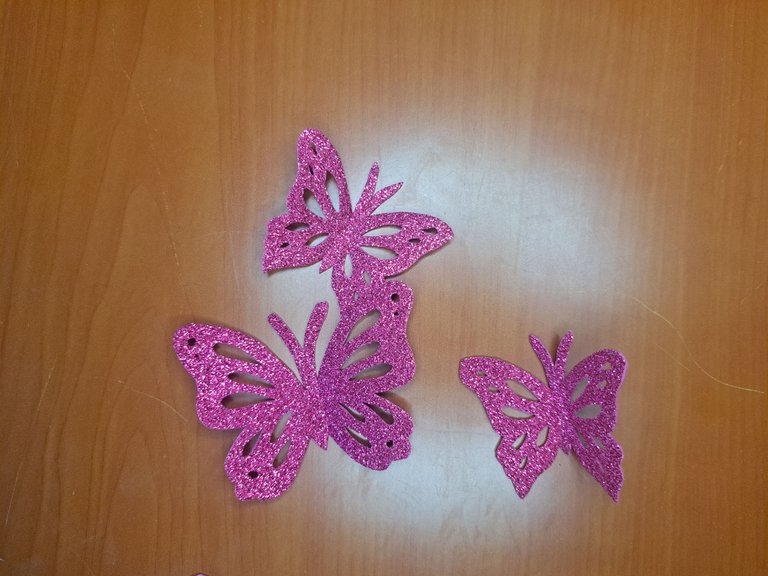
2️⃣ Con los moldes de las alas marcamos y recortamos las mariposas haciendo uso de un bolígrafo sin tinta de punta fina y unas tijeras. El molde agujereado se marcará en fomi rosado escarchado y los otros moldes en fomi rosado liso.
! [English Version Here]
2️⃣ With the wing molds we mark and cut out the butterflies using a fine-tipped inkless pen and scissors. The pierced mold will be marked in frosted pink fomi and the other molds in plain pink fomi.
 |  |
 |
 |
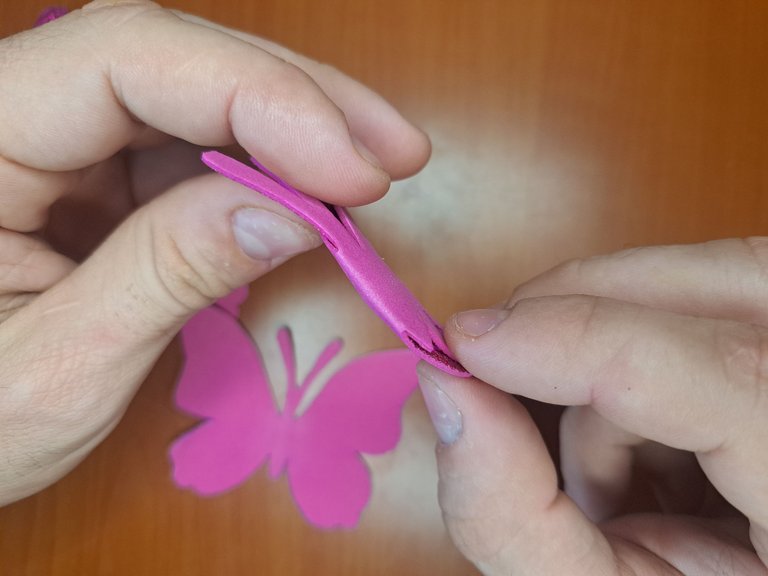
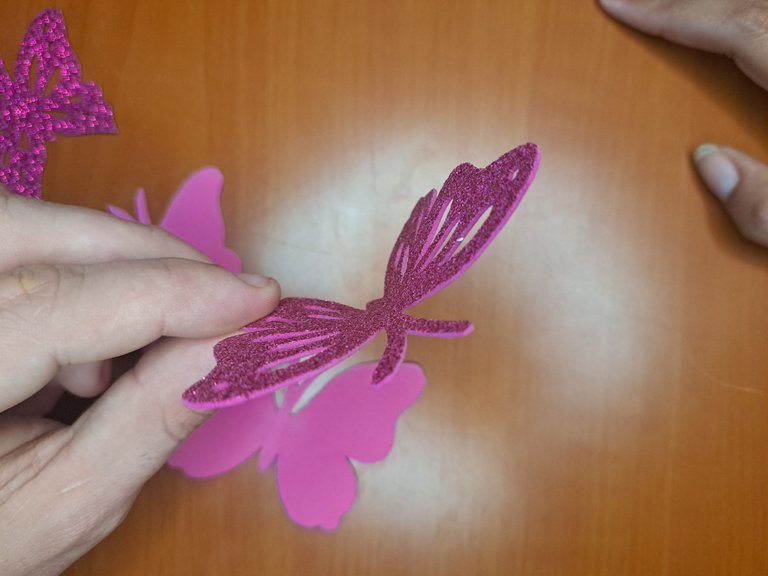
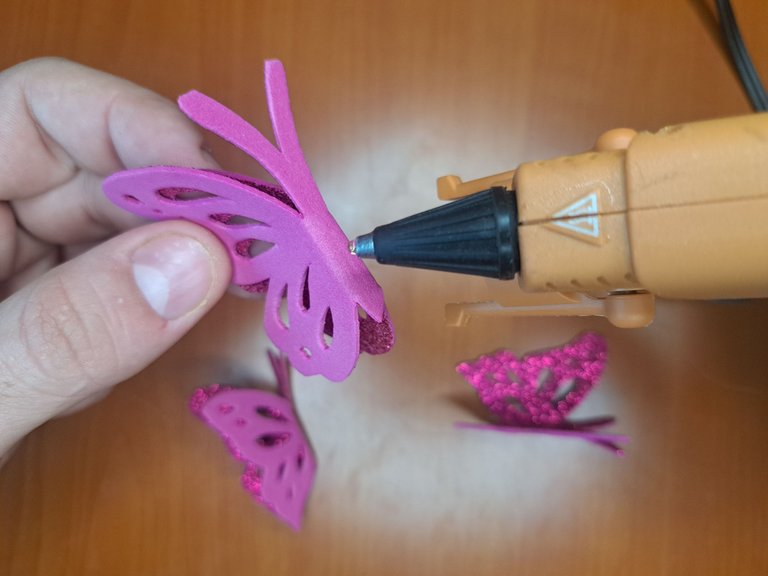
3️⃣ A continuación pegamos cada una de las siluetas de fomi escarchado sobre su respectiva pareja de fomi liso. Hay que tener en cuenta que las siluetas de mariposas se pegan por el medio dejando libres las alas.
! [English Version Here]
3️⃣ Next we glue each of the frosted fomi silhouettes on its respective plain fomi pair. Keep in mind that the butterfly silhouettes are glued in the middle, leaving the wings free.
 |  |
 |  |  |
 |
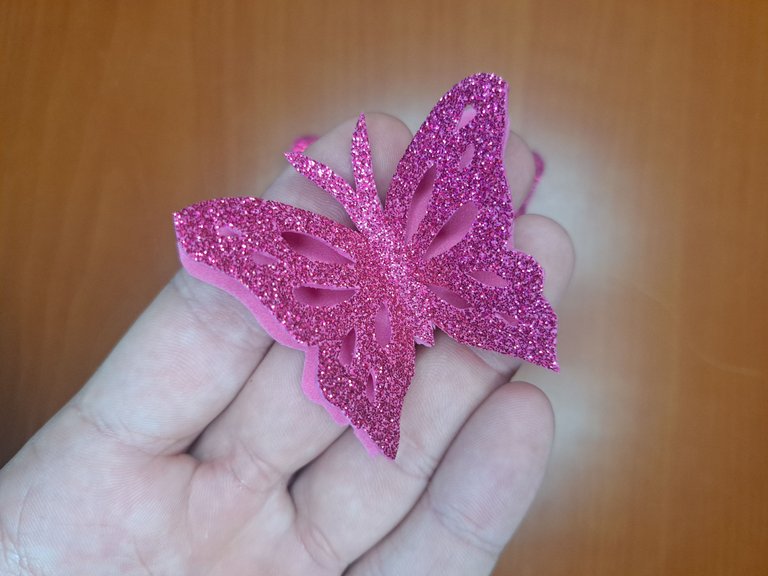 |
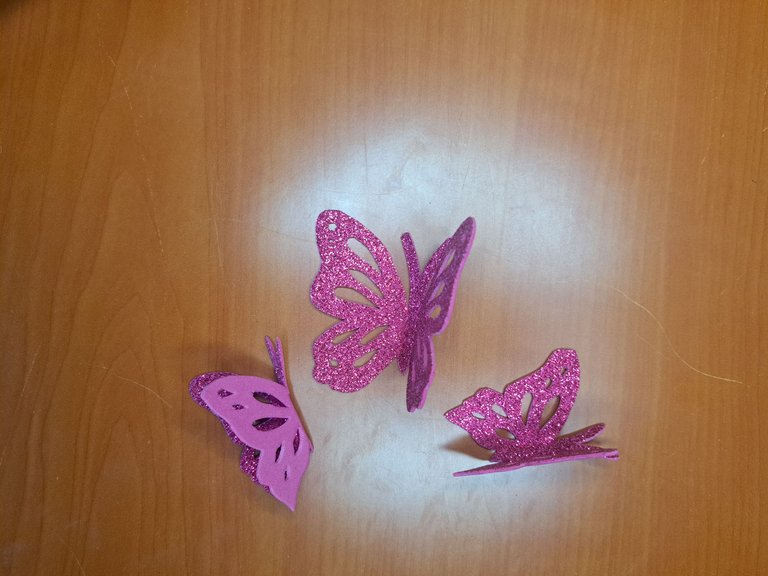
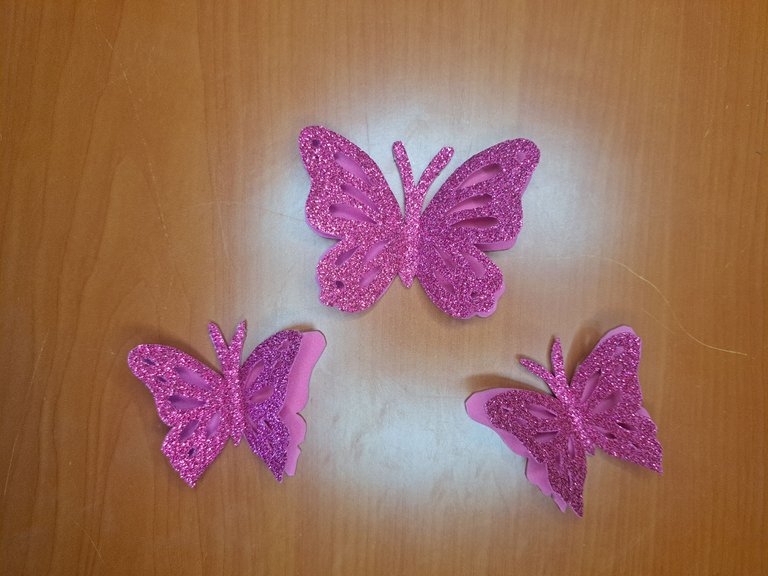
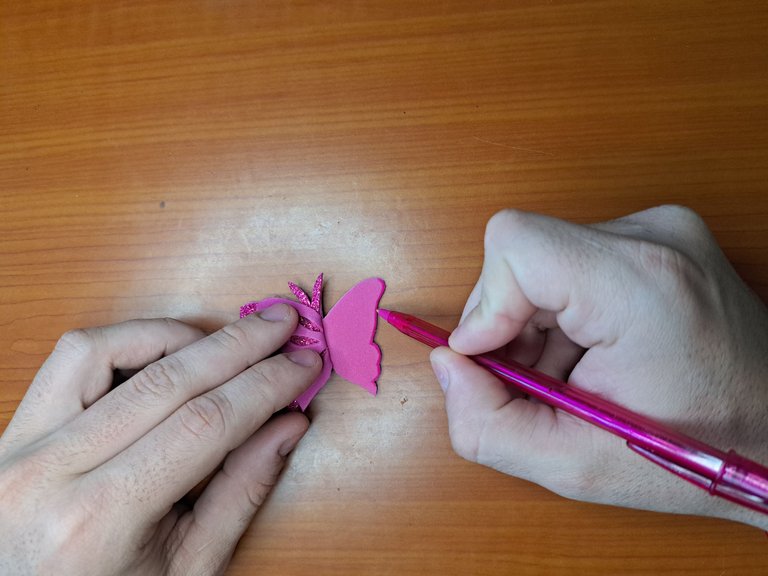
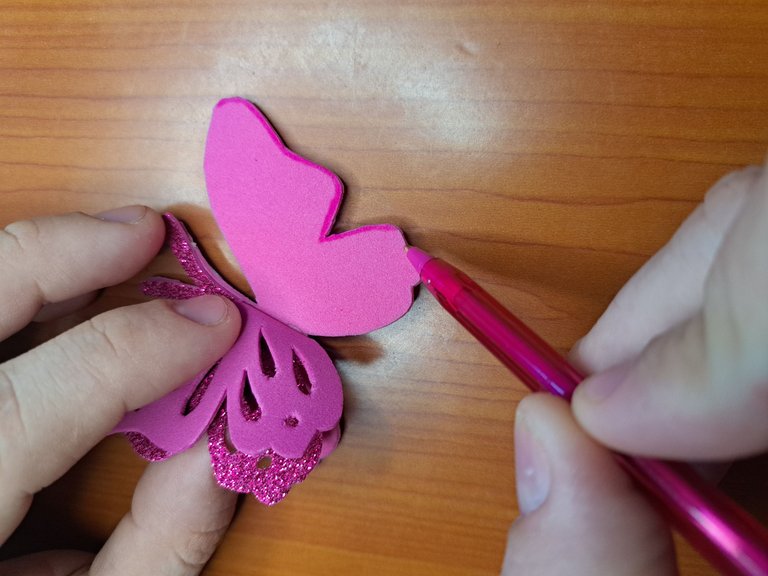
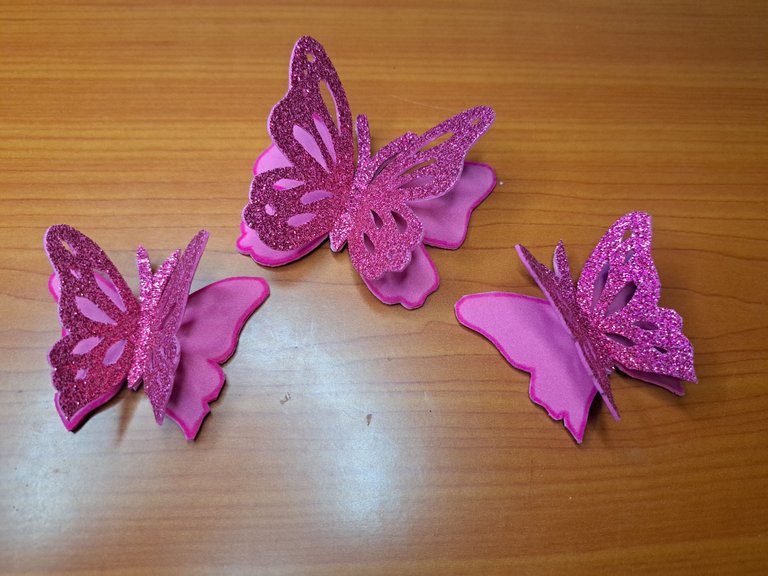
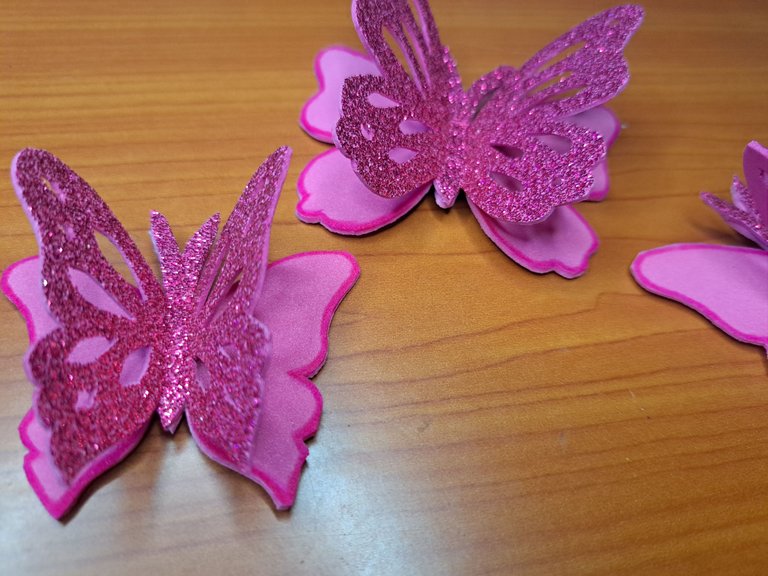
4️⃣ A la silueta inferior le dibujamos un borde con un bolígrafo rosado o con un marcador permanente rosado. Luego presionamos las alas de las mariposas hacia adentro para que queden parcialmente levantadas.
! [English Version Here]
4️⃣ Draw a border on the bottom silhouette with a pink pen or pink permanent marker. Then we press the wings of the butterflies inward so that they are partially raised.
 |  |
 |
 |  |
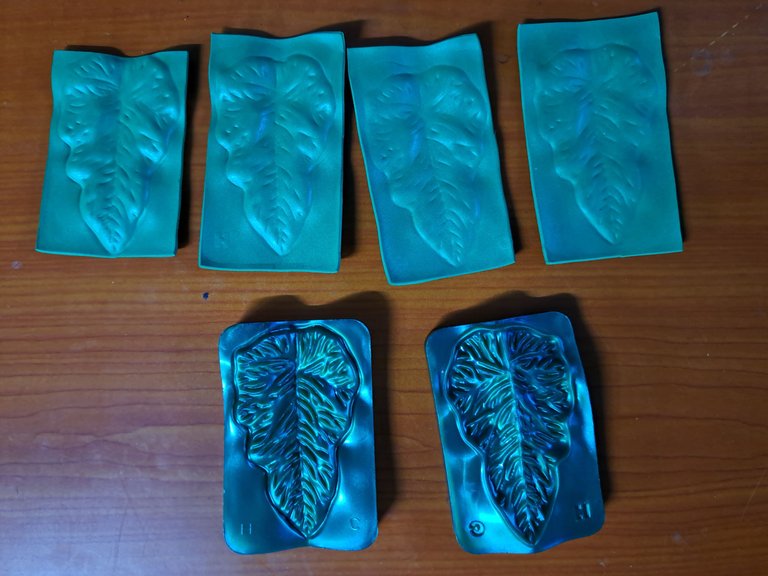
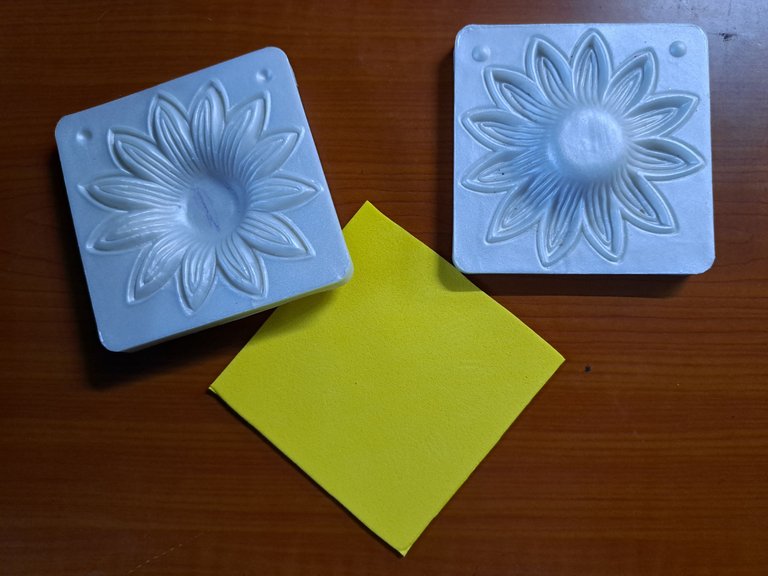
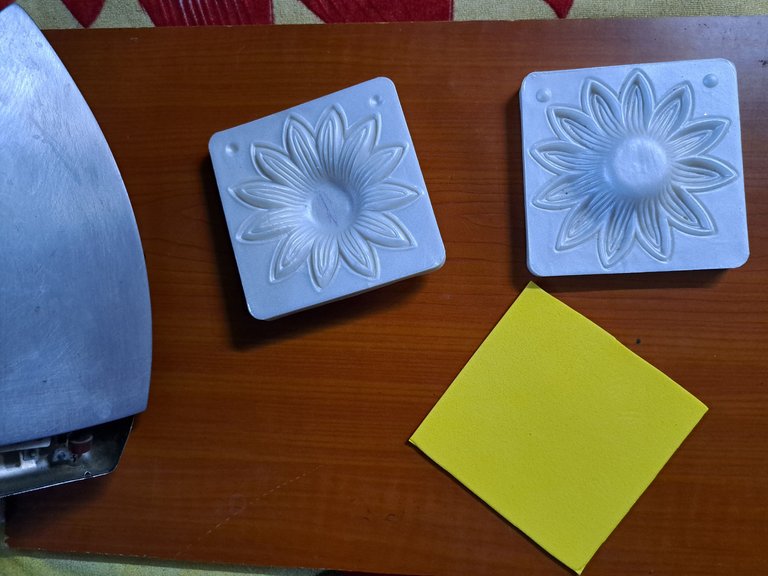
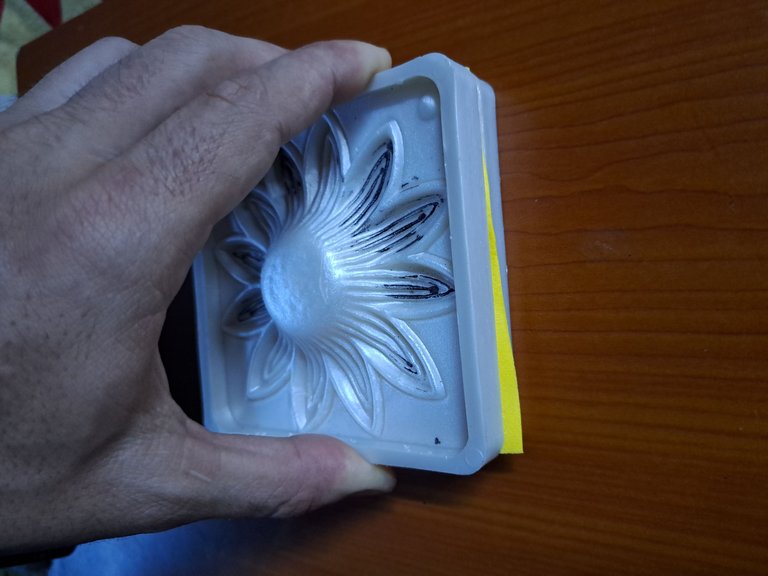
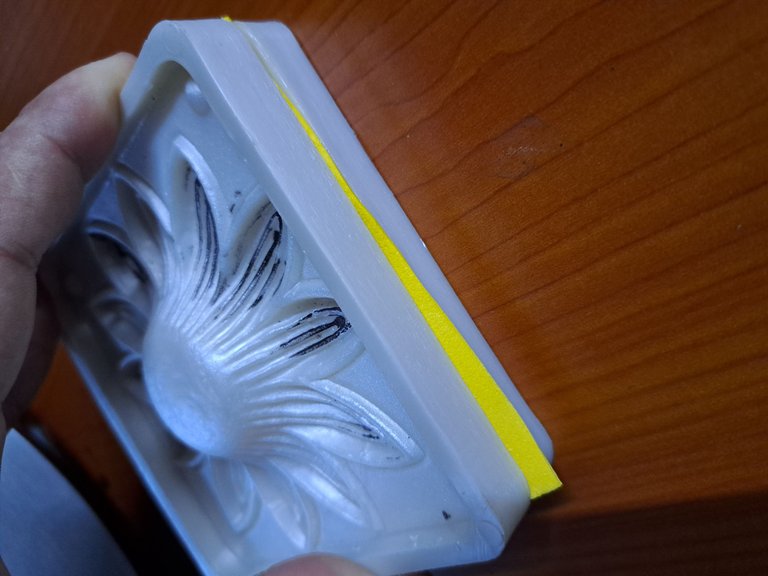
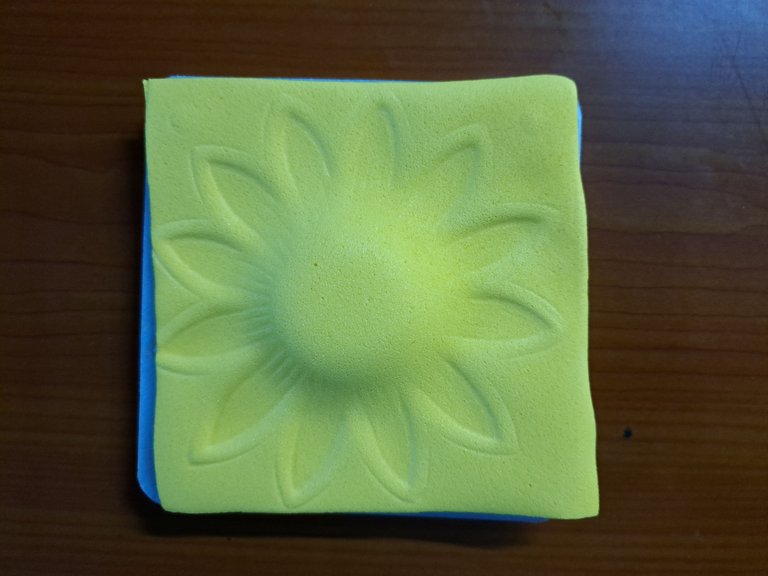
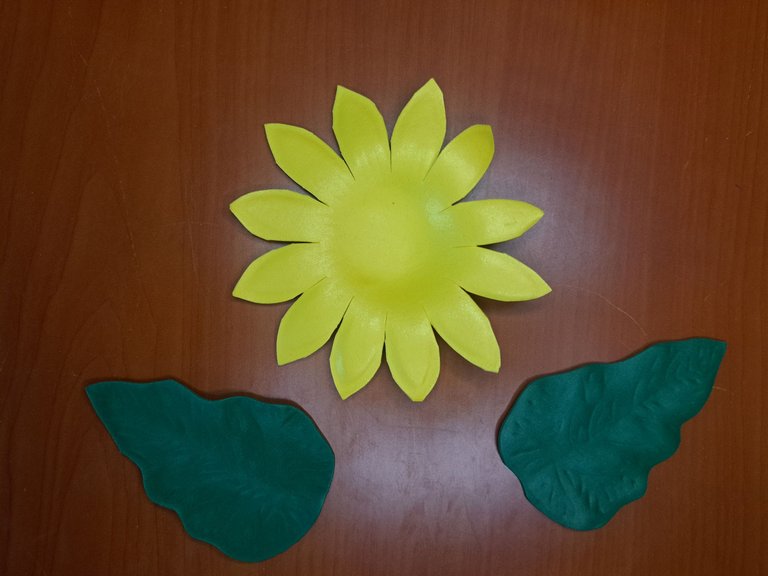
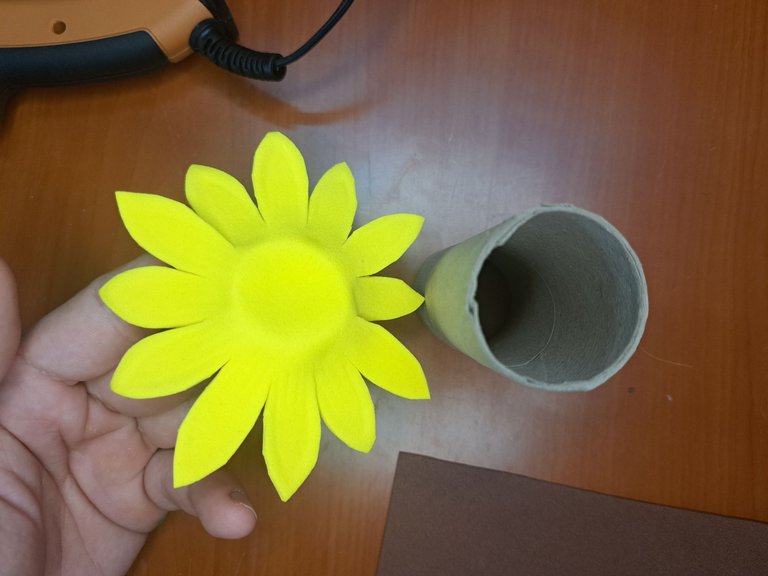
5️⃣ Haciendo uso de los moldes y del fomi amarillo y verde, termoformamos dos piezas de hojas verdes y una pieza en forma de flor amarillas. El procedimiento como de costumbre consiste en calentar el fomi hasta que se ablande para luego prensarlo dentro del molde.
! [English Version Here]
5️⃣ Using the molds and the yellow and green fomi, we thermoform two pieces of green leaves and one piece in the shape of a yellow flower. The procedure as usual consists of heating the fomi until it softens and then pressing it into the mold.
 |
 |
 |
 |
 |
 |
 |
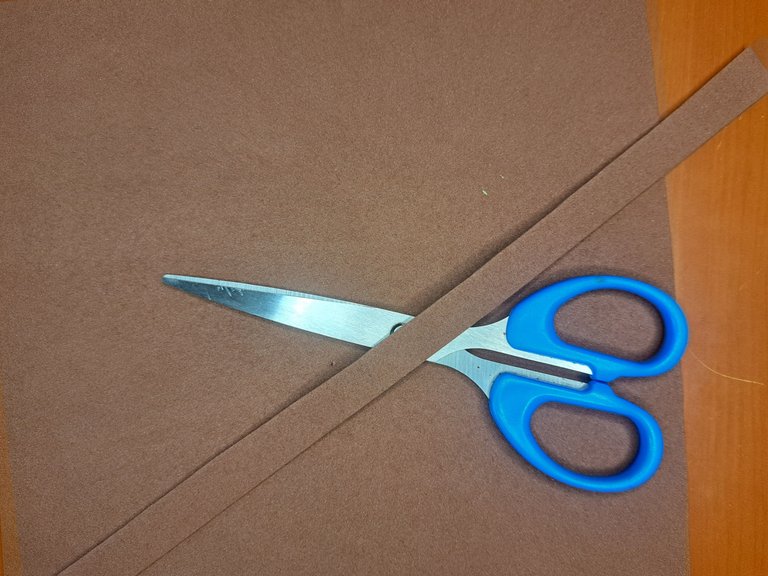
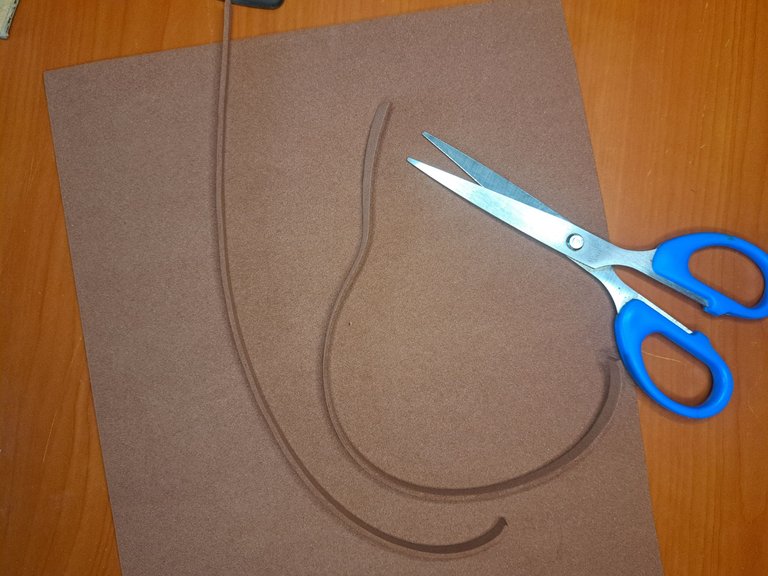
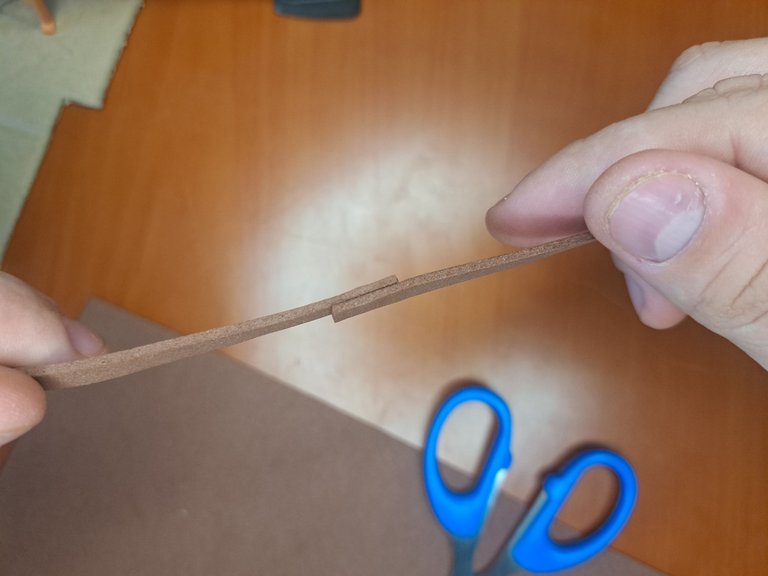
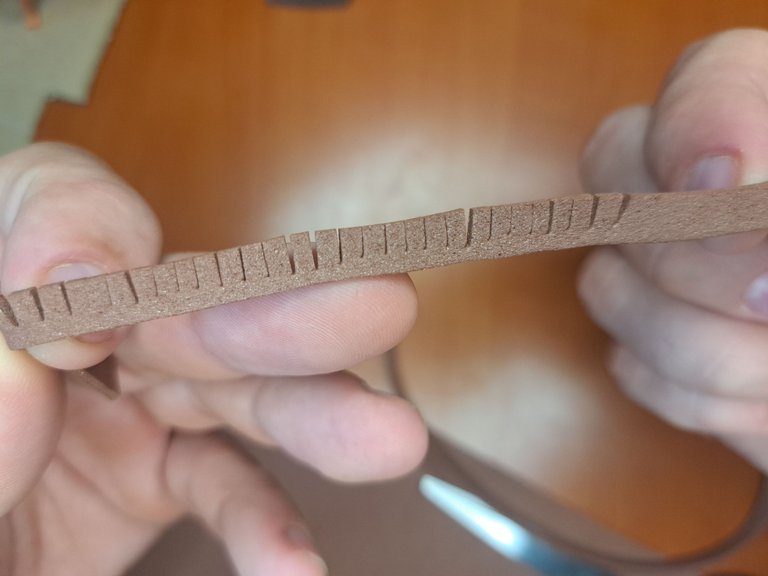
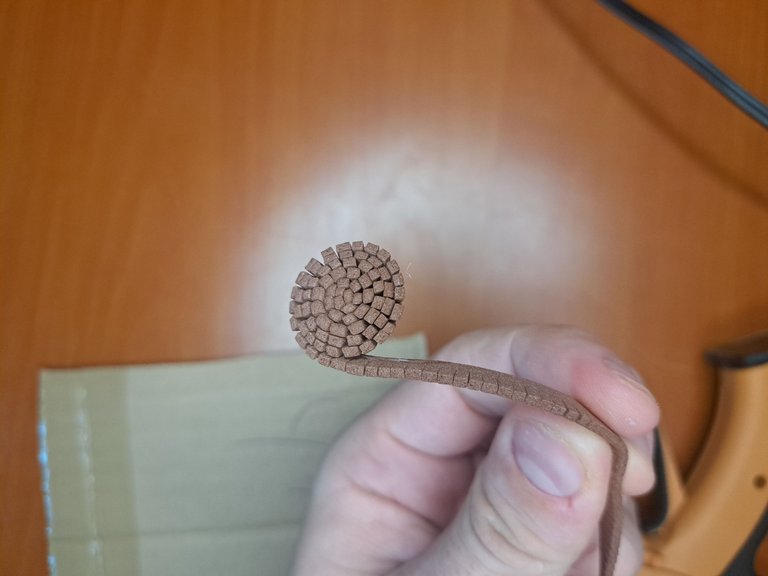
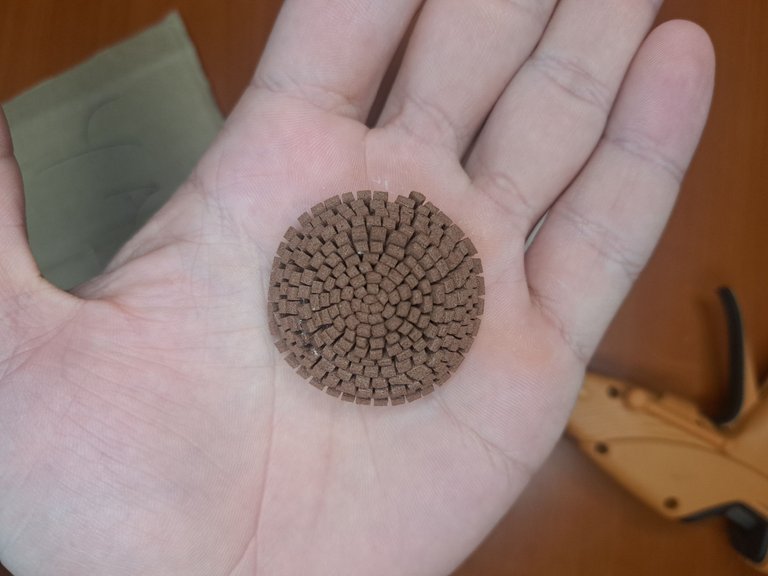
6️⃣ Para hacer el centro del girasol recortaremos dos tiras finas de fomi carmelita, la cual uniremos por los extremos para formar una más grande. Seguidamente, haremos pequeños cortes a la tira de fomi para luego enrollarla y pegarla.
! [English Version Here]
6️⃣ To make the center of the sunflower, we will cut two thin strips of carmelite fomi, which we will join at the ends to form a larger one. Next, we will make small cuts in the fomi strip and then roll it up and glue it.
 |  |  |
 |  |  |
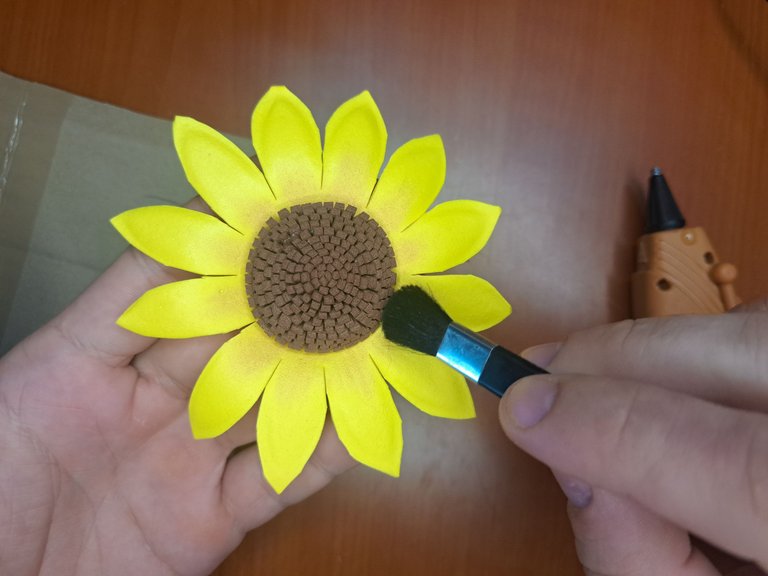
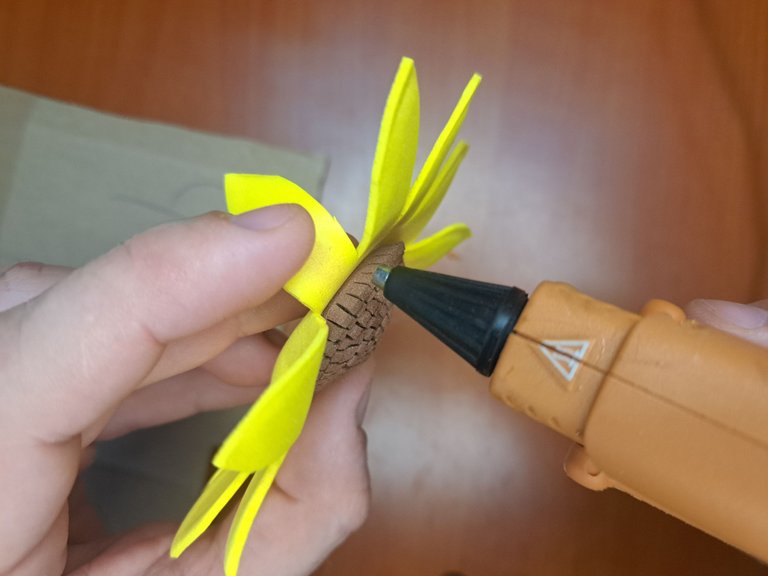
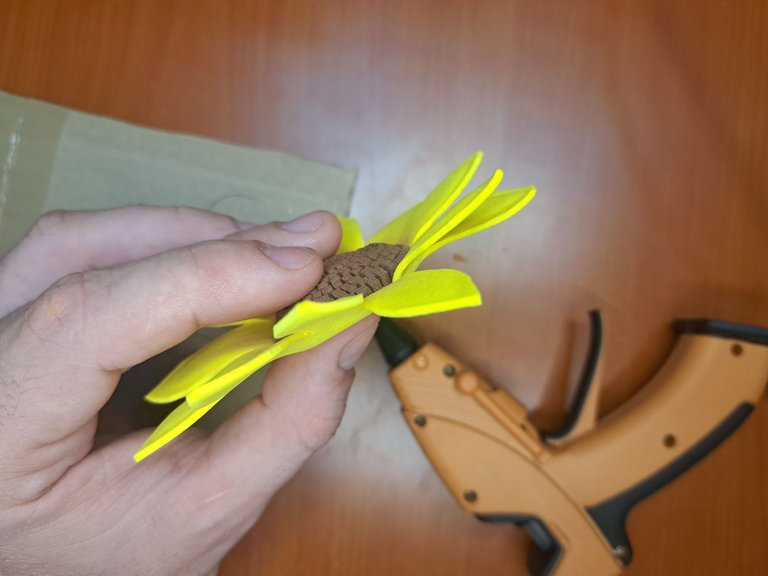
7️⃣ Al centro carmelita lo pegamos en la flor amarilla y con un kit de maquillaje le aplicamos una sombra carmelita que parte desde el centro a hacia cada uno de los pétalos. Para dar mejor aspecto a la flor, pegaremos el borde del centro carmelita a los pétalos de forma intercalada.
! [English Version Here]
7️⃣ We glue the carmelite center to the yellow flower and with a makeup kit we apply a carmelite shadow from the center to each of the petals. To give a better look to the flower, we glue the edge of the carmelite center to the petals in an intercalary way.
 |
 |  |
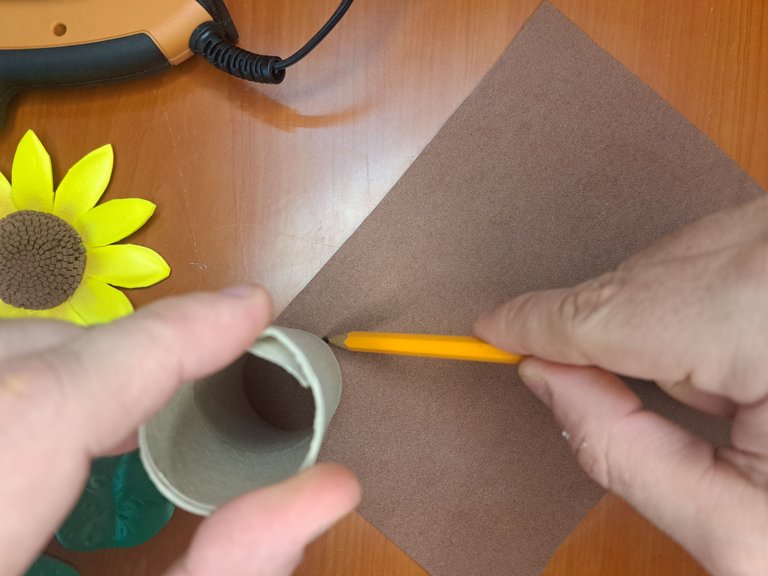
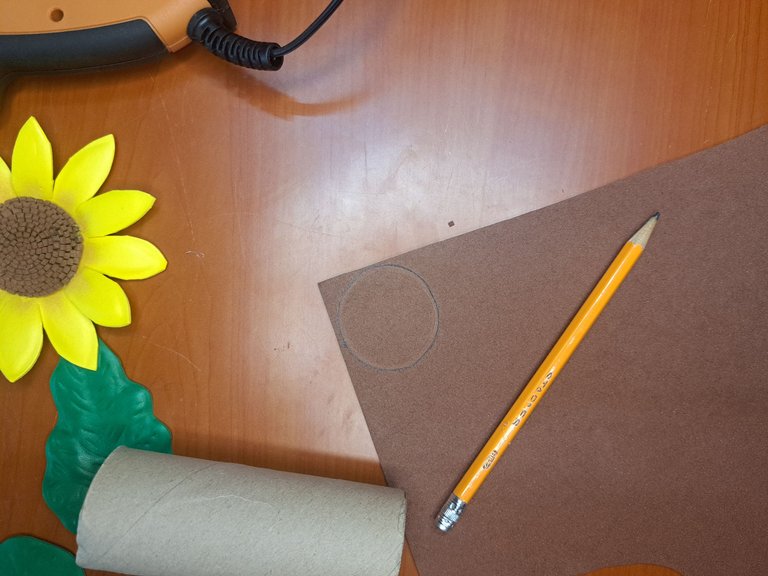
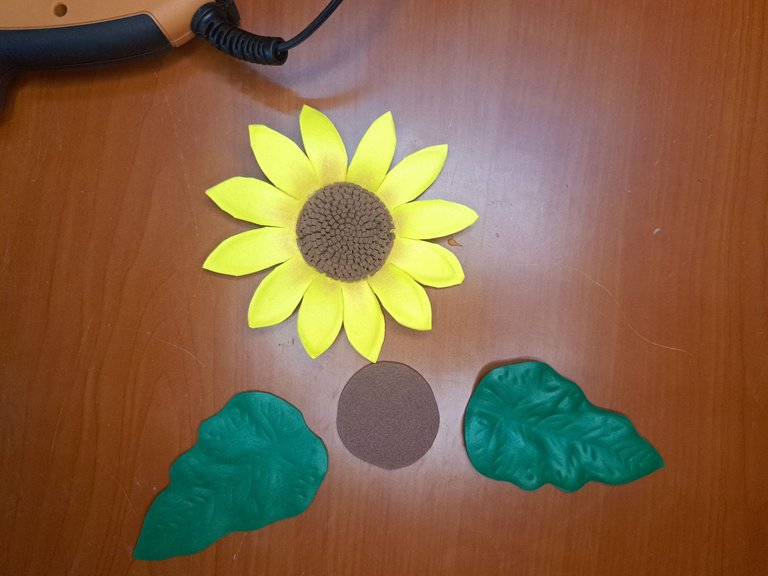
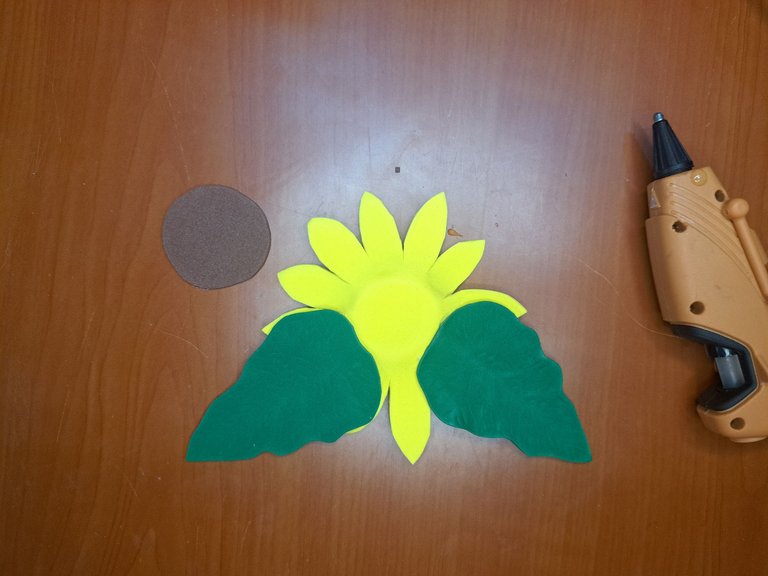
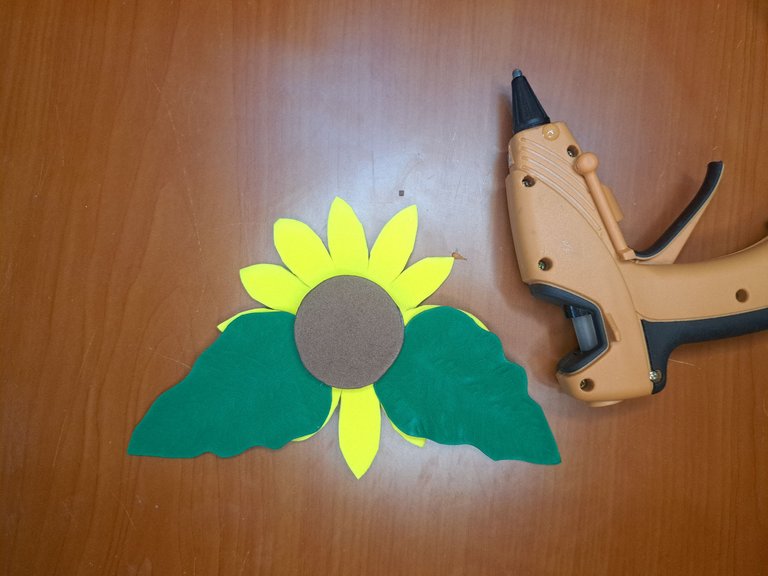
8️⃣ Una vez todas las partes de la flor estén listas, las uniremos. Para hacer esto debemos marcar y recortar un círculo de fomi carmelita, el cual pegaremos en la base de la flor una vez estén pegadas las hojas. Las hojas se pegarán apuntando hacia las esquinas inferiores, ya que las mariposas irán en la parte superior.
! [English Version Here]
8️⃣ Once all the parts of the flower are ready, we will join them together. To do this we must mark and cut out a circle of carmelite fomi, which we will glue on the base of the flower once the leaves are glued. The leaves will be glued pointing towards the lower corners, since the butterflies will be on top.
 |  |  |
 |  |  |
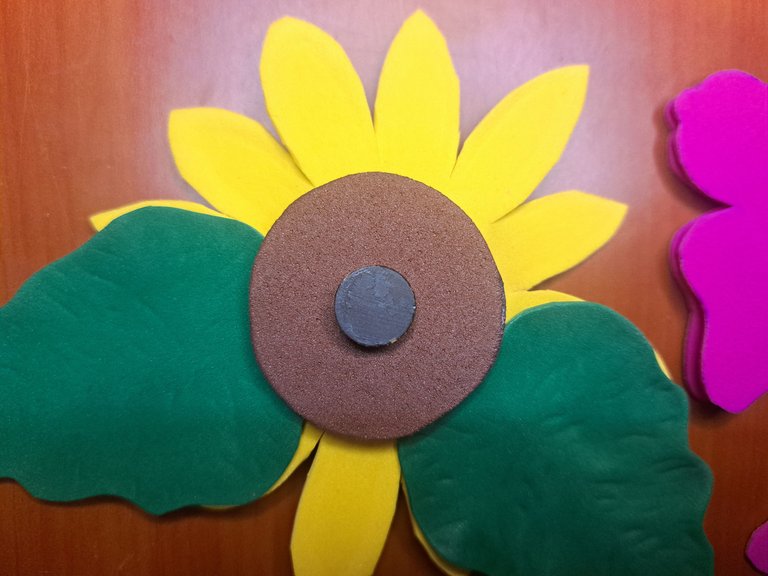
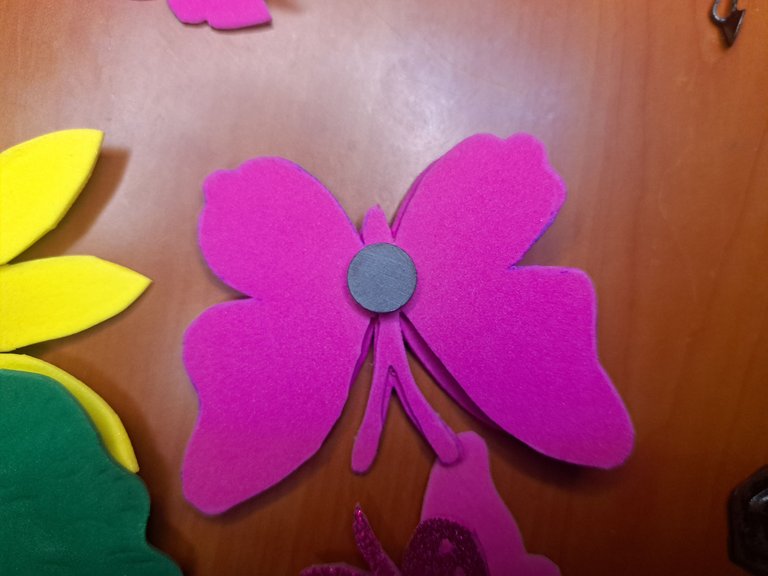
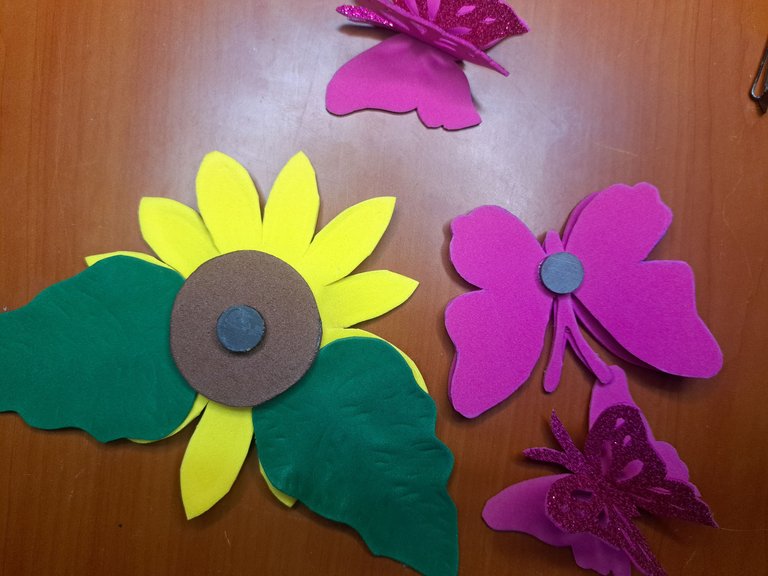
9️⃣ Para finalizar pegaremos en el reverso de cada pieza un imán y revisaremos si todo está bien pegado. En caso de existir un exceso de silicona caliente, se puede emplear un secador de pelo con el cual podremos trasparentar la silicona y retirar los excesos.
! [English Version Here]
9️⃣ Finally, glue a magnet on the back of each piece and check if everything is well glued. If there is an excess of hot silicone, a hair dryer can be used to make the silicone transparent and remove the excess.
 |  |
 |
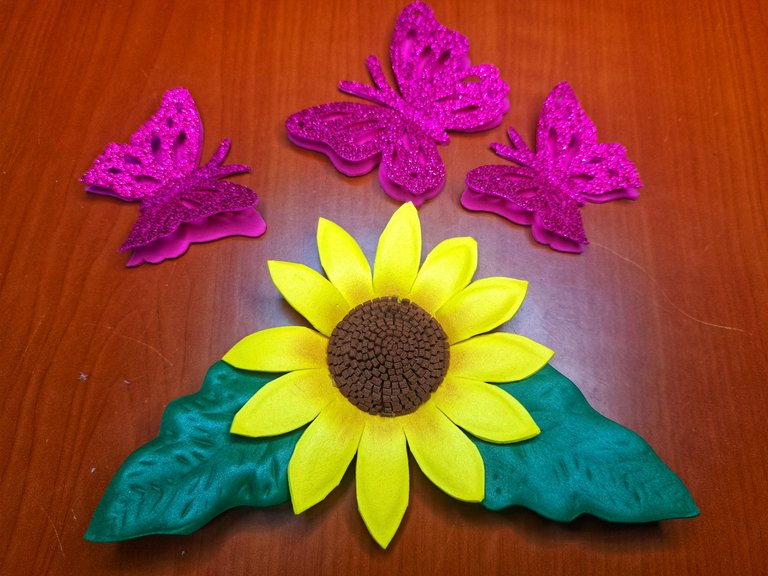
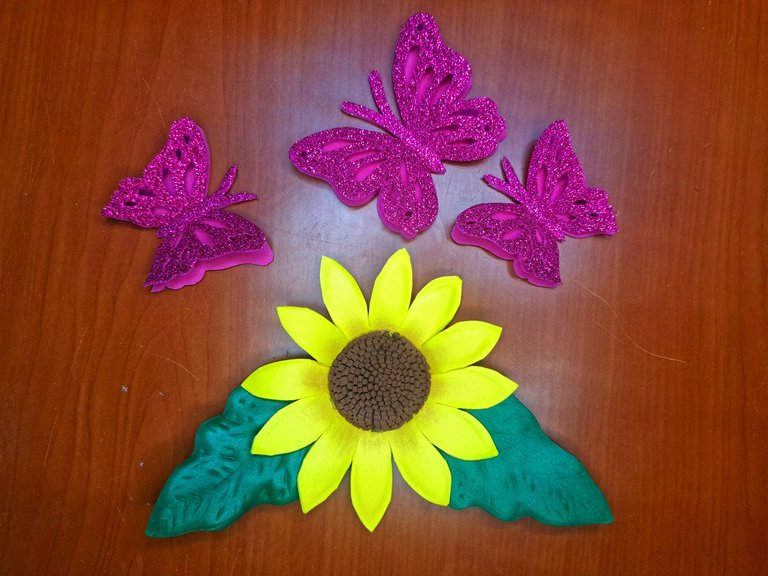
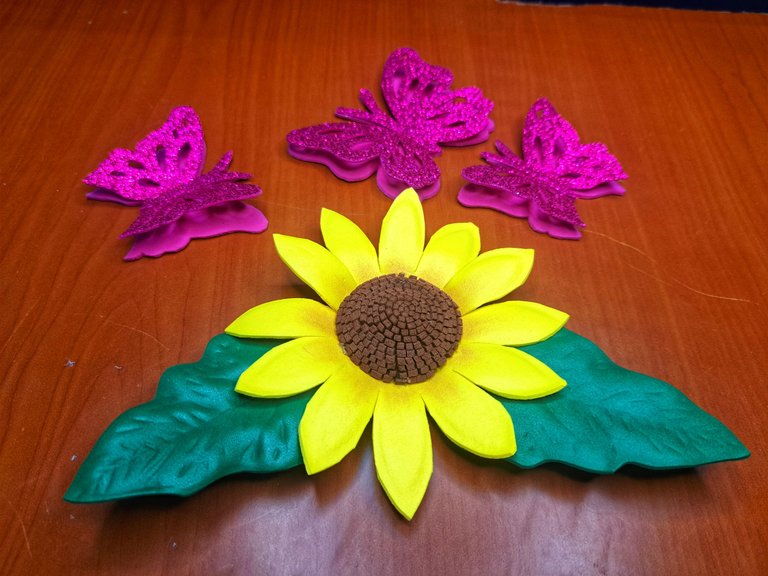
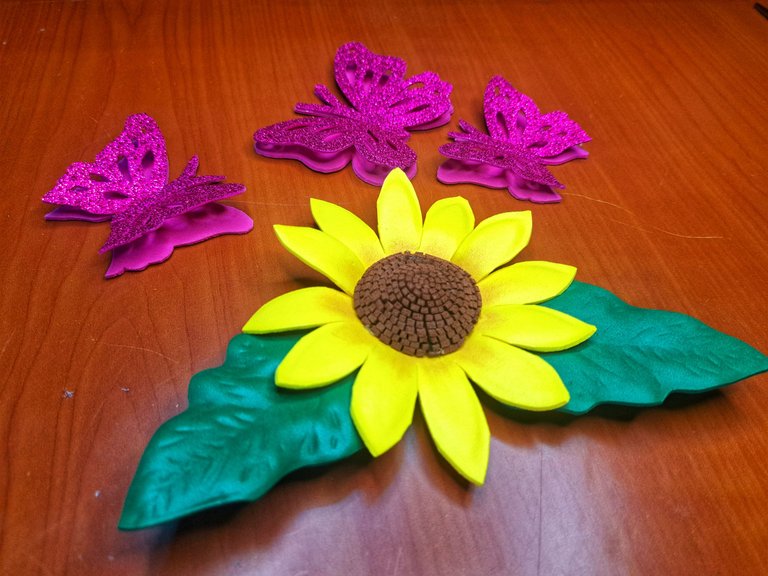
Y eso sería todo amigos. Espero que el resultado haya sido de su agrado. Desde ya les puedo adelantar que mi mamá vio las imágenes de los adornos y le encantaron, aunque conociéndola bien, dentro de un año se quedará sin espacio en casa para poner todas las cosas que le voy a regalar.
! [English Version Here]
And that would be all friends. I hope you liked the result. I can already tell you that my mom saw the images of the ornaments and she loved them, although knowing her well, in a year she will run out of space at home to put all the things I'm going to give her.
Resultado Final // Final Result
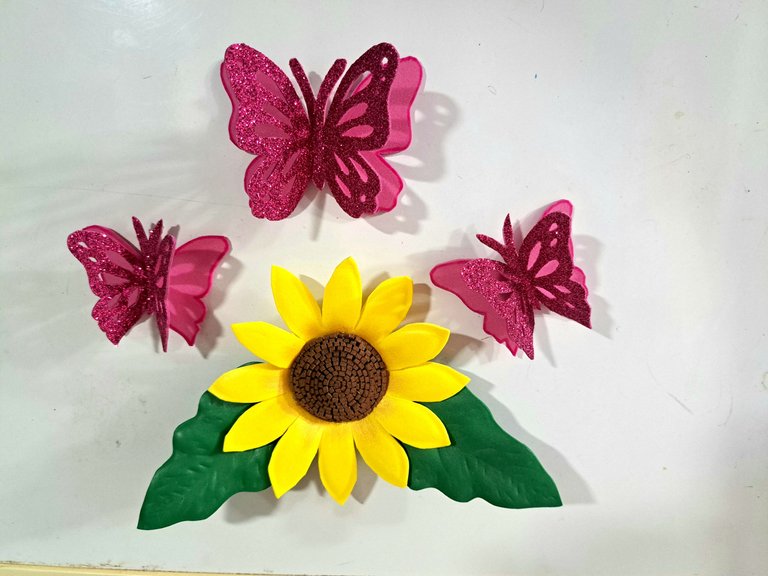
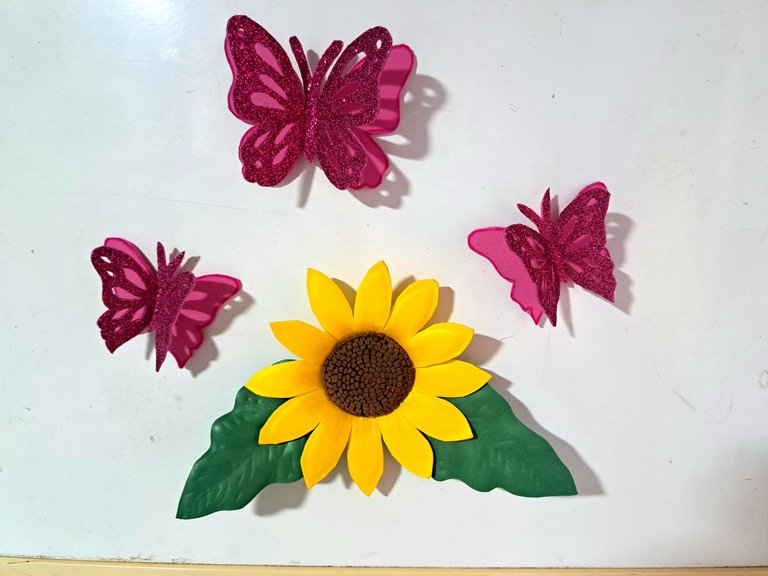
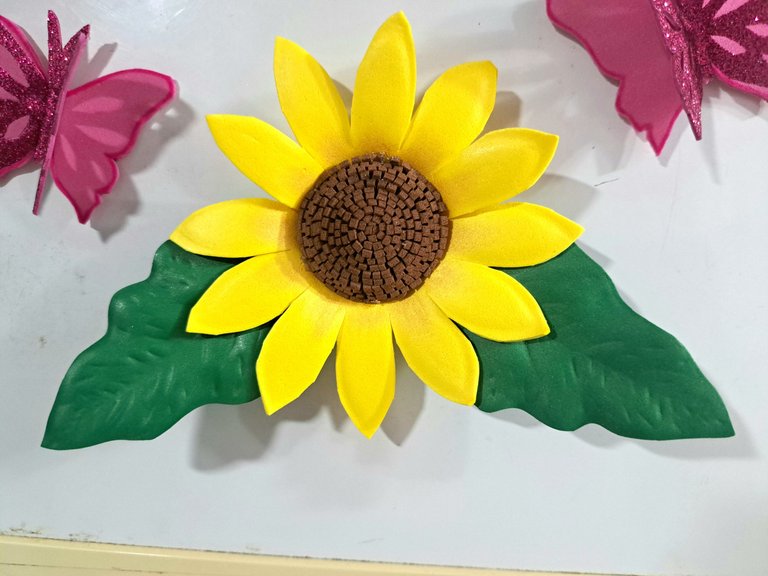
 |  |
 |  |

Muchas gracias por leer mi post. Si te gustó, por favor deja un comentario y considera seguirme para no perderte mis próximas publicaciones. Me encantaría saber tu opinión y tus ideas sobre el tema que traté en este post. ¡Nos vemos en el próximo!
Thank you very much for reading my post. If you liked it, please leave a comment and consider following me so you don't miss my next posts. I'd love to know your opinion and your thoughts about the topic I discussed in this post, see you in the next one!

Cover page created in Canva
Translated by DeepL


