| Christmas Ornament | Adorno de Navidad |
|---|---|
Blessed beginning of the week hive people, every day is getting closer to the month that many of us consider the most beautiful and joyful of the year for its music, traditions and the atmosphere that this entails. | Bendecido inicio de semana gente hive, ya cada día falta menos para que llegue el mes que muchos consideramos el más bonito y alegre del año por su música, sus tradiciones y el ambiente que este conlleva. |
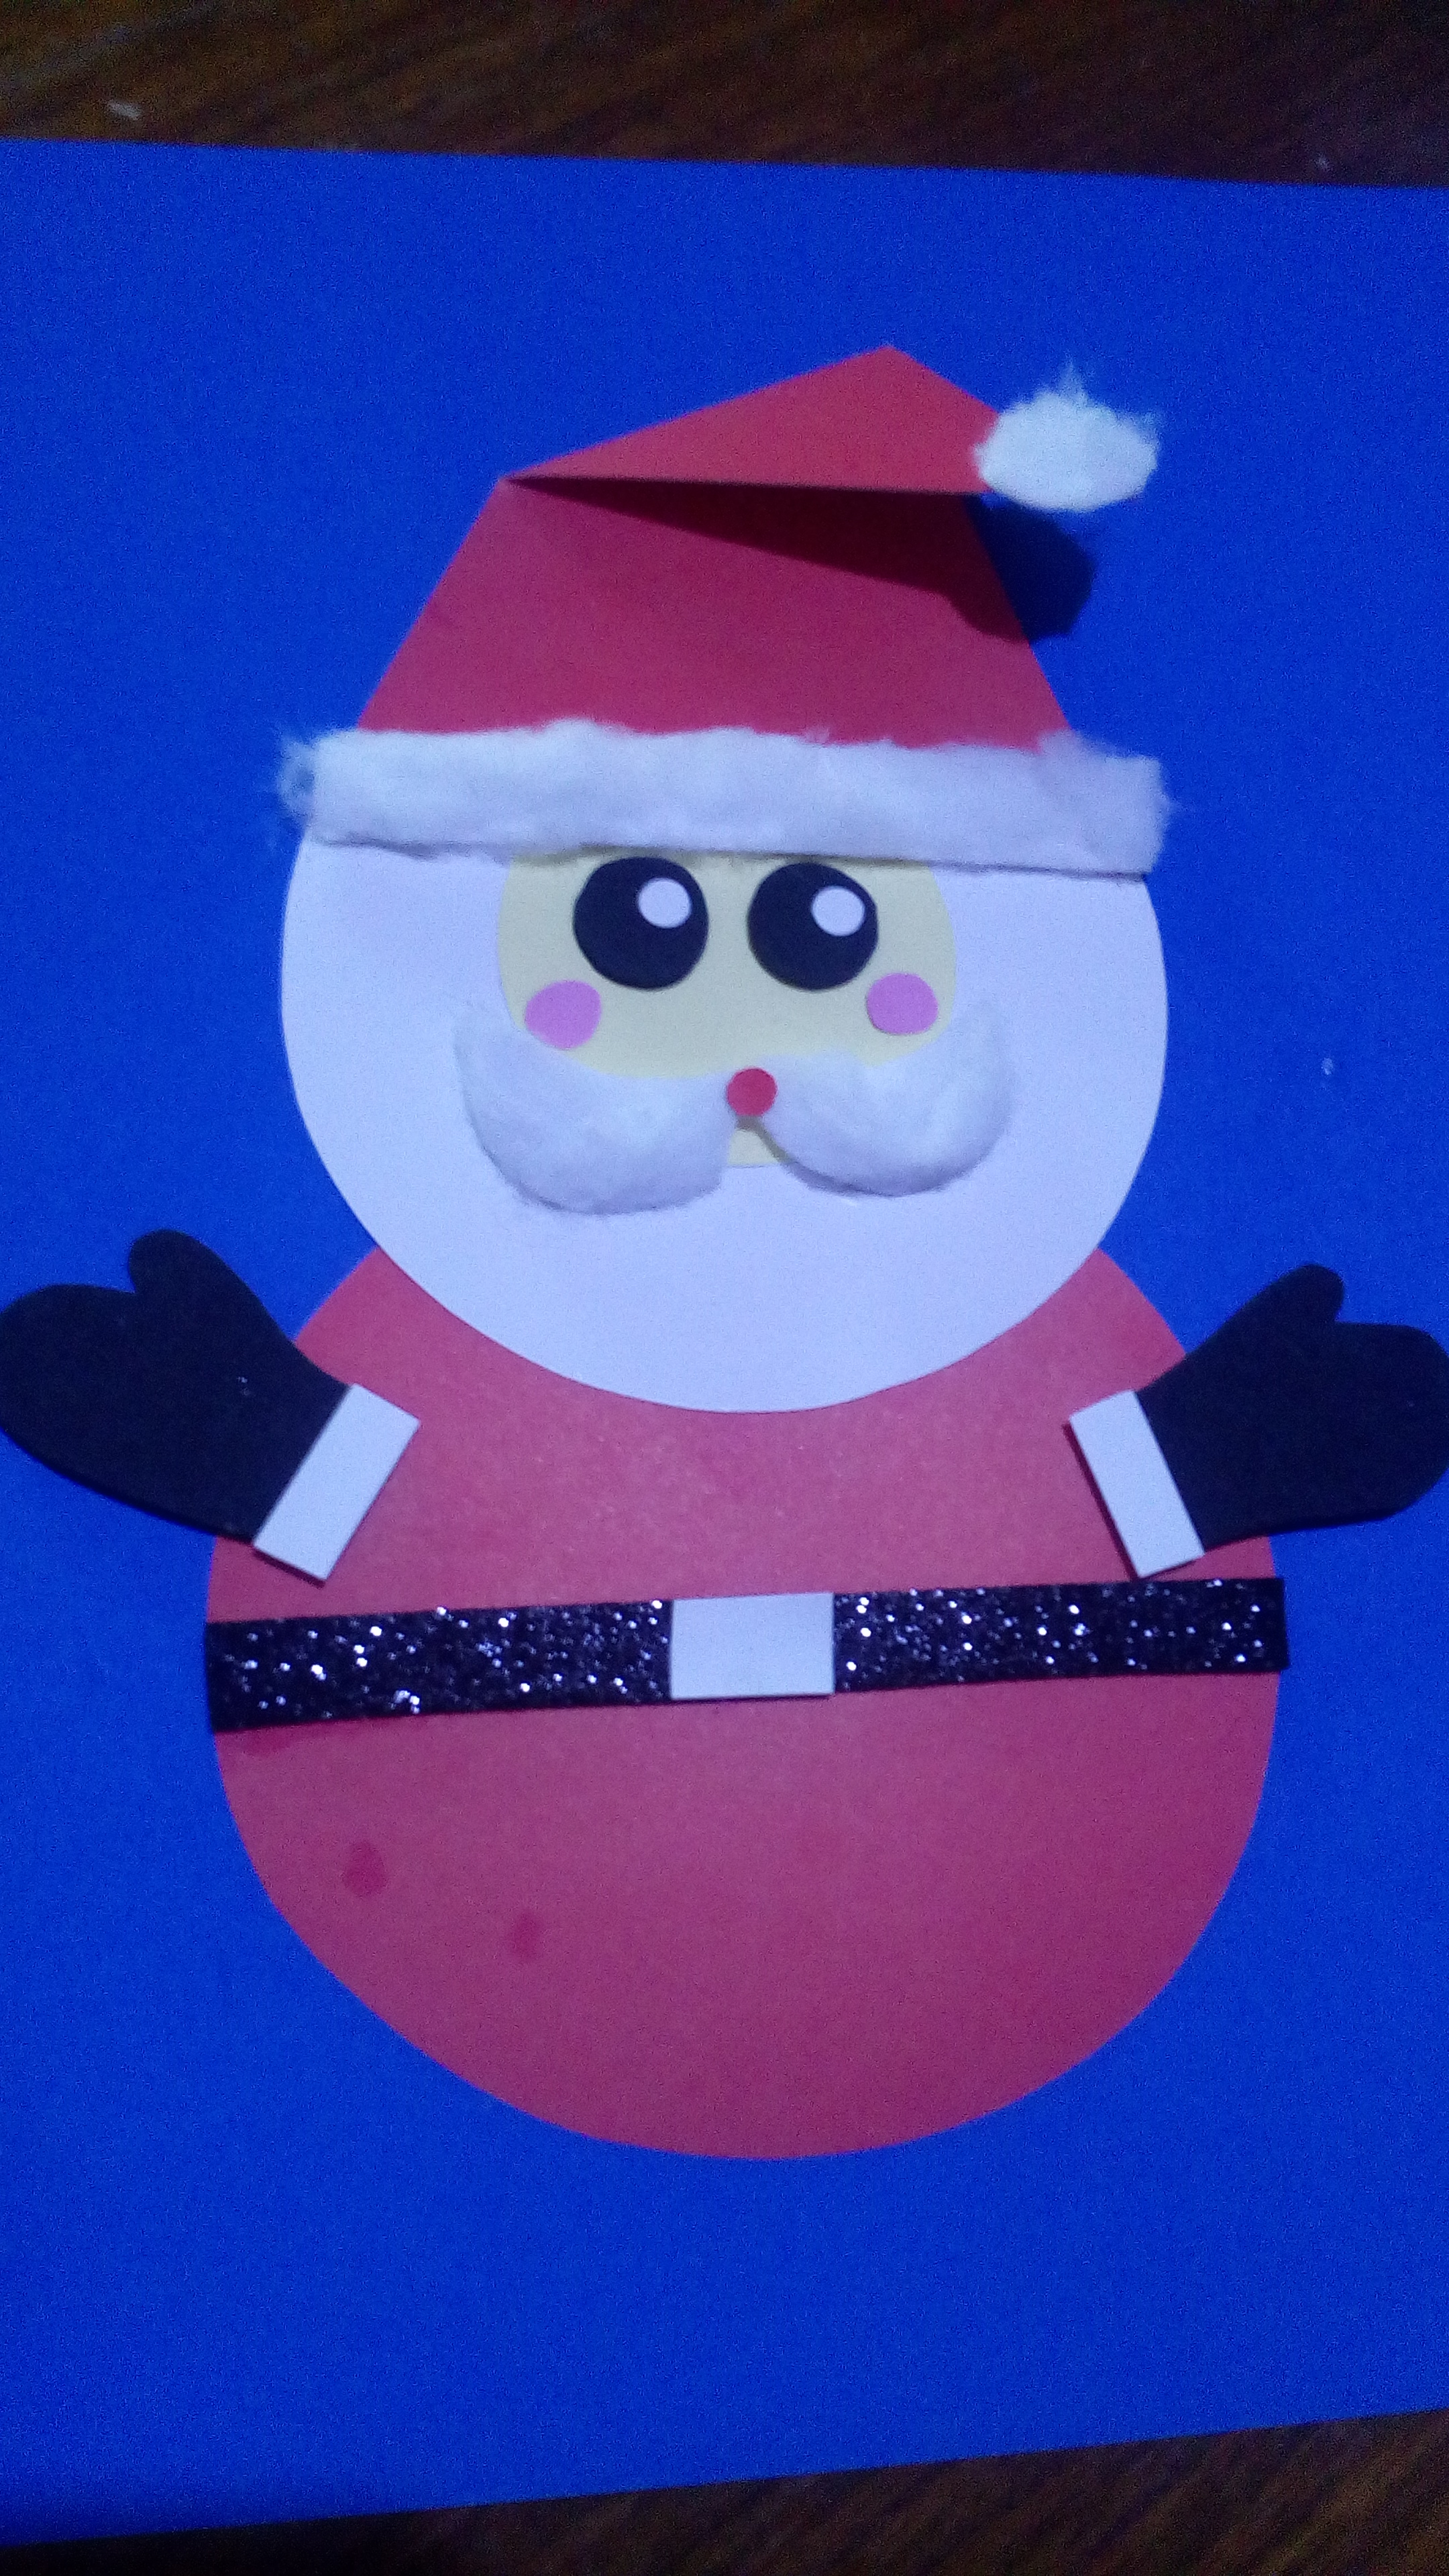
Well, I am already prepared with the decoration, today I made this santa, it can be used to hang it or it can be placed behind cardboard so that it stands like a portrait holder, depending on the taste of each person. | Pues yo ya me estoy preparado con la decoración, hoy realice este santa se puede usar para guindarlo o se le coloca atrás cartulina para que quede parado tipo porta retrato dependiendo el gusto de cada quien. |
| The materials are: | Los materiales son: |
|---|---|
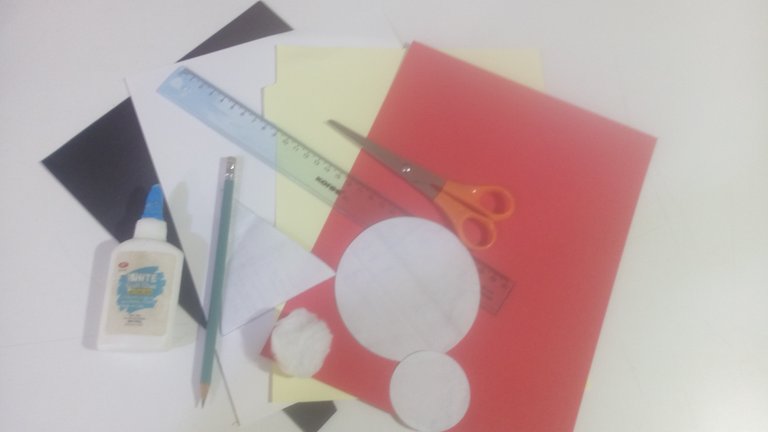
| Cardboard (red, white, yellow, yellow, pink). | Cartulina (roja, blanca, amarilla, rosada). |
| Matte and frosted black Foami. | Foami negro mate y escarchado. |
| Circle molds of three different sizes. | Moldes de círculos de tres tamaños distintos. |
| Triangle mold. | Molde de triangulo. |
| Hole opener . | Abre hueco. |
| Cotton. | Algodón. |
| Scissors. | Tijera. |
| Ruler. | Regla. |
| Glue. | Pega. |
| Step 1 | Paso 1 |
|---|---|
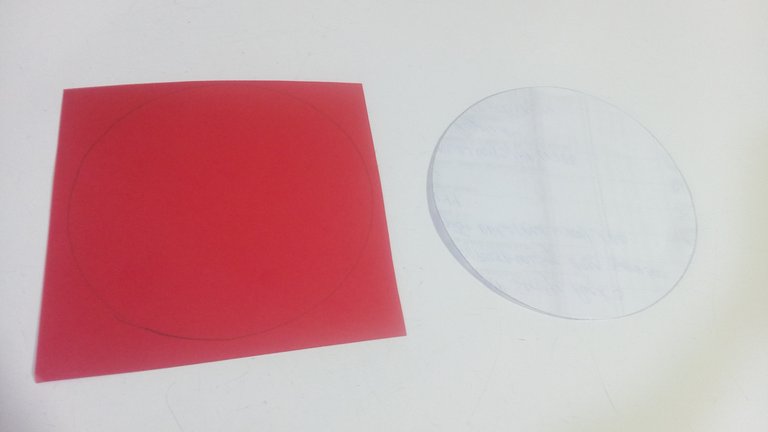
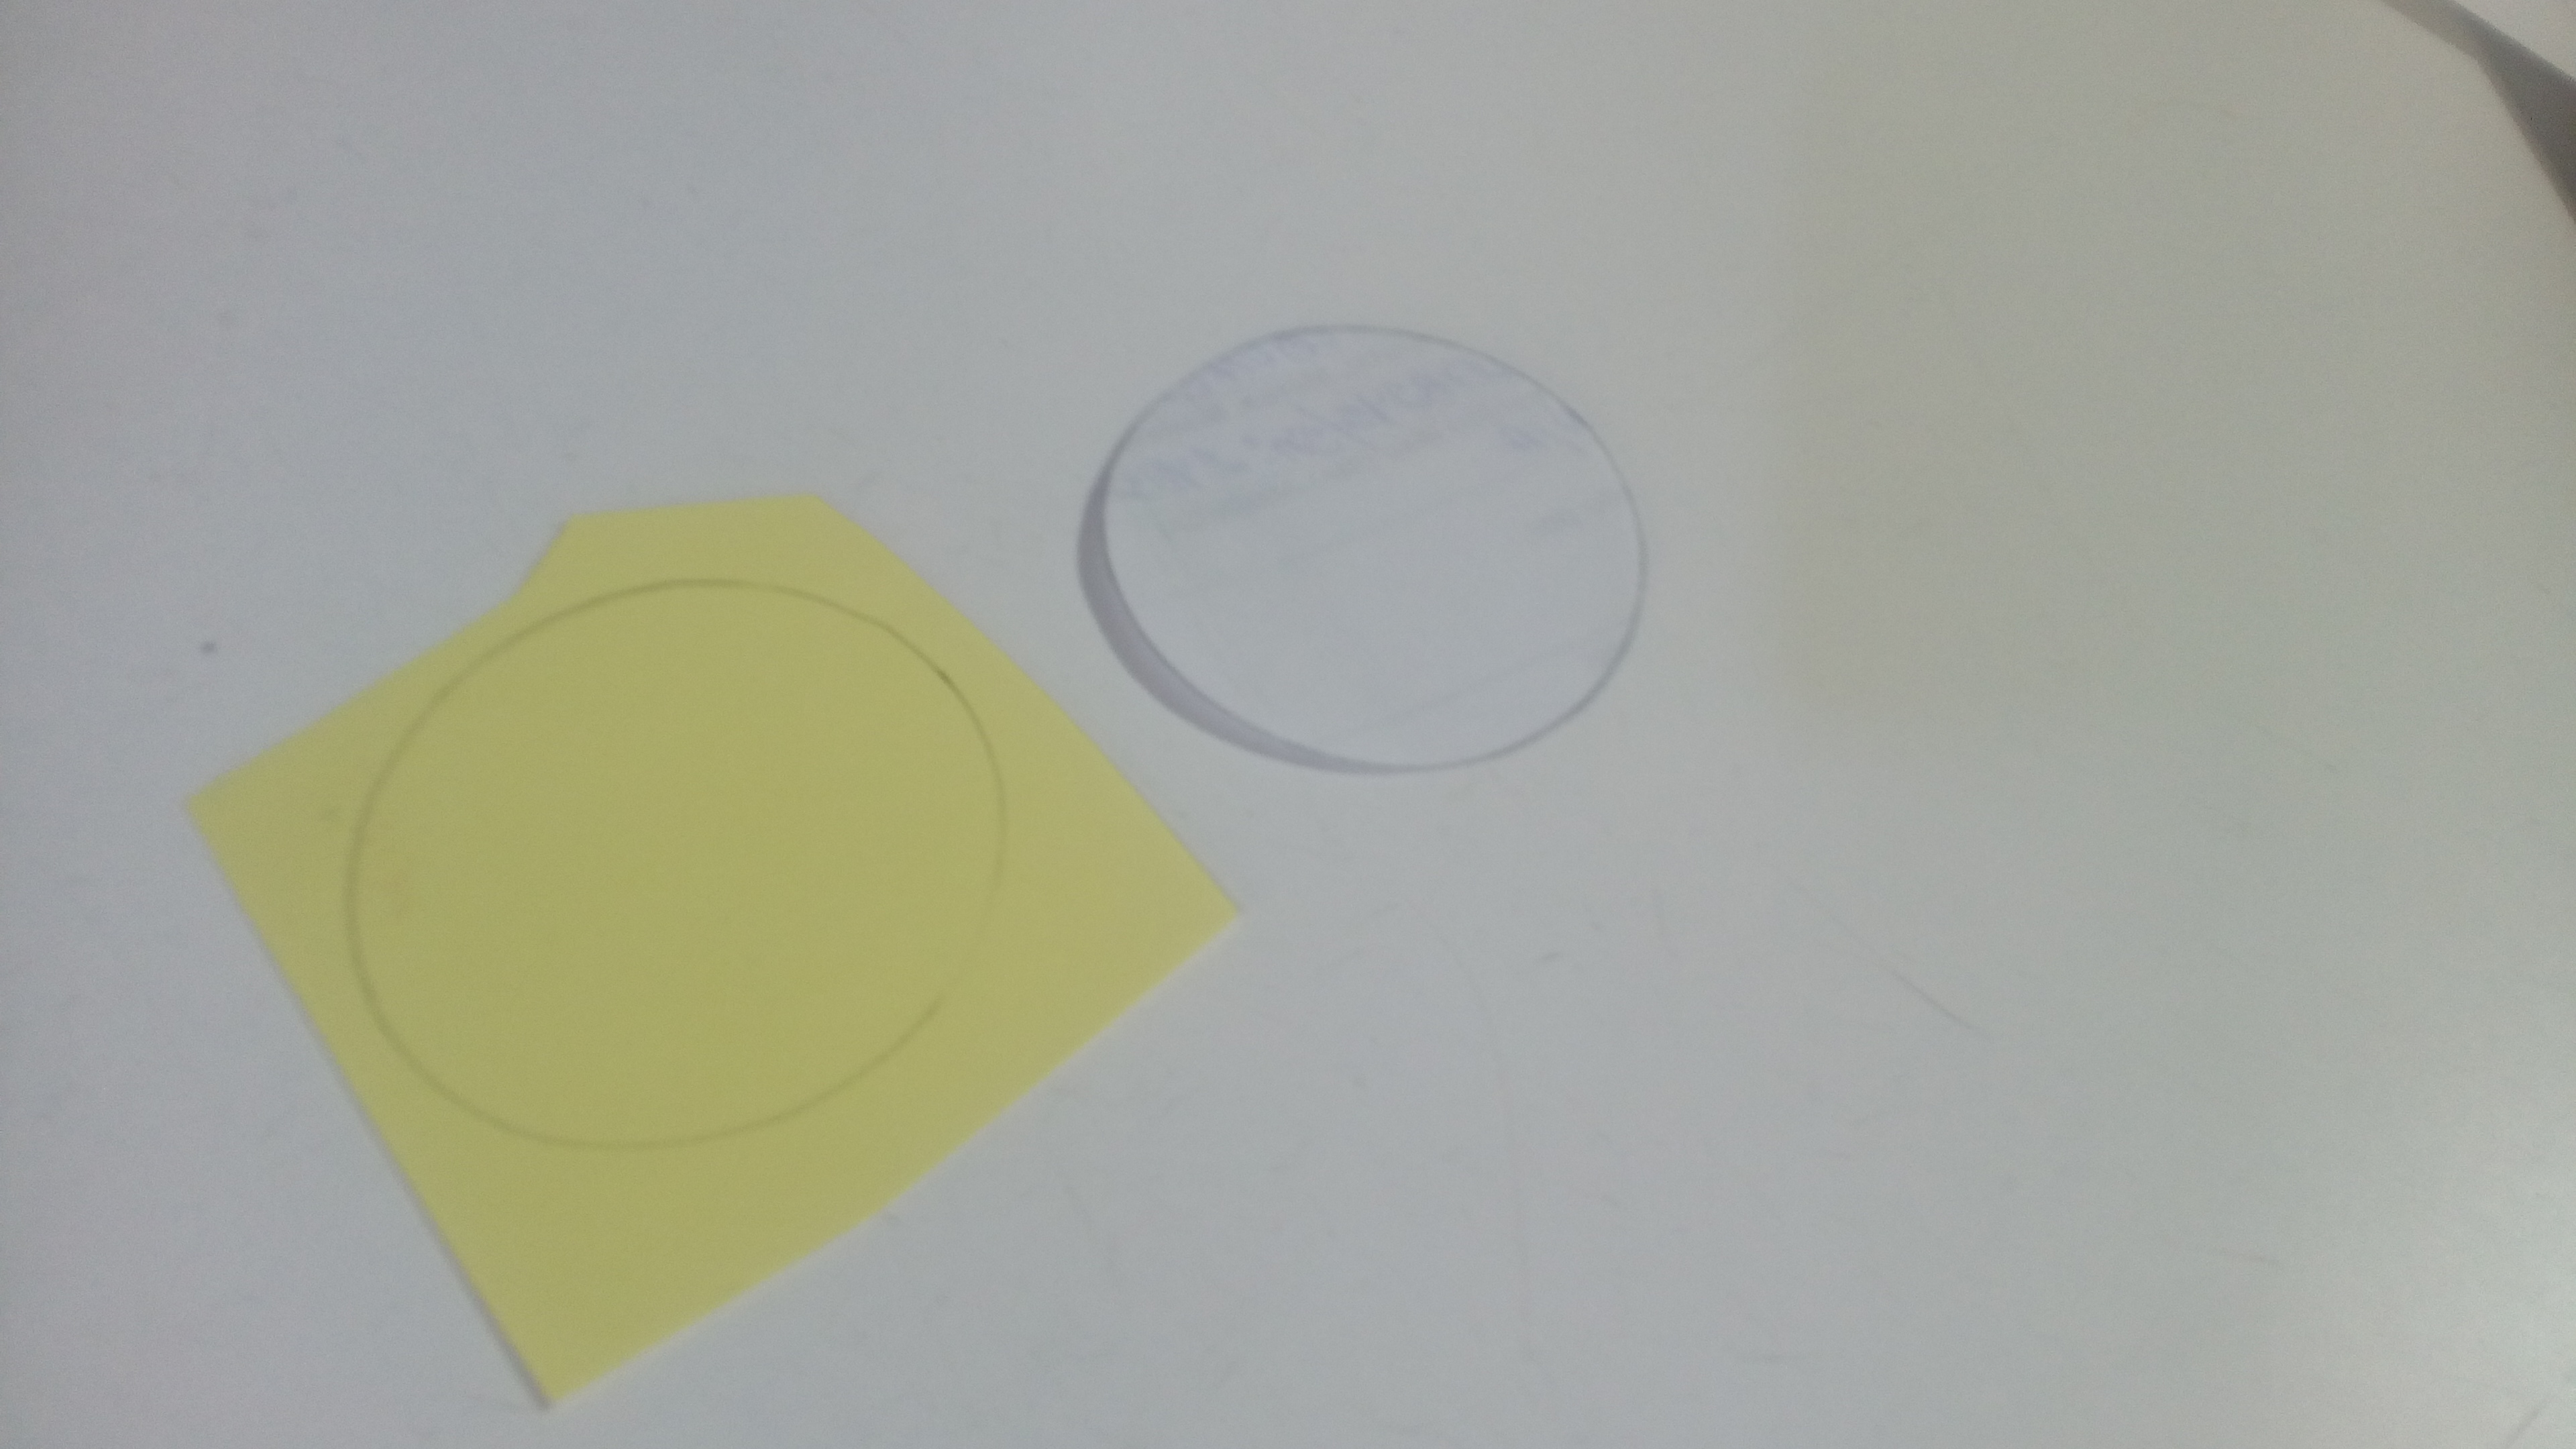
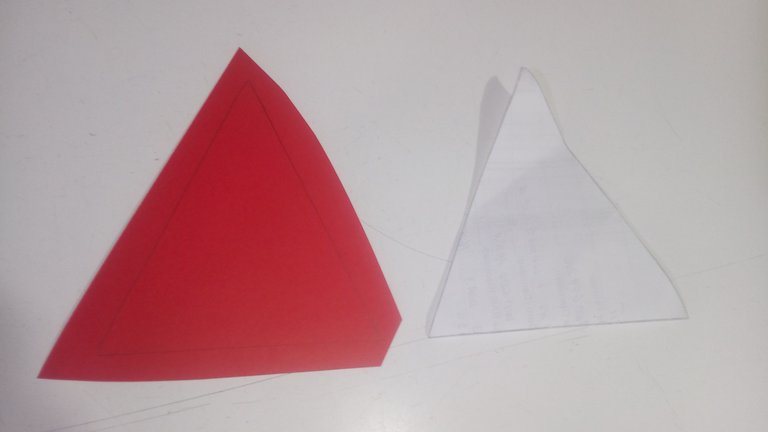
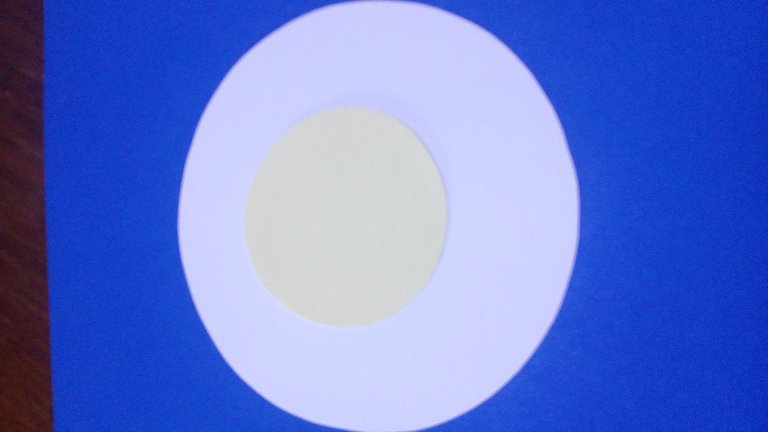
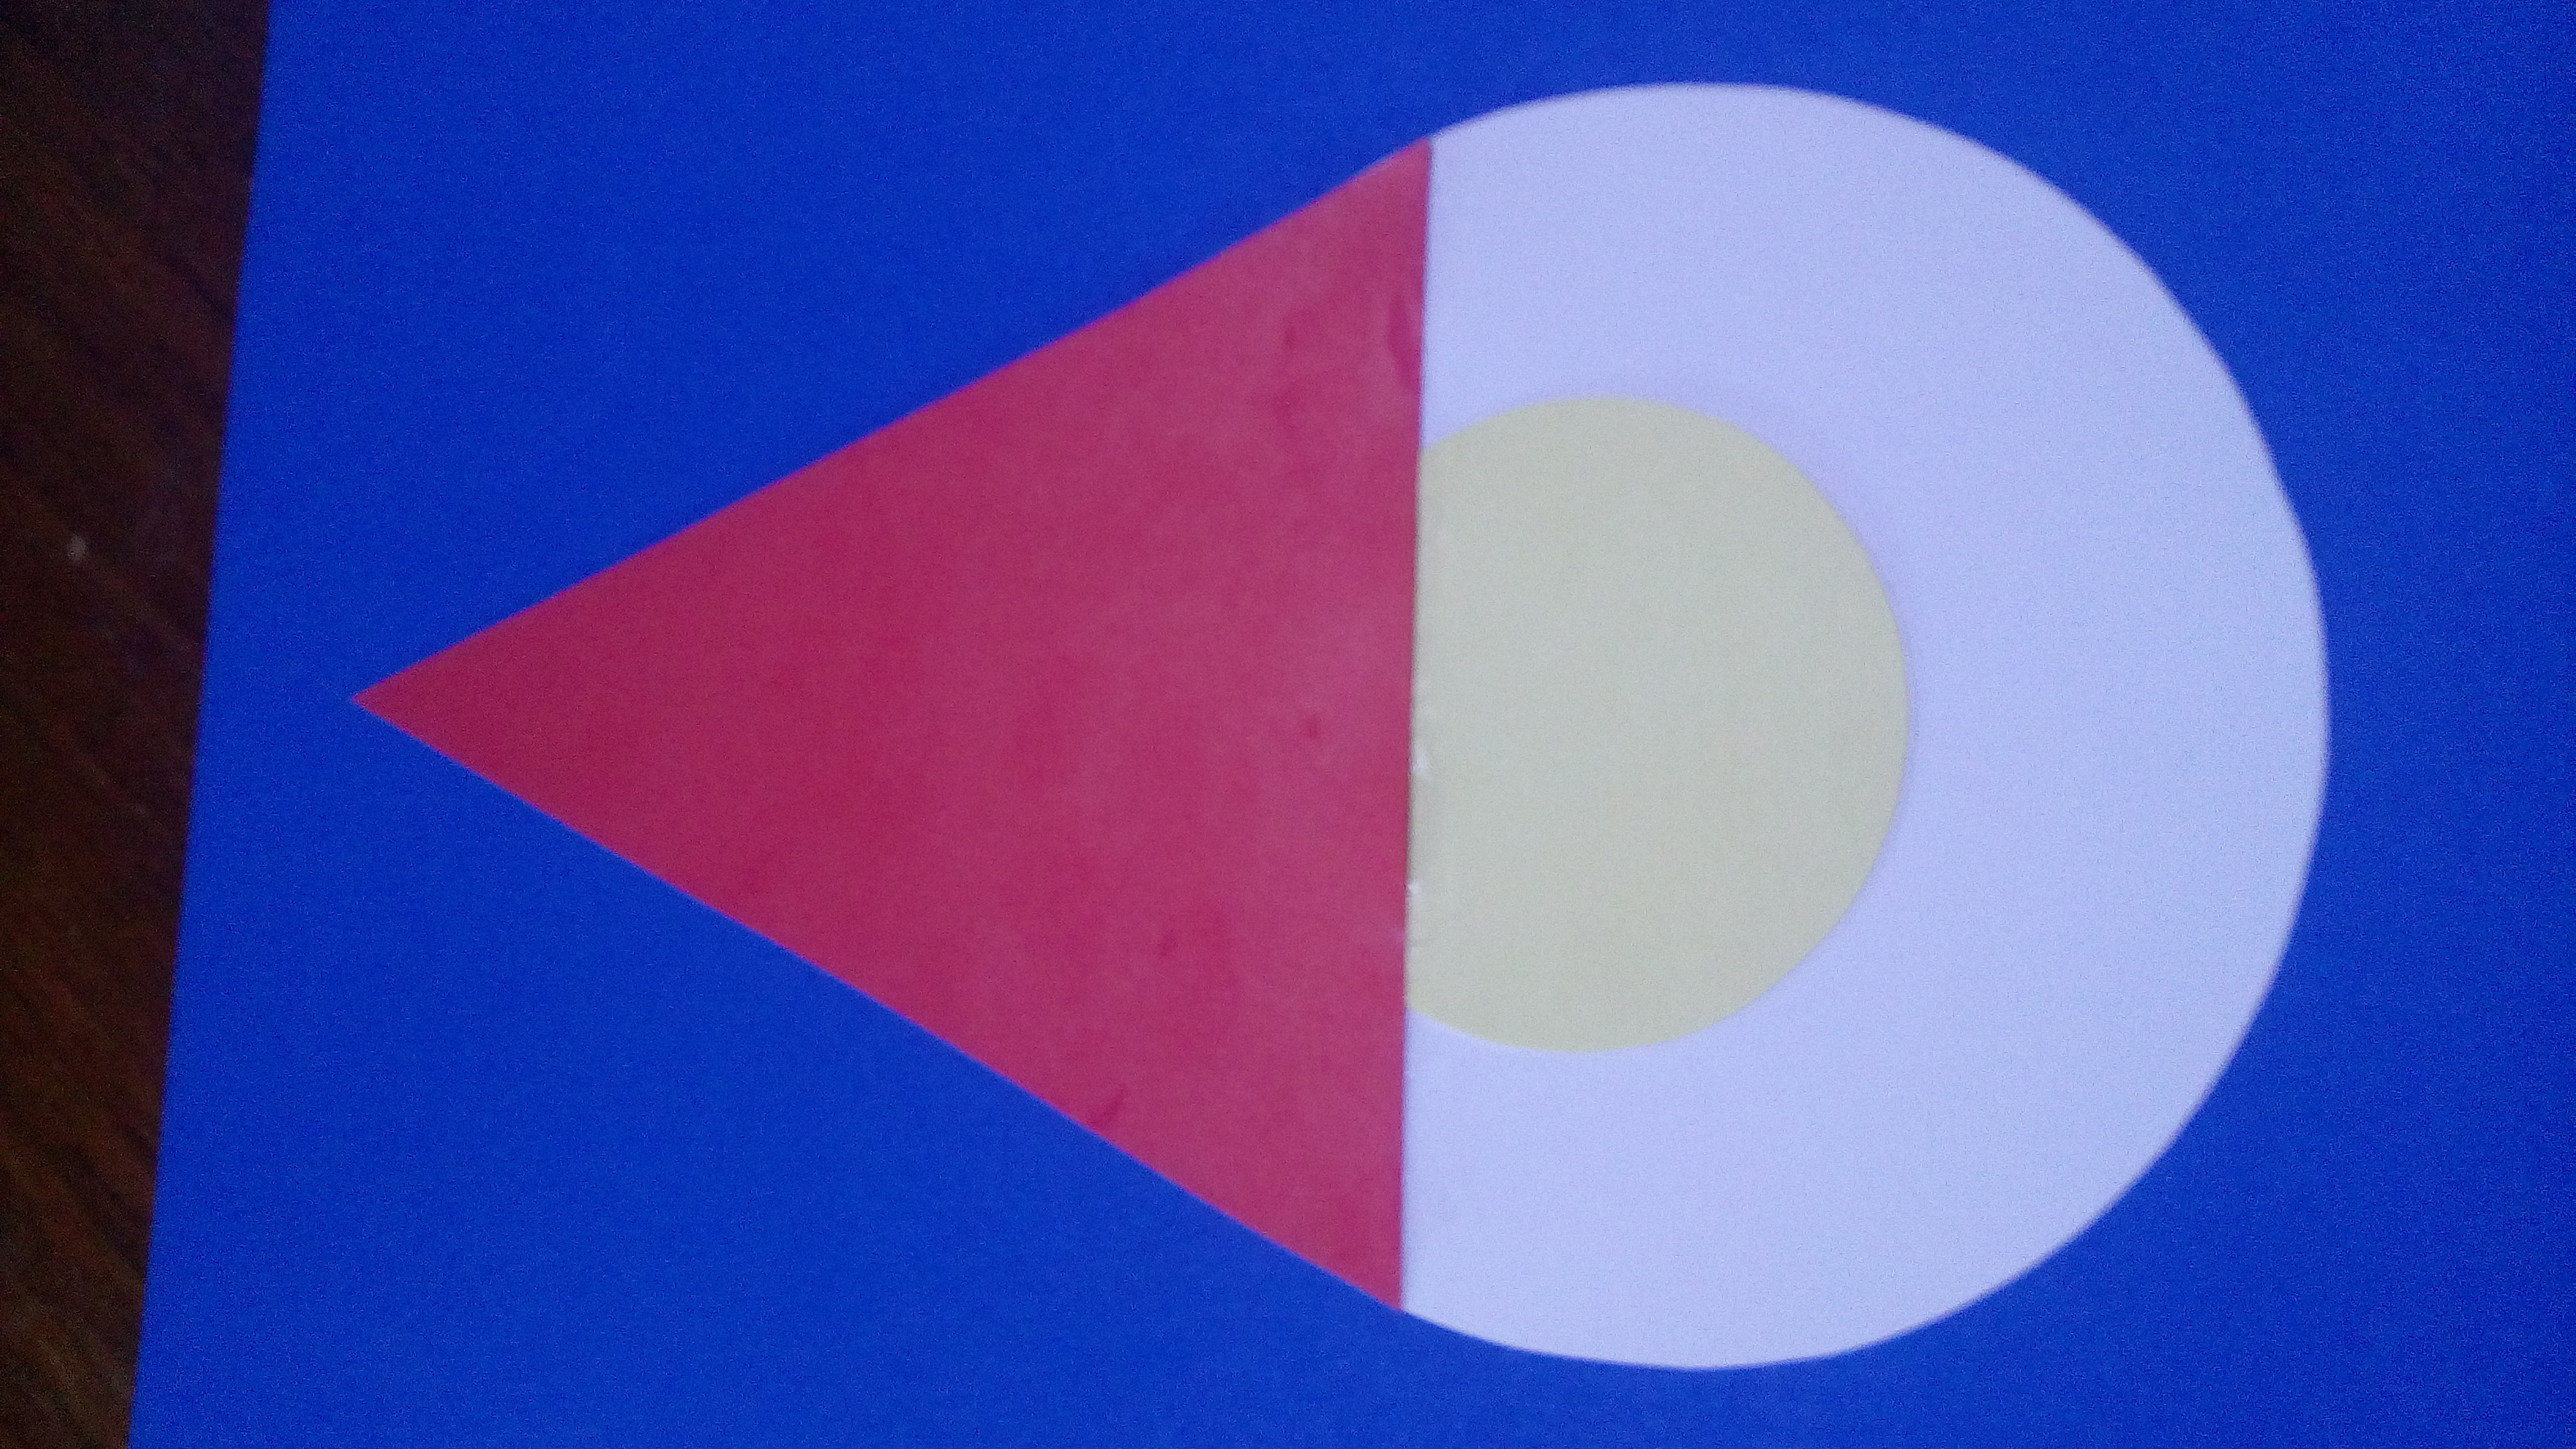
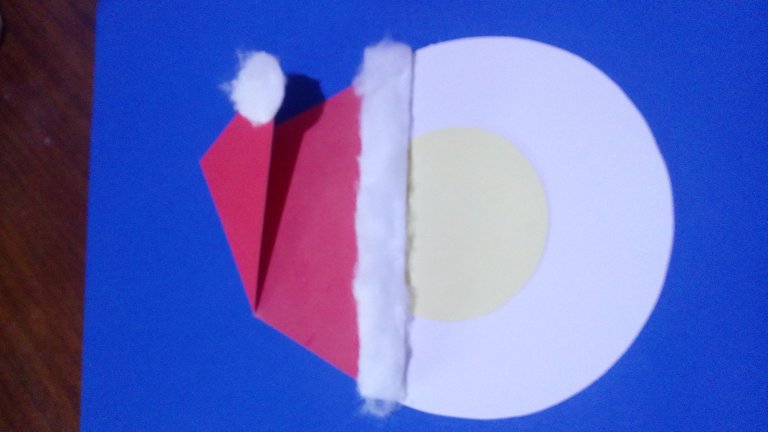
With the help of the round molds draw the circles, the bank will be the face, the red one will be the body and the yellow one is also part of the face, then continue with the triangle that will be the hat. | Con ayuda de los moldes redondos se dibujan los círculos el banco será la cara, el rojo será el cuerpo y el amarrillo también forma parte de la cara, luego se continua con el triángulo que este será el gorro. |

![IMG_20211115_144357.jpg]
(
| Step 2 | Paso 2 |
|---|---|
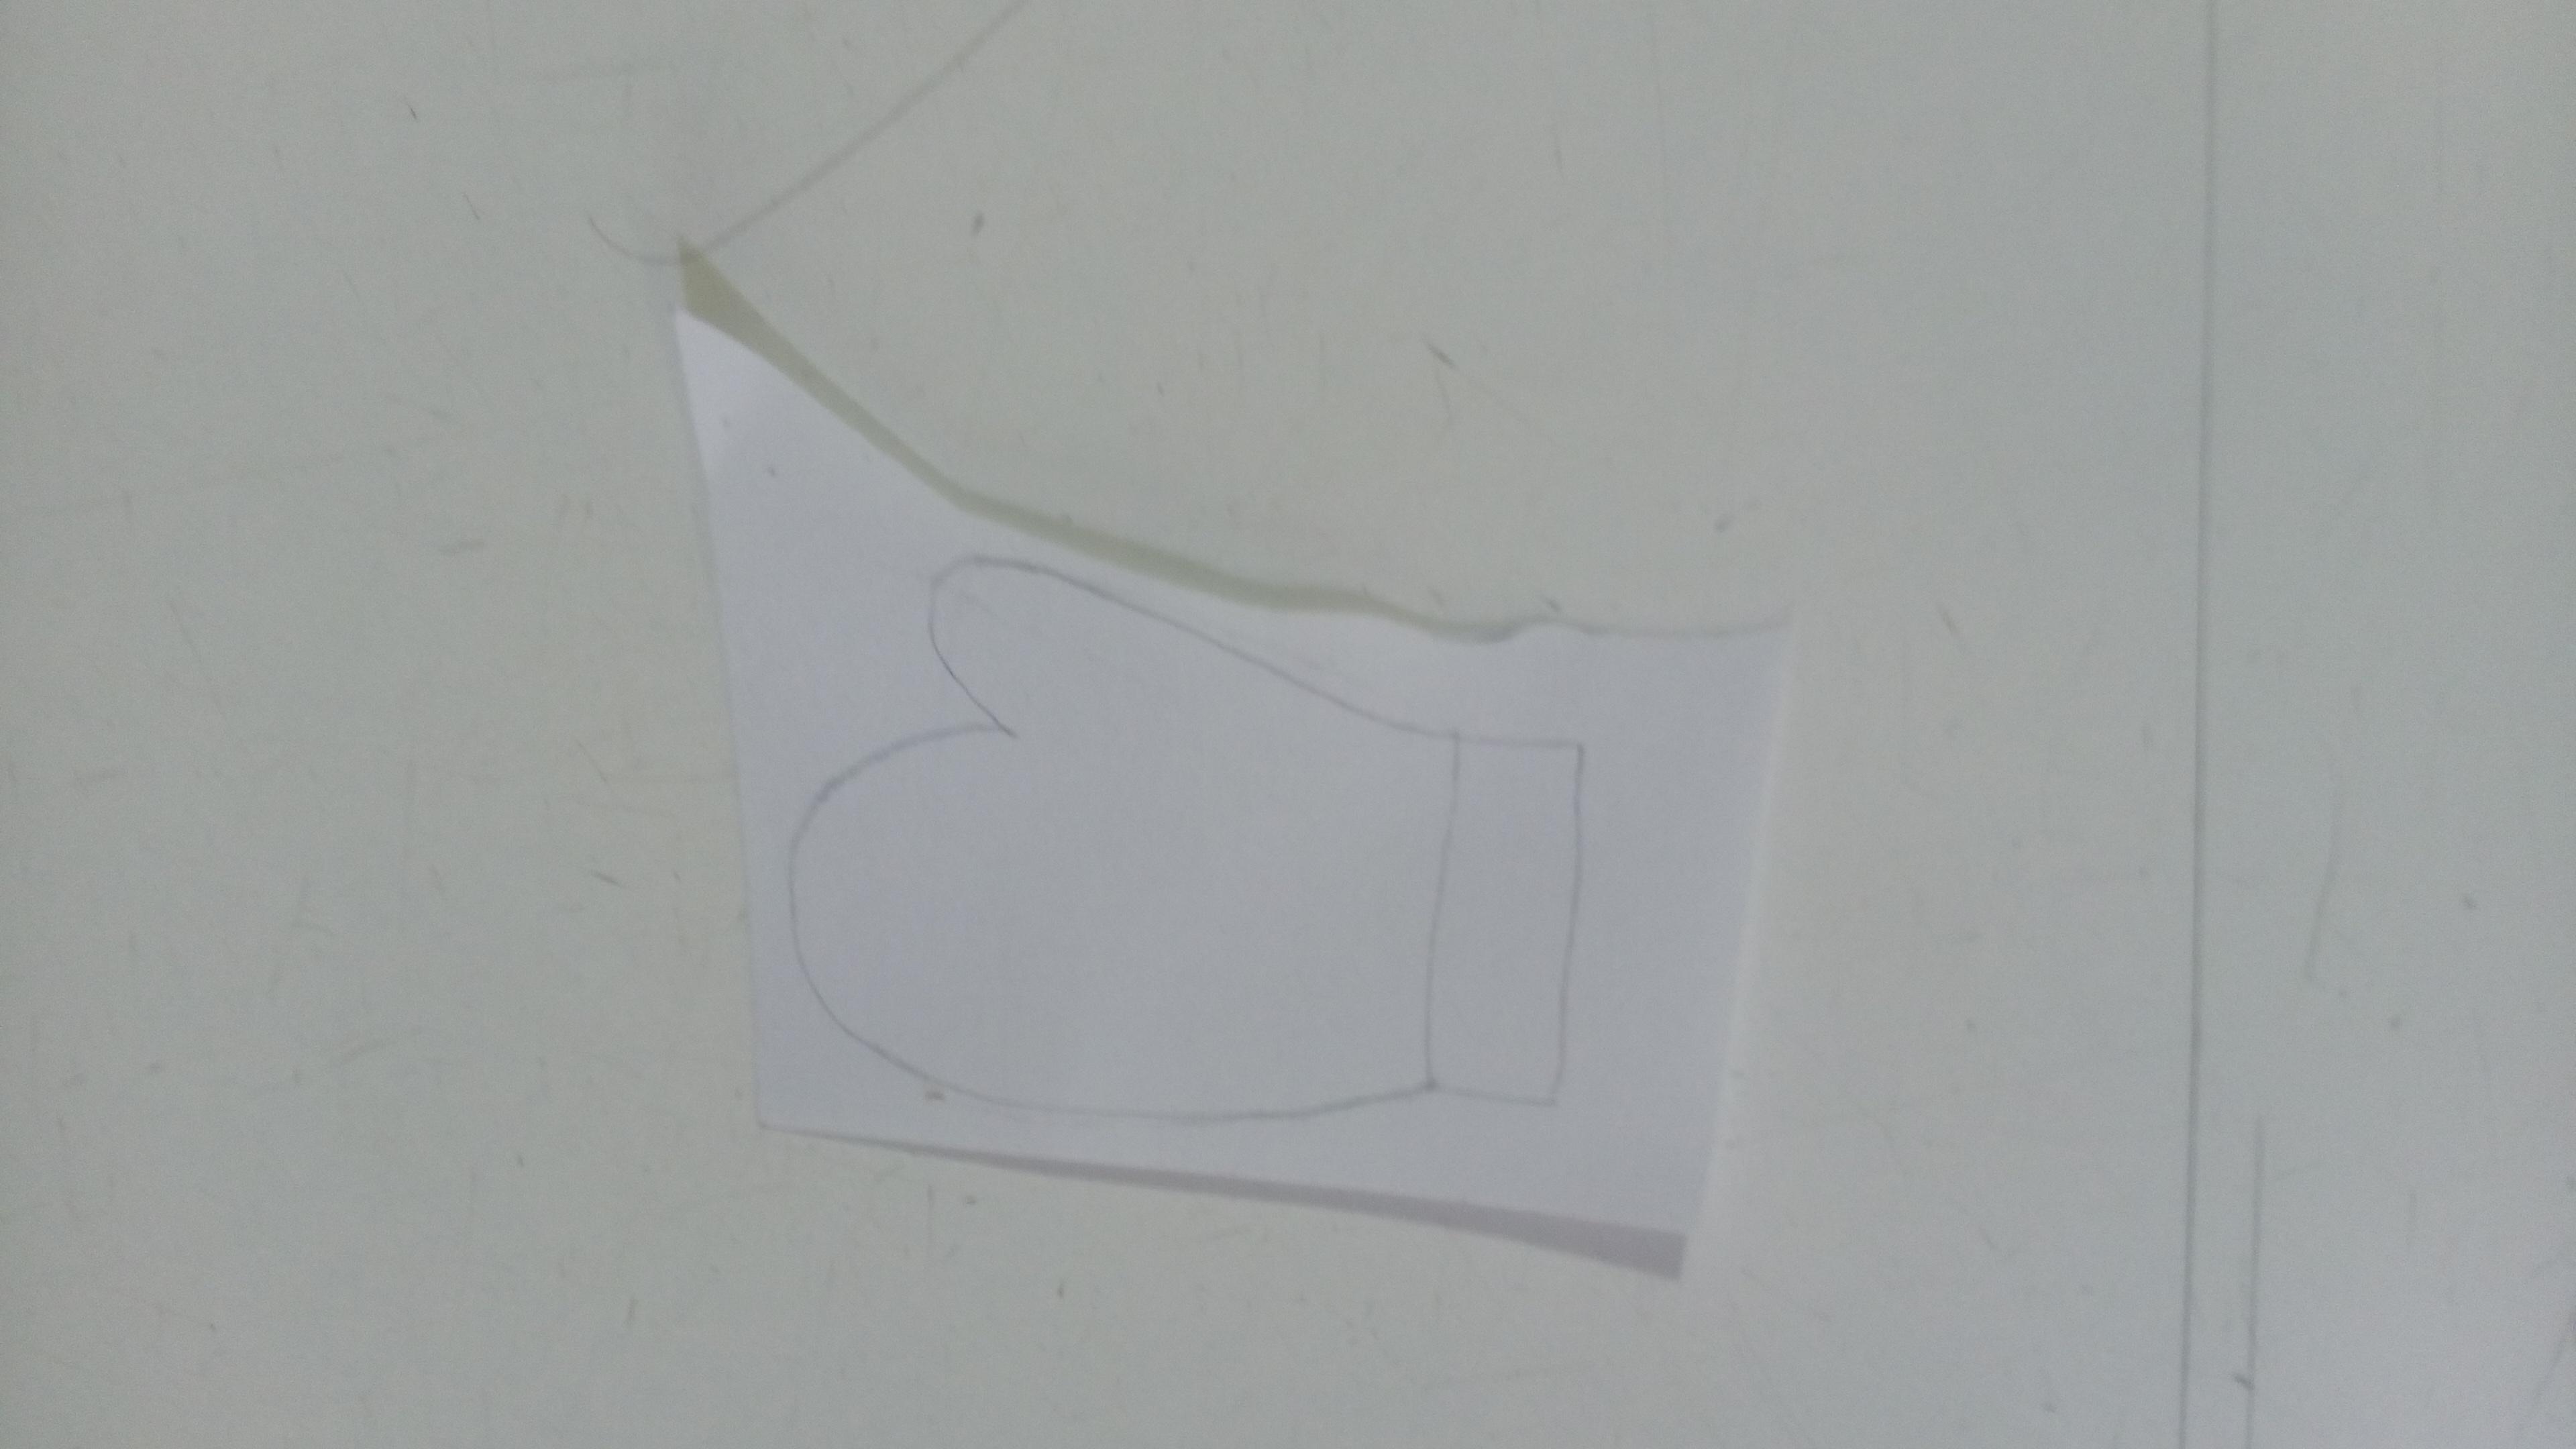
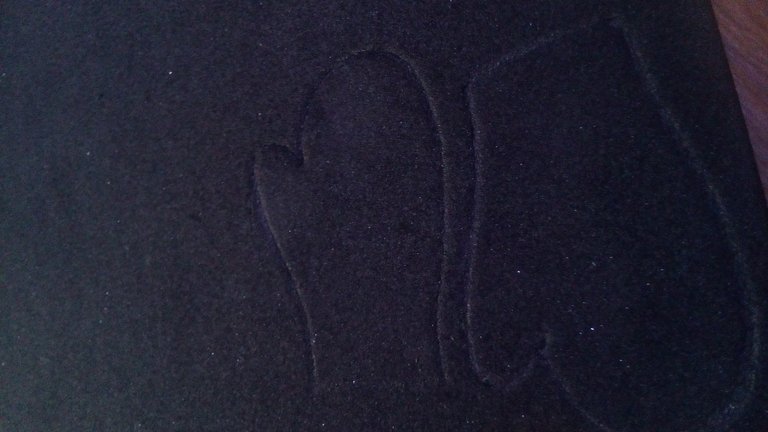
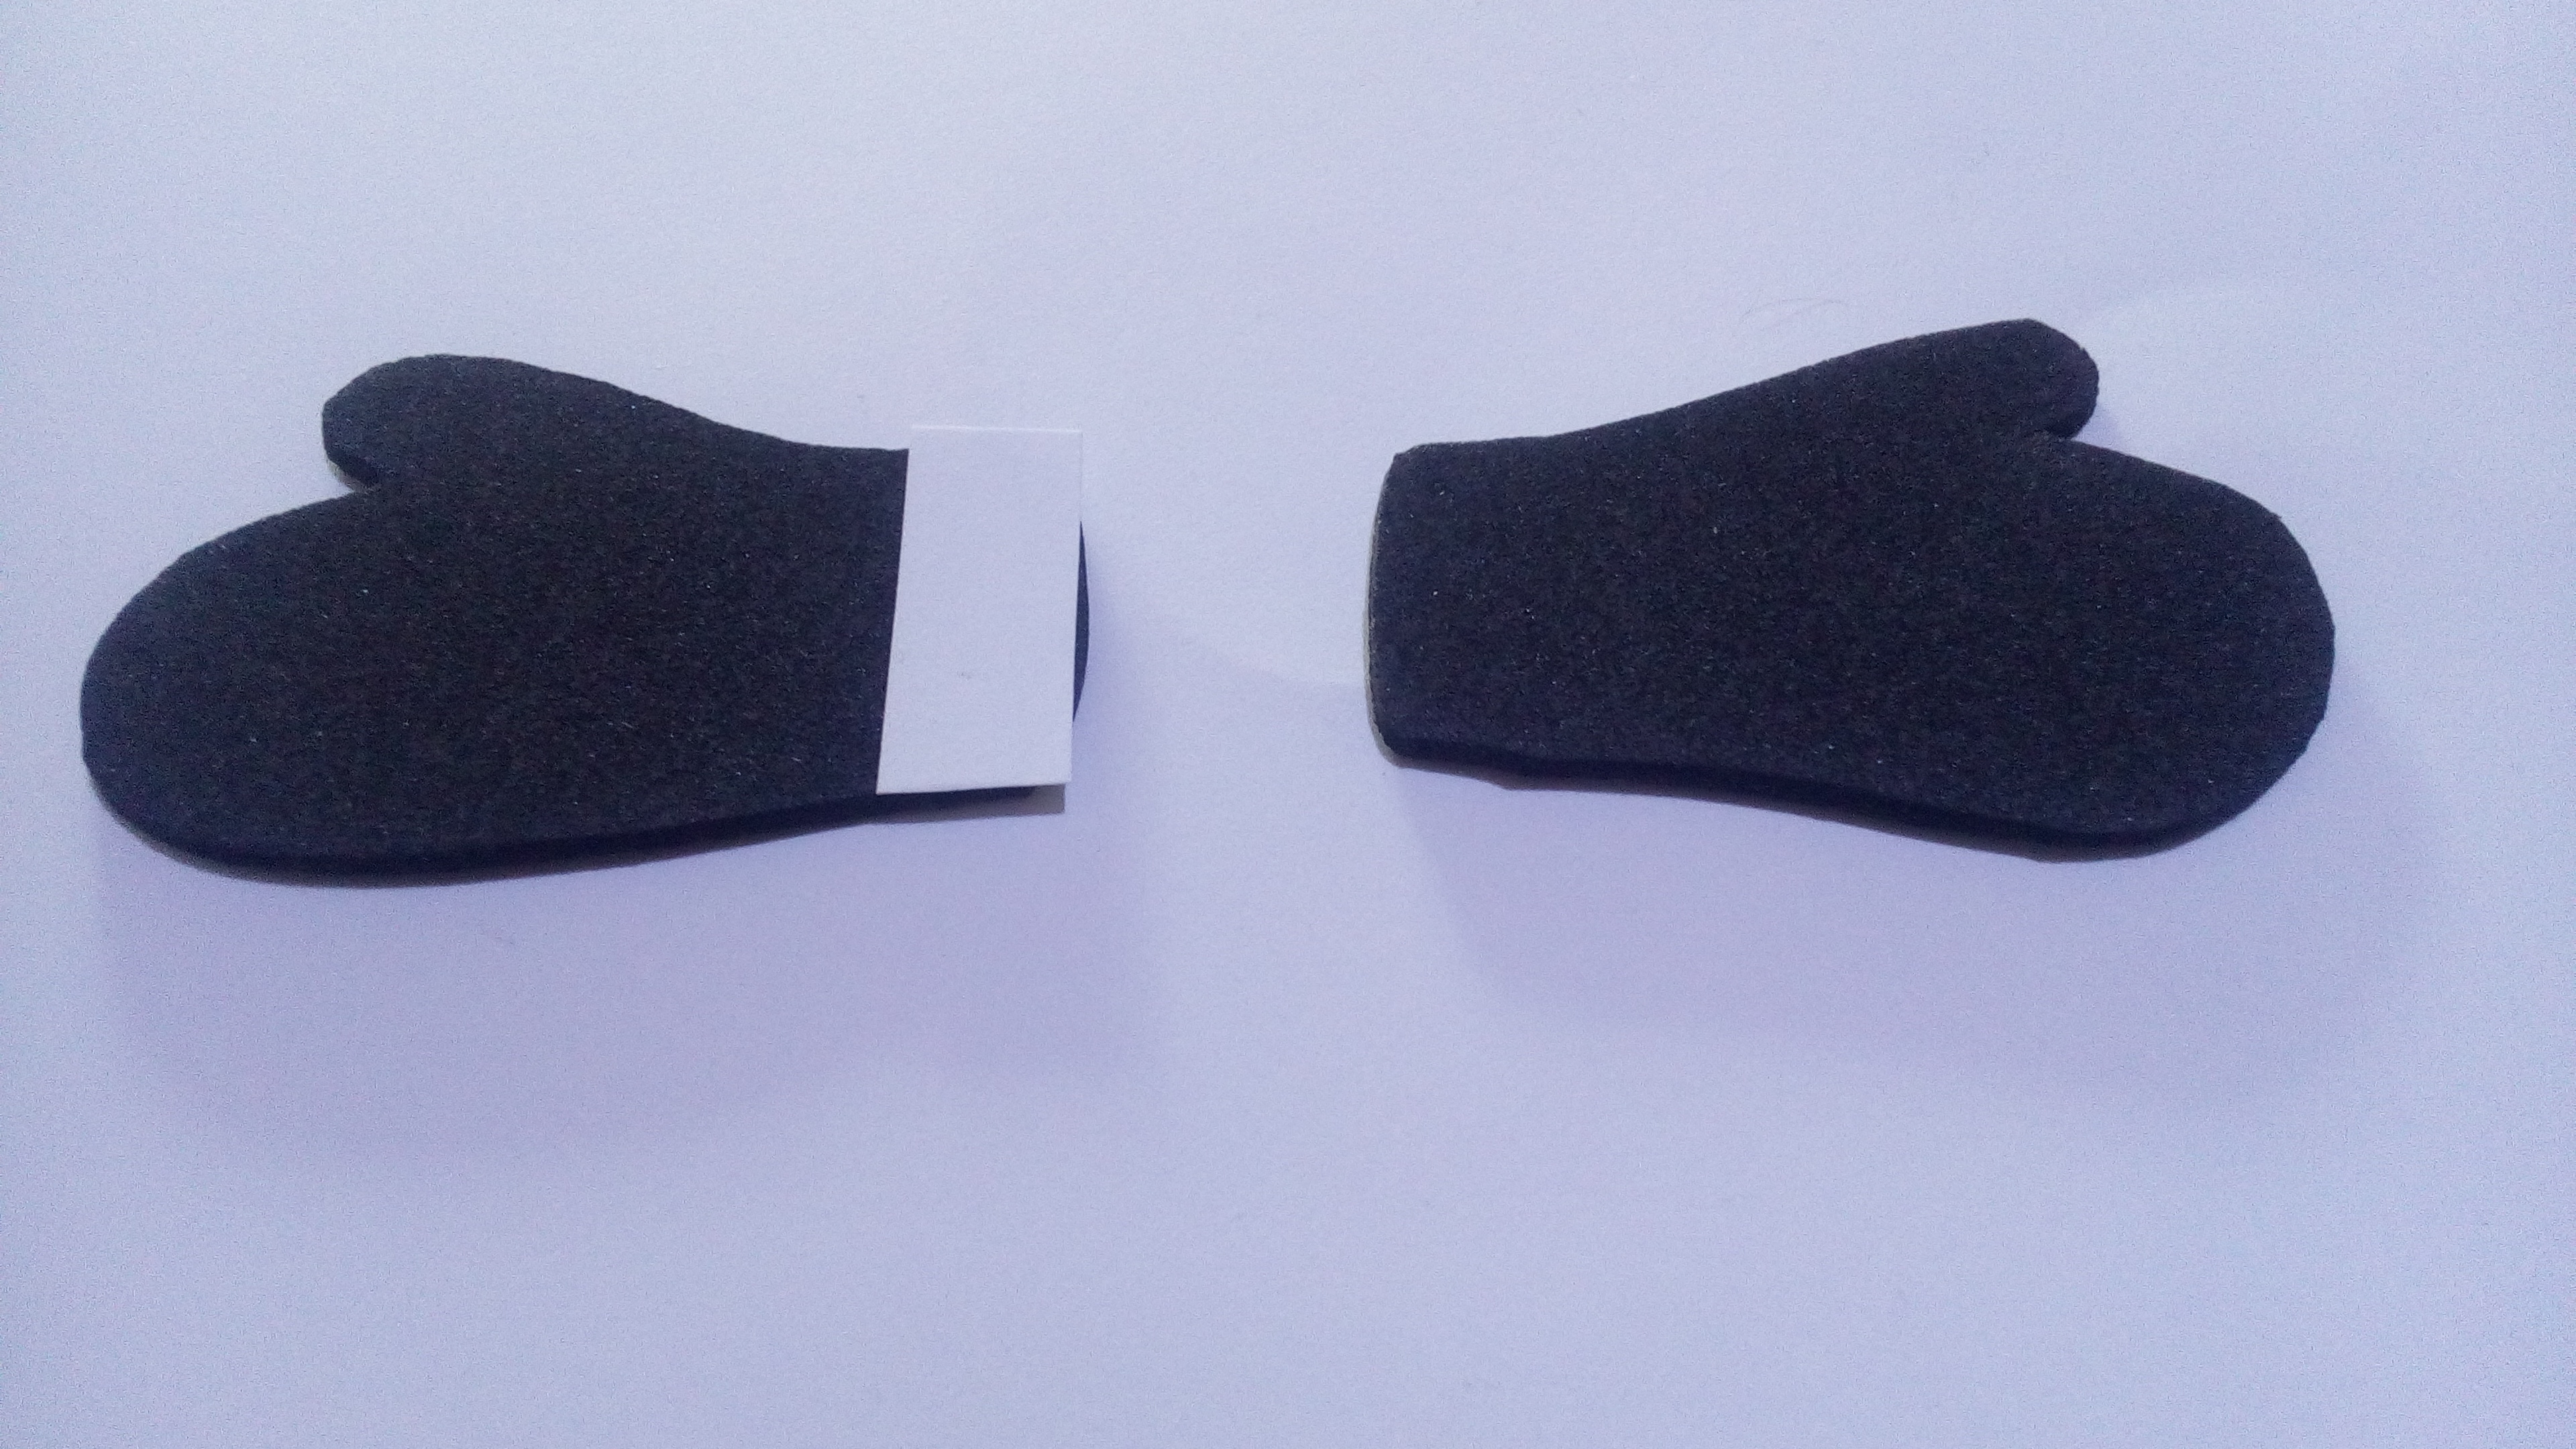
I draw on a white sheet the hand to use it as a mold and then mark it on the black foami, once ready I proceed to cut them out and on the edge I place a white ribbon that will simulate sleeves. | Dibujo en una hoja blanca la mano para usarla como molde y luego la marco en el foami negro, una vez listo procedo a recortarlas y en la orilla le coloco una cinta blanca que simulara unas mangas. |
| Step 3 | Paso 3 |
|---|---|
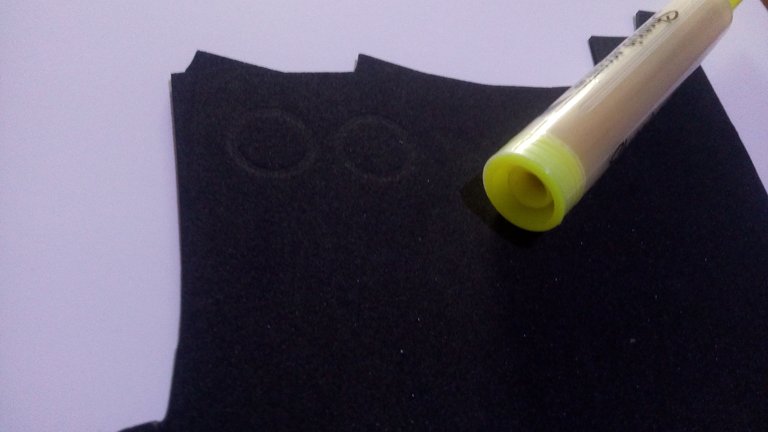
I press a marker on the black foami, who will give me these circular shapes and with an ideal size to be the eyes. | Presiono un marcador en el foami negro, quien me va dar estas formas circulares y con un tamaño ideal para que sean los ojos. |
| Step 4 | Paso 4 |
|---|---|
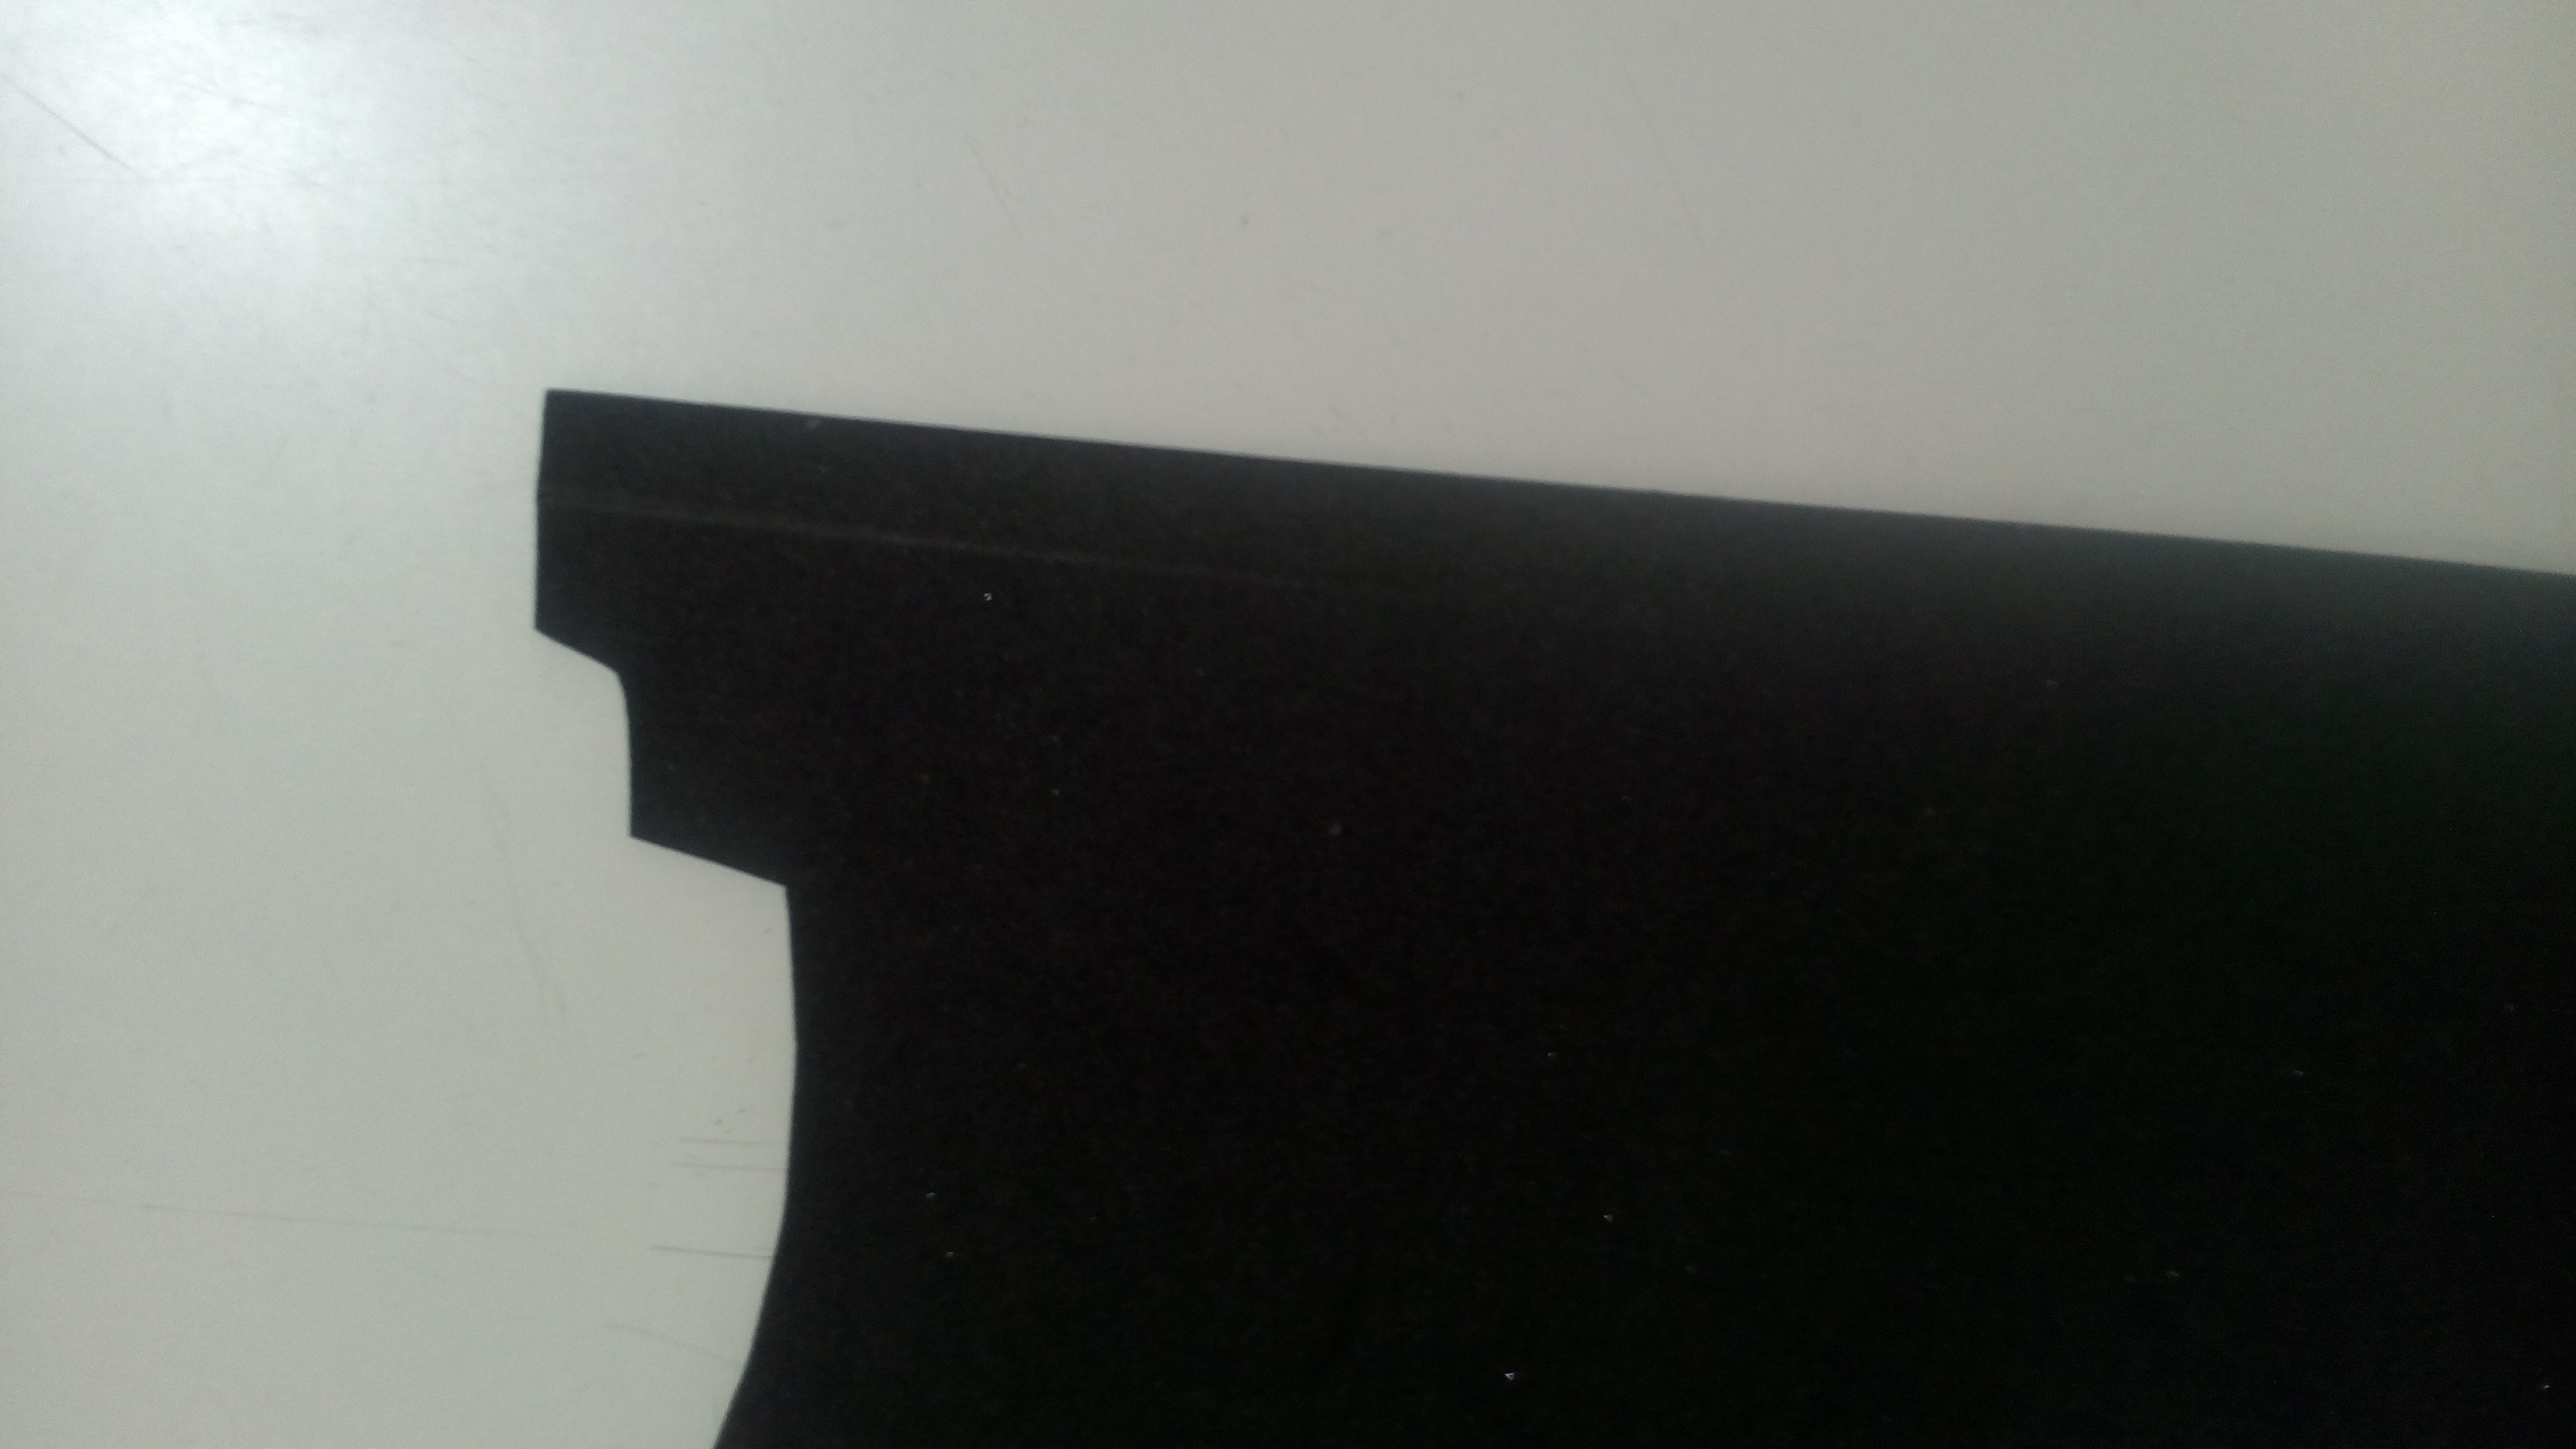
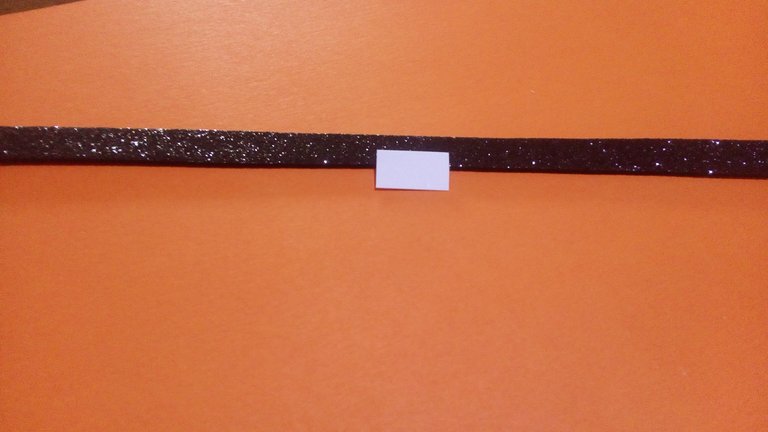
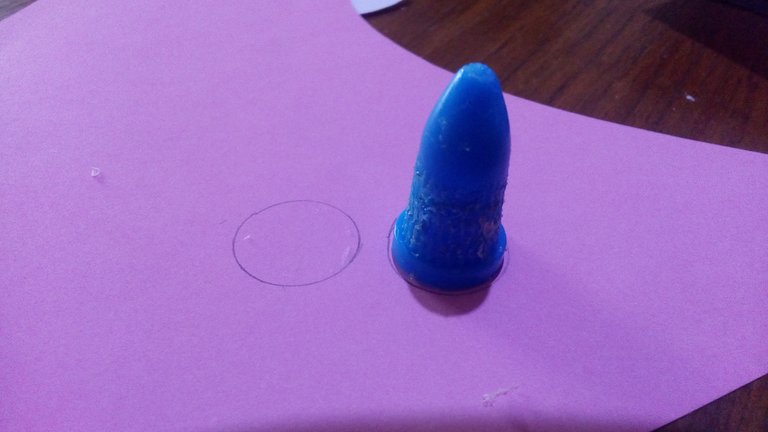
In the frosted foami I measure 1cm wide and 12cm long to make the belt. | En el foami escarchado mido 1cm de ancho y 12cm de largo esto para hacer el cinturón. |
| Step 5 | Paso 5 |
|---|---|
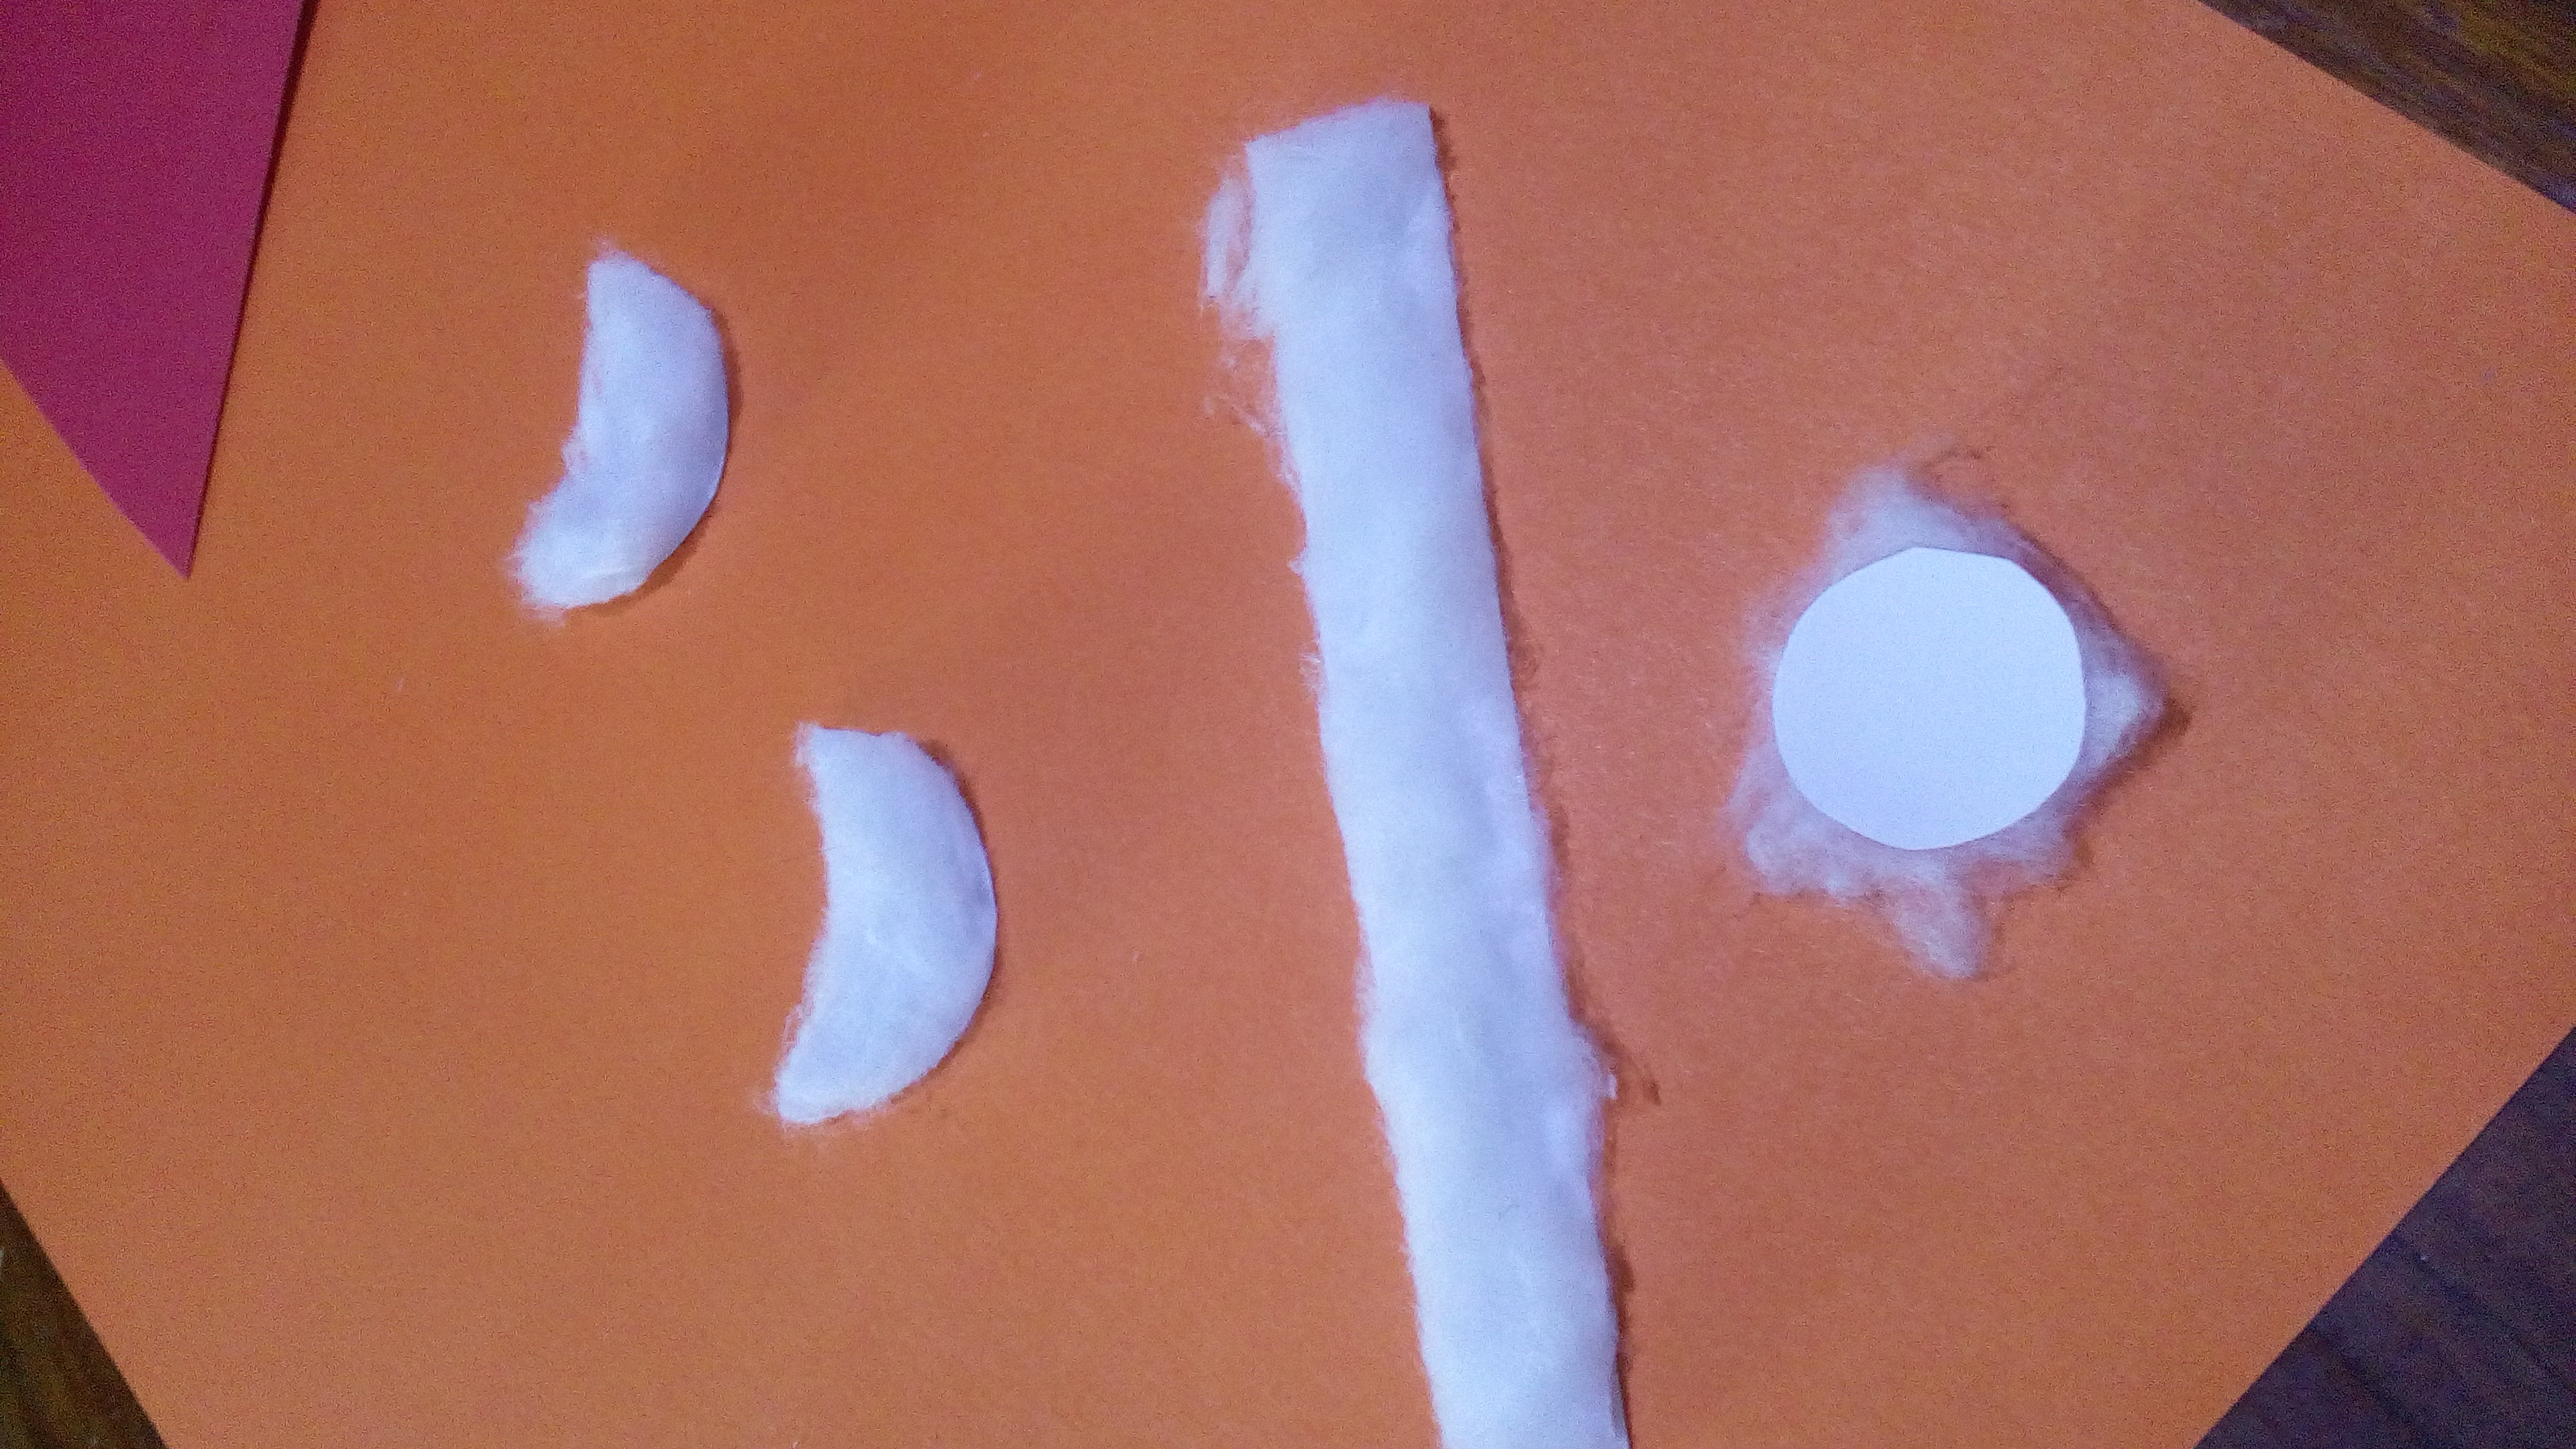
I draw and cut out the shape of the mustache, the edge of the hat and the circle that goes at the end and then I fill them with cotton. | Dibujo y recorto la forma del bigote, la orilla del gorro y el círculo que va al final y luego los relleno de algodón. |
| Step 6 | Paso 6 |
|---|---|
With the help of the glue lid I draw two circles on the pink cardboard to make Santa's cheeks and with the hole cutter I draw two white circles for the eyes and a red one for the nose. | Con la ayuda de la tapa de la pega dibujo dos círculos en la cartulina rosada para realizar las mejillas de santa. y con el abre hueco saco dos círculos blancos para los ojos y uno rojo para la nariz |
| Step 7 | Paso 7 |
|---|---|
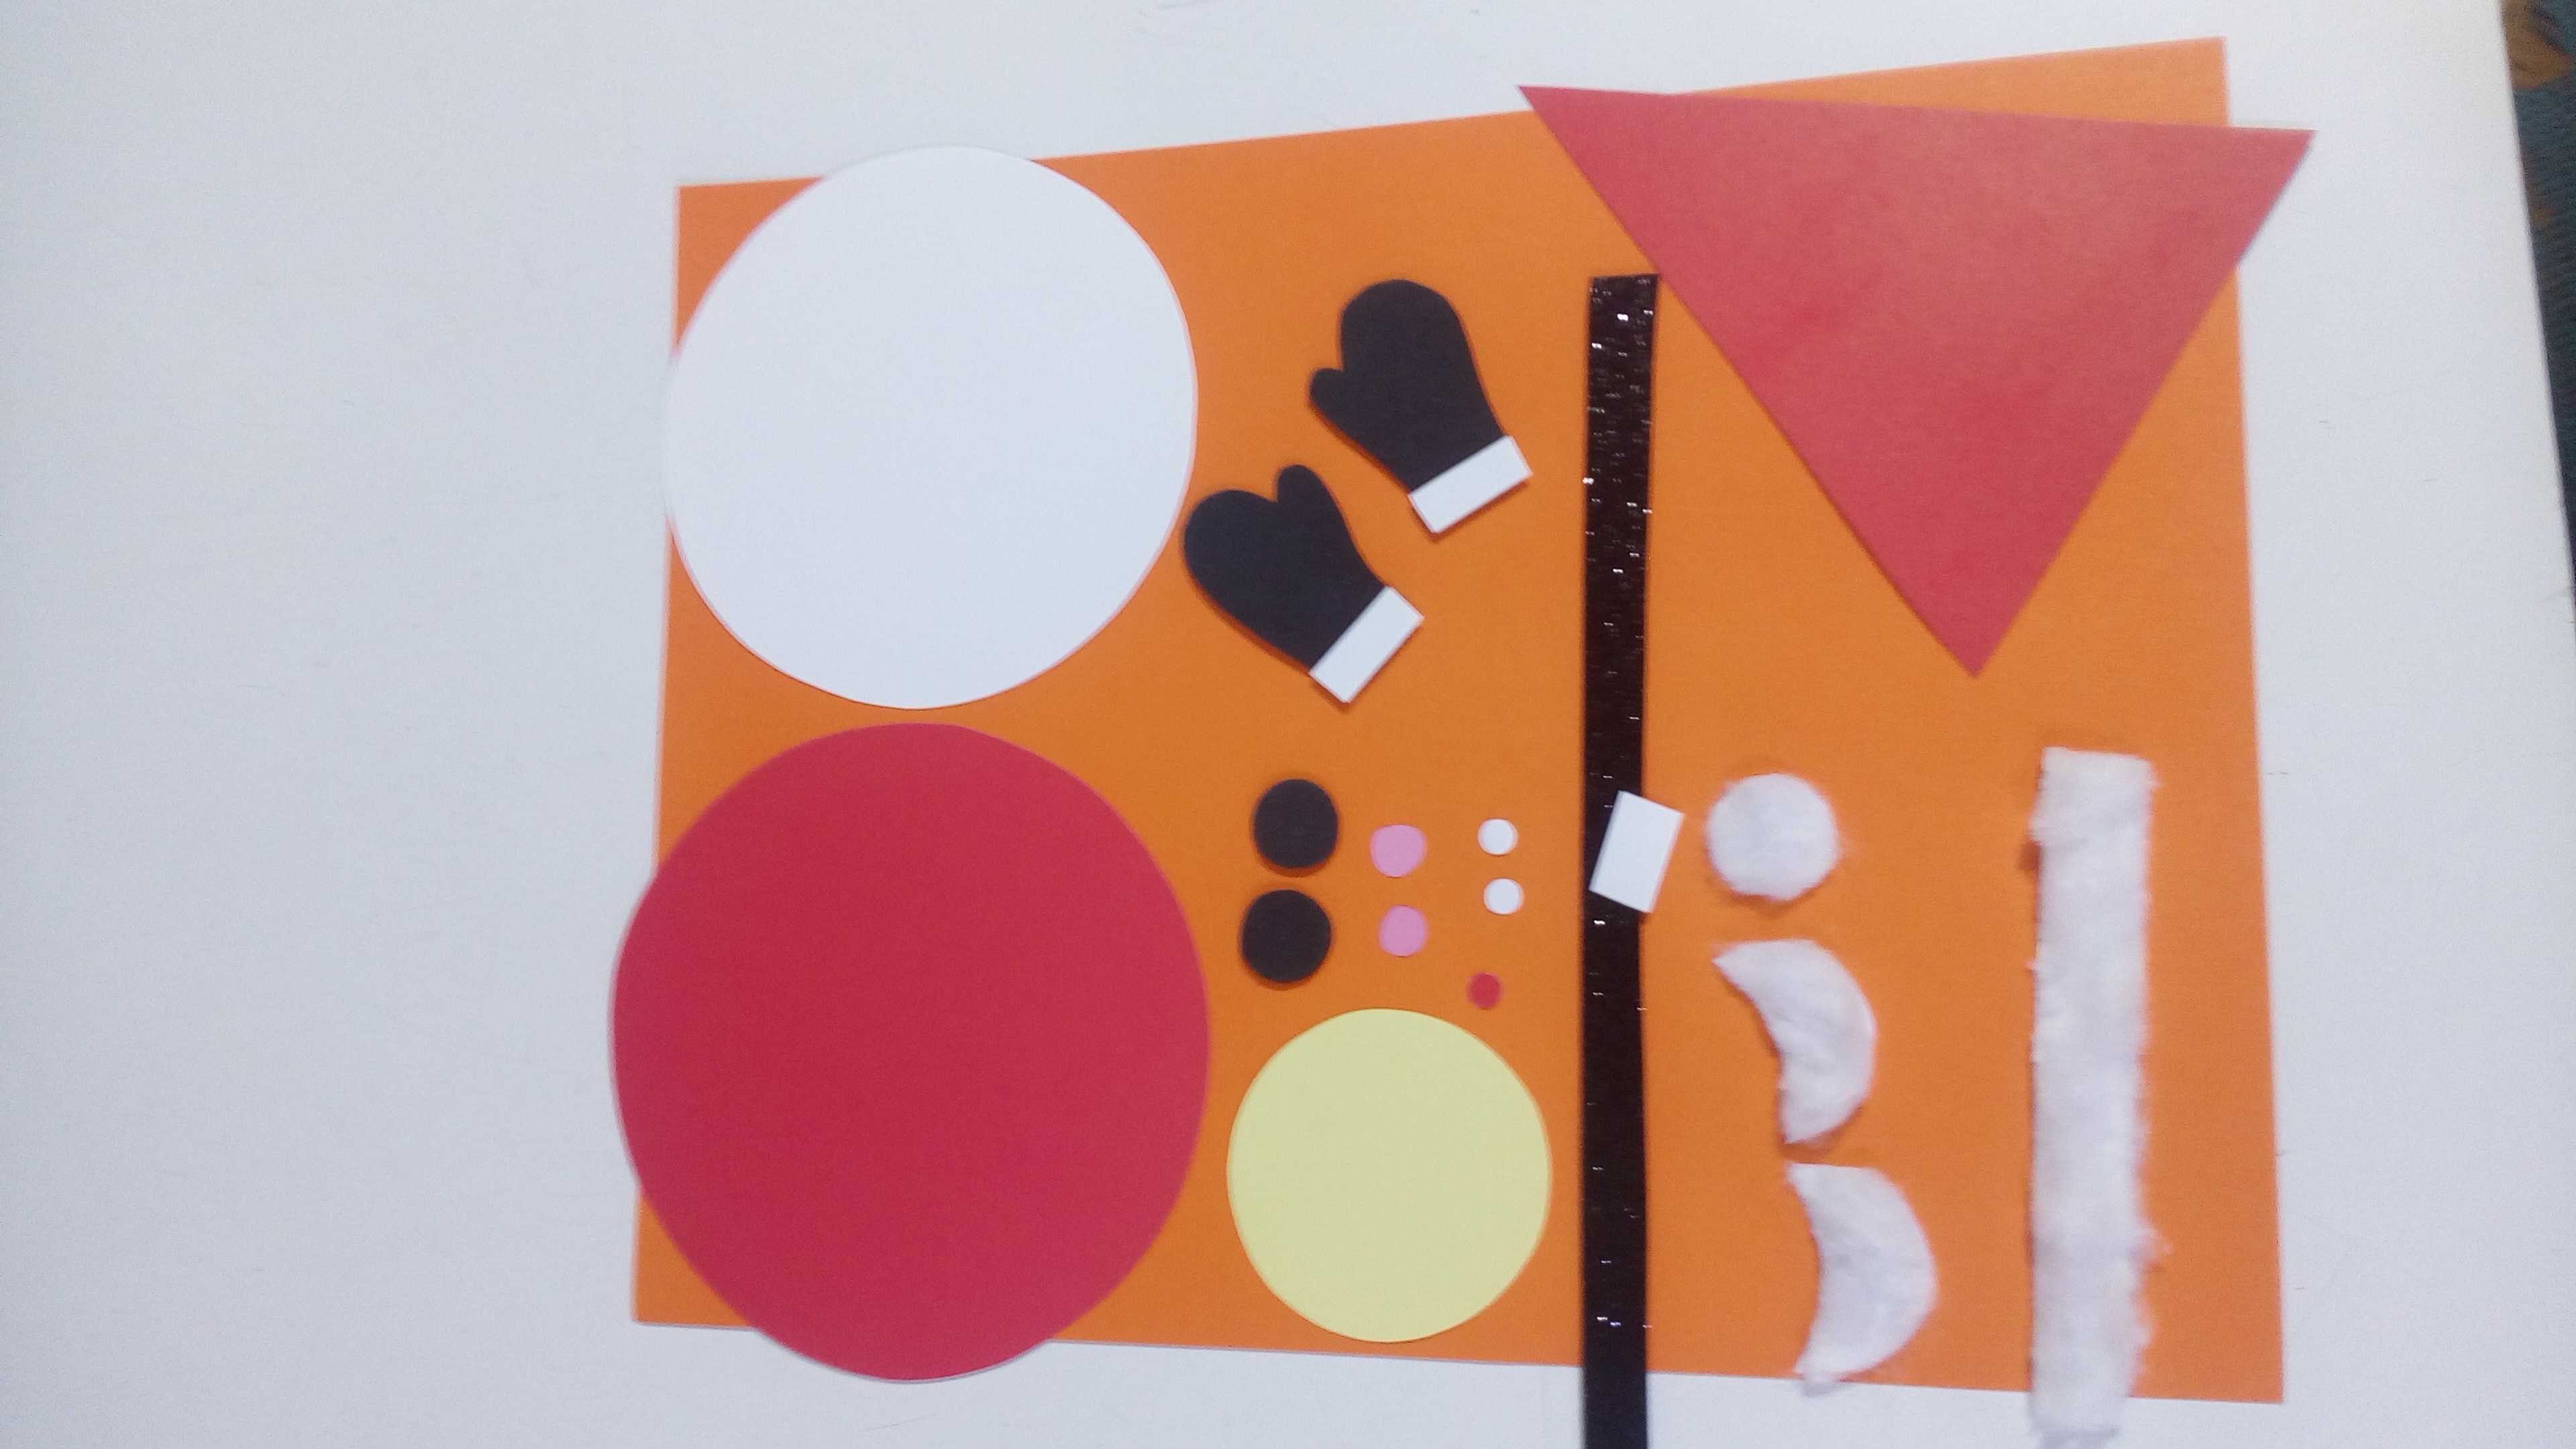
Once all this is done here we have all the parts ready and proceed to assemble it. | Una vez todo esto realizado aquí tenemos listo todas las partes y procedemos armarlo. |
| Step 8 | Paso 8 |
|---|---|
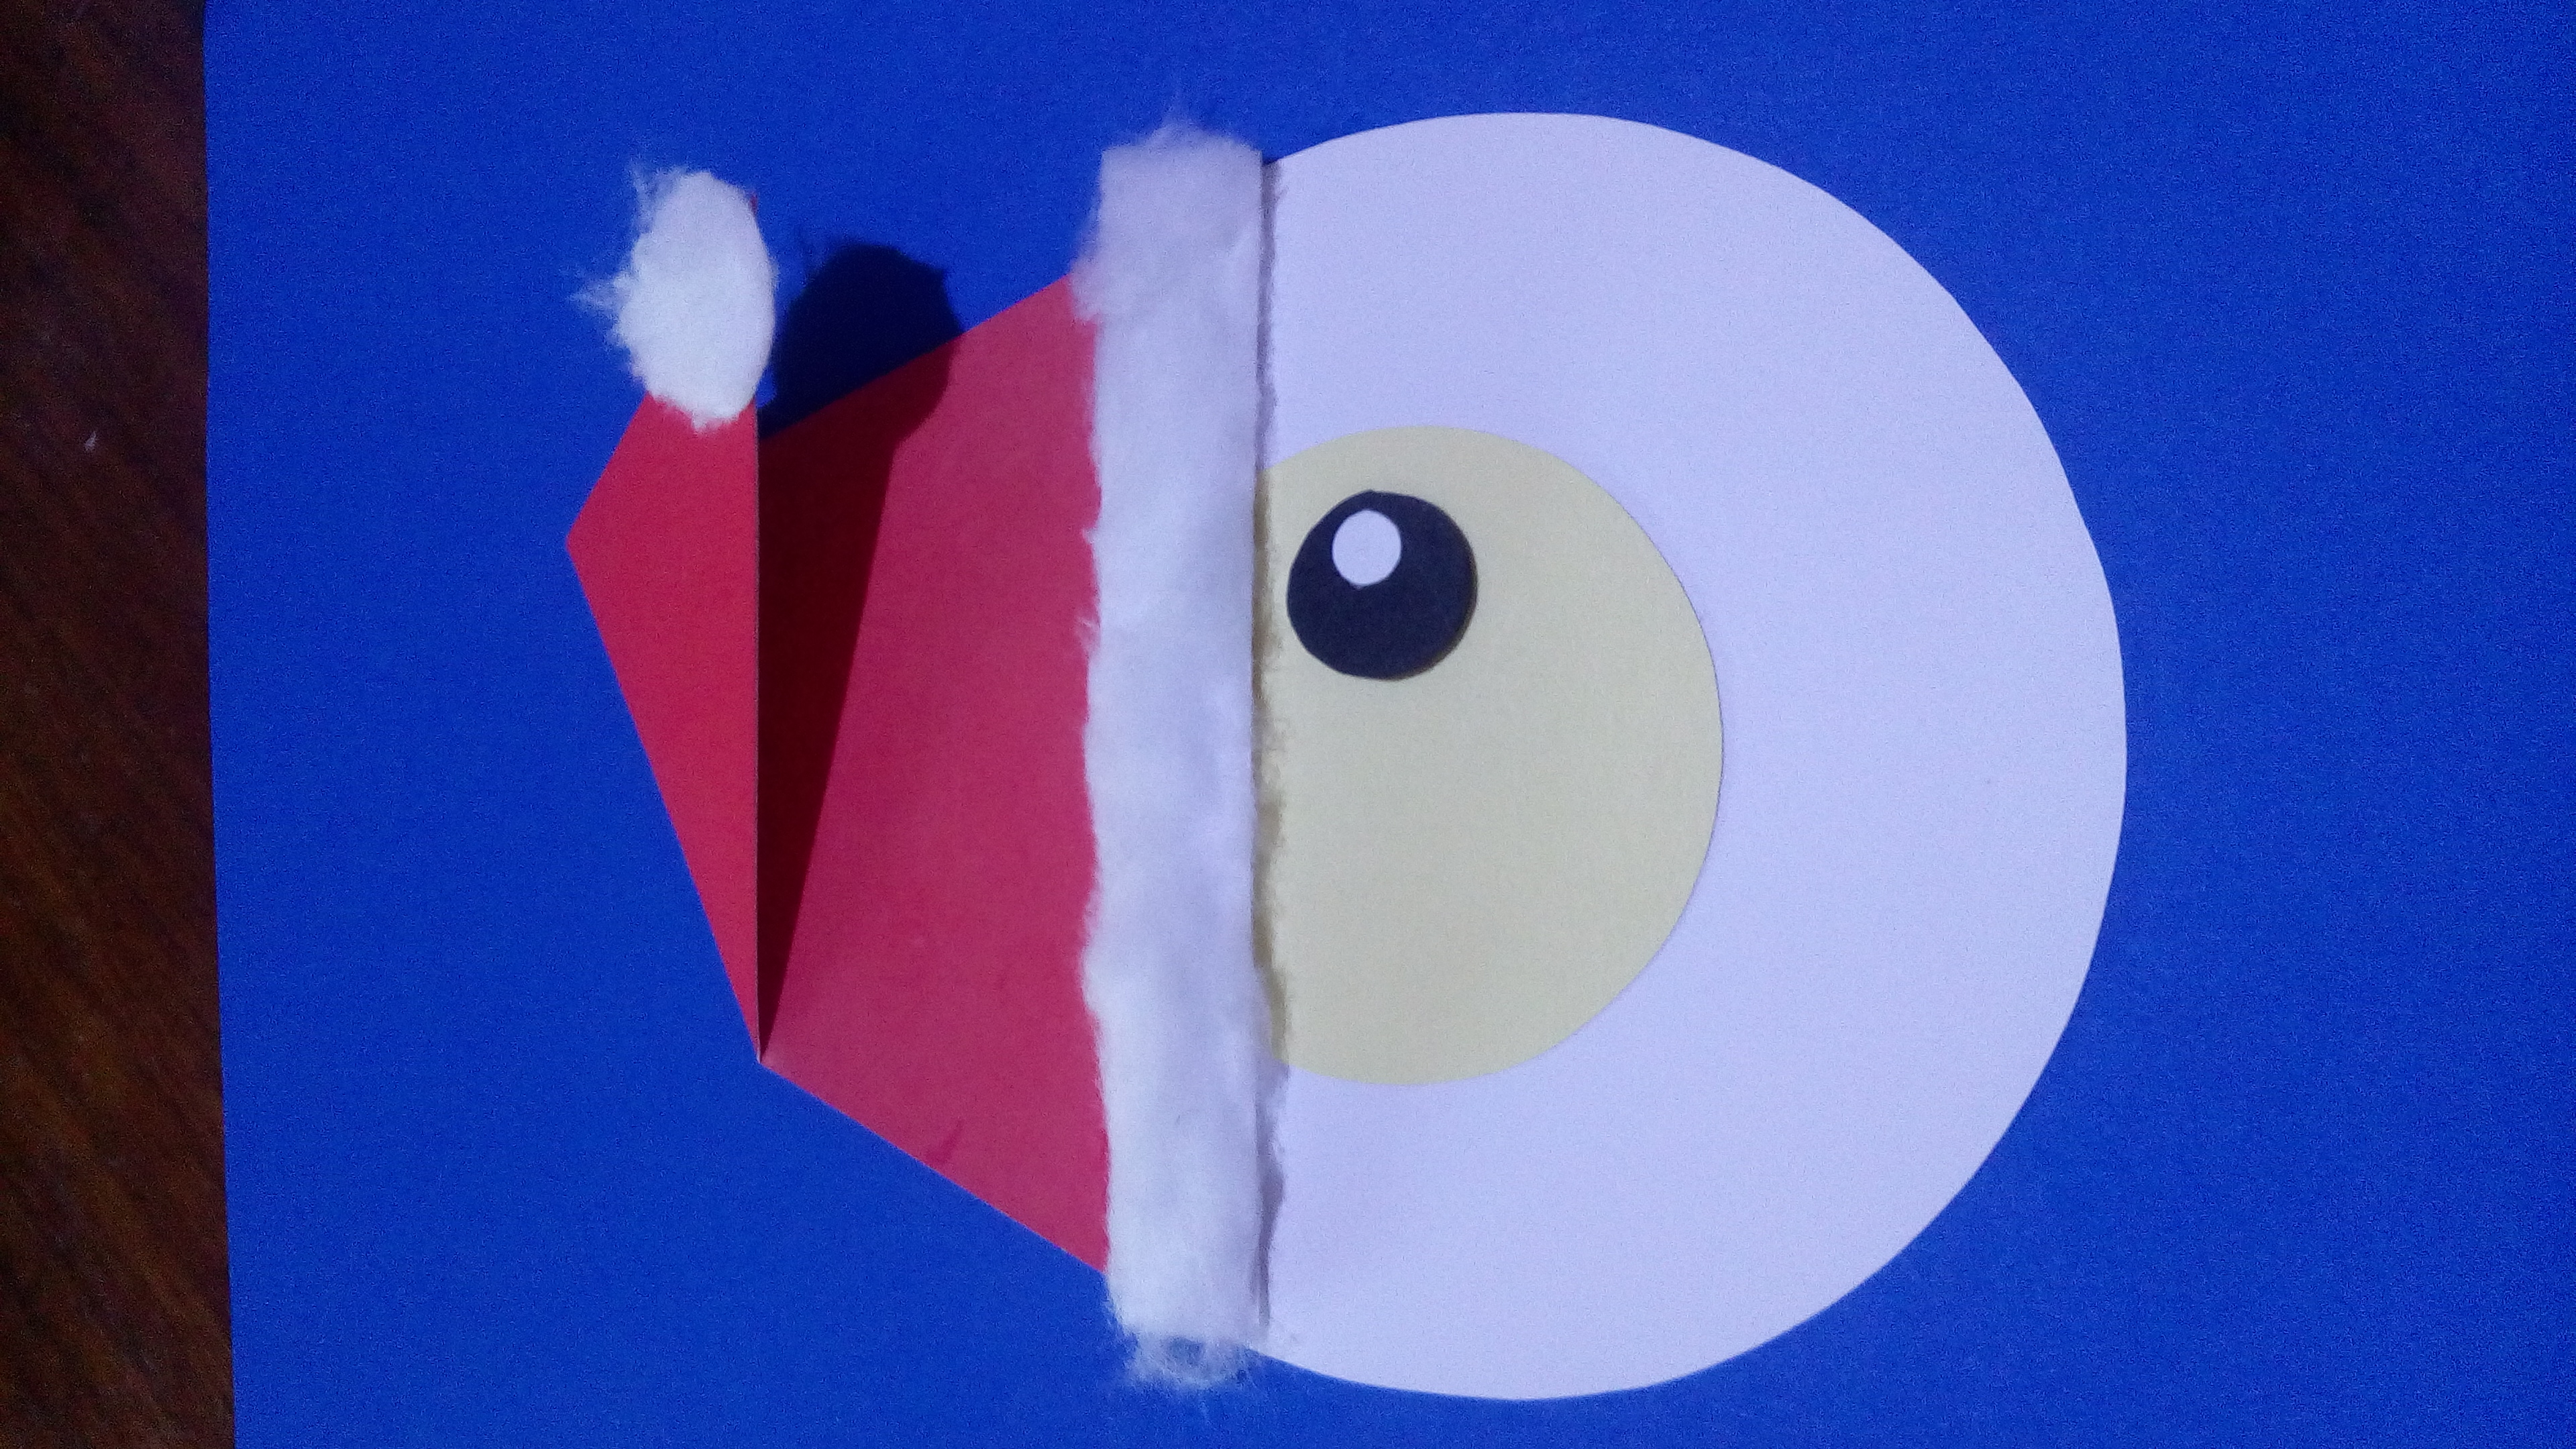
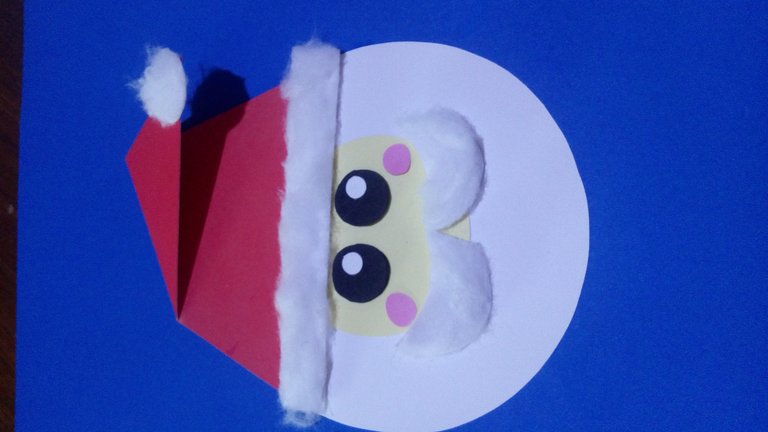
In the white circle we paste in yellow in the center then above the triangle, is placed on the edge and on the end, then paste the white circle in the black and form the eyes and paste it on the yellow cardboard, once both are located the cheek is placed on both sides, then the whiskers. | En el círculo blanco pegamos en amarrillo en el centro luego encima el triángulo, se le coloca su adorno en la orilla y en el fina, luego se pega el circulo blanco en el negro y formamos los ojos y lo pegamos en la cartulina amarilla, una vez se ubican ambos se le coloca la mejilla de ambos lados, después los bigotes. |
| Step 9 | Paso 9 |
|---|---|
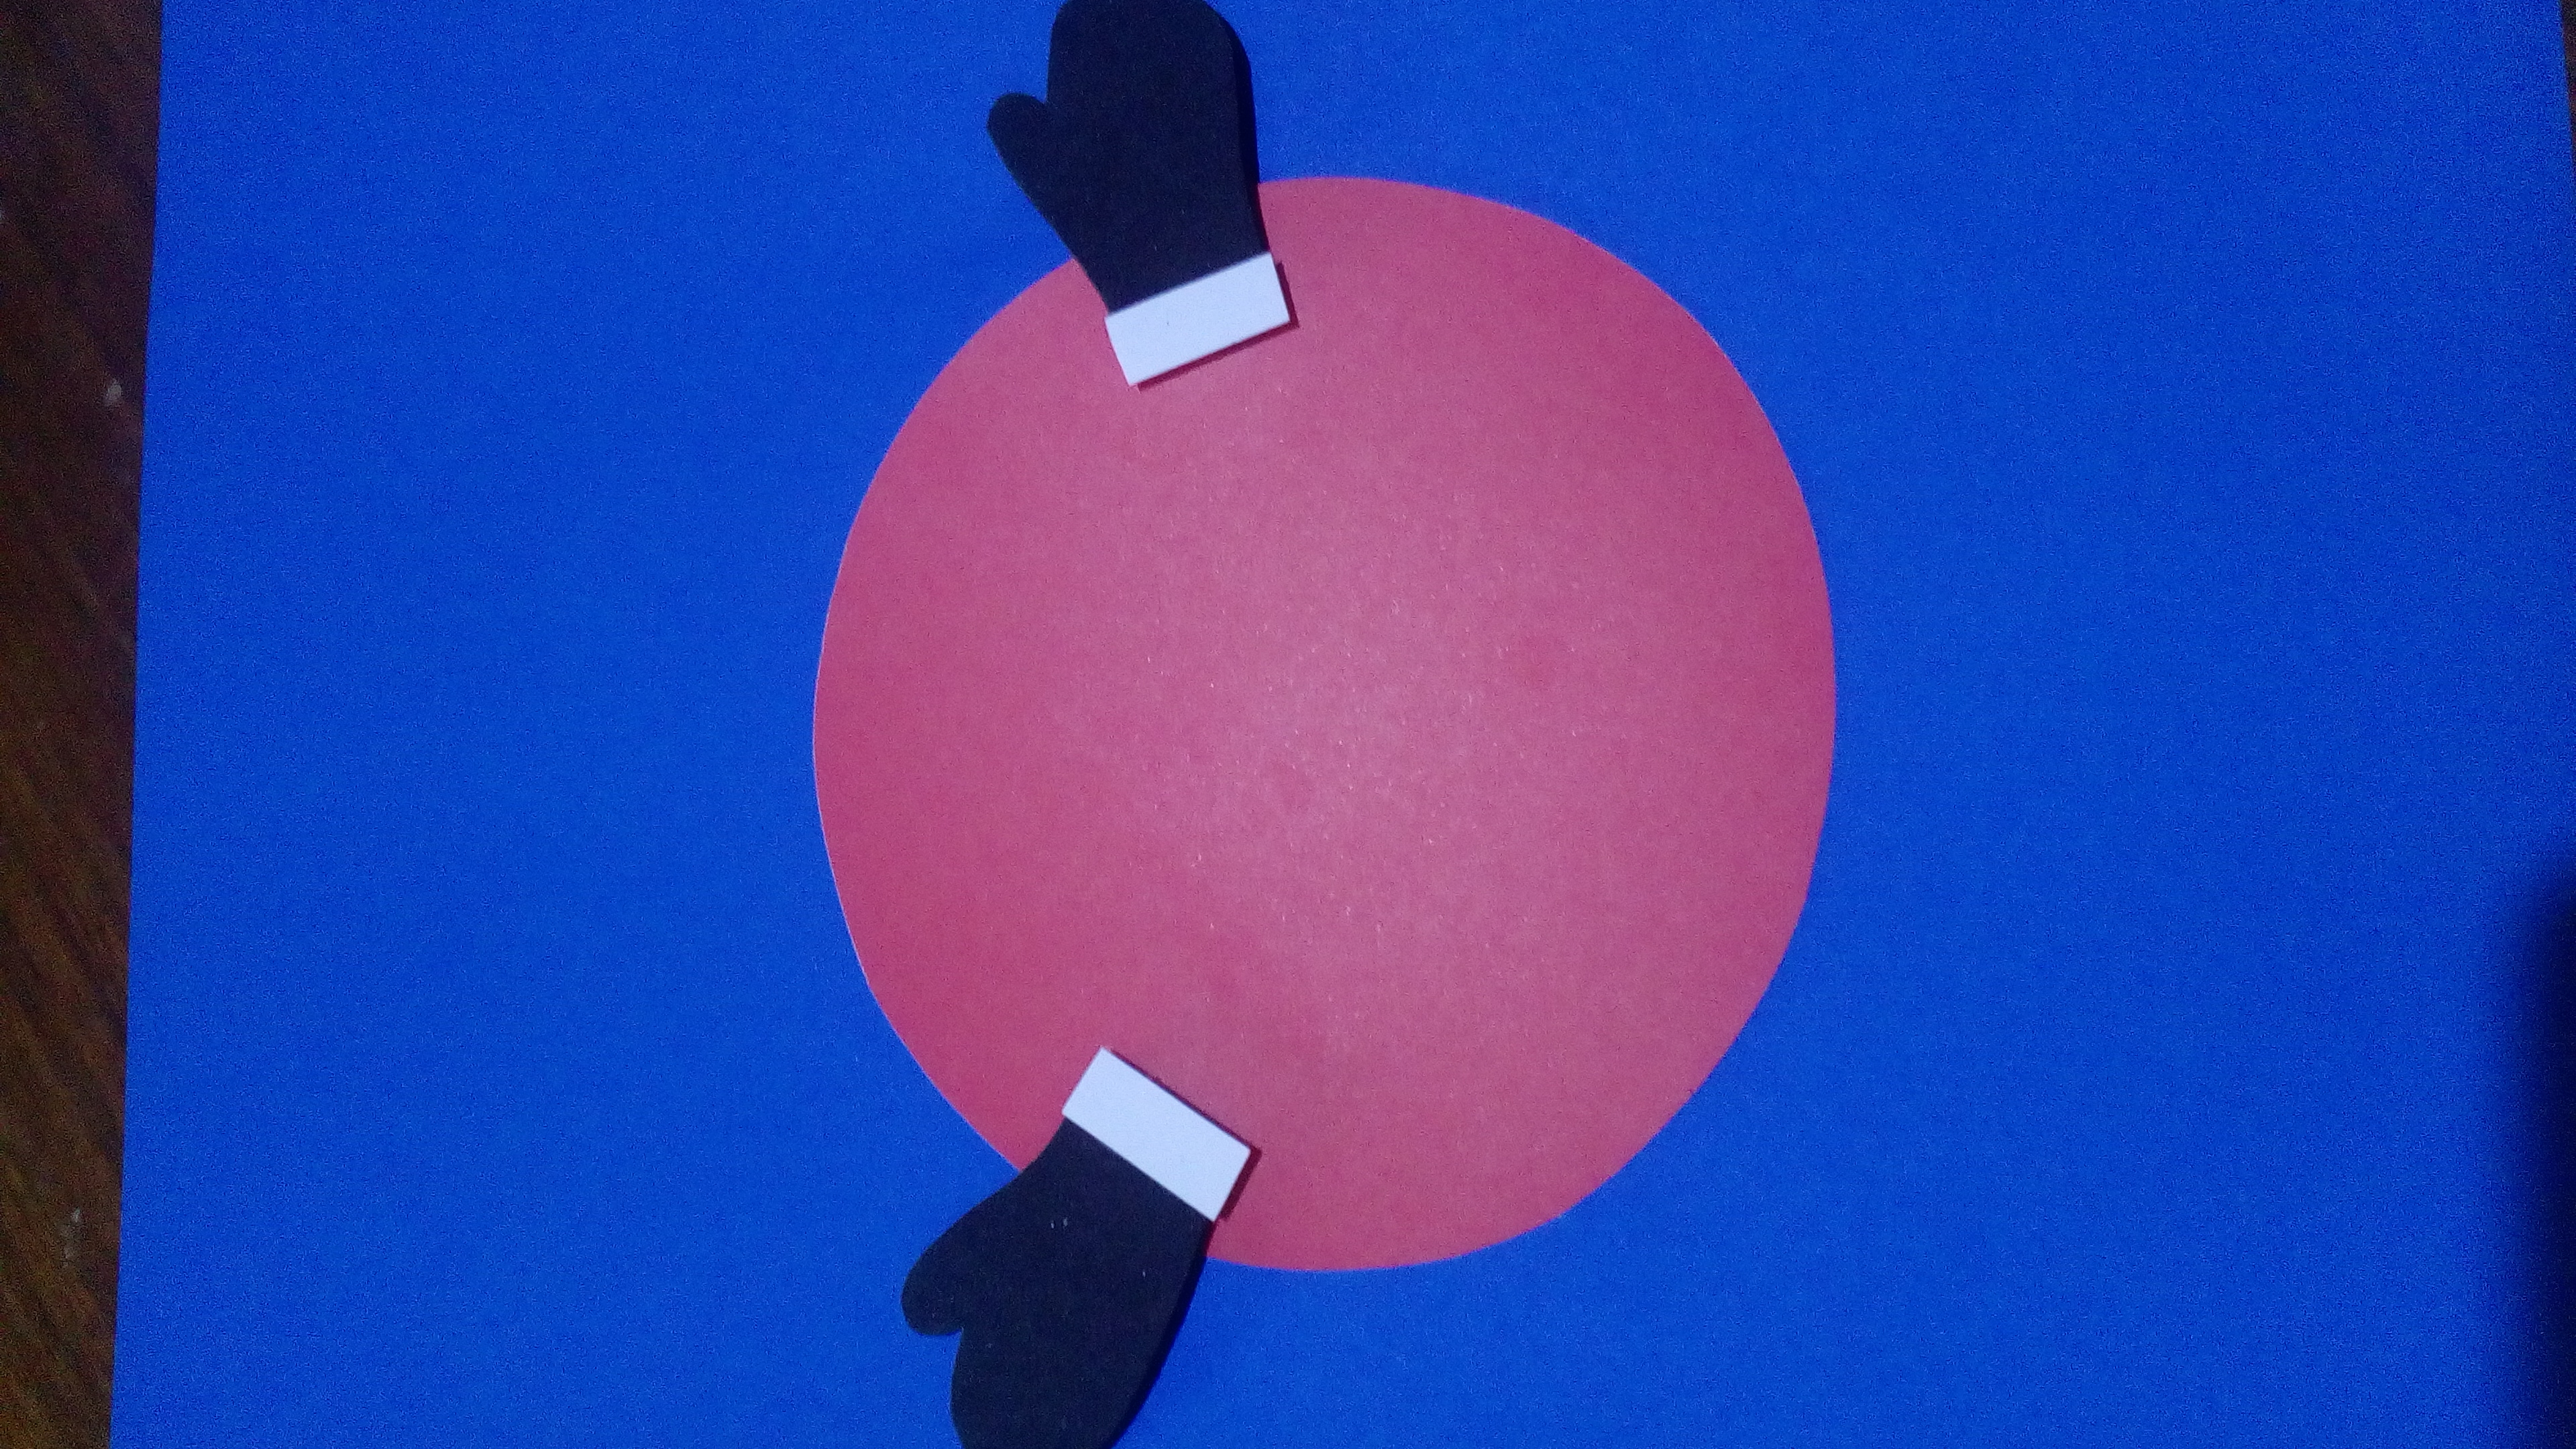
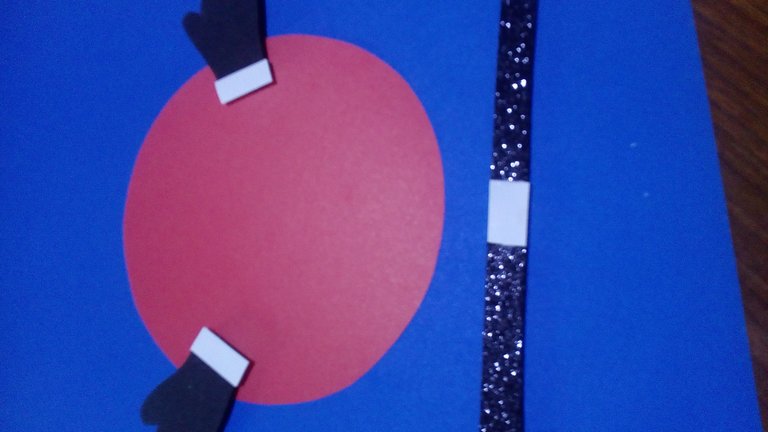
We continue with the red circle, we place both hands and the belt and join the face with the body and the last thing I placed was the red circle of the nose and that's how it looked. | Seguimos con el círculo rojo, se le colocan ambas manos y el cinturón y se unen la carita con el cuerpo y lo último que coloque fue el círculo rojo de la nariz y así quedo |
All photos are my property | Todas las fotos son de mi propiedad |
