Español
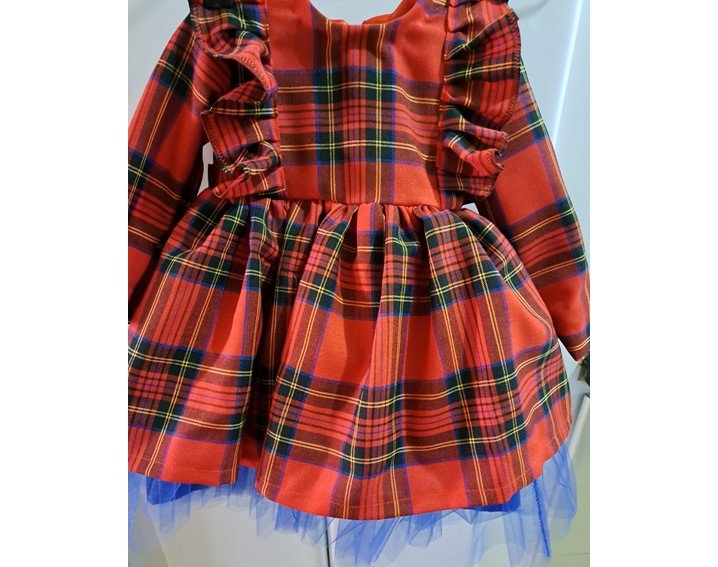
Saludos estimada comunidad, por aquí estamos nuevamente ya que les traigo un hermoso proyecto que realice para mi nieta Emilia, se trata de un hermoso vestido ya que las niñas se ven tan agraciadas luciendo sus vestiditos, y denme decirles que mis nietas tienen mayor satisfacción por el uso de vestidos, porque aun así pequeñita cuando se le pregunta que desea ponerse siempre elije un vestido, bueno y por otro lado a mi me fascina realizarles vestidos.
En esta oportunidad como les dije es para mi nieta Emilia, que al momento de realizárselo no la tenía cerca, más sim embargo con las pocas medidas que me dieron sus padres, espero les quedé bien, porque como ellos no saben tomar medidas, por eso simplemente les dije que me tomaran algunas básicas como era largo desde la cintura a la rodilla, el largo total y el contorno de pecho, jajaja, porque a lo mejor les digo otras y no lo iban a saber realizar.
Como todos sabemos hay cosas que parecen sencillas, pero cuando las personas desconocen totalmente sobre eso, sencillamente no lo pueden realizar porque no es su área, o nunca lo han hecho, quizás lo puedan realizar, pero no de la forma adecuada.
Materiales
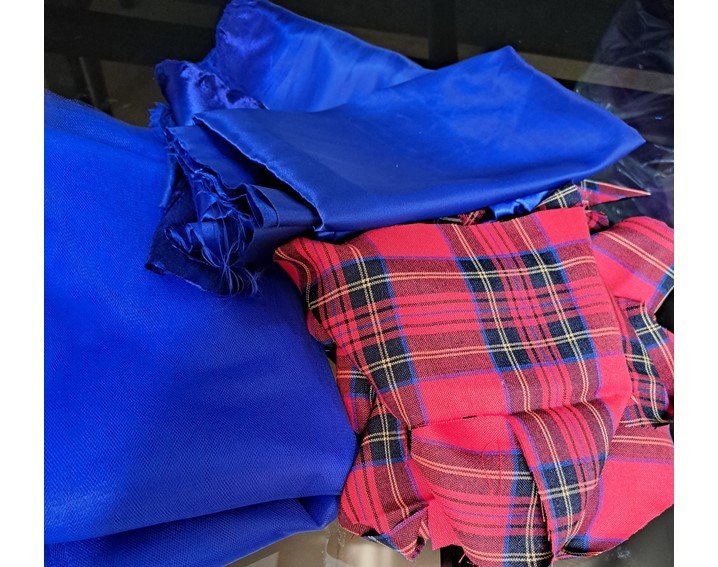
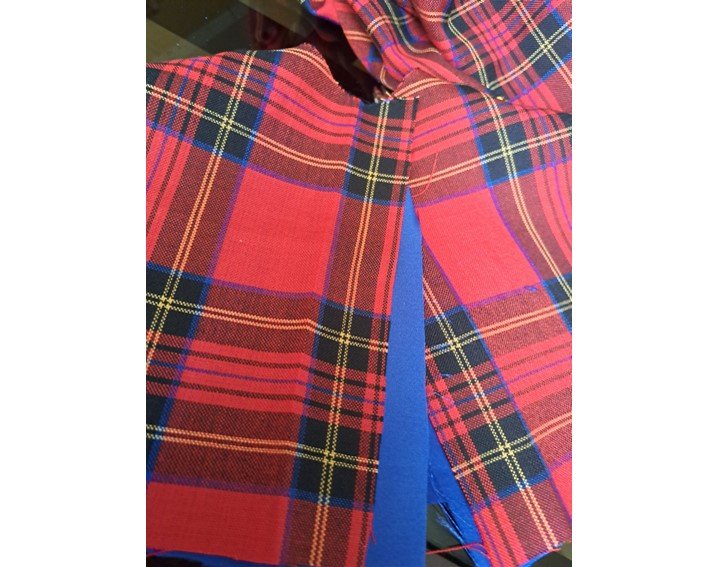
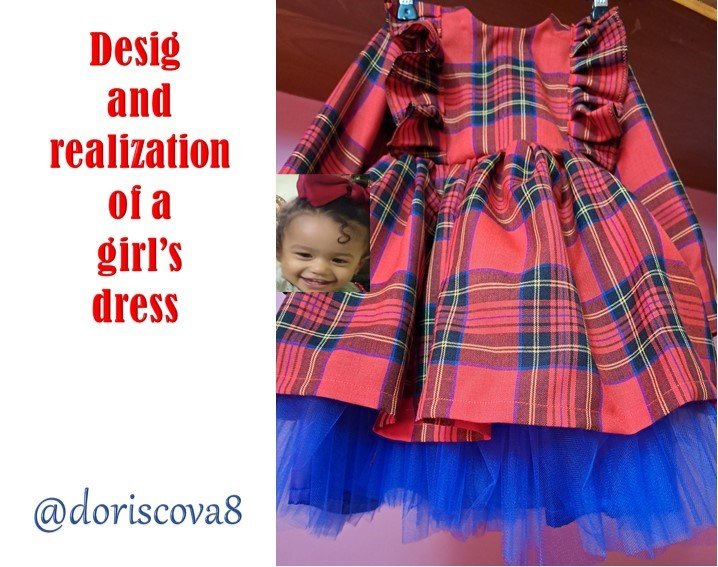
Loa materiales que utilice fue una tela roja tipo escocesa, raso azul rey, tul azul rey, hilo de los colores de las telas, maquina de coser, tijera y papel bond grande.
Procedimiento
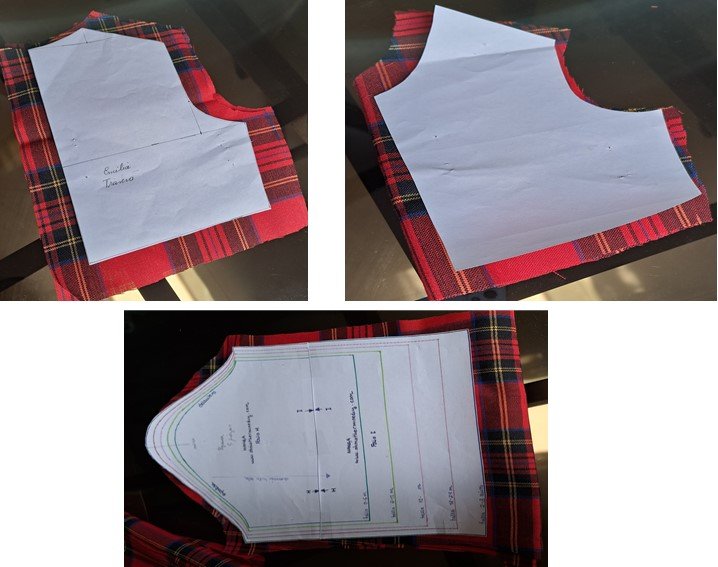
Lo primero que realice fueron los patrones para la blusa, es decir delantero y espalda, según medida y para la manga utilice un patrón que ya tenía de otro proyecto.
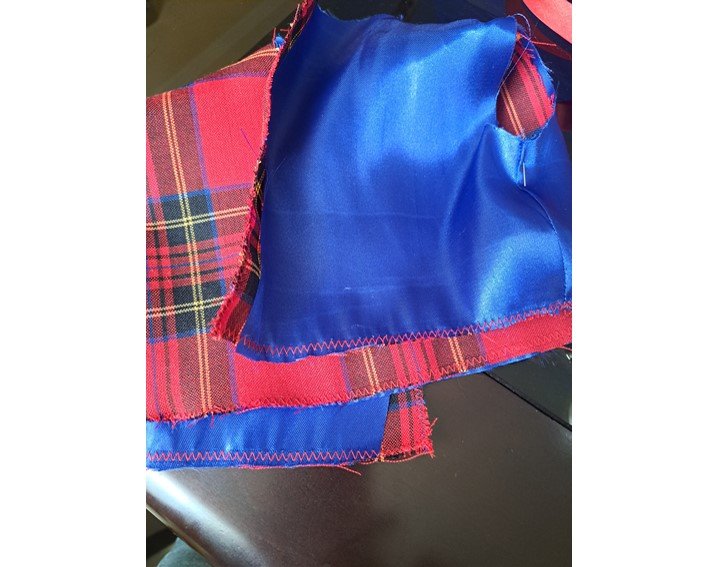
Seguidamente procedí a cortar a cortar las piezas, primeramente, en la tela roja y luego para cortar el forro en el raso azul se sobreponen las piezas y se cortan para que sean mas exactas.
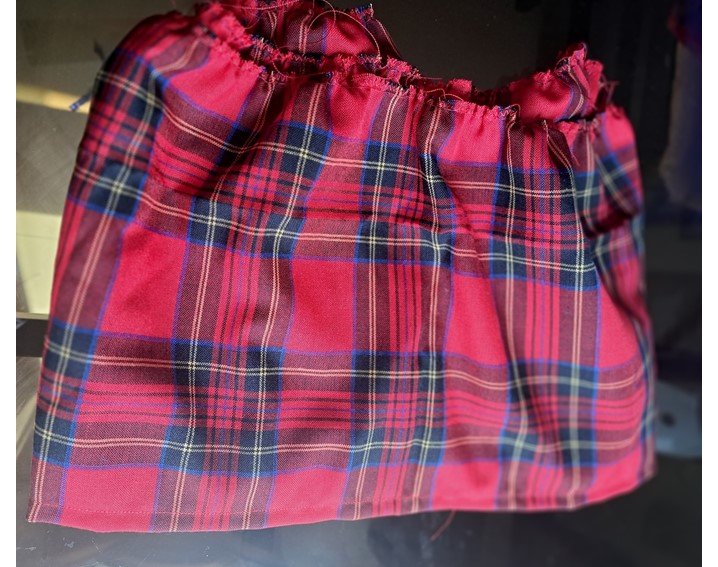
Para la falda corte una pieza del ancho de la tela por el largo de la cintura a la rodilla más 5 cm, eso incluye ruedo y costuras y para que le quede de un largo a la altura de la rodilla.
Para la parte de la blusa con los patrones corte todas las piezas, y luego sobre poniendo las partes de la blusa sobre el raso azul para cortar el forro.
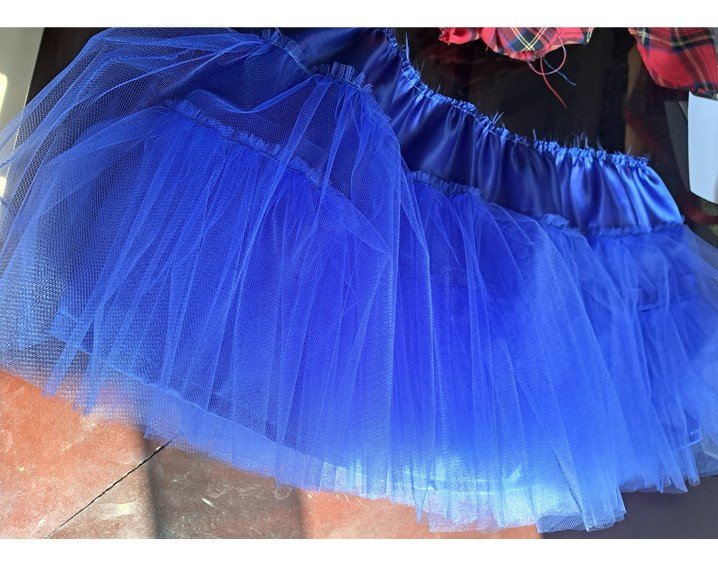
Para cortar la parte de la falda del forro que lleva el tul, la parte de raso se corta del mismo largo que de la falda, en cambio el tul que debe sobre salir de la falda 10 cm será el largo de la falda más los 10 cm, pero lo vamos a cortar como les voy a decir.
Para el tul se cortan tres capas y se colocan con una separación de 8 cm porque es una niña pequeña, pero se realiza por capas precisamente para que le de amplitud a la falda; cada capa de tul se corta al ancho de la tela que es de 3 metros para que realmente pueda armar la falda, ya que como es muy delgadito tiene que ir plisado para que se vea bonito, y el largo de cada capa se corta teniendo en cuenta la separación entre cada una, por ejemplo la primera capa, que va en la parte inferior del forro, serian lo 10 cm que sobre sale, más los 5 cm que va sobre el forro, y así sucesivamente para el corte de las otras que van por encima, teniendo en cuenta que no debe llegar a la cintura.
Lo primero que realizo es la blusita, se cosen los lados tanto de la tela del vestido como los del forro de raso, luego le coloque los faralaos que lleva a ambos lados desde la parte delantera hasta la parte trasera hasta la cintura por ambos lados.
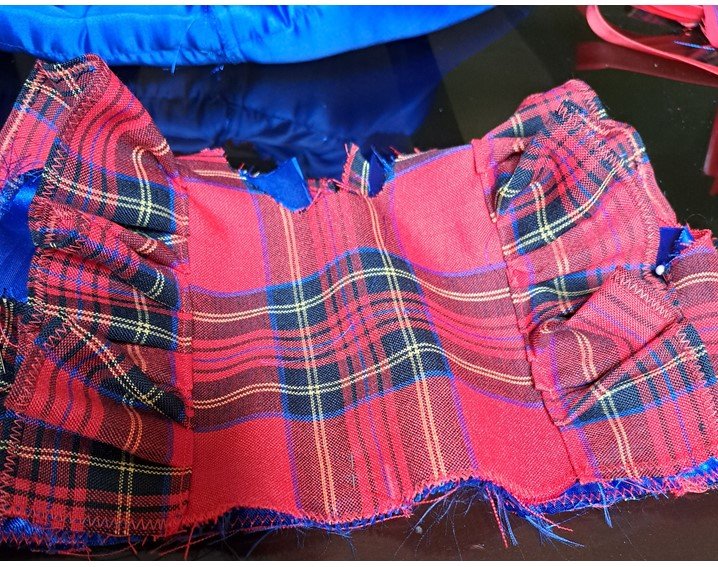
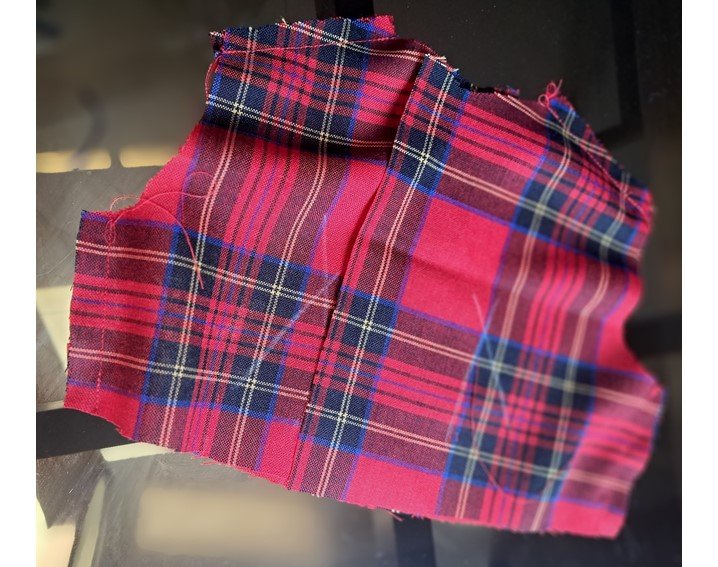
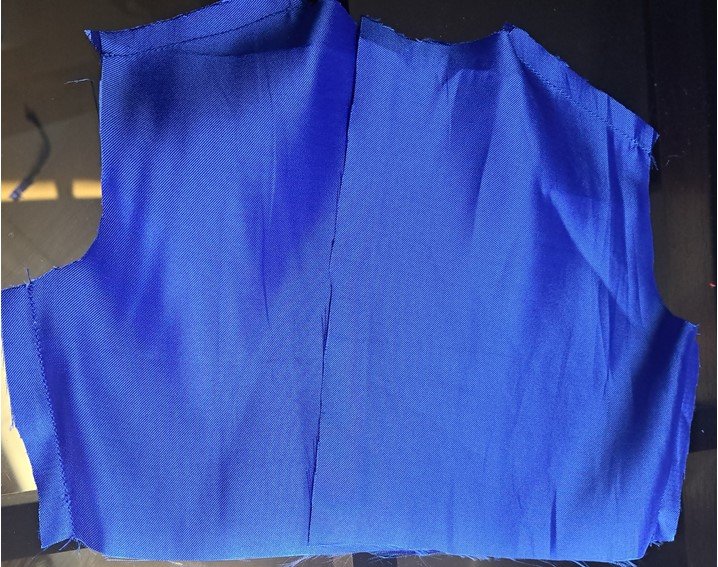
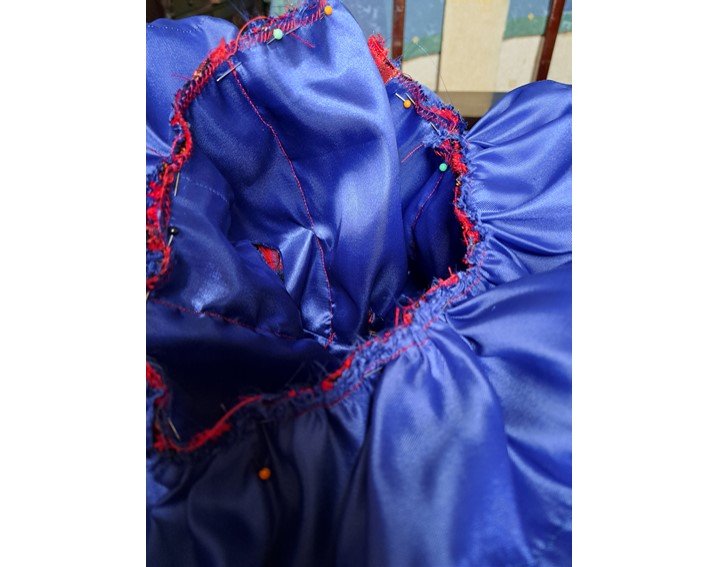
Se le coloca el forro para cuadrar muy bien que estén completamente parejos al momento de colocar a la falda.
Continuamos con el montaje del tul primeramente el faralao inferior, luego el intermedio y por ultimo el superior que no debe llegar a la cintura sino unos 10 cm por debajo.
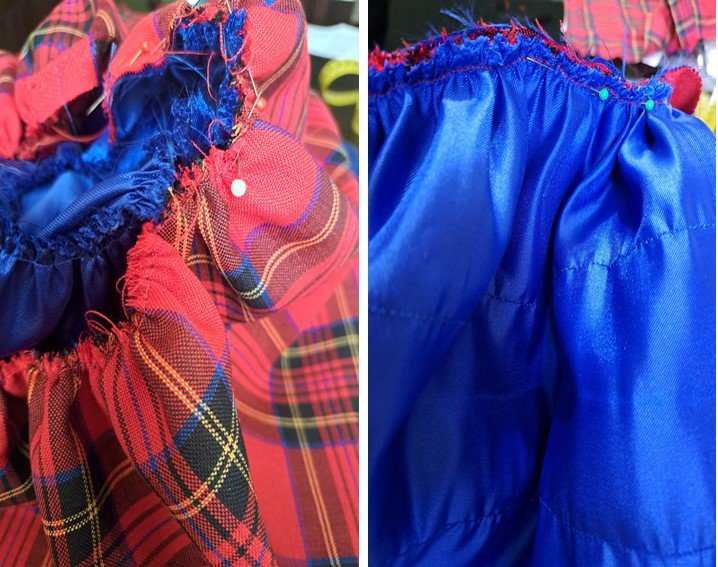
Luego ruchamos por separado la falda y el forro y los unimos.
Luego se unen la falda con la blusa, y después se le colocan las mangas, y de último se le coloca una cremallera de acuerdo a la abertura que quedó en la parte trasera para ello.
La verdad que les digo que realizar este tipo de trajecitos de niña son muy lindos, pero también son muy laboriosos cuando llevan tul, ya que es una tele sumamente fina y hay que coser con mucho cuidado.
English
Greetings dear community, here we are again because I bring you a beautiful project that I made for my granddaughter Emilia, it is a beautiful dress because the girls look so graceful wearing their dresses, and let me tell you that my granddaughters have more satisfaction for wearing dresses, because even so small when asked what she wants to wear she always chooses a dress, well and on the other hand I love to make dresses for them.
In this opportunity as I told you it is for my granddaughter Emilia, that at the moment of making it I did not have her close, however with the few measures that her parents gave me, I hope it fit them well, because as they do not know how to take measurements, so I simply told them to take some basic ones like the length from the waist to the knee, the total length and the chest circumference, hahaha, because maybe I tell them others and they were not going to know how to make it.
As we all know there are things that seem simple, but when people do not know anything about it, they simply cannot do it because it is not their area, or they have never done it, maybe they can do it, but not in the right way.
Materials
The materials I used were red plaid fabric, king blue satin, king blue tulle, thread of the colors of the fabrics, sewing machine, scissors and large bond paper.
Procedure
The first thing I made were the patterns for the blouse, i.e. front and back, according to size and for the sleeve I used a pattern I already had from another project.
Then I proceeded to cut the pieces, first, in the red fabric and then to cut the lining in the blue satin overlap the pieces and cut them to be more accurate.
For the skirt cut a piece of the width of the fabric by the length of the waist to the knee plus 5 cm, that includes the hem and seams and so that it is of a length at the knee.
For the blouse part with the patterns cut all the pieces, and then over lay the blouse parts on the blue satin to cut the lining.
To cut the part of the skirt that has the tulle lining, the satin part is cut to the same length as the length of the skirt, while the tulle that should overlap the skirt by 10 cm will be the length of the skirt plus the 10 cm, but we will cut it as I am going to tell you.
For the tulle three layers are cut and placed with a separation of 8 cm because it is a small girl, but it is done in layers precisely to give amplitude to the skirt; each layer of tulle is cut to the width of the fabric which is 3 meters so you can really assemble the skirt, because as it is very thin it has to be pleated to look nice, and the length of each layer is cut taking into account the separation between each, for example the first layer, which goes on the bottom of the lining, would be the 10 cm that comes out, plus the 5 cm that goes on the lining, and so on for cutting the others that go above, taking into account that it should not reach the waist.
The first thing I do is the blouse, sew the sides of both the fabric of the dress and the satin lining, then place the faralaos on both sides from the front to the back to the waist on both sides.
The lining is placed to square very well that they are completely even at the time of placing the skirt.
We continue with the assembly of the tulle, first the lower faralao, then the intermediate and finally the upper one that should not reach the waist but about 10 cm below.
Then we ruch separately the skirt and the lining and join them together.
Then we join the skirt with the blouse, and then we put the sleeves, and finally we put a zipper according to the opening that was left in the back for it.
The truth I tell you is that making this kind of little girl costumes are very nice, but they are also very laborious when they have tulle, since it is an extremely thin fabric and you have to sew very carefully.
Translated with www.DeepL.com/Translator (free version)
Fuente de imágenes: Archivo Personal.


MIS REDES SOCIALES