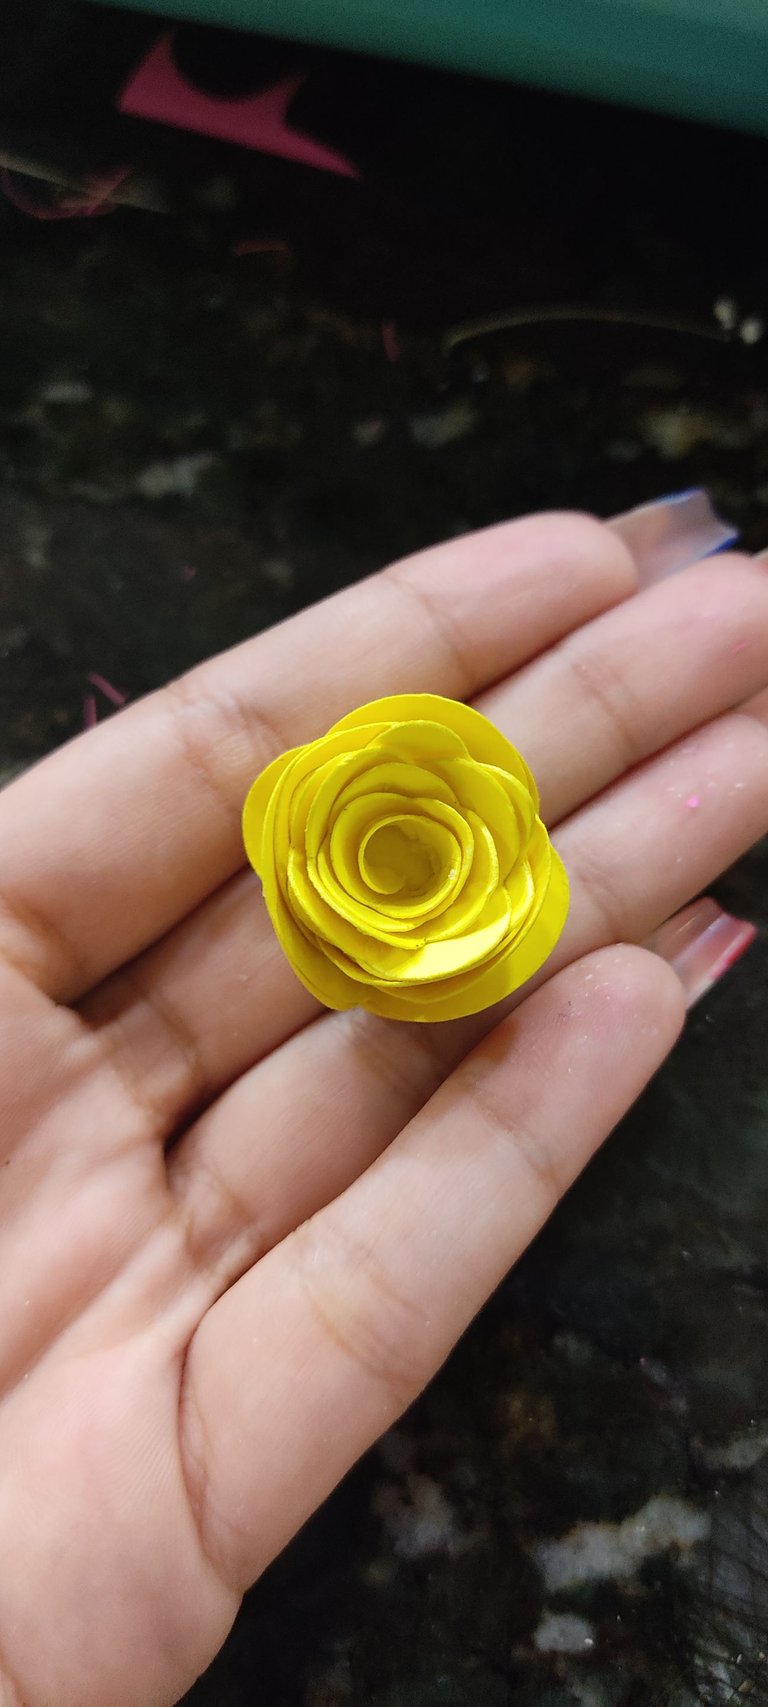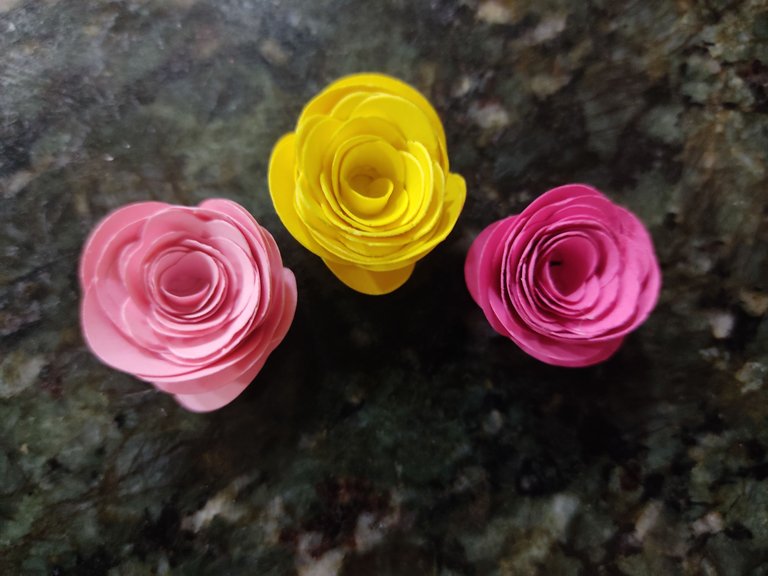
Hola mi gente linda de Hive, hoy quiero enseñarles como realizo estas hermosas flores de papel, espero que este post le sirva de mucha ayuda por si quieren realizarlas en algún momento, quedan súper bellas.
Hello my beautiful people from Hive, today I want to show you how I make these beautiful paper flowers, I hope this post will be very helpful in case you want to make them at some point, they are super beautiful.

Materiales:
• Cartulina de colores.
• Máquina Sizzix.
• Silicón.
• Palillo de altura.
Materials:
• Colour cardboard.
• Sizzix machine.
• Silicone.
• Height stick.

A la hora de realizar figuras de papelería sin duda alguna mi mejor aliada es esta máquina Sizzix me facilita muchísimo el trabajo además de eso, todo queda super bien cortado y muy bonito.
When it comes to making stationery figures, without a doubt my best ally is this Sizzix machine that makes my work much easier, besides that, everything is super well cut and very beautiful.

La máquina Sizzix es una evolución mejorada de una troqueladora del año 1977 de nombre Ellison LetterMachine. ¡Es la herramienta de corte por excelencia! Con tu Sizzix podrás hacer embossing y cortar todo tipo de formas en papel, tela, Goma Eva, fieltro, acetato y otros muchos materiales.
La aliada ideal para todo tipo de manualidades.
The Sizzix machine is an improved evolution of a 1977 Ellison LetterMachine die cutter. It is the cutting tool par excellence! With your Sizzix you can emboss and cut all kinds of shapes on paper, fabric, Eva Rubber, felt, acetate and many other materials.
The ideal ally for all kinds of crafts.

Para realizar estas hermosas flores debes seguir estos simples pasos:
To make these beautiful flowers you must follow these simple steps:
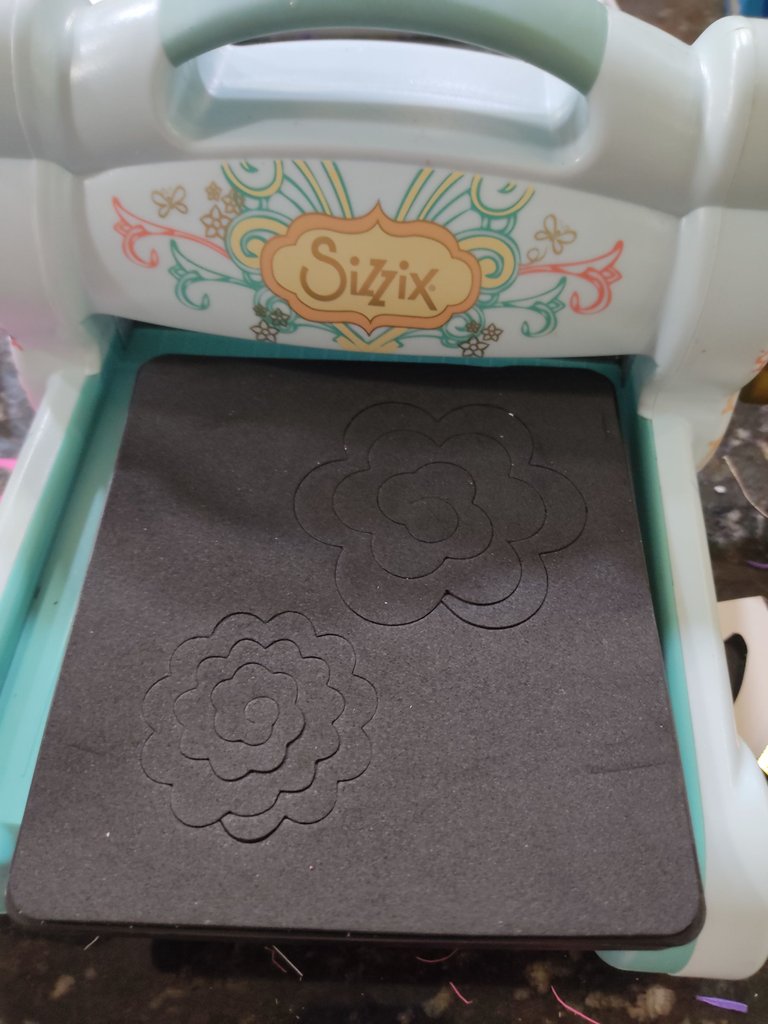
Paso 1: Poner el molde a utilizar en la máquina Sizzix en este caso serán las flores.
Step 1: Put the mold to be used in the Sizzix machine, in this case it will be the flowers.
Paso 2: Cortar un pedazo de cartulina y montarla arriba del molde a utilizar.
Step 2: Cut a piece of cardboard and mount it on top of the mold to be used.
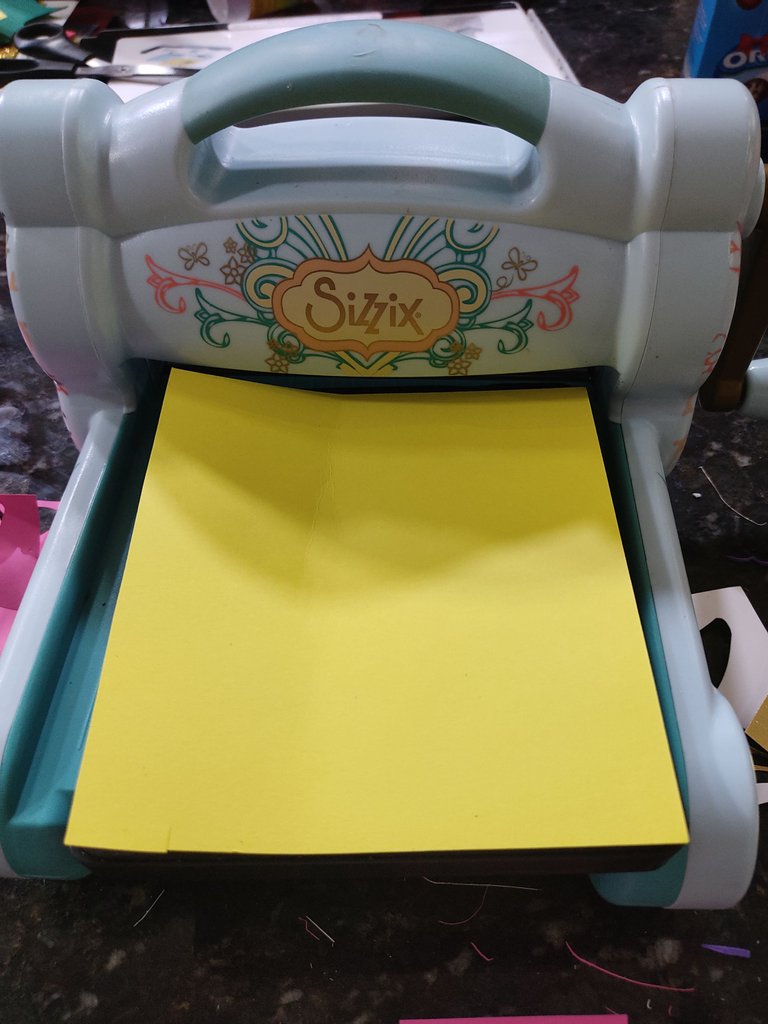
Paso 3: Arriba del papel debes montar las dos laminas de acrílico que trae la máquina.
Step 3: On top of the paper you must mount the two acrylic sheets that the machine brings.
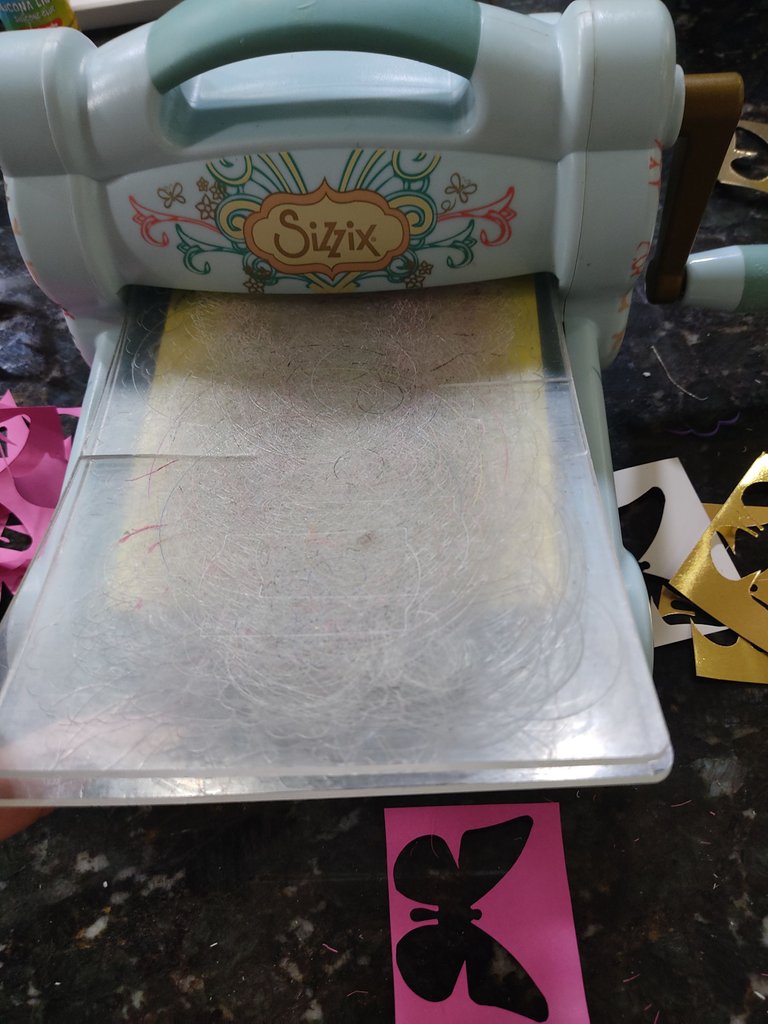
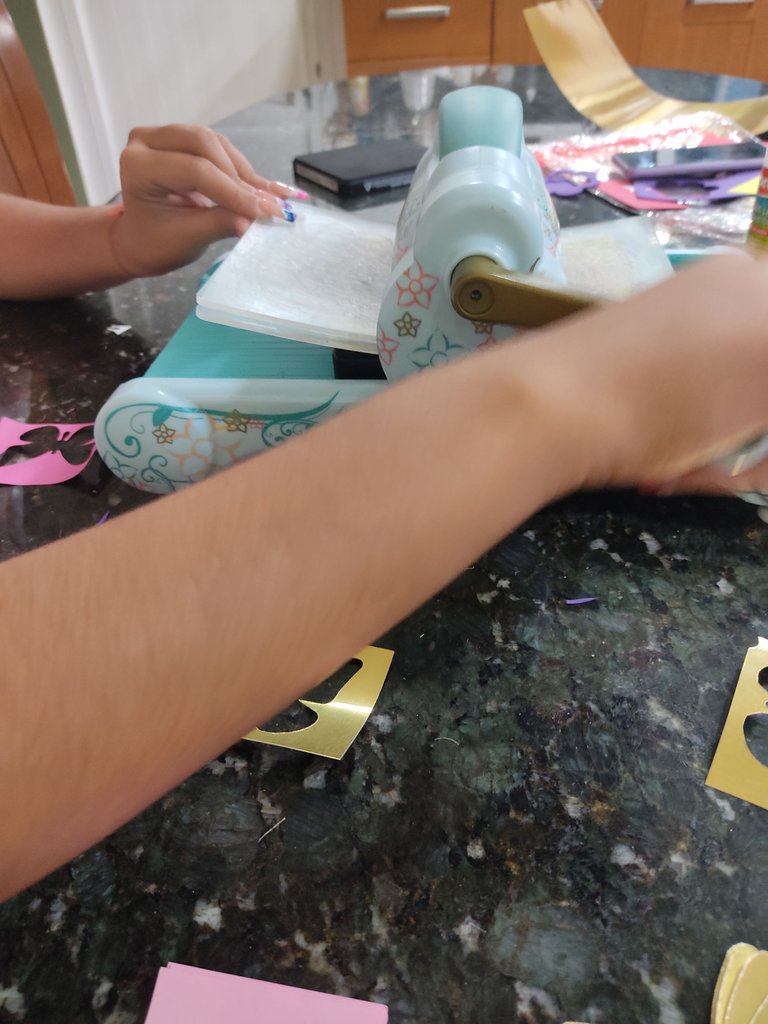
Paso 4: Darle vuelta a la manilla de la máquina, yo lo hago 4 veces y así será el resultado del corte.
Step 4: Turn the handle of the machine, I do it 4 times and this will be the result of the cut.
Paso 5: Con el palillo de altura enrollar desde la punta el corte más pequeño de la flor, debes ir haciéndolo poco a poco y la flor agarrará la forma adecuada.
Step 5: With the height stick roll the smallest cut of the flower from the tip, you must do it little by little and the flower will take the appropriate shape.
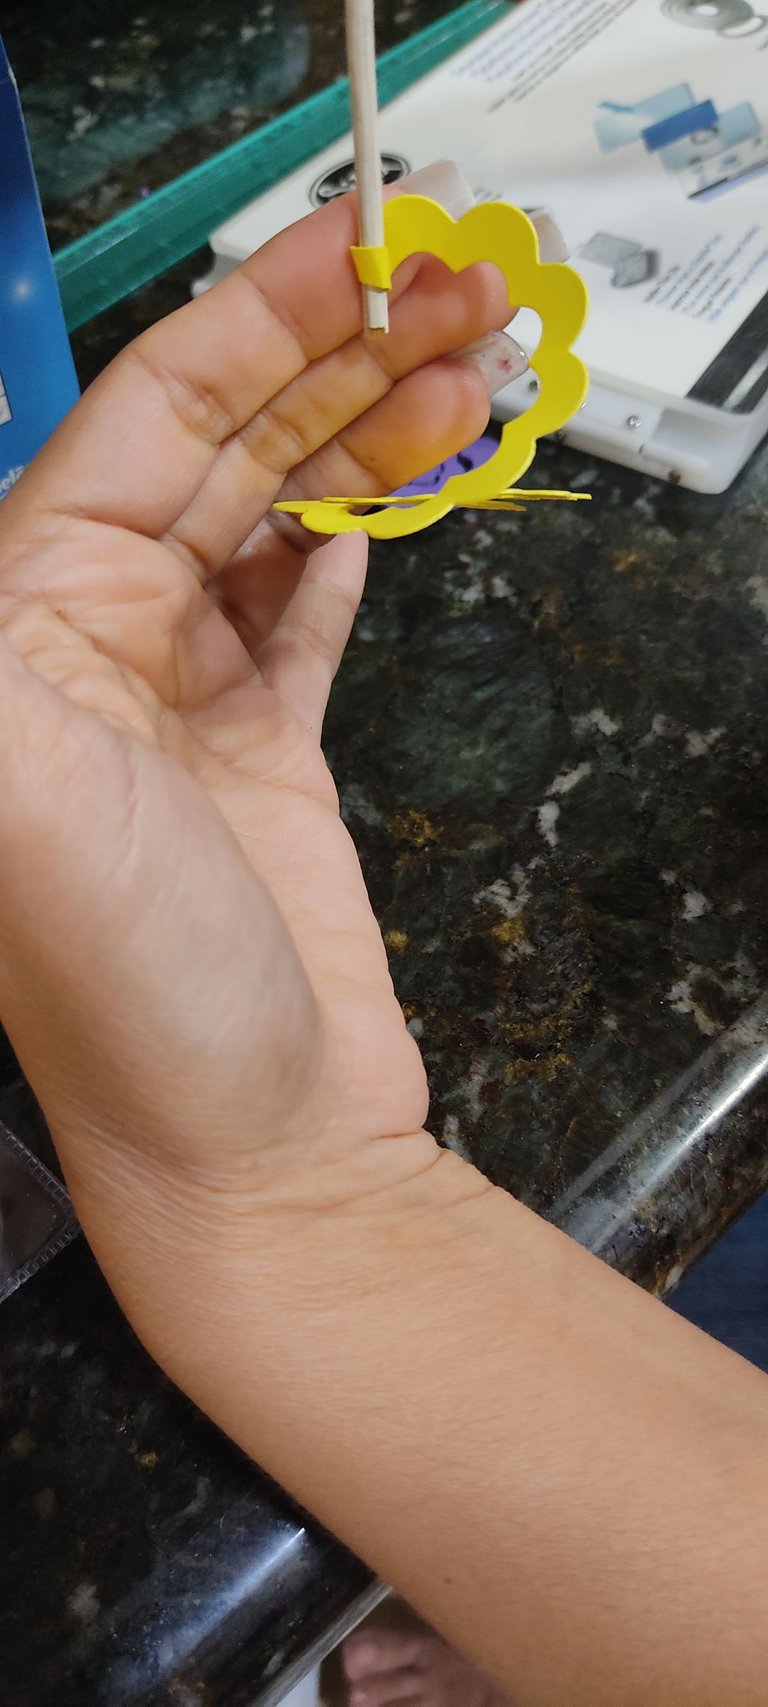

Paso 6: Agregar silicón en la punto para que quede fija.
Step 6: Add silicone at the point so that it is fixed.
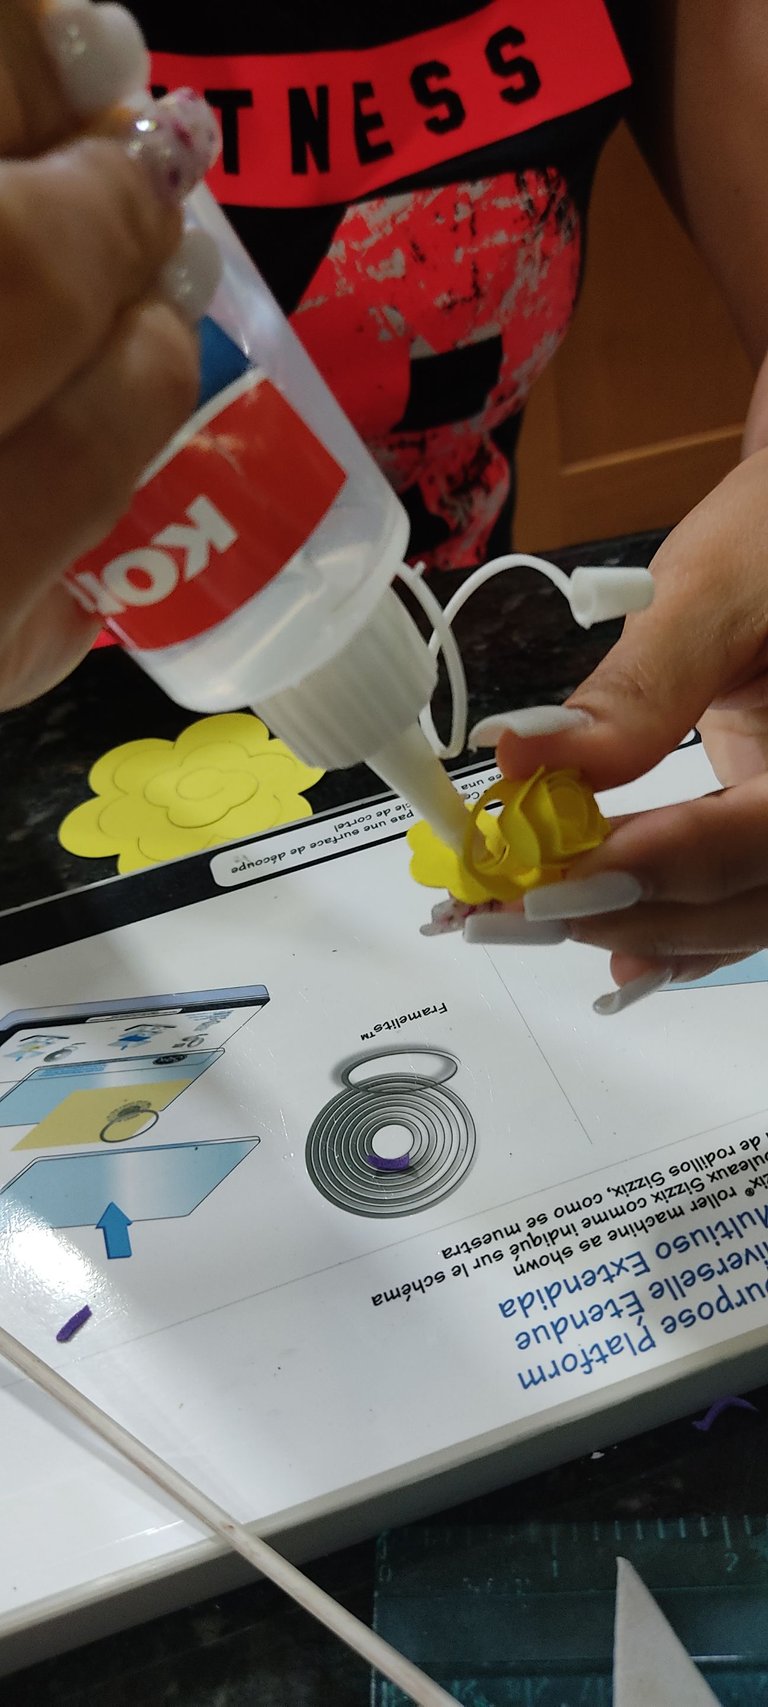
Paso 7: Aplicar el mismo procedimiento con el corte de flor más grande.
Step 7: Apply the same procedure with the largest flower cut.
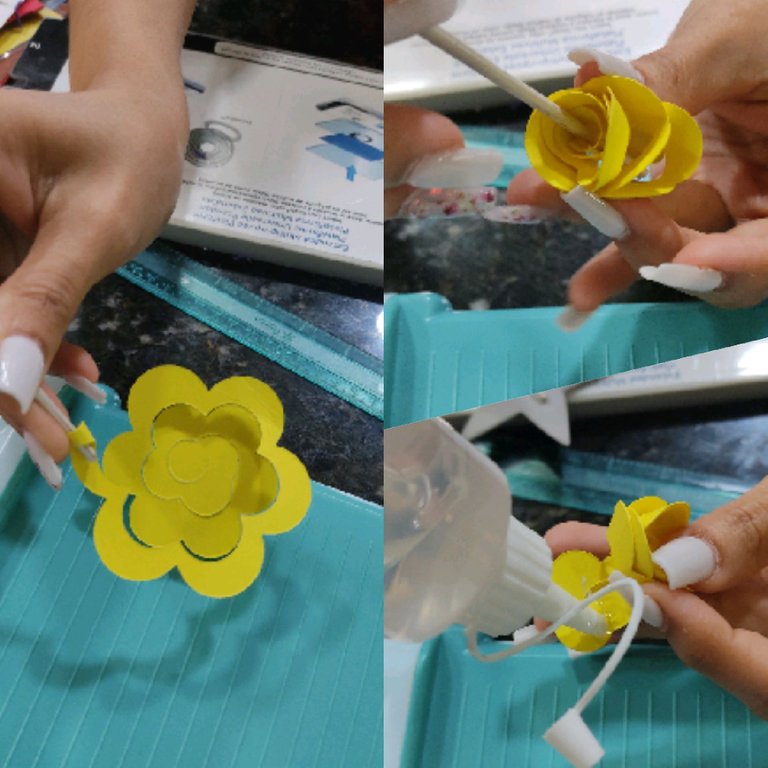
Paso 8: Una vez terminada ambas partes debes agregarle silicón y pegar las dos partes.
Step 8: Once both parts are finished you must add silicone and glue the two parts.
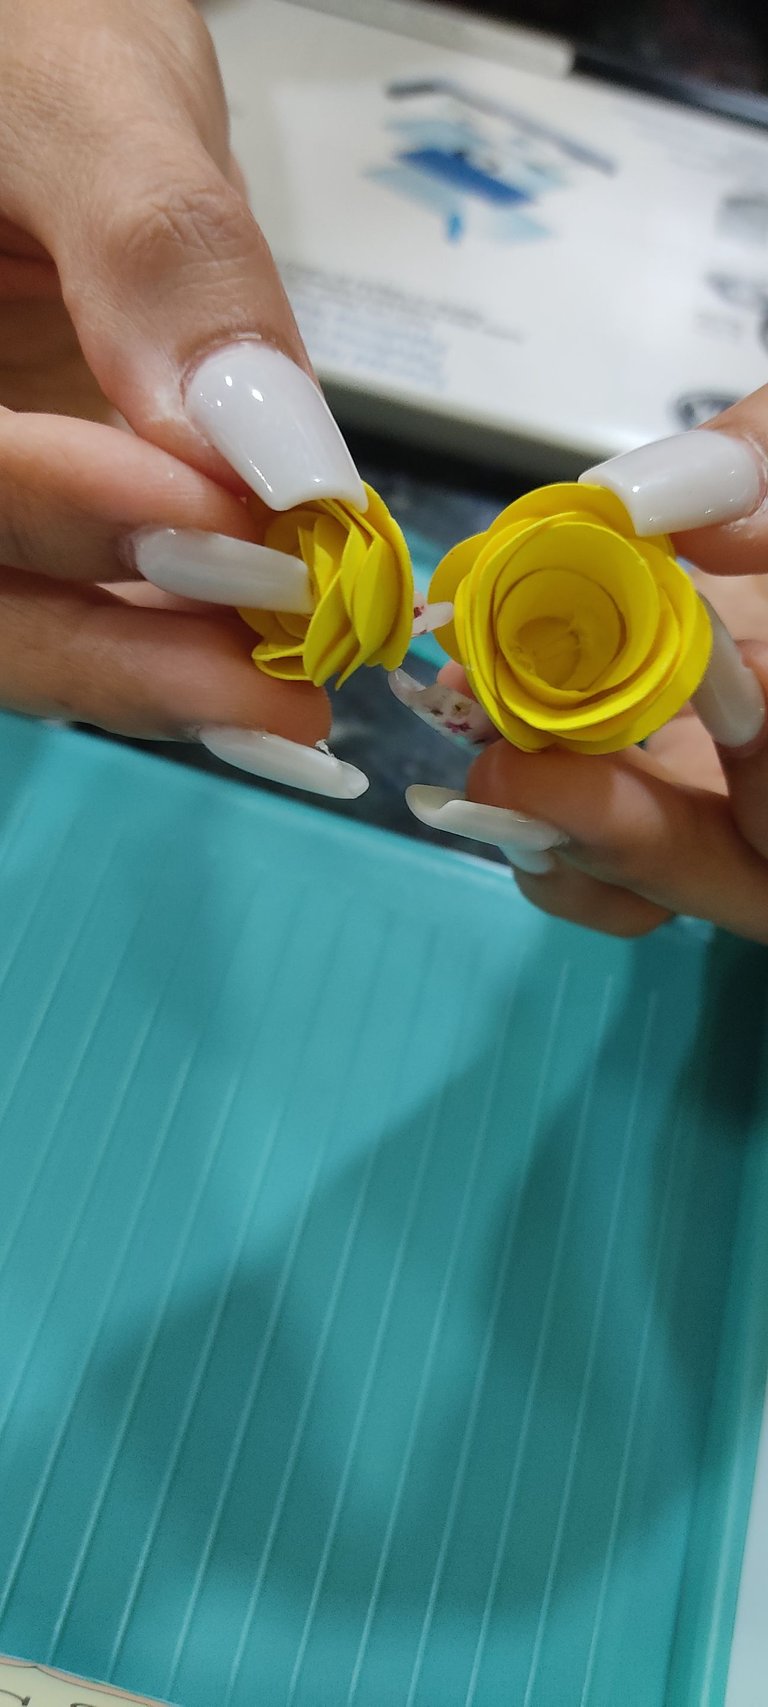

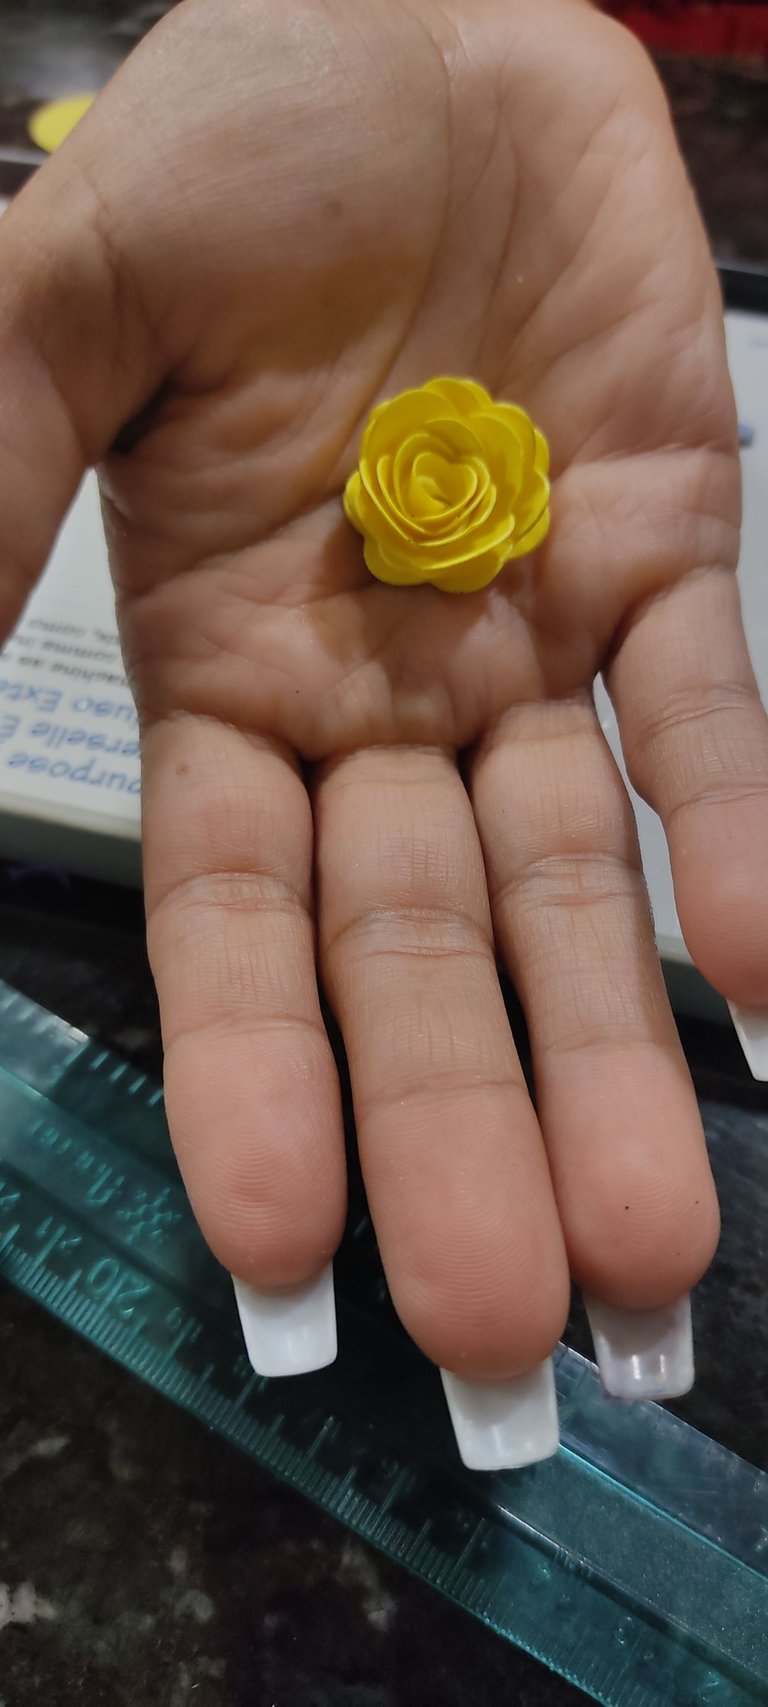
Vieron lo práctica que es esta máquina?, asi fueron los resultados, quedaron súper hermosas estas flores, espero que les haya gustado!!🌸🌸🌸
Did you see how practical this machine is? So were the results, these flowers were super beautiful, I hope you liked it !! 🌸🌸🌸
