ESPAÑOL
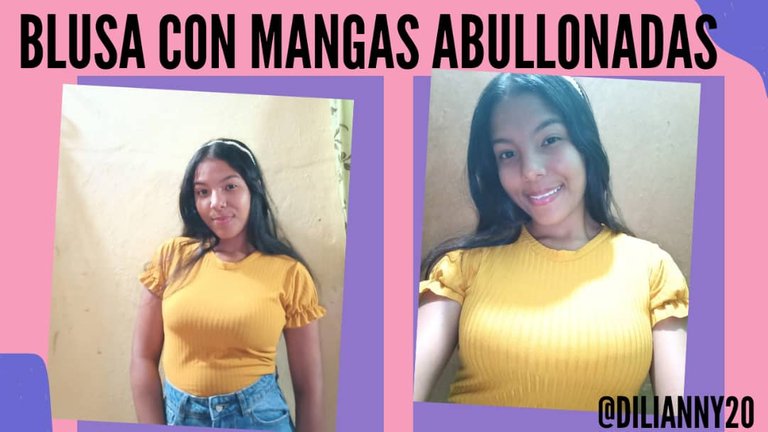
Fotografia de mi propiedad

Hola amigos de Hive Diy ❤️ después de varios meses de ausencia hoy estoy aquí para compartir con ustedes una vez más de lo que he aprendido. En esta ocasión les mostraré como realizar una camisa con mangas cortas abullonadas, es una tendencia genial que le da mucha formalidad y hermosa vista a las blusas. Las podemos utilizar en cualquiera ocasión ya que la tela no genera calor, es muy cómoda. Espero les guste🥰💚

Materiales que utilicé
- 🌸 Tela color mostaza Micro Rib 8x4
- 🌸 Ganchillos
- 🌸 Tijera ✂
- 🌸 Máquina de coser
- 🌸 Cinta métrica
- 🌸 Tiza
Pasos para realizar la blusa
Paso 1:
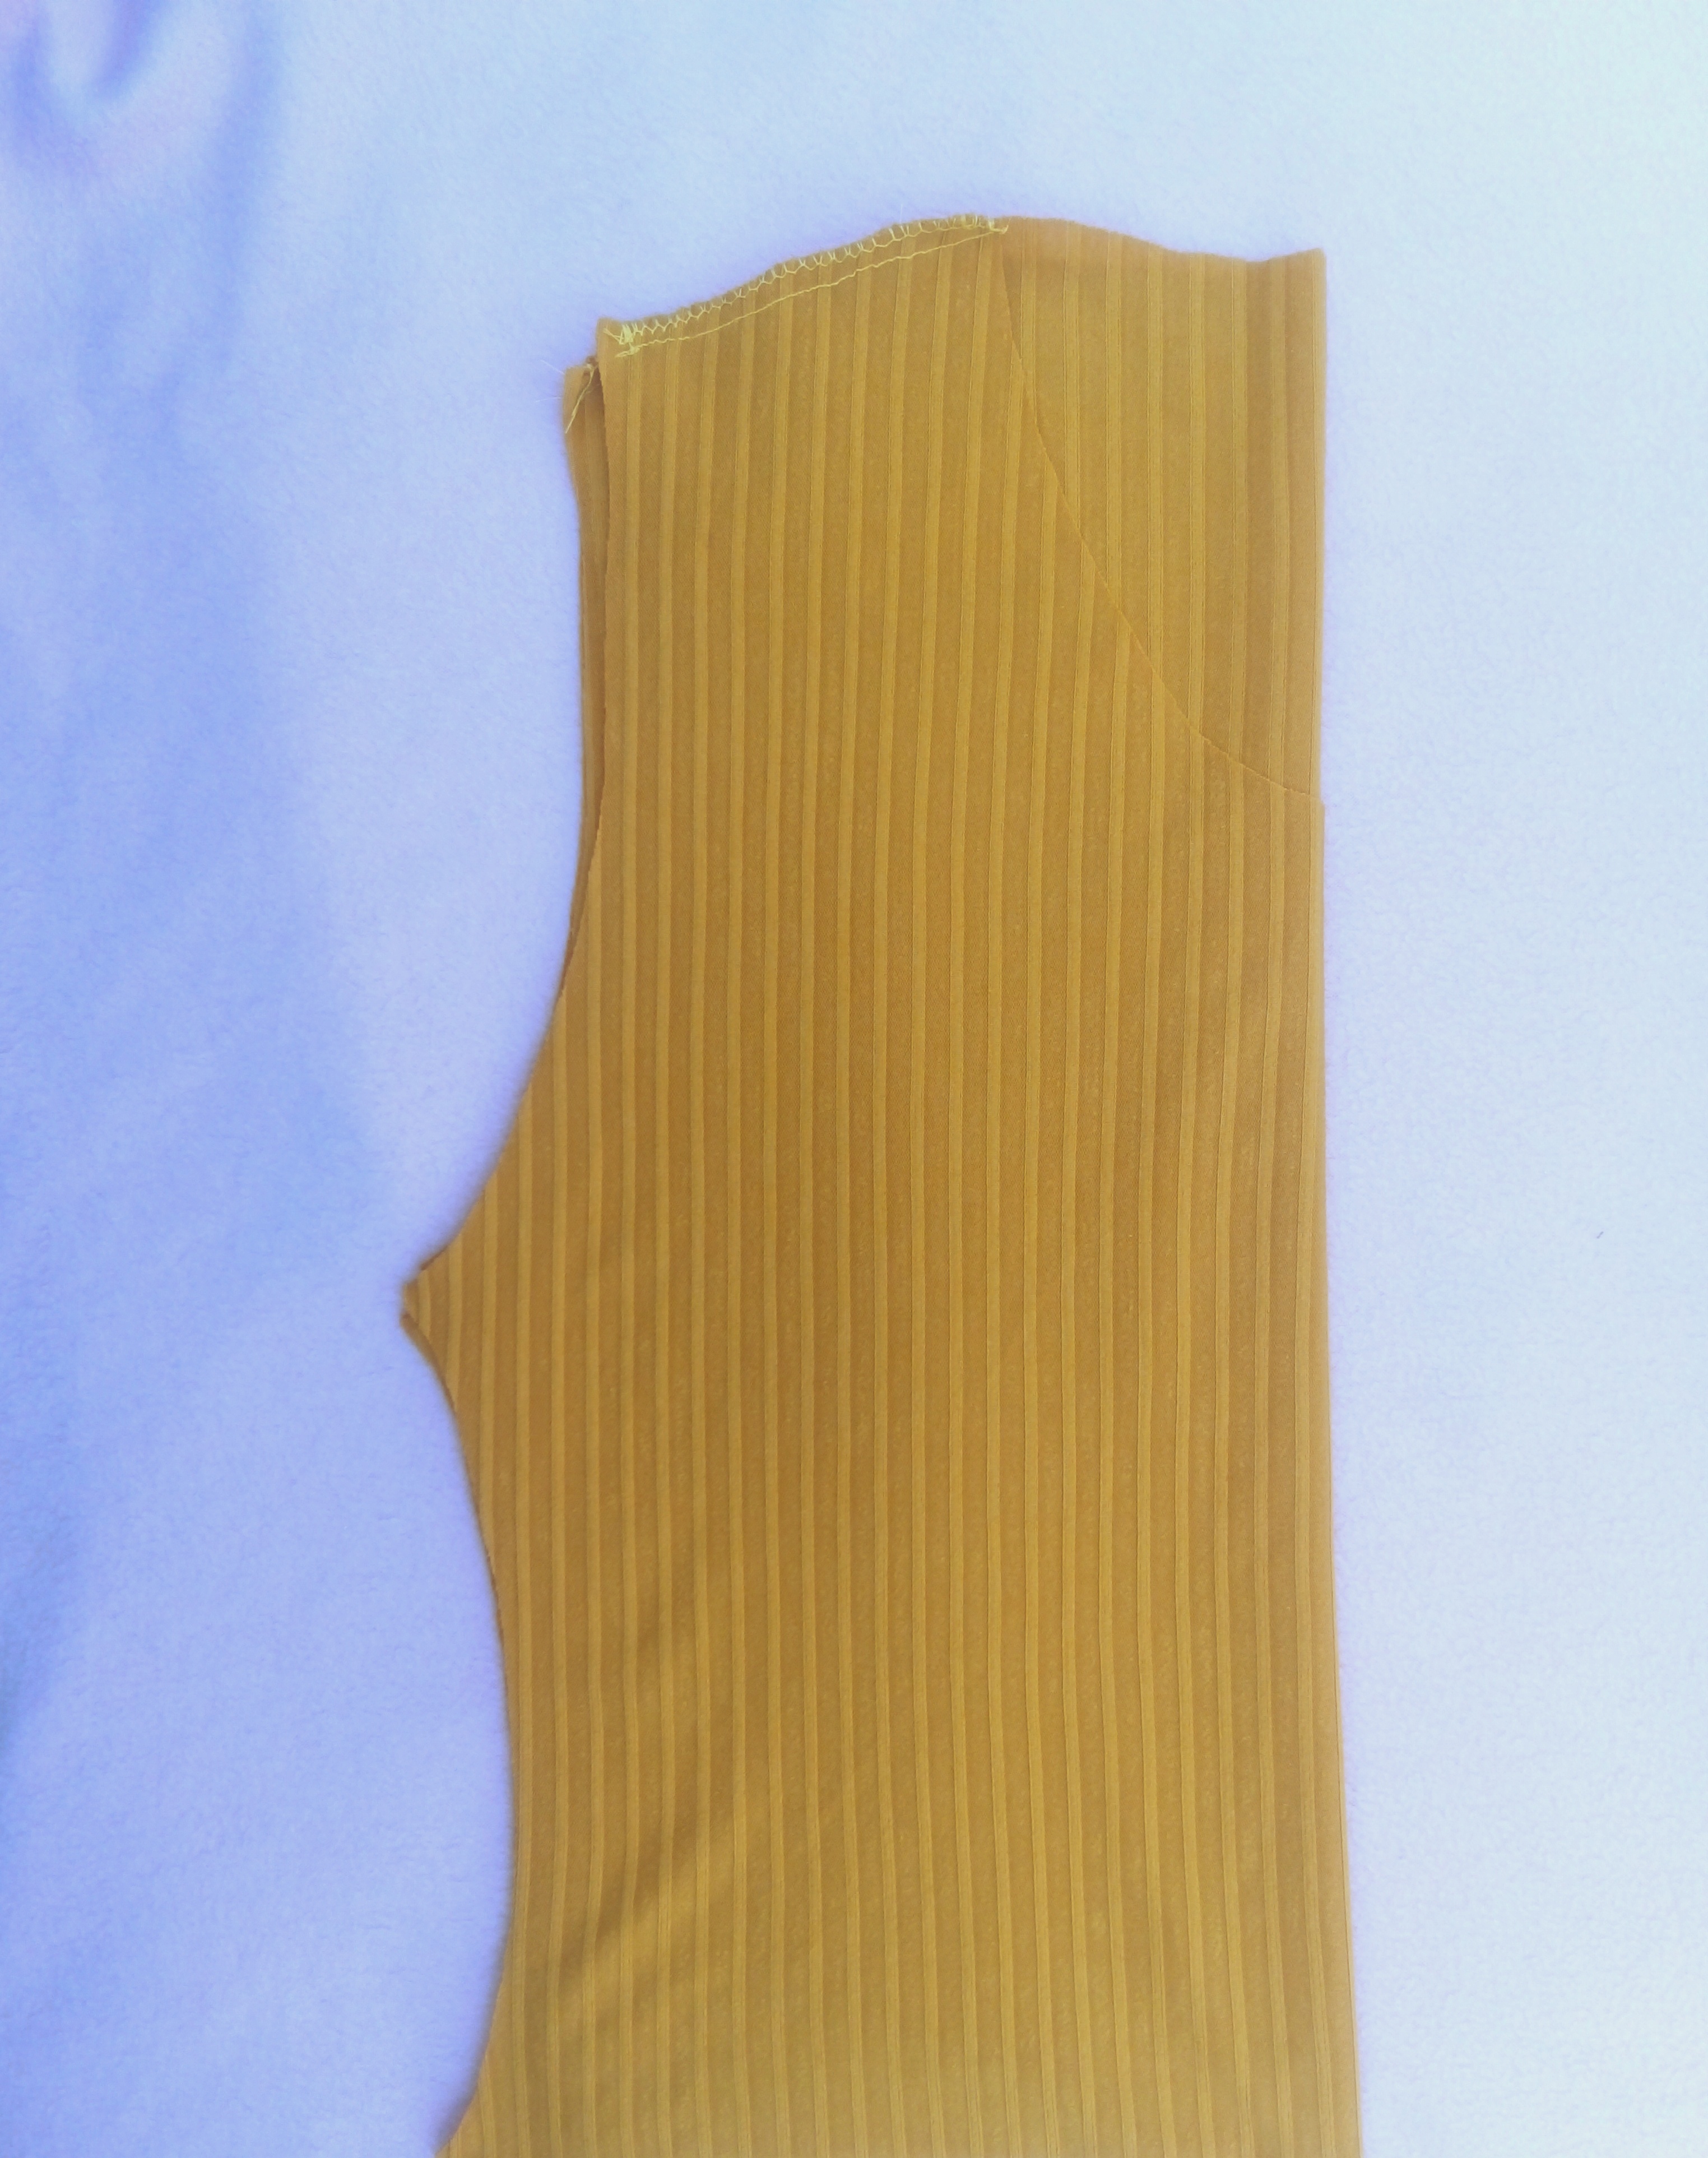
Lo primero que debemos hacer es tomar la tela y medir 40 cm de largo y 37 cm de ancho, cabe mencionar que ya aquí están contados los centímetros de costura, luego vamos a cortar un cuadro con estás respectivas medidas.
Después de esto medimos 20 cm de largo y cortamos para hacer la forma de la manga, luego hacemos la silueta de la cintura y seguiremos a cortar el cuello delantero y el de la parte trasera.
Paso 2:
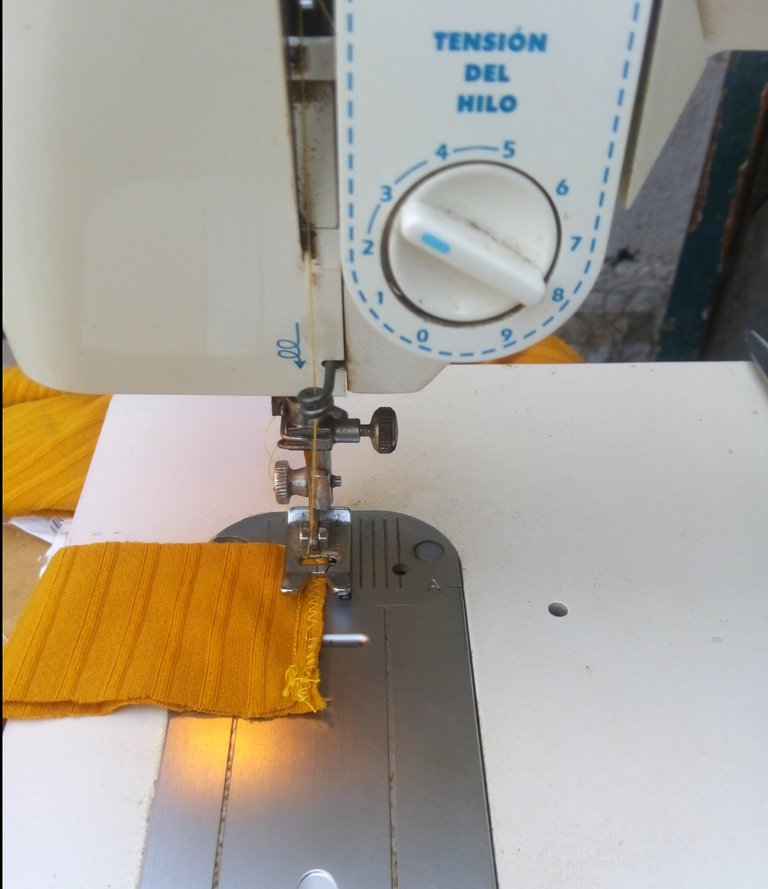
Ahora vamos a cortar una tira de 4 cm de ancho y 44 cm de largo, luego la doblamos por ambos laterales y cosemos en forma recta y zigzag. .
Paso 3:
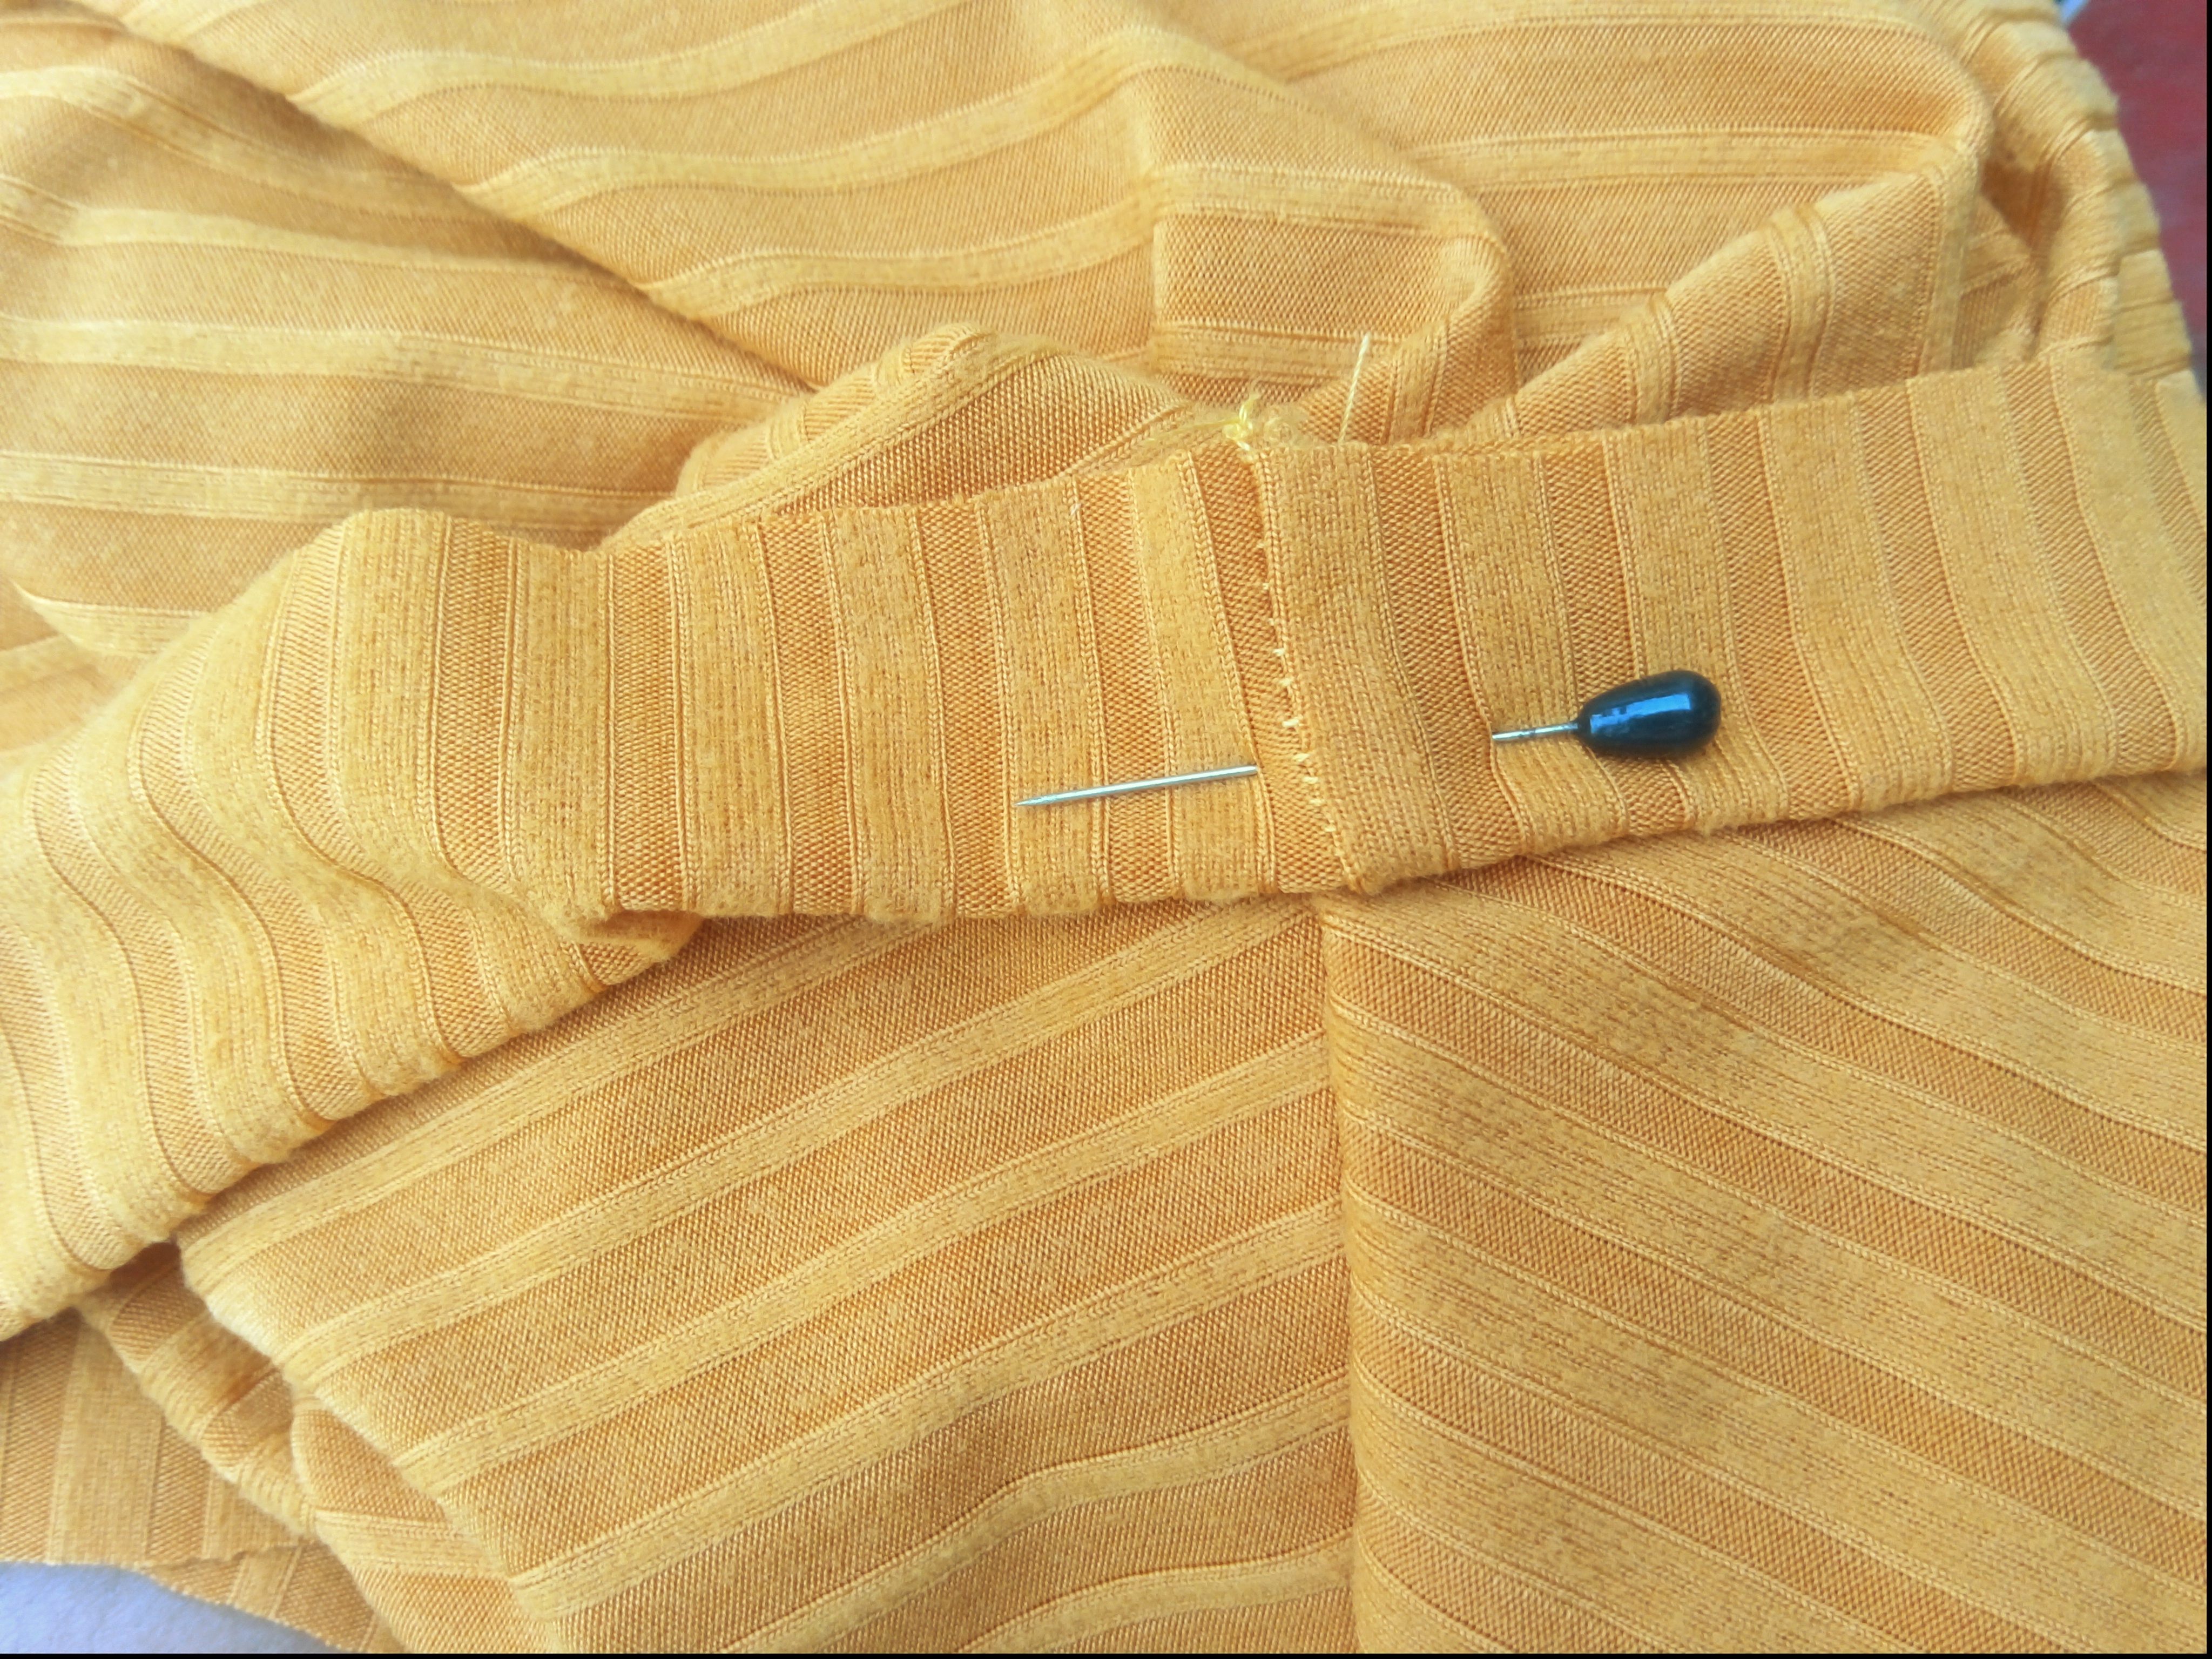
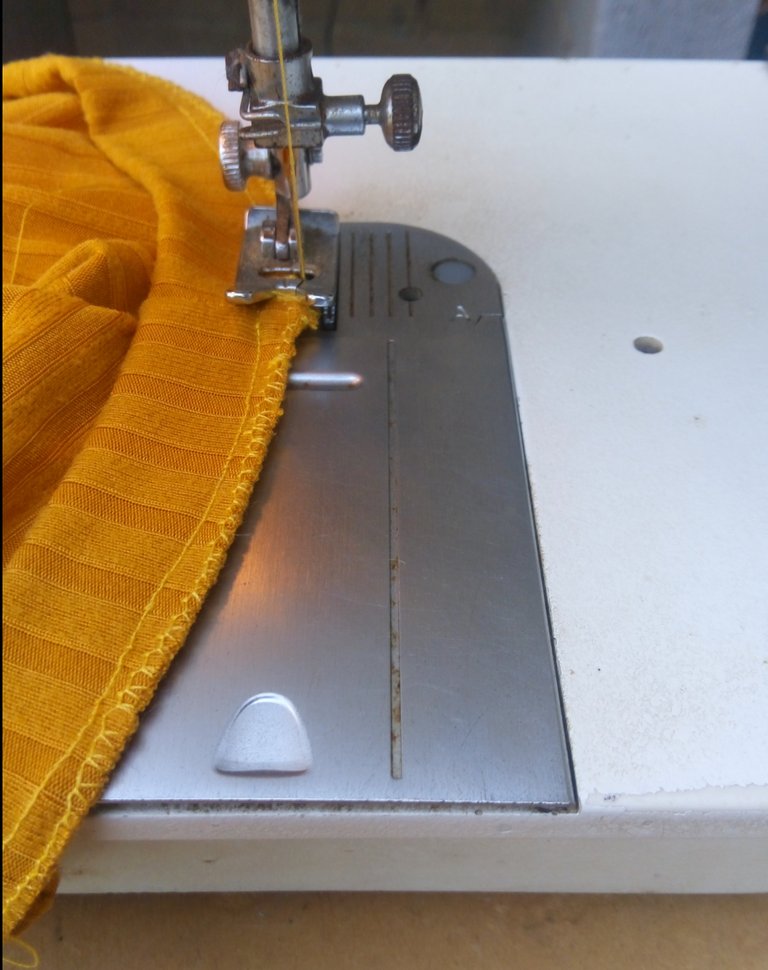
Ahora vamos a tomar la tira y doblamos, y quedará 2 cm de ancho, luego vamos a coser los hombros de la blusa, después de esto sujetamos con ganchos y vamos a ir cosiendo en forma recta, para que nos quede bien el cuello y no se vea estirado o deforme debemos ir estirando a medida que pasamos la costura recta. Para finalizar con el cuello vamos a sellar la costura con zigzag.
Paso 4:
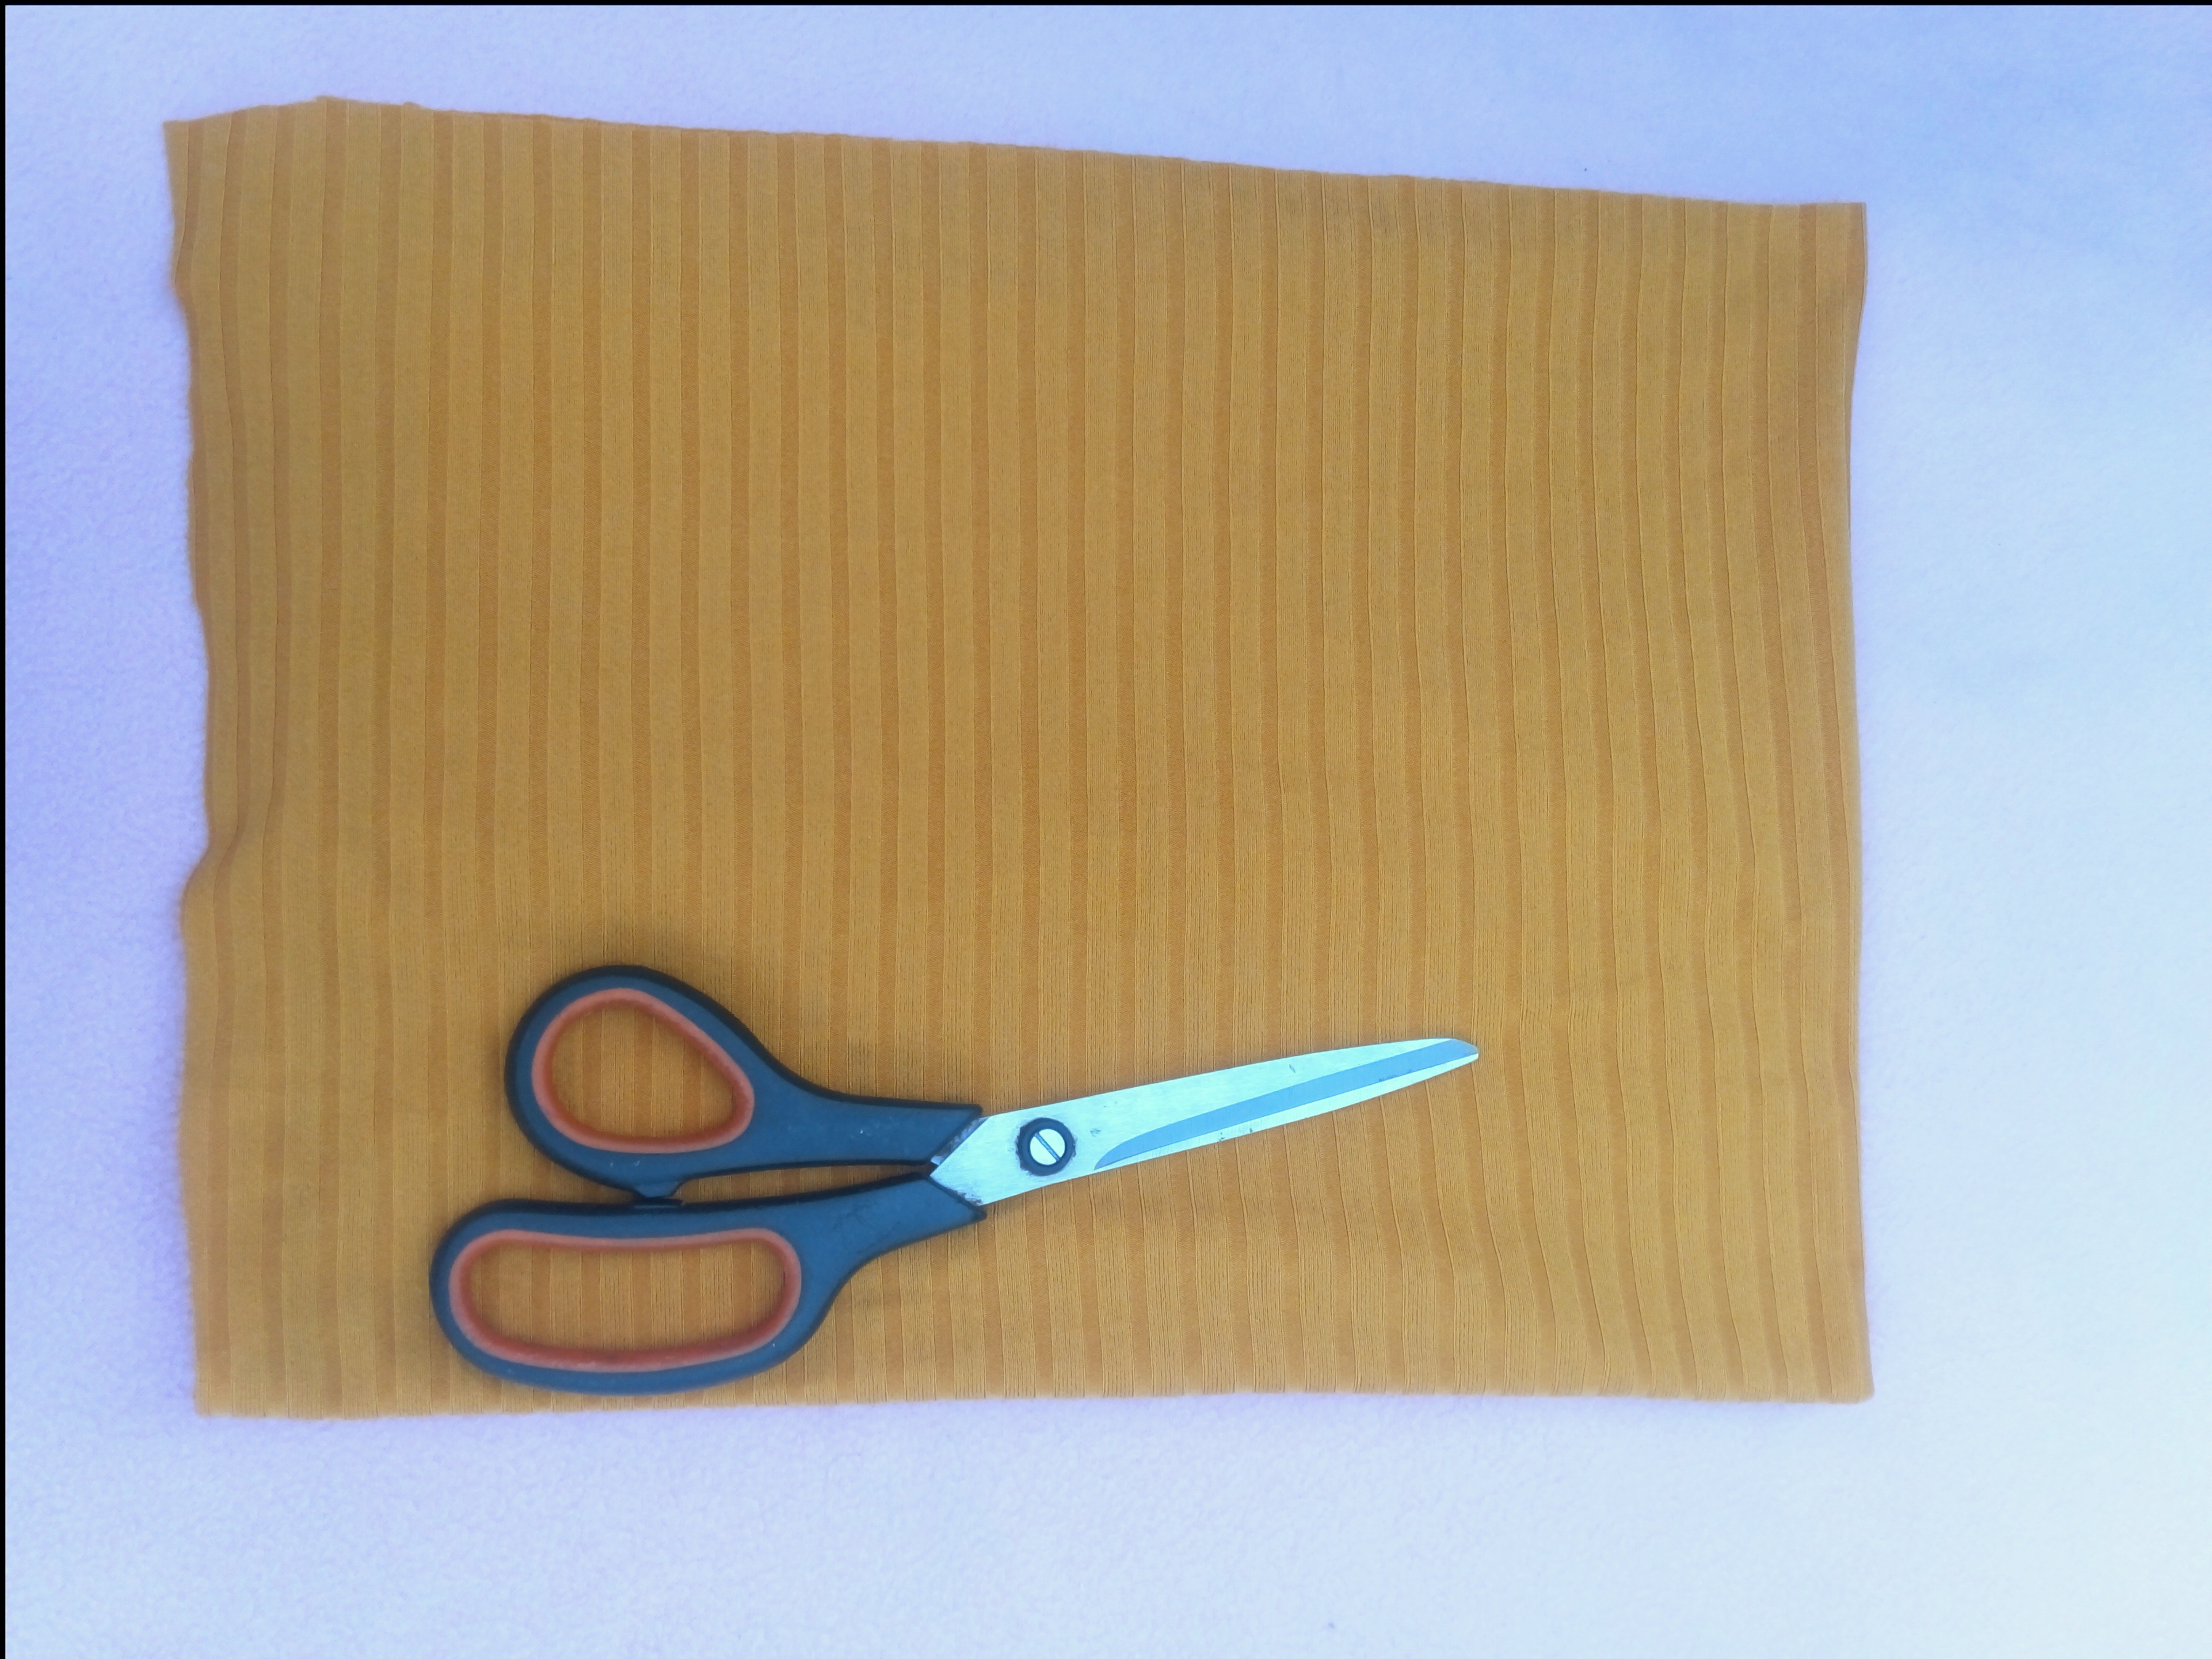
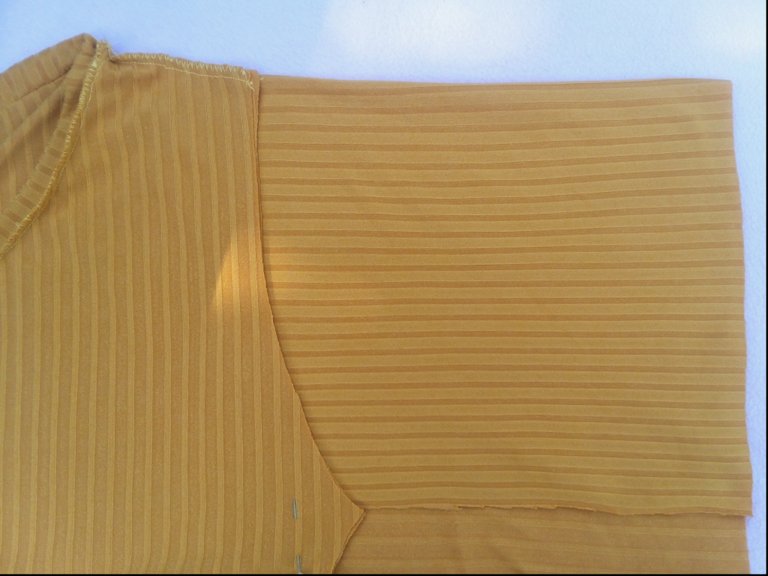
Vamos a tomar otro pedazo de tela y cortamos un cuadrado con 19 cm de largo y 26 cm de ancho . Luego cortaremos la silueta de la manga y proseguimos a coser en la máquina. Siguiendo los procesos anteriores, costura recta y luego zigzag.
Paso 5:
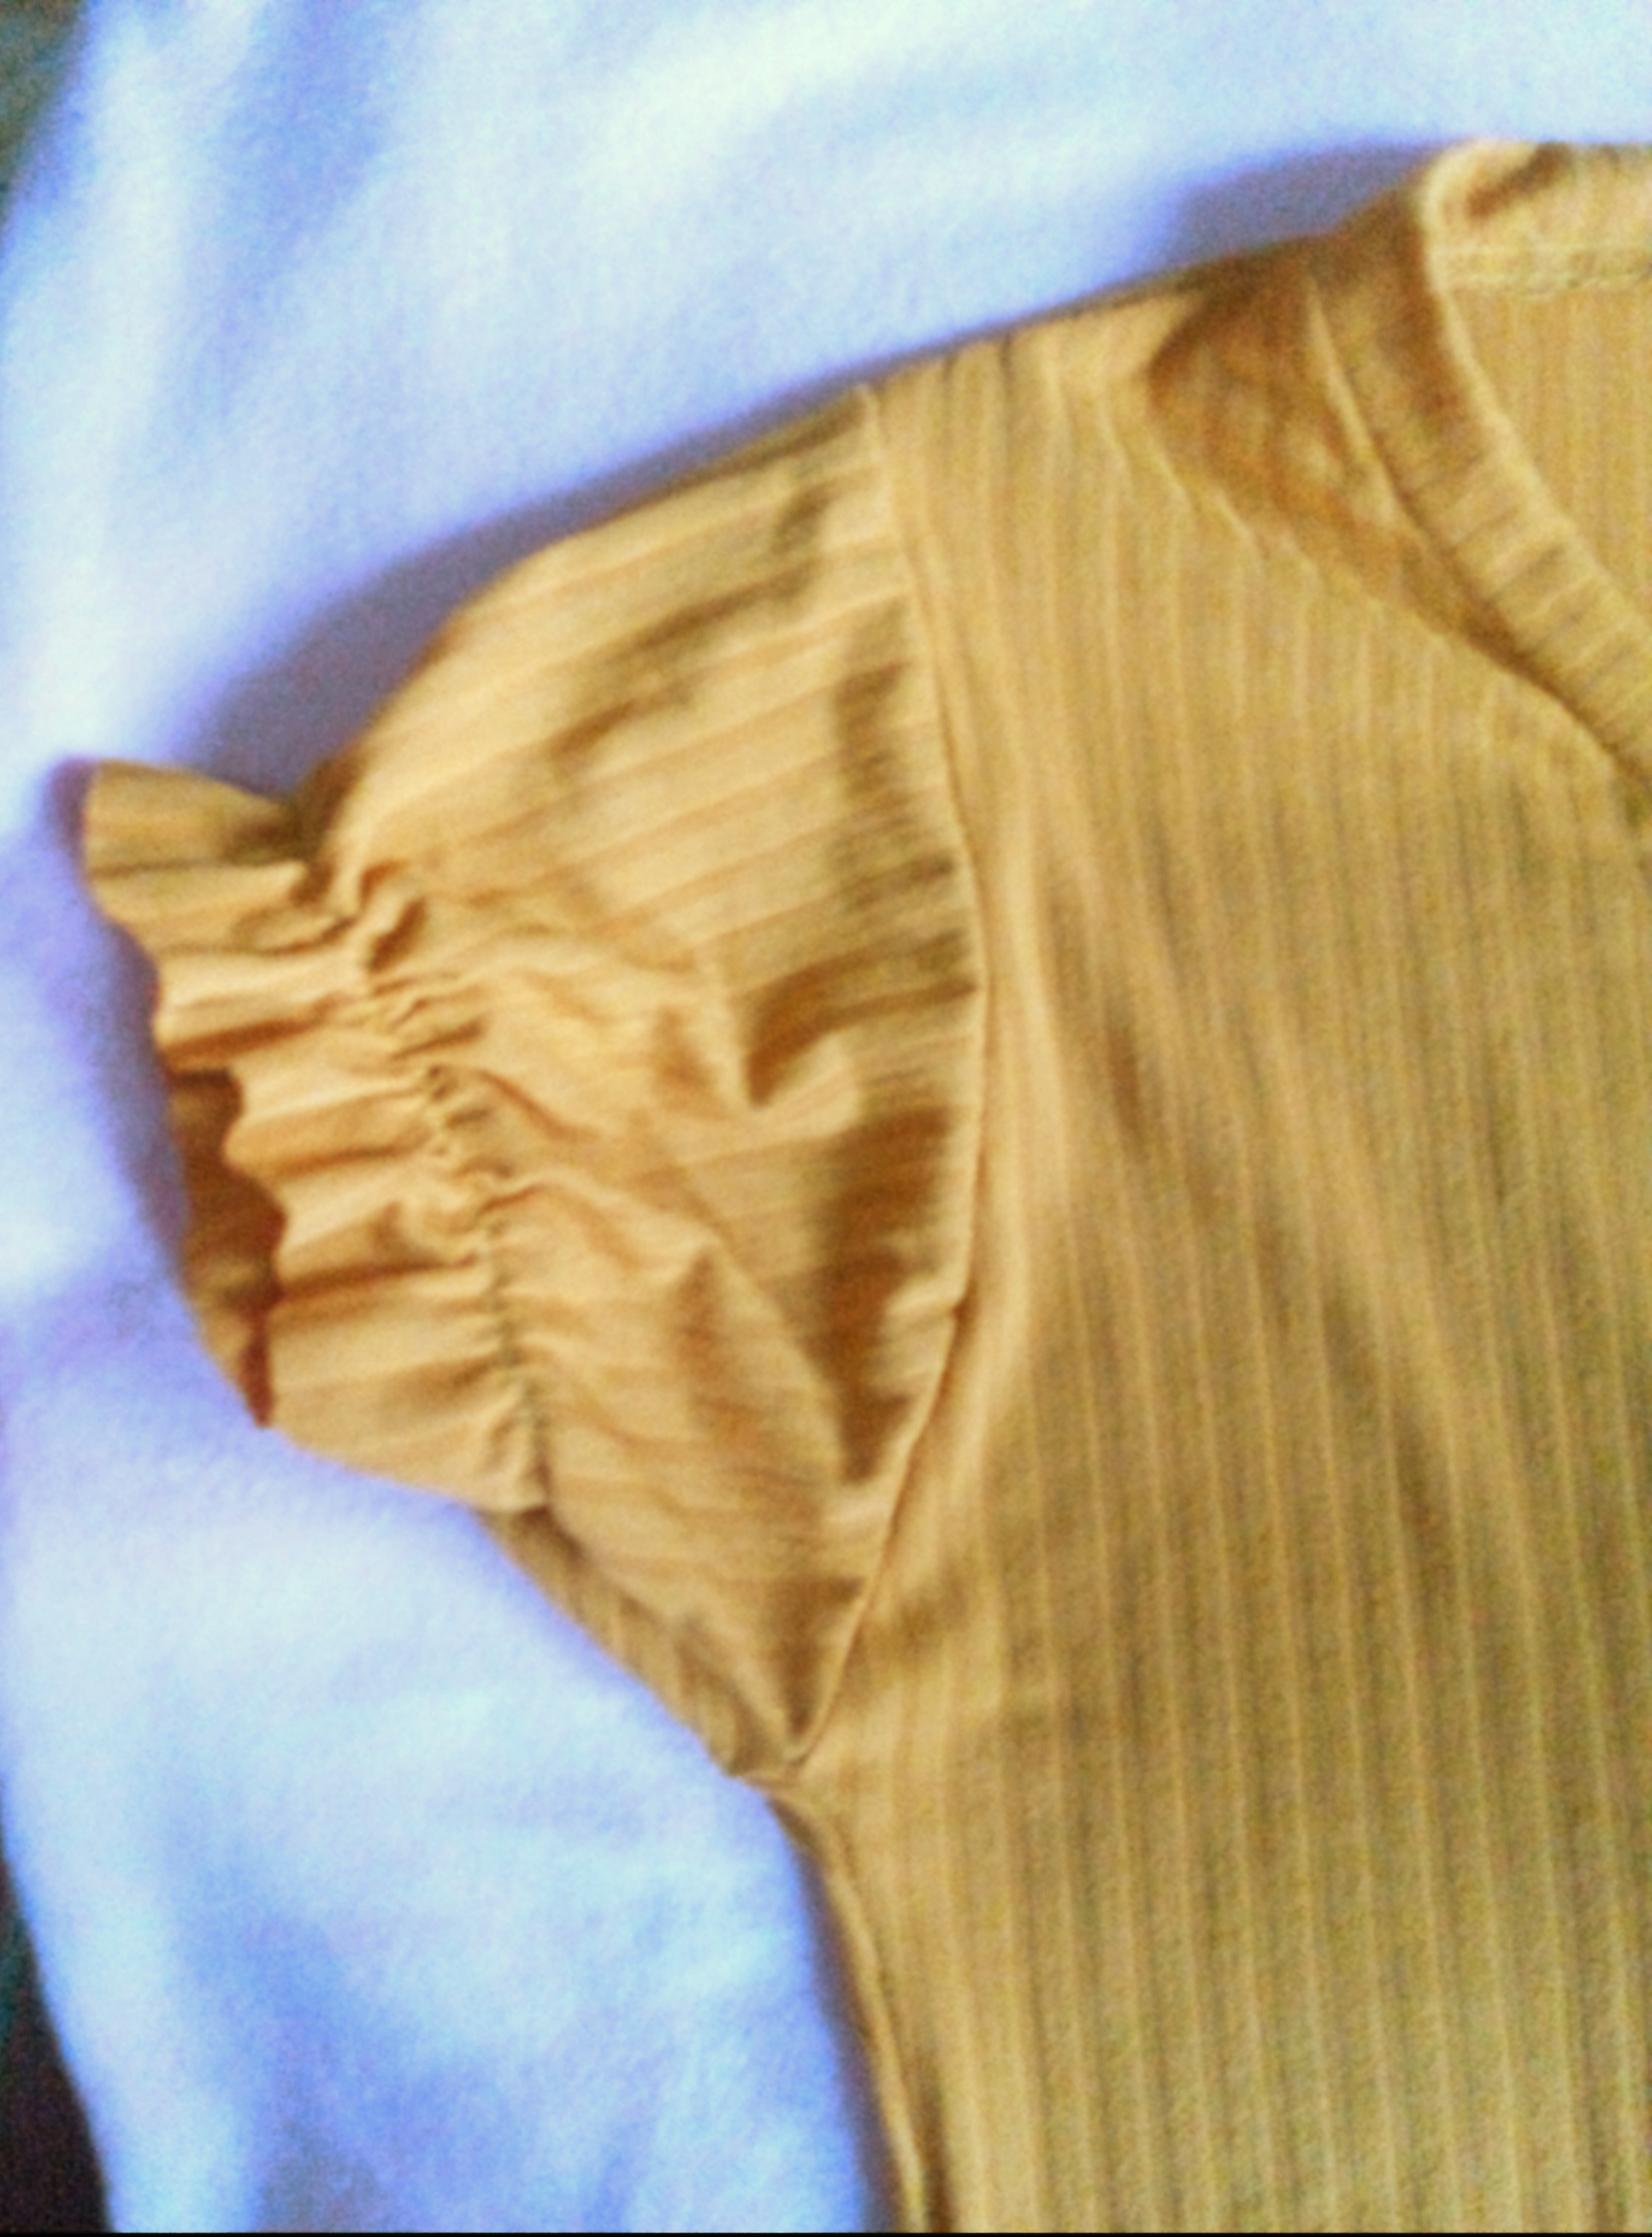
Ahora vamos a proseguir con la costura de la manga, cortaremos una elástica de 20 cm largo, luego de coser la manga de la blusa con costura recta y haber sellado con zigzag vamos a coser la elástica dejando 2 cm de orilla, de este modo se realizará la manga mejor conocida como abullonada.

🌺🌺🌺🌺🌺🌺🌺🌺🌺🌺🌺🌺🌺🌺🌺🌺🌺🌺🌺🌺🌺🌺
ENGLISH

Photograph of my property

Hello friends of Hive Diy ❤️ after several months of absence today I am here to share with you once again what I have learned. This time I will show you how to make a shirt with short sleeves puffed, is a great trend that gives much formality and beautiful view to the blouses. We can use them in any occasion since the fabric does not generate heat, it is very comfortable. I hope you like it🥰💚

Materials I used
- 🌸 Mustard colored fabric Micro Rib 8x4
- 🌸 Crochet hooks
- 🌸 Scissors ✂
- 🌸 Sewing machine
- 🌸 Tape measure
- 🌸 Chalk
Steps to make the blouse
Step 1:
The first thing to do is to take the fabric and measure 40 cm long and 37 cm wide, it is worth mentioning that already here are counted the centimeters of seam, then we will cut a square with these respective measures.
After this we measure 20 cm long and cut to make the shape of the sleeve, then we make the silhouette of the waist and continue to cut the front and back neck.

Step 2:
Now we are going to cut a strip of 4 cm wide and 44 cm long, then we fold it on both sides and sew in a straight and zigzag way.

Step 3:
Now we are going to take the strip and fold it, and it will be 2 cm wide, then we are going to sew the shoulders of the blouse, after this we fasten with hooks and we are going to sew in a straight way, so that the neck looks good and does not look stretched or deformed we must stretch as we pass the straight seam. To finish with the neck we will seal the seam with zigzag.


Step 4:
Let's take another piece of fabric and cut a square 19 cm long and 26 cm wide. Then we will cut the silhouette of the sleeve and proceed to sew on the machine. Following the previous processes, straight stitching and then zigzag.


Step 5:
Now we are going to continue with the sleeve sewing, we will cut a 20 cm long elastic, after sewing the sleeve of the blouse with straight seam and having sealed with zigzag we are going to sew the elastic leaving 2 cm of border, this way we will make the sleeve better known as puffed sleeve.


🌺🌺🌺🌺🌺🌺🌺🌺🌺🌺🌺🌺🌺🌺🌺🌺🌺🌺🌺🌺🌺🌺
