Hola, hola amigos de @Hivediy 🤗, Feliz Día de Las Madres 🌹.
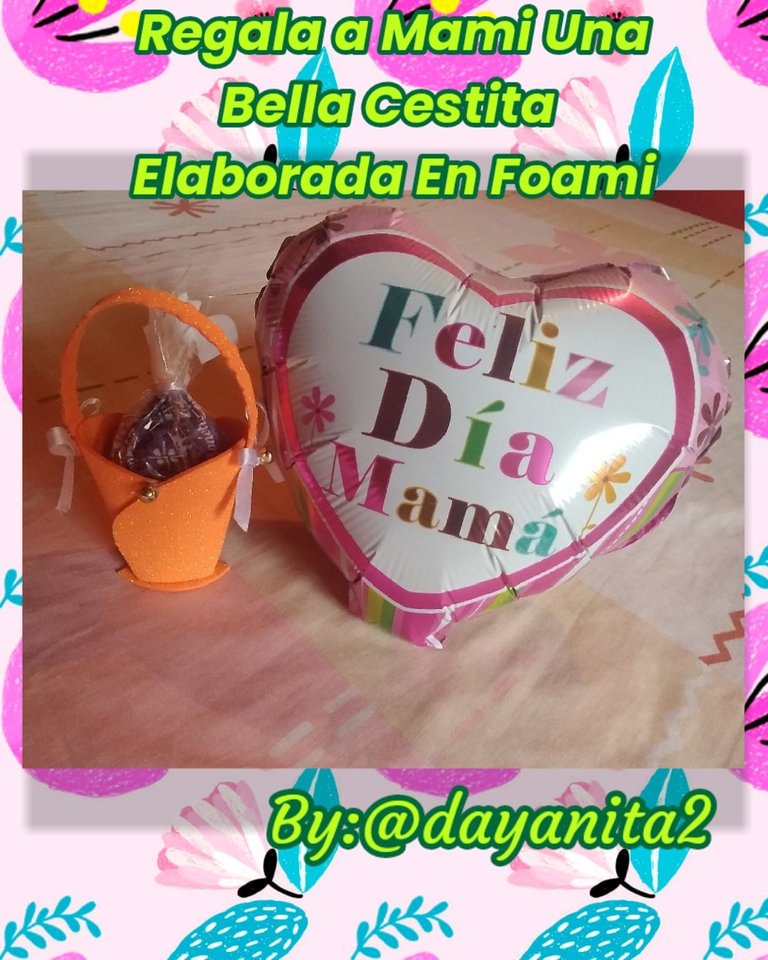
Hoy les traigo una sencilla, linda y tierna cestita dulcera que elabore en foami (goma eva) un pequeño detalle para regalar a mamá en su día, aunque siempre he dicho el día de las madres es todos los días pero de igual manera siempre ellas esperan un pequeño presente.
Ahora si los invito a este sencillo paso a paso así que acompáñenme a tomar nota 📝:
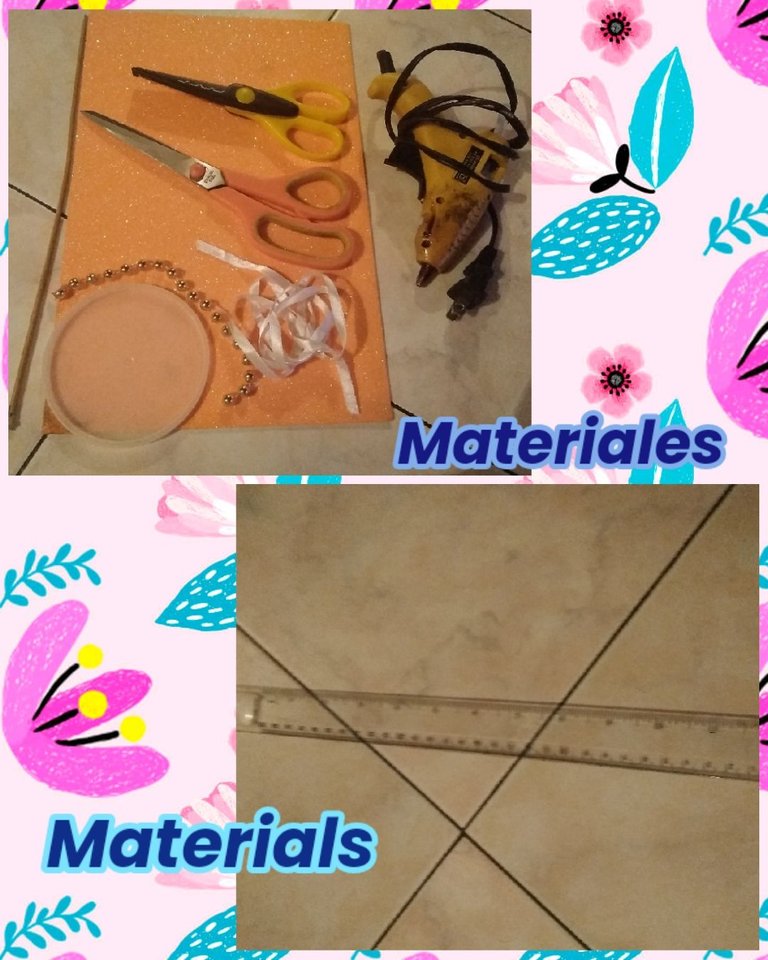
Materiales:
🍬 1 Foami (goma eva) tamaño carta naranja escarchado
🍬 Cinta de raso blanca delgada
🍬 Tijera recta y de zic zac
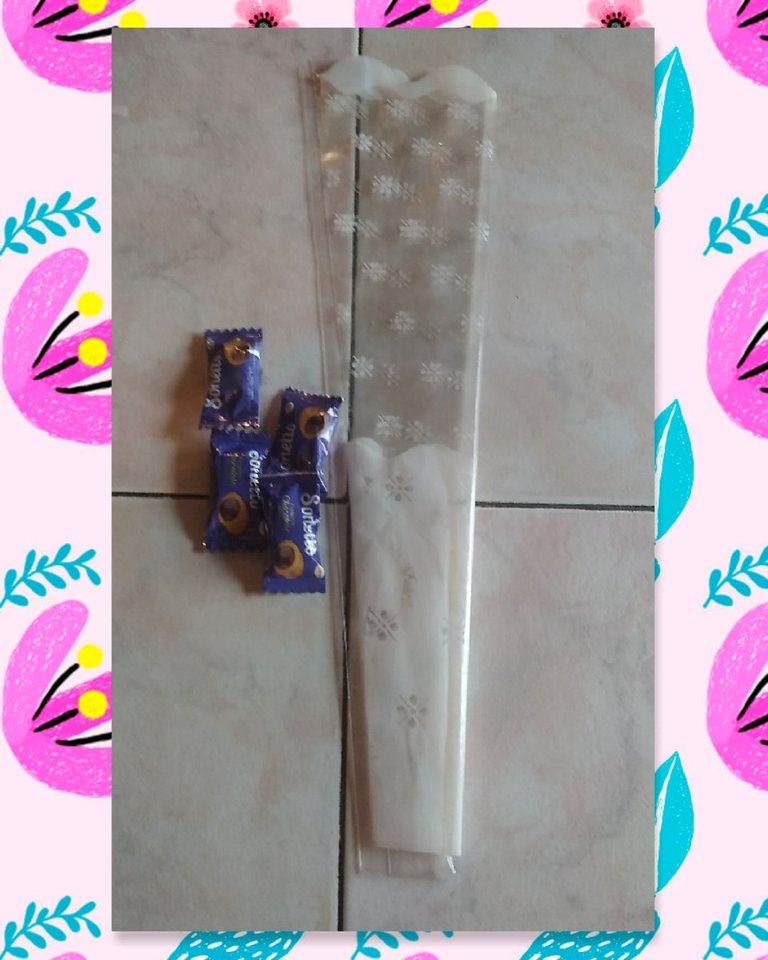
🍬 Perlas doradas pequeñas, regla, pistola de silicón, papel celofan,1 tapa plástica mediana,palito de altura y caramelos
Hello, hello @Hivediy friends 🤗, Happy Mother's Day 🌹.
Today I bring you a simple, cute and tender sweet basket that I made in foami (eva rubber) a small detail to give to mom on her day, although I have always said mother's day is every day but in the same way they always wait a small present
Now if I invite you to this simple step by step so come with me to take note 📝:
Materials:
🍬 1 Foami (eva rubber) letter size frosty orange
🍬 Thin white satin ribbon
🍬 Straight and zic zac scissors
🍬 Small golden pearls, ruler, silicone gun, cellophane paper, 1 medium plastic, tall stick lid and candies
Ícono de validado por la comunidad
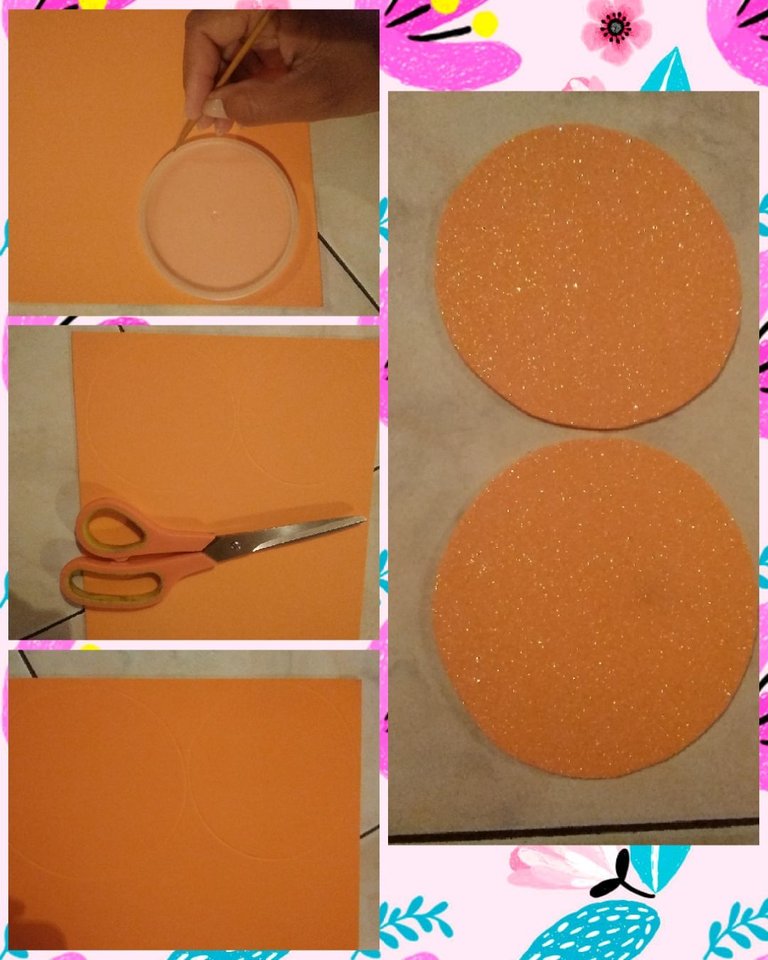
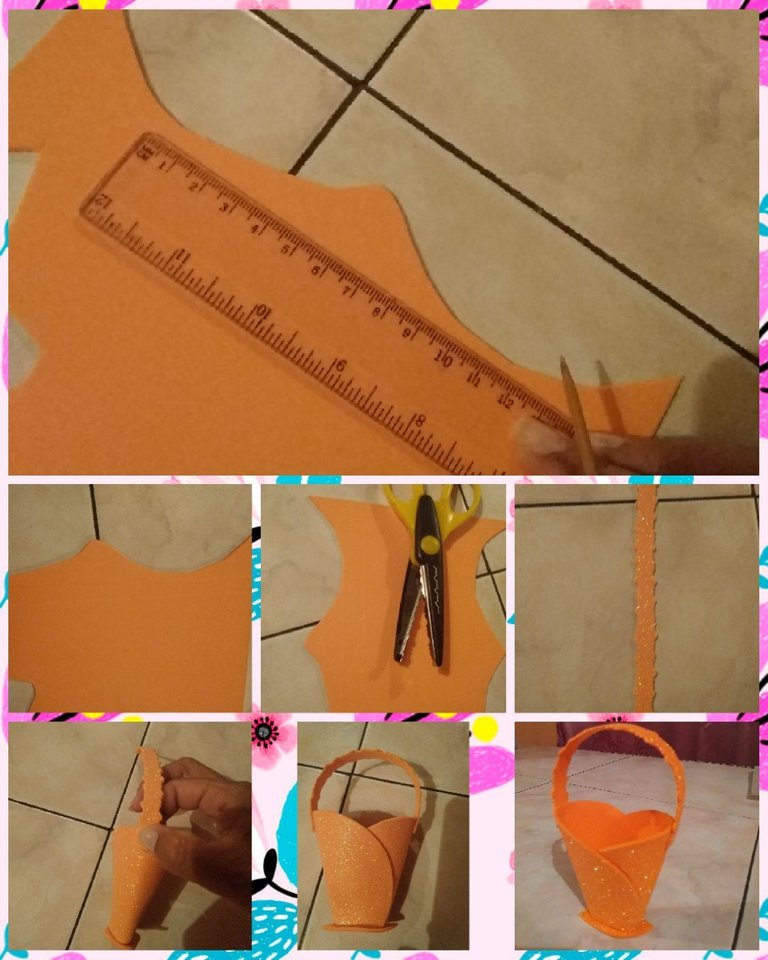
Paso 1
Toma la tapa plástica colócala sobre el foami (goma eva) y con el palito de altura vas a marcarla 2 veces, luego toma la tijera recta y recortar ambos círculos, al recortar hacerlo con presición ya que de esto depende que nuestro trabajo quede impecable.
Step 1
Take the plastic lid, place it on the foami (eva rubber) and with the height stick you are going to mark it 2 times, then take the straight scissors and cut out both circles, when cutting, do it with precision since our work is impeccable depending on this.
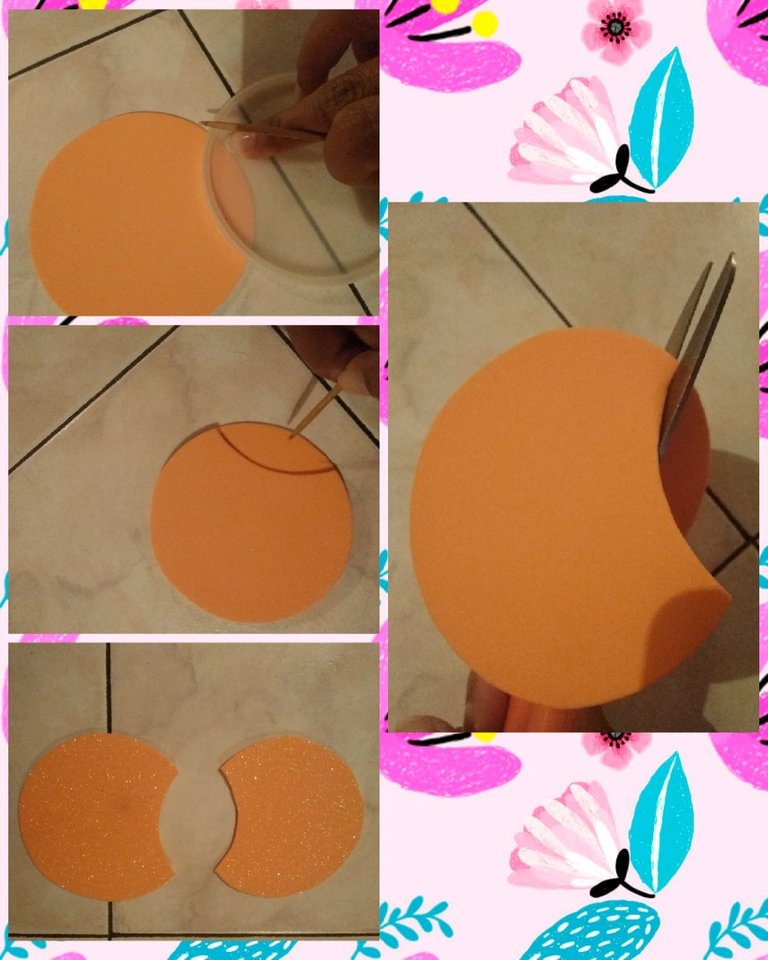
Paso 2
Tomaremos uno de los círculos y la tapa plástica, la colocamos encima llevándola a la orilla dejando una pequeña pestaña y con el palito de altura marcaremos, nos quedara como una medialuna luego recortamos, este lo llevaremos encima del otro circulo, marcamos la forma que sacamos para luego recortar.
Step 2
We will take one of the circles and the plastic lid, place it on top, taking it to the edge leaving a small tab and with the height stick we will mark, it will remain like a croissant then we will cut it, we will take this on top of the other circle, we will mark the shape that we took and then cut.
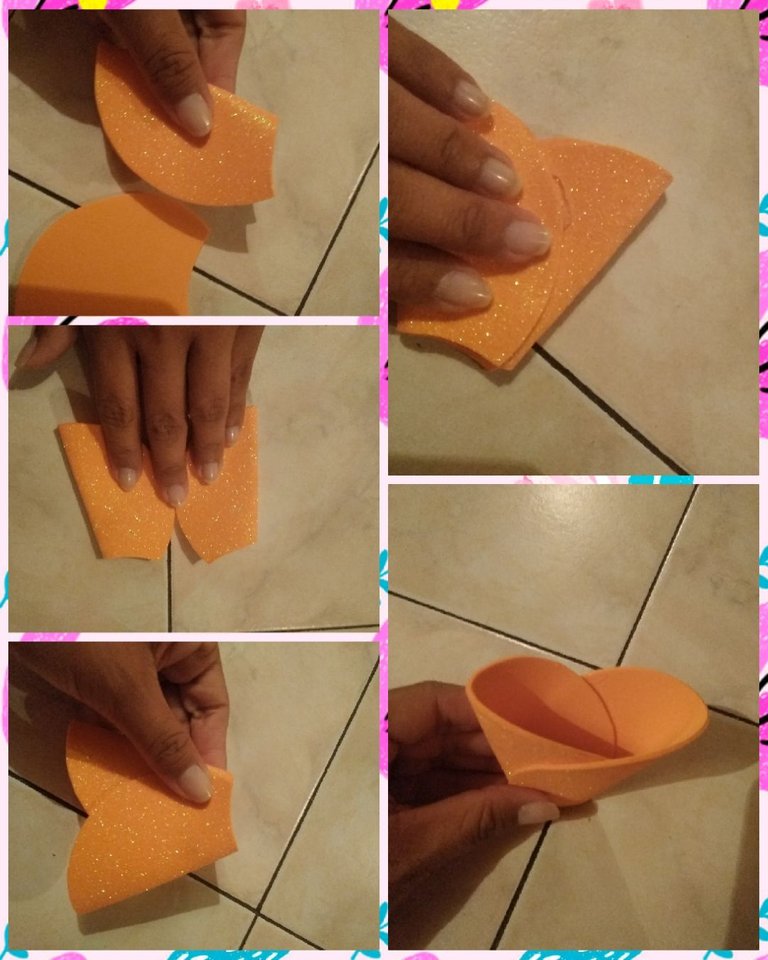
Paso 3
Los dos círculos los doblamos a la mitad presionamos para que sea más fácil al pegarlos, con la pistola de silicón le colocamos en un borde lo pegamos sobre el otro volteamos nuestra pieza y pegamos de este lado repitiendo el paso anterior, retiramos el exceso de silicón que nos quede.
Observa la imágen así nos quedara 👇
Step 3
Fold the two circles in half, press them to make it easier to glue them, with the silicone gun we place it on one edge, we glue it on the other, we turn our piece over and glue it on this side, repeating the previous step, we remove the excess silicone that we have left
Observe the image so it will fit us 👇
Paso 4
Ya con nuestra cestita casi armada, solo falta la base para ello la colocamos encima del foami (goma eva) y con el palito de altura marcamos la forma, no al ras sino que dejaremos unos pequeños centímetros, recortamos para luego pegarla cuidando que nos quede centrada.
Step 4
With our basket almost assembled, we only need the base for it, we place it on top of the foami (eva rubber) and with the height stick we mark the shape, not flush but we will leave a few small centimeters, we cut and then glue it taking care that it fits us centered.
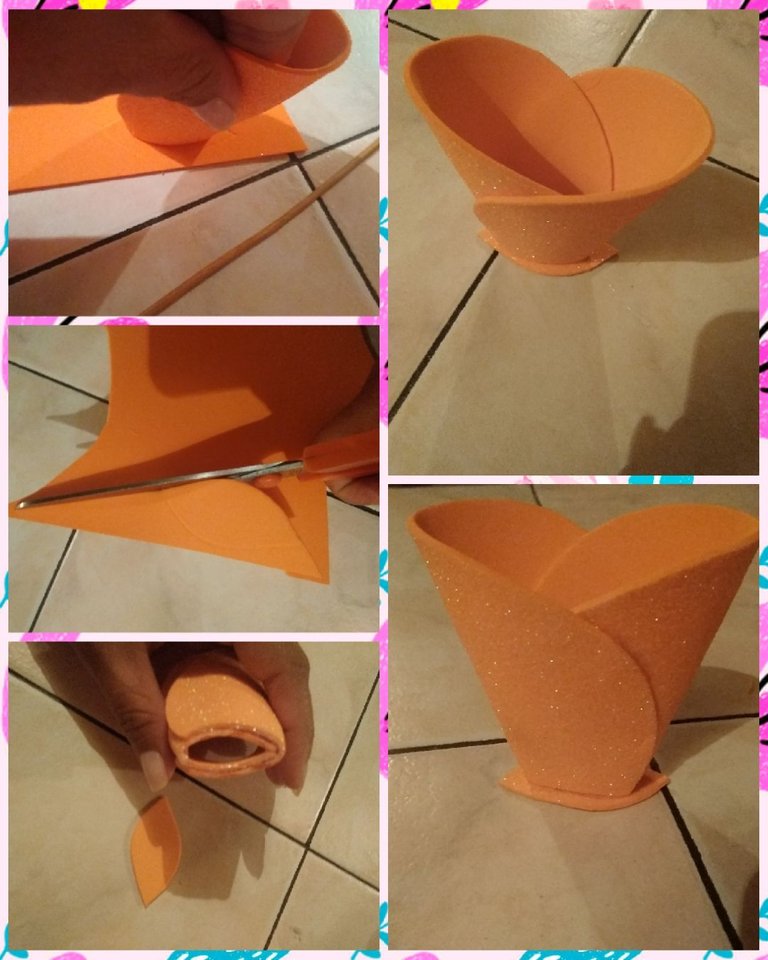
Paso 5
En este paso haremos el asa de la cestita, nuevamente tomamos el foami (goma eva) y en el marcaremos una tira haciendo uso de la regla de 16cm de largo X 1,5cm de ancho, seguidamente recortamos con la tijera de zic zac. Luego la pegaremos en un extremos y luego en el otro de la cestita, y con este paso ya tenemos lista nuestra cestita.
Step 5
In this step we will make the handle of the basket, again we take the foami (eva rubber) and in it we will mark a strip using the rule of 16cm long X 1.5cm wide, then we cut with the scissors of Zic Zac. Then we will glue it on one end and then on the other of the basket, and with this step we already have our basket ready.
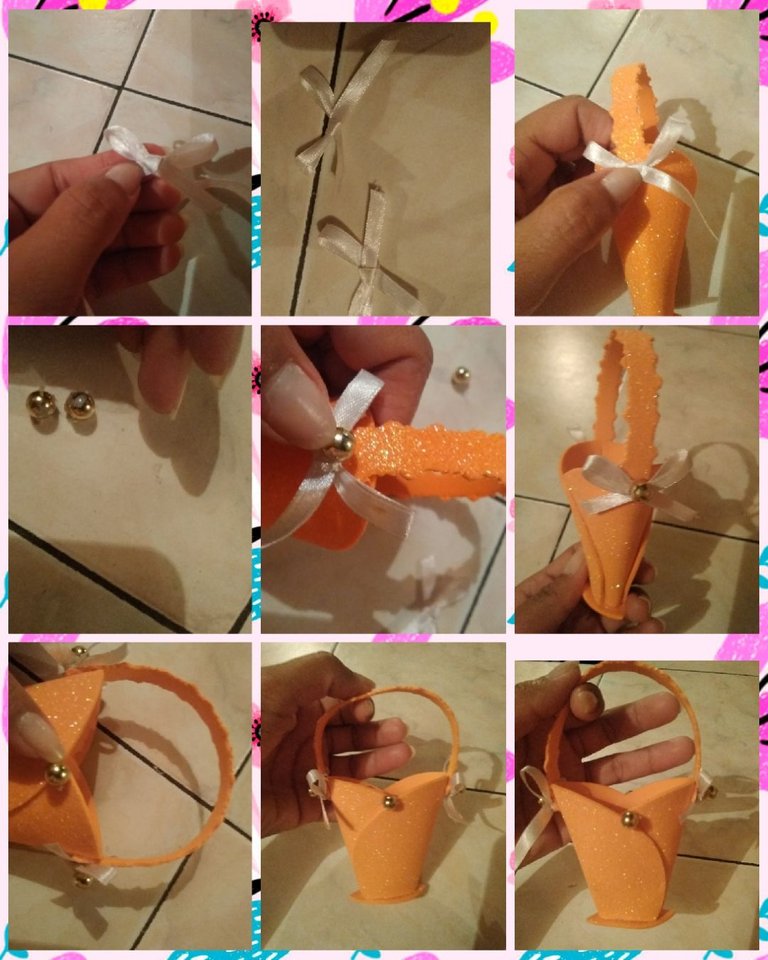
Paso 6
Para que nuestra cestita luzca aún más linda, tomaremos la cinta blanca y armaremos dos lazitos pequeños, para luego pegarlos en el extremo del asa de la misma, también le pegaremos las perlas doradas encima de lazito y en ambos lados de la cesta justo donde se encuentran los dobles de la cesta.
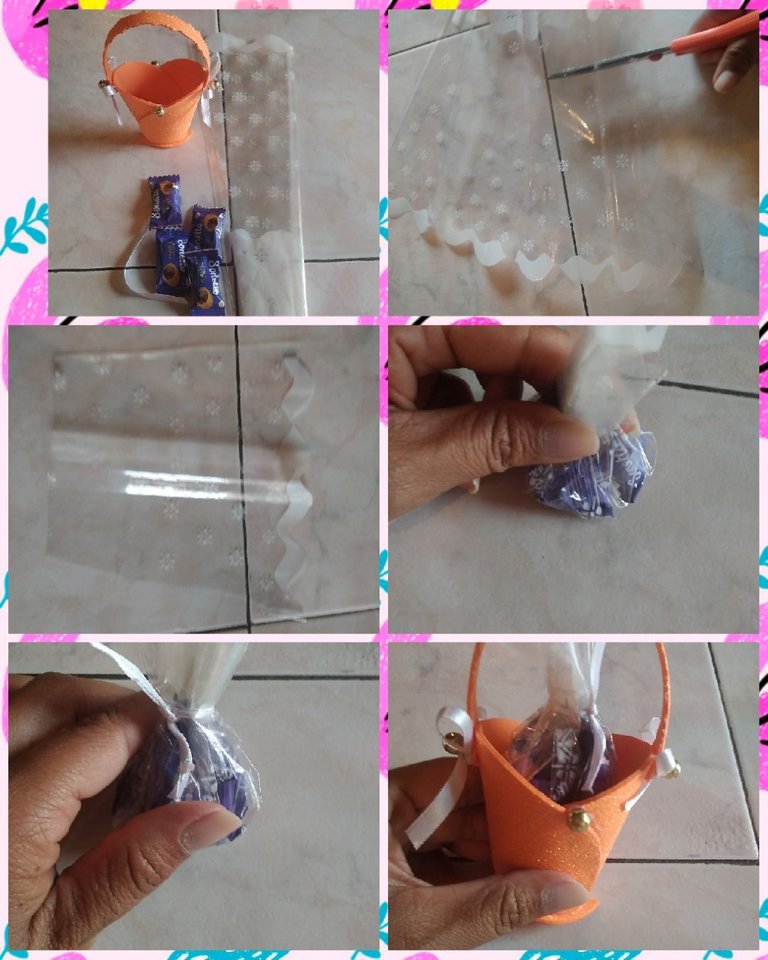
Ya nuestra cestita esta lista para obsequiarla, ahora tomaremos el papel celofan y recortamos un cuadrito del mismo, colocamos en el centro los caramelos envolvemos y con una cinta amarramos para que no se salgan los caramelos luego la metemos en la cestita, y lista un lindo detalle para mamá en su día, en mi caso realice dos pues quería obsequiarla a mis dos mejores amigas Julia y Amarilis que son dos mujeres guerreras, excelentes madres que a pesar de no contar con el apoyo de un hombre han salido adelante con sus hijos, son dignas de admiración, ellas quedaron encantadas con este pequeño presente elaborado con mucho cariño.
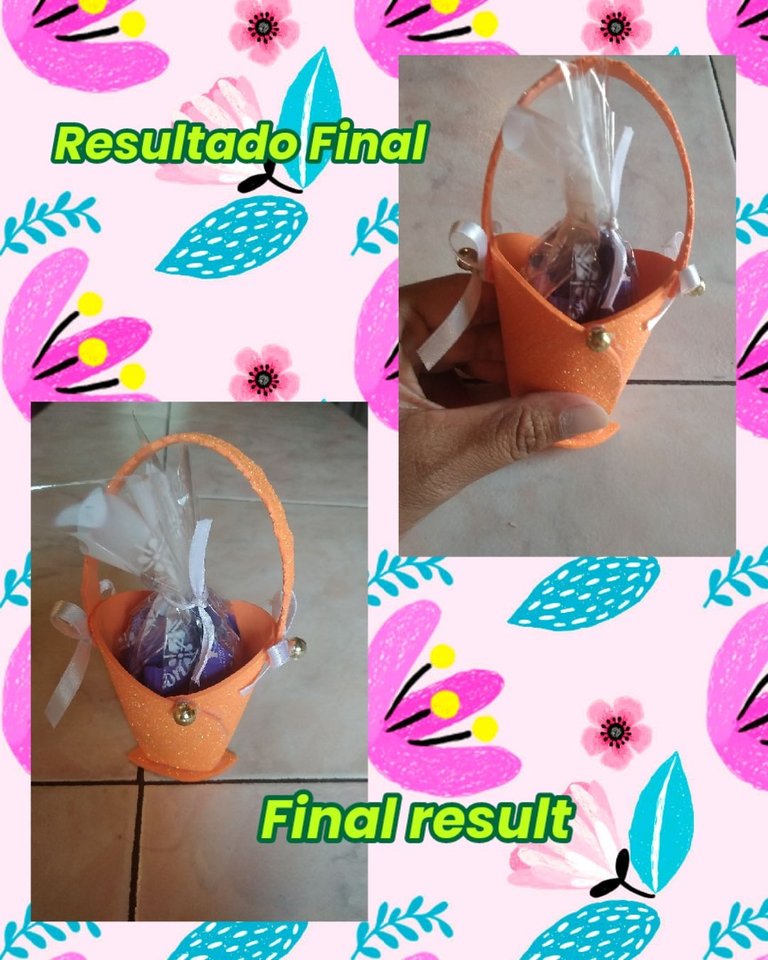
Amigos esta cestita puedes darle los usos que desees, ya que puede ser perfectamente un recuerdito de bautizo, quince años, en mi caso fue un detalle para as madres en su día por acá les dejo este hermoso resultado.
Step 6
To make our basket look even prettier, we'll take the white ribbon and make two small bows, and then glue them to the end of the handle, we'll also glue the golden pearls on top of the bow and on both sides of the basket right where it sits. find the doubles of the basket.
Now our basket is ready to give as a gift, now we will take the cellophane paper and cut out a square of it, place the candies in the center, wrap them and tie them with a ribbon so that the candies do not come out, then we put it in the basket, and ready a nice detail for mom in her day, in my case I made two because I wanted to give it to my two best friends Julia and Amarilis who are two warrior women, excellent mothers who despite not having the support of a man have gone ahead with their children, They are worthy of admiration, they were delighted with this little present made with love.
Friends, you can use this little basket as you wish, since it can perfectly be a christening souvenir, fifteen years old, in my case it was a detail for the mothers in their day, here I leave this beautiful result.
Bueno amigos hasta acá mi proyecto del día de hoy, gracias a ti que te detienes a leer cada uno de mis post, te envío un caluroso abrazo🤗.
Las fotos fueron tomadas y editadas con mi celular
use la aplicación "Foto Collage"
La traducción la realice con el traductor de google
Hasta un Próximo Encuentro!!!
🤗😘
Well friends, my project for today is here, thanks to you who stop to read each of my posts, I send you a warm hug🤗.
The photos were taken and edited with my cell phone.
use the "Photo Collage" app
The translation is done with google translator
Until a Next Meeting!!!
🤗😘