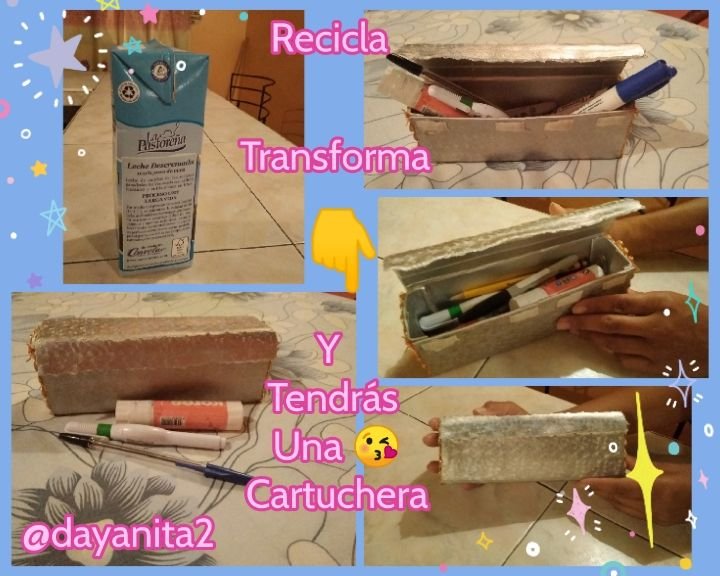
(ESP/ENG) "RECICLA: CON UN ENVASE DE TETRA PAK DE LECHE ELABORA ✂️ UNA LINDA 😍 Y FUNCIONAL CARTUCHERA"/ "RECYCLE: WITH A CONTAINER OF TETRA PAK OF MILK MAKES ✂️ A BEAUTIFUL 😍 AND FUNCTIONAL CARTRIDGE"

in #hive-1305603 years ago

photocollage_2022418215221447.jpg

¡¡Feliz día mis queridos amigos de @Hivediy🤗!!

Mi proyecto de hoy nuevamente va dirigido al reciclaje, pués hay alimentos que vienen en envases que vez de desecharlos podemos reusarlos y convertirlos en un objeto funcional. Hace tiempo mi tía me regalo envases de leche "tetra pak" y no quise desecharlos, por días estuve pensando que elaboró con ellos???, como me hacía falta una cartuchera ya que nosotras las maestras siempre cargamos en nuestro bolso 🖊 ✏️ lápiceros, marcadores, lápiz entre otros materiales y la cartuchera que tengo se me queda pequeña, 😉 pense con este envase puedo crear una con más espacio y este es mi proyecto de hoy acompañenme al paso a paso a tomar nota 📝.

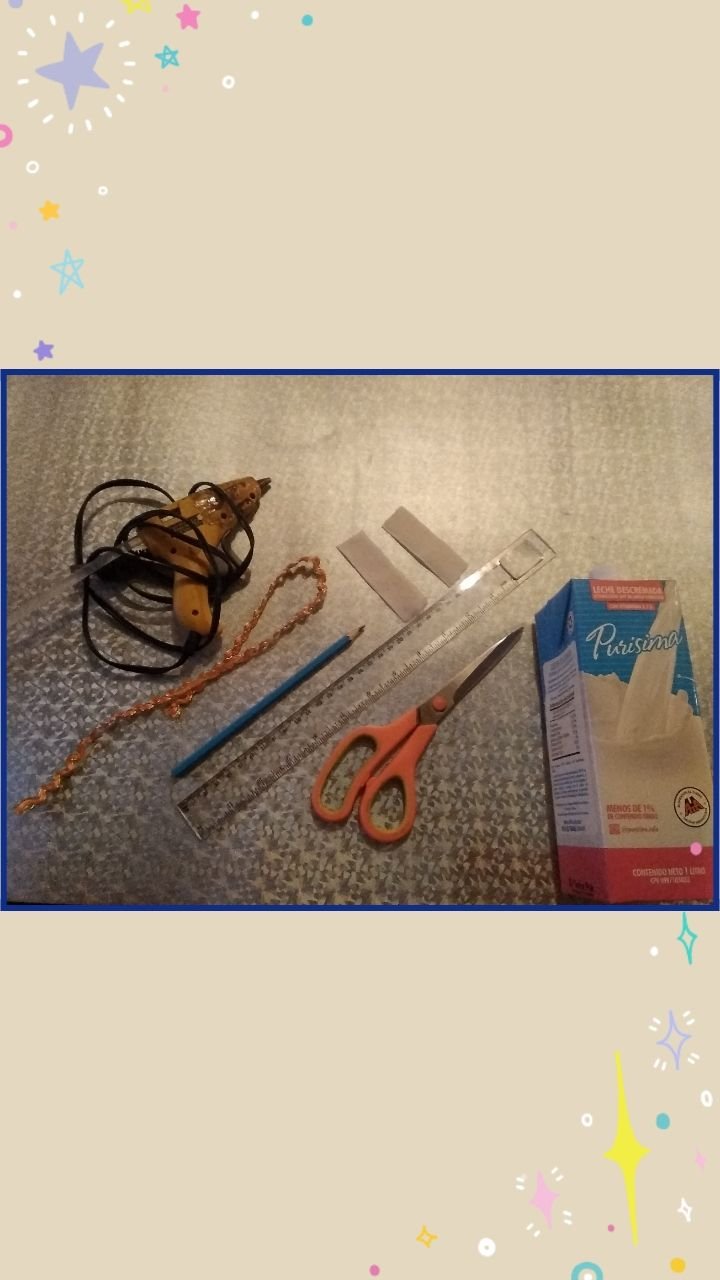
MATERIALES:

🖊Envase de leche tetra pak
🖊Tijera: recta y zic zac
🖊Foami/goma eva metálizado
🖊Cinta naranja
🖊Pistola d silicón
🖊Cierre mágico
🖊Regla
🖊Lápiz

Happy day my dear friends from @Hivediy🤗!!

My project today is again aimed at recycling, because there are foods that come in containers that instead of discarding them we can reuse them and turn them into a functional object. Some time ago my aunt gave me "tetra pak" milk containers and I didn't want to throw them away, for days I was thinking what she made with them???, as I needed a pencil case since we teachers always carry pencils in our bag 🖊 ✏️, markers, pencil among other materials and the pencil case that I have is too small for me, 😉 I thought with this container I can create one with more space and this is my project today, accompany me step by step to take note 📝.

MATERIALS:

🖊 Tetra pak milk container
🖊Scissors: straight and zic zac
🖊Foami / metallic eva rubber
🖊Orange Ribbon
🖊Silicone gun
🖊Magic closure
🖊Ruler
🖊pencil
photocollage_2022418203254975.jpg


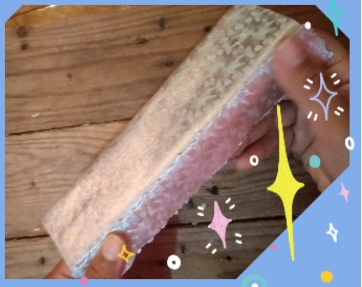
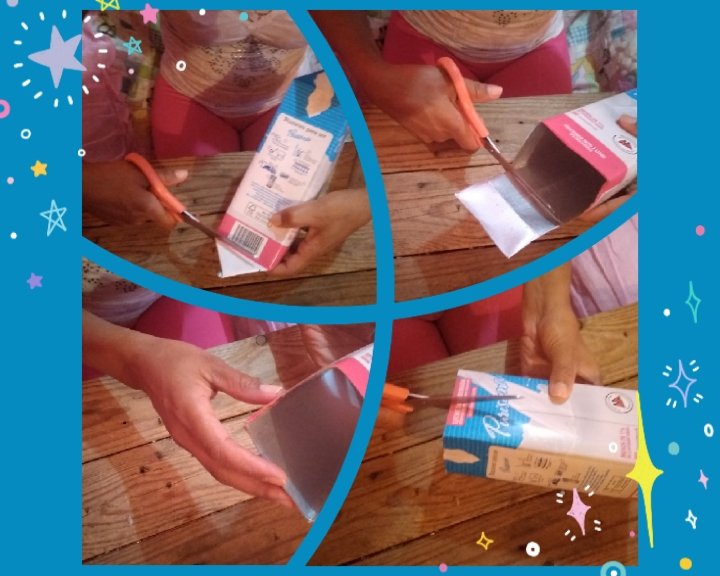
Lo primero es tomar nuestro envase de leche cortar las pestañas para abrirlo, las tapas de los lados cuidaremos de no dañarlas para que nos sean útiles más adelante.
The first thing is to take our milk container, cut the tabs to open it, we will take care not to damage the lids on the sides so that they will be useful to us later.

photocollage_2022418203642979.jpg

photocollage_2022418203852617.jpg

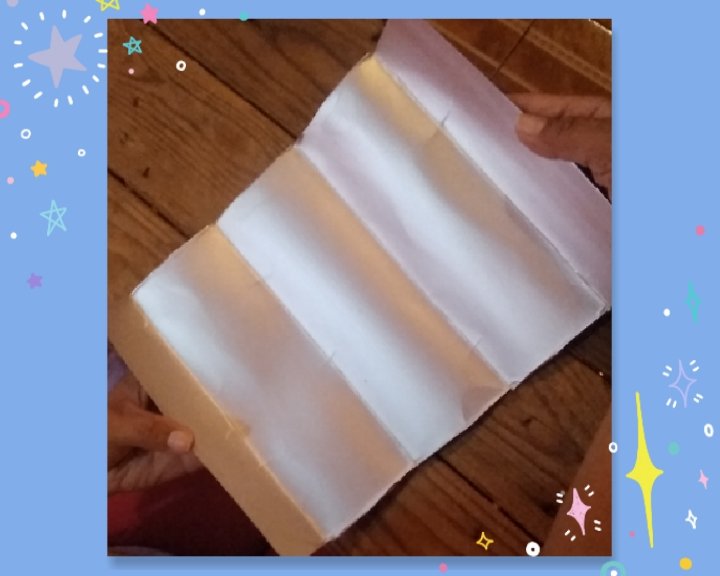
Así nos quedará al abrir el envase totalmente
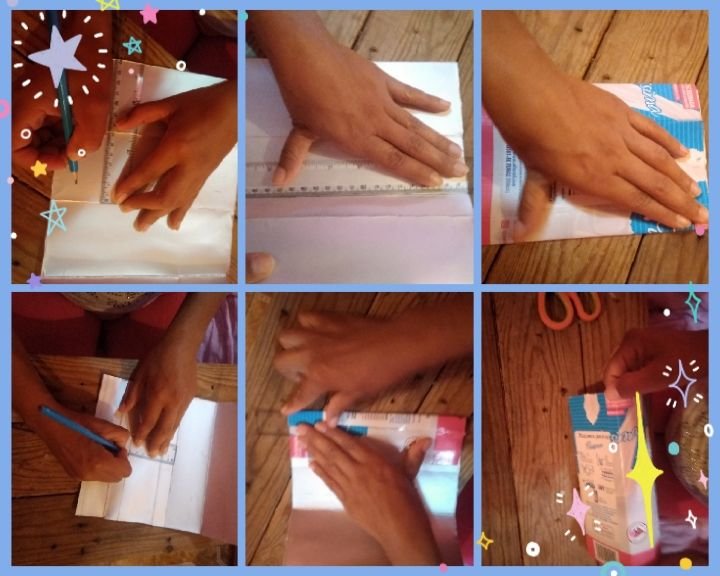

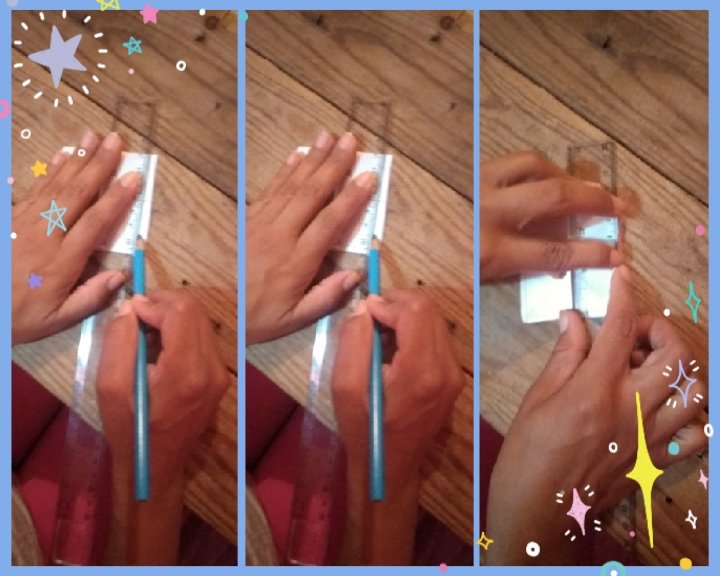
En la parte del medio reduciremos 2cm de ancho y las partes laterales tendrán una medida de 7cm, cuando ya tengamos estas medidas trazadas con ayuda de la regla doblaremos para que ya vayamos teniendo la forma de nuestra cartuchera, las pestañas que dejamos de los lados, vamos a doblarlas a 2cm para poder pegarlas en el lado de abajo y de los dos lados pueden fijarse en la imágen.👇
In the middle part we will reduce 2cm in width and the lateral parts will have a measure of 7cm, when we already have these measurements traced with the help of the ruler we will fold so that we already have the shape of our cartridge, the tabs that we left on the sides, we are going to fold them to 2cm to be able to stick them on the bottom side and from both sides they can be fixed on the image.👇

photocollage_2022418204029481.jpg

photocollage_2022418205635403.jpg


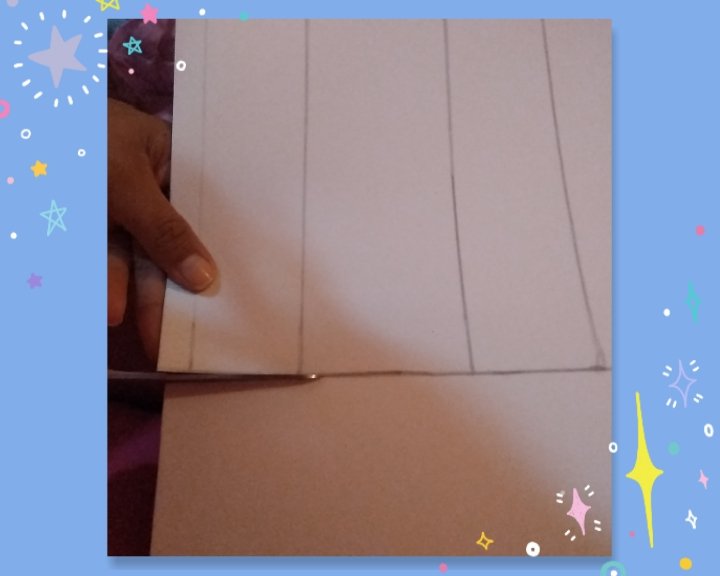
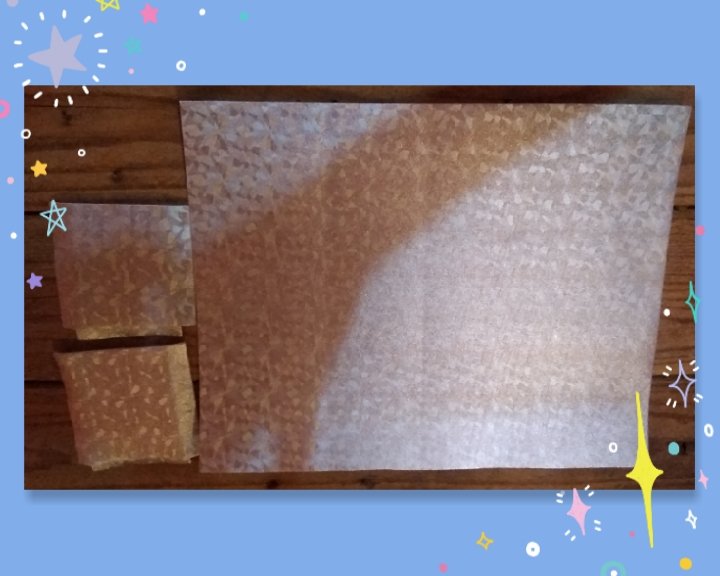
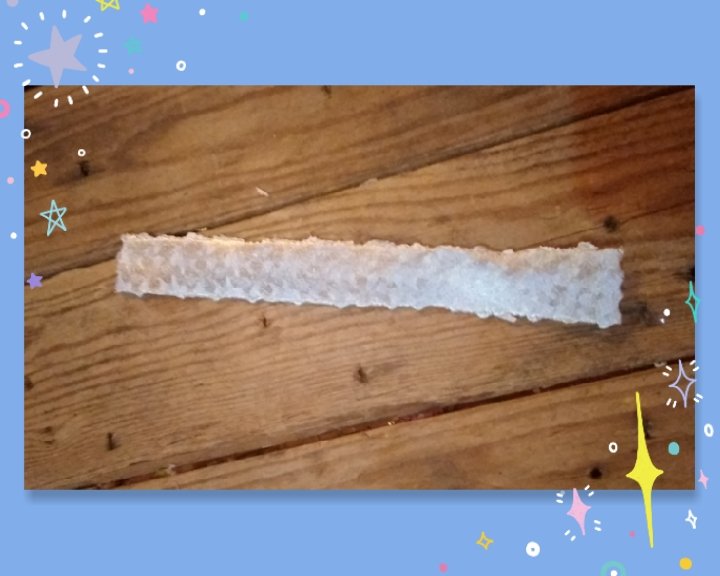
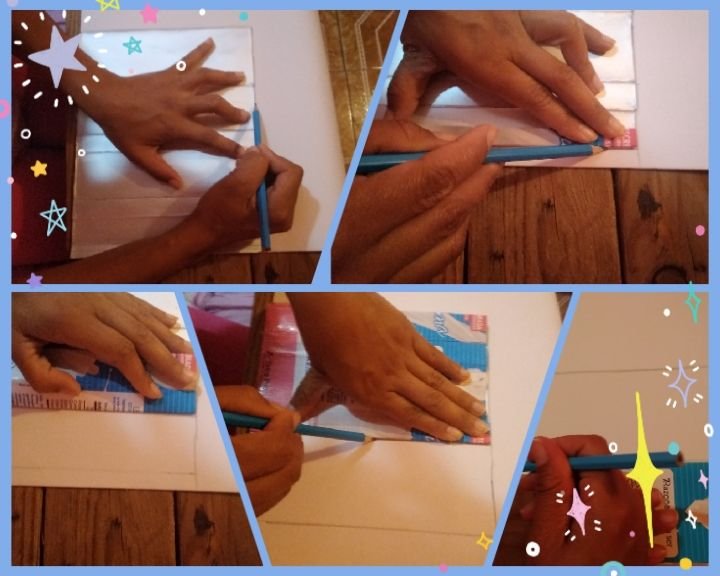
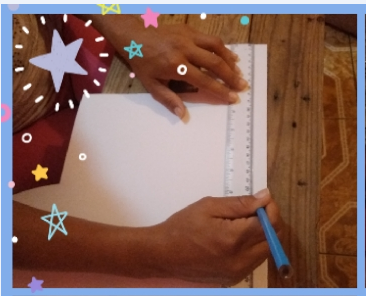
Ahora tomamos el foami/goma eva metálizado y con nuestros patrones que anteriormente ajustamos, lo pasaremos al mismo, también marcaremos una franja de 7cm de largo por 3cm de ancho.
Nota: Al ir marcando vamos haciendo los dobles para poder armar la cartuchera.

Now we take the metallic foami/eva rubber and with our patterns that we previously adjusted, we will pass it to it, we will also mark a strip of 7cm long by 3cm wide.

Note: As we mark we make the doubles to be able to assemble the cartridge belt.
photocollage_2022418205835297.jpg

1.PNG


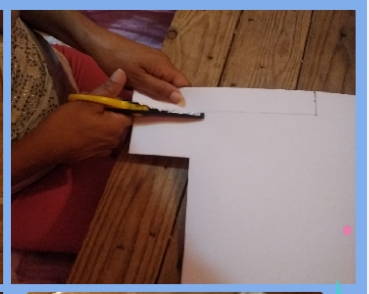
Comenzaremos a recortar al tener nuestro patrón recortado, iremos doblando para que el foami/goma eva vaya cediendo. Con la tijera de zic zac recortaremos la franja que marcamos.
We will begin to cut when we have our pattern cut out, we will fold so that the foami/eva foam gives way. With the zic zac scissors we will cut the strip that we marked.

photocollage_2022418205947963.jpg

Captura2.PNG

photocollage_202241821039380.jpg

photocollage_202241821174453.jpg


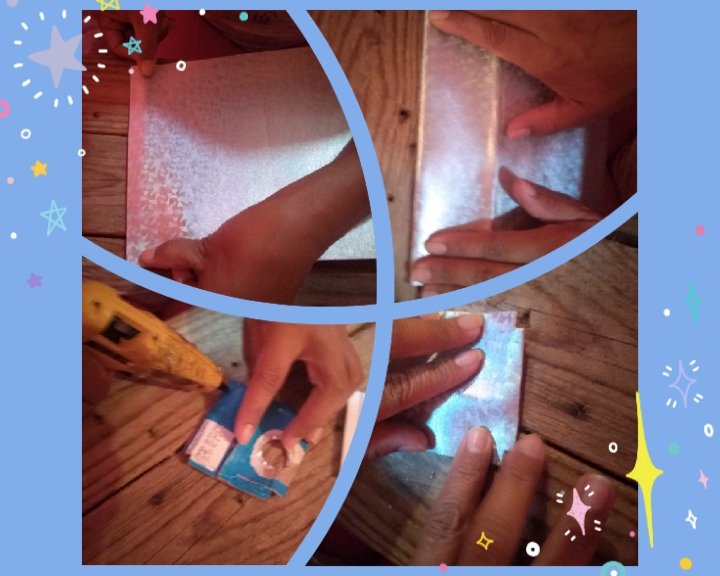
Con ayuda de la pistola de silicón colocamos una cantidad considerable y pegamos el foami/goma eva y en cada dobles nos detenemos y doblamos para que vaya tomando la forma, lo mismo lo haremos con las pestañas laterales como se indica en nuestra imágen 👇.
With the help of the silicone gun we place a considerable amount and glue the foami/eva rubber and in each double we stop and bend so that it takes shape, we will do the same with the side lashes as indicated in our image 👇.

photocollage_20224182146544.jpg


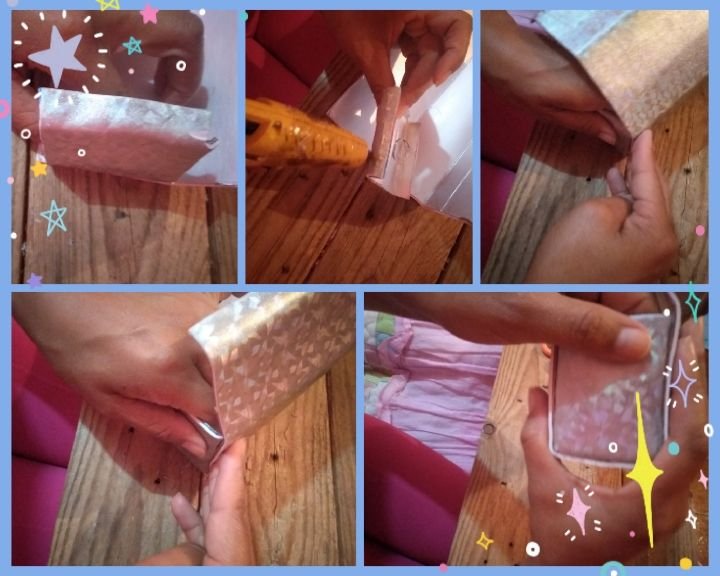
Al tener nuestras piezas lista, vamos armar la cartuchera pegando las pestañas laterales colocandole suficiente silicón y presionando por unos minutos hasta que quede bien pegado. Observa la imágen👇. También pegaremos la franja que recortamos usando la tijera de zic zac.
Having our pieces ready, we are going to assemble the cartridge belt by gluing the side tabs, placing enough silicone on it and pressing for a few minutes until it is well glued. Look at the image👇. We will also glue the fringe that we cut out using the zic zac scissors.

photocollage_202241821625247.jpg

photocollage_20224182175853.jpg

Captura3.PNG


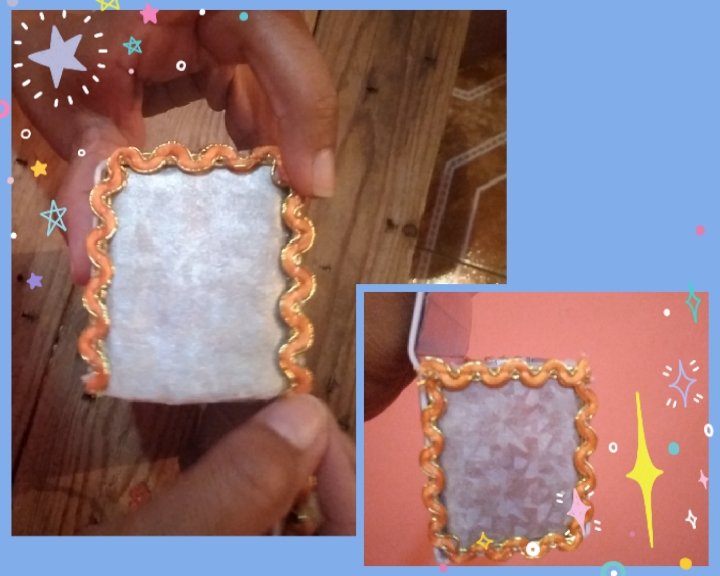
Decoramos con nuestra cinta naranja y la pegaremos con silicón en los lados derecho e izquierdo para tapar las uniones que nos quedaron y así nos quedará mucho más bonita nuestra cartuchera.🤗
We decorate with our orange tape and we will glue it with silicone on the right and left sides to cover the joints that we have left and that way our cartridge bag will be much more beautiful.🤗

photocollage_2022418211122881.jpg


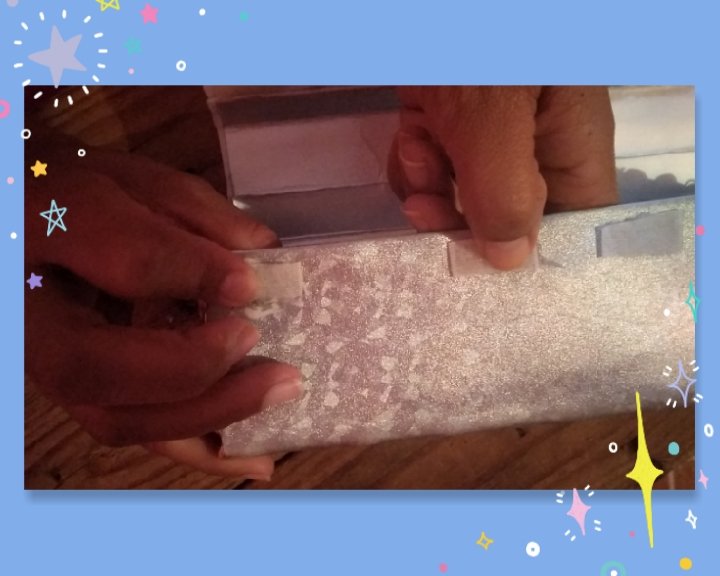
Para culminar cortaremos 4 tiras del grosor deseado del cierre mágico para que nuestra cartuchera pueda cerrarse y abrirse fácilmente la pegaremos con silicón.
To finish, we will cut 4 strips of the desired thickness of the magic closure so that our cartridge case can be closed and opened easily, we will glue it with silicone.

photocollage_2022418211456499.jpg


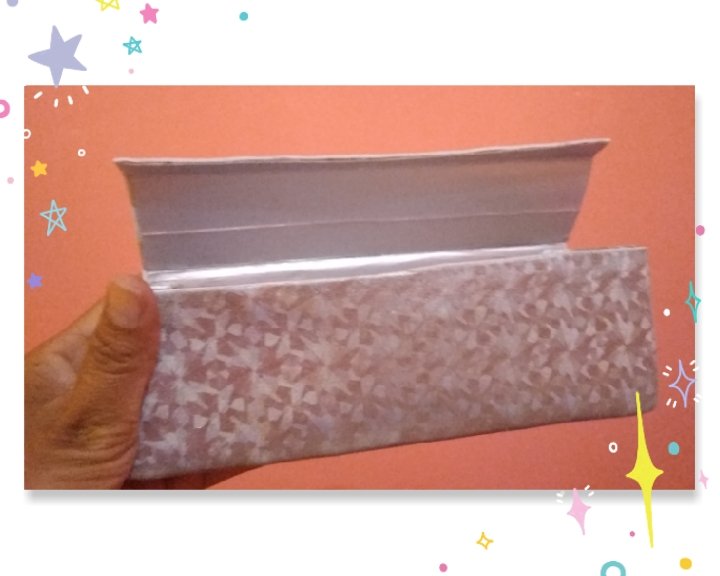
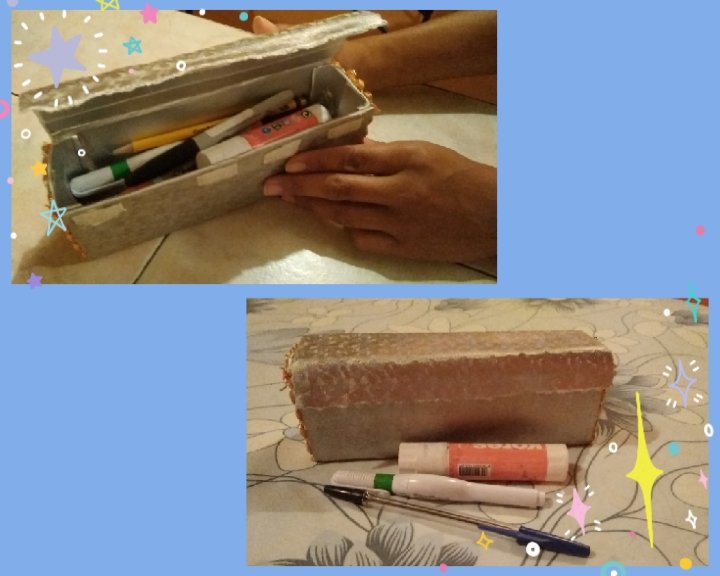
Proyecto terminado una bella cartuchera elaborada 😍 con un envase de leche, espero les encante como a mí y ahora a usarla para meter mis instrumentos de trabajo lápiz, marcadores, lapiceros y otros, aquí me caben muchas cosas y lo mejor no tuve que comprar una, la elaboré a mi gusto 😉 y con el tamaño que necesito y lo mejor ayude al medio ambiente recicle y reuse un envase que para muchos es basura hoy para mi se convirtió en algo insispensable para mi quehacer como docente.

Las fotos fueron tomadas y editadas con mi celular use la aplicación "Foto Collage"
La traducción la realice con el traductor de google

Finished project a beautiful pencil case made 😍 with a milk container, I hope you love it as much as I do and now to use it to put my pencil, markers, pens and other work instruments, here I can fit many things and the best thing I did not have to buy one , I made it to my liking 😉 and with the size I need and the best way to help the environment is to recycle and reuse a container that for many is garbage today for me it has become something essential for my work as a teacher.
photocollage_202241821192266.jpg


Hasta un próximo encuentro!!!
🤗😘

Until a next meeting!!!
🤗😘
Sort:  

muy linda y practica.

Hola @millyzev, 🤗 muchas gracias por visitar mi blog


The rewards earned on this comment will go directly to the person sharing the post on Twitter as long as they are registered with @poshtoken. Sign up at https://hiveposh.com.

Que creatividad amiga, te felicito!! con material al alcance de todos que es lo mejor!! Vere si le hago una a mi nene para evitar el poco de crayones regados jaja

Hola @milagrosmhbl gracias amiga, si y lo mejor no tuve que gastar todo lo tenía en casa, te invito a realizarla puedes personalizarla al gusto de tu bebé, gracias por comentarme un abrazo 🤗

Congratulations @dayanita2! You have completed the following achievement on the Hive blockchain and have been rewarded with new badge(s):

You received more than 1000 upvotes.
Your next target is to reach 1250 upvotes.

You can view your badges on your board and compare yourself to others in the Ranking
If you no longer want to receive notifications, reply to this comment with the word STOP

Support the HiveBuzz project. Vote for our proposal!