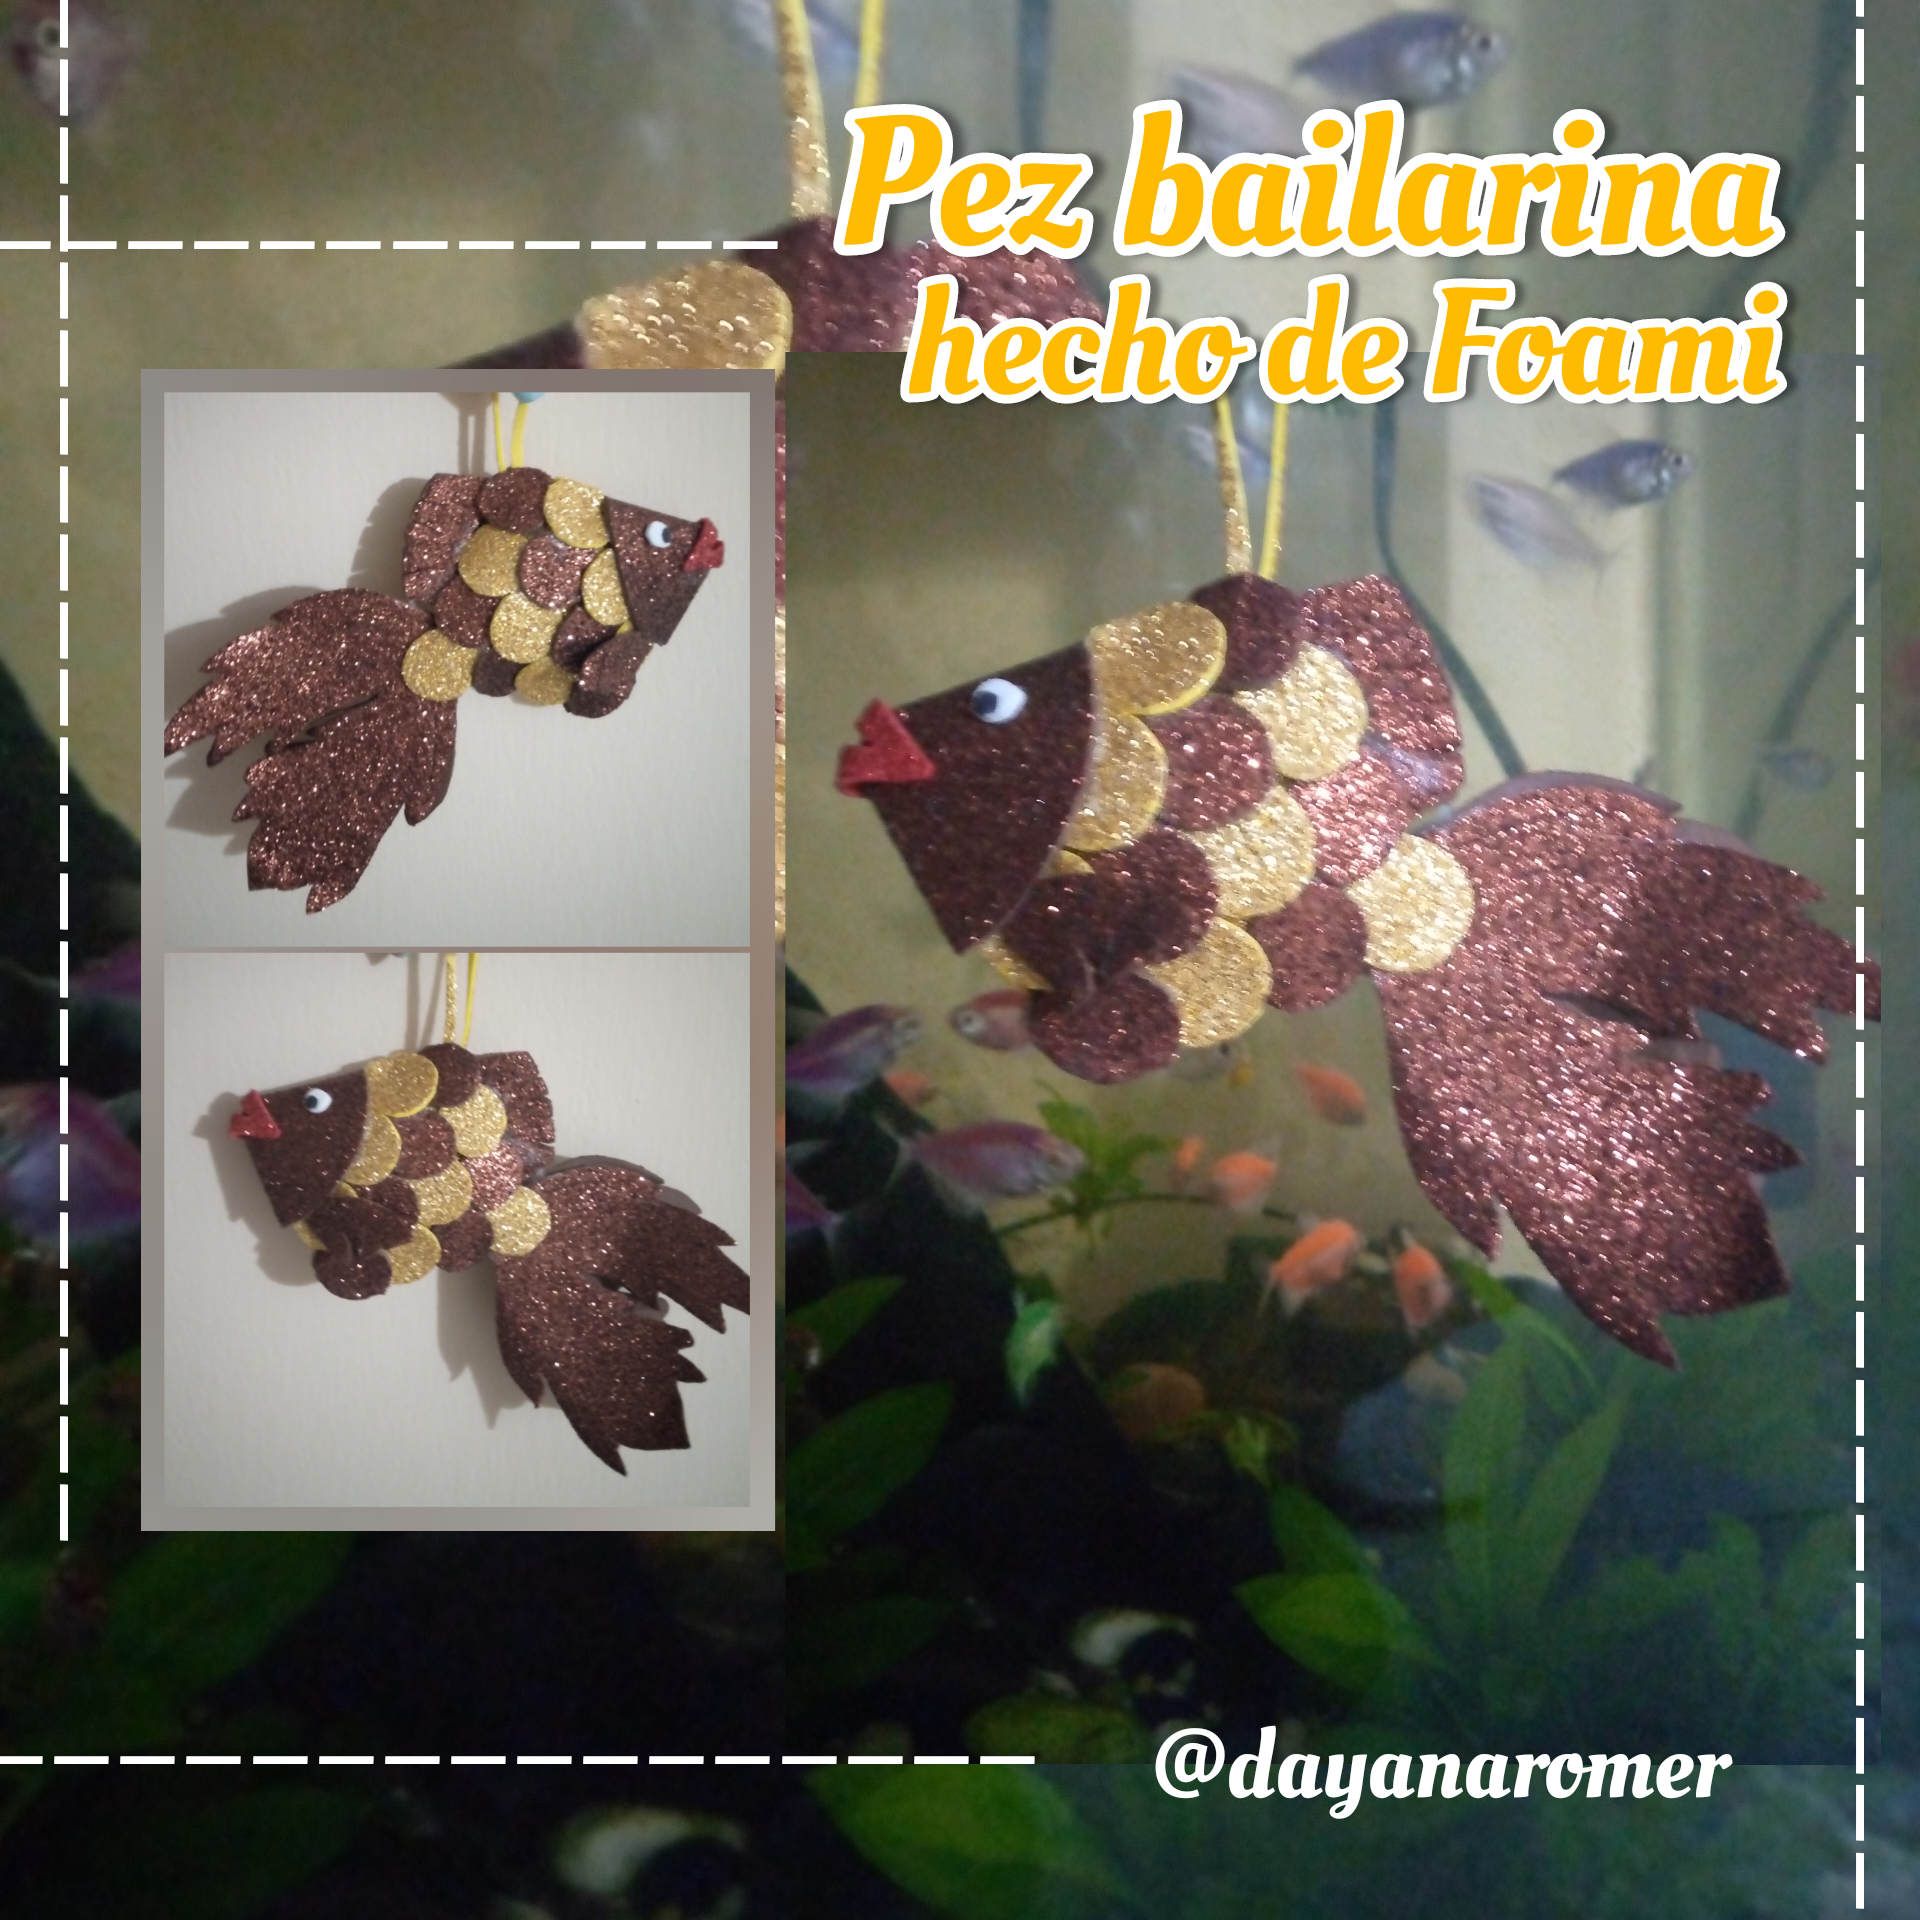
Saludos estimados amigos # Hive diy, espero se encuentren excelentemente bien en salud y armonía.
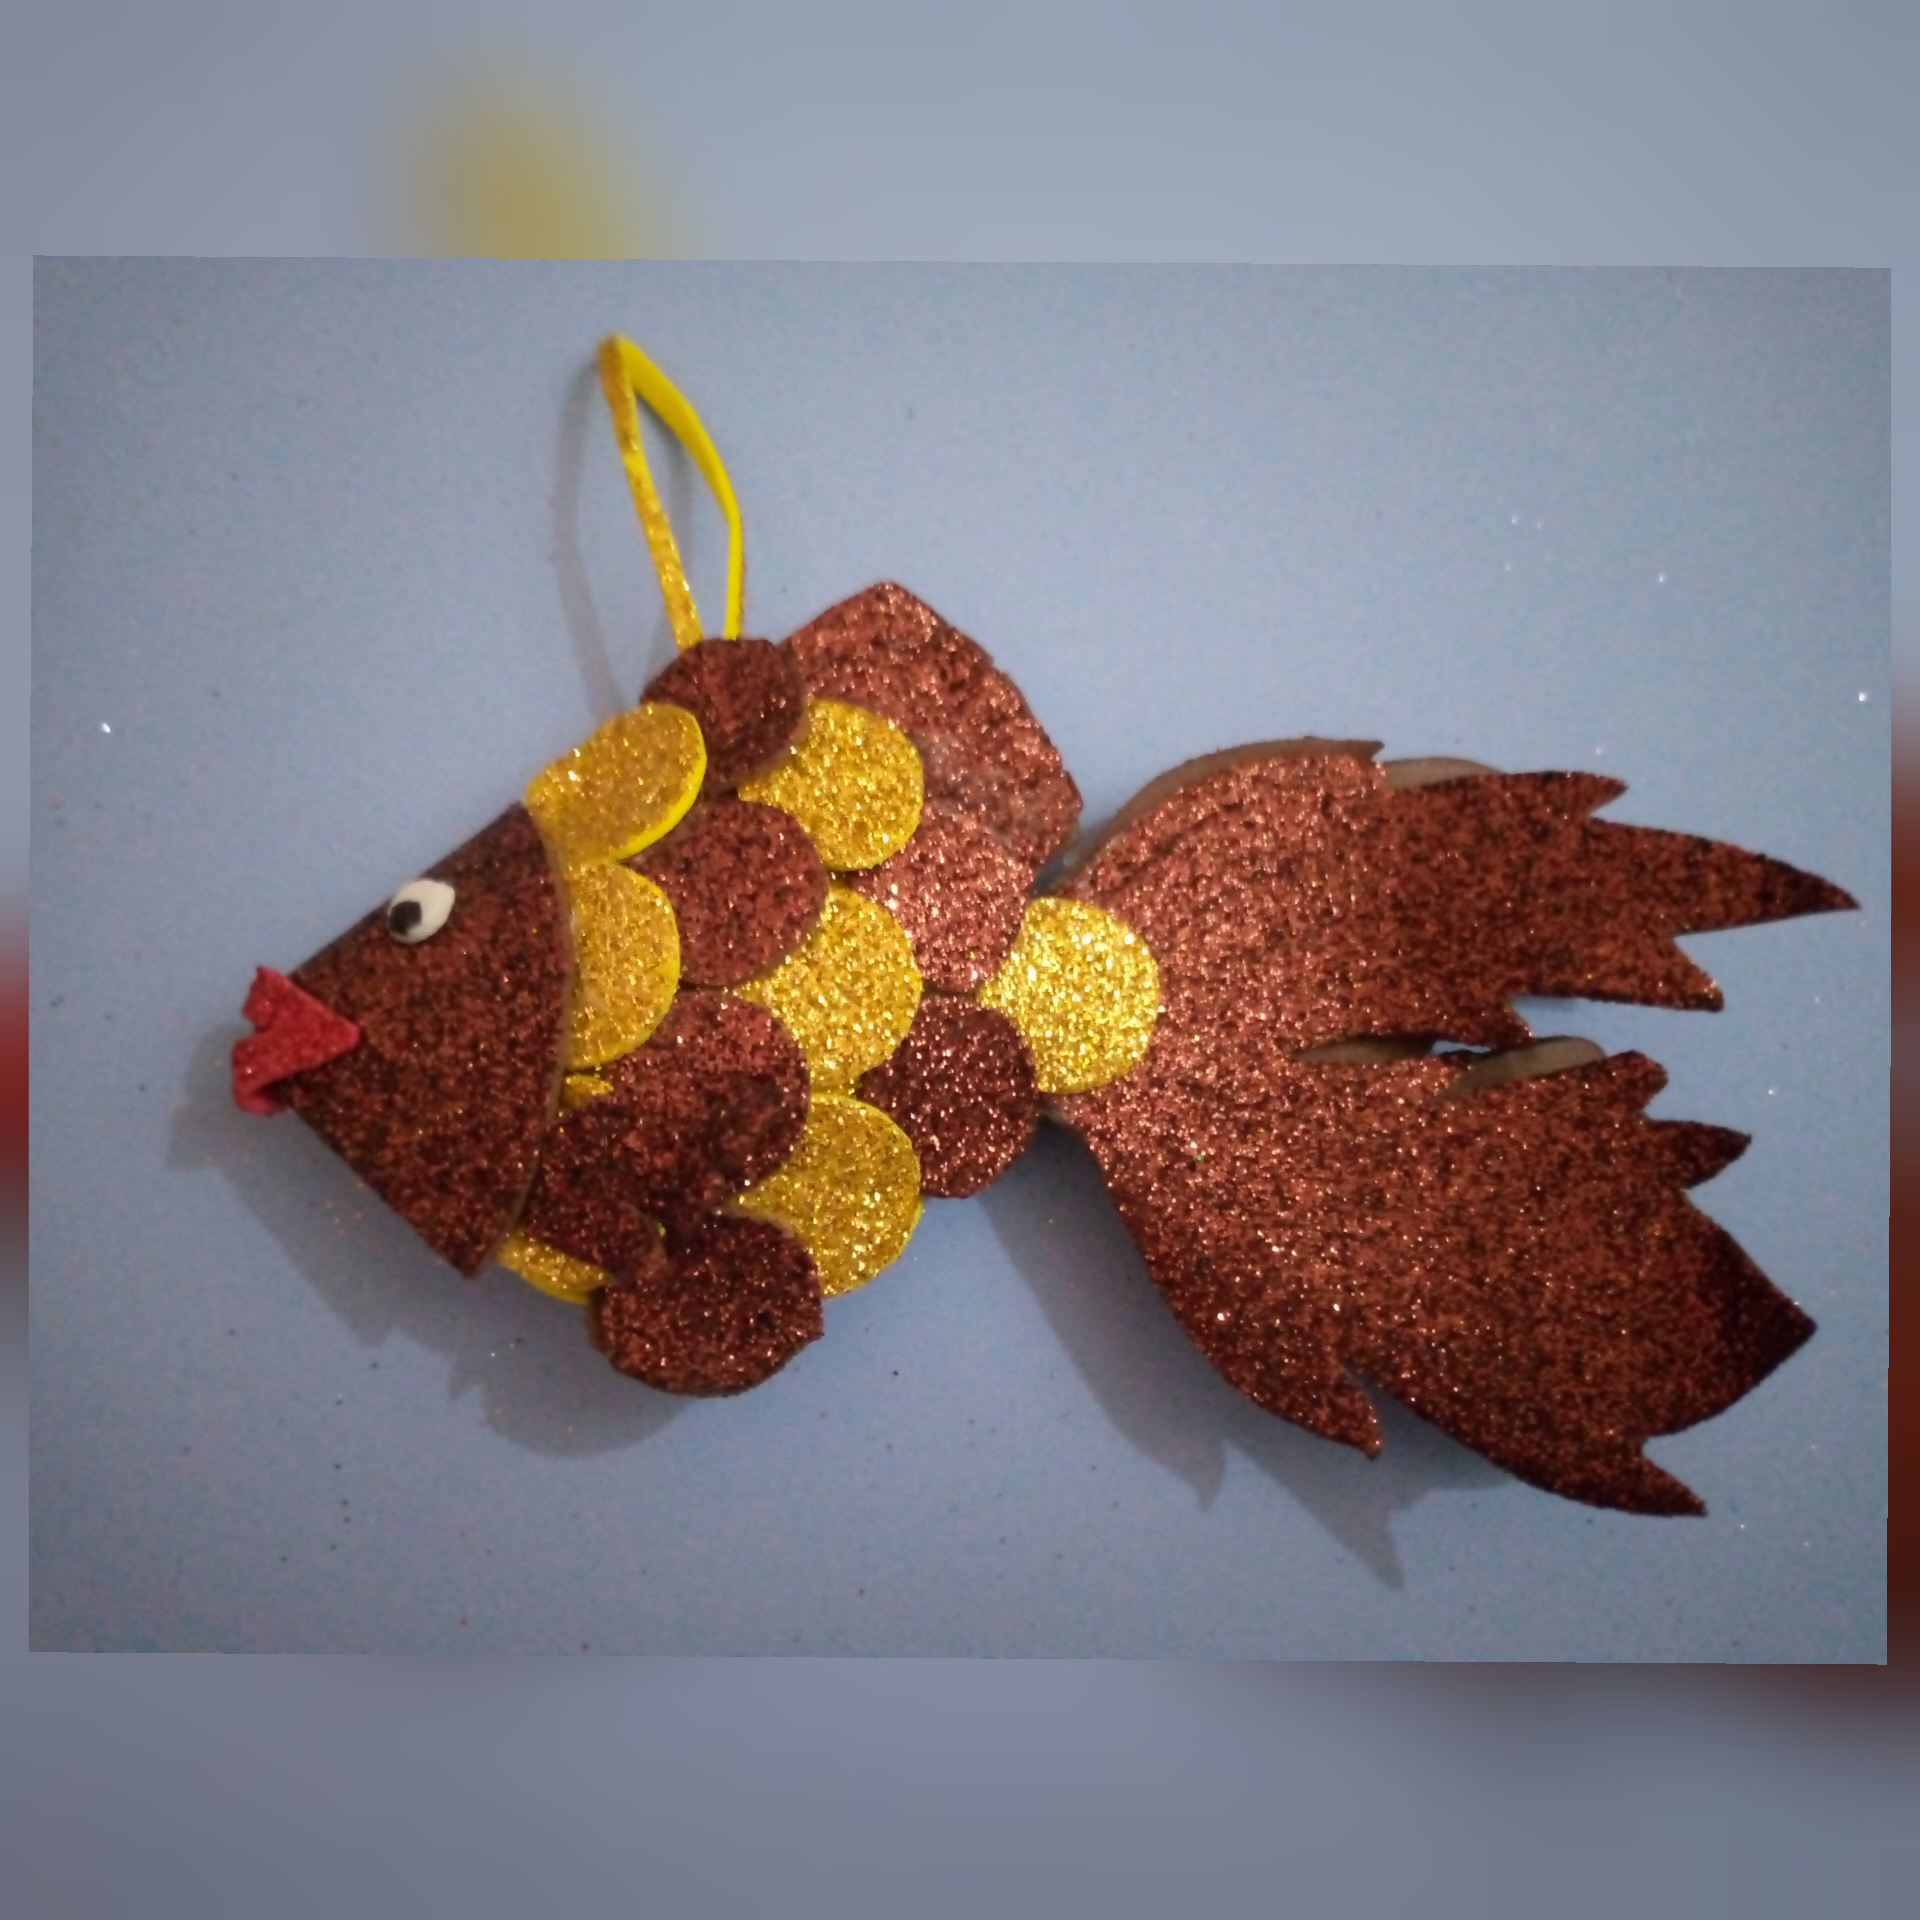
Quiero compartirles como hacer de un lindo pez bailarina con de foami, un hermoso animalito de nado lento, sociable y que adorna los acuarios de hogares, oficinas entre otros, les muestro su fácil elaboración.
Greetings dear friends # Hive diy, I hope you are in excellent health and harmony.
I want to share with you how to make a cute dancing fish with foami, a beautiful slow-swimming animal, sociable and that adorns the aquariums of homes, offices and others, I show you how easy it is to make.
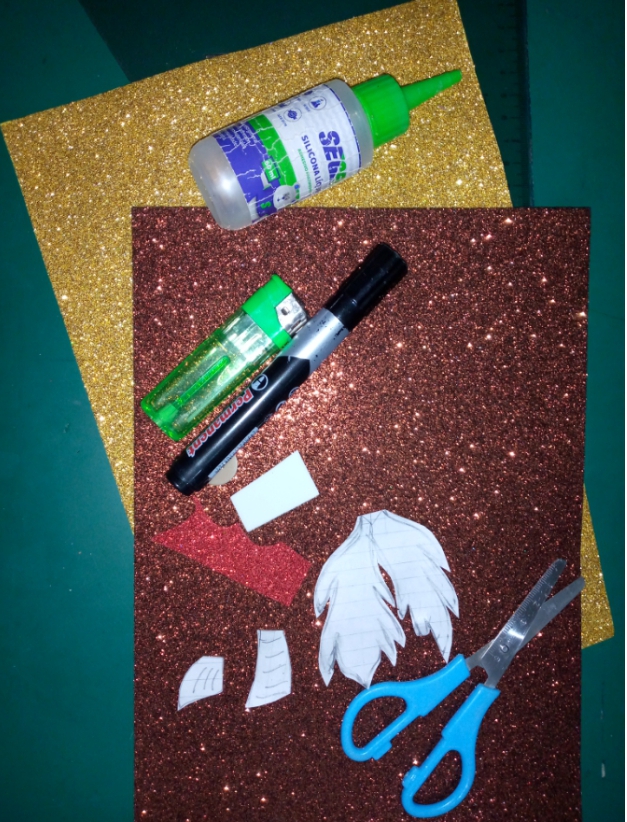
Materiales
✓ Foami diamantado dorado y marrón
✓Retazos se foami rojo y blanco
✓ Silicón liquido
✓ Regla
✓ Botón
✓Marcador negro
✓ Encendedor
✓ Moldes de aletas y cola
✓ Tijera
Materials
✓Gold and brown diamond foami.
✓ Red and white foami scraps
✓ Liquid silicone
✓ Ruler
✓ Button
✓Black marker
✓ Lighter
✓ Fin and glue molds.
✓ Scissors
Paso a paso
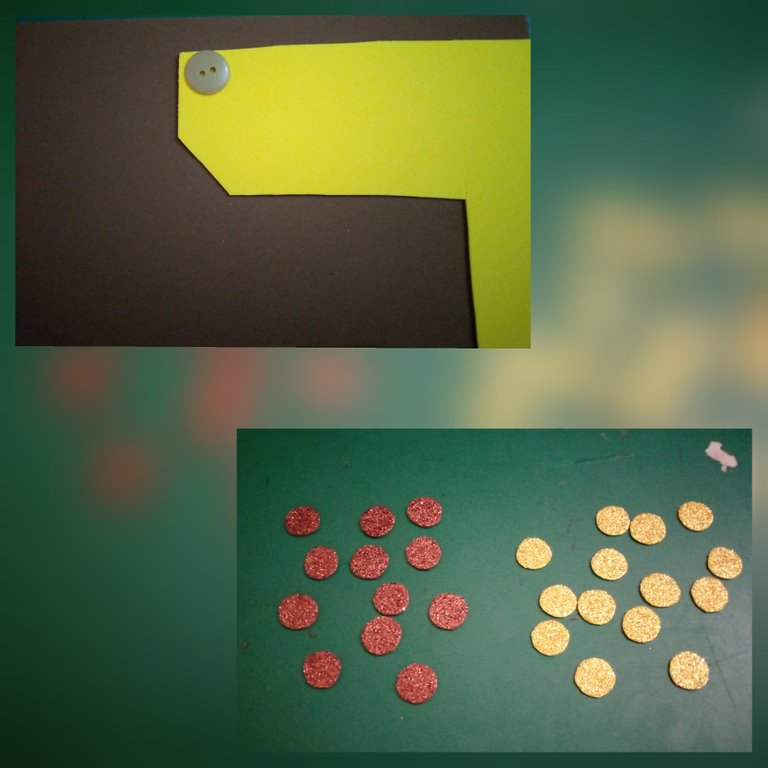
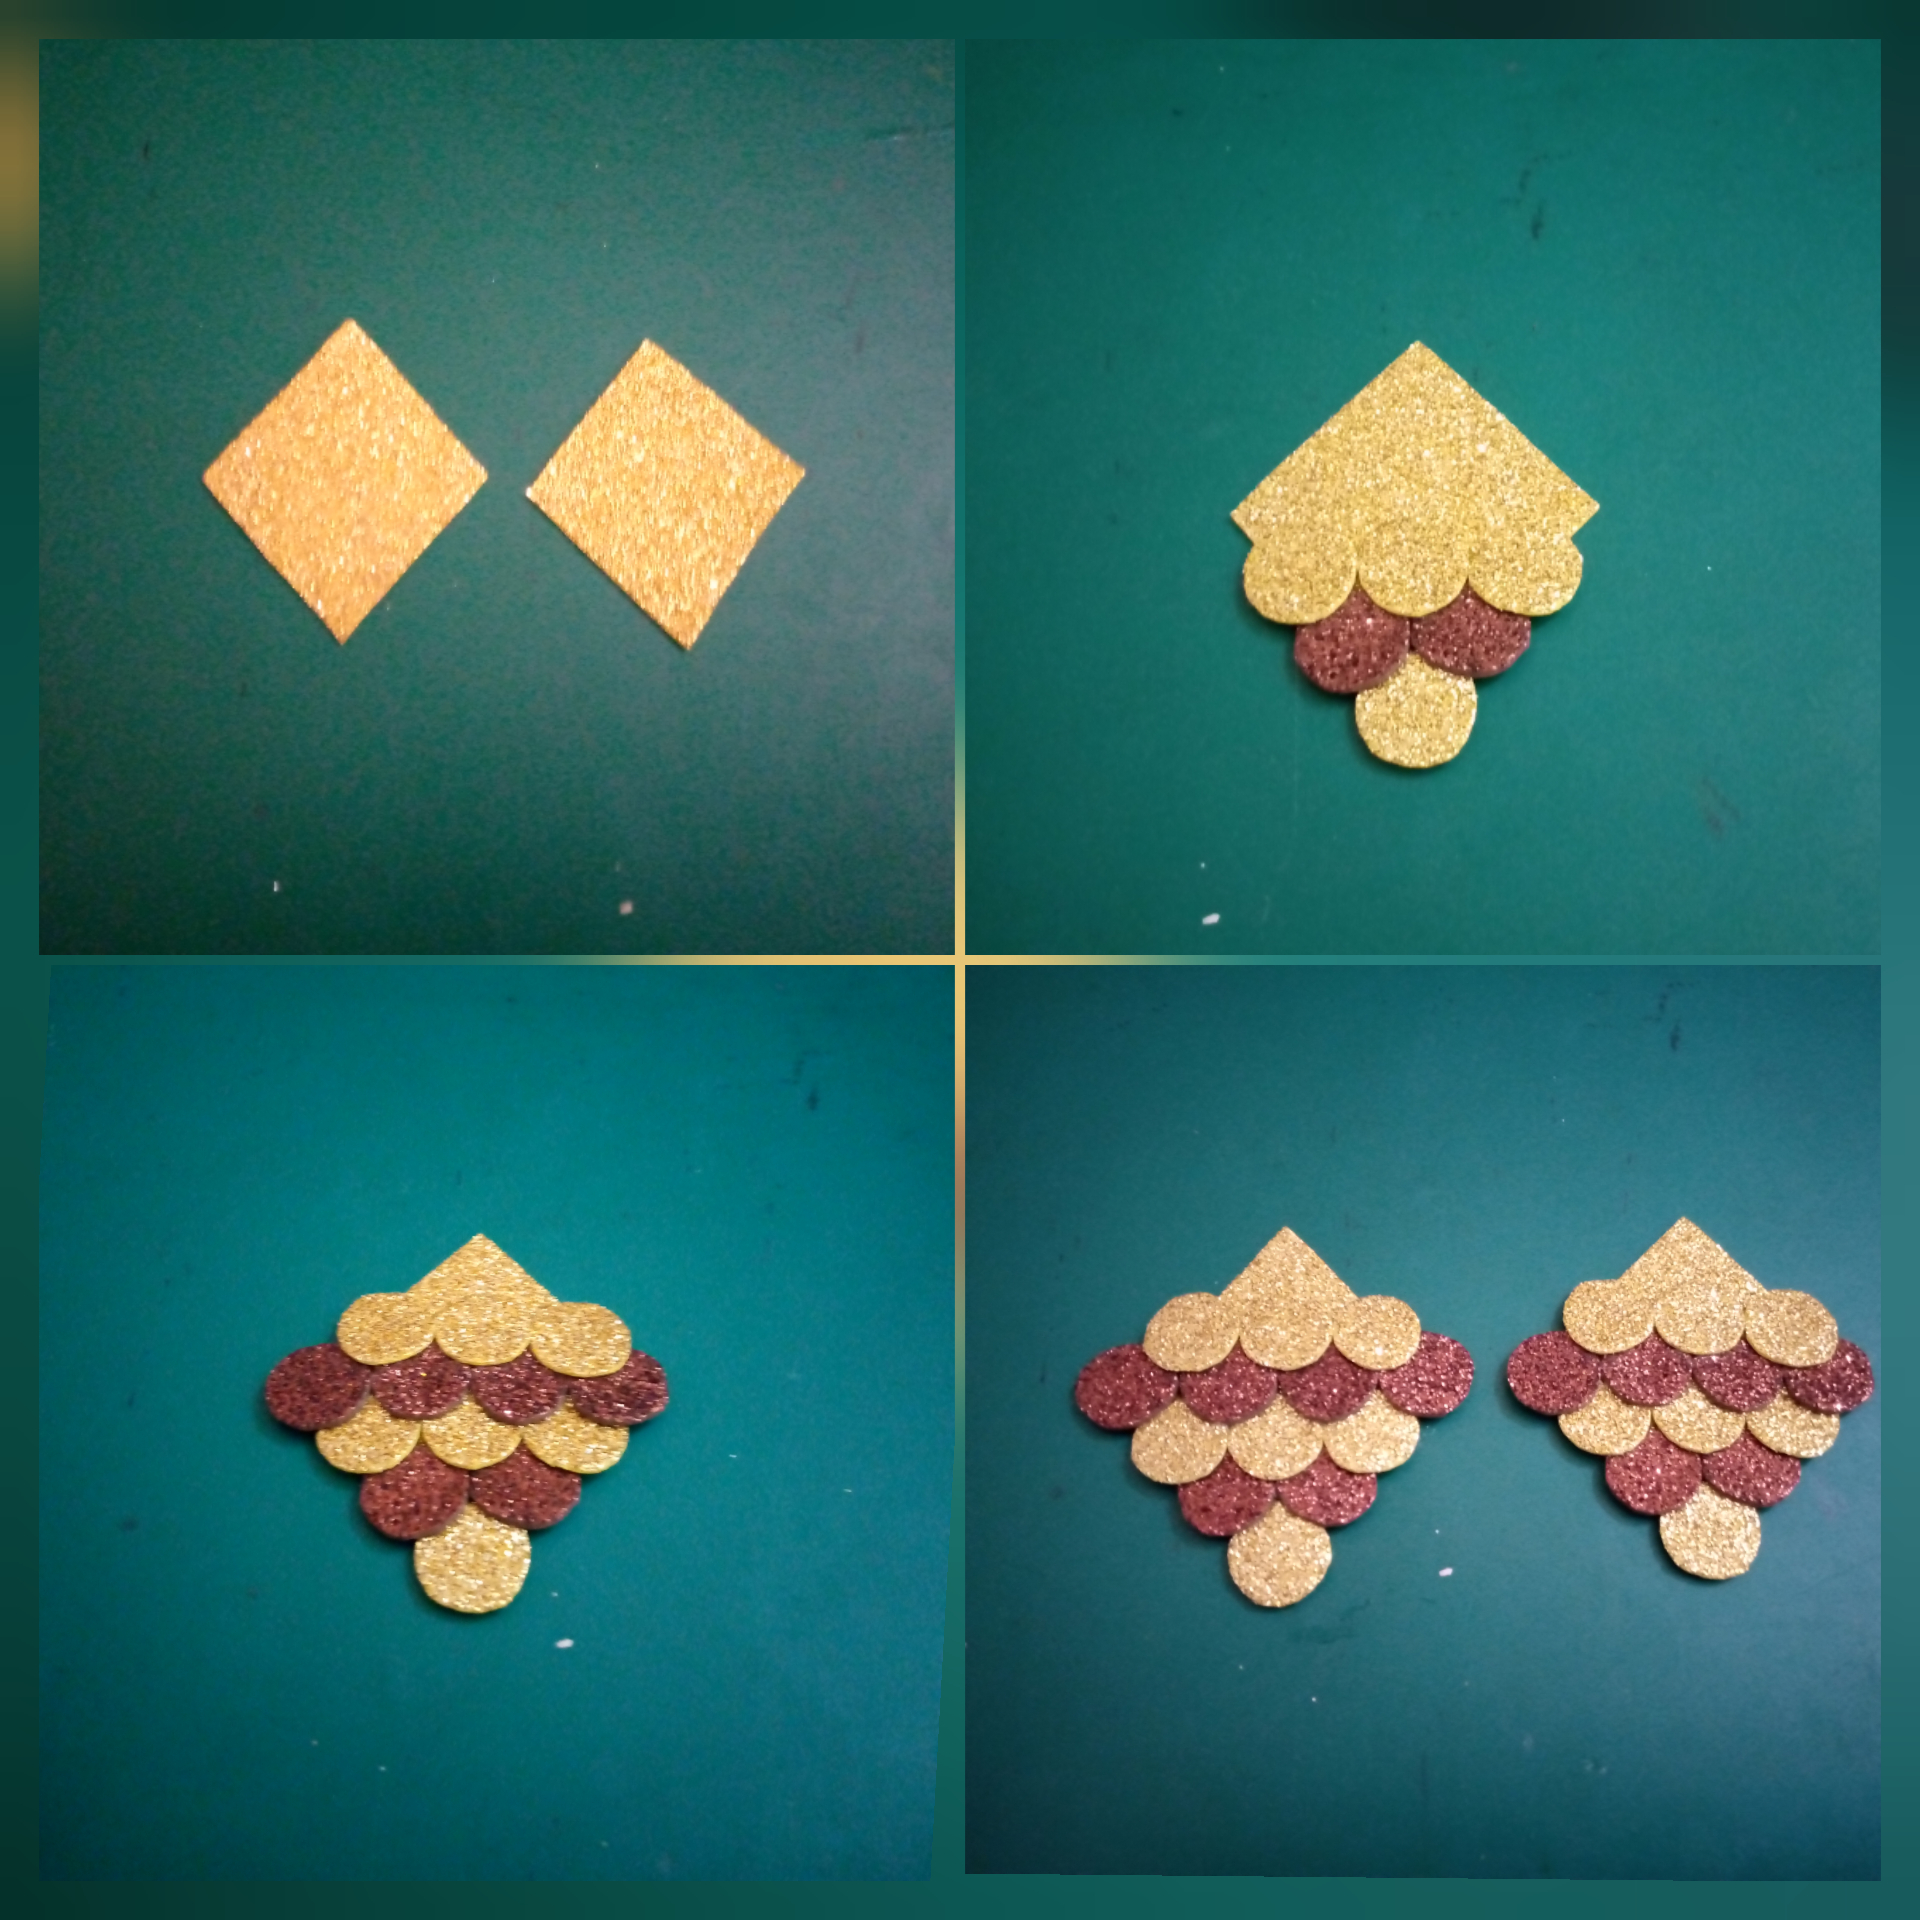
1- Realiza 12 circulos del foami marrón y 14 del foami dorado con ayuda del botón, apreta fuerte sobre los foamis para que se marque y recorta, su diámetro es de 1,6cm.
Step by step.
1- Make 12 circles from the brown foami and 14 from the gold foami with the help of the button, press hard on the foamis to mark and cut out, their diameter is 1,6cm.
2- Recorta 2 rombos de 6,5x 5,5 cm, pega los circulos en fila intercalando los colores desde la punta del lado más largo, serán las escamas ( observa la imagen), se harán en los dos rombos.
2- Cut out 2 rhombuses of 6,5x 5,5 cm, glue the circles in a row intercalating the colors from the tip of the longest side, they will be the scales (see the image), they will be made in the two rhombuses.
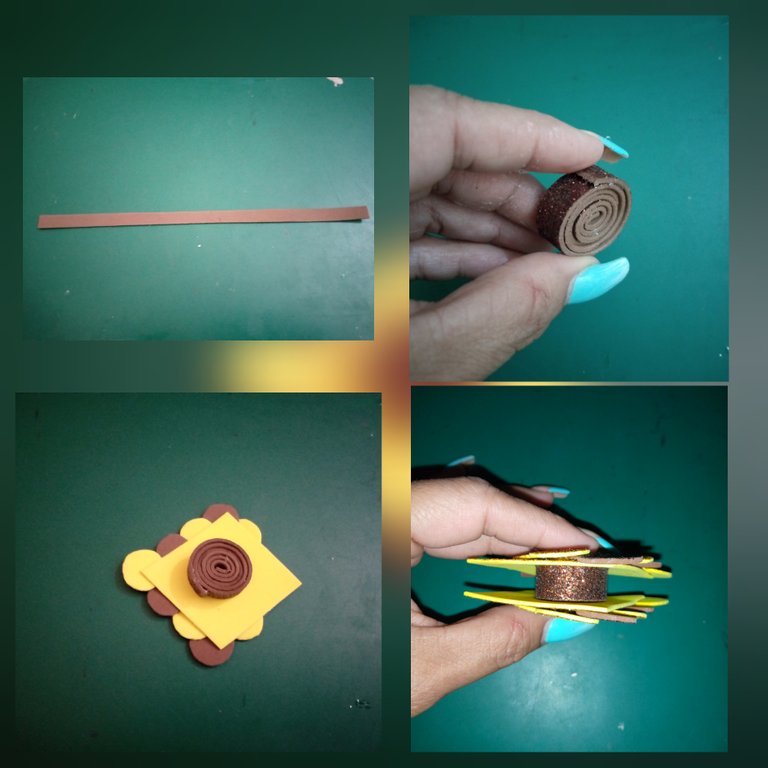
3- Recorta una tira de 28x1cm enrolla y pega en la punta, luego pega en el medio de las de 2 piezas ya elaboradas.
3- Cut a 28x1cm strip, roll it up and glue it at the end, then glue it in the middle of the 2 pieces already made.
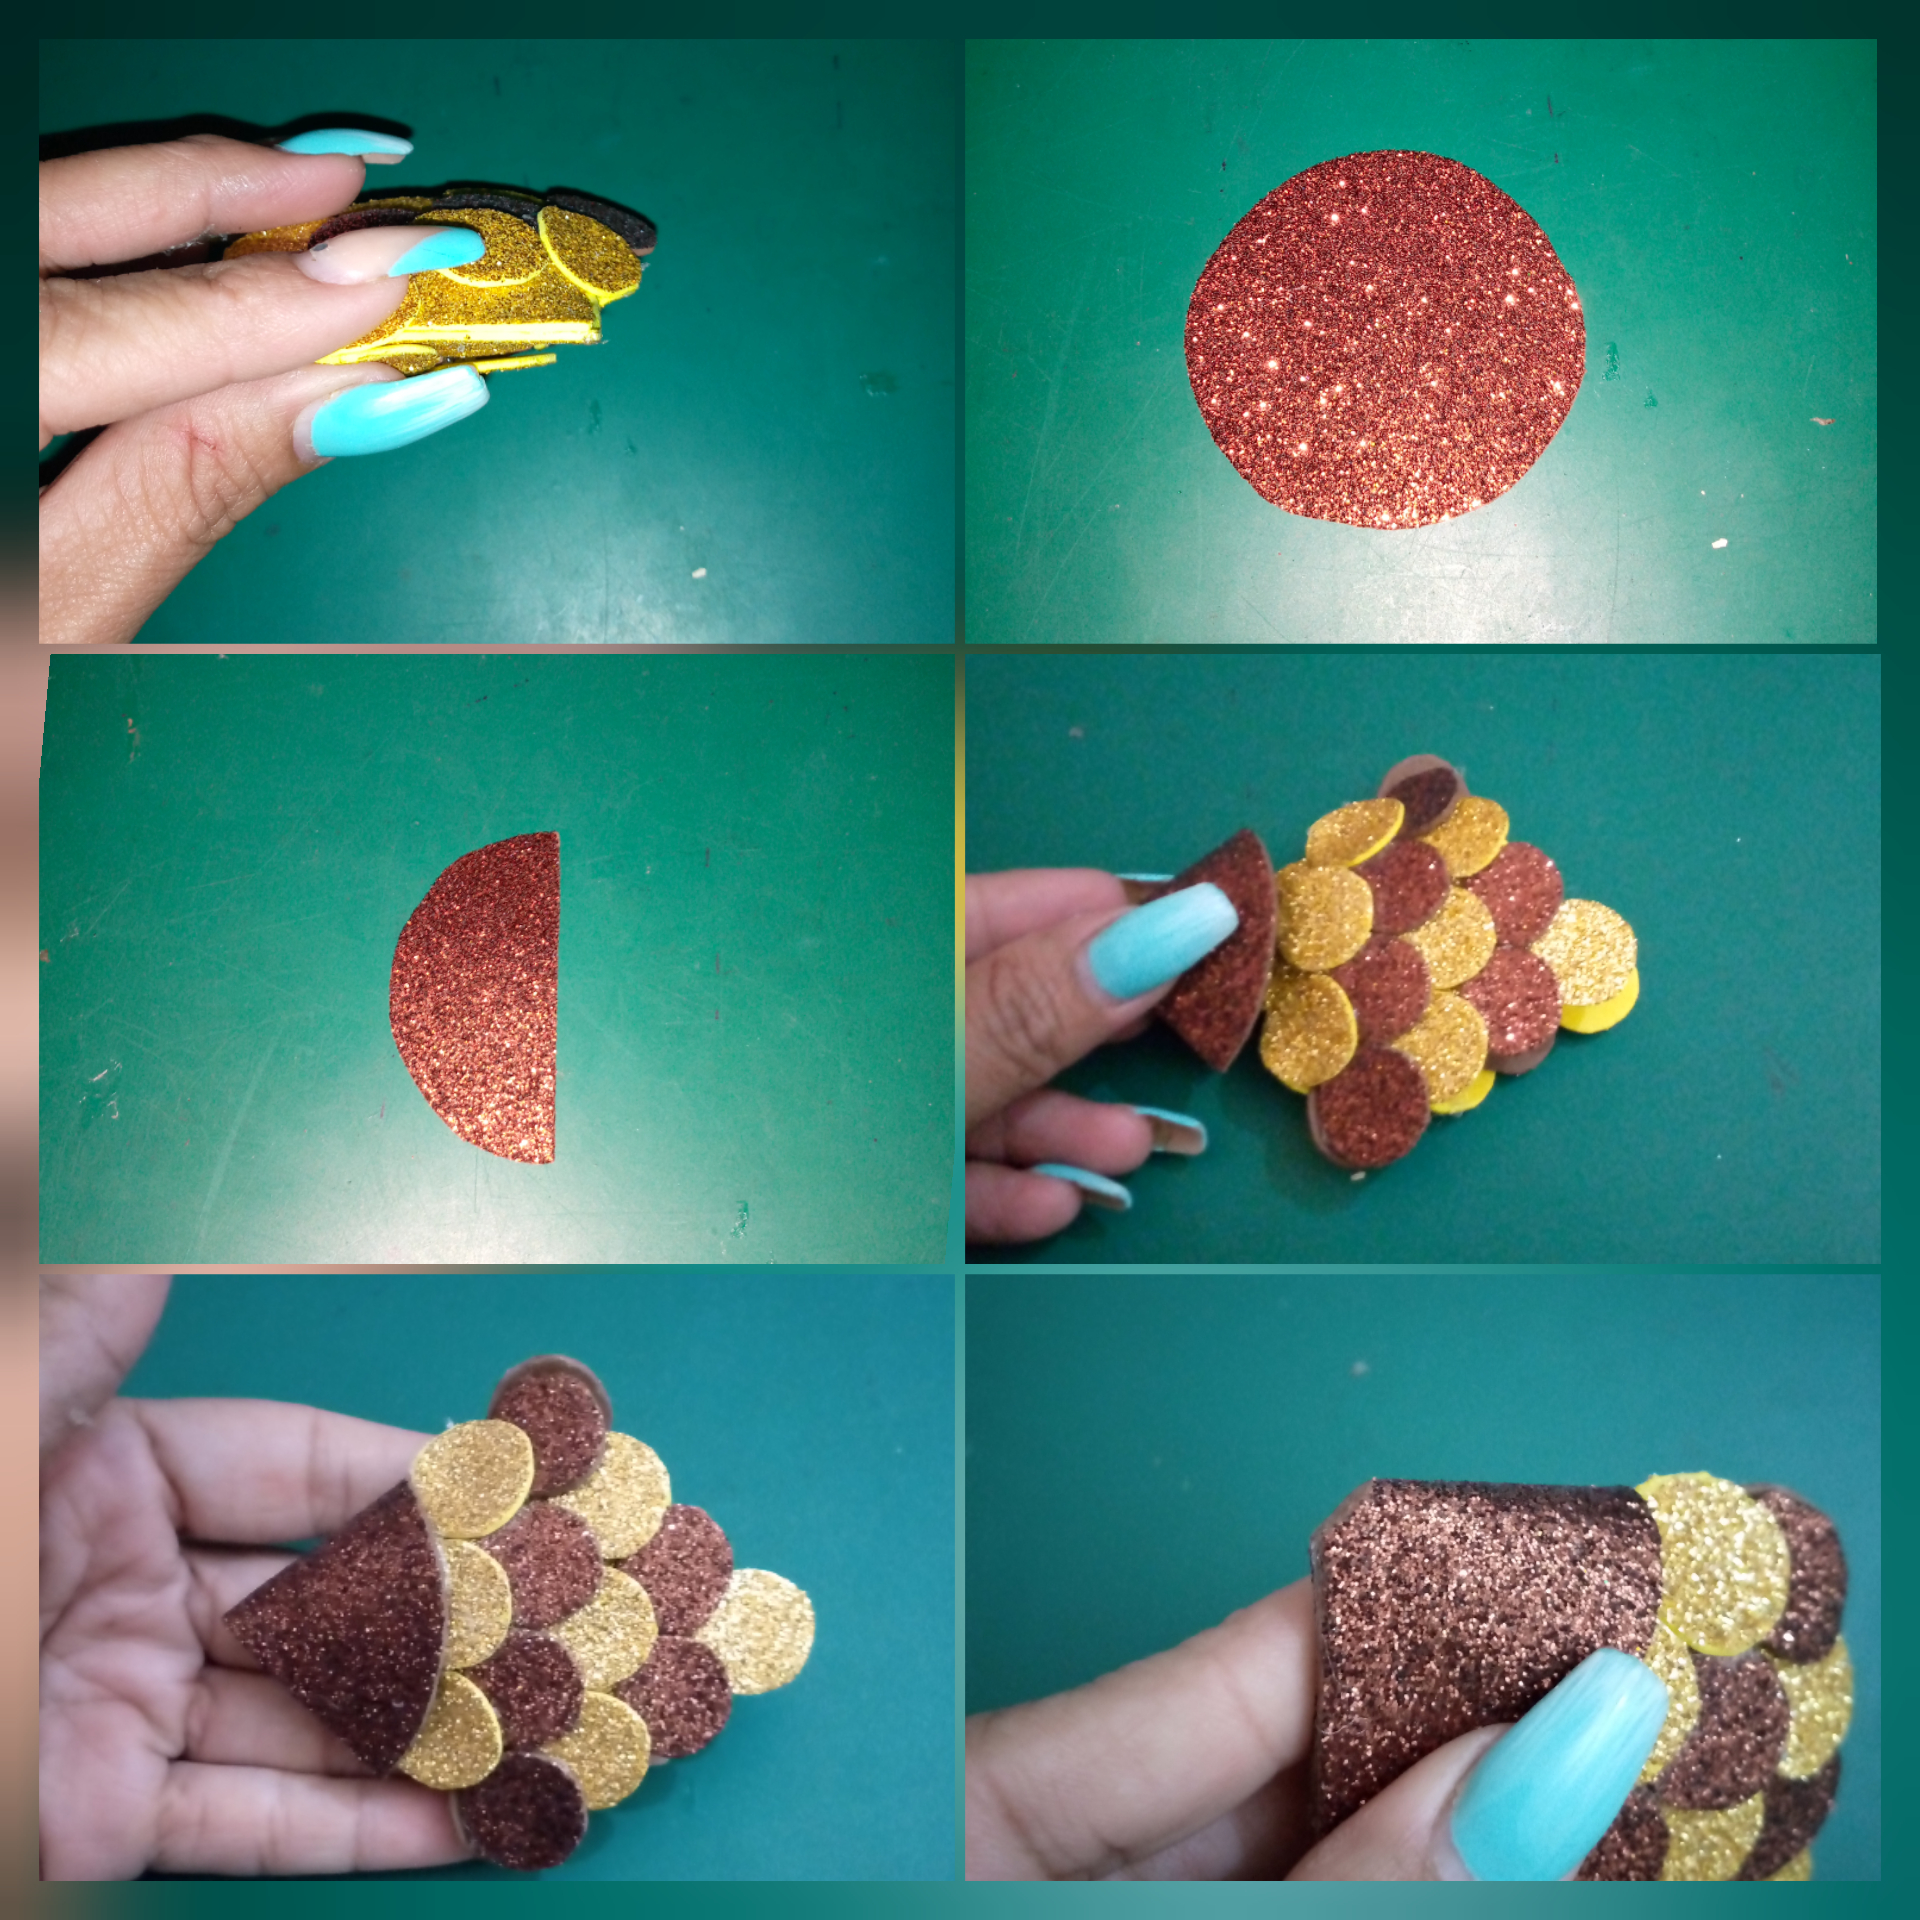
4- Pega los extremos dónde no se colocó círculos, recorta una circunferencia de 6,5 de diámetro, corta por la mitad y pega en el extremo con el lado redondeado hacia adentro y corta la puntita
4- Glue the ends where no circles were placed, cut out a circle of 6.5 in diameter, cut in half and glue at the end with the rounded side inwards and cut the tip.
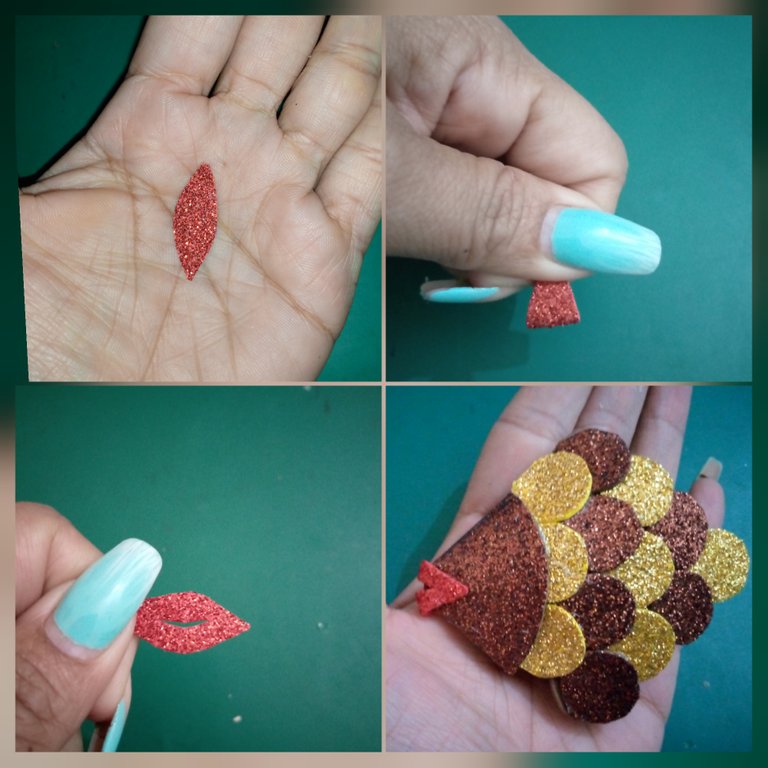
5- Del foami rojo realiza la boca, haz una abertura en el medio y pega.
5- From the red foami make a mouth, make an opening in the middle and glue.
6- Con ayuda de una perforadora, realiza dos círculos pequeños, pinta unos puntos negros y tenemos los ojos, pega en ambos lados.
6- With the help of a hole puncher, make two small circles, paint some black dots and we have the eyes, glue on both sides.
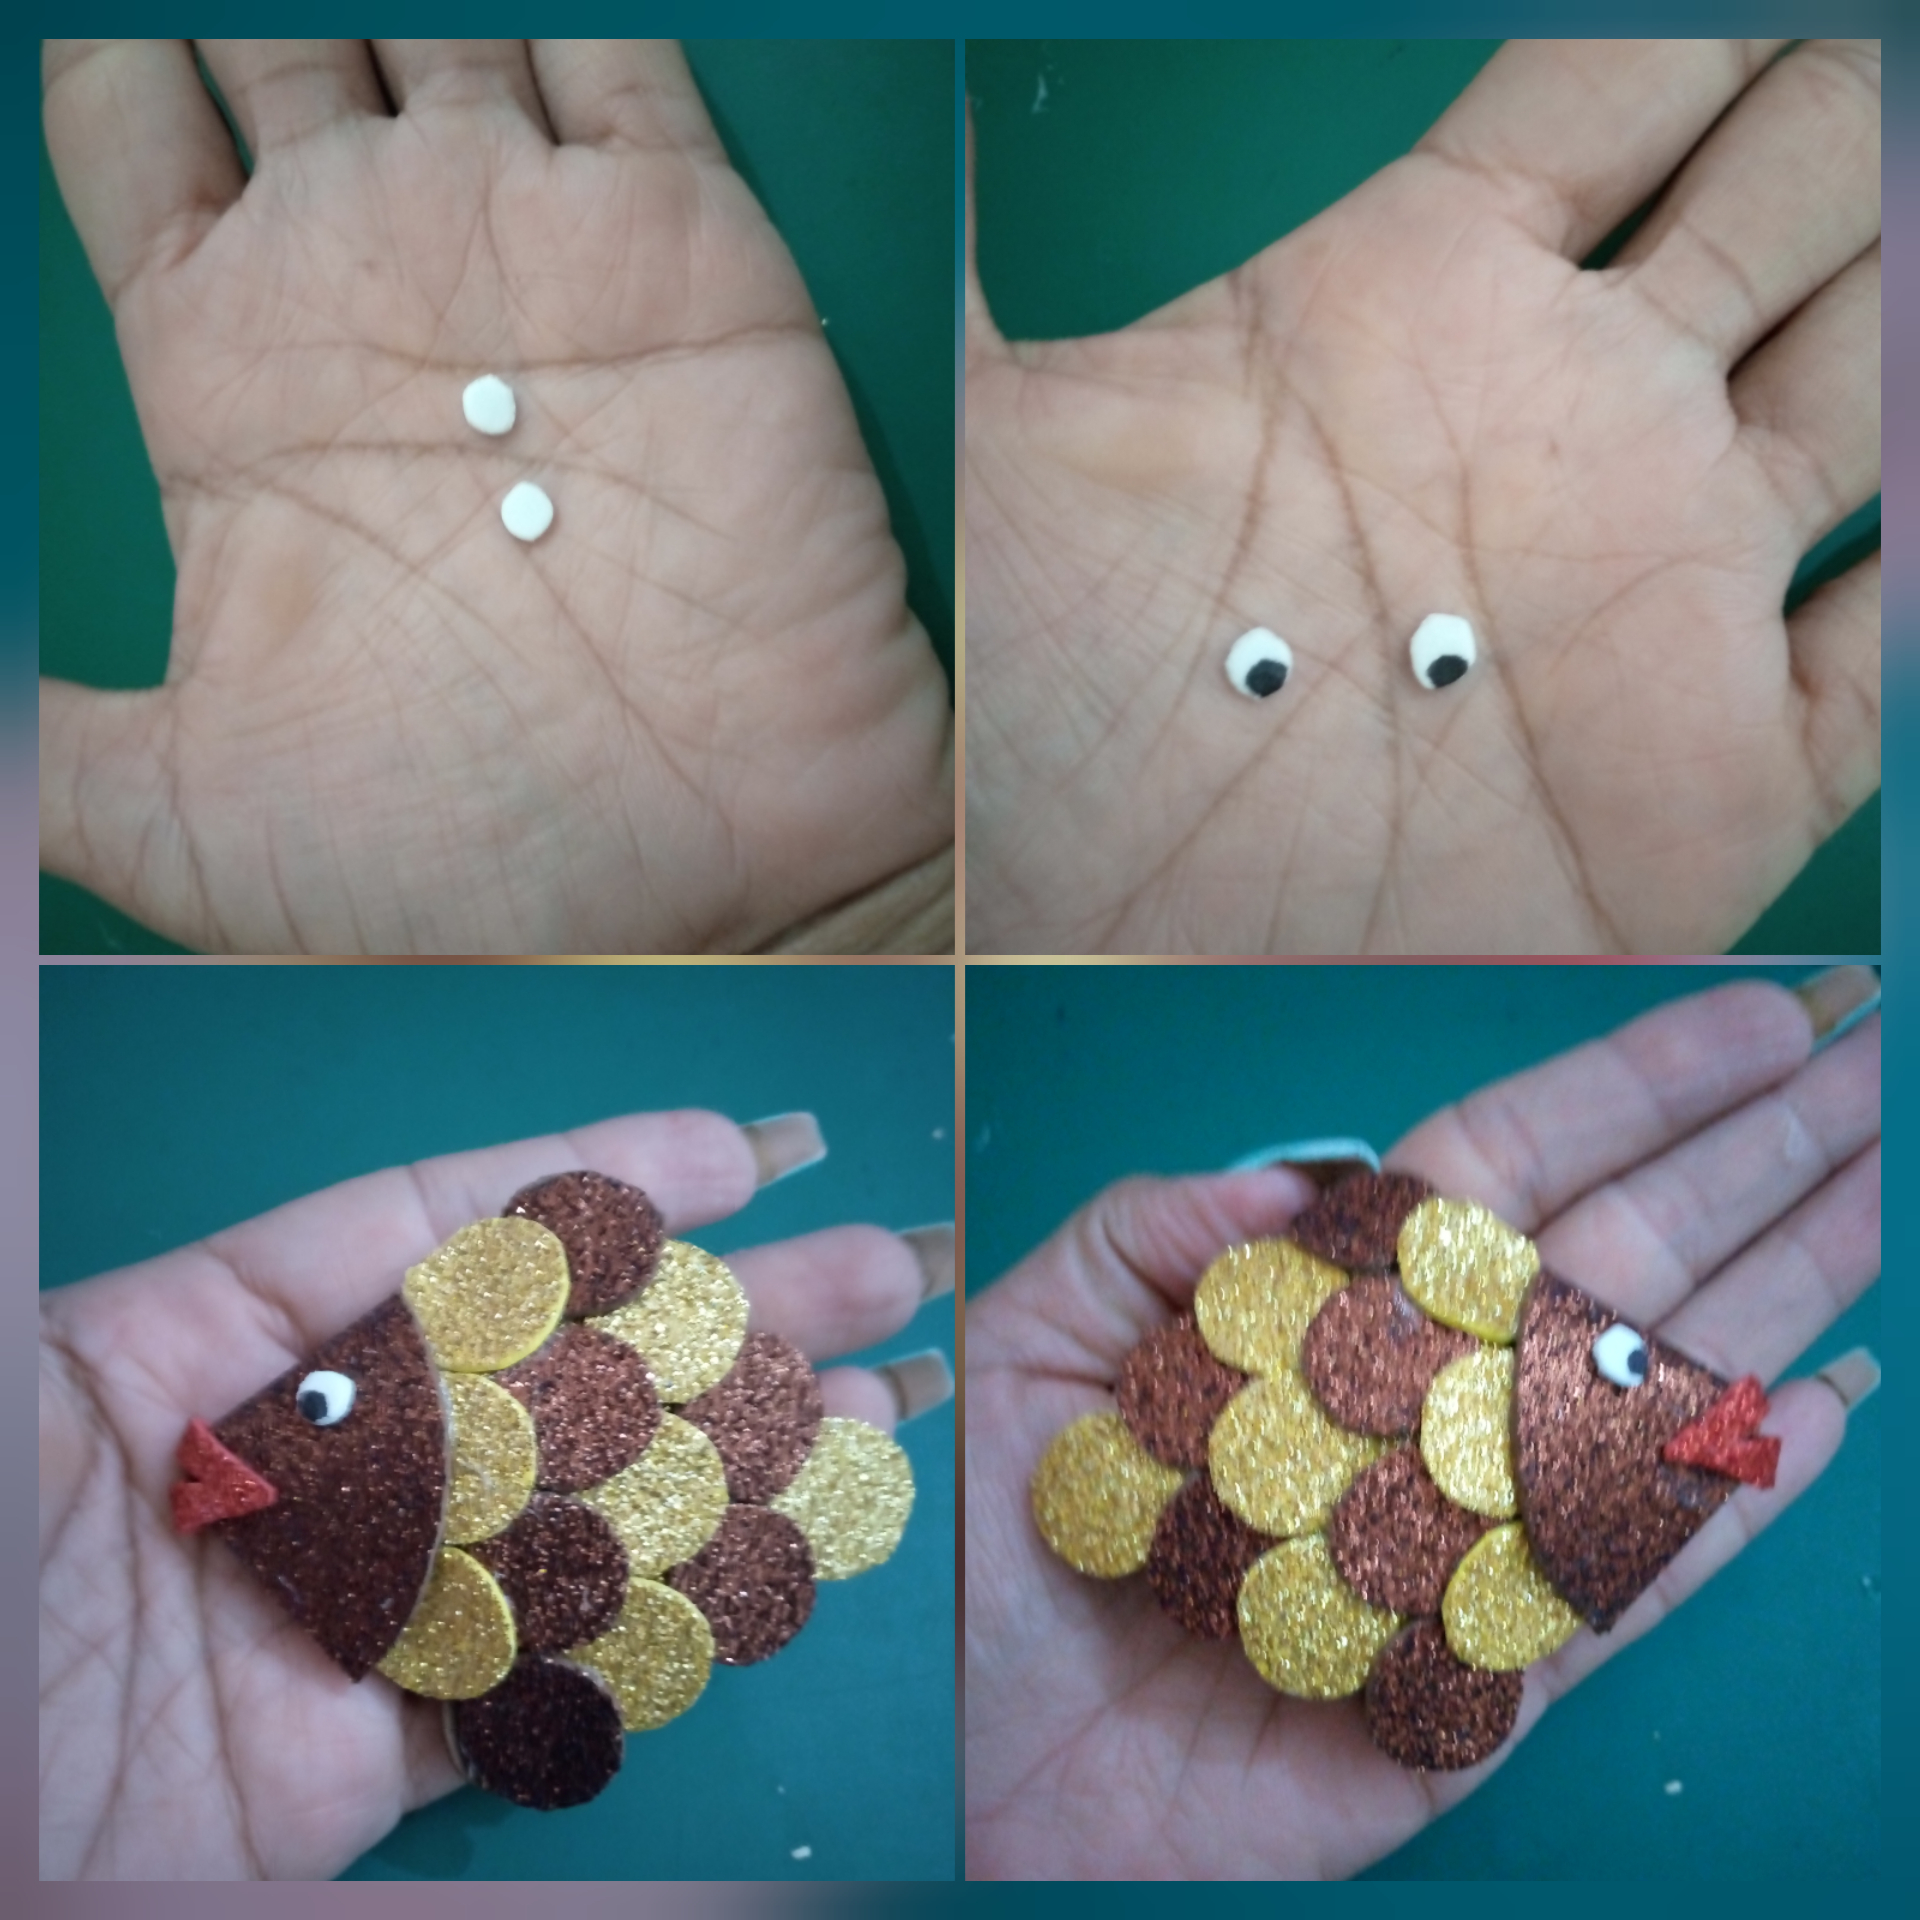
7- Pega la parte inferior hasta los circulos de color marrón.
7- Glue the bottom part up to the brown circles.
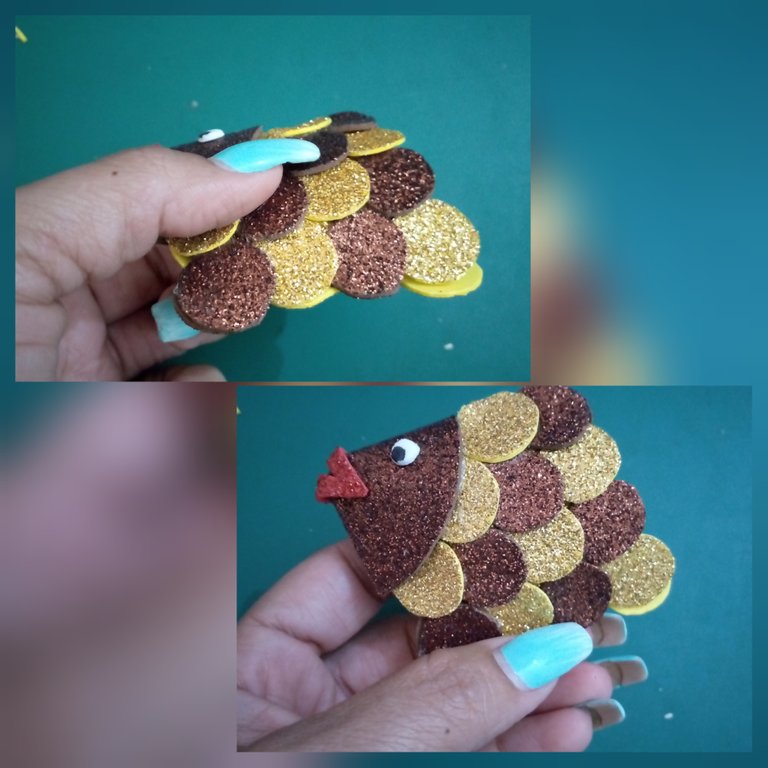
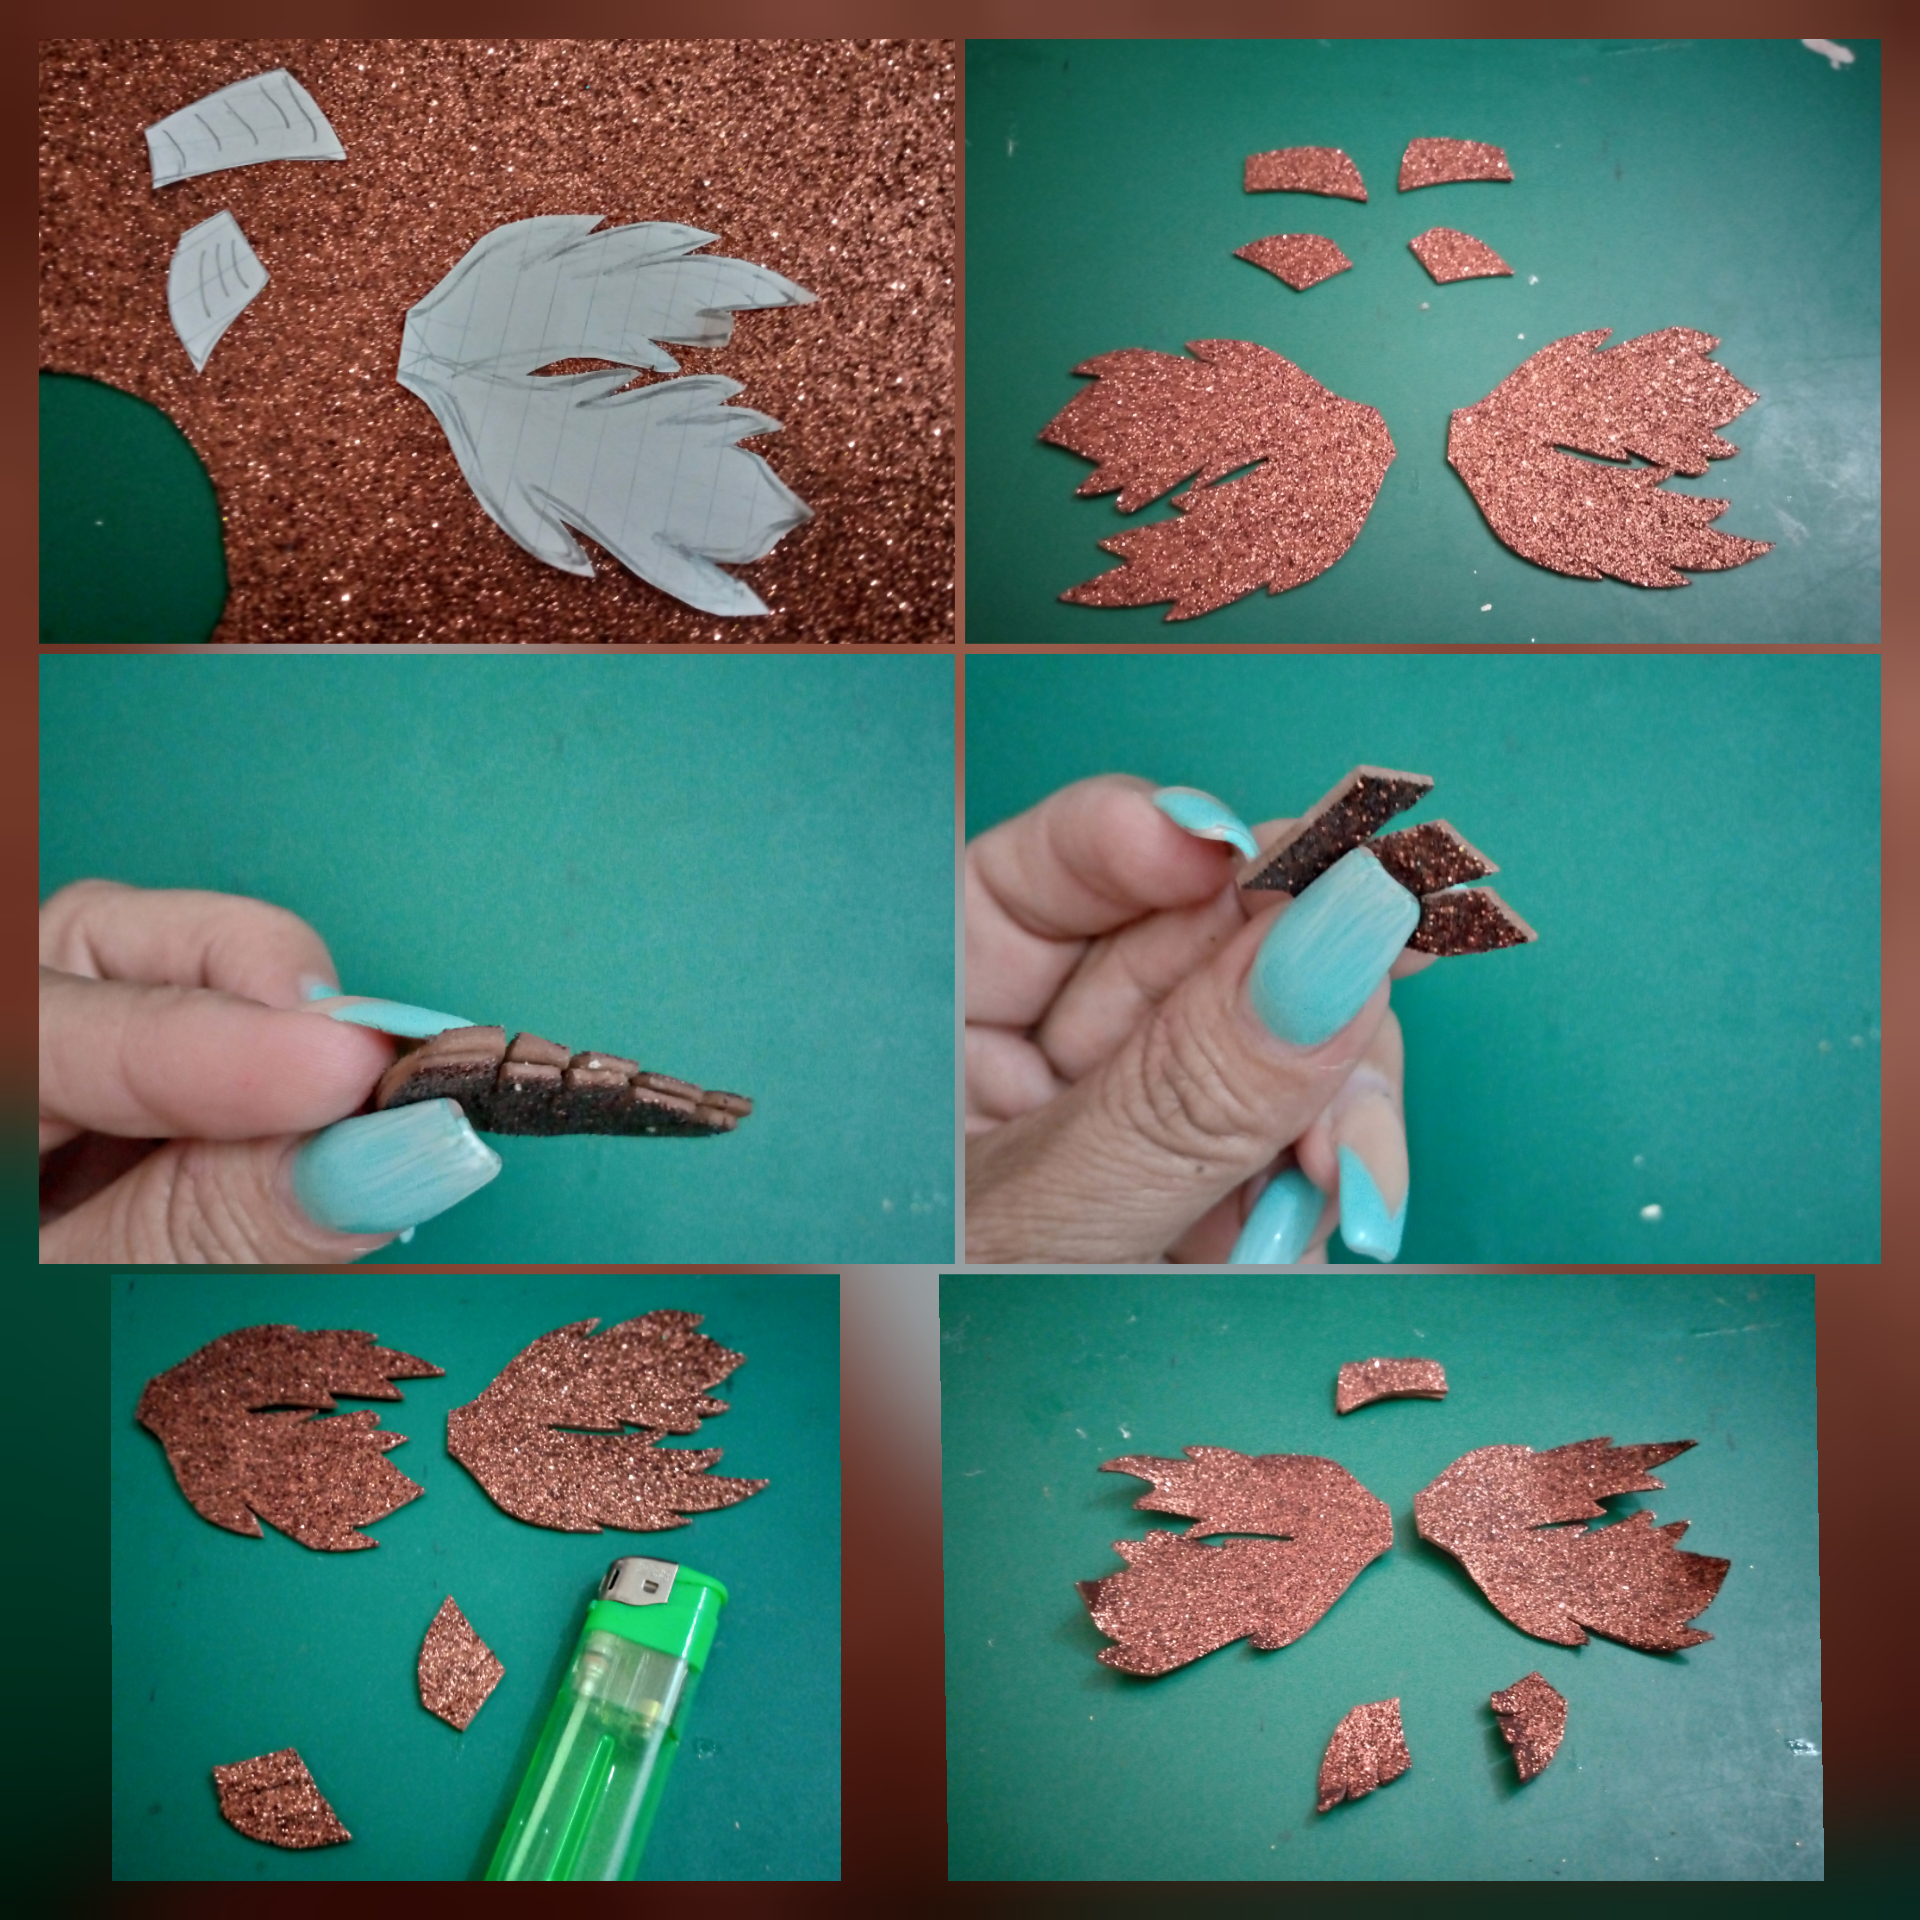
8- Copia y recorta los moldes, pega las 2 piezas de las aletas de la parte superior y haz varios cortes, también realiza cortes en cada aleta lateral, luego dobla las puntas y dale forma a todas con ayuda del encendedor con mucho cuidado.
8- Copy and cut out the molds, glue the 2 pieces of the fins of the upper part and make several cuts, also make cuts on each side fin, then fold the ends and shape them all with the help of the lighter very carefully.
9- Recorta una tira muy fina dorada ( si tienes hilo puedes utilizarlo) pega entre las dos partes del pez junto a la aleta superior y sella, también pega las aletas laterales.
9- Cut a very thin strip of gold (if you have thread you can use it) glue it between the two parts of the fish next to the upper fin and seal, also glue the lateral fins.
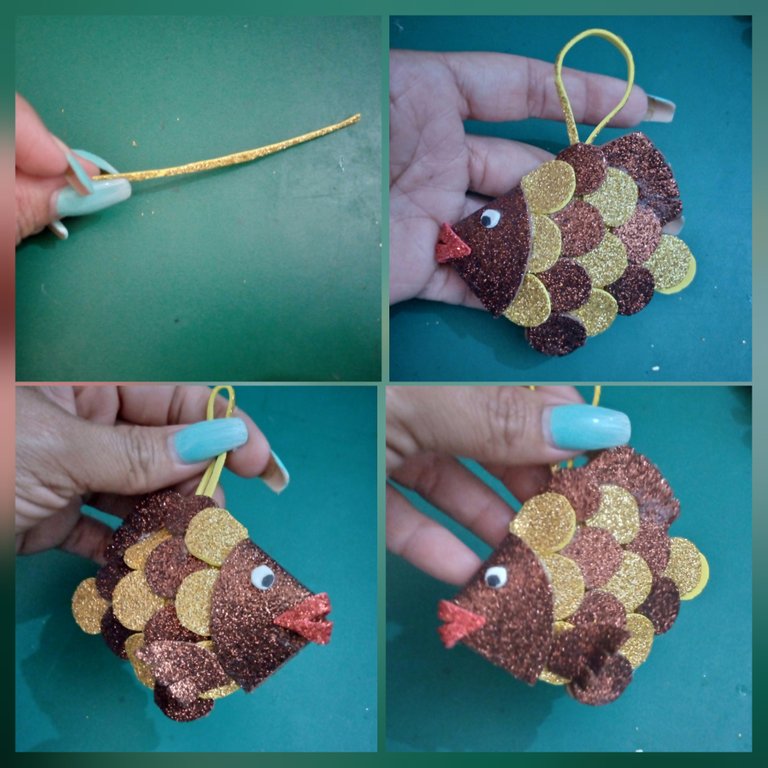
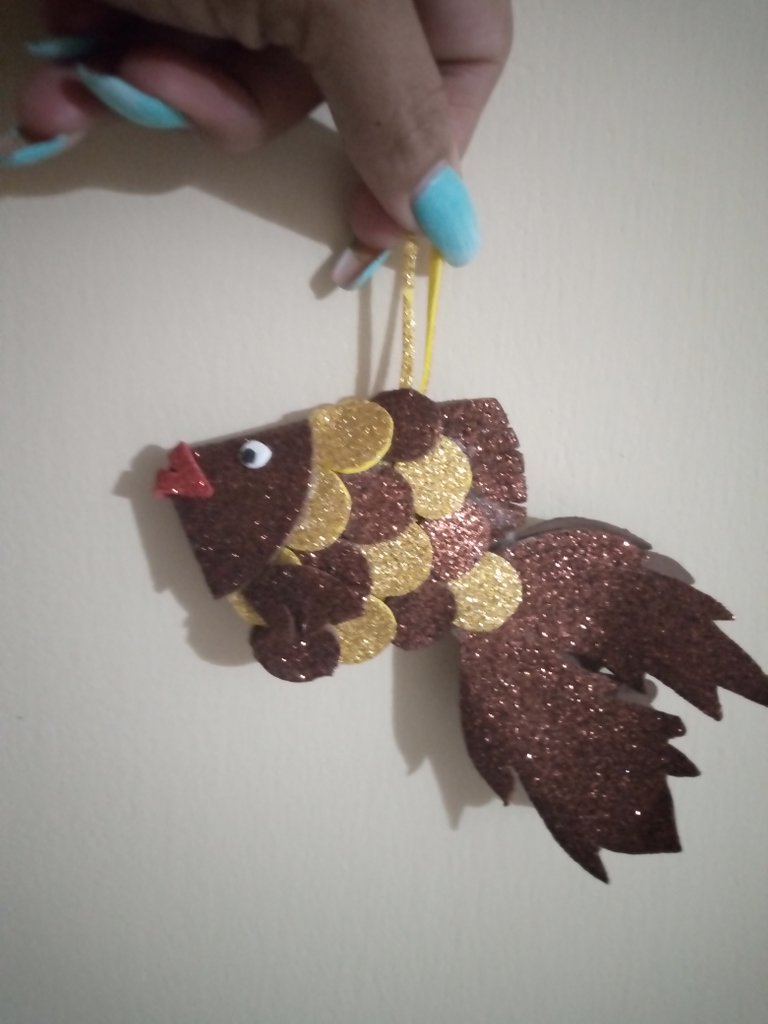
10- Por último pega la cola y así queda este hermoso vertebrado.
10- Finally glue the tail and this is how this beautiful vertebrate looks like.
Espero les haya gustado, muchas gracias por leerme, que pasen un feliz fin de semana, Dios les Bendiga!
I hope you liked it, thank you very much for reading me, have a happy weekend, God Bless you.
@dayanaromer
Editadas con inShop.
Traducido con Deepl traductor.
All photos are my own, taken with my Tecno Spark 6 go cell phone.
Edited with inShop.
Translated with Deepl translator.