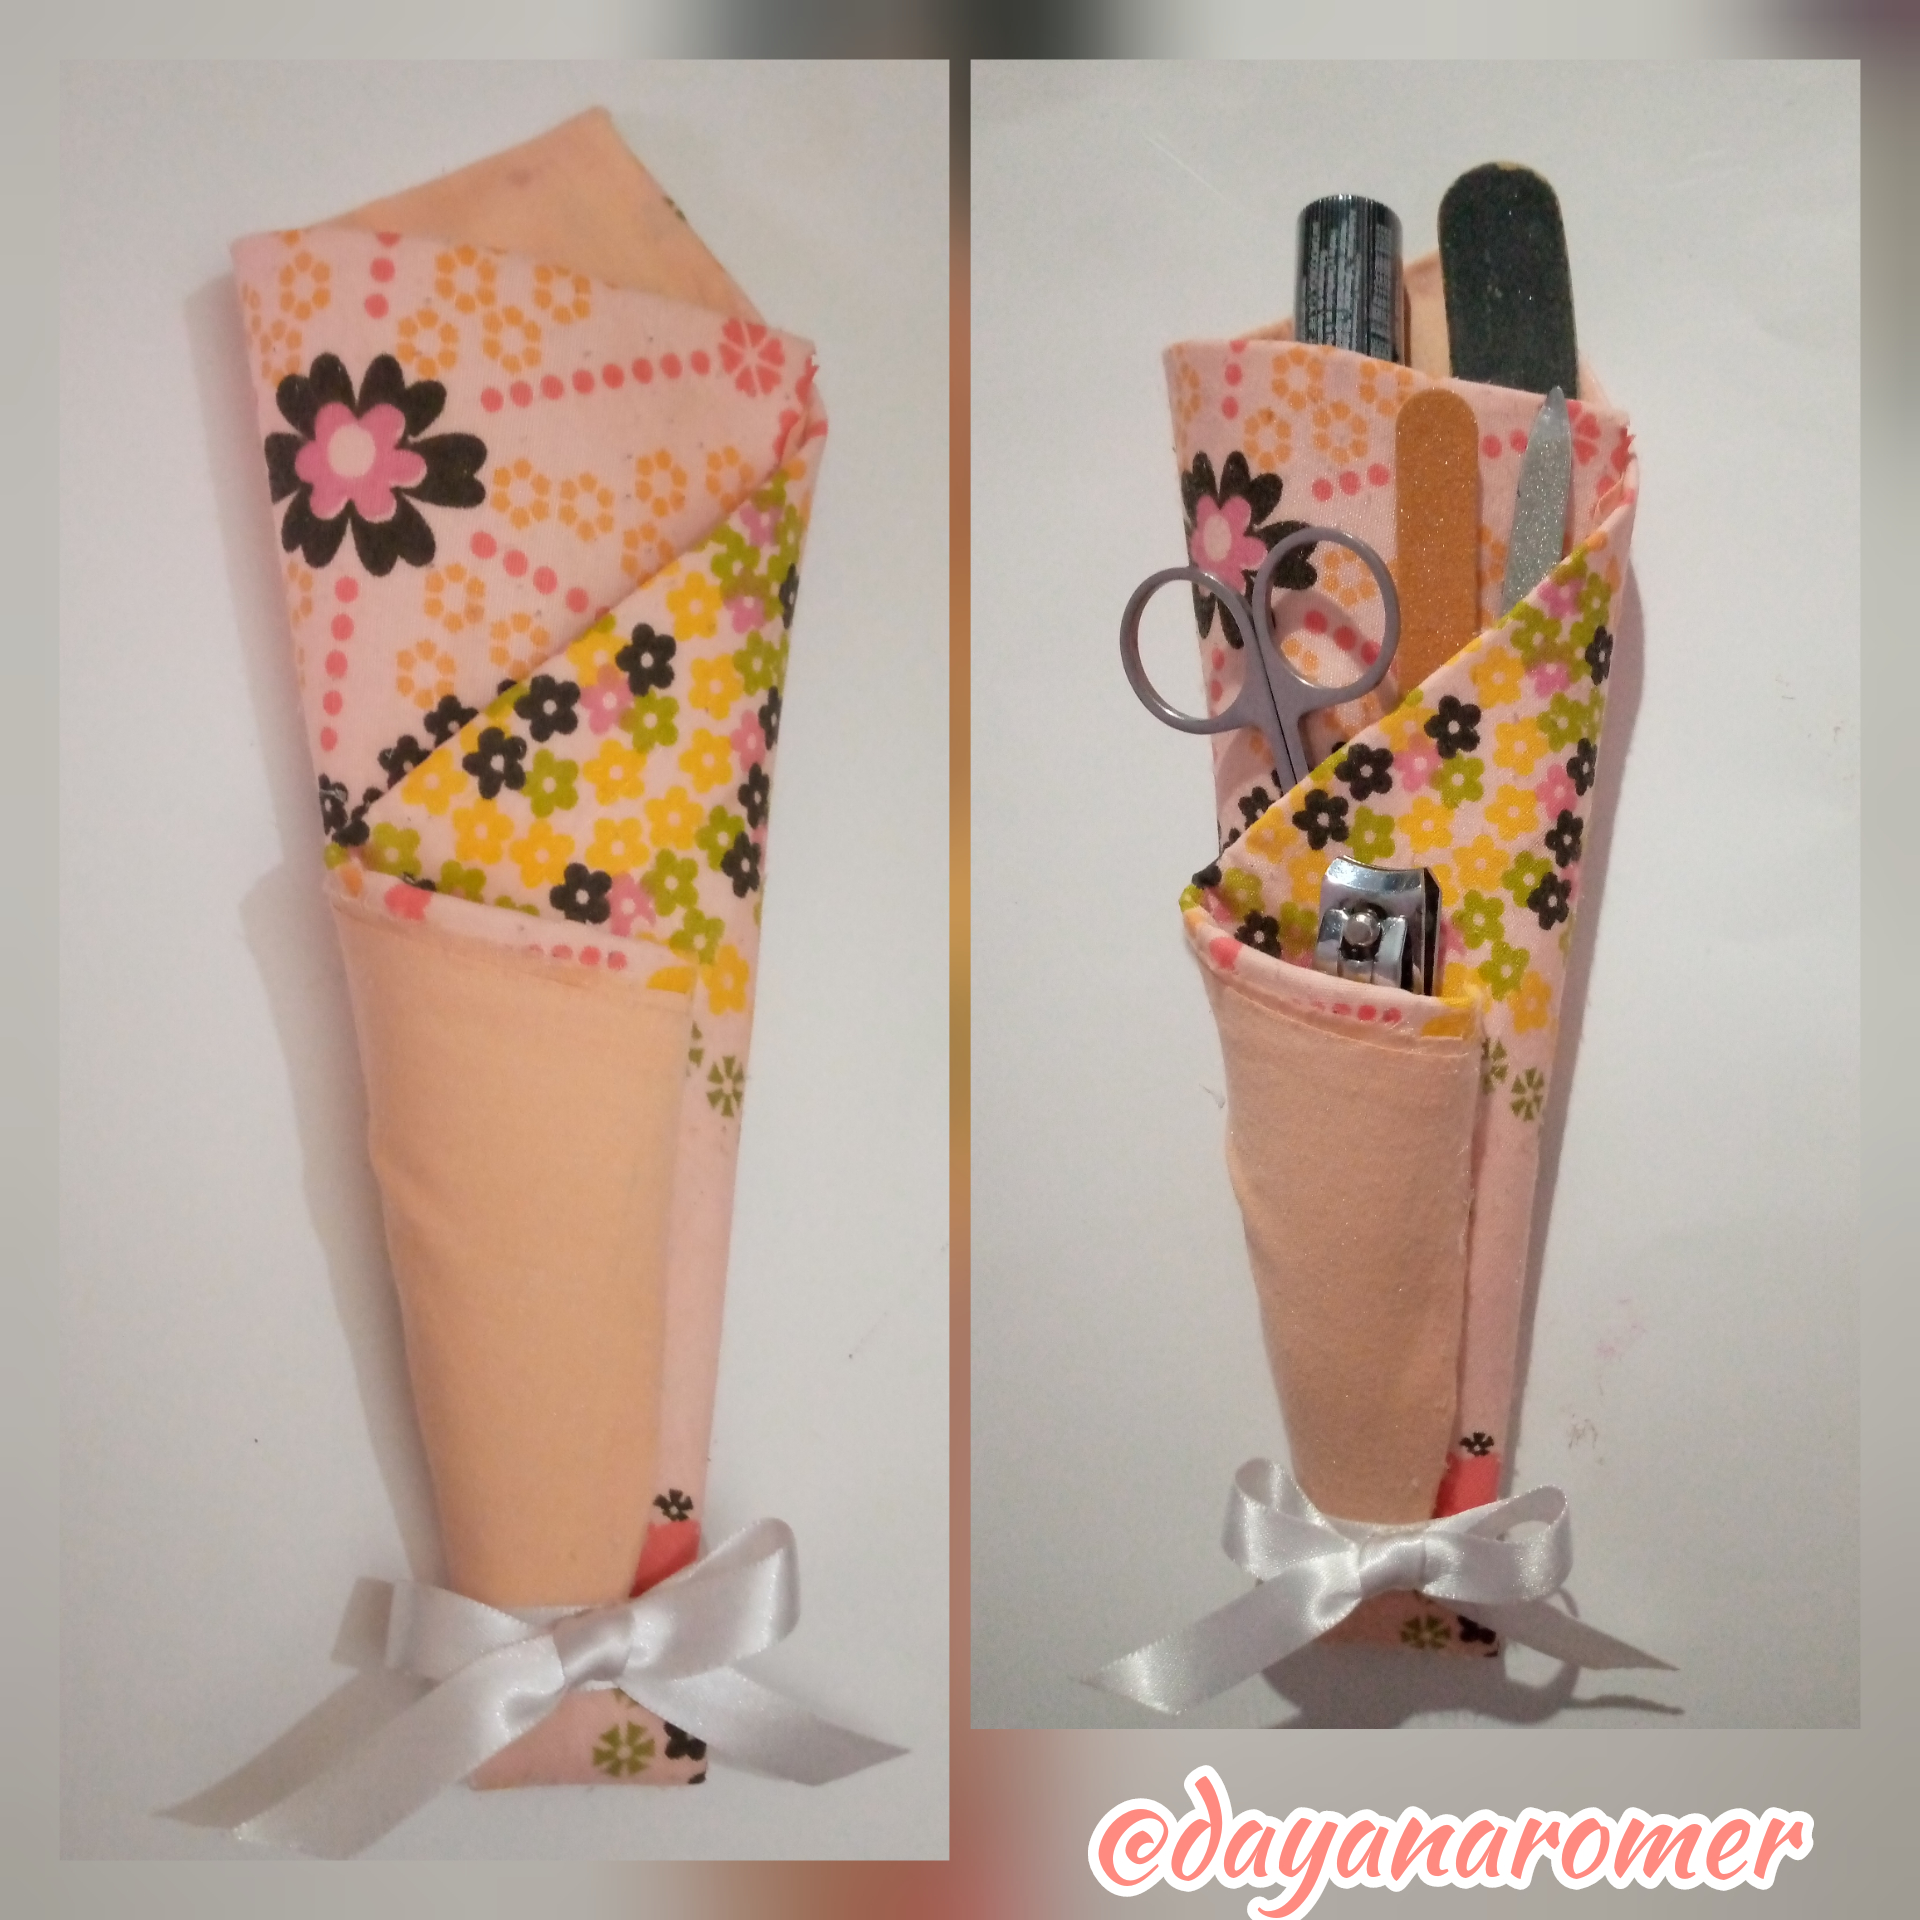
Feliz día mi gente bonita de # Hive diy, hoy miércoles mitad de semana, que tengan un excelente y productivo día.
Happy day my beautiful people of # Hive diy, today Wednesday midweek, have a great and productive day.
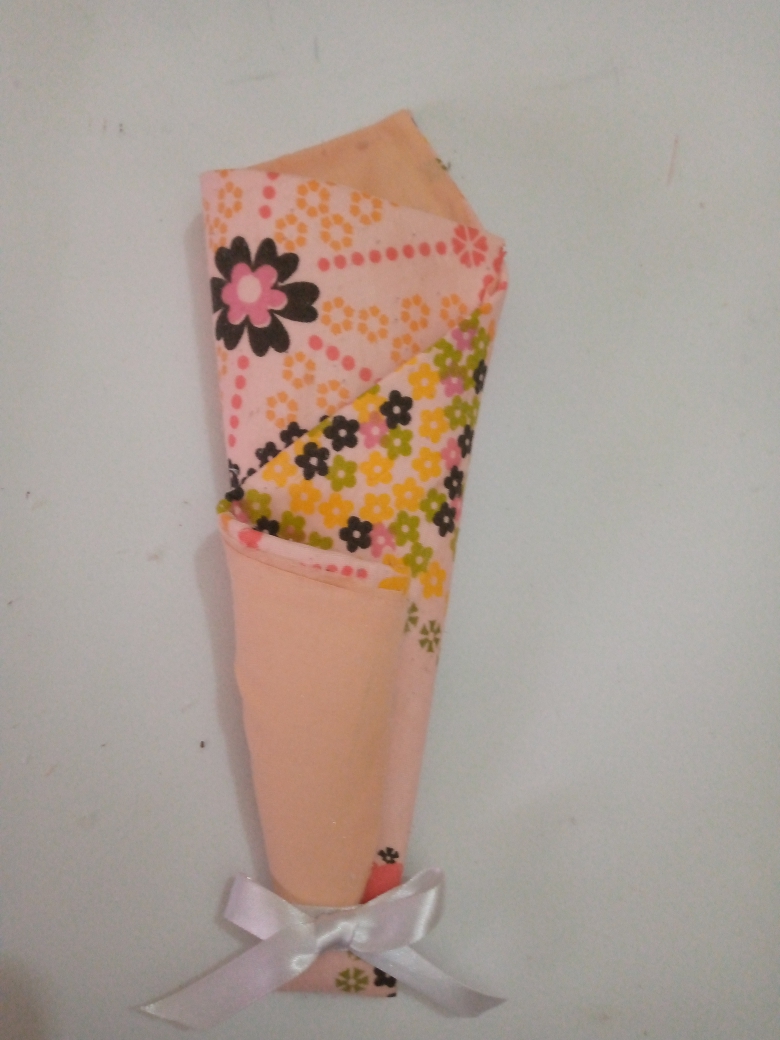
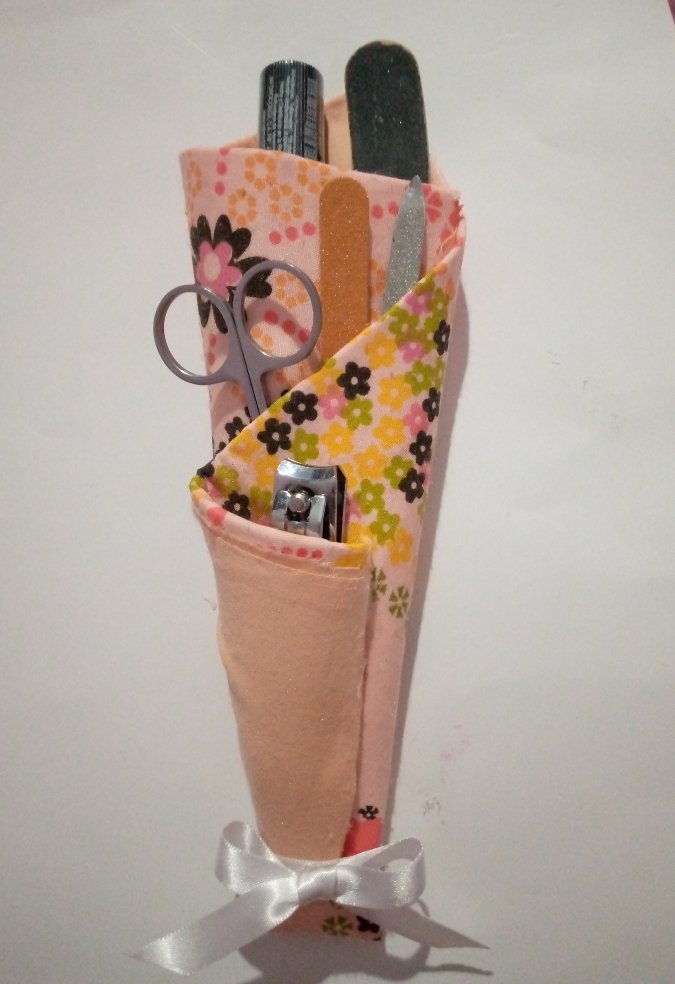
He realizado un lindo mini kit de manicura, hecho de tela y foami, dónde podremos guardar los accesorios principales o escenciales, como corta uñas, limas, esmalte de brillo, removedor de cutícula, tijera, corta cutículas, entre otros, ideal para llevar con nosotras en nuestras carteras y mantener el cuidado de nuestra manos.
Los kit de manicura nos ofrecen las herramientas que necesitamos para mantener las uñas y las cutículas cuidadas mientras nos toca la cita al salón de belleza, porque unas manos y uñas cuidadas causan siempre buena impresión donde quiera que vayan, y nosotras como mujeres coquetas nos gusta estar de punta en blanco.
I have made a nice mini manicure kit, made of fabric and foami, where we can keep the main or essential accessories, such as nail clippers, nail files, nail polish, cuticle pusher, scissors, cuticle clippers, among others, ideal to carry with us in our purses and keep the care of our hands.
Manicure kits offer us the tools we need to keep our nails and cuticles well cared for while we have our appointment at the beauty salon, because manicured hands and nails always make a good impression wherever they go, and we as flirty women like to look our best.
Algunos consejos sencillos de como cuidar nuestras uñas en casa son:
- Lavarse las manos con un jabón suave y secar bien.
-Corta las uñas, del largo deseado y de la forma que desees. - Remueve las cutículas hacia atrás.
-Lima las uñas hasta obtener la forma deseada. - Lávate las manos para eliminar el polvo y ahora puedes pintar con una capa de brillo.
Some simple tips on how to take care of our nails at home are:
- Wash your hands with a mild soap and dry them well.
-Cut your nails to the desired length and shape.- Remove the cuticles backwards.
-File the nails to the desired shape.- Wash your hands to remove dust and now you can paint with a coat of glitter.
La elaboración del mini kit de manicura, es muy fácil y rápida, con pocos materiales, les muestro como hacerlo espero les guste y les sea de gran utilidad.
The elaboration of the mini manicure kit, is very easy and fast, with few materials, I show you how to do it I hope you like it.
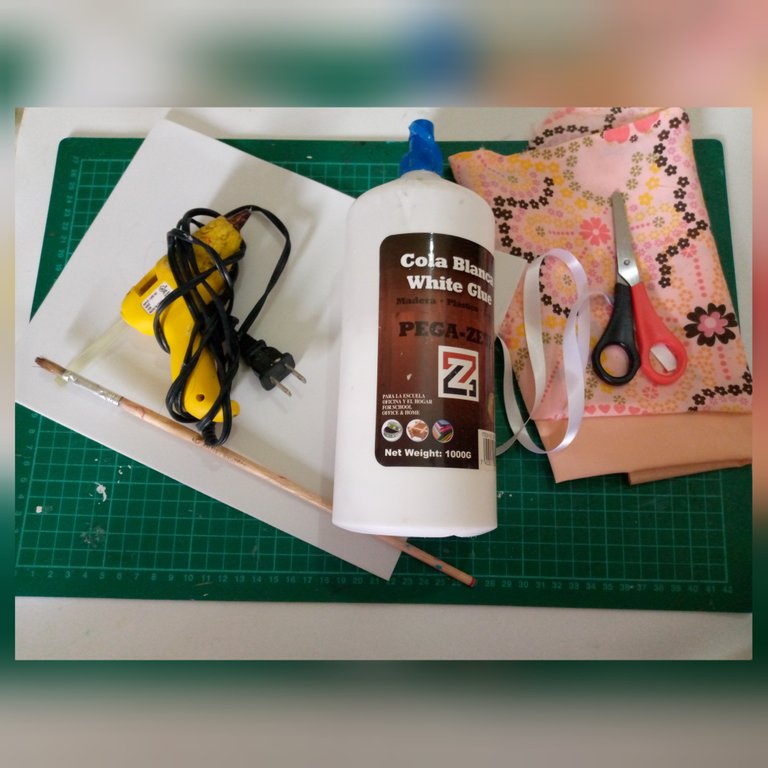
Materiales
- Foami
- Tela estampa
- Tela lisa color salmón
- Pegamento blanco
- Silicón caliente
- Tijera
- Pincel
Materials
- Foami
- Printed fabric
- Smooth salmon-colored fabric
- White glue
- Hot glue
- Scissors
- Paintbrush
Paso a paso
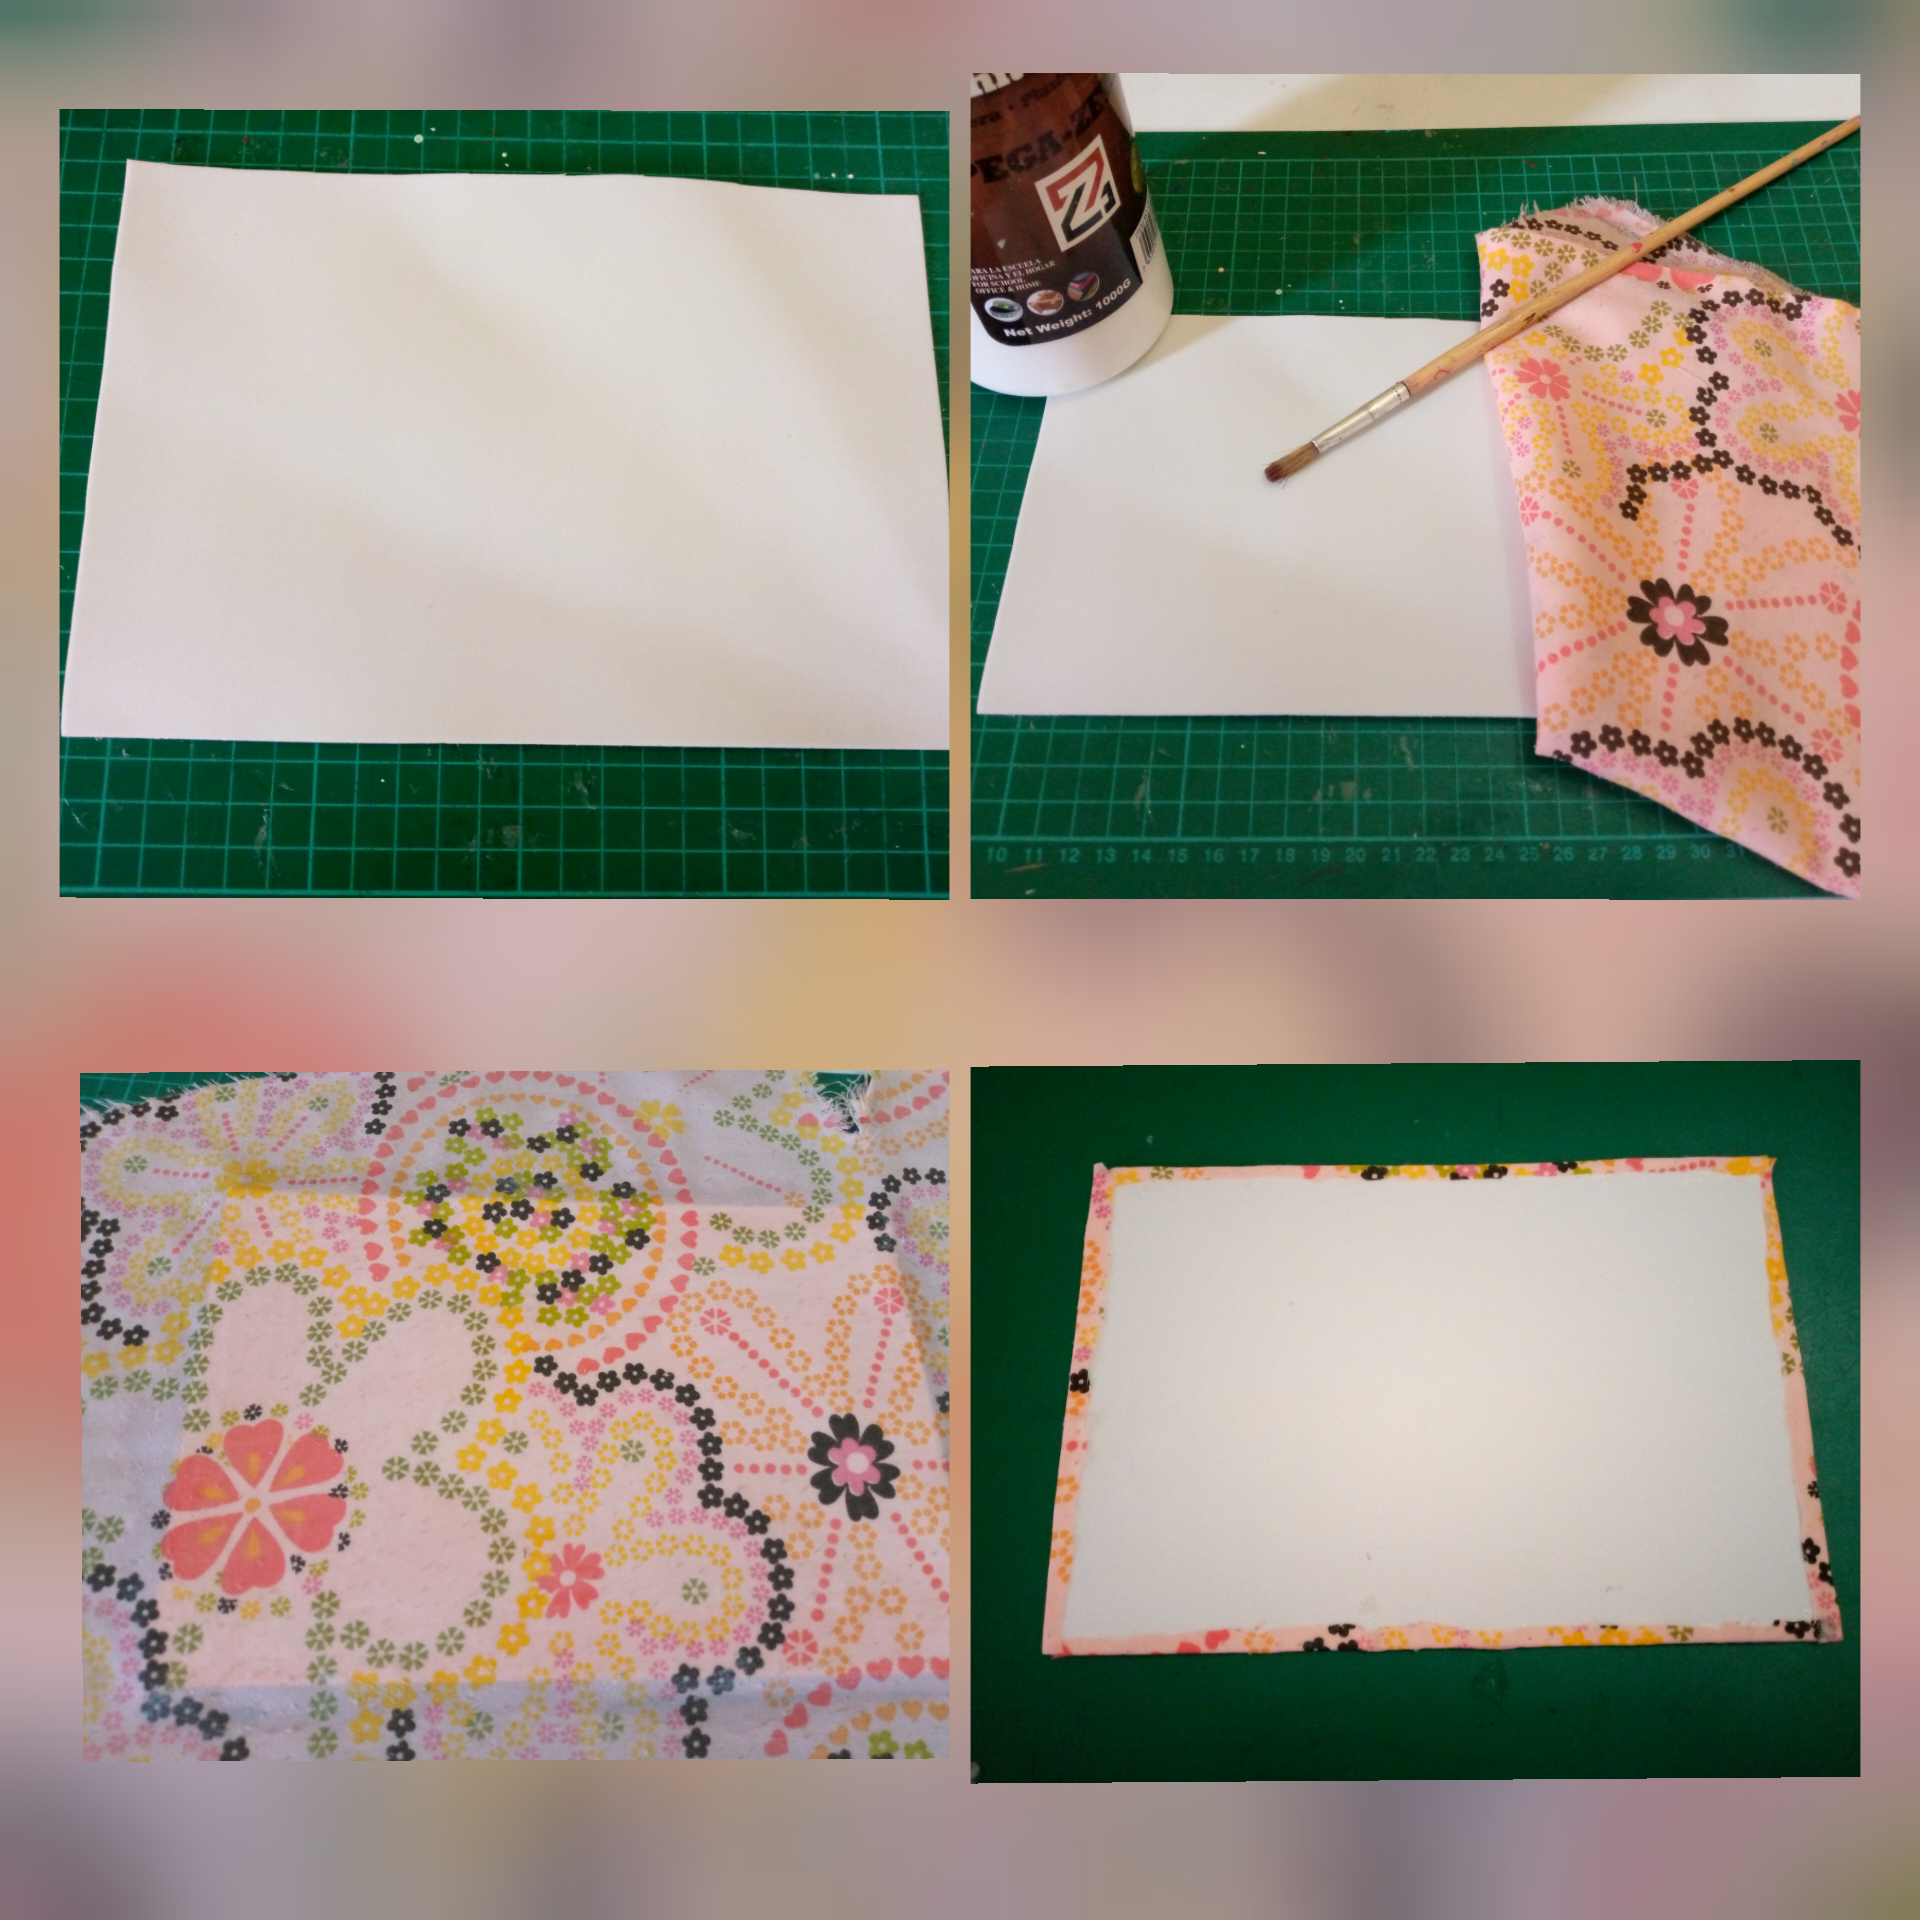
1- Recorta un rectángulo de foami de 18x 26 cm del color de tu preferencia, luego forra el foami con la tela estampada, utilizando la pega blanca y el pincel, deja secar, recorta los bordes dejando un cm de más para pegar y sujetar.
Step by step
1- Cut out a 18x 26 cm rectangle of foami in the color of your choice, then line the foami with the printed fabric, using the white glue and the paintbrush, let it dry, trim the edges leaving an extra cm to glue and hold.
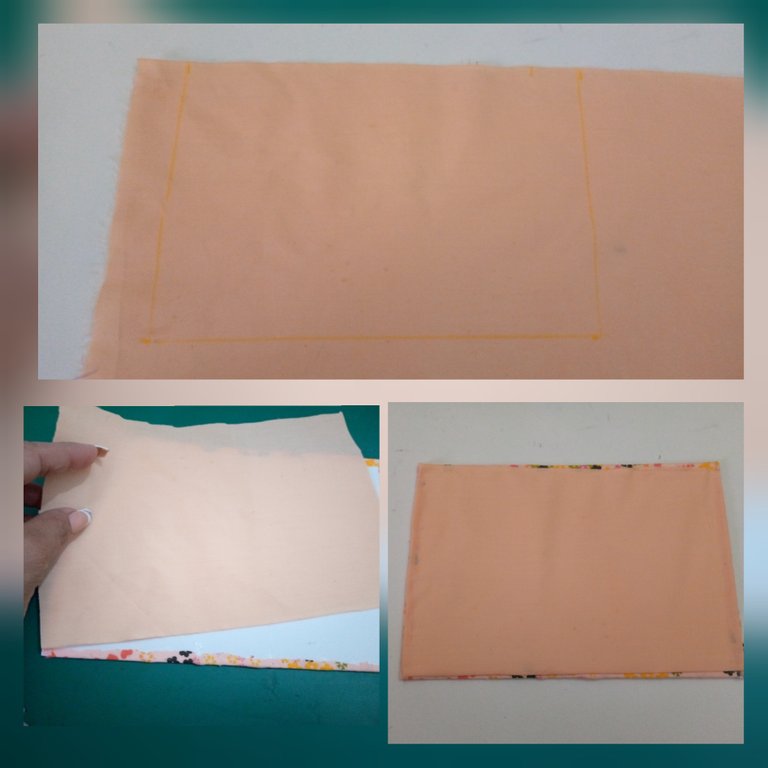
2- Recorta la tela color salmón, tomando las medidas del rectángulo del foami y pega.
2- Cut out the salmon-colored fabric, taking the measurements of the rectangle and glue.
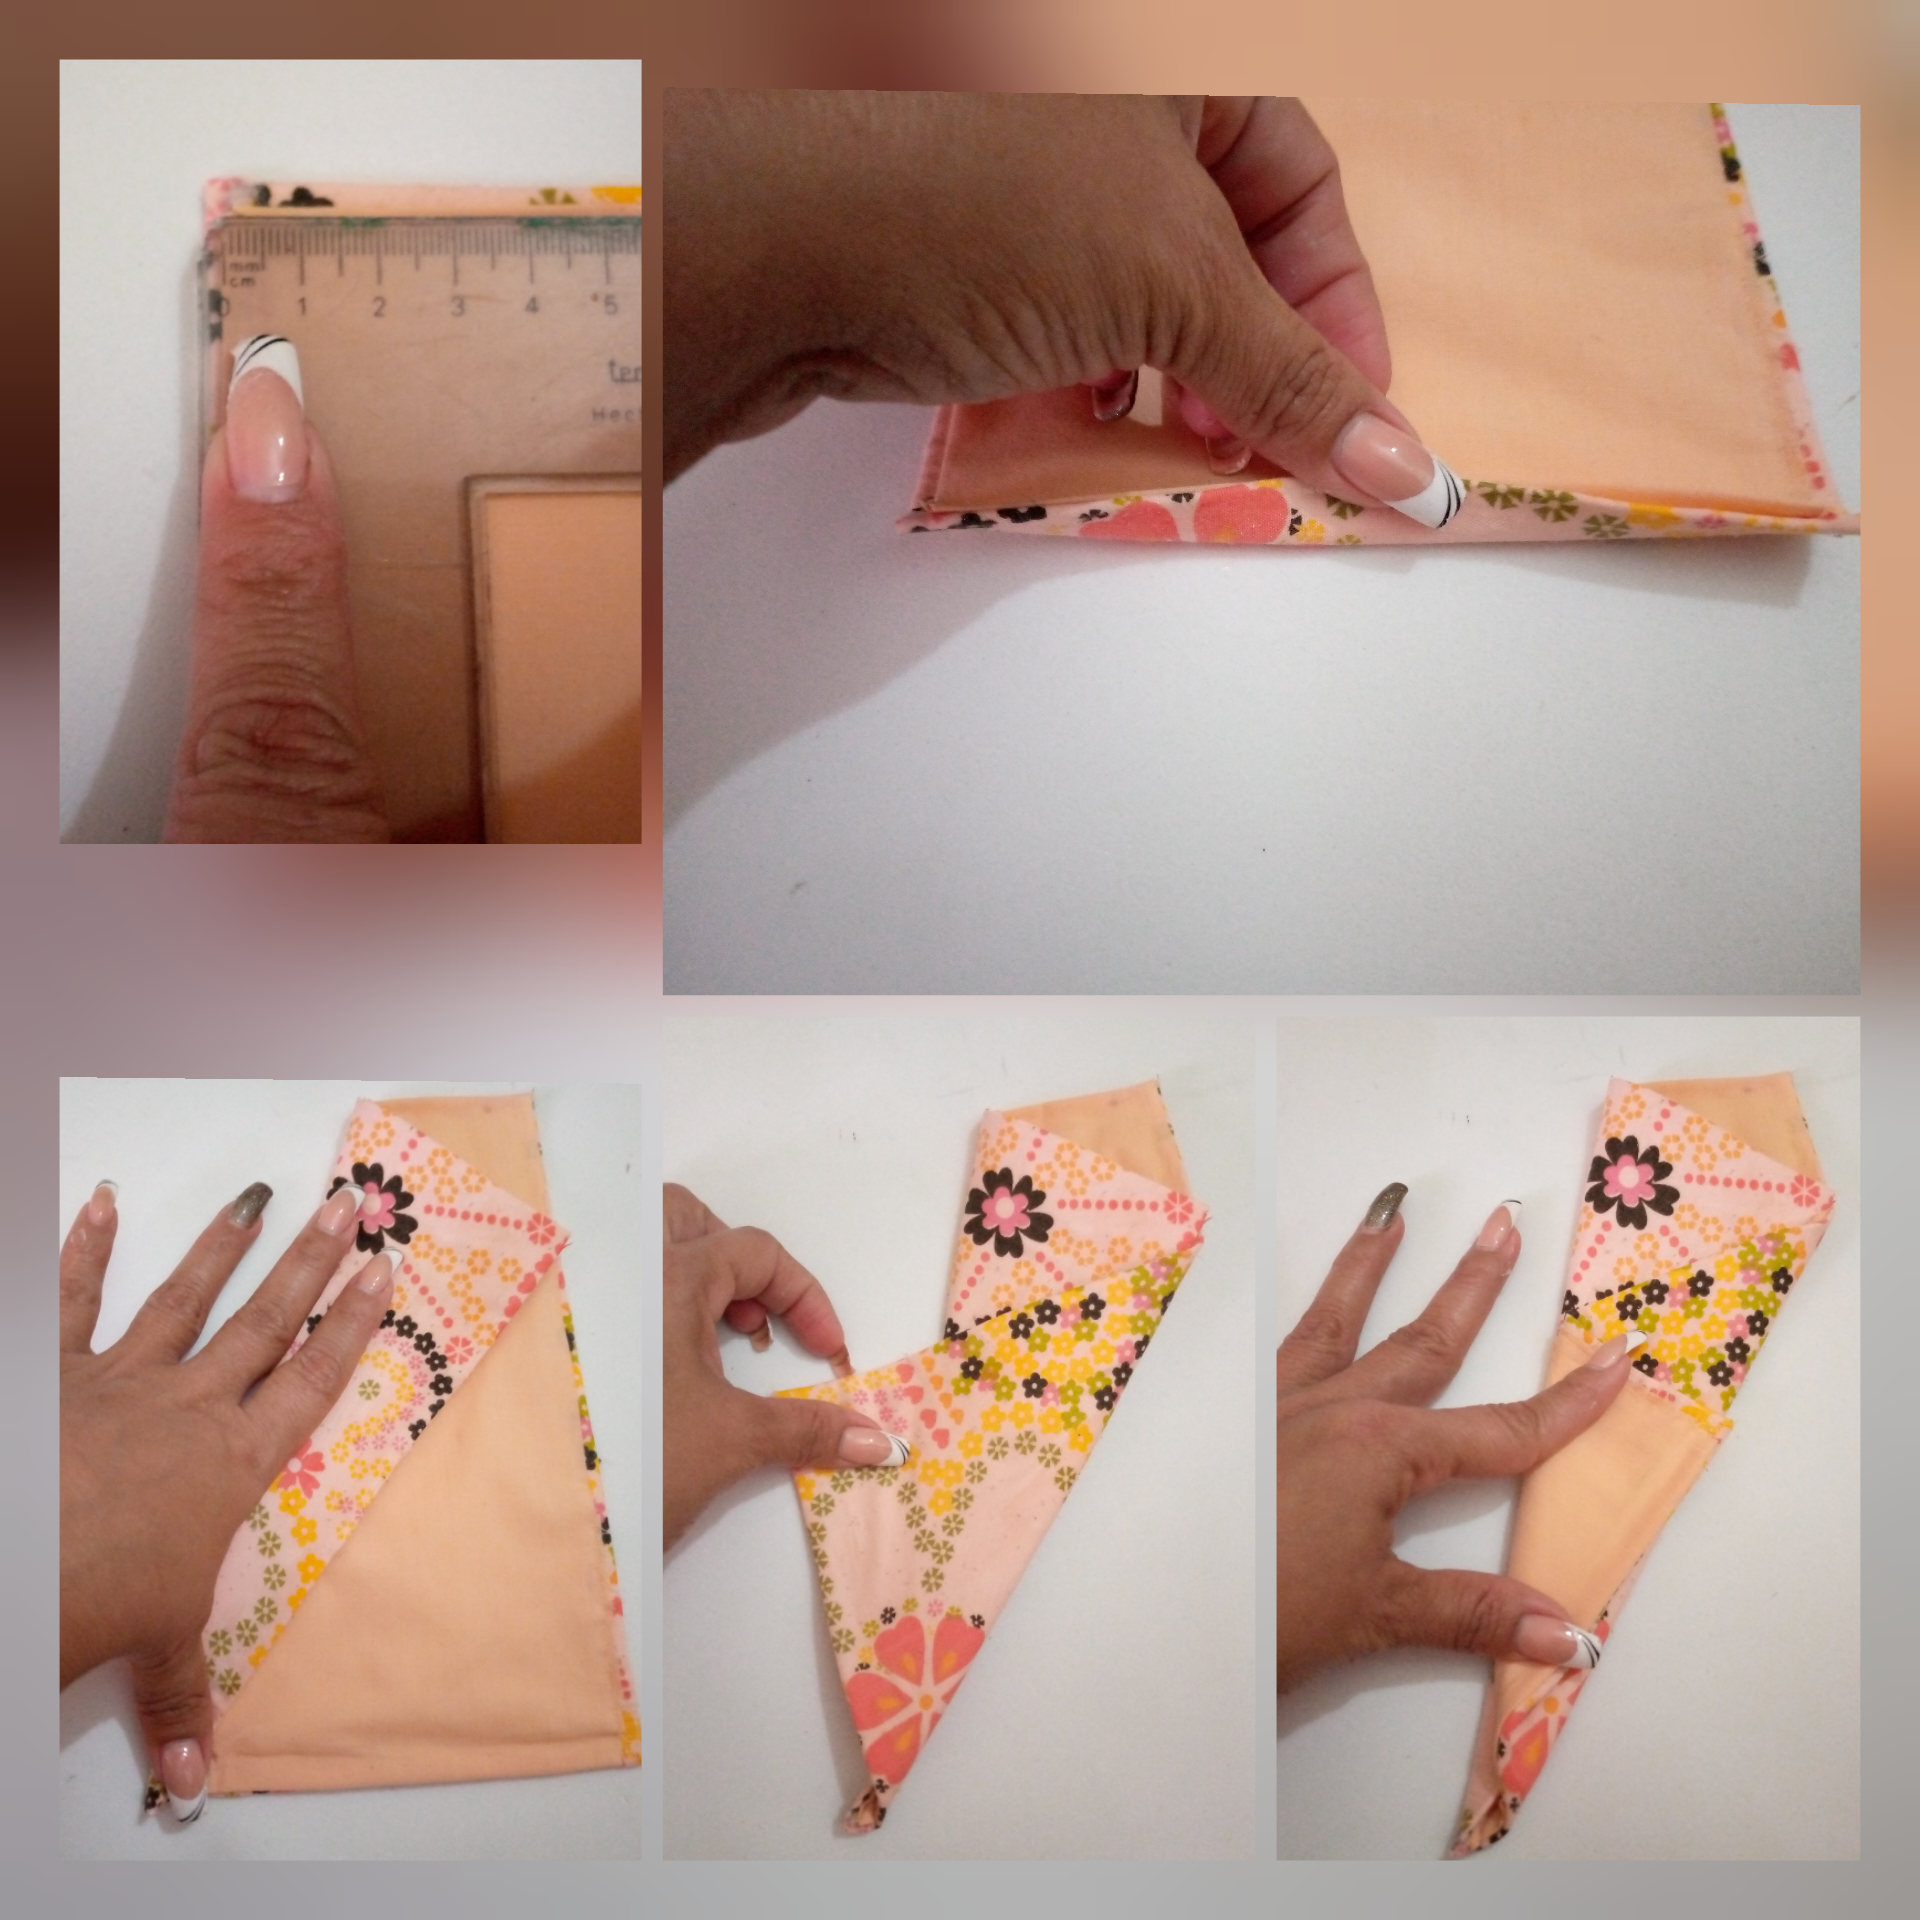
3- Continuamos midiendo un centímetro en un de los extremos más cortos , marca doblando un poco, seguidamente dobla el lado izquierdo hacia el derecho en forma diagonal, luego dobla el lado derecho hacia el izquierdo y vuelve a doblar la punta hacia la derecha, ( como hacer una z)
3- Continue measuring one centimeter at one of the shorter ends and mark by folding a little, then fold the left side to the right diagonally, then fold the right side to the left and fold the tip to the right again (like making a z).
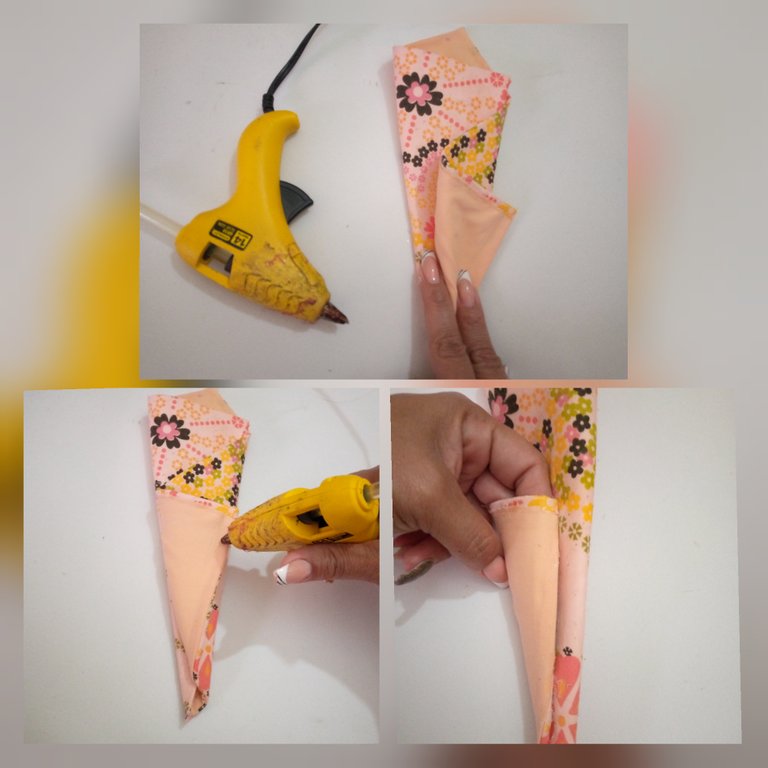
4- Pega con silicón caliente tanto el lado izquierdo, como en el derecho en la pestaña que habíamos marcado anteriormente de un centímetro y presiona para que quede muy bien pegado.
4- Glue with hot silicone both the left side and the right side in the tab that we had previously marked a centimeter and press so that it is very well glued.
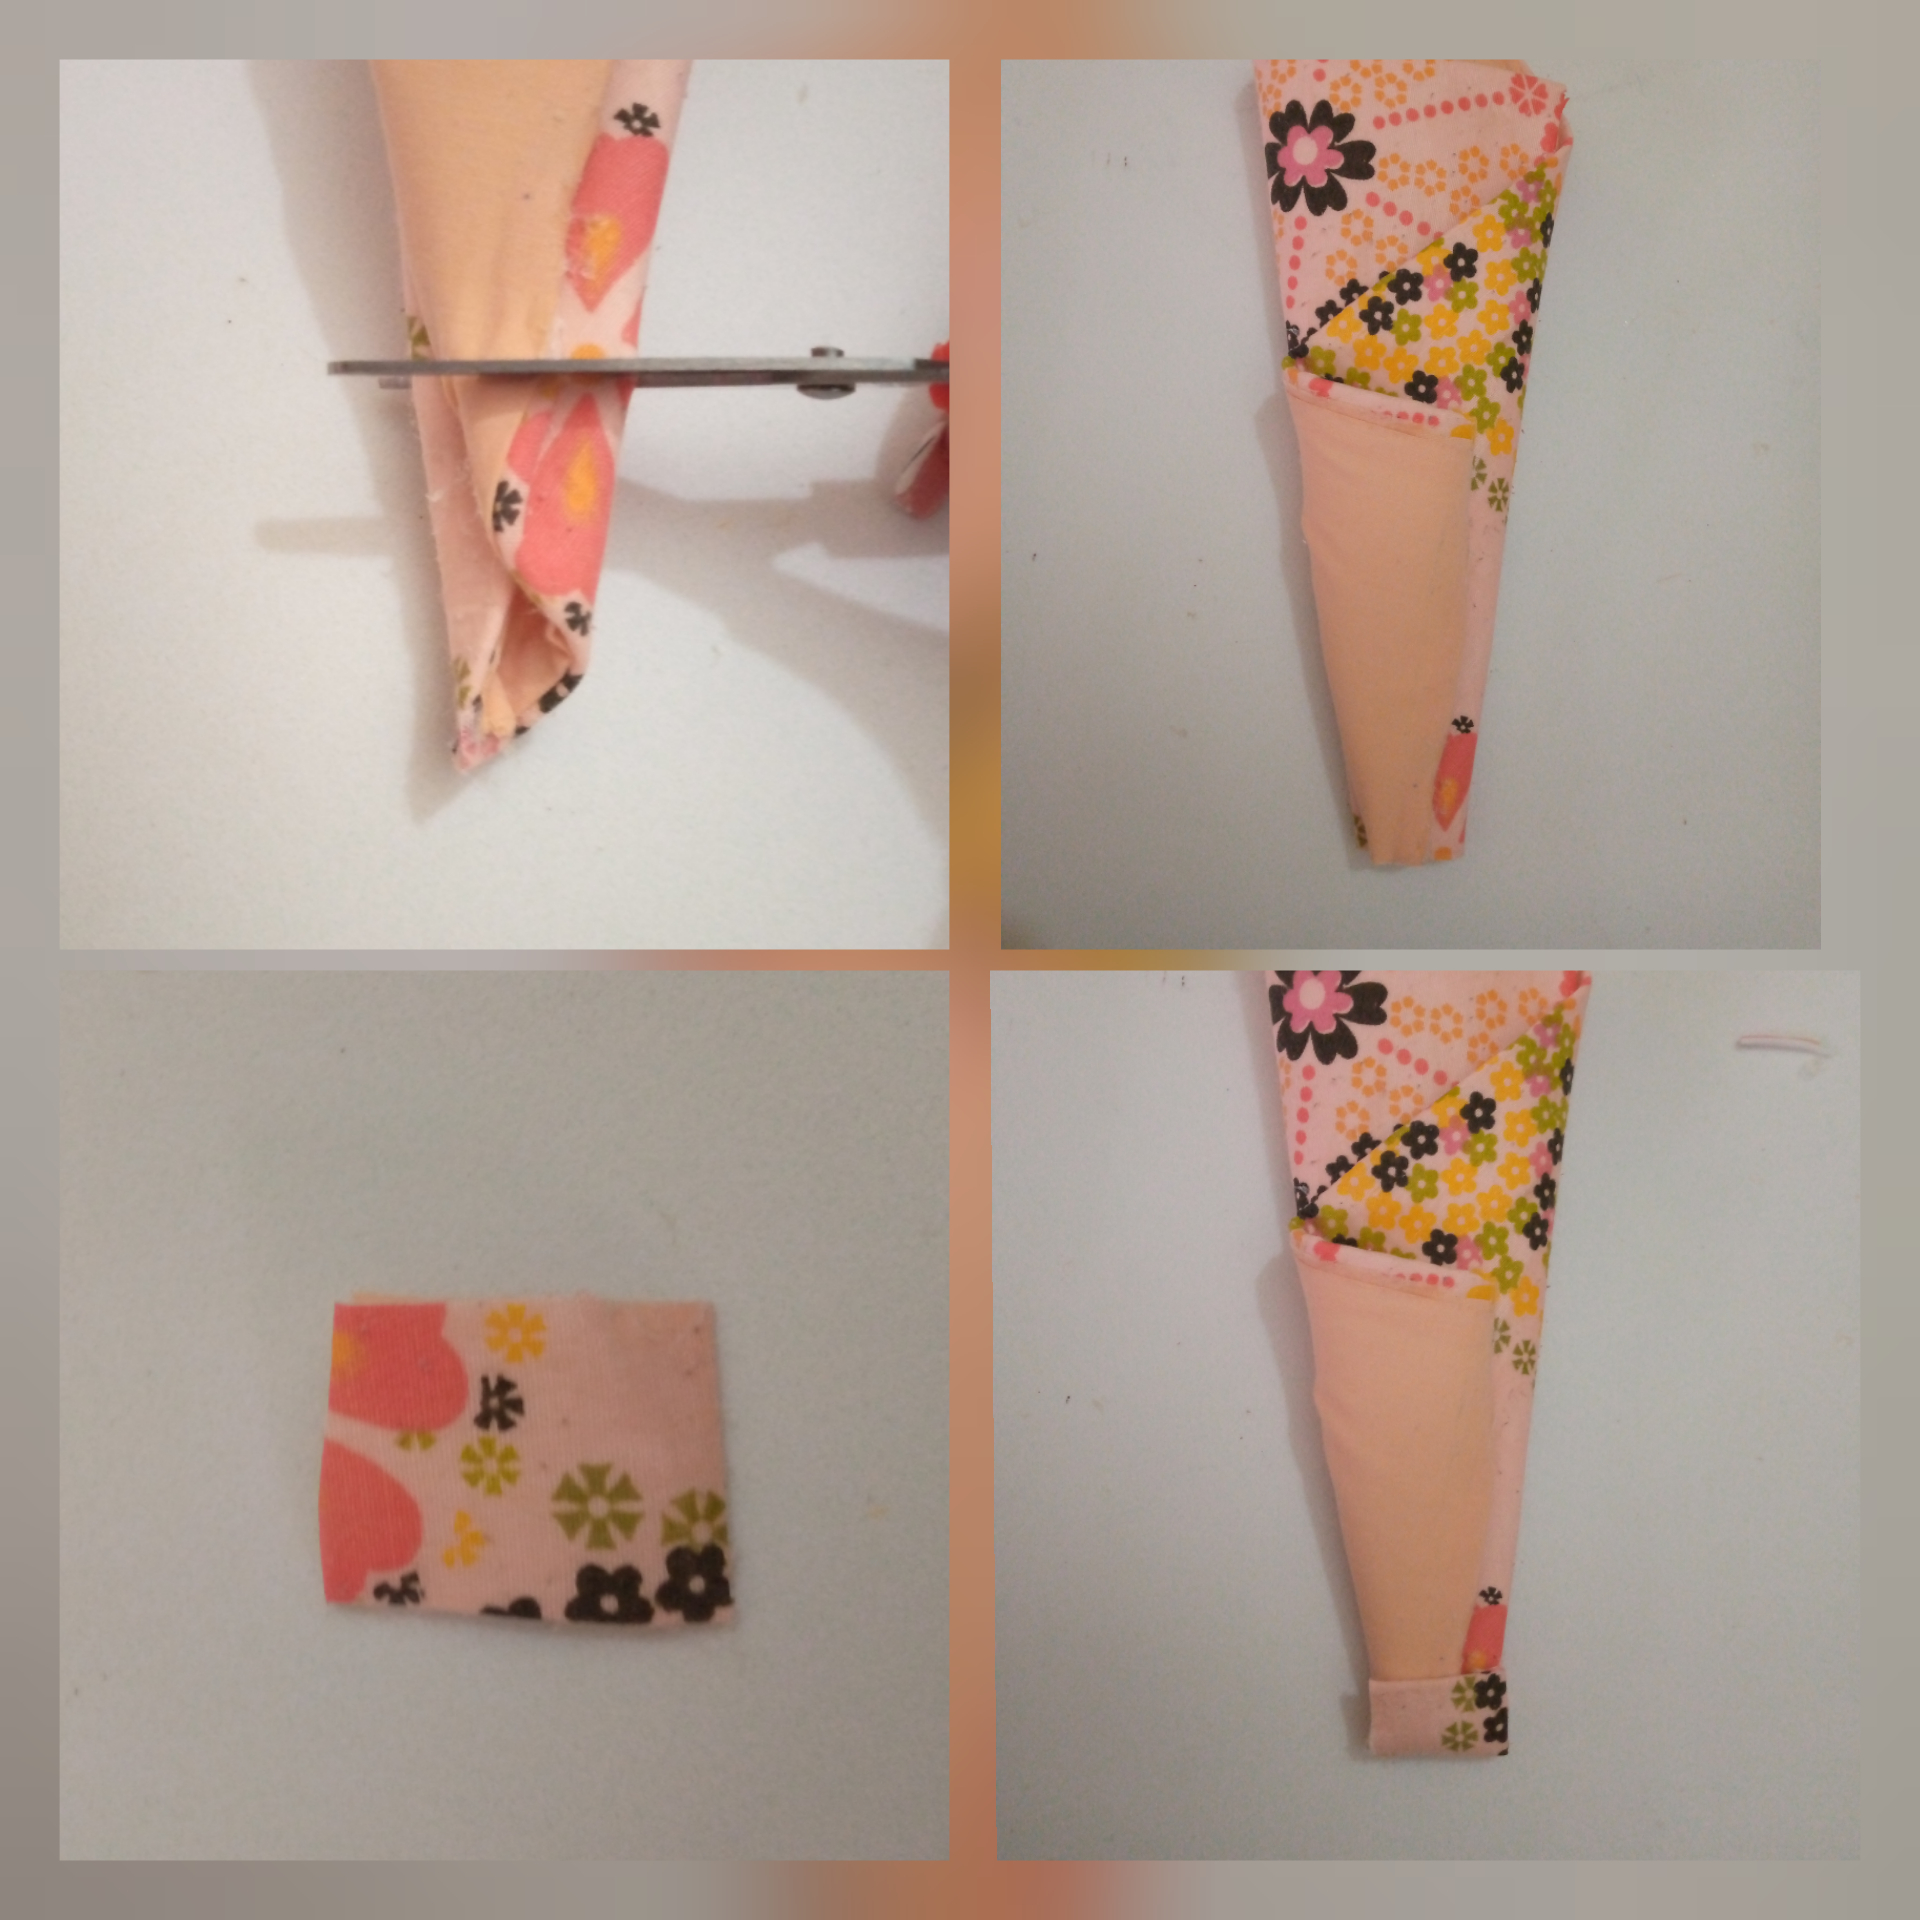
5- Corta la punta inferior y con el trozo cortado realiza un cuadro y pega en la misma parte inferior.
5- Cut the lower end and with the cut piece make a square and glue it on the same lower part.
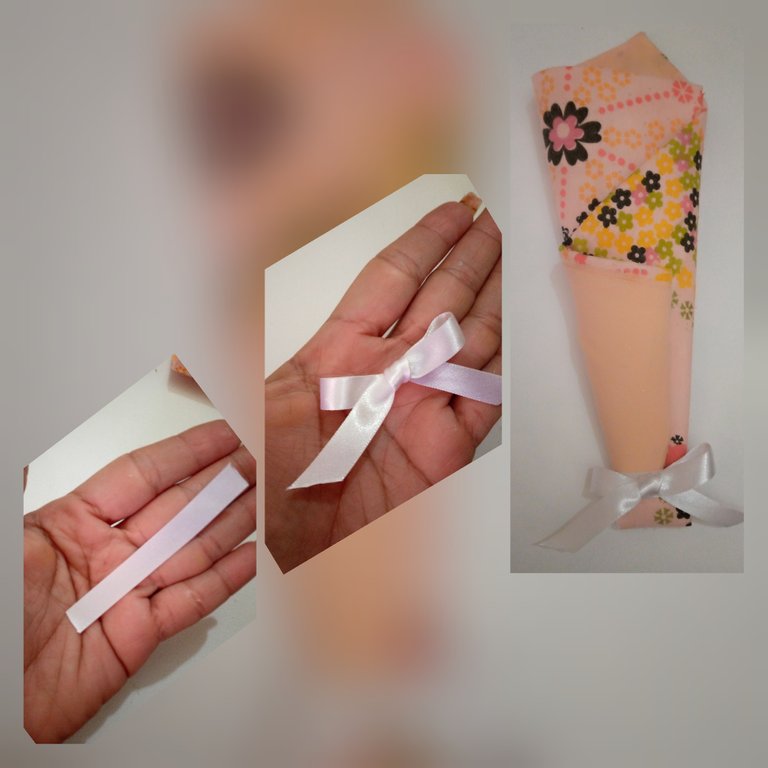
6- Luego corta un trozo de listón y cubre en la parte inferior junto a un lindo lazo, para tener un mejor acabado.
6- Then cut a piece of ribbon and cover the lower part with a nice bow, and we have a better finish.
Y ya queda listo está hermosa y útil manualidad, espero puedan realizar, haciendolo nosotros mismos, para esos momentos que se nos quiebra una uña y podamos tener a mano este mini kit para poder salvarlas y mantenerlas sanas y fuertes, no les parece genial!
And now this beautiful and useful craft is ready, I hope you can make it, making it ourselves, for those moments that we break a nail and we can have on hand this mini kit to save them and keep them healthy and strong, don't you think it's great!
Me despido hasta una próxima oportunidad amigos creativos, muchas gracias por visitar y leer mí blog, nos vemos pronto.
Que la bendición de Dios los acompañe siempre!
I'll say goodbye until next time creative friends, thank you very much for visiting and reading my blog, see you soon.
May God's blessing be with you always!
@dayanaromer
Editadas con inShop.
Traducido con Deepl traductor.
All photos are my own, taken with my Tecno Spark 6 go cell phone.
Edited with inShop.
Translated with Deepl translator.