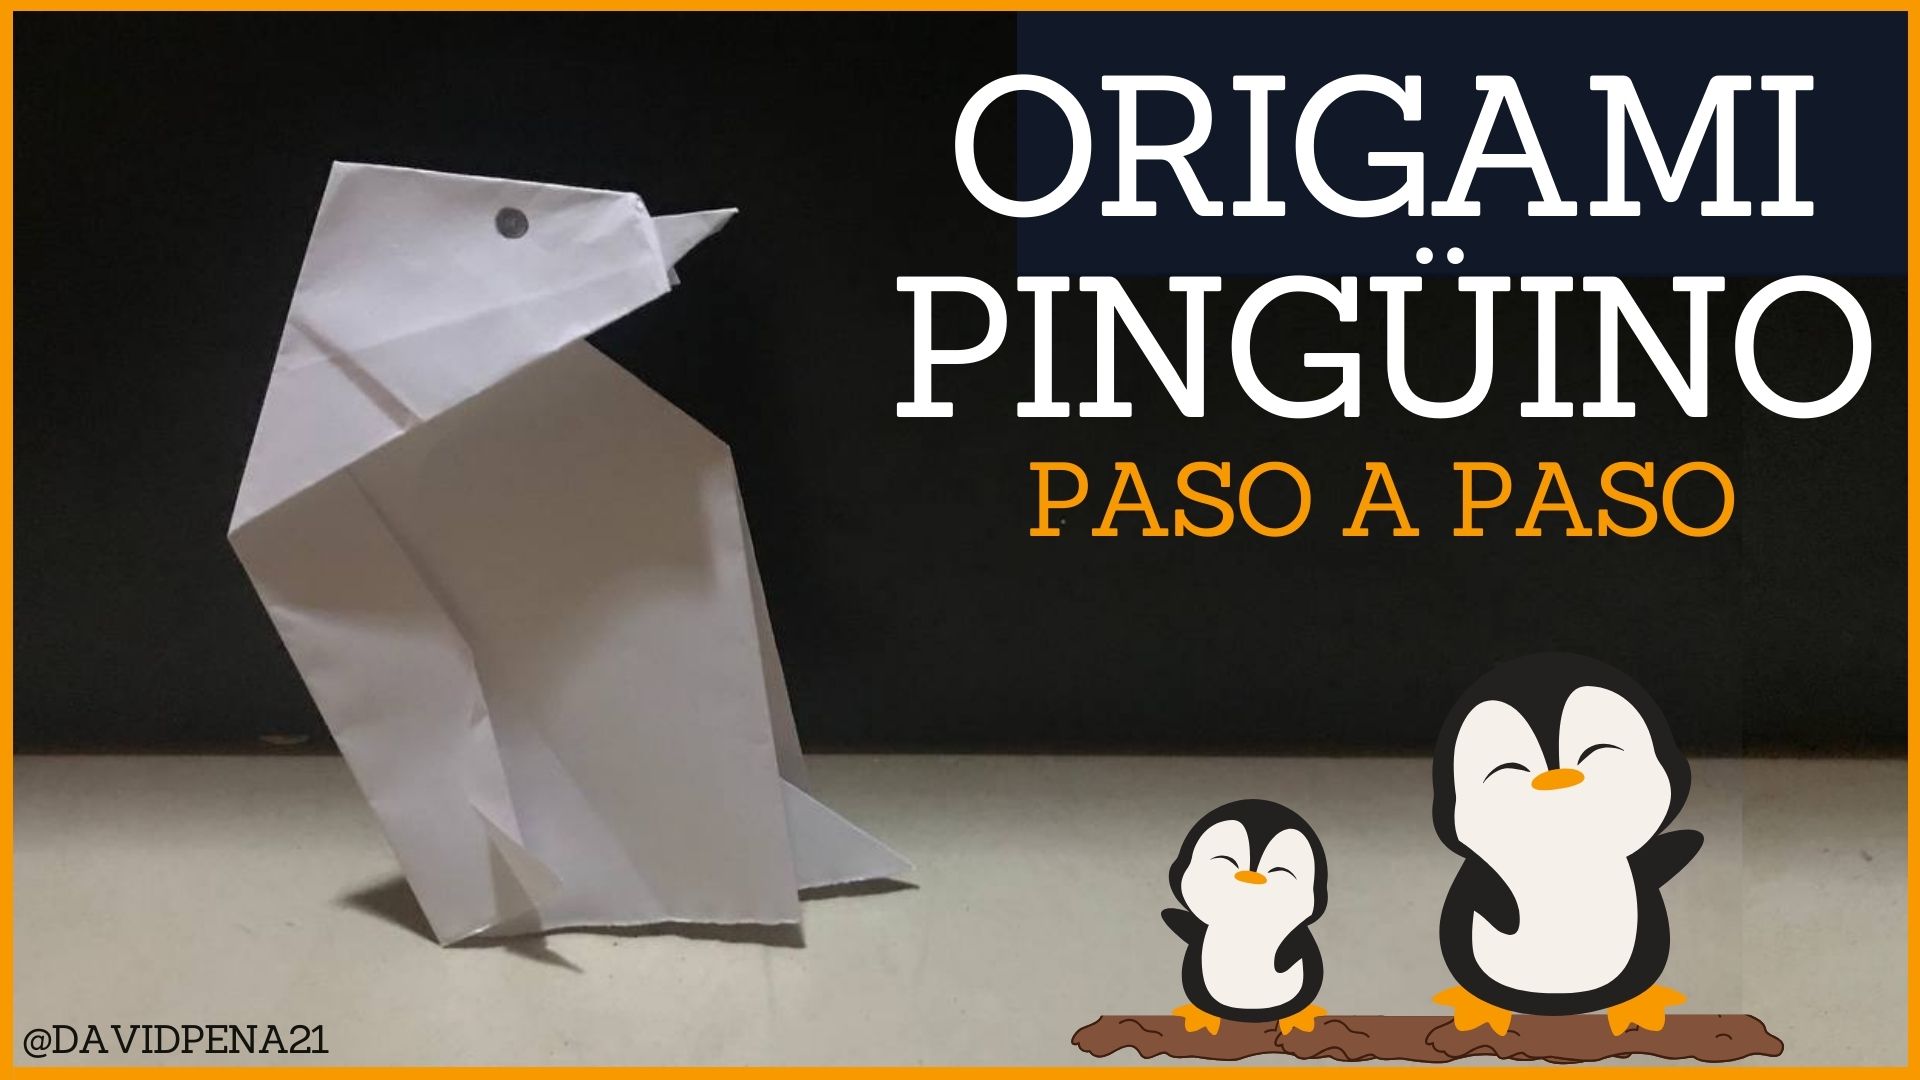
Greetings friends, one of the things I like about social networks is that when you search for something, there is a lot of content related to that topic and thousands of ideas to recreate, therefore, my excitement and my adventure in the world of origami continues, because this time we are going to make one that is somewhat complicated and thus test that knowledge. I ruined several sheets and made bad doubles, but in the end I managed to get the result I was looking for, which is an origami that is characterized by having many folds and very small doubles to recreate and get a great paper penguin, plus this animal would be one more for the collection and is something that look very nice and striking.
Penguins are very cute animals and there are many species of this, no doubt our paper penguin will be unique, fun and with a special touch for being paper, plus it will serve for many things and more for the little ones in the house. So do not miss this opportunity to learn and get down to work.
Saludos amigos, una de las cosas que me gusta de las redes sociales es cuando uno busca algo, sale mucho contenido referente a ese tema y miles de ideas para recrear, por lo tanto, mi emoción y mi aventura por el mundo de los origamis continúa, ya que esta vez vamos a realizar uno que es algo complicado y de esa manera poner a prueba ese conocimiento. Arruine varias hojas y realice dobles malos, pero al final logre conseguir el resultado que yo estaba buscando, la cual es un origami que se caracteriza por tener muchos pliegues y dobles muy pequeños para sí poder recrear y conseguir un gran pingüino de papel, además este animal sería uno más para la colección y es algo que se ven muy bonitos y llamativos.
Los pingüinos son animales muy tiernos y existen muchas especies de este, sin duda nuestro pingüino de papel será único, divertido y con un toque especial por ser de papel, además te servirá para muchas cosas y más para los pequeños de la casa. Así que no te pierdas esta oportunidad de aprender y poner manos a la obra.

To start making our origami, the first thing we have to do is to take a white sheet and fold by any of the two diagonals and thus to have a square sheet, with the help of the scissors we will cut the excess part from under the sheet and once ready we will begin to fold very carefully and little by little our paper penguin will come out.
Para comenzar hacer nuestro origami, lo primero que tenemos que hacer es tomar una hoja blanca y doblar por cualquiera de las dos diagonales y de esa manera poder tener una hoja cuadrada, con la ayuda de la tijera vamos a cortar la parte sobrante de debajo de la hoja y una vez listo vamos a comenzar a doblar con mucho cuidado y poco a poco irá saliendo nuestro pingüino de papel.

|
 |
Next, we are going to fold along the same diagonal with the idea of being able to mark the middle line very well, once that is done we are going to open the sheet and we are going to fold the ends of the sheet a little bit, as you can see in the picture towards the inside, we do that in both parts of the sheet. Right there we are going to fold the ends of the previous doubles, taking a little upwards and then outwards, so that a small triangle protrudes on the sheet.
Seguidamente, vamos a doblar por la misma diagonal con la idea de poder marcar muy bien la línea del medio, una vez listo eso vamos a abrir la hoja y vamos a doblar un poco los extremos de la misma, como se nota en la foto hacia adentro, eso lo hacemos en ambas parte de la hoja. Allí mismo vamos a doblar las puntas de los dobles anteriores, llevando un poco hacia arriba y luego hacia afuera, que sobresalga un pequeño triángulo en la hoja.

|
 |

|
 |
Then we are going to flip the sheet, to proceed to fold it in half, very carefully so as not to disassemble the doubles we made, in order to get the body of our penguin. Once that is ready, we will start folding in order to get the head of our paper figure, which we will make a small double on the top of the sheet to one side, with the idea of marking a line and flatten, open and make a fold inward of the sheet very carefully and thus have ready the head of our penguin.
Luego vamos a voltear la hoja, para proceder a doblarla por la mitad, con mucho cuidado para que no se desarmen los dobles que hicimos, con la finalidad de poder obtener el cuerpo de nuestro pingüino. Una vez listo eso vamos a comenzar a doblar para así poder sacar la cabeza de nuestra figura de papel, la cual vamos a hacer un pequeño dobles en la parte de arriba de la hoja hacia un lado, con la idea de marcar una línea y aplastamos, abrimos y hacemos un pliegue hacia adentro de la hoja con mucho cuidado y de esa manera tener lista la cabeza de nuestro pingüino.

|

|

|
Little by little this paper figure is taking shape and the steps are quite simple. Now we are going to take the other end that we have free to assemble the body and the penguin's leg, where we are going to fold in half to mark a very firm line and very carefully open that part of the sheet, to make a fold inward and we put the sheet so that it is not more beautiful and so you can stand with greater happiness this work of art paper. Right there we make another fold with the idea of being able to take out the legs.
Poco a poco este figura de papel, está tomando formando y los pasos son bastante sencillos. Ahora vamos a tomar la otra punta que nos queda libre para armar el cuerpo y la pata del pingüino, donde vamos a doblar por la mitad para marcar una línea muy firme y con mucho cuidado abrimos esa parte de la hoja, para hacer un pliegue hacia adentro y metemos la hoja para que no quede más bonito y así se pueda parar con mayor felicidad esta obra de arte de papel. Allí mismo volvemos a realizar otro doblez con la idea de poder sacar las patas.

|

|

|
To make the penguin's beak is very simple and easy, where we are going to fold the tip of the triangle of the head and once the line is marked we make a small fold again and repeat the same doubles twice so that the beak is ready.
Para hacer el pico del pingüino es muy sencillo y fácil, donde vanos a doblar la punta del triángulo de la cabeza y una vez marcado la línea hacemos nuevamente un pequeño pliegue y repetimos dos veces los mismos dobles con la finalidad de que el pico esté listo.

|
 |
With those last doubles that we made we finish our penguin origami, also with the help of a marker or a pencil we can give it a final touch to make it look much better and this paper figure can be seen real. Finishing the whole process of assembling and doubles of this origami.
Con esos últimos dobles que hicimos damos por terminado nuestro origami de pingüino, además con la ayuda de un marcador o un lápiz podemos darle uno retoque finales para que quede mucho mejor y se pueda ver real esta figura de papel. Terminando todo el proceso de armar y dobles de este origami.


Resultado // Result


A very nice result, unique and the most fun is that it is simple, where this little penguin will serve you for many things, you can vary the size and color, play with the style and thus achieve a large collection, where it is perfect to play, give it as a gift and many other things. So see you next time with another origami.
Un resultado muy bonito, único y lo más divertido es que es sencillo, donde este pequeño pingüino te servirá para muchas cosas, puedes variar el tamaño y color, jugar con el estilo y de esa manera lograr una gran colección, donde es perfecto para jugar, regalarlo y muchas otras cosas. Así que nos vemos en la próxima con otro origami.

Fotos tomadas con un Iphone 7 // Photos prises avec un iPhone 7.


