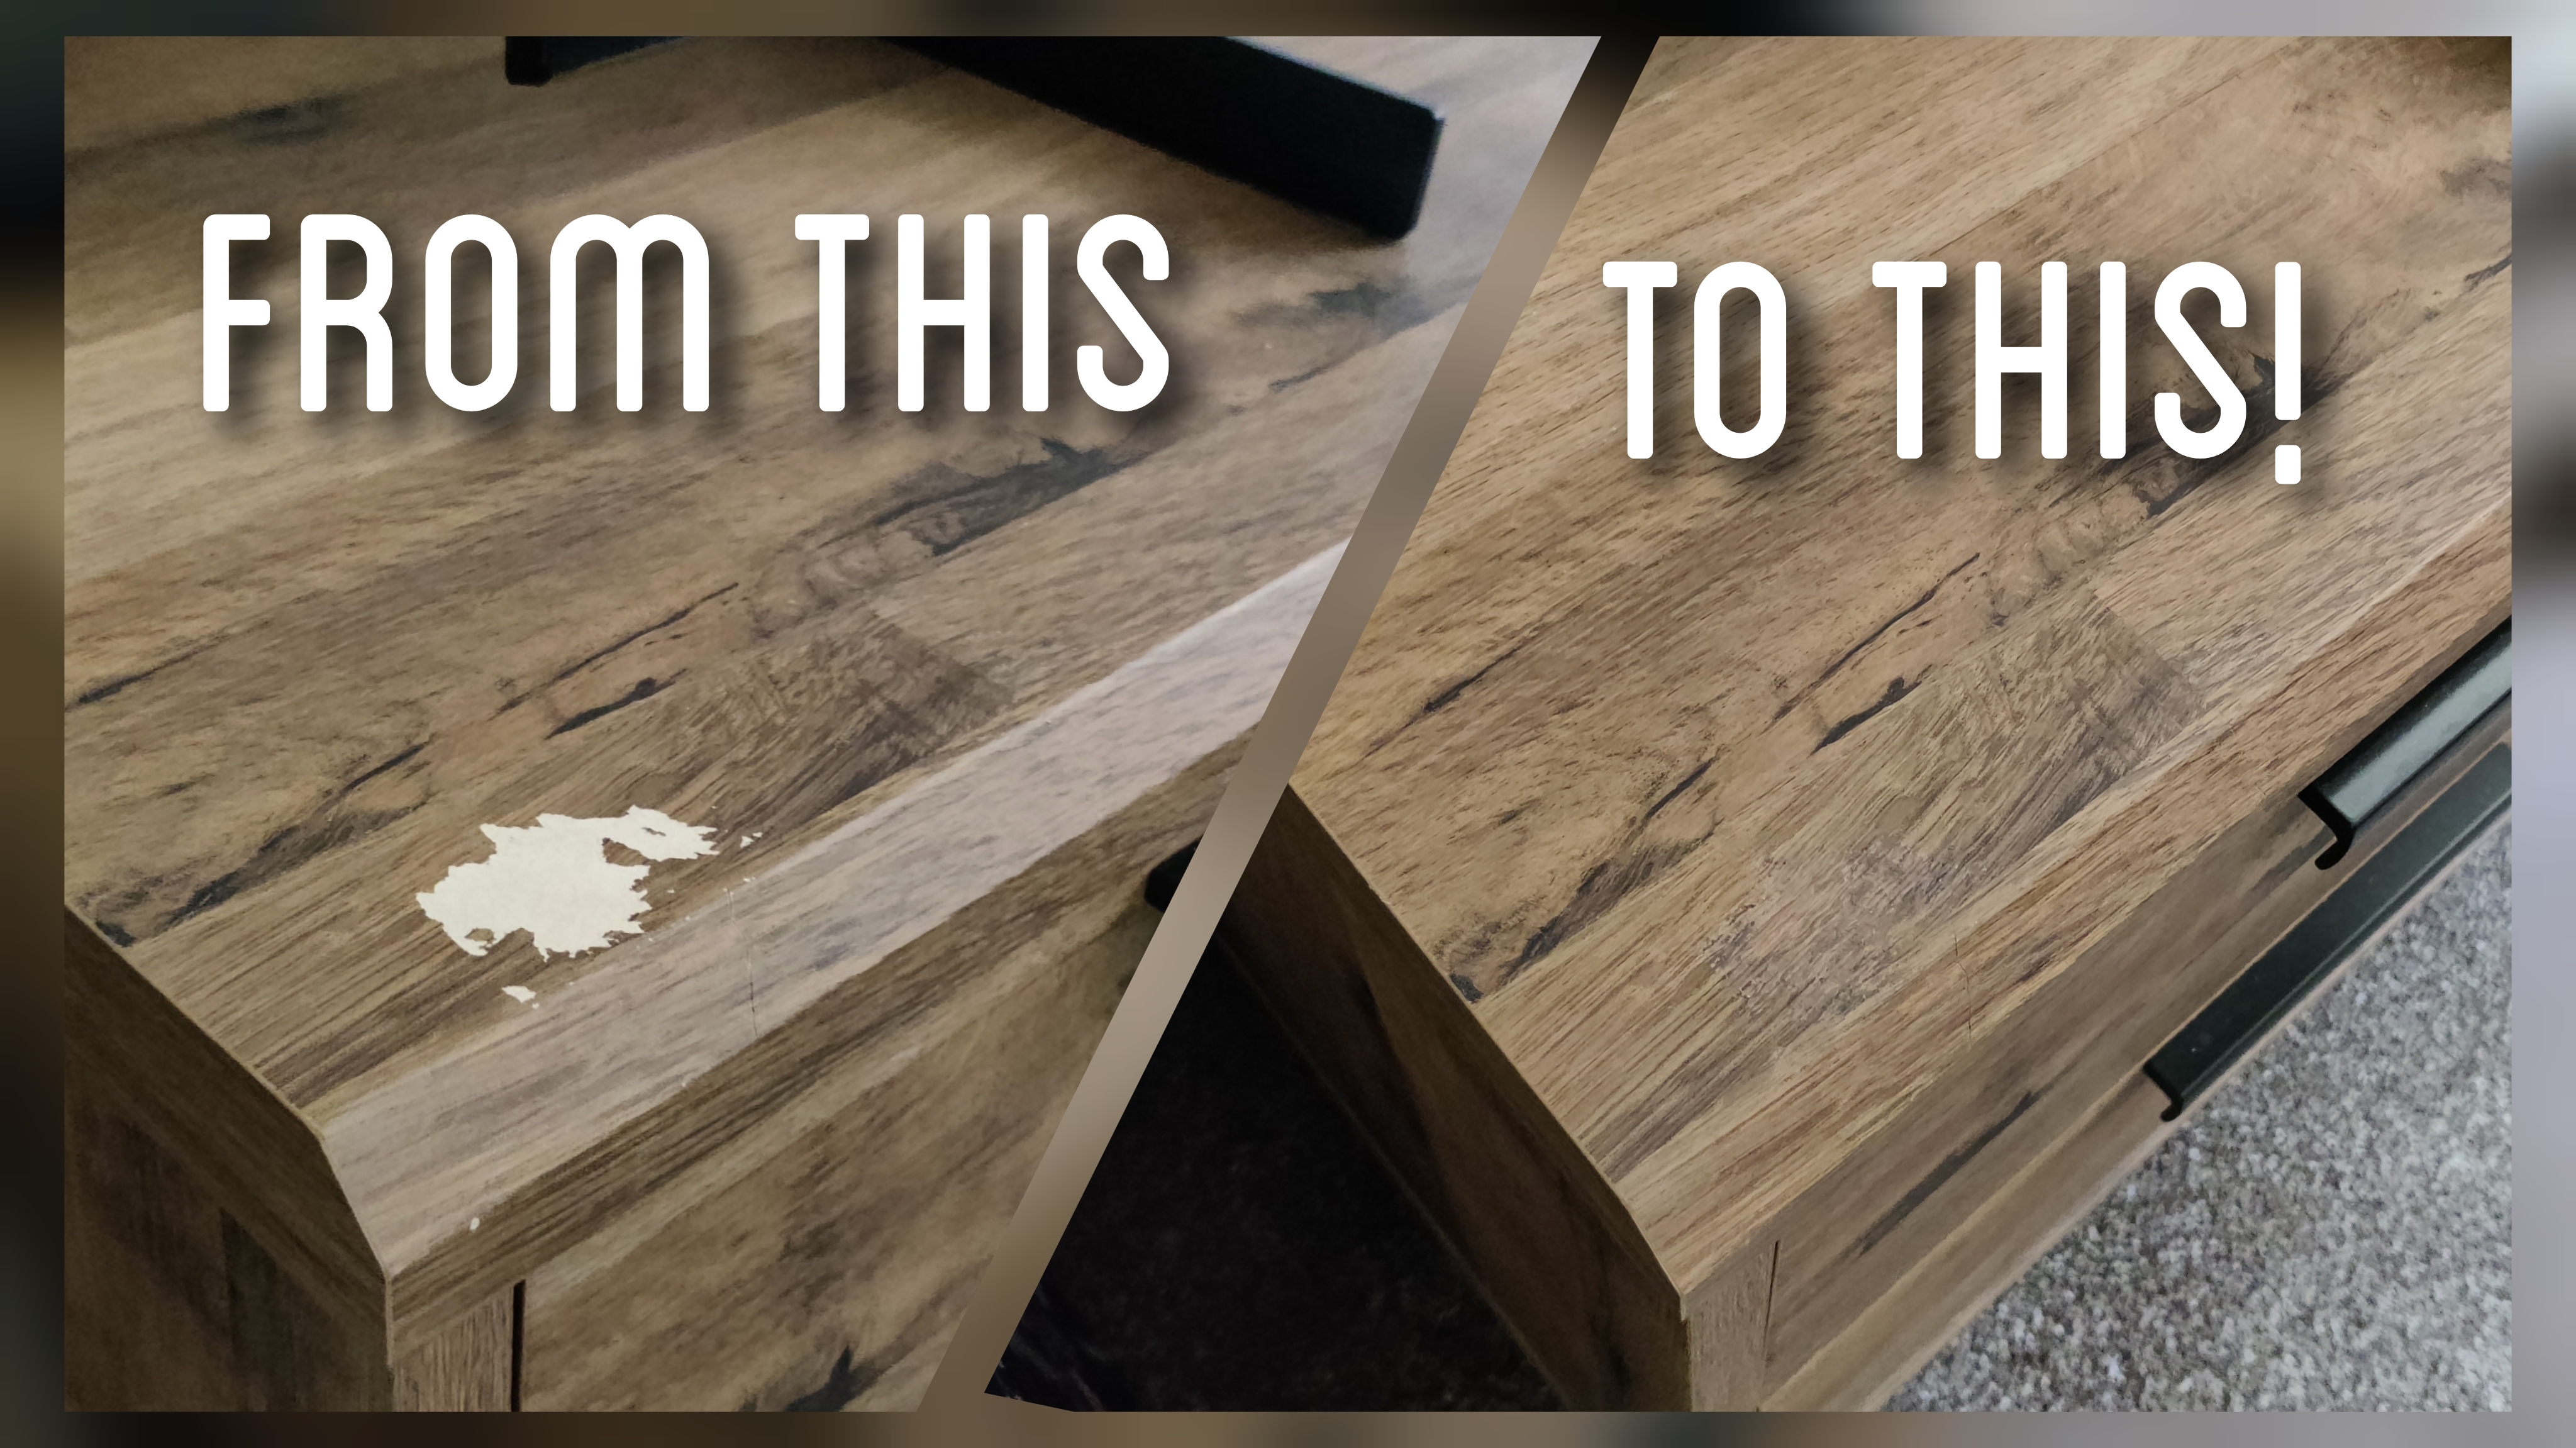
Not too long ago we bought a second hand TV unit for the living room. It was massively discounted because the previous owners had damaged it while moving house.
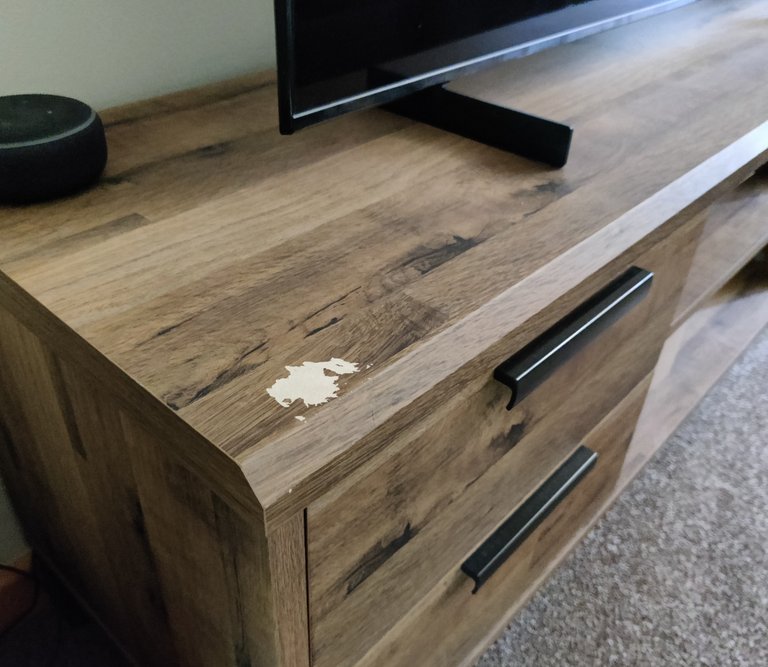
It had happened because they had taped up the drawer to make it easier to pick up. However they weren't careful removing the tape afterwards and left this nasty mark pulling the wood effect paper off.
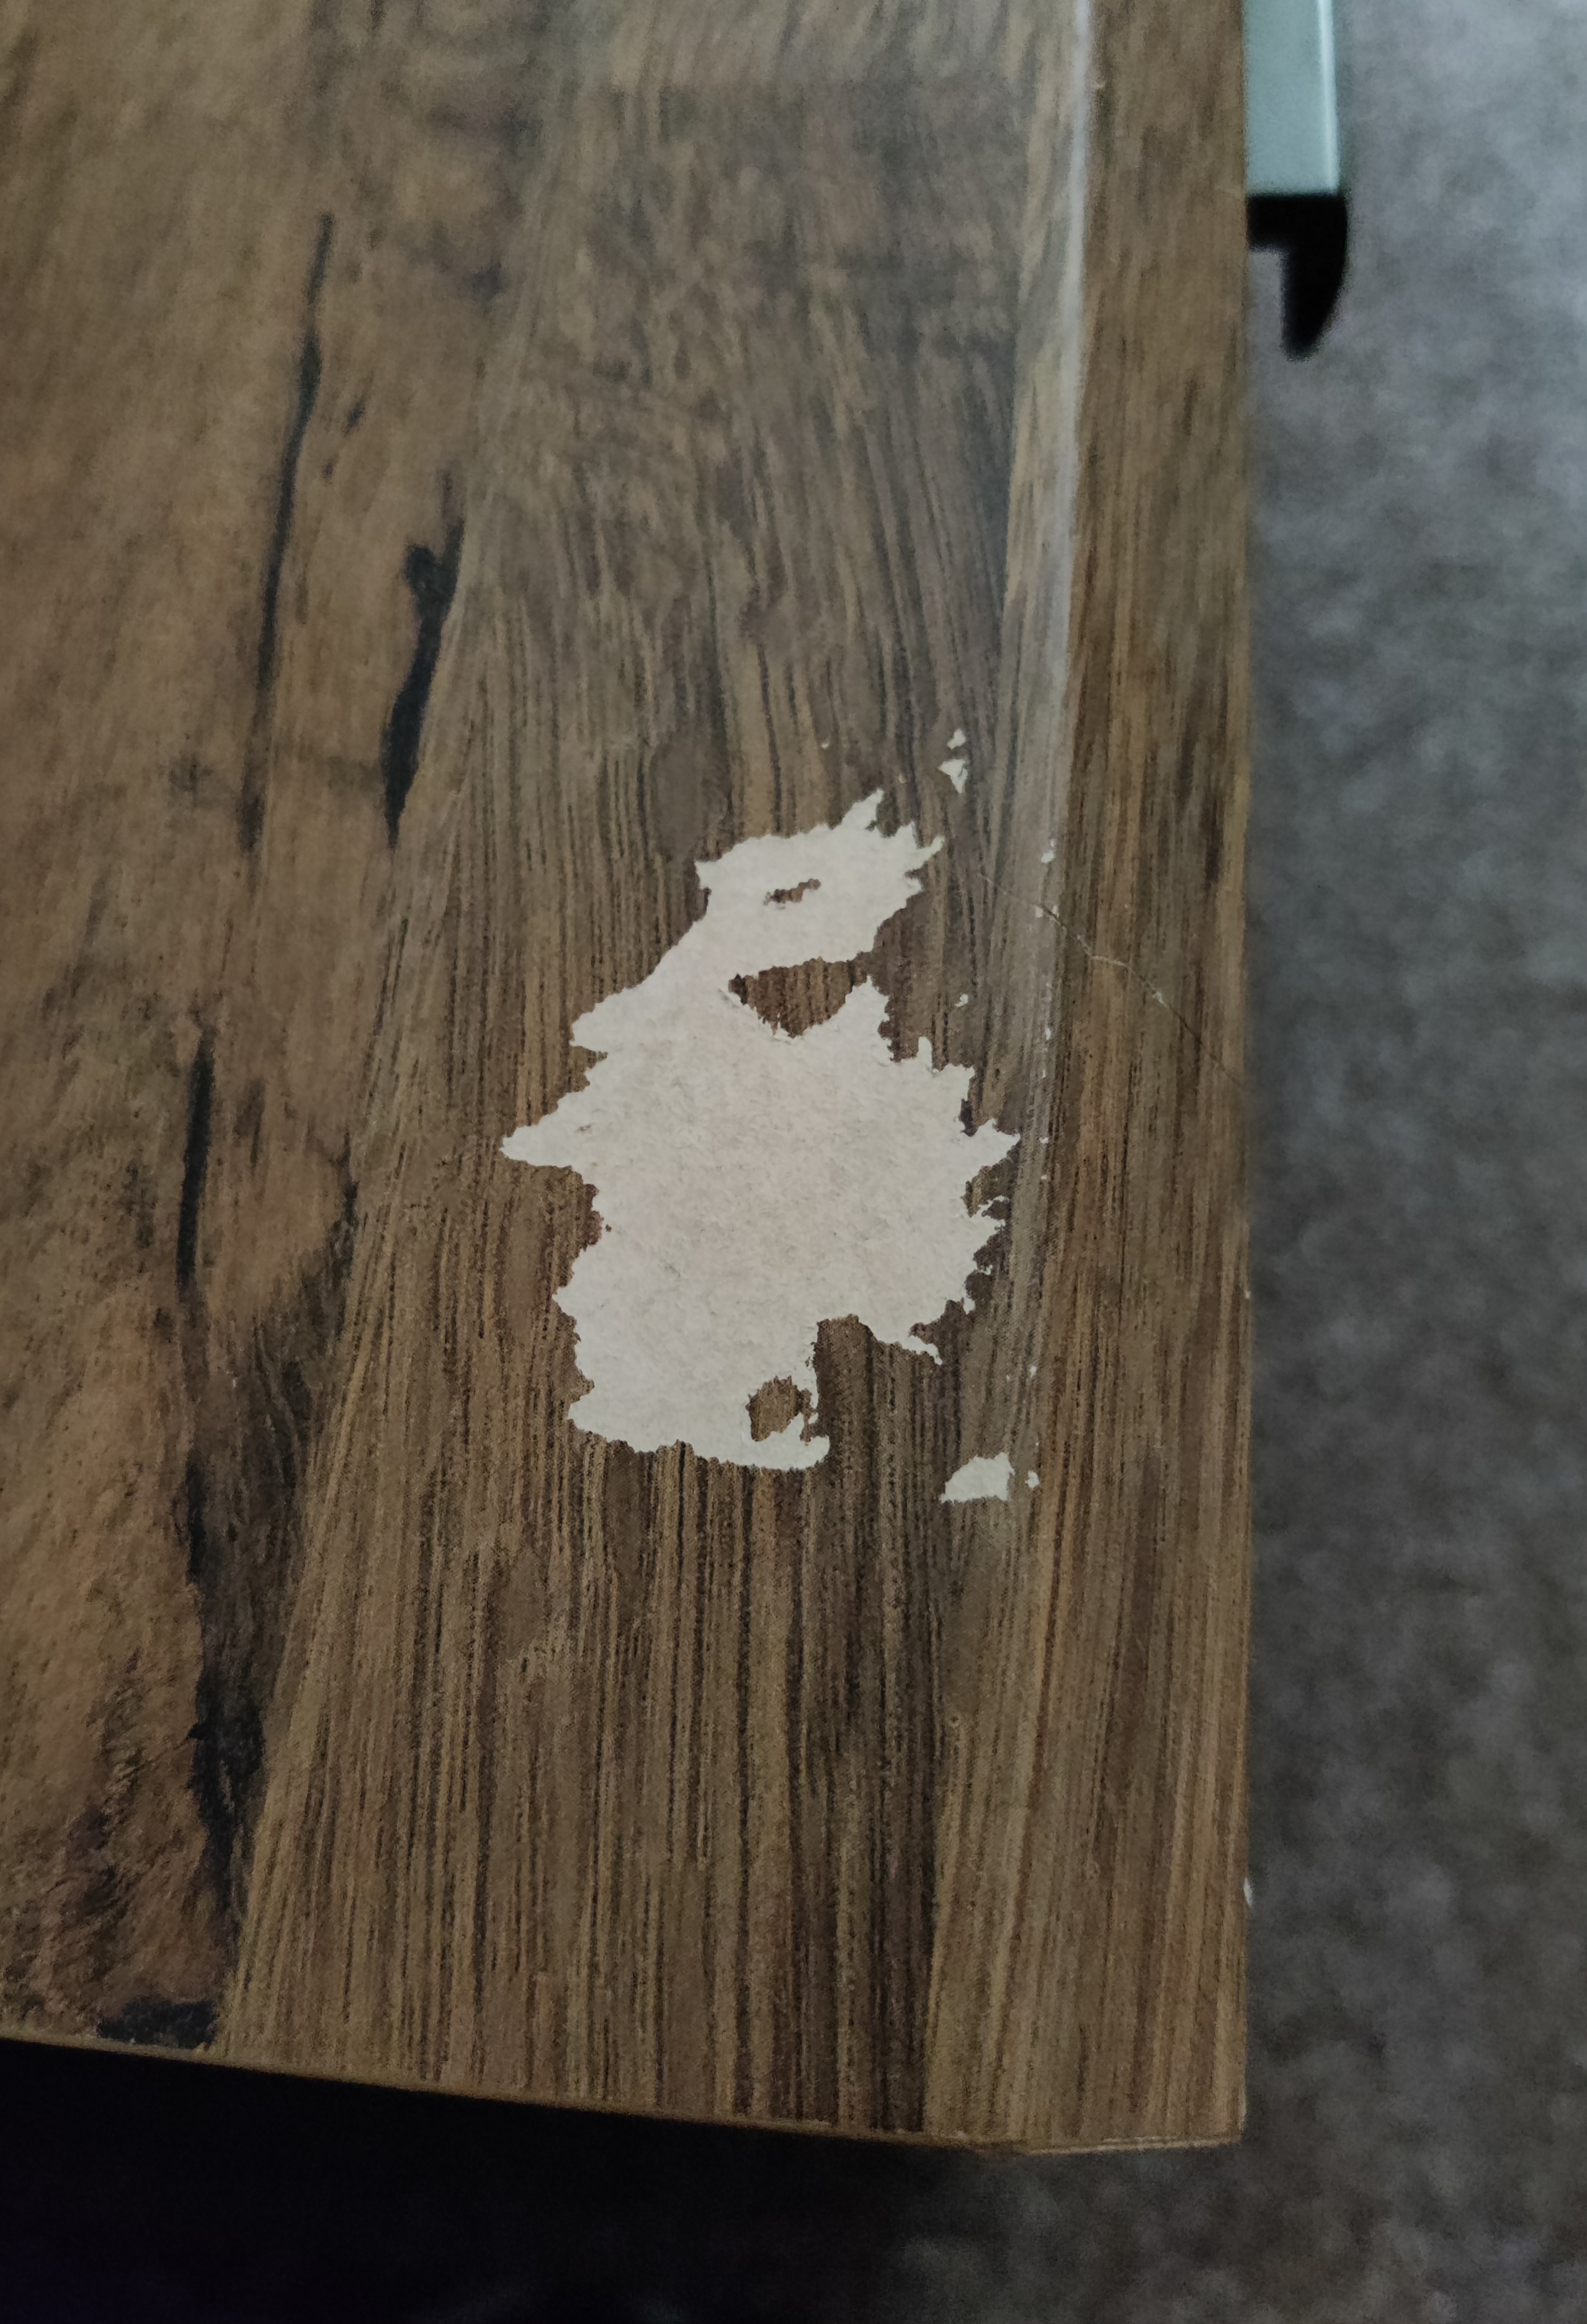
We've been covering it up with an Amazon Alexa speaker but it looked a little odd sitting right at the edge of the unit. So I figured I'd give repairing it a shot!
The paints I used are cheap acrylics (something like £4 from Wilko for a variety of colours). I picked them purely because I didn't know how well this was going to turn out and they seem to be fairly hardy once dried.
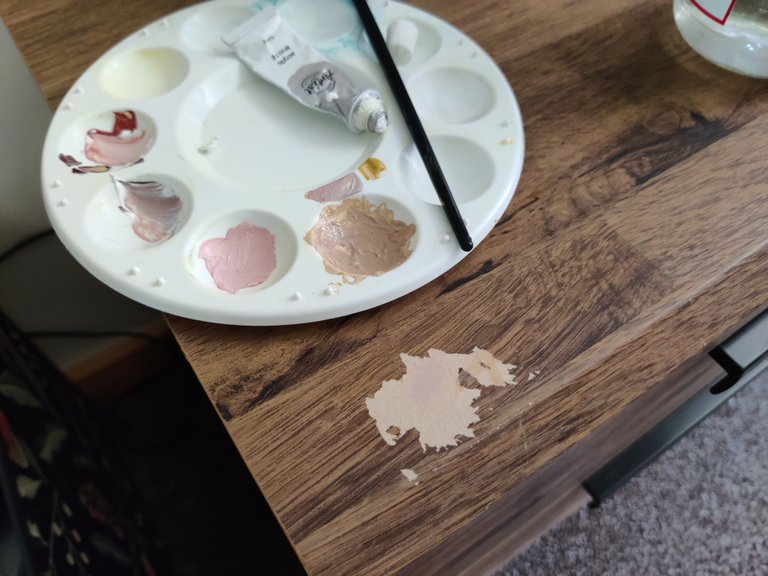
The first step was trying to colour match the lightest base colour of the wood effect. From there I would add darker layers immitating wood grain.
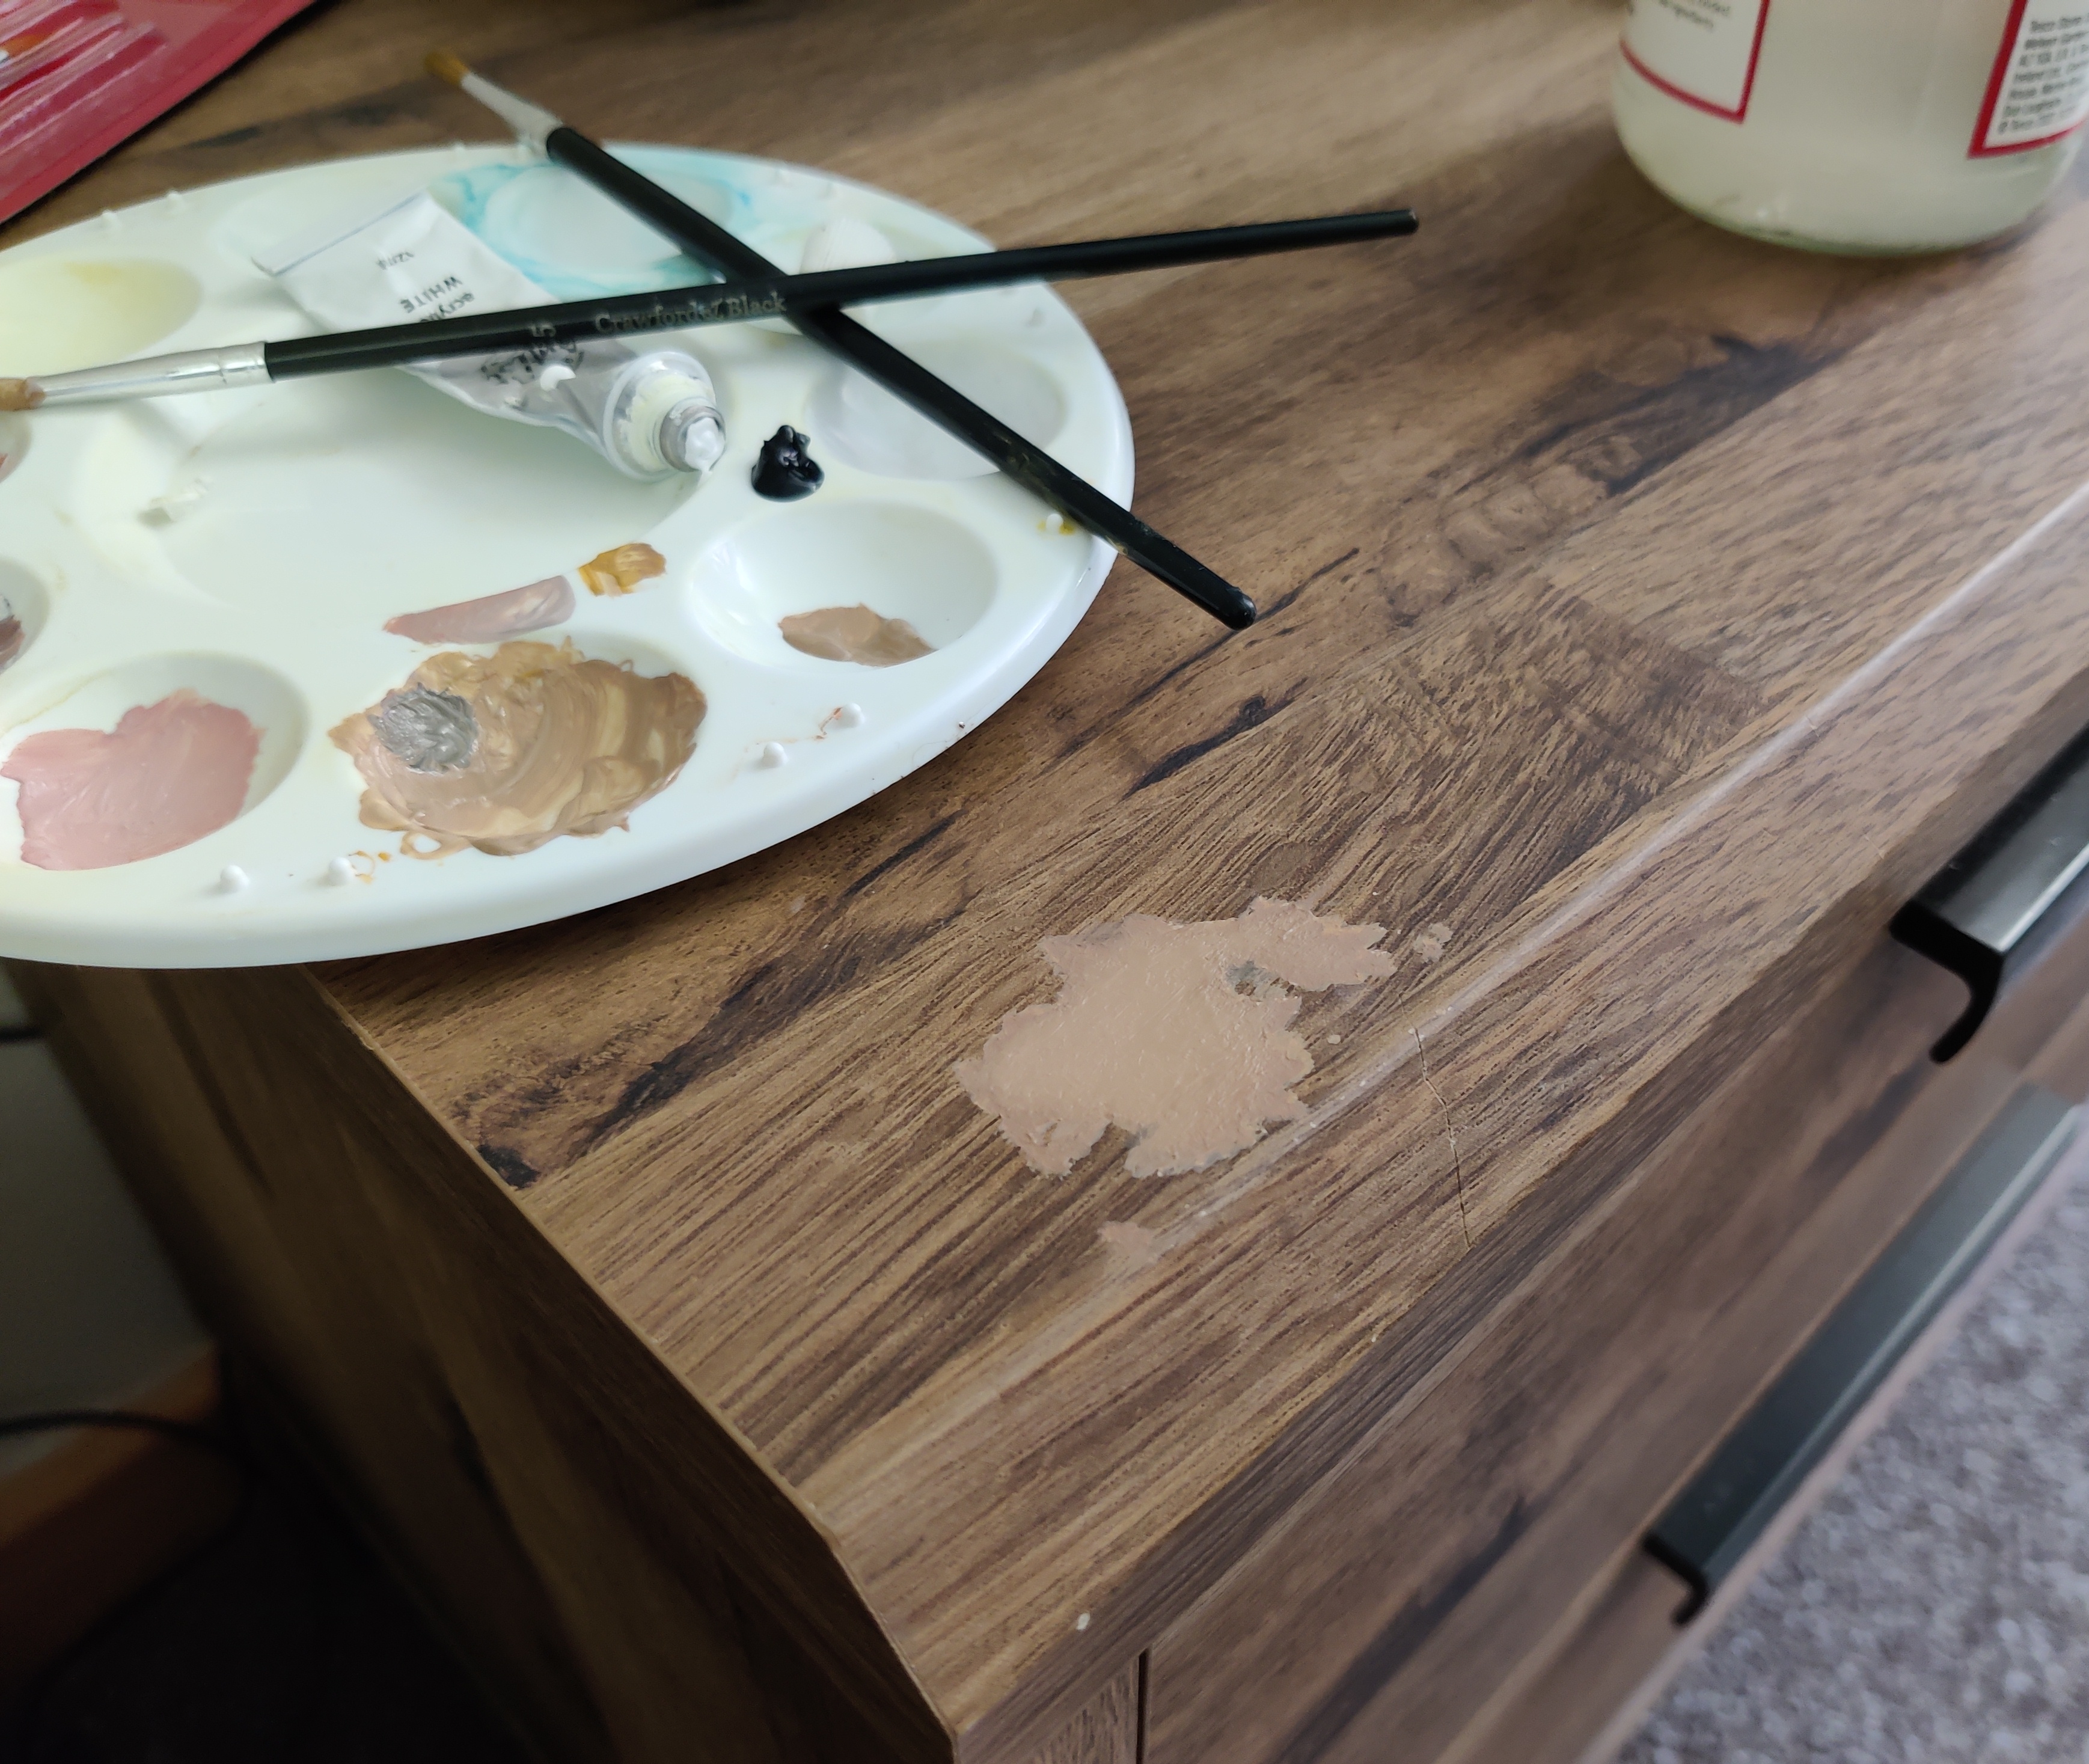 Close enough!
This ended up being more difficult than expected. My paint set has some very random colours so what I expected to just be adding white to brown ended up being using yellow ocra as the base, due to the browns in my set being way too red.
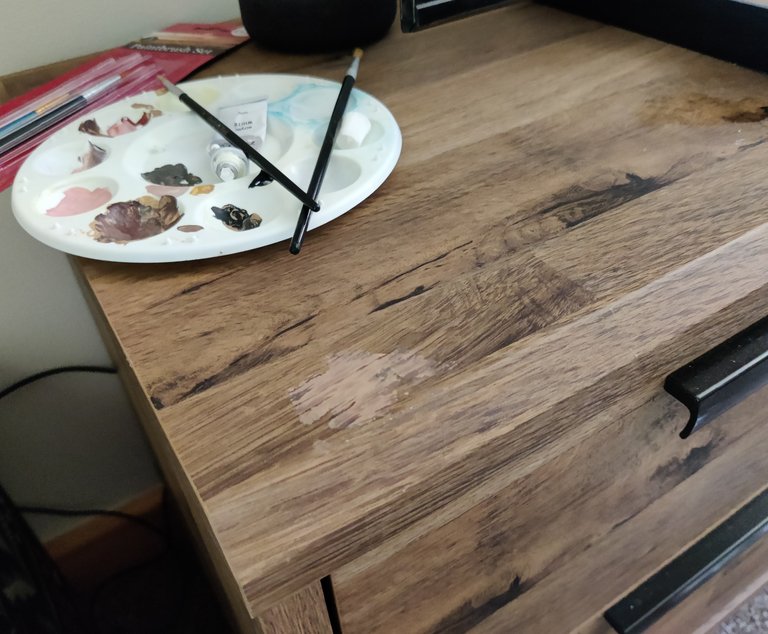
Next step was extending the existing wood grain into the repair section. This is where I really wish I had some finer brushes. Getting the lines to be thin was really tricky. At this point I also covered up the smaller marks.
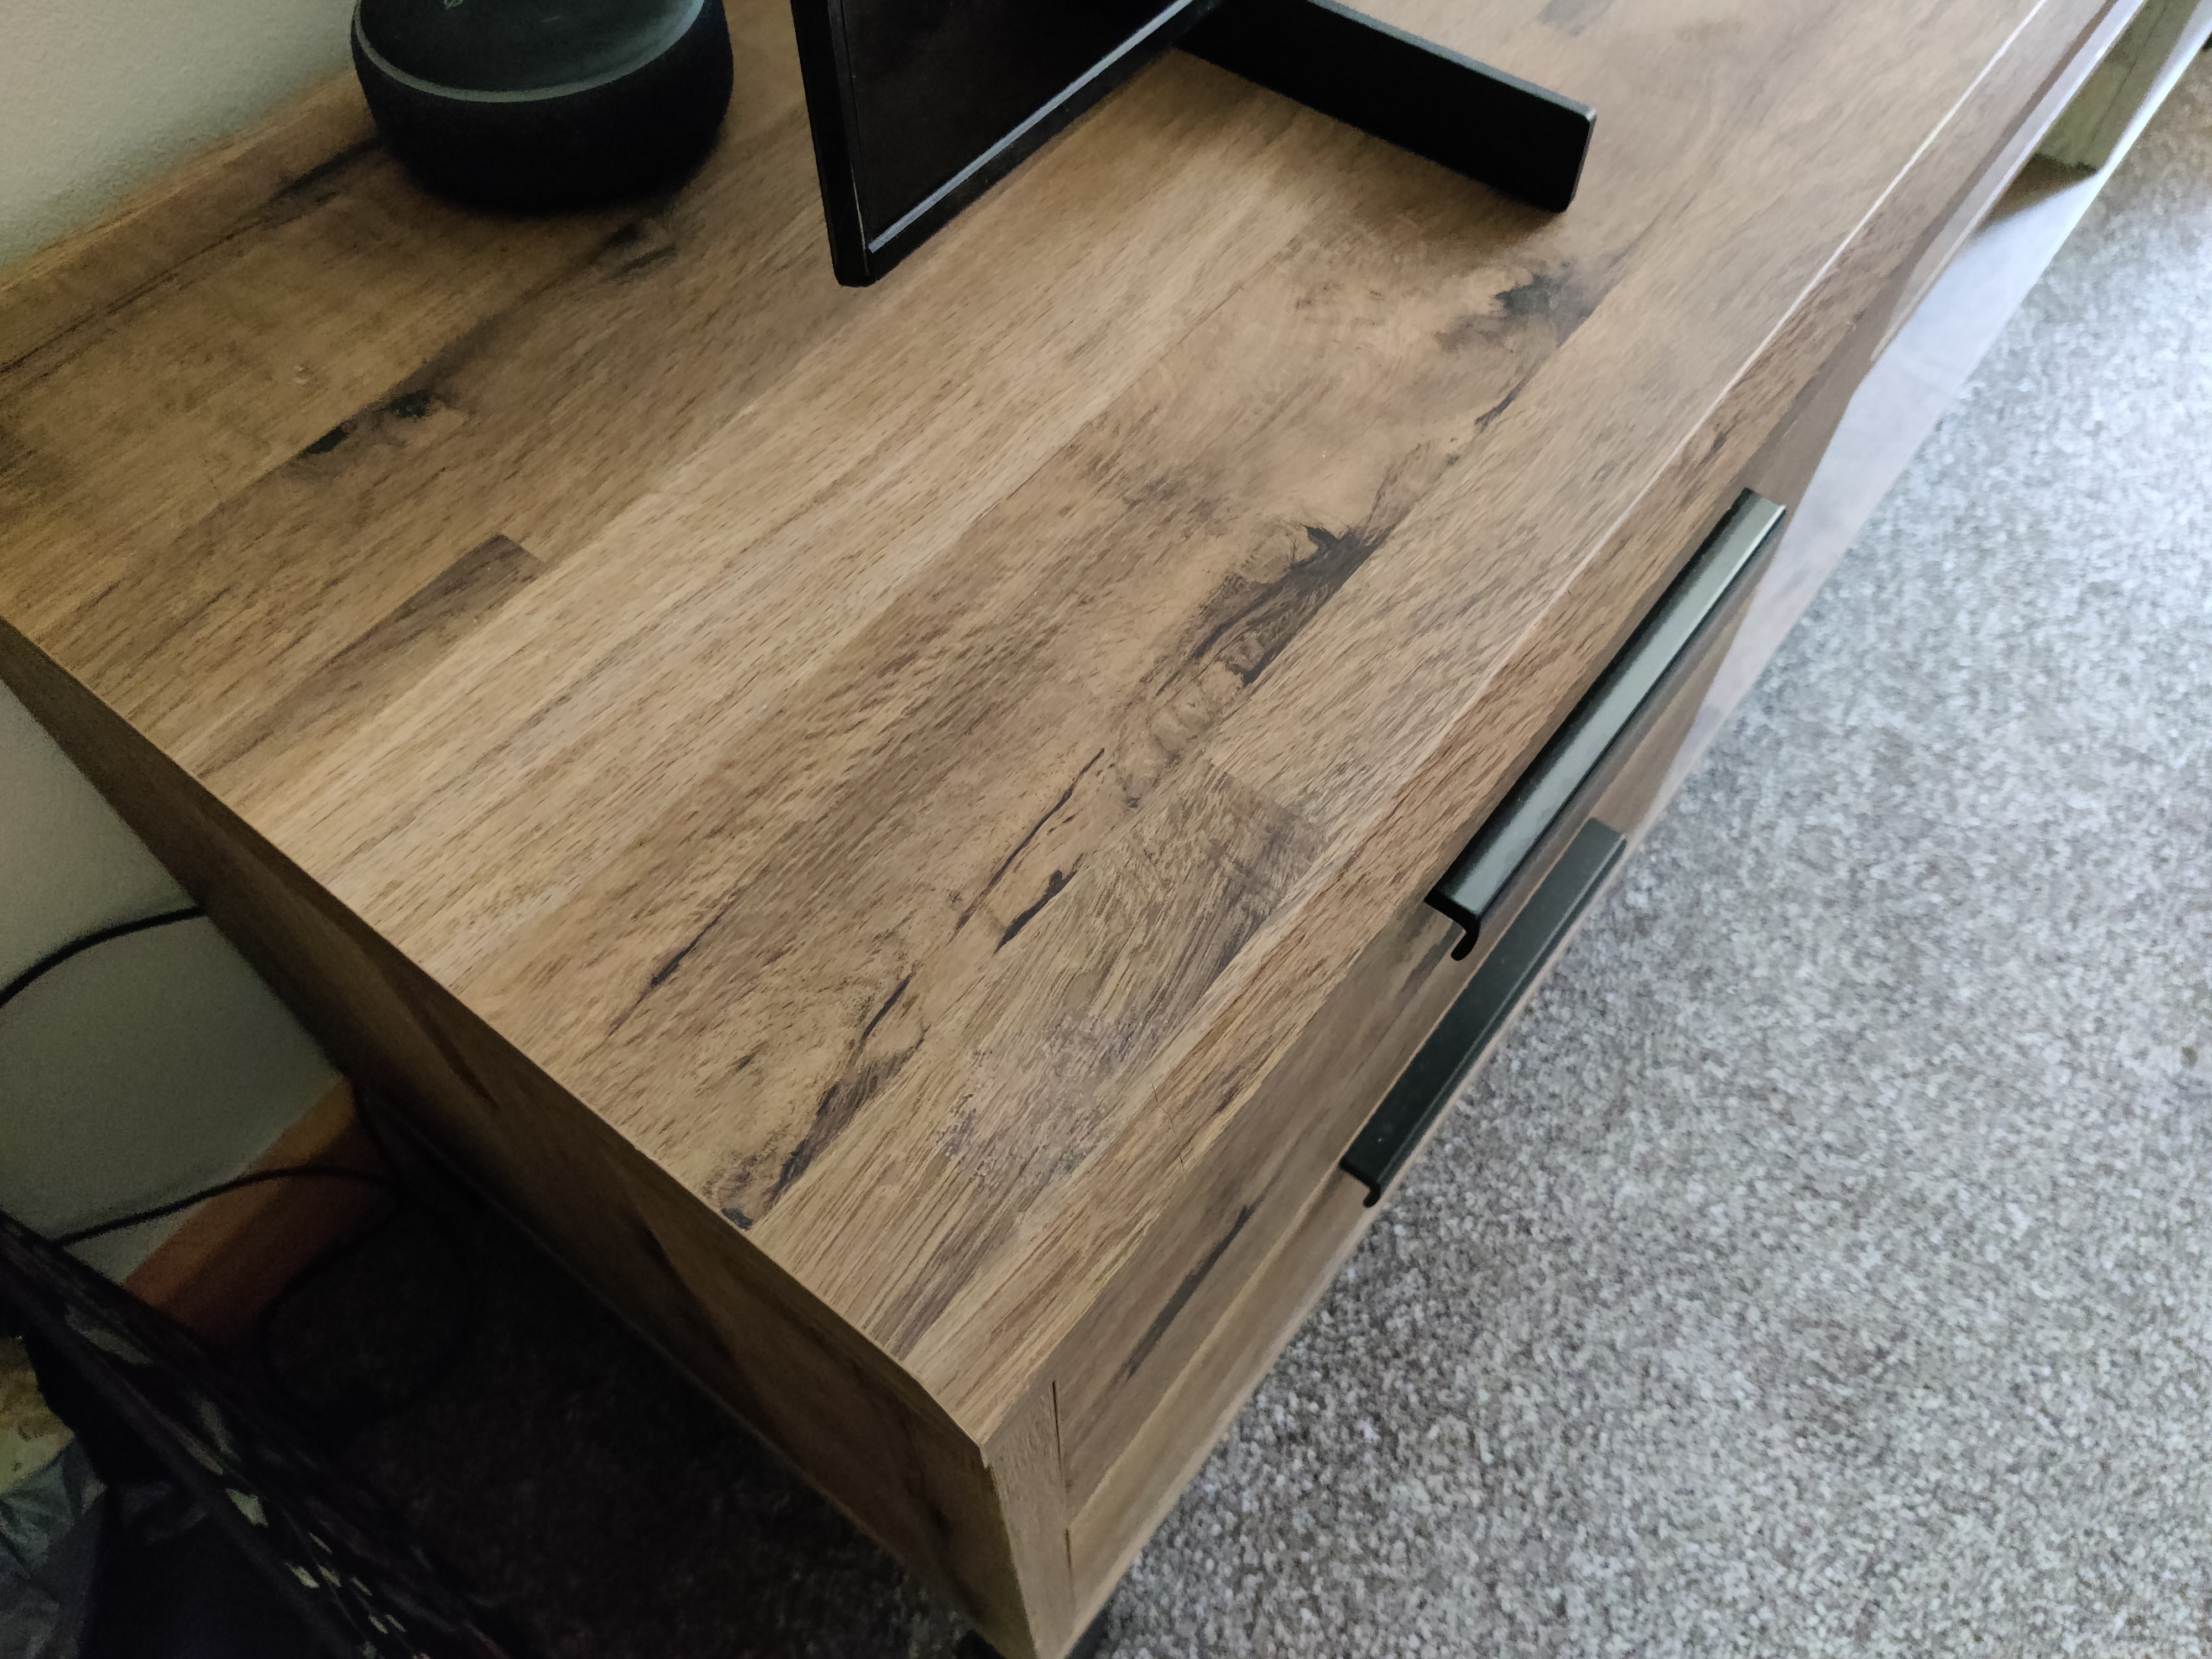
Repair complete!
It's far from perfect but probably not noticeable unless someone pointed it out to you. Not bad for £4 of materials.
As there isn't going to be anything on top of them I'm not too worried about the longevity of the repair. If this was a table top or something similar having items placed on top and moved around/spilled, I would look into sealing it with a lacquer