❤️ Welcome to my blog @cristzullys❤️
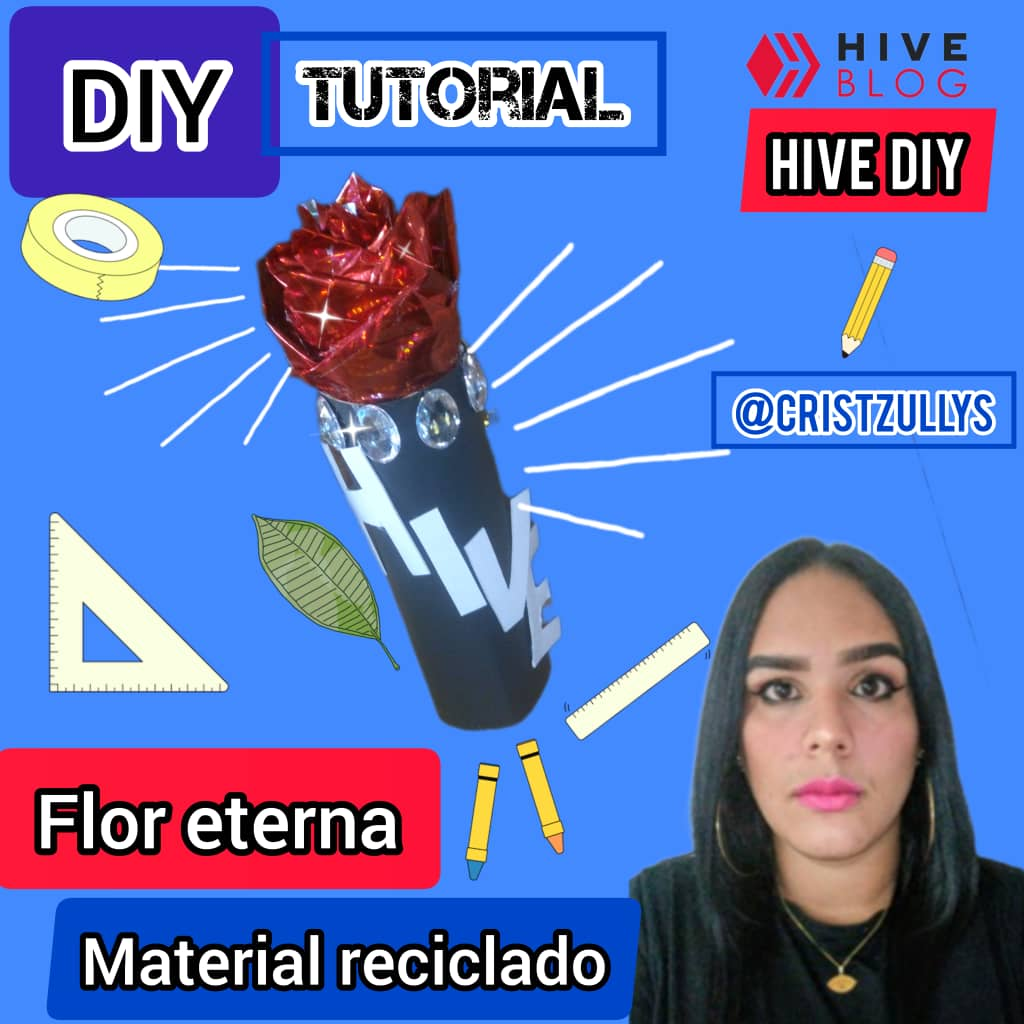
Hello dear community of @HiveDiy, I hope you are very well. Today I want to share with you a tutorial to make a beautiful eternal rose with recycled material in honor of #Hive, ideal to give as a gift on any occasion to that special being whom we want to make feel special with a creative surprise from us.
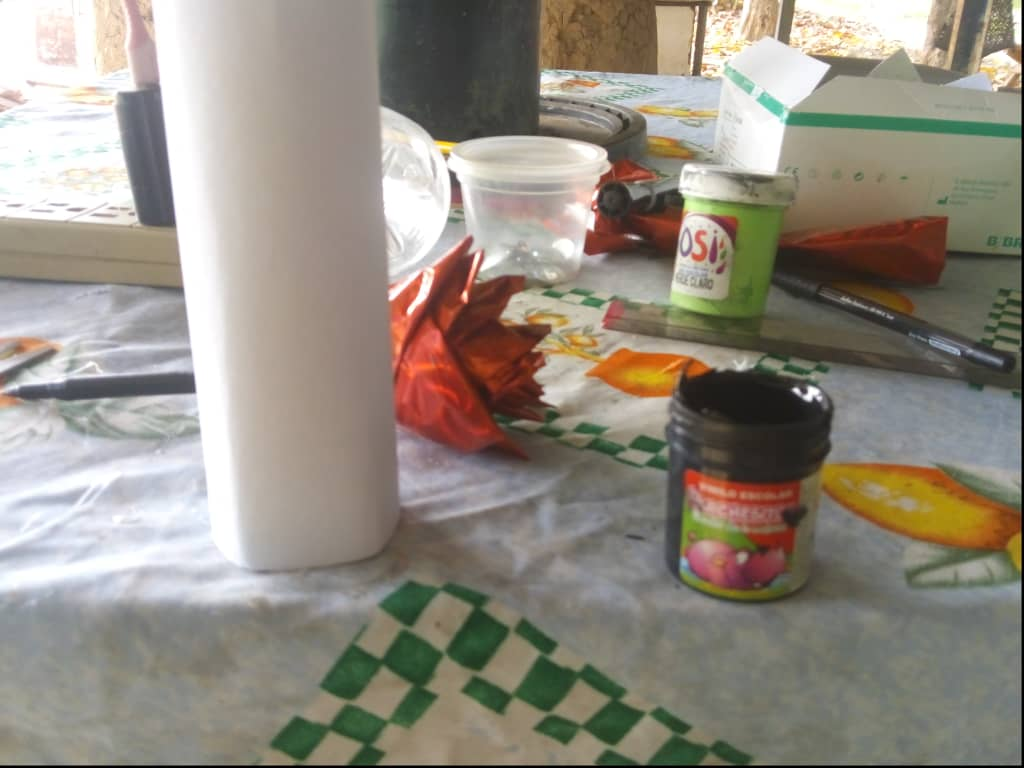
MATERIALES
◻️Papel celofán metalizado.
◻️ Tijeras.
◻️Regla para medir.
◻️Marcador.
◻️Silicón en barra y pistola de silicona.
◻️Lapicero o palillo de altura.
◻️Pintura color negra.
◻️Pincel.
◻️Carton.
◻️ Elementos decorativos.
MATERIALS
◻️ Metallic cellophane paper.
◻️ Scissors.
◻️ Rule to measure.
◻️ Marker.
◻️ Silicone bar and silicone gun.
◻️ Height pencil or toothpick.
◻️ Paint color black.
◻️ Brush.
◻️ Cardboard.
◻️ Decorative elements.
PROCEDIMIENTO
PROCESS
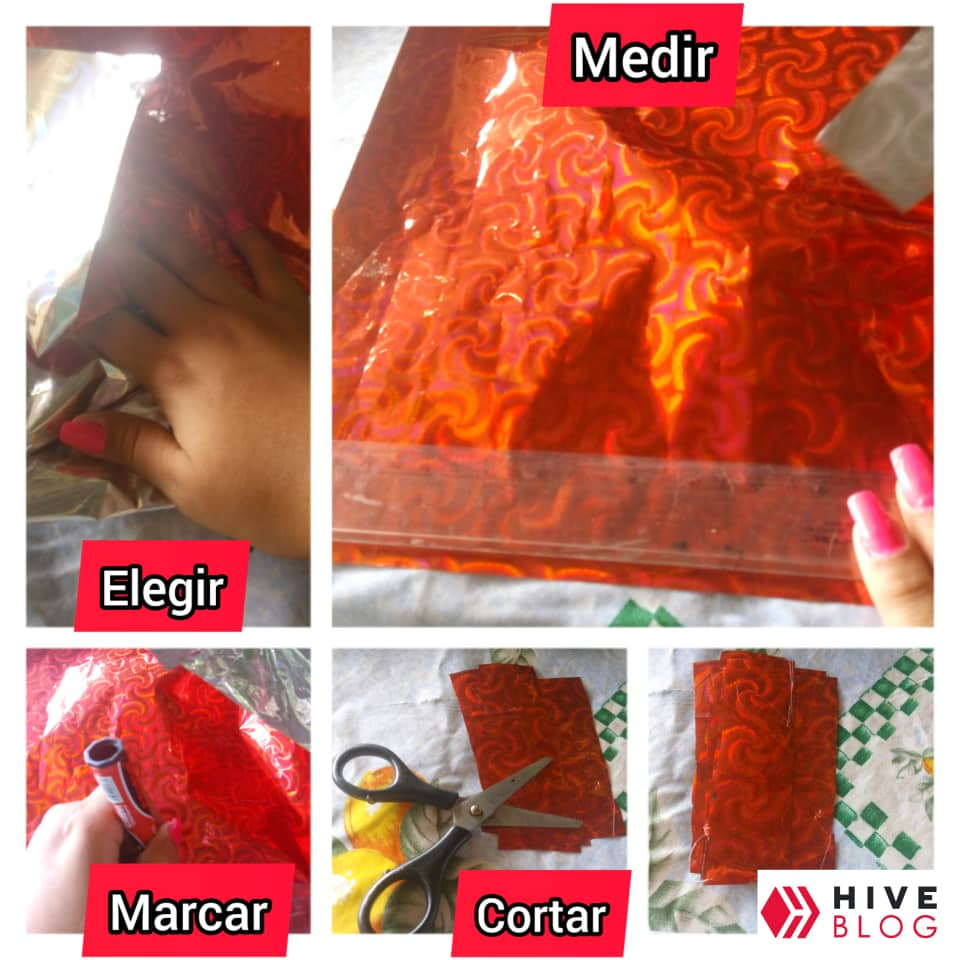
❤️Paso 1❤️
Para comenzar la elaboración de nuestra rosa eterna en papel reciclado, lo que haremos será elegir el papel a utilizar, medir y cortar rectángulos de aproximadamente 5cm de ancho por 5cm de largo..
❤️Step 1❤️
To begin the elaboration of our eternal rose in recycled paper, what we will do is choose the paper to use, measure and cut rectangles of approximately 5cm wide by 5cm long.
❤️Paso 2❤️
Una vez hayamos cortado los rectángulos, lo que haremos será, colocar a calentar nuestra pistola de silicona, para proceder a pegar las esquinas superiores de nuestros rectángulos. Formando especie de un triángulo para de esta manera hacer los pétalos de nuestra rosa.
❤️Step 2❤️
Once we have cut the rectangles, what we will do, place our silicone gun to heat, to proceed to glue the upper corners of our rectangles. Forming a kind of triangle in order to make the petals of our rose.
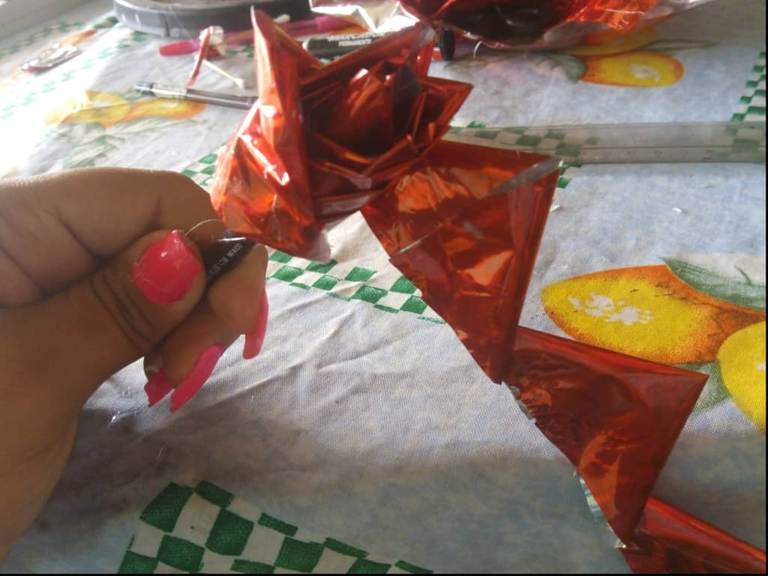
❤️Paso 3❤️
Ya armados nuestros 18 pétalos (eso depende del tamaño que vayamos a querer nuestra rosa). Entonces lo que haremos será pegar los pétalos uno al lado de otro, uniéndolos con un punto de Silicon en cada punta lateral.
❤️Step 3 ❤️
Already armed our 18 petals (that depends on the size that we are going to want our rose). So what we will do is glue the petals one next to the other, joining them with a Silicon dot at each side point.
❤️Paso 4❤️
Una vez tengamos nuestra cadeneta de pétalos, lo que haremos será buscar un palillo de altura o en su defecto un lapicero que no usemos, para que nos sirva de base. Ahora colocaremos Silicon en la parte inferior de los triángulos y lo que haremos será envolver poco a poco nuestro lapicero sin ajustar mucho para que la flor quede grande.
❤️Step 4❤️
Once we have our chain of petals, what we will do is look for a tall toothpick or, failing that, a pencil that we do not use, to serve as a base. Now we will place Silicon in the lower part of the triangles and what we will do is gradually wrap our pencil without adjusting much so that the flower is large.
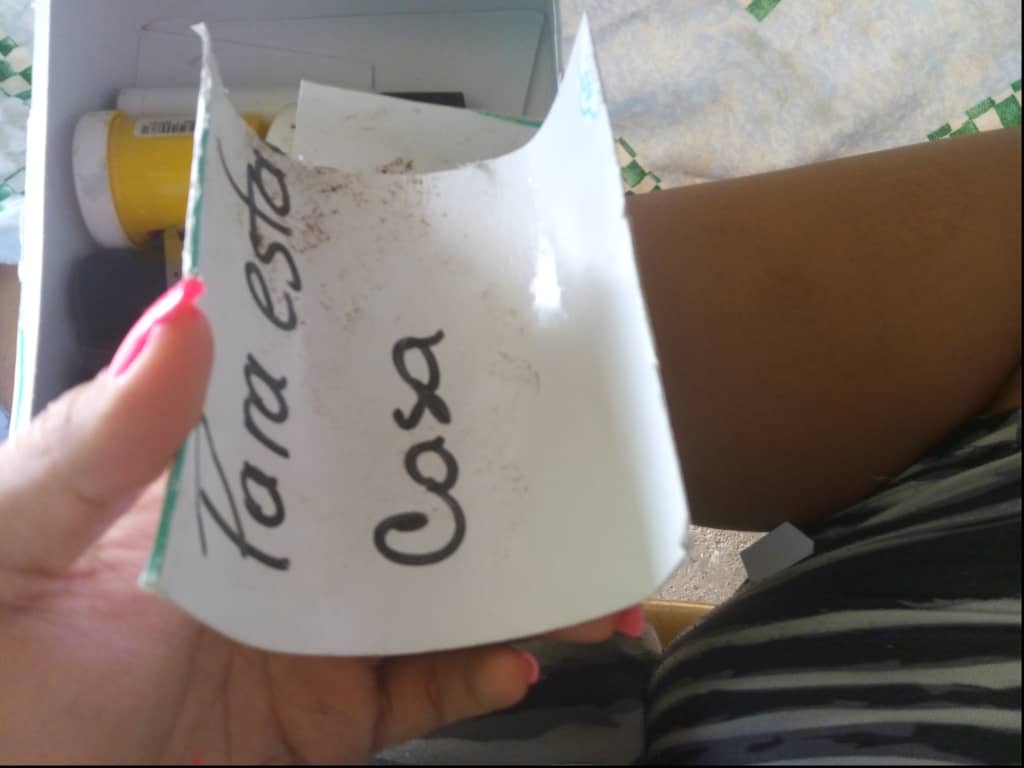
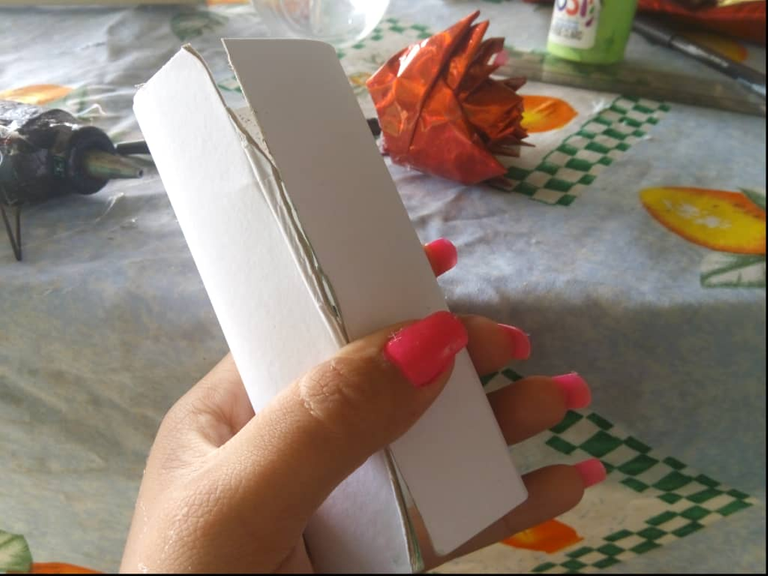
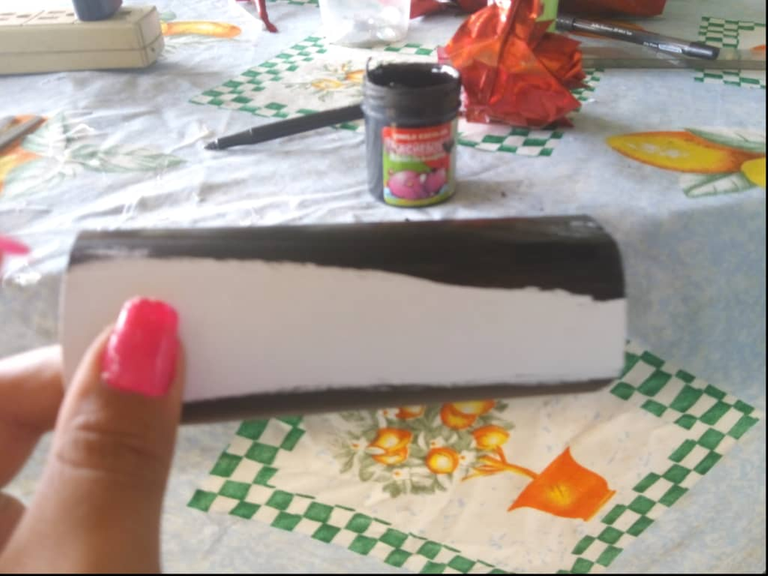
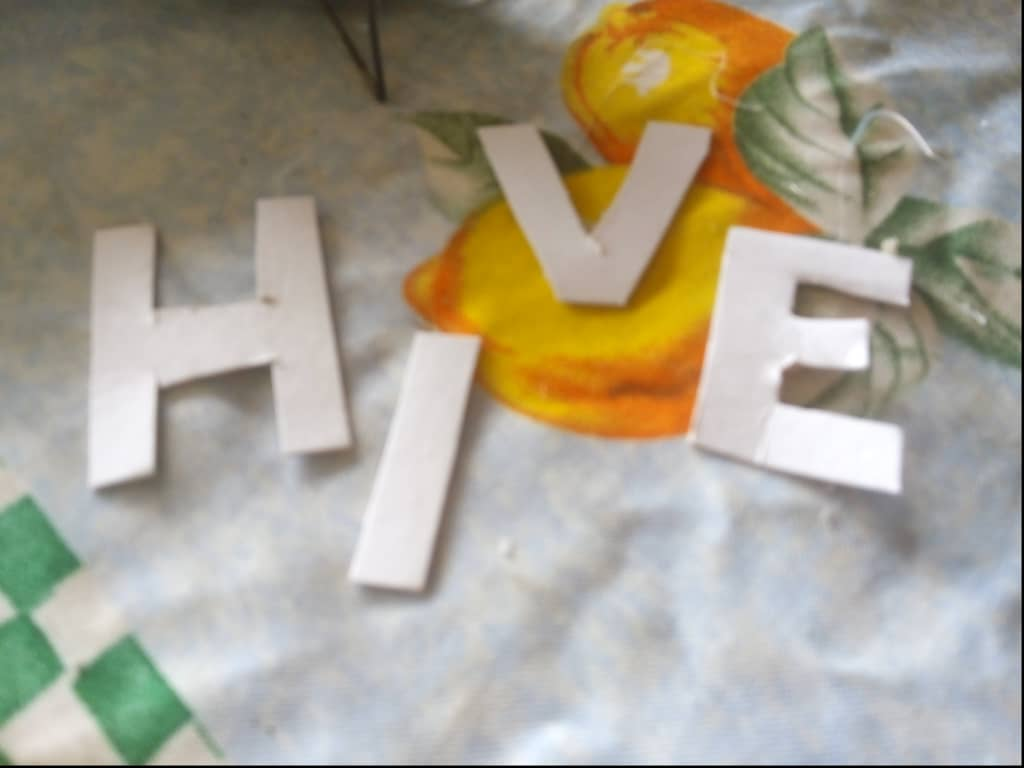
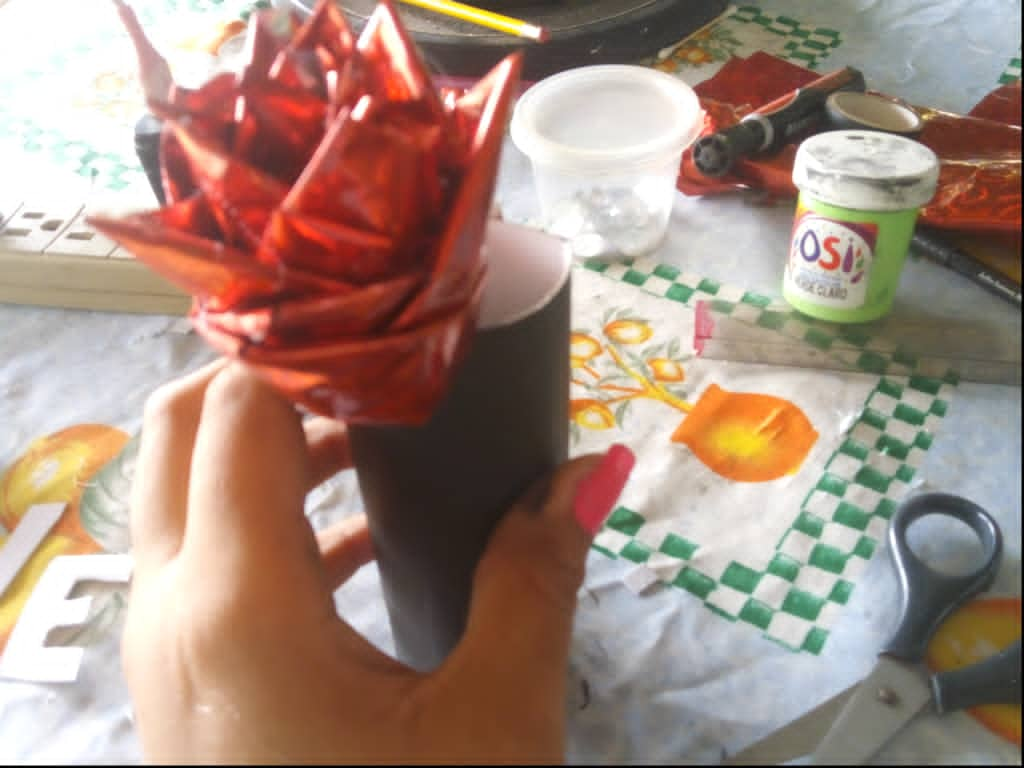
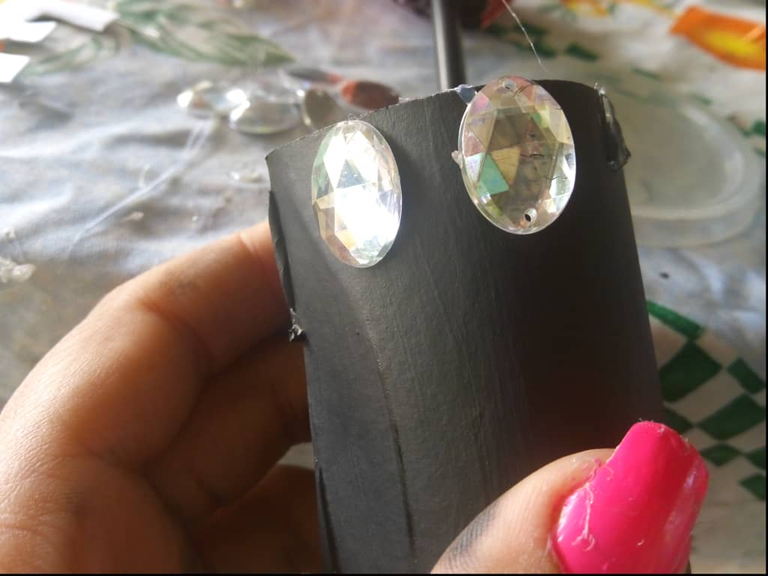
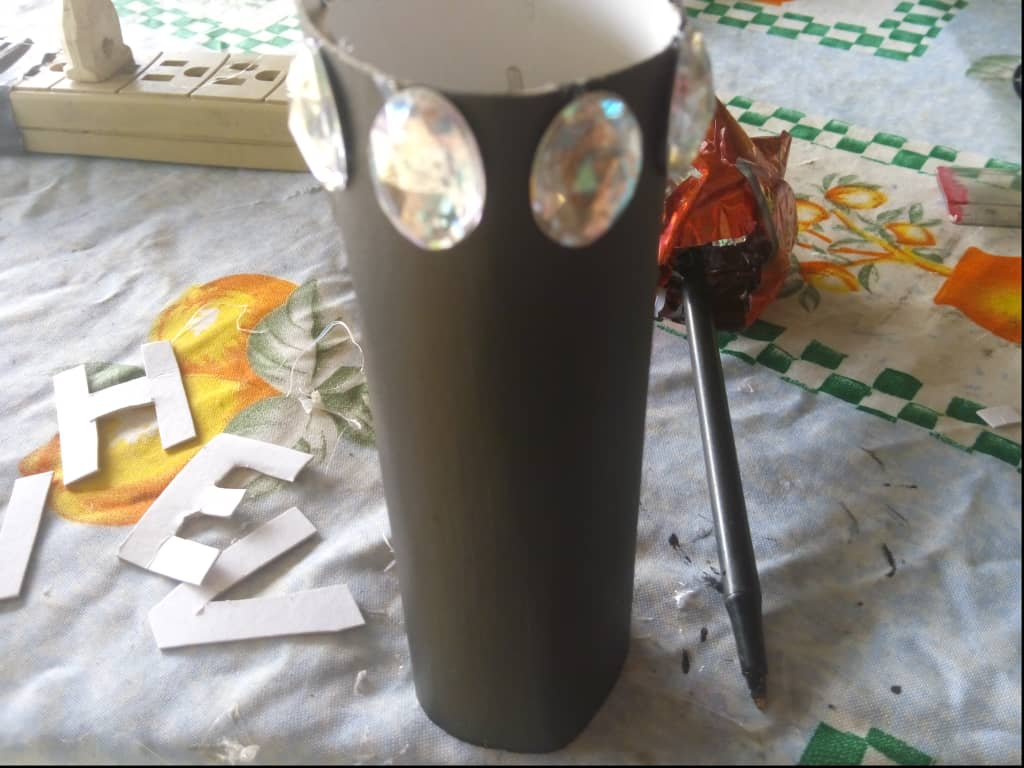
❤️Paso 5❤️
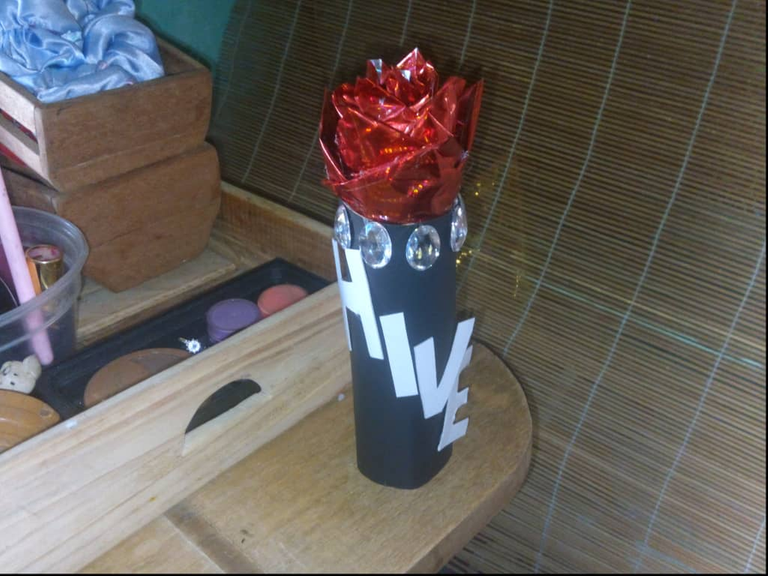
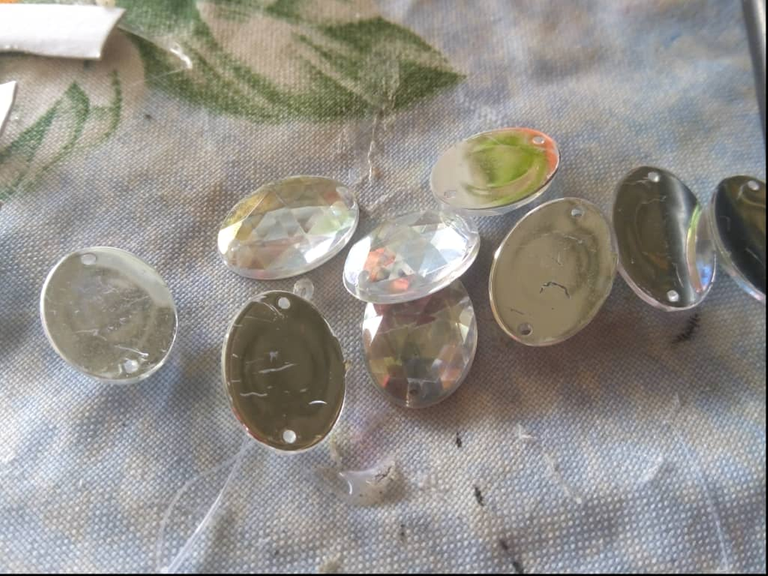
Finalmente lo que haremos será armar un cilindro con un pedazo de cartón y lo pintaremos del color de nuestra preferencia. En esta ocasión elegí el negro pues siento que es un color que combina con todo y en todo. Una vez armado el cilindro corte con lo que me sobró las letras H I V E para formar el nombre de esta nuestra plataforma y agregué pedrería que tenía guardada para darle un toque un poco más glamuroso.
❤️Step 5❤️
Finally, what we will do is assemble a cylinder with a piece of cardboard and we will paint it the color of our choice. This time I chose black because I feel that it is a color that combines with everything and everything. Once the cylinder was assembled, I cut the letters H I V E with what was left over to form the name of this our platform and I added rhinestones that I had saved to give it a slightly more glamorous touch.
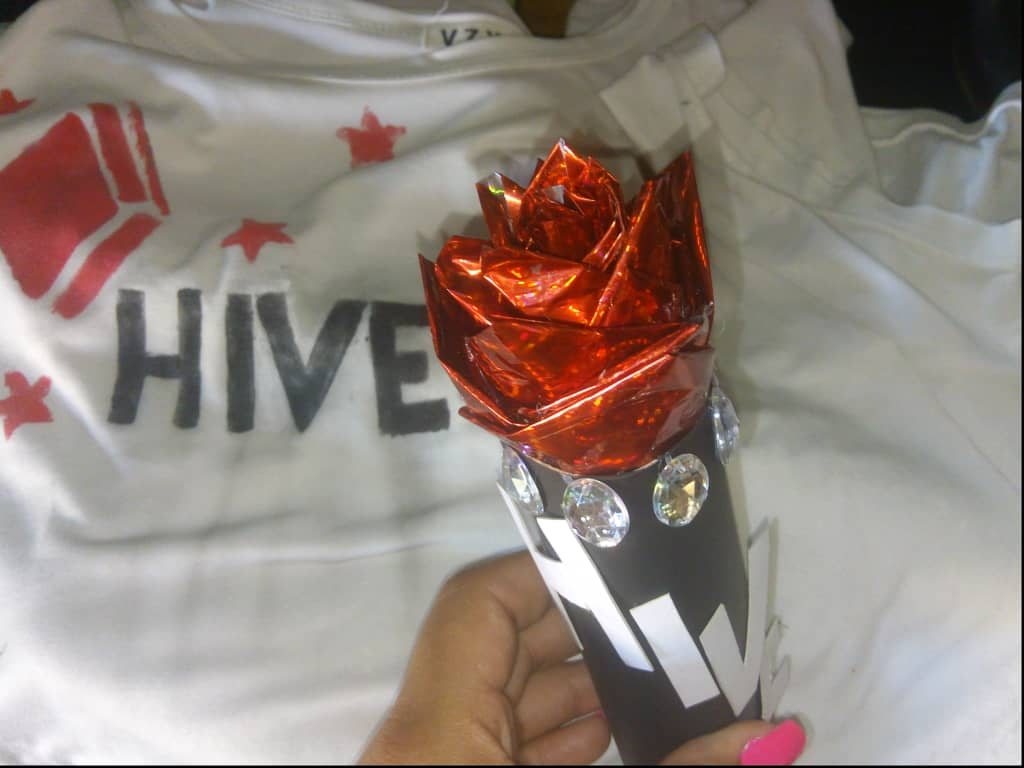
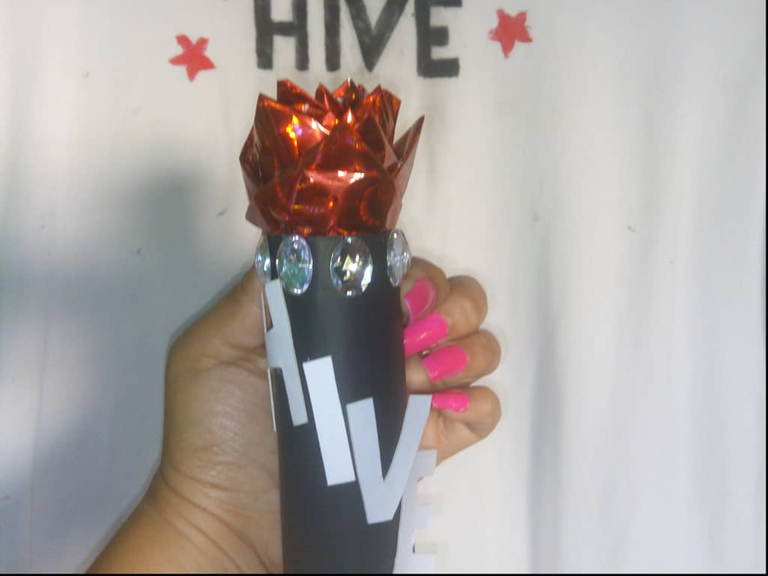
RESULTADOS
RESULTS
TU APOYO ES IMPORTANTE❤️
GRACIAS POR VISITAR MI BLOG Y LEERME♡
YOUR SUPPORT IS IMPORTANT❤️
THANKS FOR VISITING MY BLOG AND READING♡
•Texto Original de: @cristzullys
•Traducido en Google
•Todos los Derechos Reservados Cristzullys González
•Fotografías Tomadas de mi Teléfono Umidigi7s
•Banner Creado y diseñado por @cristzullys
•Original text from: @cristzullys
•Google Translated
•All rights reserved Cristzullys González
•Pictures Taken from my Umidigi7s Phone
•Banner Created and designed by @cristzullys