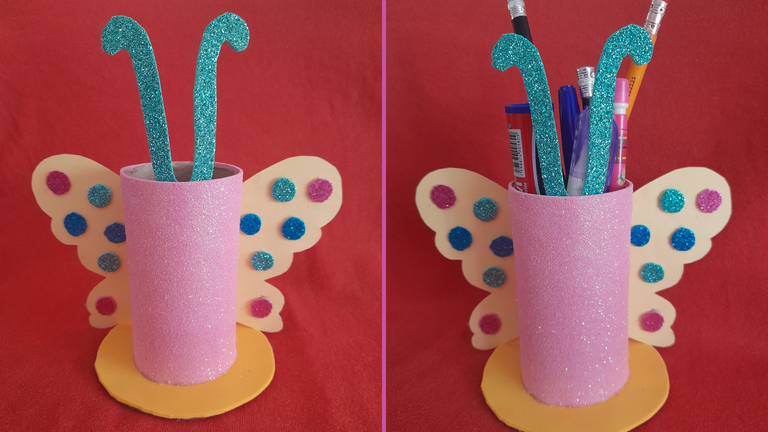
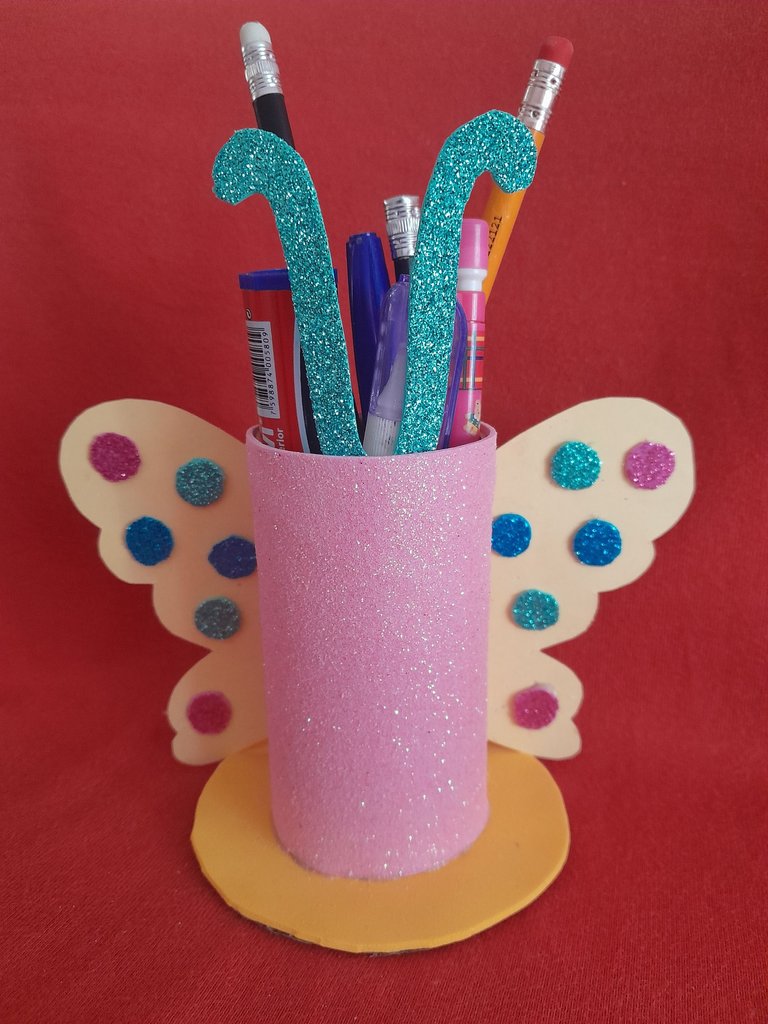
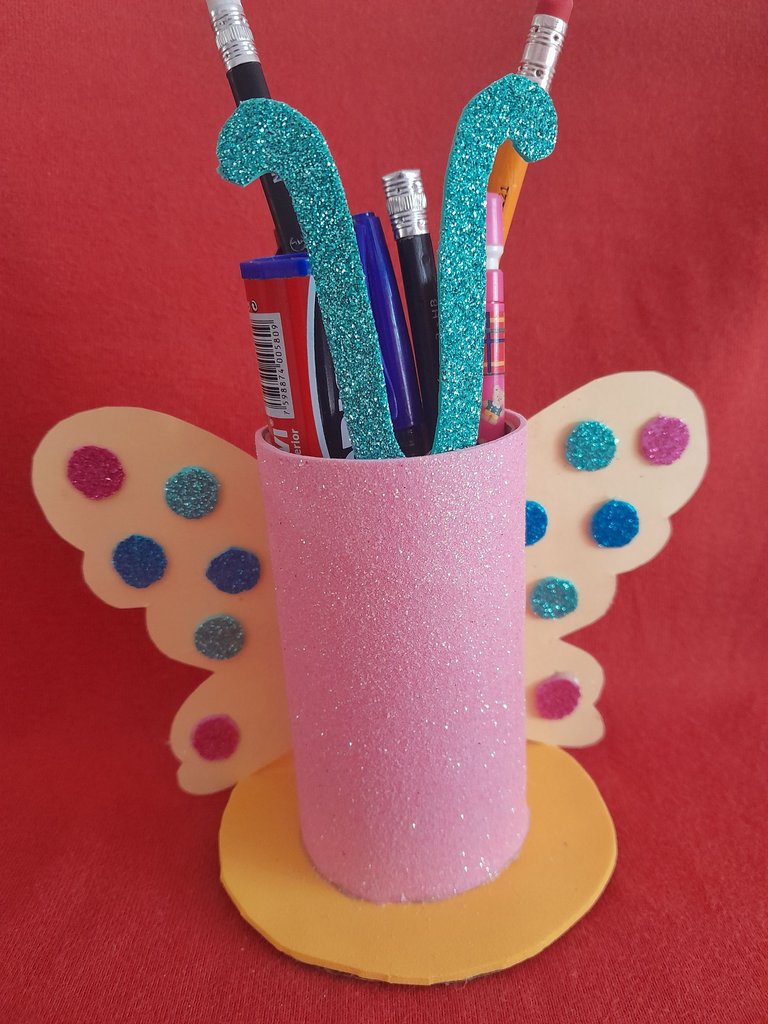
Hello my creative people of Hive diy, it is a pleasure for me to greet you and wish you a beautiful day full of joy and family love. I want to show you today how to make a cute pencil holder with butterfly design, so we will have organized our pencils at the time of use, let's start with the materials to use.
Español:
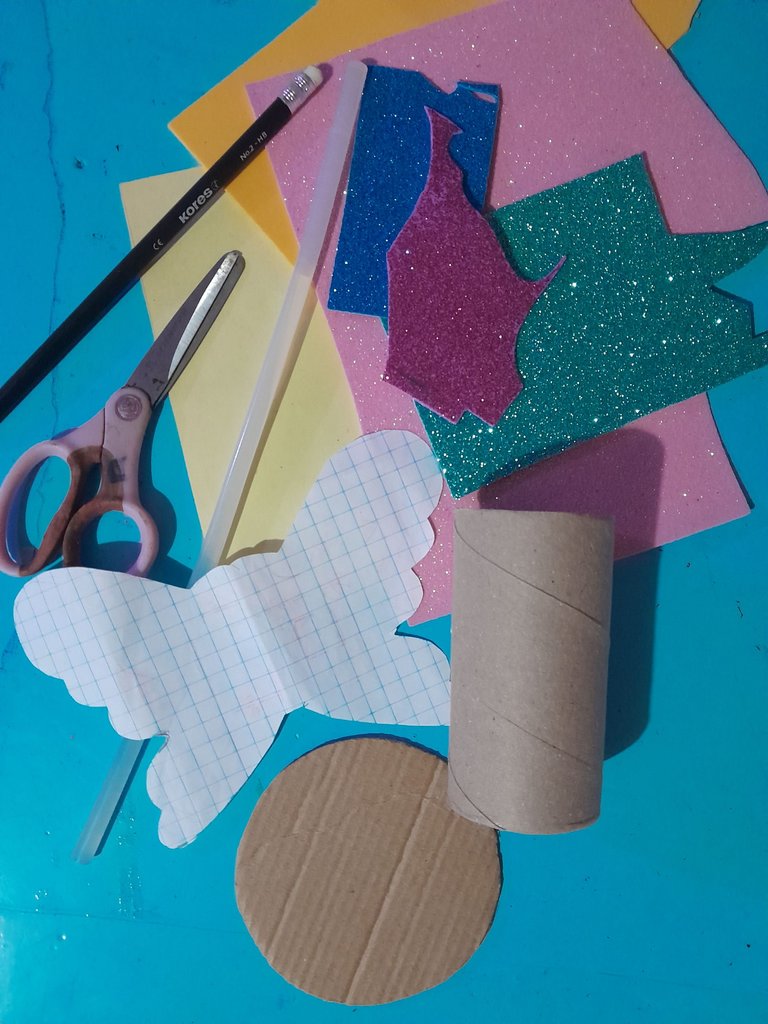
Materiales:
- Cartulina amarilla.
- Foami colores varios.
- 1 círculo de cartón de 10 cm de diámetro.
- 1 tubo de cartón del papel higiénico.
- El patrón de la mariposa.
- Silicon.
- Lápiz.
- Tijera.
English:
Materials:
- Yellow cardboard.
- Foami in various colors.
- 1 cardboard circle of 10 cm in diameter.
- 1 cardboard toilet paper tube.
- Butterfly pattern.
- Silicon.
- Pencil.
- Scissors.

Español:
Paso 1:
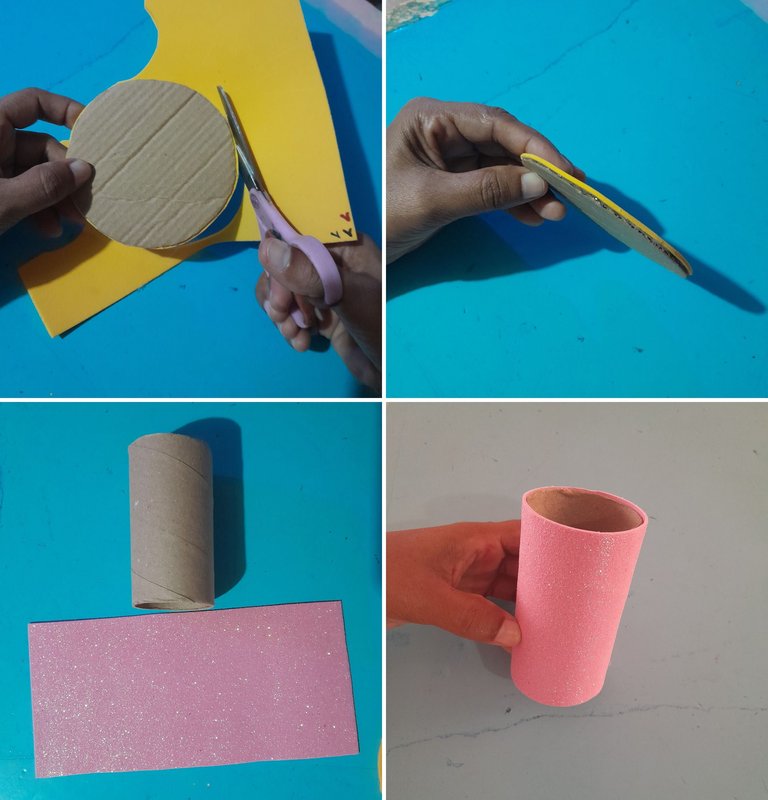
- Primeramente, pegamos el círculo de cartón en el foami amarillo con silicon caliente, luego recortamos con la tijera ya que vendría siendo la base del porta lápiz. Continuo recortando un rectángulo de foami rosado tomando en cuenta la altura del tubo de cartón, luego lo pegamos por todo el tubo cubriendo por todo el alrededor.
English:
Step 1:
- First, we glue the cardboard circle on the yellow foami with hot silicone, then we cut it out with the scissors as it would be the base of the pencil holder. We continue by cutting out a rectangle of pink foami taking into account the height of the cardboard tube, then we glue it all around the tube.

Español:
Paso 2:
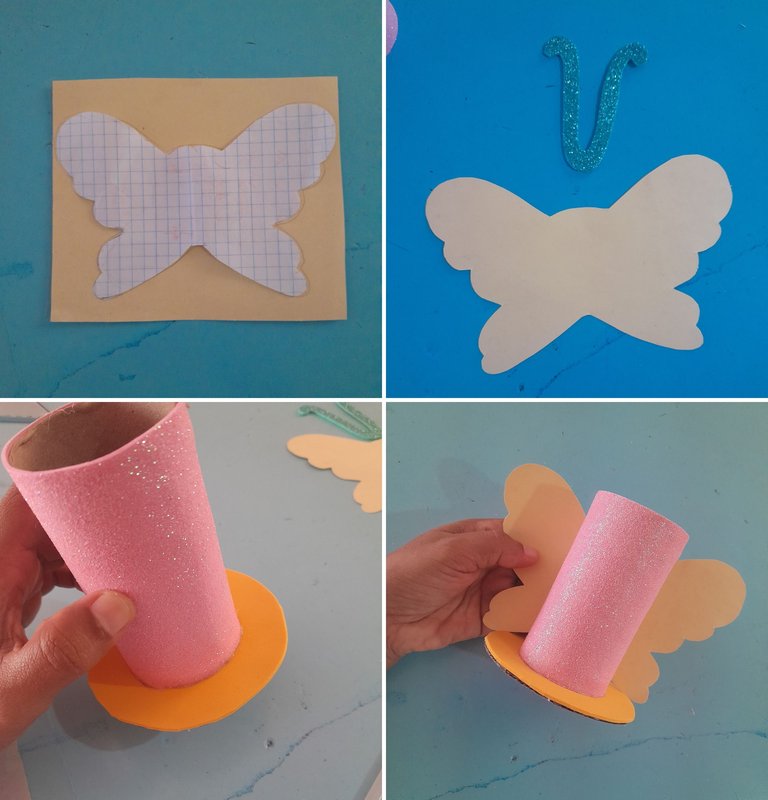
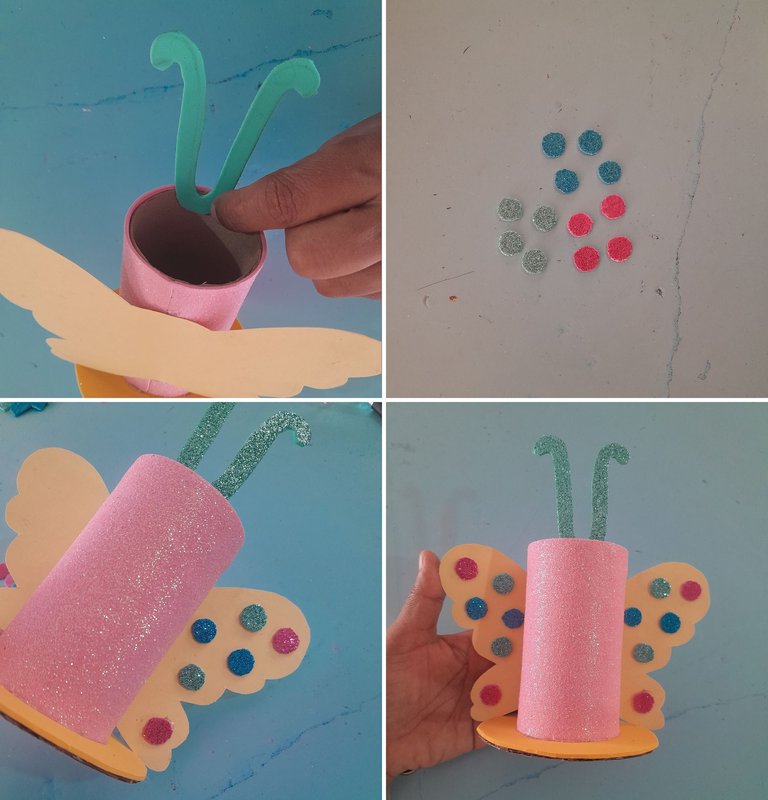
- Ahora dibujamos y recortamos en la cartulina con el patrón la mariposa, tambien dibujamos y sacamos las antenas de la mariposa con foami verde, luego procedemos a pegar el tubo en la base circular y la mariposa detrás del tubo.
English:
Step 2:
- Now we draw and cut out the butterfly on the cardboard with the pattern, we also draw and cut out the antennae of the butterfly with green foami, then we proceed to glue the tube on the circular base and the butterfly behind the tube.

Español:
Paso 3:
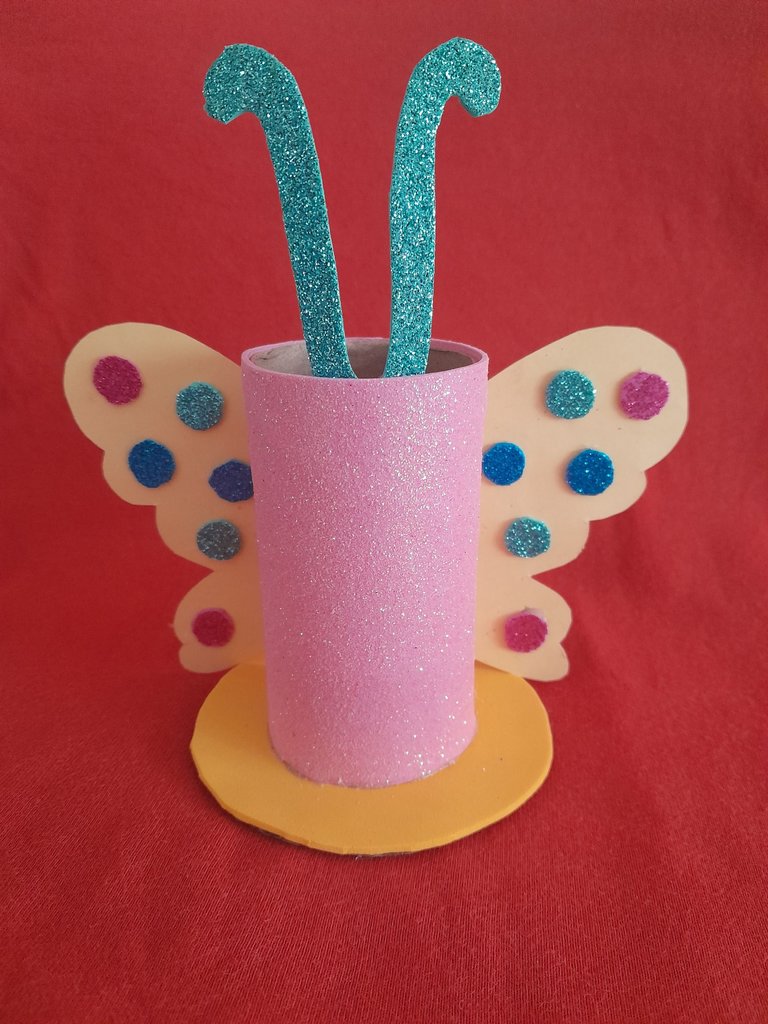
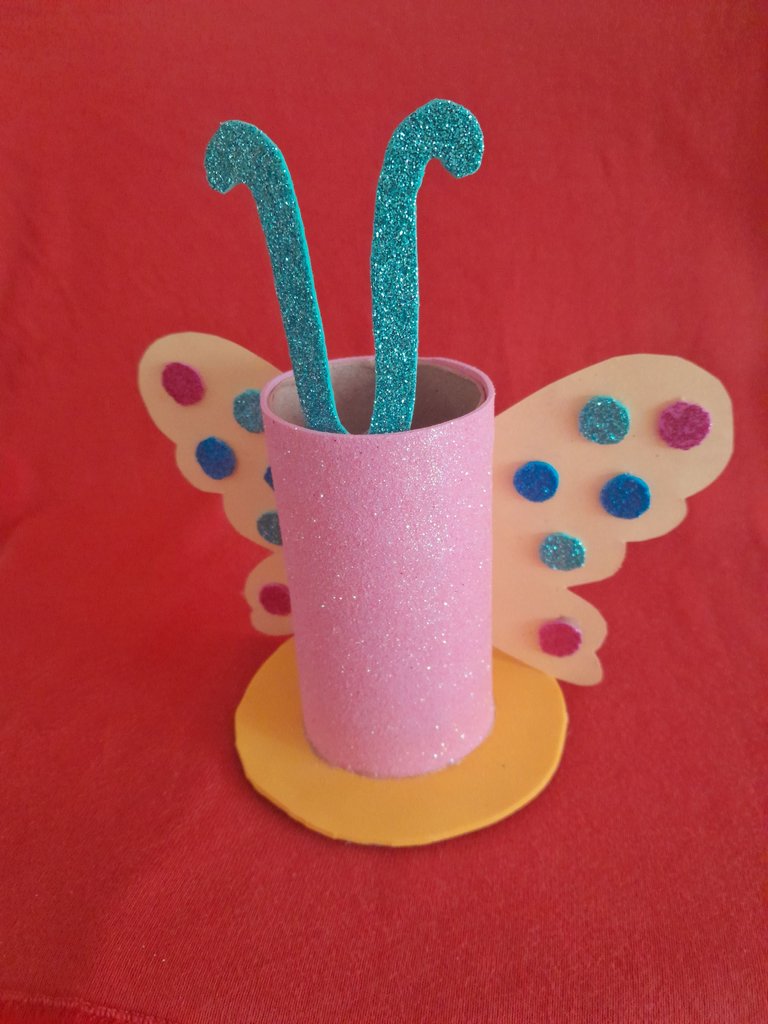
- Seguimos armando nuestro porta lápiz, pegamos la antena de la mariposa, por dentro del borde del tubo de cartón en la parte del frente; luego sacamos 4 círculos pequeños del color rosado, verde y azul en las alas de la mariposa, para así terminar con nuestro porta lapices.
English:
Step 3:
- We continue assembling our pencil holder, we glue the antenna of the butterfly, inside the edge of the cardboard tube in the front part; then we take out 4 small circles of pink, green and blue color in the wings of the butterfly, to finish with our pencil holder.

Espero les haya gustado, hasta el próximo post.
I hope you liked it, see you next post.
Todas las fotos son de mi autoría y editadas con Canva.
All the photos were taken by me and edited with Canva.


