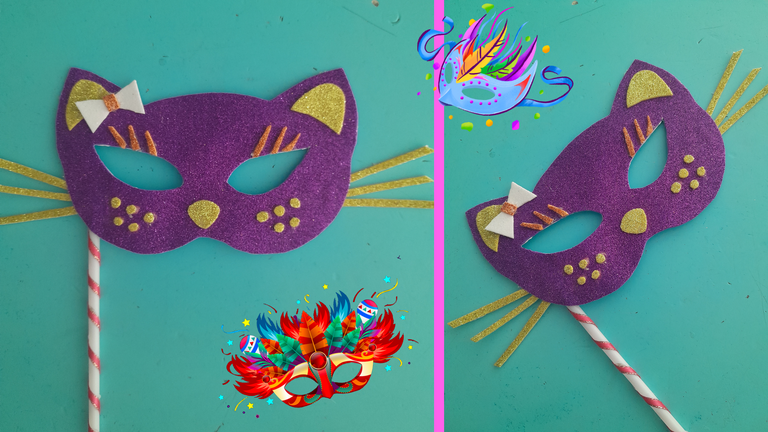
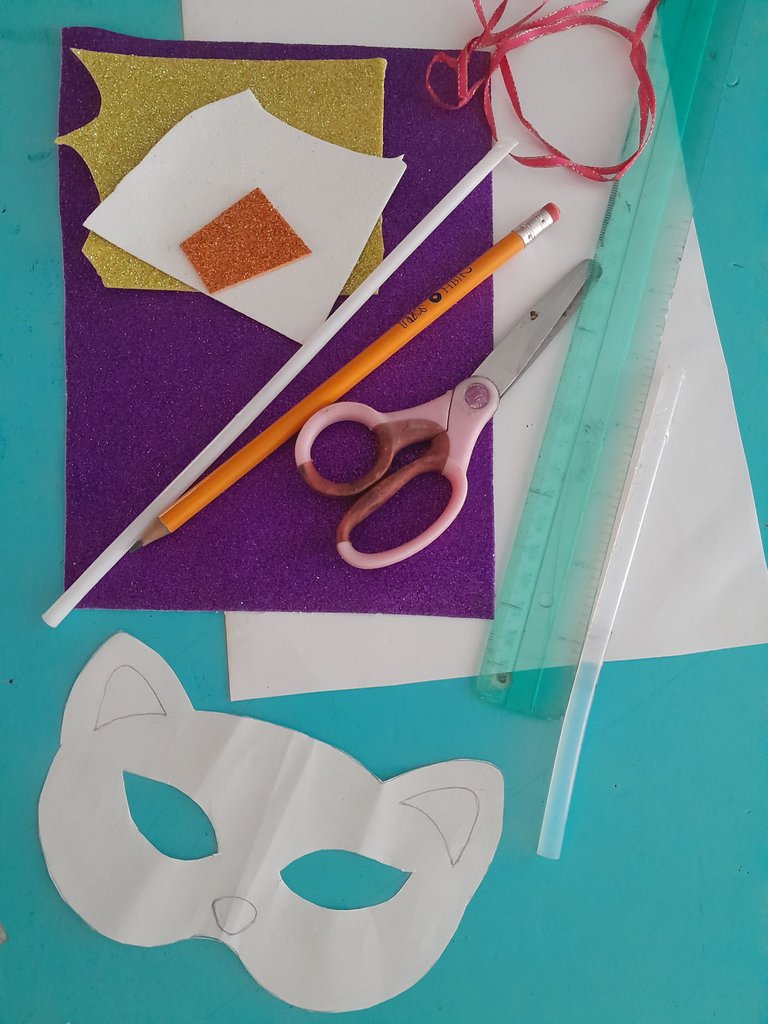
¡Hello! happy day my dear creative friends, lovers of those little details that fill us with so much joy and emotion and especially when you make them with love for that special person, today I will show you how to make a carnival mask with a kitten design, for my lovely niece, who is happy that I have made this mask for her to enjoy in these days of carnival festivities. Here I show you the materials I used.
Español:
Materiales:
- Foami color de tu preferencia.
- El patrón de la máscara diseño de gatica.
- Palillo de plástico.
- Cartulina.
- Cinta rosada.
- Silicon.
- Lápiz.
- Tijera.
- Regla.
English:
Materials:
- Foami color of your choice.
- The pattern of the mask gatica design.
- Plastic stick.
- Cardboard.
- Pink ribbon.
- Silicon.
- Pencil.
- Scissors.
- Ruler.

Español:
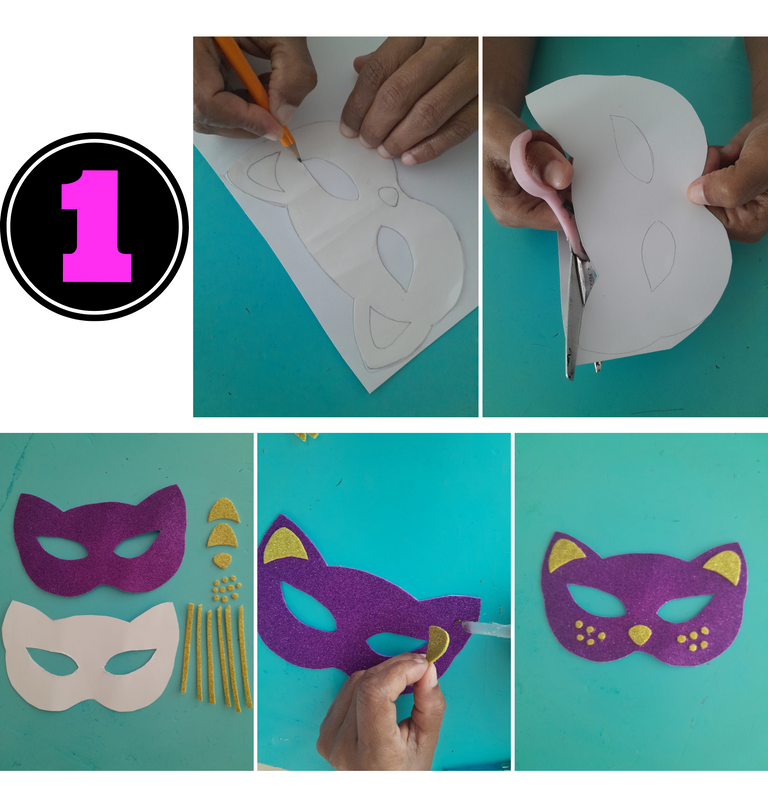
Paso 1:
- Comenzamos marcando con el lápiz el patrón en la cartulina, luego lo recortamos, de ese mismo modo lo marcamos en el foami morado sacando 2 iguales, después dibujamos y sacamos 6 tiras de 1/2 cm de ancho con el foami amarillo que vendrían siendo los bigotes de la gata, también sacamos las 2 orejitas, la nariz y 10 círculos pequeños, para pegarlo en la mejilla de nuestra gatica.
English:
Step 1:
- We start marking with the pencil the pattern on the cardboard, then we cut it out, in the same way we mark it on the purple foami taking 2 equal, then we draw and take 6 strips of 1/2 cm wide with the yellow foami that would be the whiskers of the cat, we also take the 2 ears, the nose and 10 small circles, to paste it on the cheek of our kitty.

Español:
Paso 2:
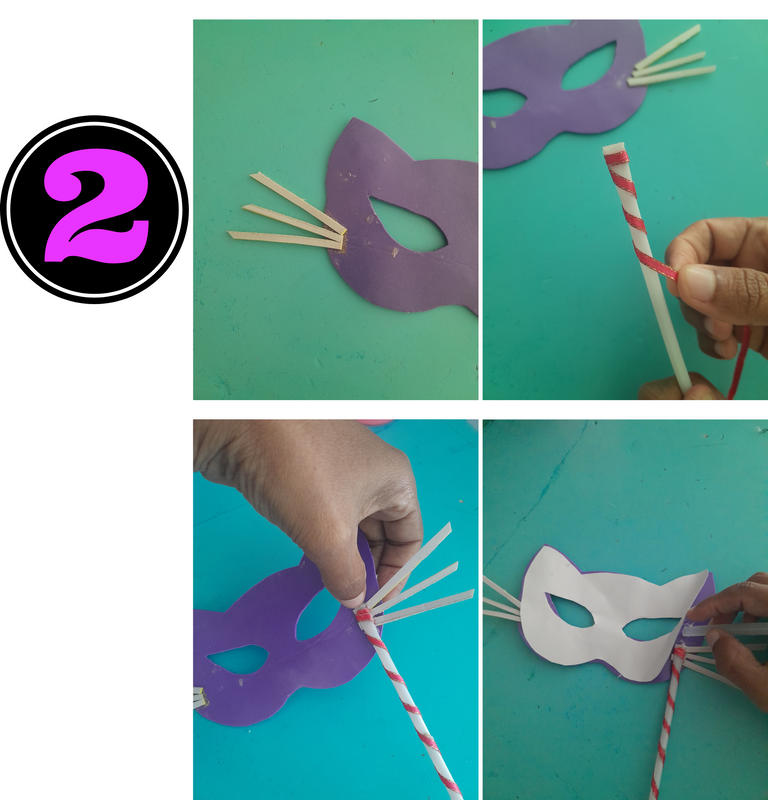
- Ahora pegamos los bigotes en la parte de atrás del foami morado en ambos lados, luego procedemos a pegar la cinta rosada al palillo plástico de forma envolvente colocando poco a poco silicon caliente, para luego pegar el palillo detrás del bigote, seguidamente colocamos la máscara de la cartulina blanca cubriendo toda la parte de nuestra mascara de foami.
English:
Step 2:
- Now we glue the whiskers on the back of the purple foami on both sides, then we proceed to glue the pink ribbon to the plastic stick in an enveloping way placing little by little hot silicone, and then glue the stick behind the mustache, then we place the white cardboard mask covering the entire part of our foami mask.

Español:
Paso 3:
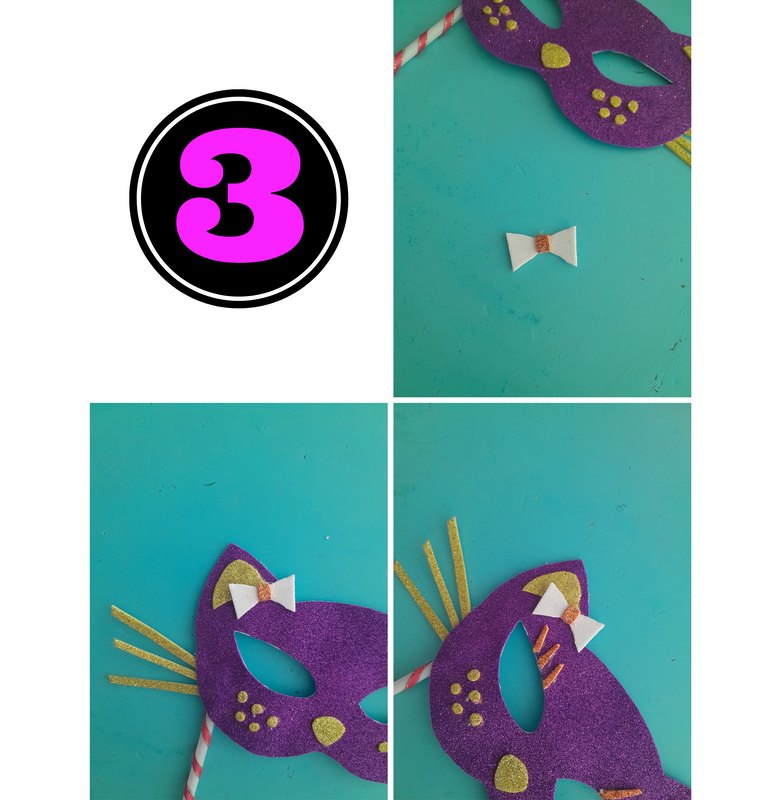
- Para terminar nuestra linda máscara de gatica hacemos un lacito con el foami blanco y anaranjado pegandolo con el silicon en una de las orejitas, luego pegamos 3 tiras pequeñas formando las pestañas. De esta manera realizamos una bella máscara para los más pequeños de la casa.
English:
Step 3:
- To finish our cute kitty mask we make a little bow with the white and orange foami sticking it with the silicone on one of the ears, then we stick 3 small strips forming the eyelashes. In this way we make a beautiful mascara for the little ones of the house.

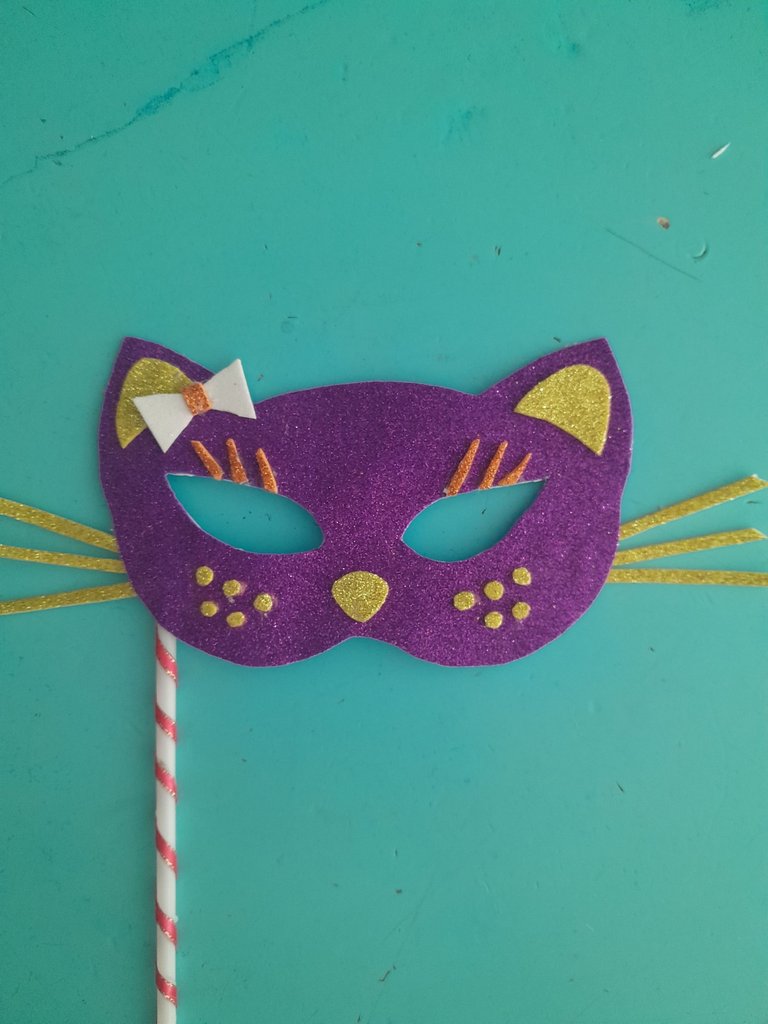
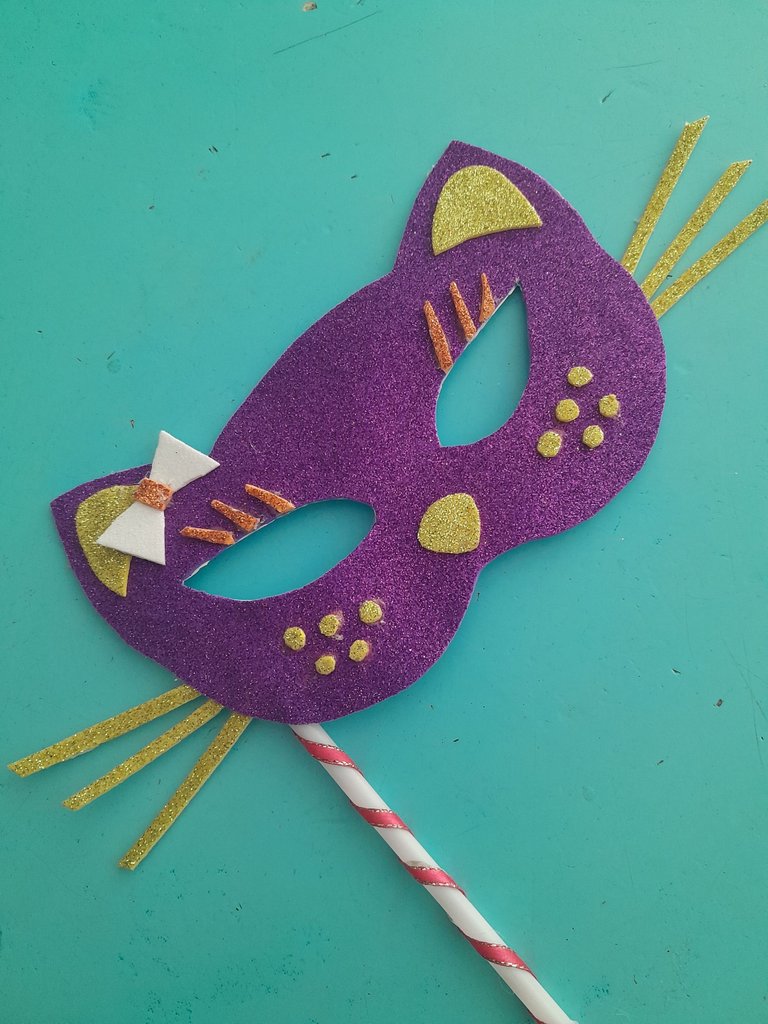
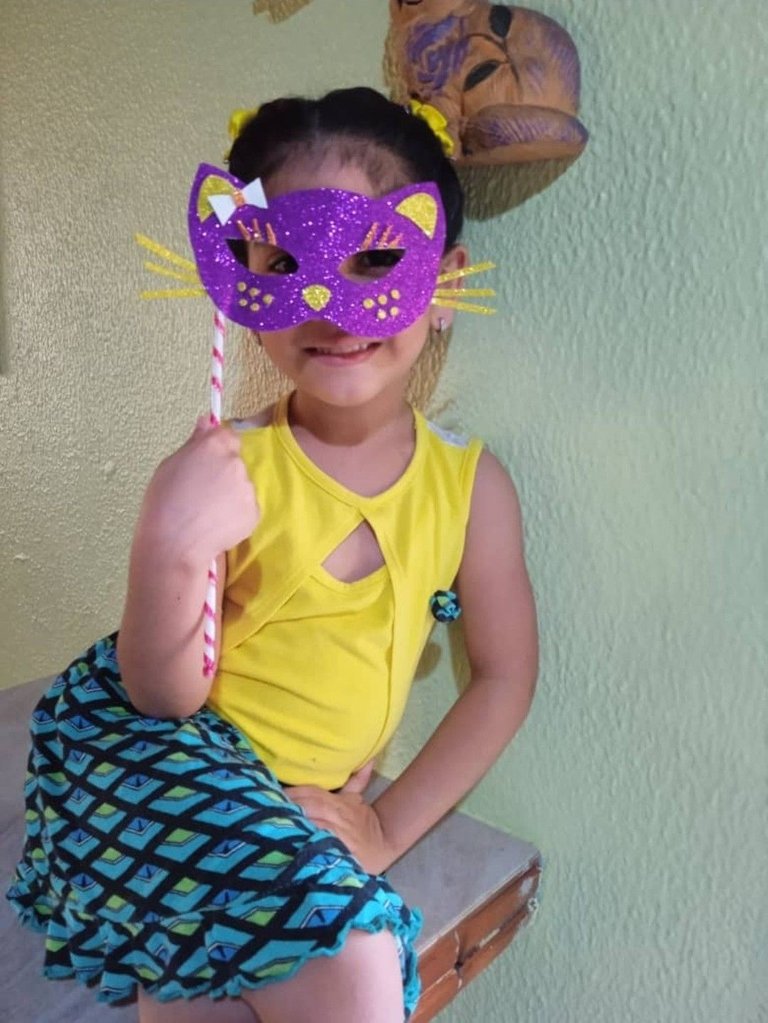
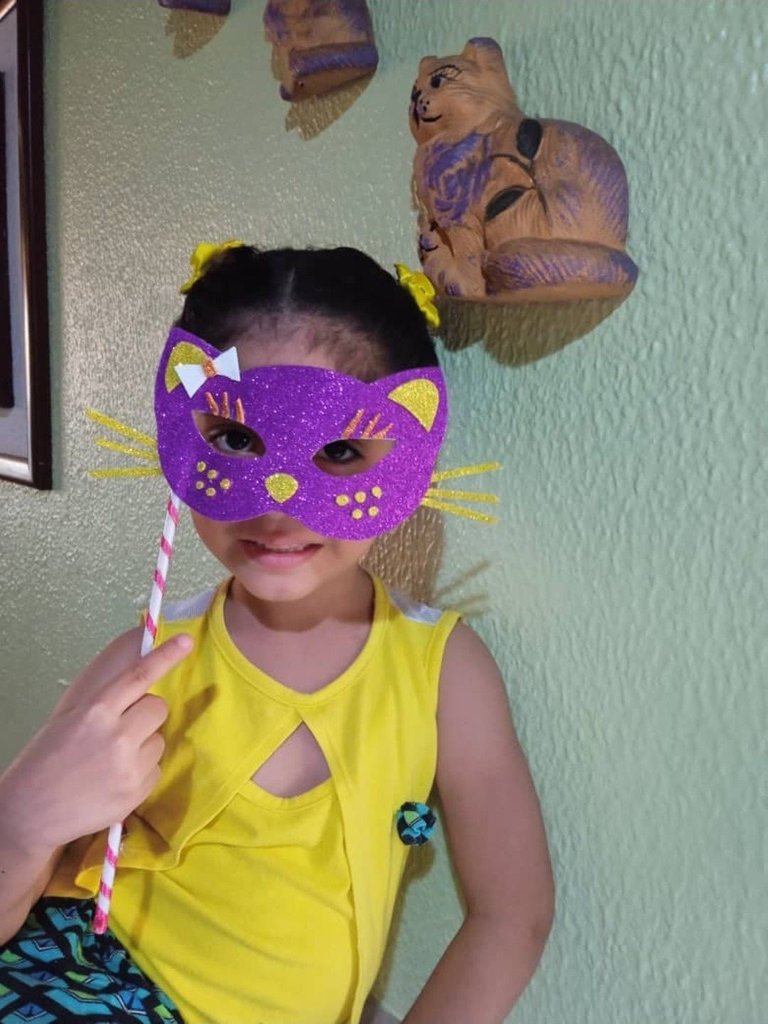
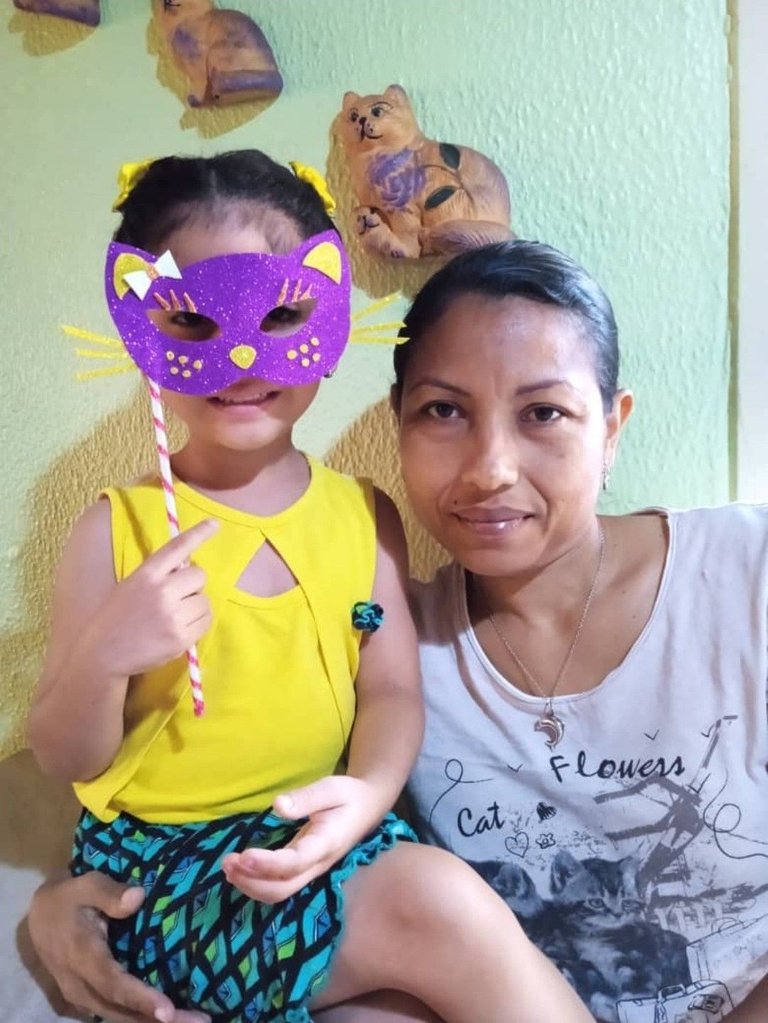
Este es mi resultado final.
This is my final result.
Todas las fotos son de mi autoría y editadas con Canva.Traductor: DeepL Translate.
All photos are my own and edited with Canva.Translator: DeepL Translate.
