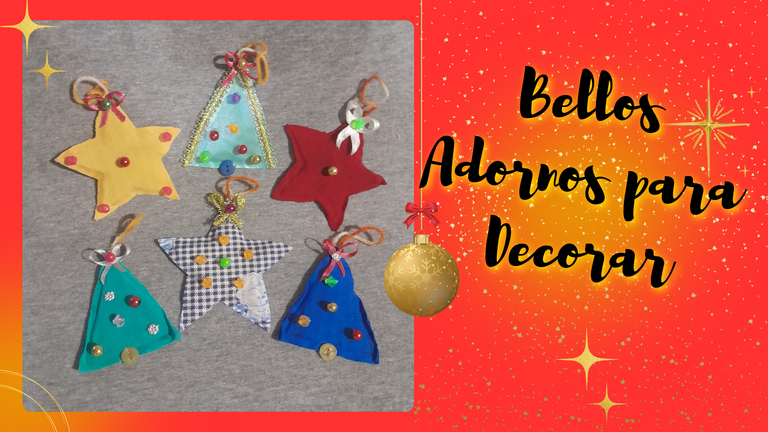
Happy and blessed day for all of us who make up this beautiful Hive family, today I want to share with you a nice ornament to decorate our Christmas tree, made with recycled material, with small scraps of fabric is very simple to make, I know you will love it. Let's start.
Español:
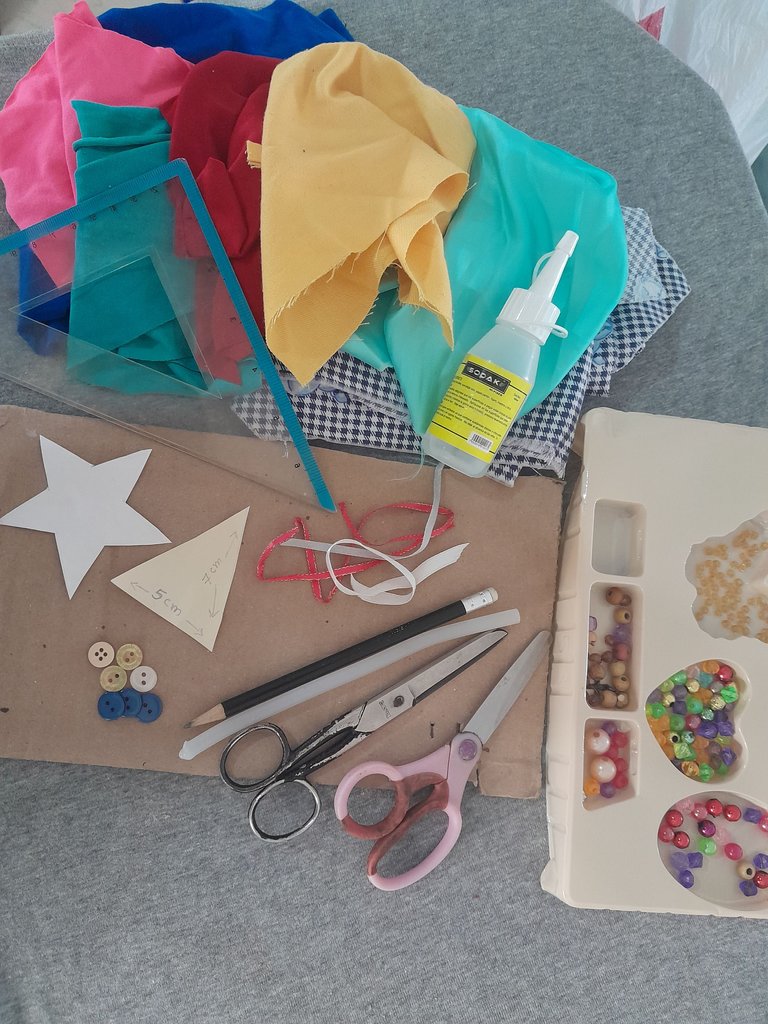
Materiales:
- Patrón de la estrella y el arbolito en hoja de papel.
- Retazo de tela de varios colores.
- Silicon liquido y en barra.
- Perlitas decorativas.
- Botones.
- Tijera.
- Lápiz.
- Regla.
- Cinta.
- Cartón.
English:
Materials:
- Pattern of the star and the tree on a sheet of paper.
- Piece of fabric of various colors.
- Liquid and stick silicon.
- Decorative beads.
- Buttons.
- Scissors.
- Pencil.
- Ruler.
- Tape.
- Cardboard.

Español:
Paso 1:
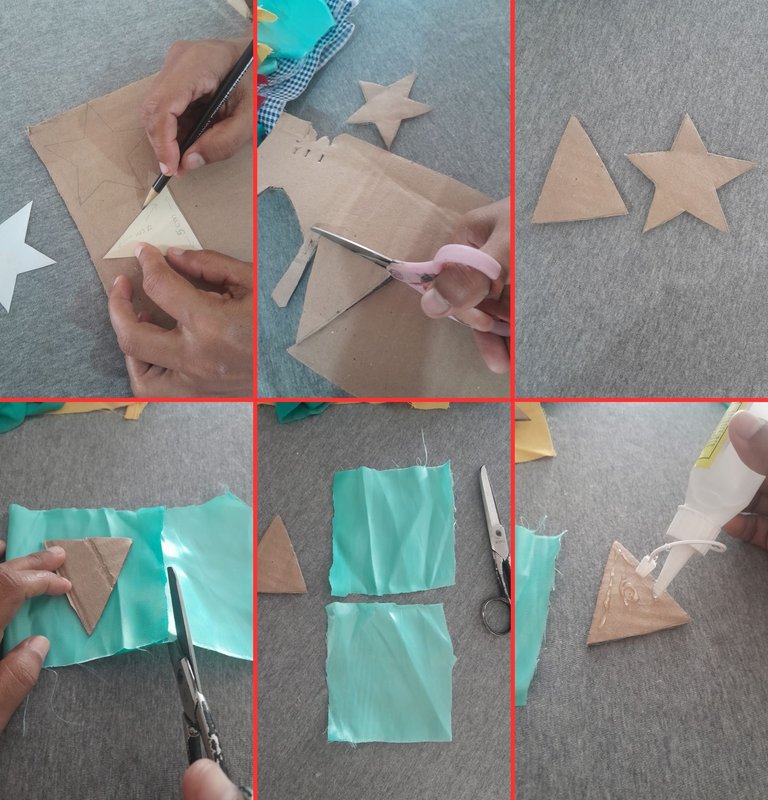
- Con nuestro patrón de arbolito y estrella, lo dibujamos en el cartón, luego recortamos nuestras 2 figuras, y procedemos a cortar los retazos de tela tomando en cuenta el tamaño de cada uno, doblamos la tela en dos y sacamos dos pedacitos de tela, colocamos silicon frió a la figura de cartón, para luego proceder a pegarlo.
English:
Step 1:
- With our tree and star pattern, we draw it on the cardboard, then we cut our 2 figures, and proceed to cut the pieces of fabric taking into account the size of each one, we fold the fabric in two and take out two pieces of fabric, we put cold silicone to the cardboard figure, and then proceed to glue it.

Español:
Paso 2:
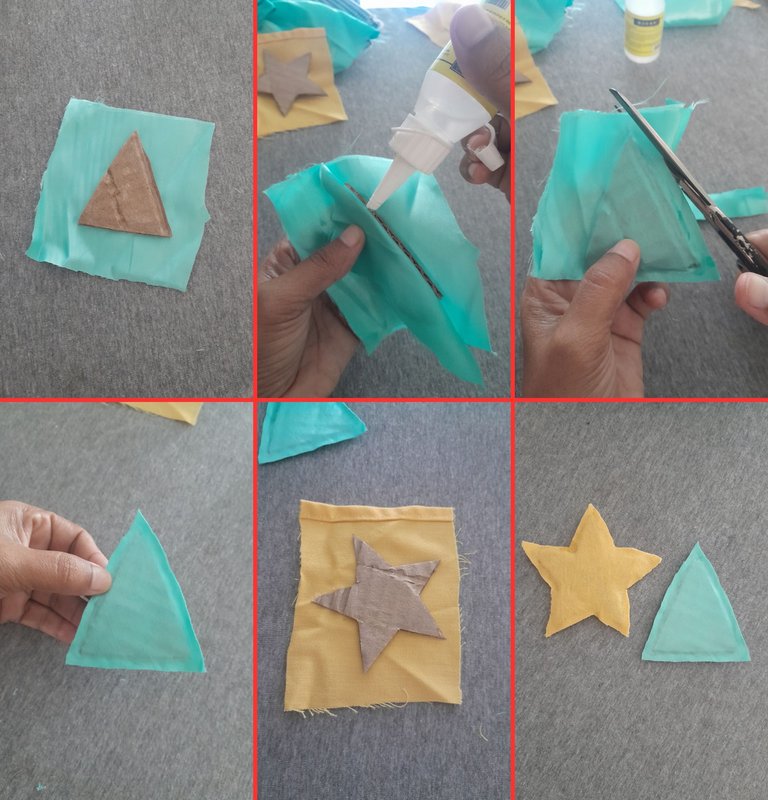
- Continuamos pegando la figura de cartón, pegamos los dos pedacitos de tela en ambos lados, luego colocamos silicon por todo el borde para que la tela quede bien pegada y la figura este totalmente cubierta con la tela, dejamos secar por un rato el silicon frió y luego cortamos los bordes con la tijera dejando un pequeño espacio de 1/2 cm del cartón. Este mismo procedimiento lo hacemos con la estrella.
English:
Step 2:
- We continue gluing the cardboard figure, we glue the two pieces of fabric on both sides, then we put silicone all around the edge so that the fabric is well glued and the figure is completely covered with fabric, let dry for a while the cold silicone and then cut the edges with the scissors leaving a small space of 1/2 cm of the cardboard. We do the same procedure with the star.

Español:
Paso 3:
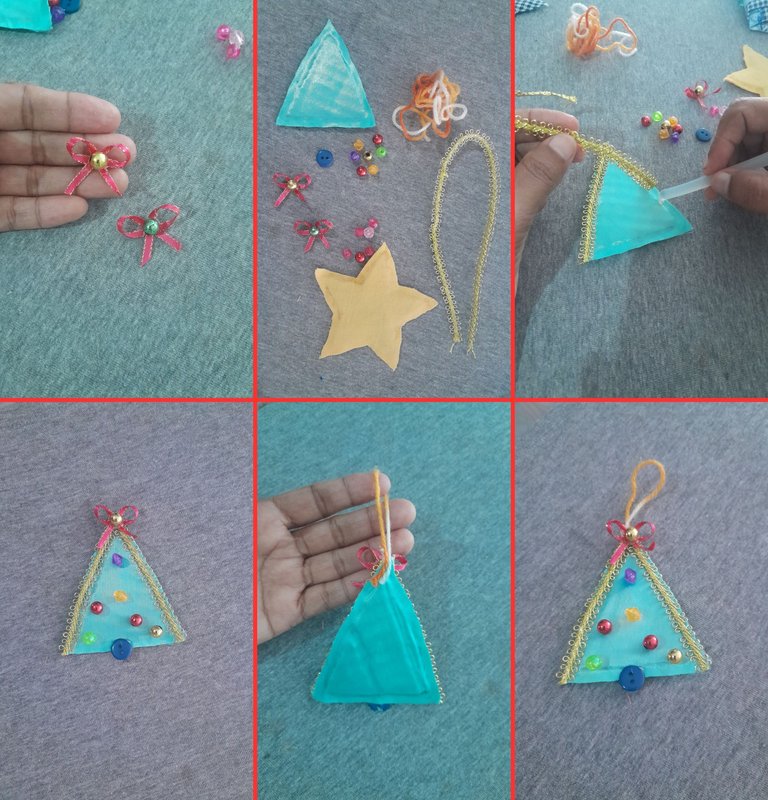
- En este paso lo que vamos hacer es decorar nuestros adornos, colocándole los detalles finales, primero hacemos unos lazitos y lo pegamos con silicon caliente en la punta del arbolito, pegamos la cinta dorada por ambos lados y perlitas por el centro esto lo hacemos a nuestro gusto y diseño, después para terminar pegamos un cordón en la parte de atrás del adorno, yo le coloque con estambre.
English:
Step 3:
- In this step what we are going to do is to decorate our ornaments, placing the final details, first we make some ribbons and glue it with hot silicone on the tip of the tree, we glue the gold ribbon on both sides and pearls in the center, this we do to our taste and design, then to finish we glue a cord on the back of the ornament, I put it with stamen.

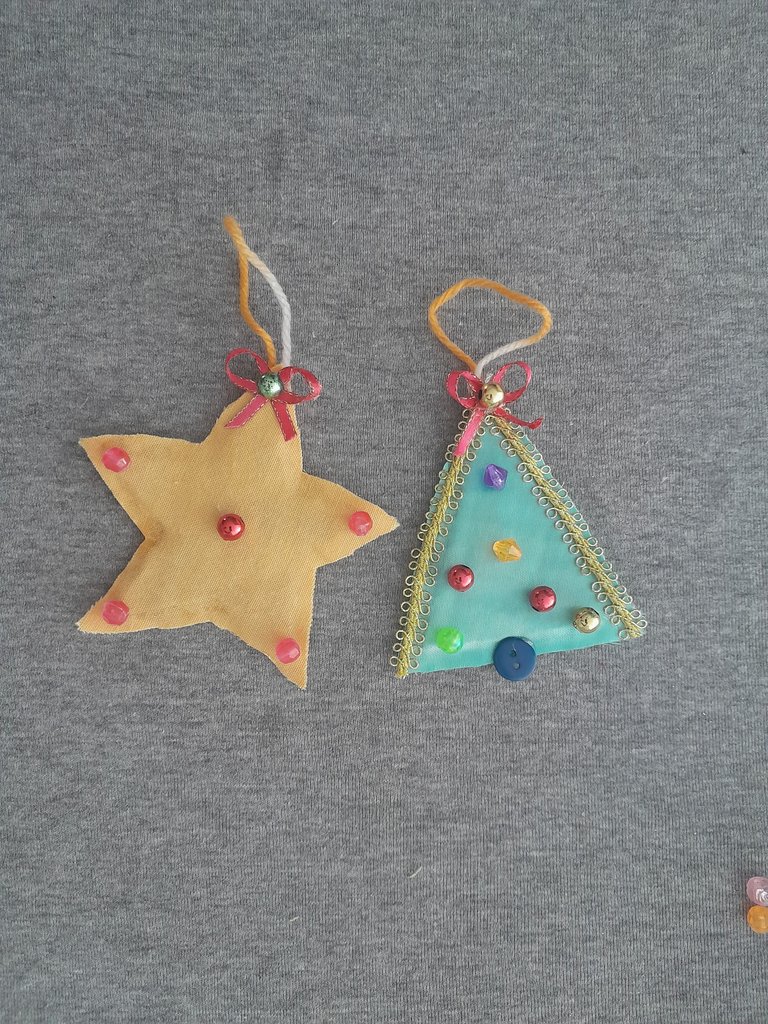
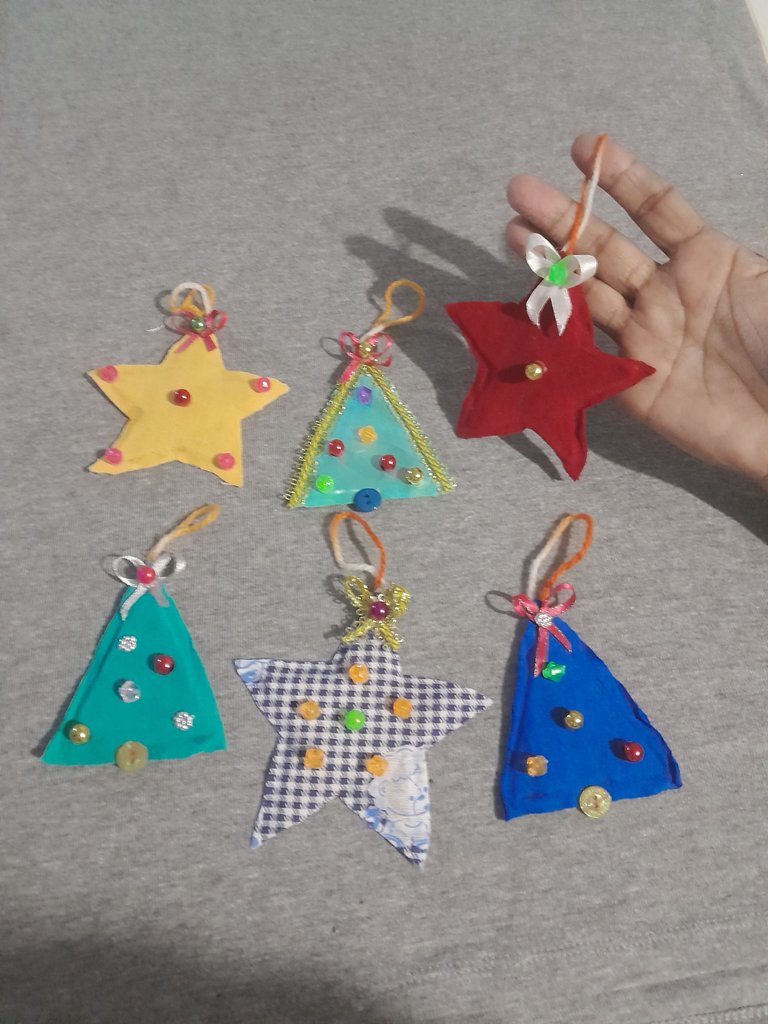
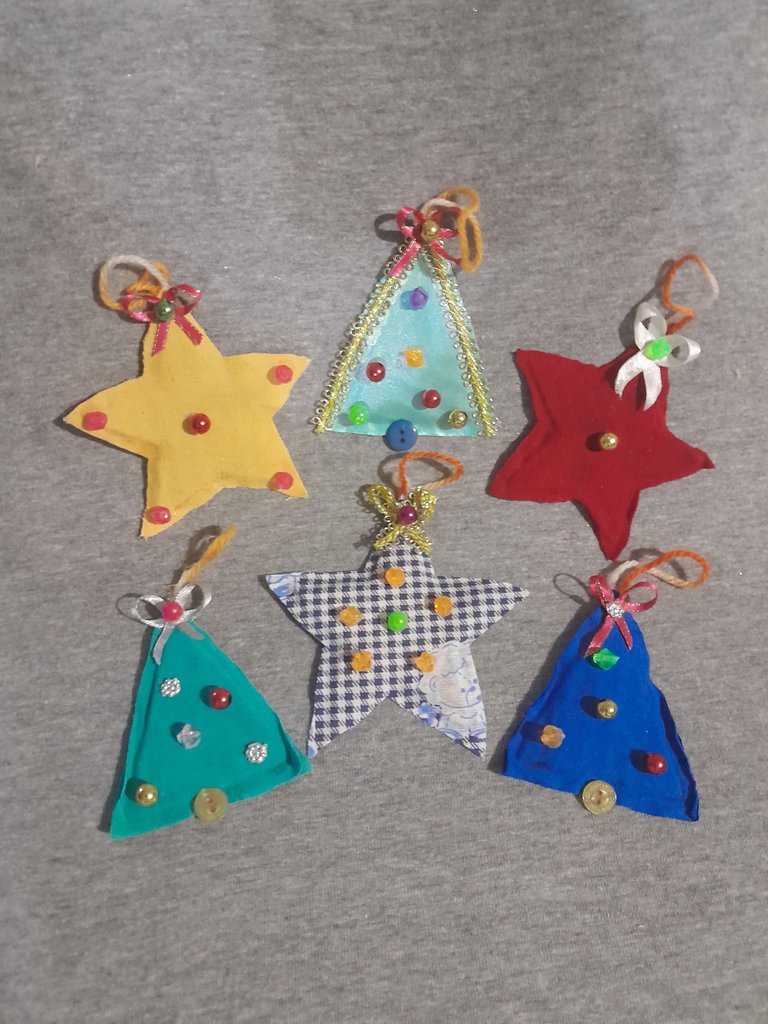
Este es mi resultado final, saludos nos vemos en mi próximo contenido.
This is my final result, greetings see you in my next content.
Todas las fotos son de mi autoría y editadas con Canva.
All the photos were taken by me and edited with Canva.
