Hello friends of the
#Diy community, cordial greetings; you are all welcome to my blog.</div>
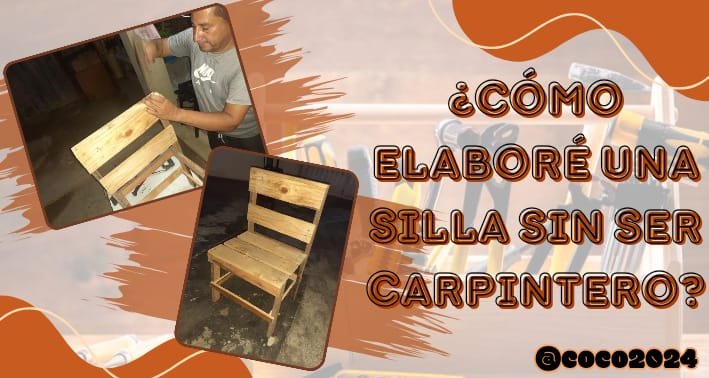
Today is the first time I post in this great community and I bring you a very nice project; it is a small tutorial on how you can make a chair with only carpentry skills.
I consider myself a versatile man of knowledge, I like to learn and create; as long as I have at that moment the materials I will need for my project.
Working with wood really catches my attention and what I have managed to create with the help of a few pieces of wood and watching some internet tutorials gives me satisfaction to see what I am able to create with my own hands.
Without further ado, I will show you the materials we will need to create this beautiful chair.
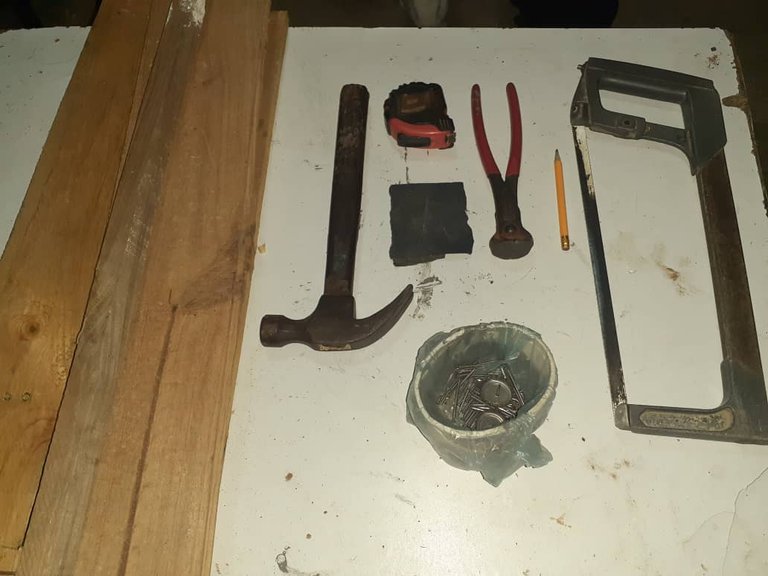
1 Segueta
1 Martillo
1 Tenaza o pinza
Clavos de 1" y 1/2
Lápiz para marcar
Metro o cinta métrica para medir
Lija
1 Saw
1 Hammer
1 Pincers or pliers
1" and 1/2" nails
Pencil for marking
Measuring tape or tape measure
Sandpaper
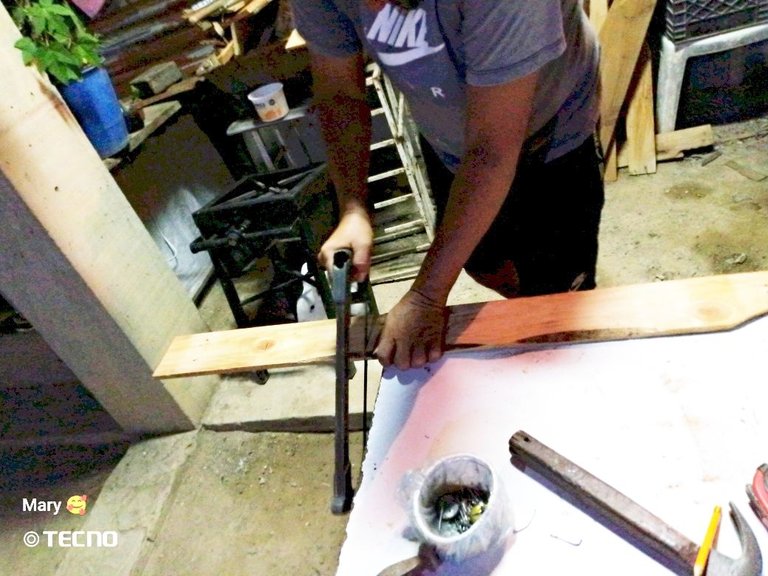
The first thing we will do is to measure what will be part of the height of the back of the chair, which are 2 strips of 70cm x 4cm x 1cm for the back and 2 strips of 35cm x 4cm x 1cm up to the level of the front seat; which we will sand at once.
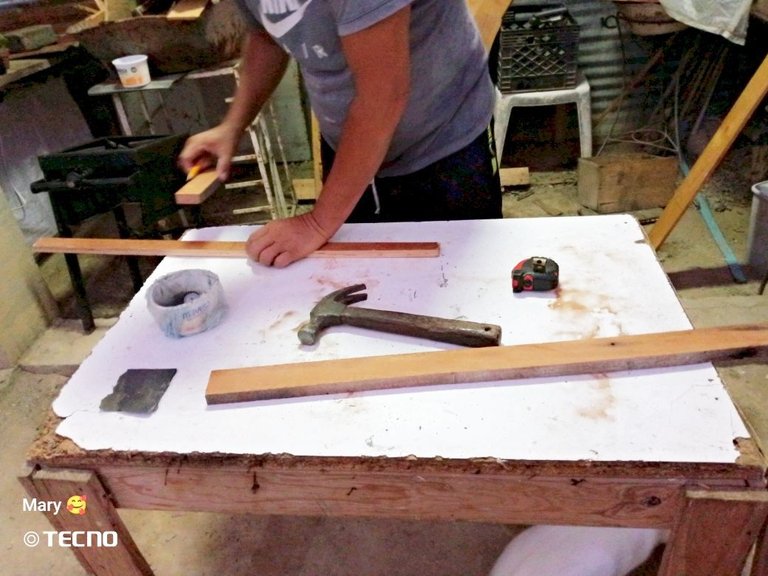
Now we go with what will be the width of our chair, whose measures are 2 slats of 40cm x 4cm x 1cm that will form the legs of the chair and that these do not open.
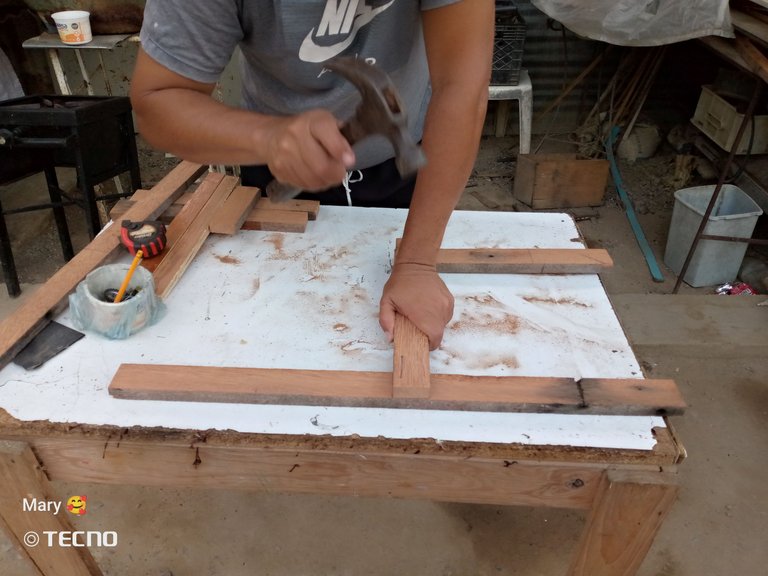
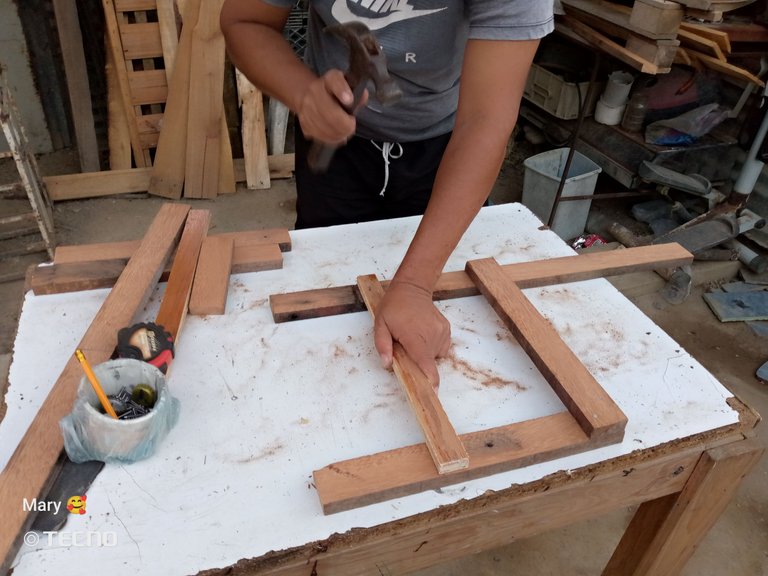
We do the same procedure with the other side of the Chair; once we have both sides ready we measure them to verify that they are of the same height.
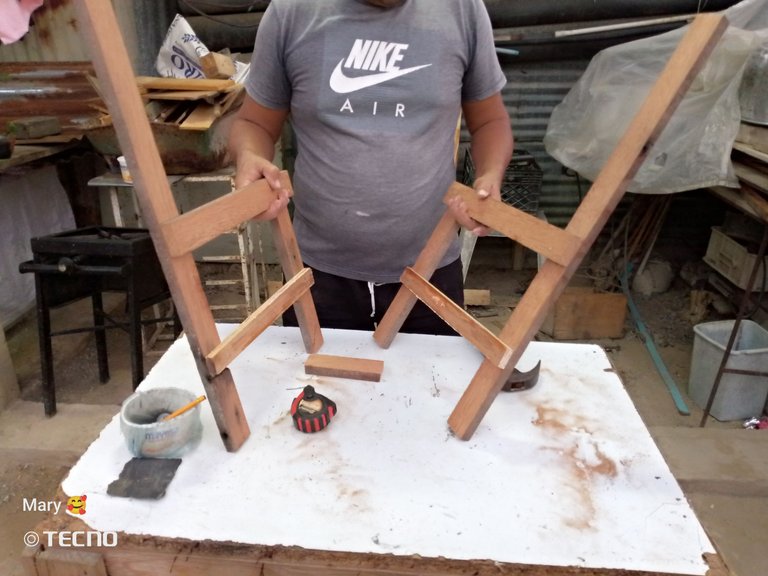
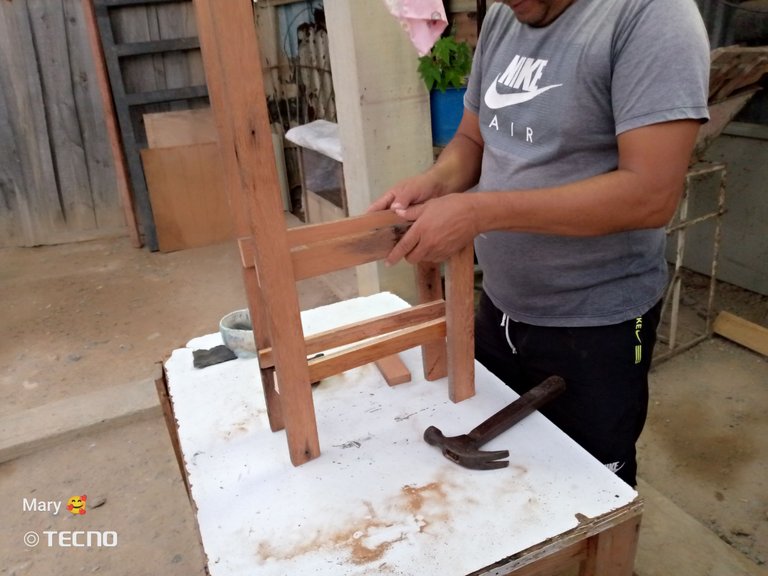
We proceed to place the slats that will give the width of our chair; which are 4 slats of 40cm x 4cm x 1cm, which will be located in the front of our chair and 2 more for the back.
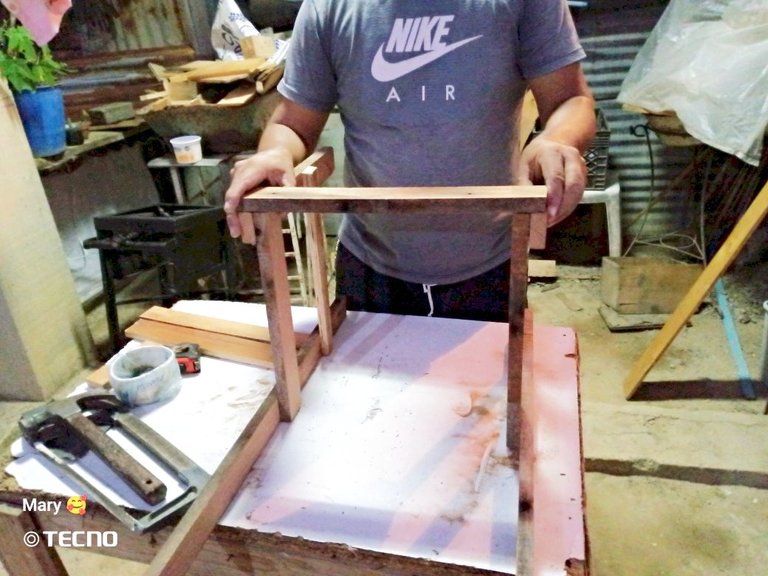
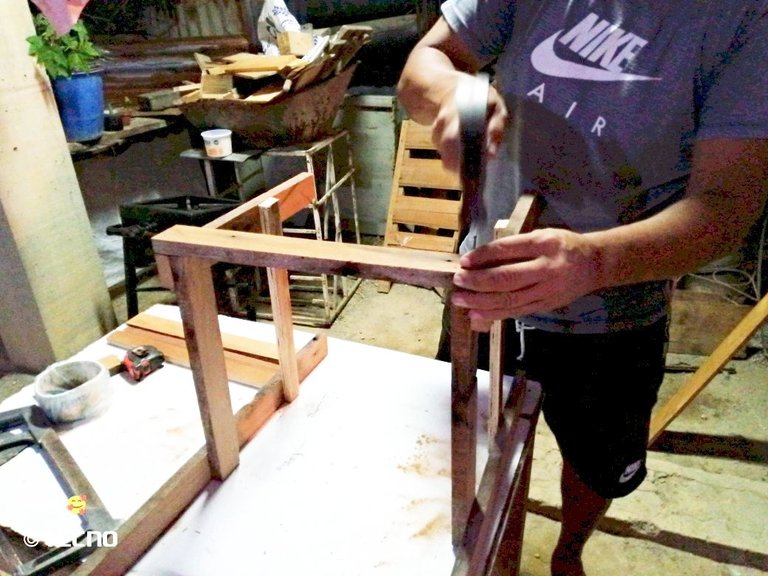
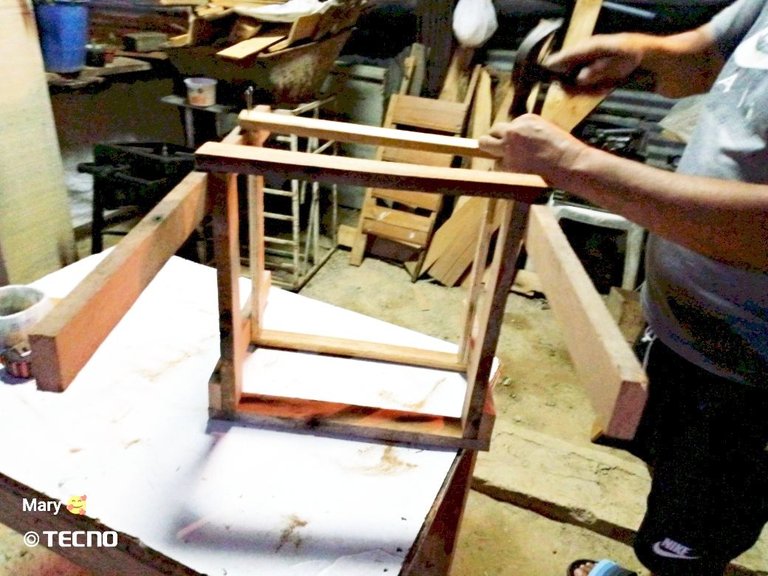
When we finish placing all the nails to assemble our pieces, we will have this frame.
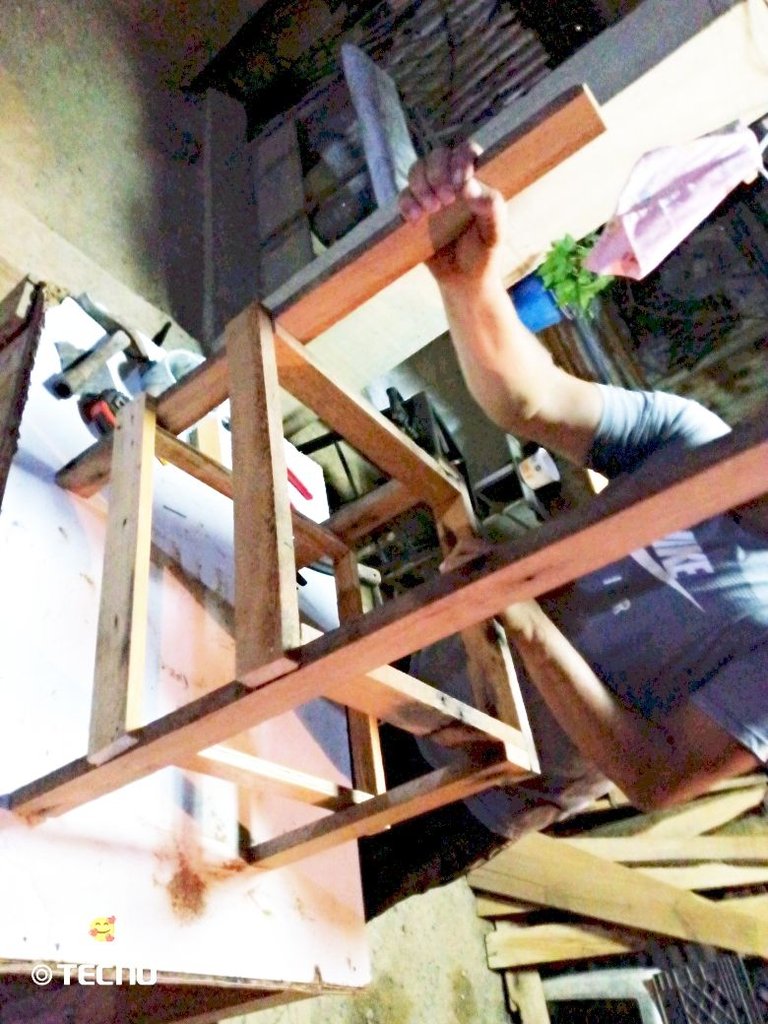
Then we will measure and cut what will form the back of the chair; for this we will use 2 boards of 40cm x 10cm x 1/2cm, which we will place 5cm apart.
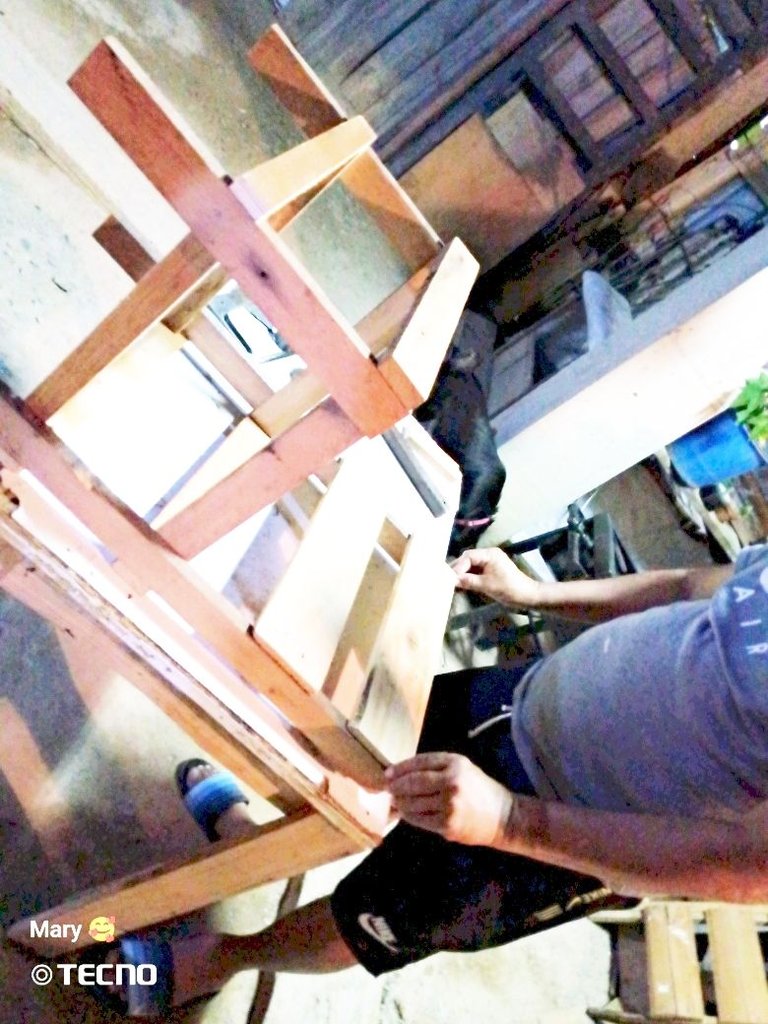
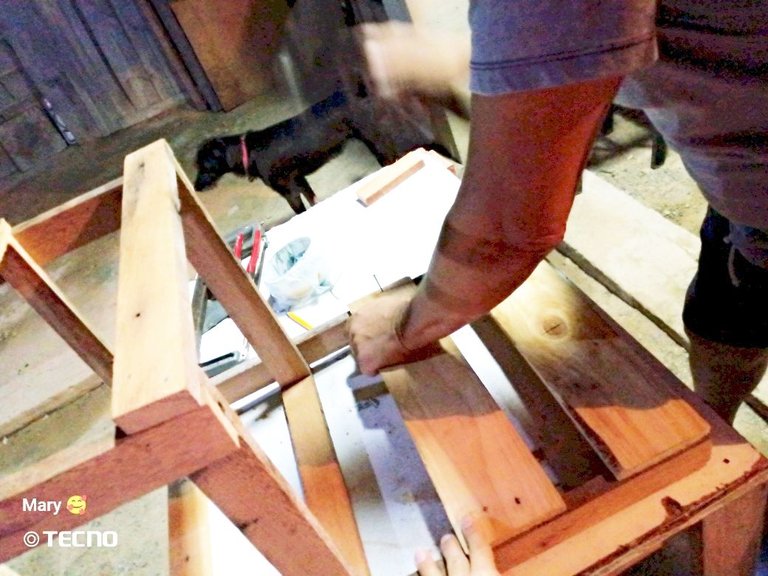
Finally we proceed to place 3 boards of 40cm x 10cm x 1/2cm in the part of the seat and 1 slat of 40cm x 4cm x 1cm that will give the last detail to our backrest.
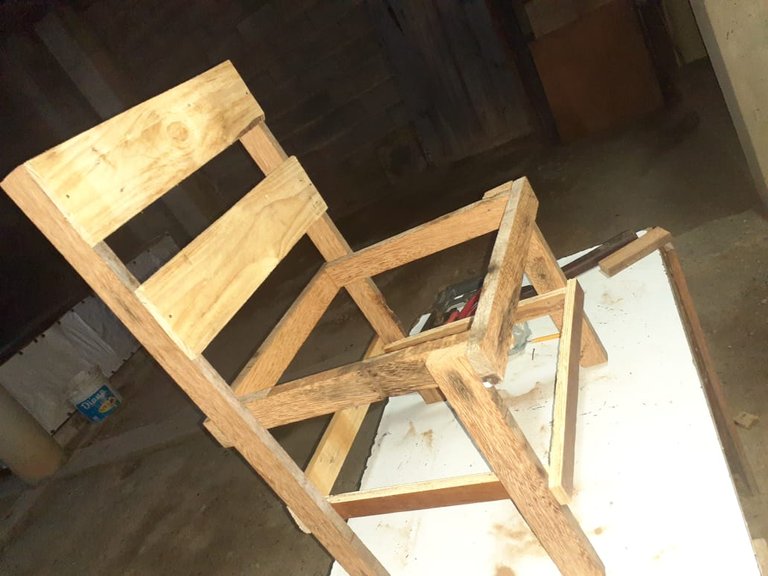
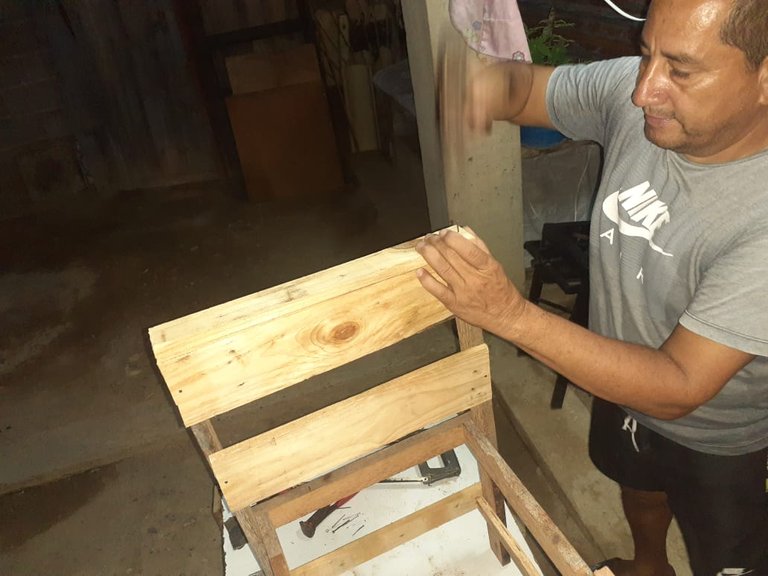
Y así ha quedado mi proyecto ya terminado, una linda silla que puede ser utilizado tanto grandes como pequeños; ya que la construí con resistencia para el peso.
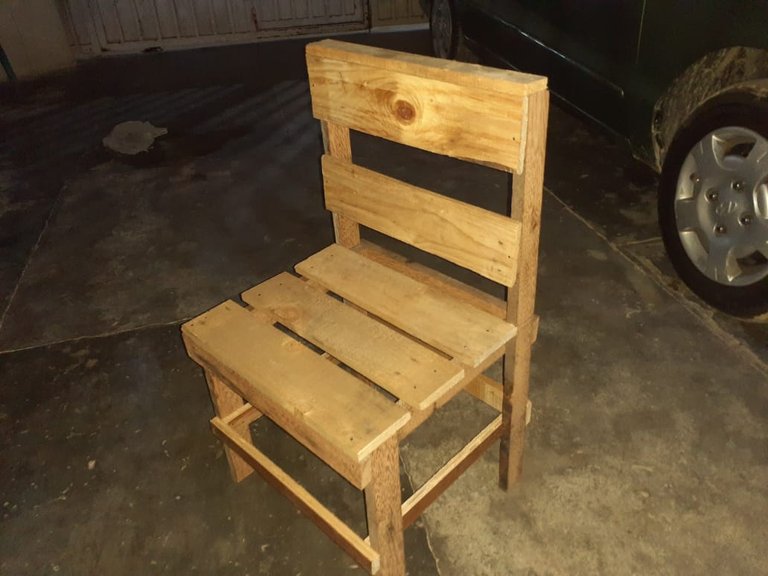
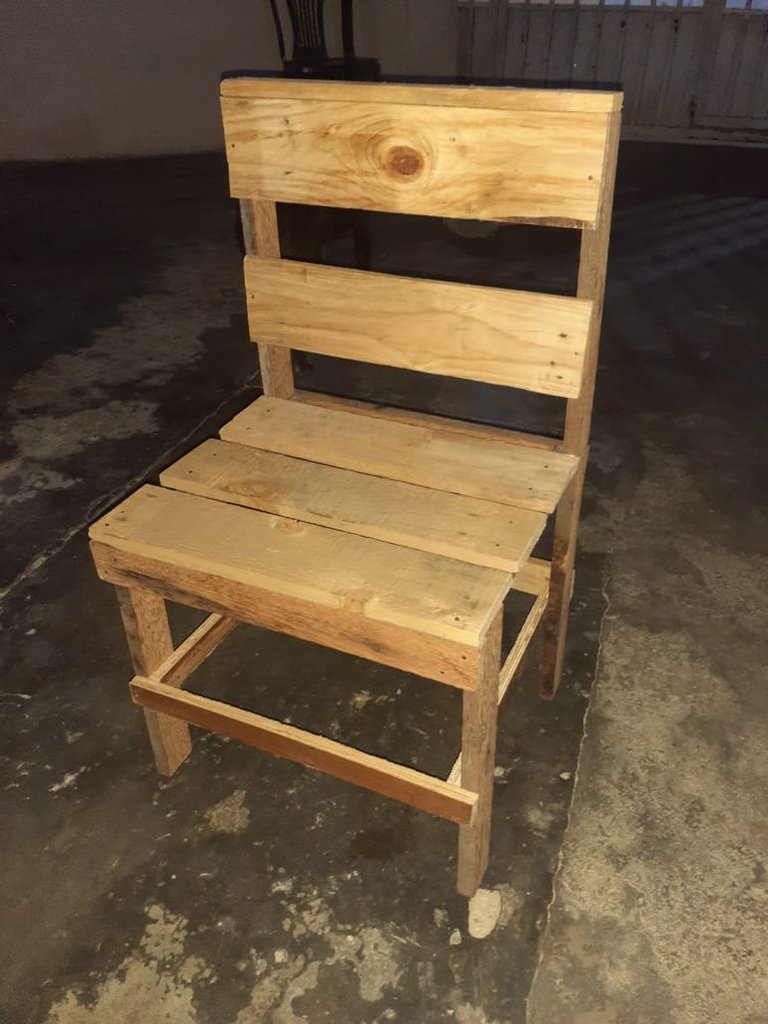
It should be noted that we can leave it like this, in natural wood since it is completely sanded or we can also add varnish for a better finish; that is to the taste of the person.
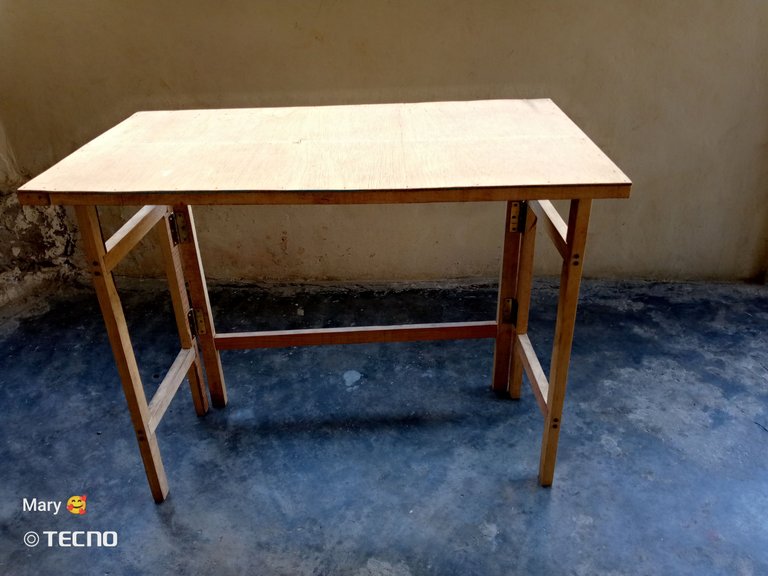
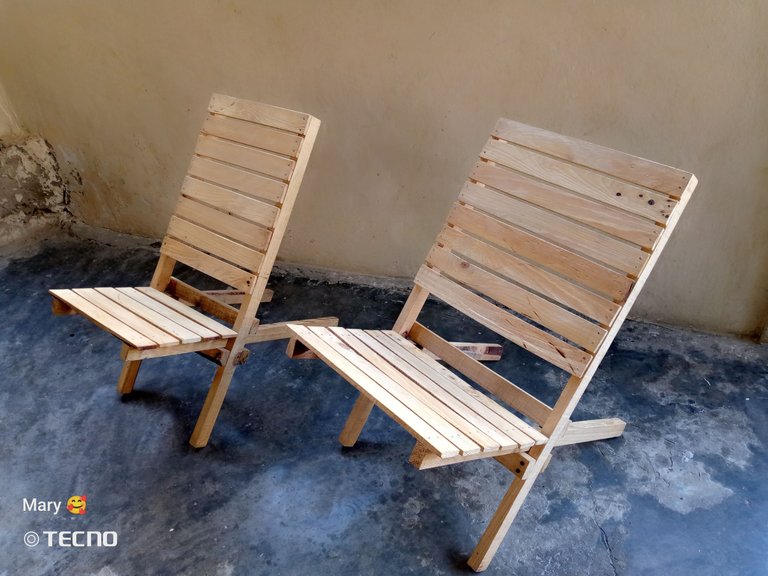
Les mostraré unas fotos de unas piezas que ya había elaborado antes de entrar a la plataforma; solo con la ayuda de tutoriales por internet.
I will show you some pictures of some pieces that I had already made before entering the platform; only with the help of online tutorials.
El tutorial es de mi autoría
Las fotos fueron tomadas con mi teléfono Samsung A20 y con el Tecno GO 2023
Traductor utilizado DeepL
The tutorial is authored by me
The photos were taken with my Samsung A20 phone and the Tecno GO 2023.
Translator used DeepL


