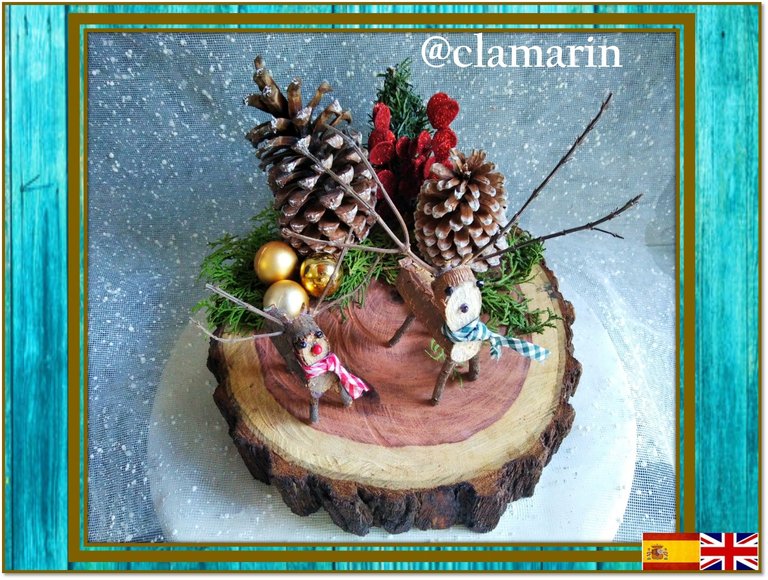
¡Feliz día querida comunidad de Hive! Hoy quiero compartir con ustedes un paso a paso de un centro de mesa muy original, hecho con una base de madera natural y utilizando algunos materiales de provecho. ¡Comencemos!
Happy day dear Hive community! Today I want to share with you a step by step of a very original centerpiece, made with a natural wood base and using some recycling materials. Let's get started!
Materiales a utilizar:
• Base de tronco de madera
• Palo de madera (4piezas)
• Ramas secas
• 2 piñas de pino
• Rama de pino natural
• Pino artificial pequeño
• Ramas escarchadas rojas
• Bolitas de navidad doradas
• Cinta de vichi (roja y verde)
• 4 cuentas de bisutería (negro)
• Tijera
• Pistola de pegamento y barra de pegamento
Materials to use:
• Tree wood base
• Wooden stick (4 pieces)
• Dry branches
• 2 pinecones
• Natural pine branches
• Small artificial pine
• Glitter red branches
• Christmas Small balls (golden)
• Vichy check ribbon (red and green)
• 4 jewelry beads (black)
• Scissor
• Glue Gun and Glue Stick

Paso 1:
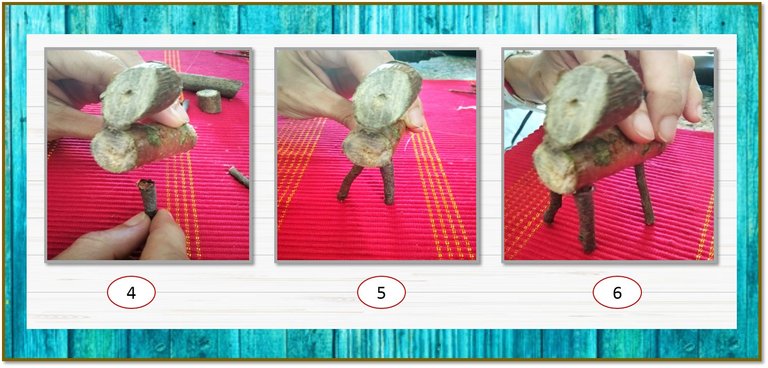
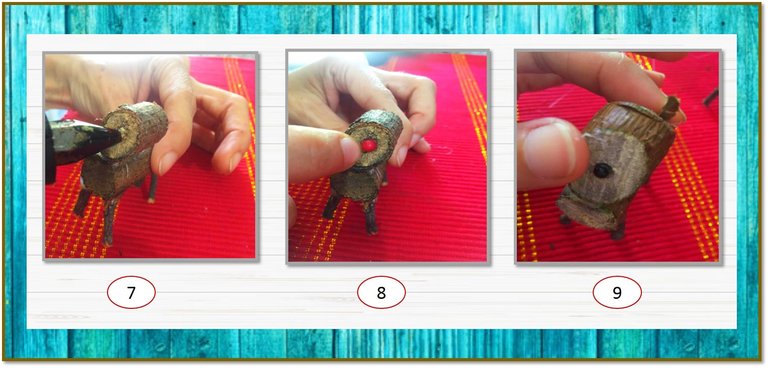
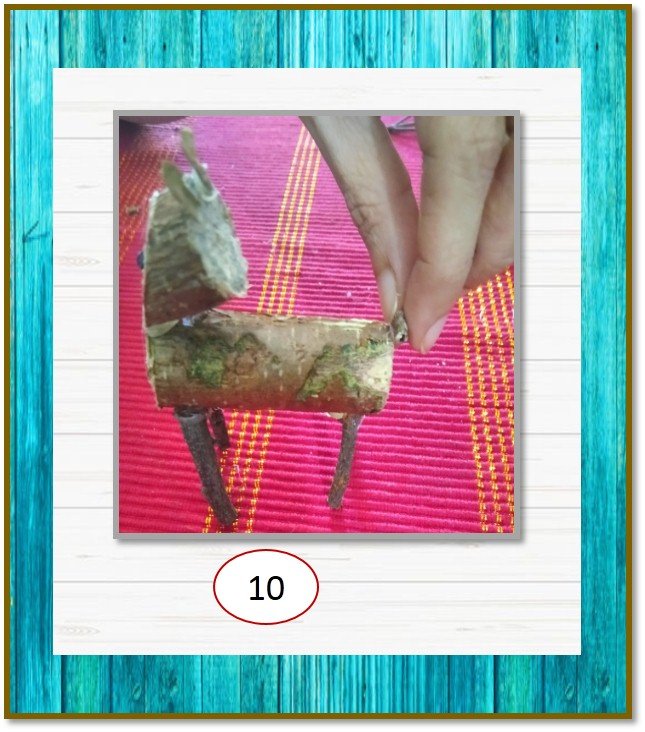
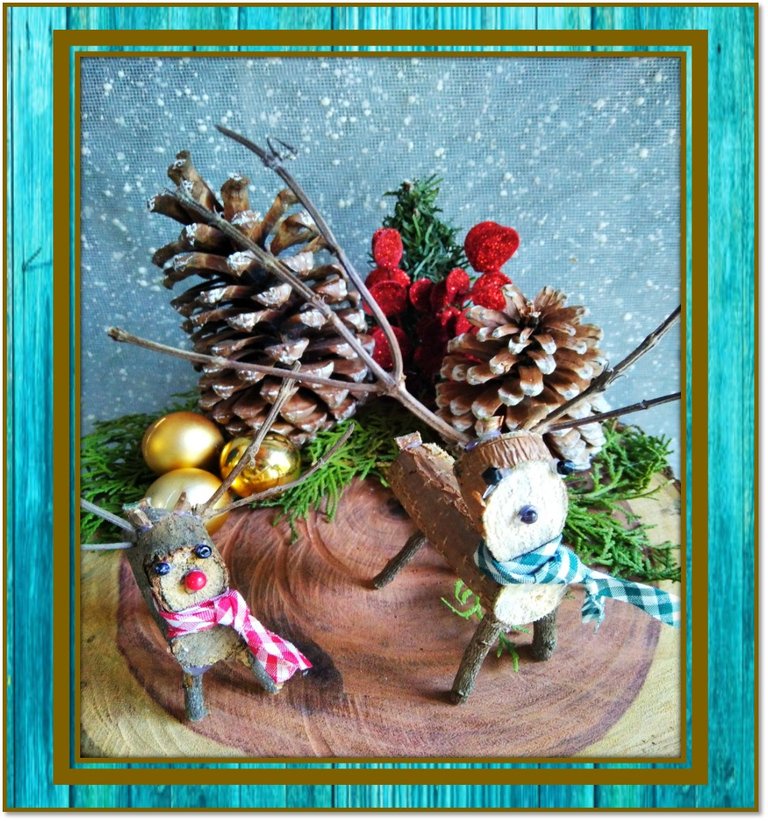
Para formar los renos, unimos el tronco (cuerpo) con la pieza que formará la cabeza, luego pegamos los palitos de madera que formaran las patas. Posteriormente, pegamos la cuenta de bisutería para hacer la nariz y utilizamos retazos de corteza para hacer las orejas y la cola.
Step 1:
To form the reindeer, we join the trunk (body) with the piece that will form the head, then we glue the wooden sticks that will form the legs. Subsequently, we glue the jewelry bead to make the nose and use pieces of bark to make the ears and tail.

Paso 2:
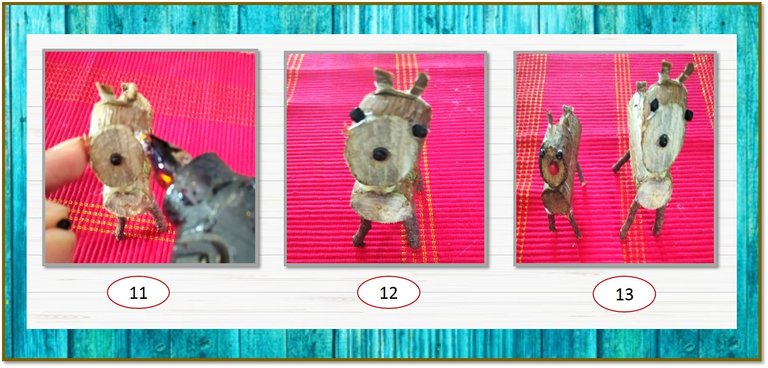
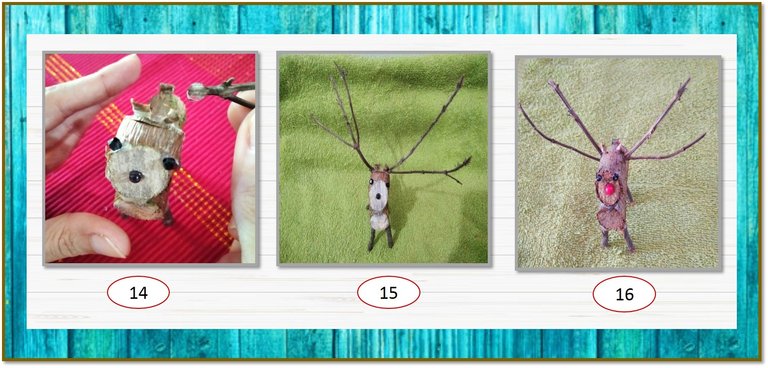
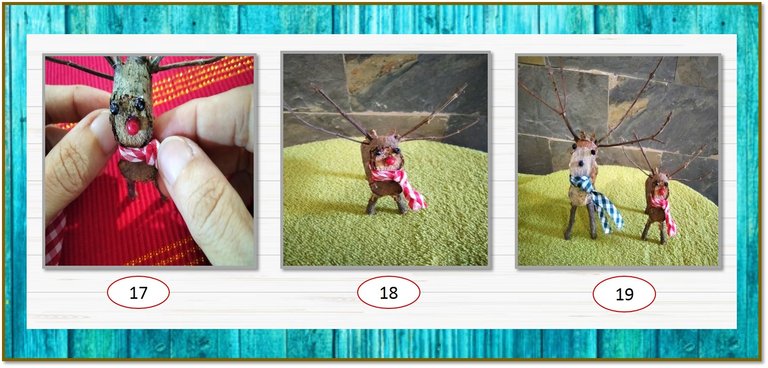
Pegamos dos cuentas de bisutería para los ojos, y luego las ramitas que serán los cuernos. Atamos al cuello cinta de tela para hacer las veces de bufanda.
Step 2:
We glue two jewelry beads for the eyes, and then the branches that will be the horns. We tie a fabric ribbon around the neck to act as a scarf.
Paso 3:
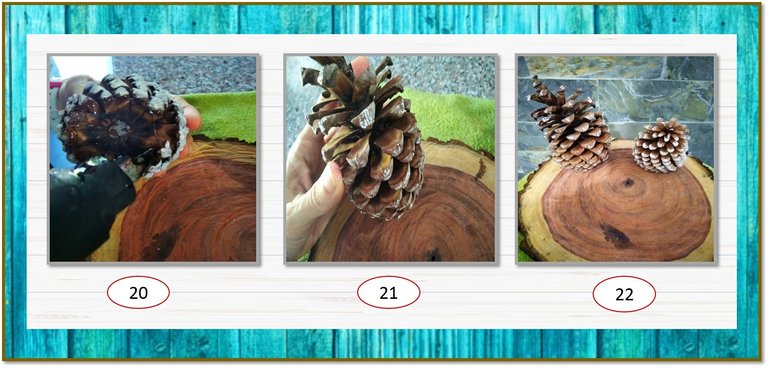
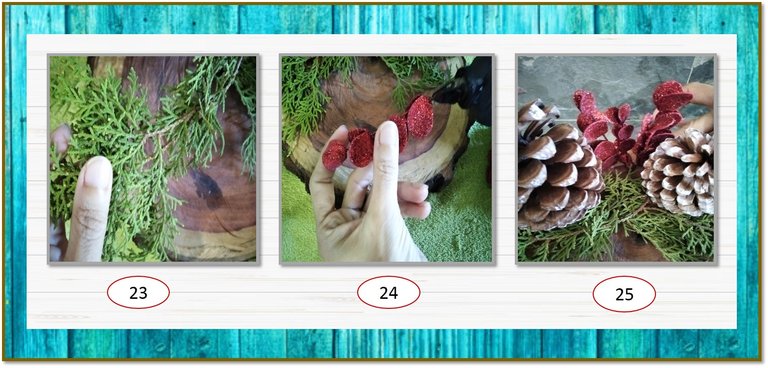
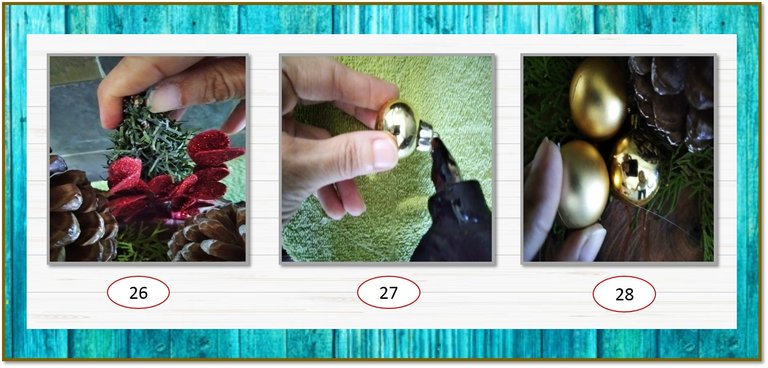
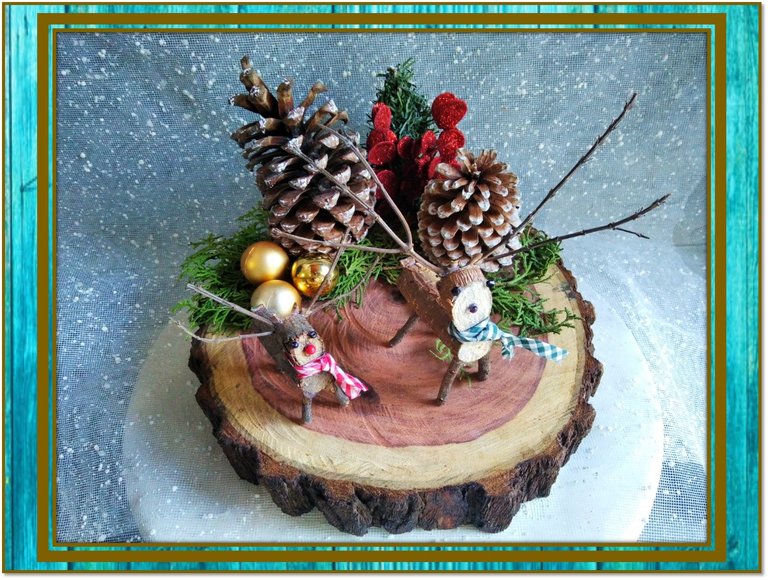
Adherimos con silicon las piñas de pino al tronco. Colocamos a la base ramitas de pino; las ramas escarchadas de color rojo; el pino y las bolitas de navidad.
Step 3:
We adhere the pinecones to the trunk with silicon. We place pine branches at the base; the red glitter branches; the artificial pine and the small Christmas balls.
Paso 4:
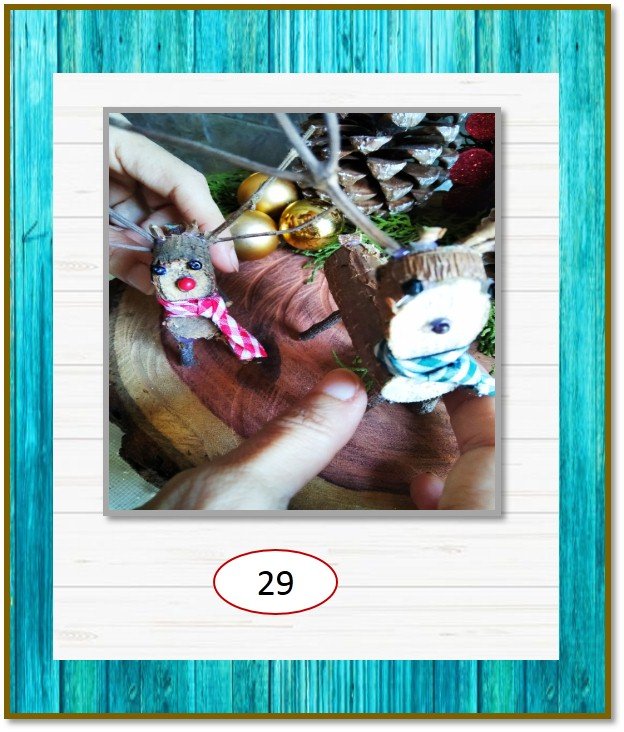
Por último, colocamos los renos.
Step 4:
Finally, we place the reindeer.
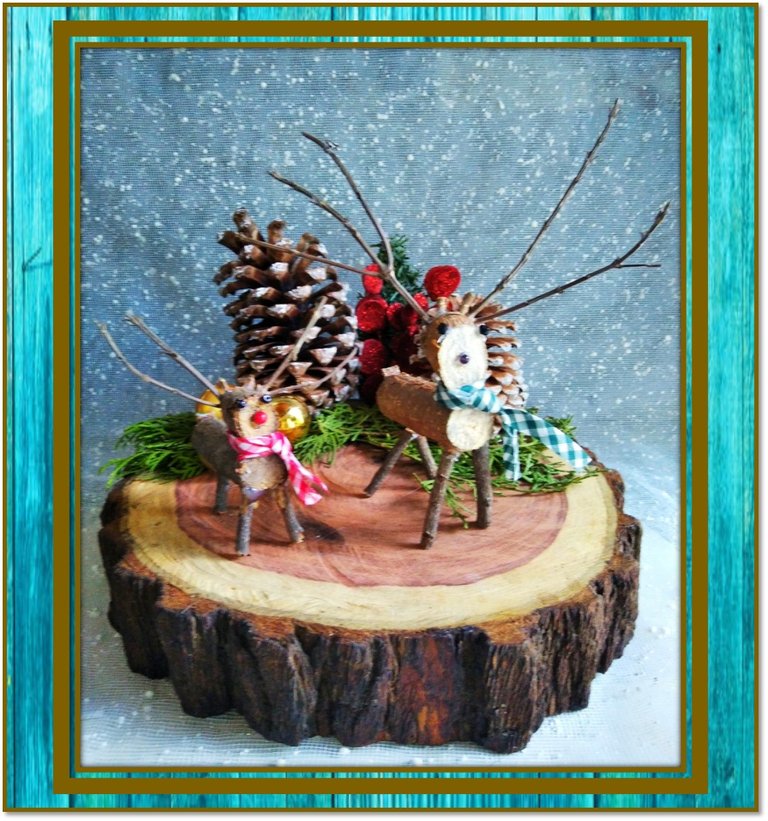
Espero les haya gustado este lindo centro de mesa y se animen a realizarlo poniéndole cada persona su toque.
I hope you liked this cute centerpiece and are encouraged to make it by putting each person their touch.


