
Hola amigos de HIVE DIY espero hayan tenido un lindo fin de semana, días si pasar por aquí pero hace días una vecina me regalo una bolsa de retazos y había muchos pedazos grandes de tela atlética como para hacer unas franelas para mi nieto usar para la escuela, así que me di a la tarea de buscar tres retazos que me sirvieran, buscando siempre que estiren a lo ancho para que quedara bien la franela. Sin más que decir paso a los materiales y al paso a paso.
Hello friends of HIVE DIY I hope you had a nice weekend, days without stopping by here but days ago a neighbor gave me a bag of scraps and there were many large pieces of athletic fabric to make some flannels for my grandson to use for school, so I gave myself the task of looking for three scraps that would serve me, always looking to stretch to the width so that the flannel was well. Without further ado, let's move on to the materials and the step by step.
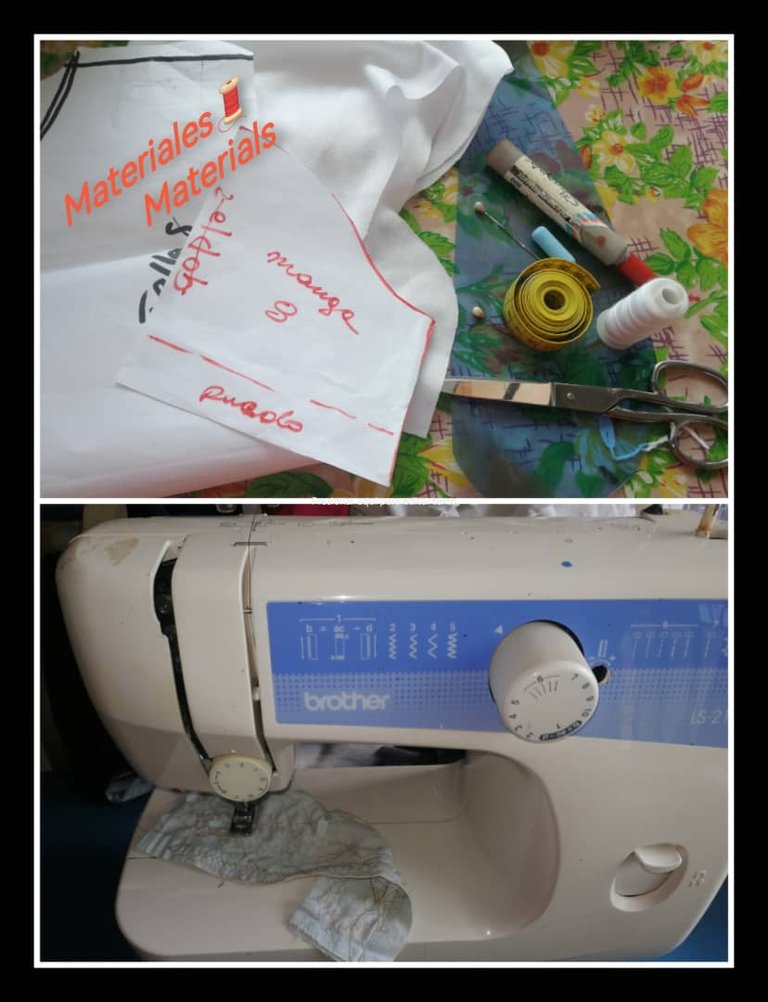
MATERIALES🪡🧵MATERIALS

🧵3 retazos de tela atlética blanca
🧵Hilo blanco
🧵Tijera
🧵Cinta métrica
🧵Alfileres
🧵Máquina de coser
🧵 Marcador
🧵 Tiza
🧵Regla de costura
🧵3 scraps of white athletic fabric.
🧵White thread
🧵Scissors
🧵 Tape measure
🧵Pins
🧵Sewing machine
🧵 Marker
🧵 Chalk
🧵 Sewing ruler 🧵 Sewing ruler
PASO A PASO 🪡🧵STEP BY STEP
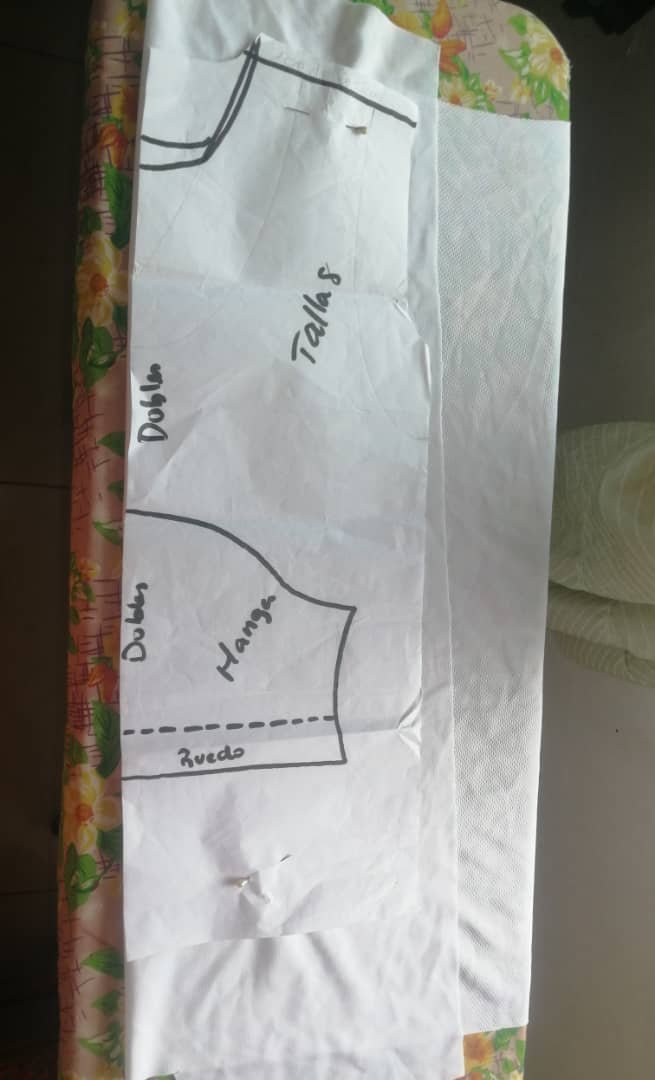
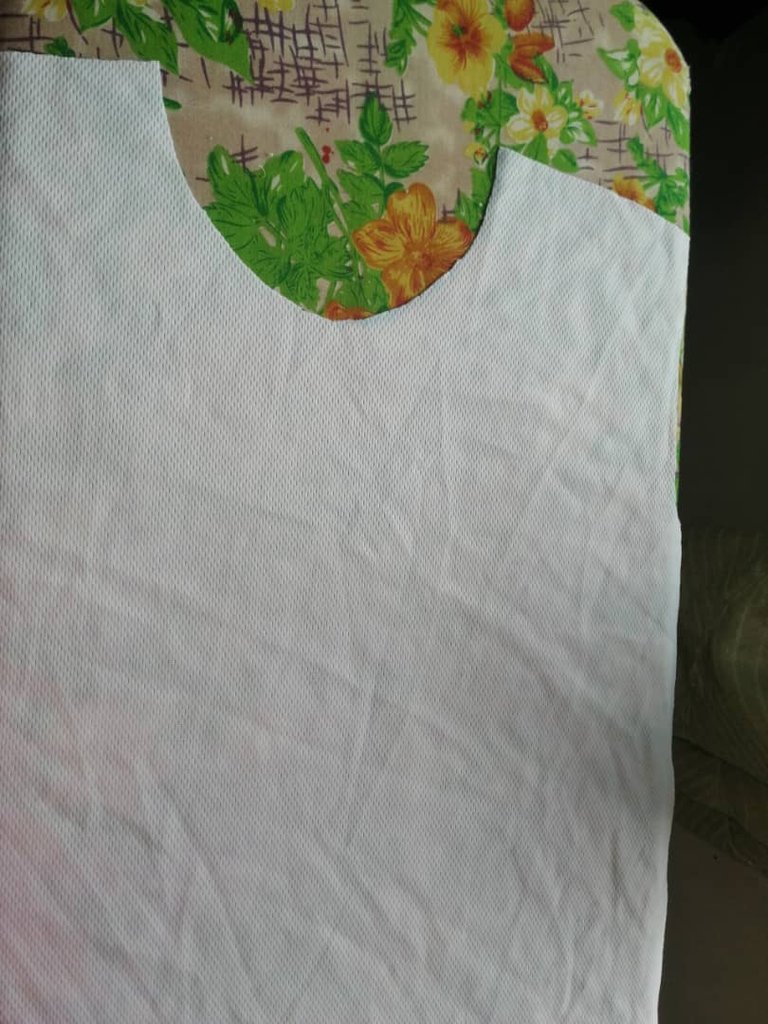
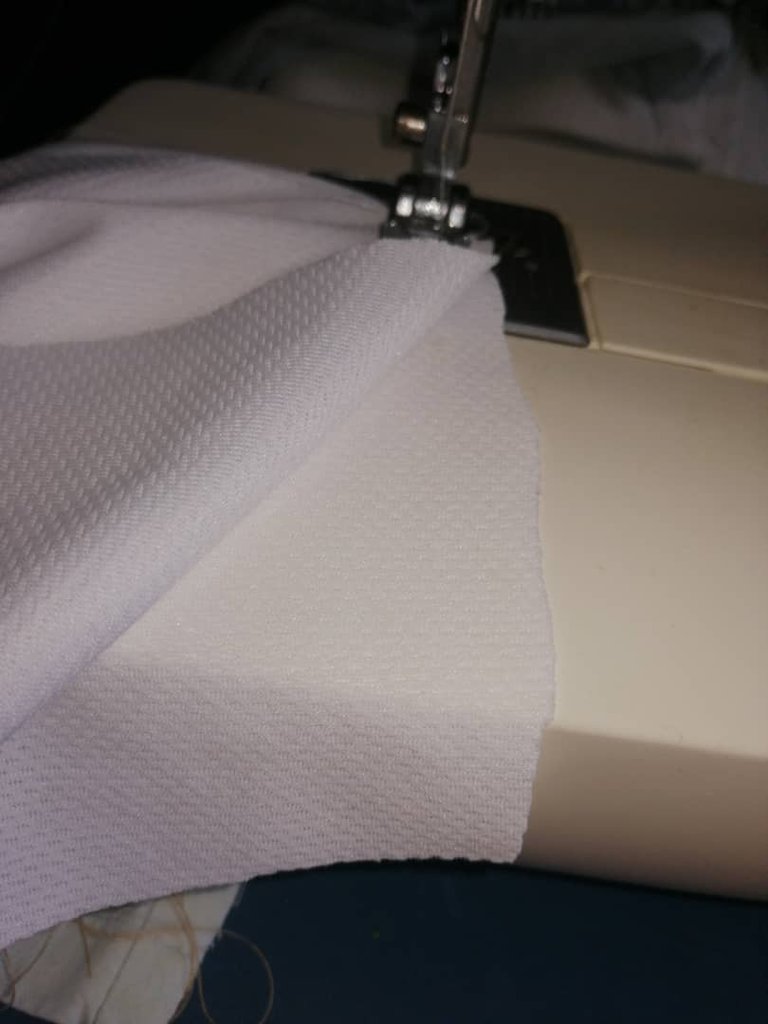
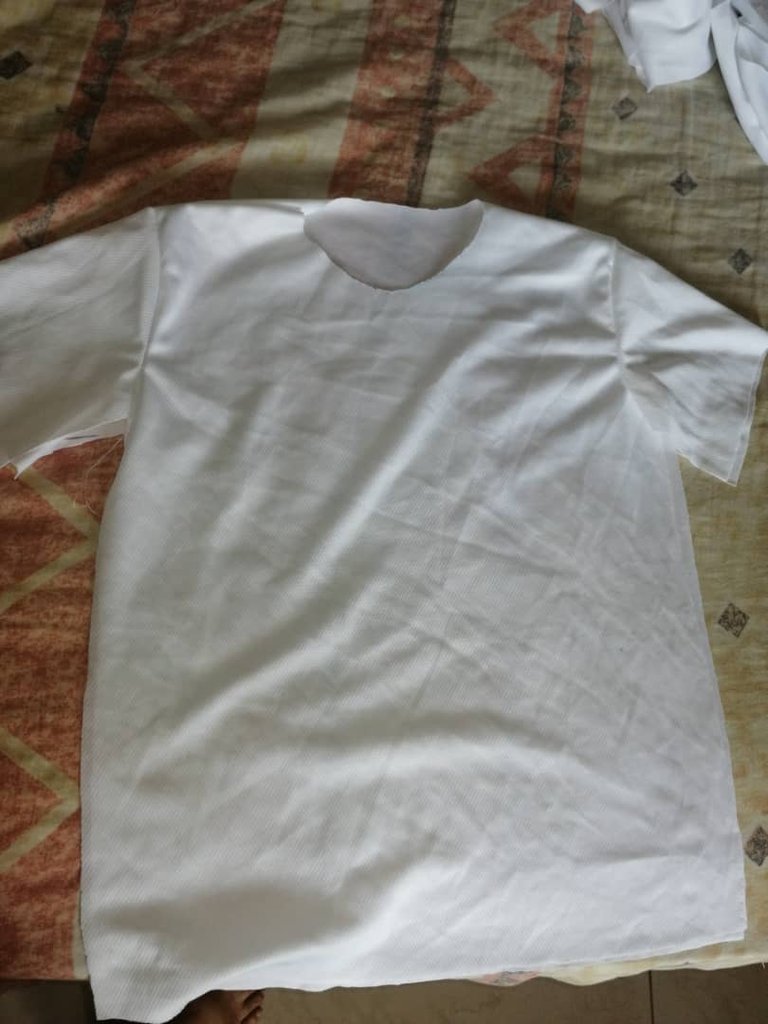
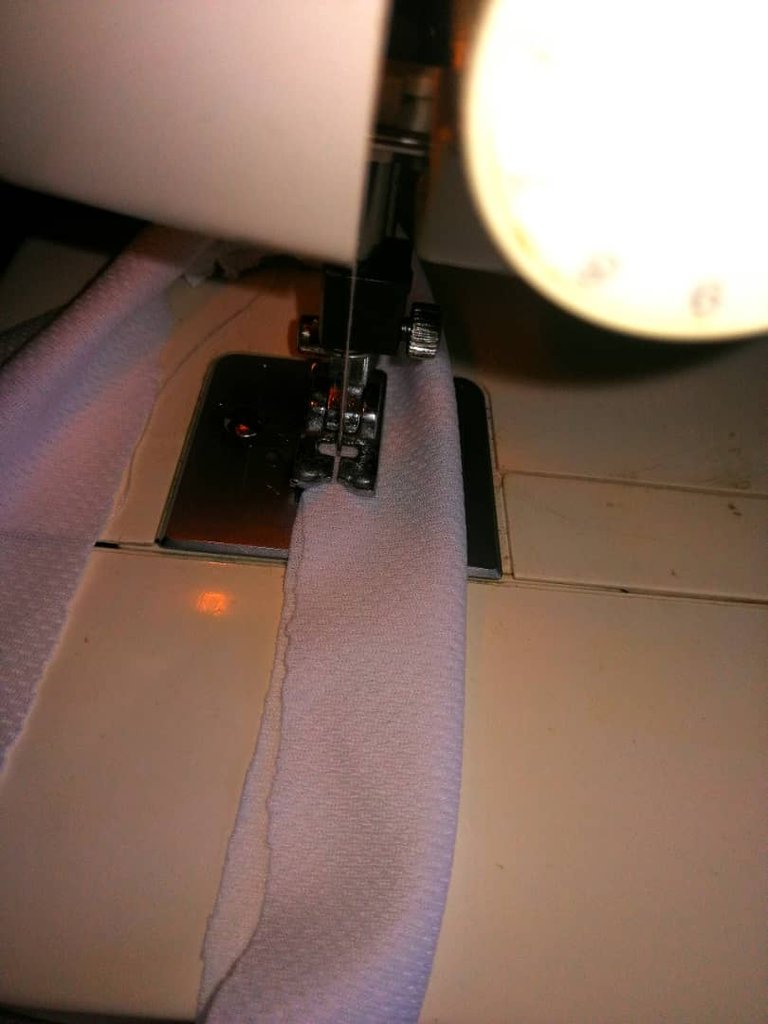
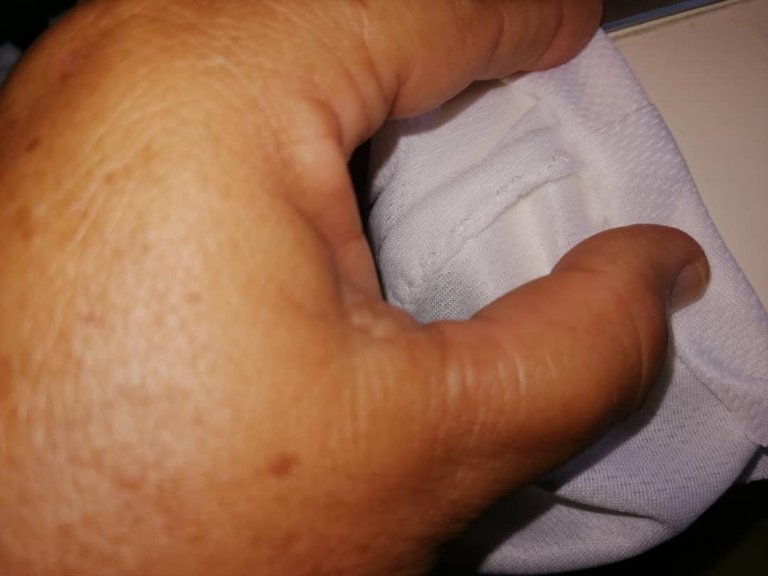
✅ Primero comence por medir el patrón en los retazos que escogí, cuidando que estiren a lo ancho.
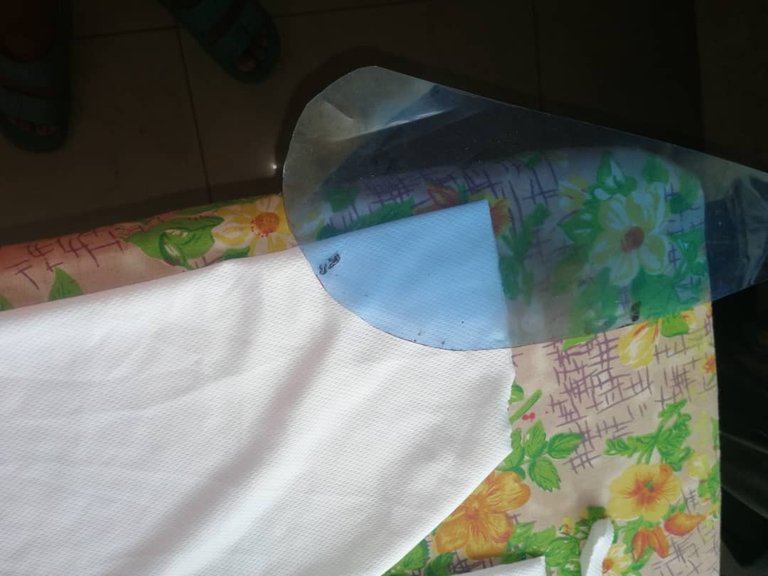
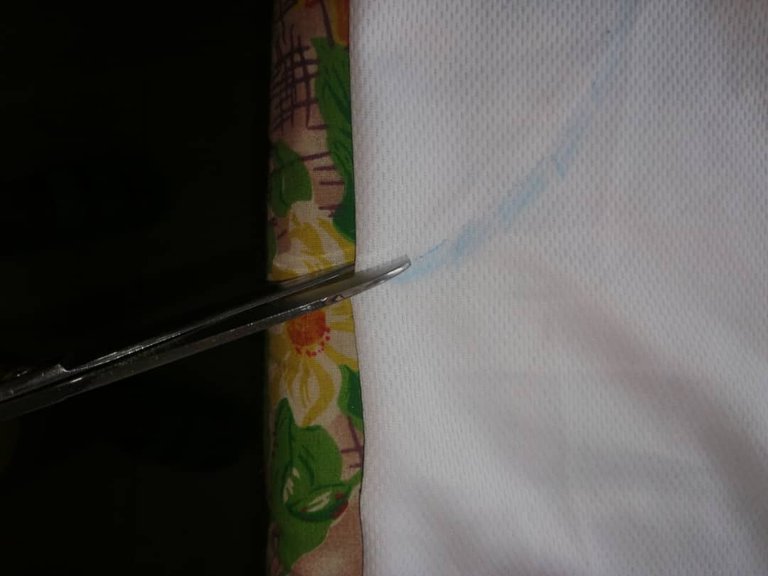
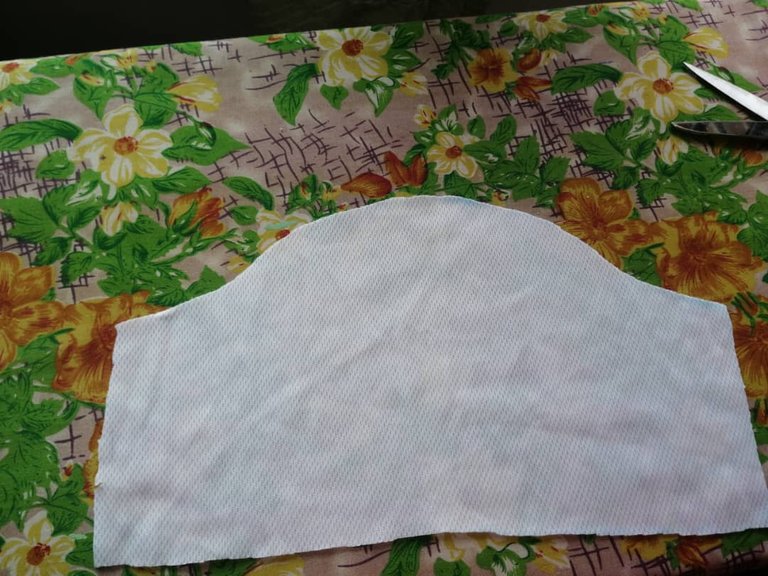
✅ Echo esto procedí a poner el patrón en la tela doble, fije con alfileres y corte la tela, quite los alfileres y listo, así hice con la pieza delantera(en la delantera marque el cuello con la regla de costura para que me quedara bien) y las mangas, las mangas las doble por la mitad y le hice un piquete al medio para cuando las fuera a pegar al cuerpo fuera más fácil.
✅ First I started by measuring the pattern on the pieces I chose, taking care that they stretch across the width.
✅ Then I proceeded to put the pattern on the double fabric, pinned and cut the fabric, remove the pins and ready, so I did with the front piece (in the front I marked the neck with the sewing ruler to fit me well) and the sleeves, the sleeves I folded them in half and made a picket in the middle so that when I was going to stick them to the body it would be easier.

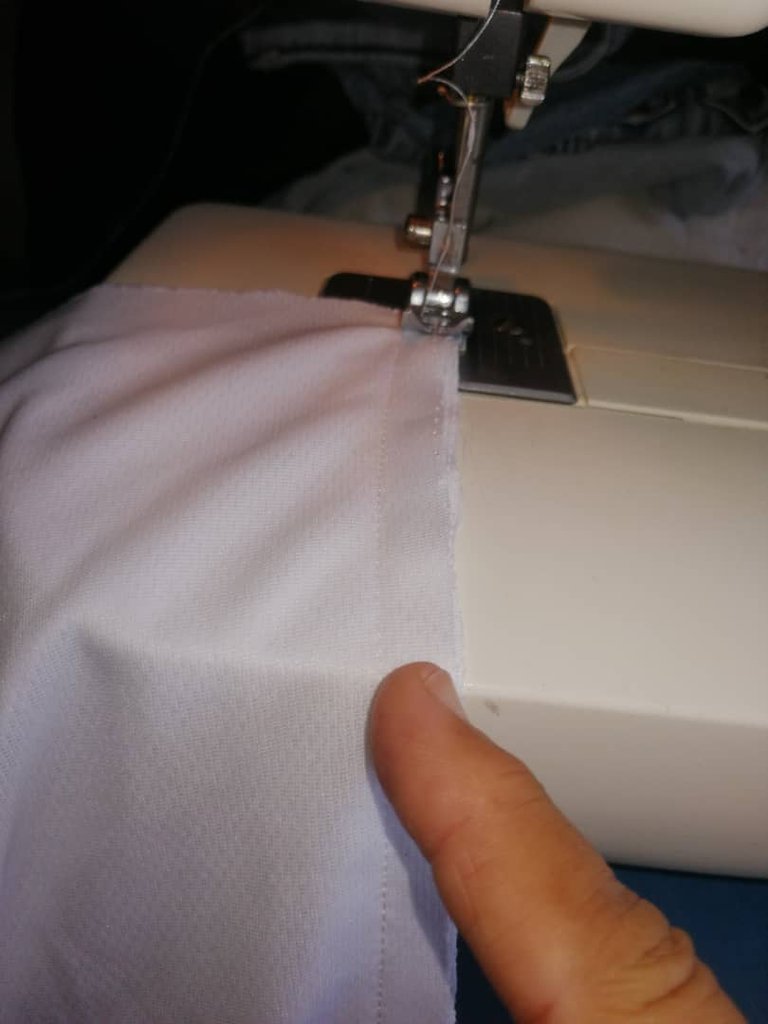
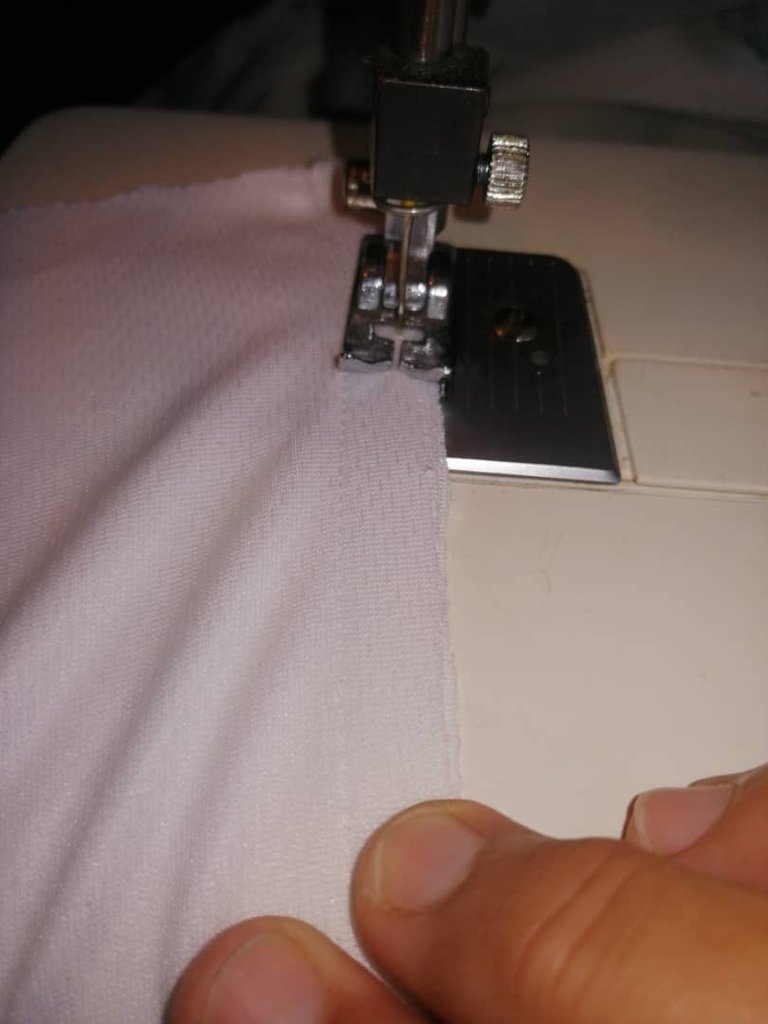
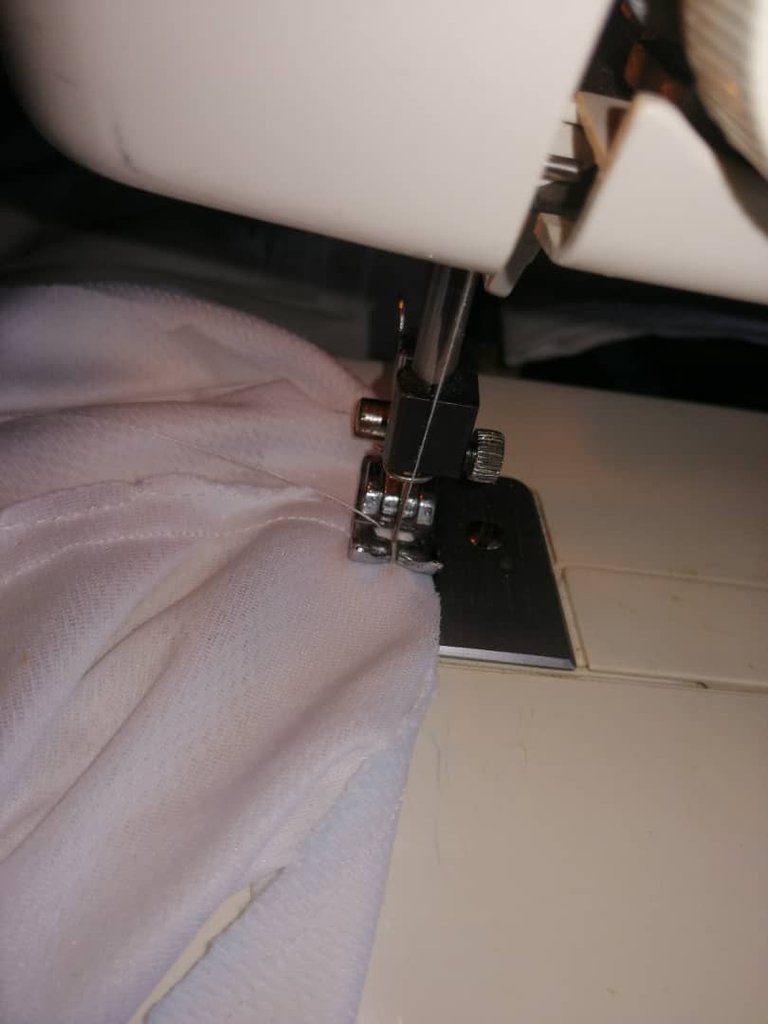
✅ Luego procedí a pegar la pieza delantera con la trasera por el revés por la parte de arriba(por los hombros) y luego remate con zig-zag, luego pegue las mangas empezando por donde hice el piquete para que quedara bien(sin estirar la tela) y remate con zig-zag
✅ Then I proceeded to glue the front piece with the back piece on the reverse side on the top (on the shoulders) and then finish with zig-zag, then I glued the sleeves starting from where I made the piquete to make it look good (without stretching the fabric) and finish with zig-zag.
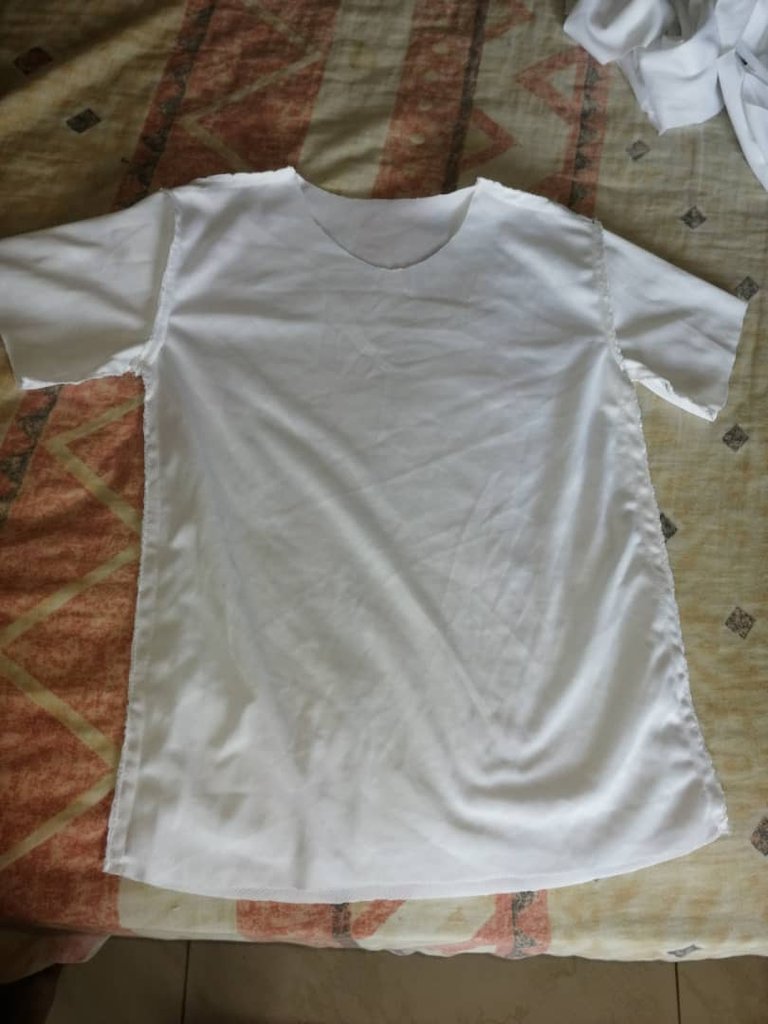
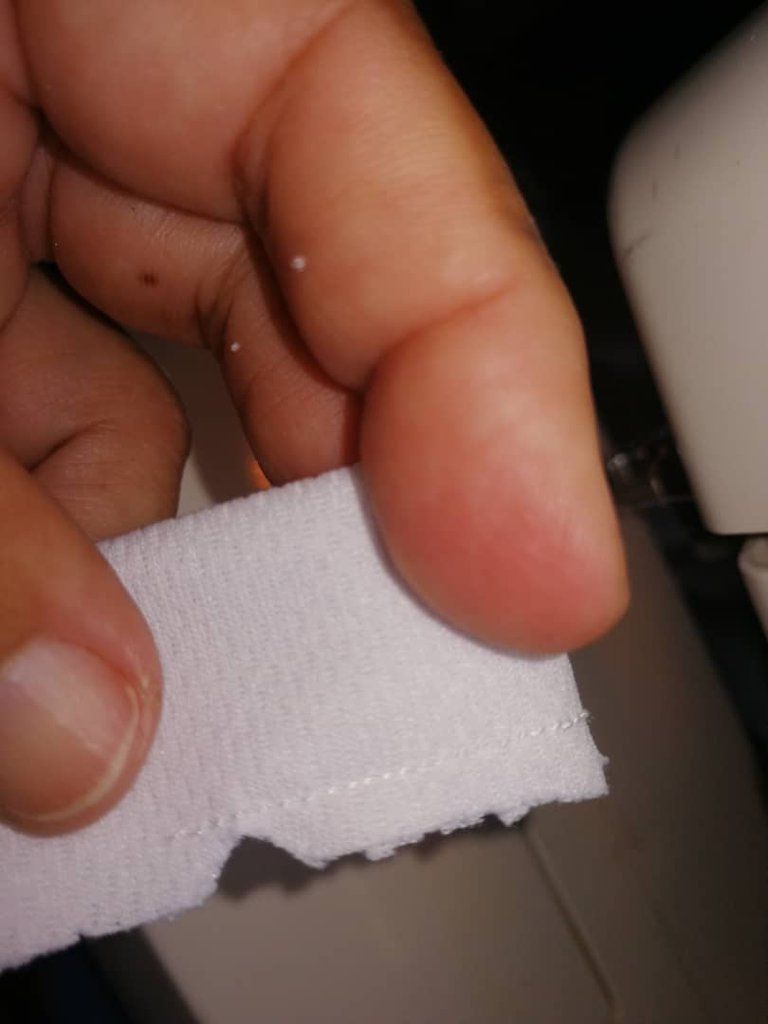
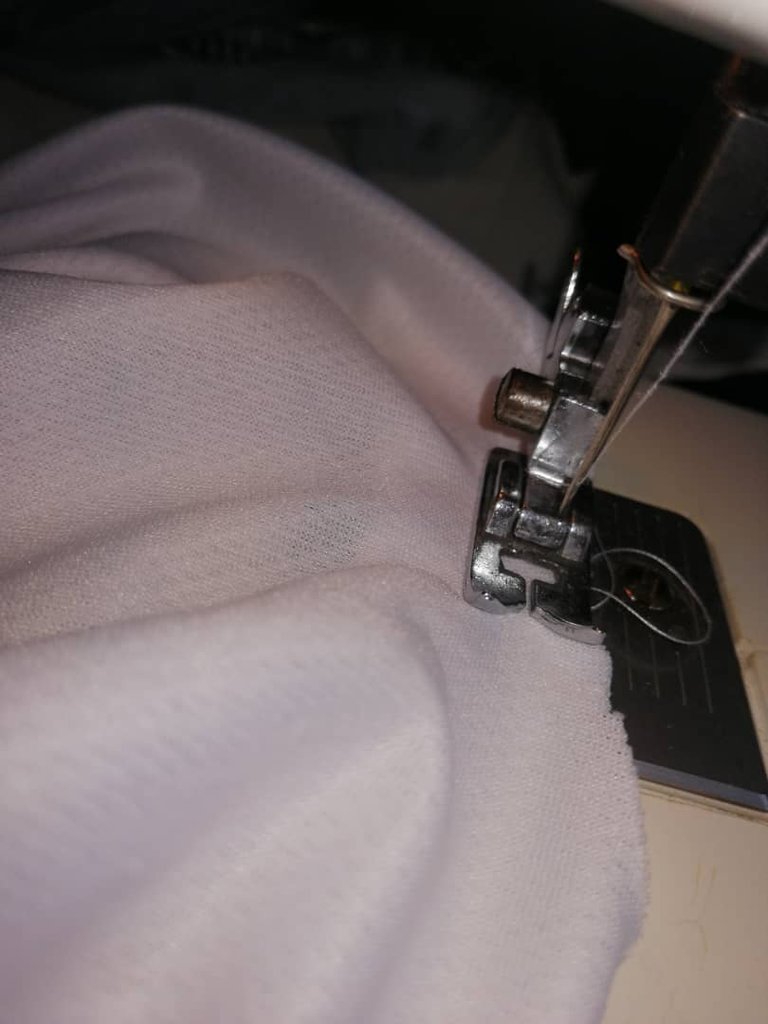
✅ Listo eso procedí a pegar por los lados y luego remate con zig-zag.
✅ I proceeded to glue the sides and then finished with a zig-zag stitch.

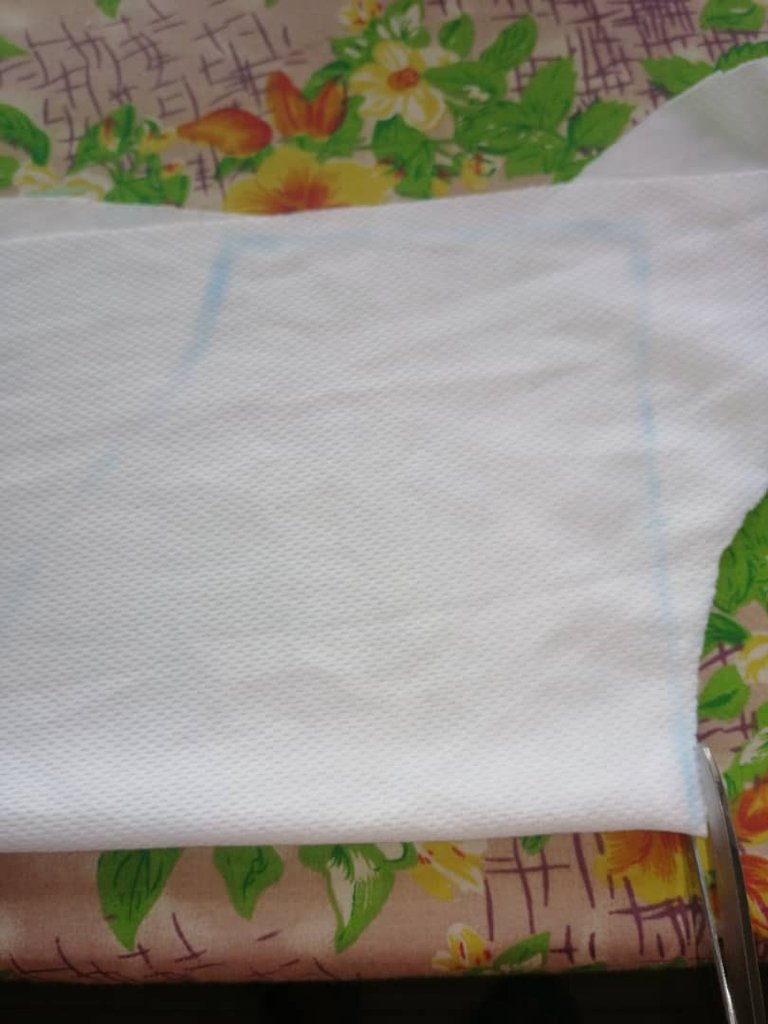
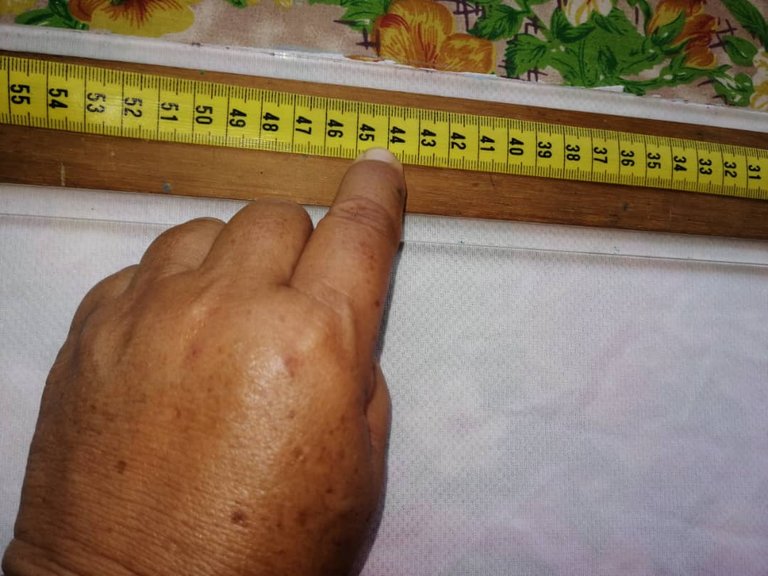
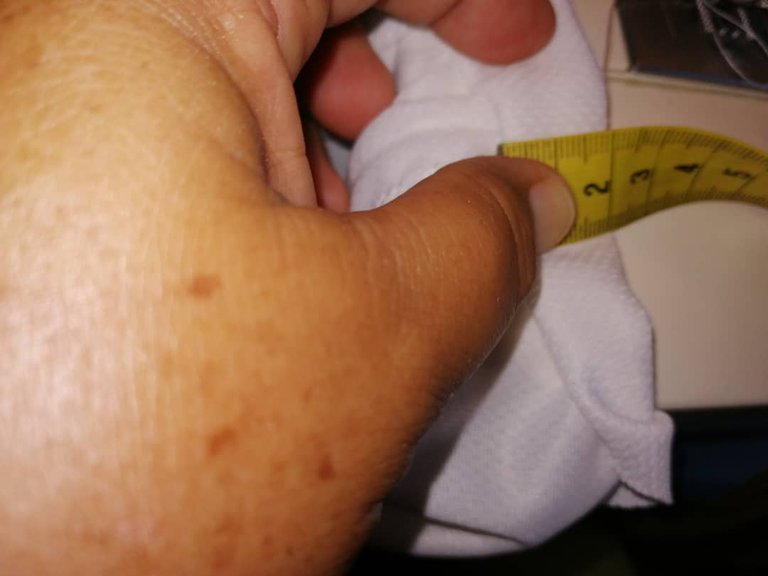
✅ Con una cinta métrica procedí a medir alrededor del cuello y a la medida le quite 5 cms porque lo hice de la misma tela si lo hago con rib se quitan 4 cms (el cuello que venden ya listo) en este caso midió 48cms-5cms=43 cms, en la tela corte una tira de 43 cms de ancho por 6 cms de alto(si lo quiere mas angosto lo corta de 5 cms), siempre cuidando que la tela estire a lo ancho.
✅ With a tape measure I proceeded to measure around the neck and I took 5 cms off the measurement because I made it with the same fabric, if I do it with rib I take off 4 cms (the neck that they sell already ready) in this case it measured 48cms-5cms=43 cms, in the fabric I cut a strip of 43 cms wide by 6 cms high (if you want it narrower I cut it of 5 cms), always taking care that the fabric stretches to the width.


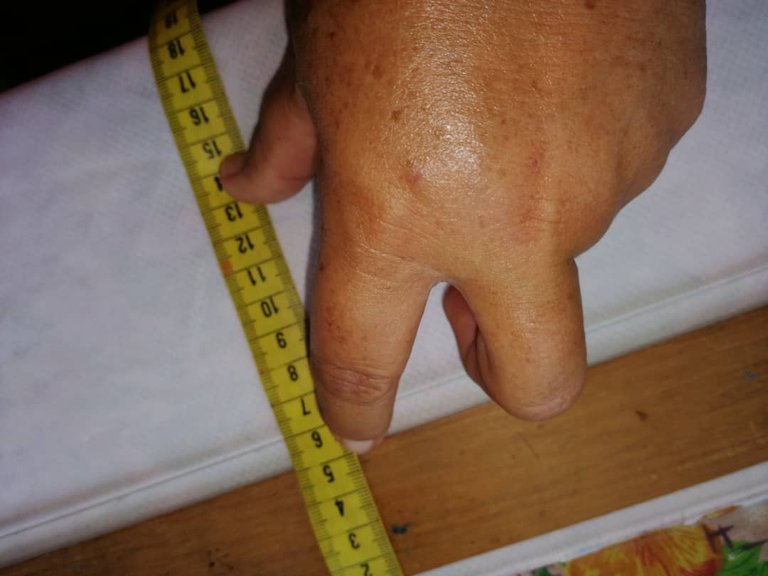

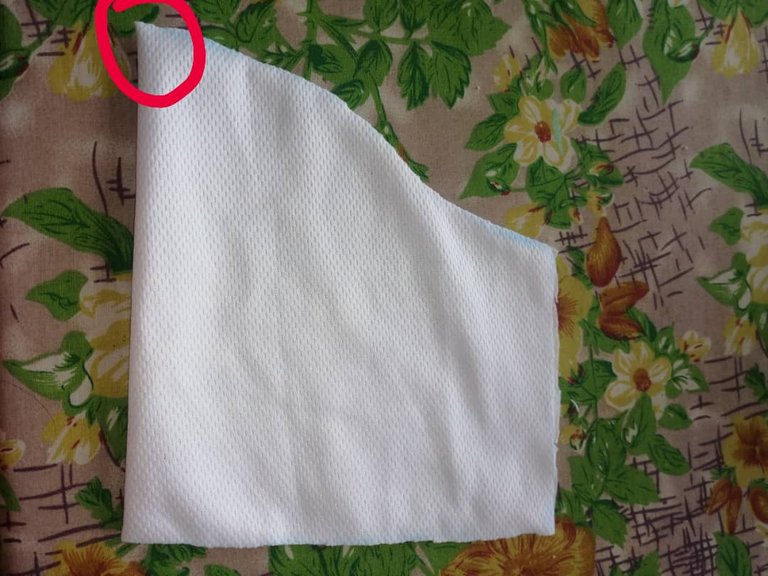
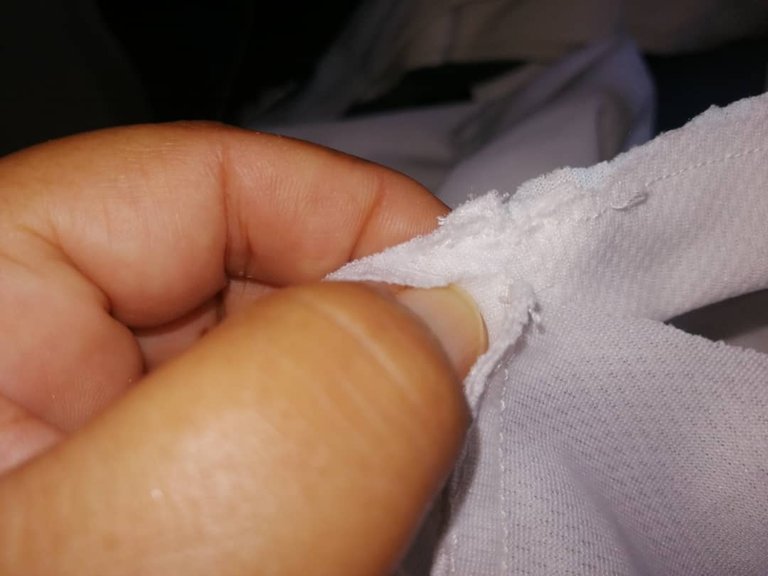
✅ Uní la tira por los lados por el revés y luego la doble a la mitad por el derecho y la uní por el borde con una costura recta para que no se moviera y fuera más fácil pegarla al contorno del cuello de la franela, echo esto lo doble a la mitad e hice un piquete y lo doble otra vez a la mitad por el lado contrario e hice oto piquete, lista las 4 marcas, hice lo mismo con la franela la doble a la mitad hice los piquetes y luego doble al contrario e hice los piquetes,
✅ I joined the strip by the sides on the reverse side and then folded it in half on the right side and joined it by the edge with a straight seam so that it would not move and it would be easier to stick it to the contour of the neck of the flannel, then I folded it in half and made a picket and folded it again in half on the opposite side and made another picket, ready the 4 marks, I did the same with the flannel, folded it in half and made the pickets and then folded the opposite side and made the pickets,


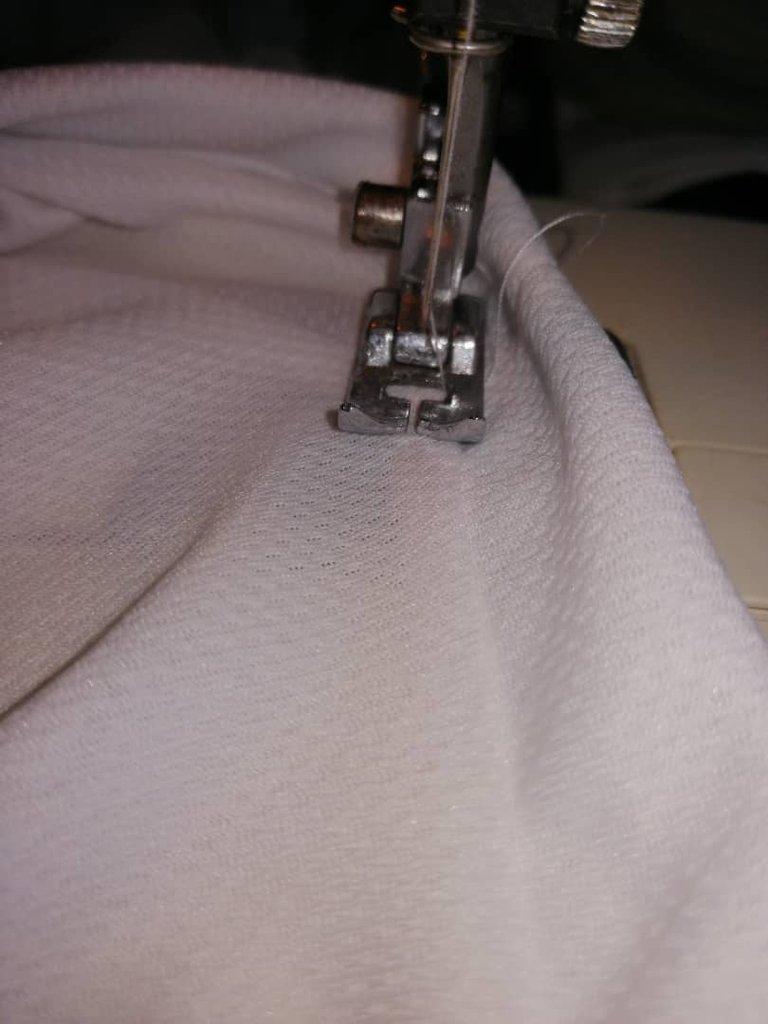
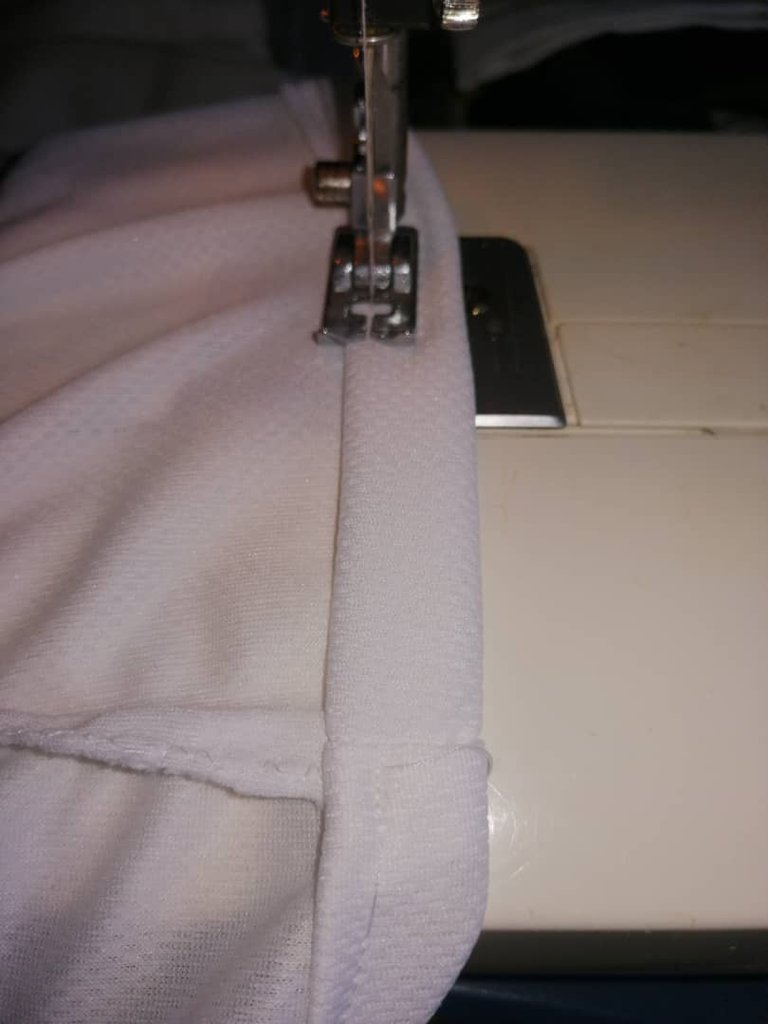
✅ Echo esto en la camisa y el cuello procedí a pegar el cuello a la franela empezando por la unión de la pieza y la unión del hombro para que se viera bien, luego asegure en cada piquete y procedí a pegar el cuello, haciéndolo de esta forma queda perfecto, luego procedí a rematar el borde con el zig-zag y luego repisar con costura recta por el lado derecho cuidando que el borde quedara hacia abajo para que se vea bonito.
✅ I put this on the shirt and the collar and proceeded to glue the collar to the flannel starting at the junction of the piece and the junction of the shoulder to make it look good, then secure in each picket and proceeded to glue the neck, doing it this way is perfect, then proceeded to finish the edge with the zig-zag and then repisar with straight seam on the right side taking care that the edge was down to make it look nice.
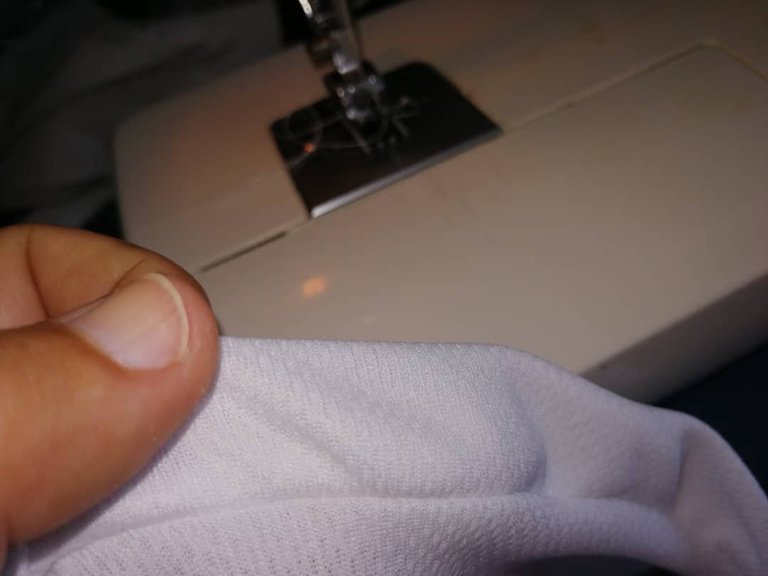


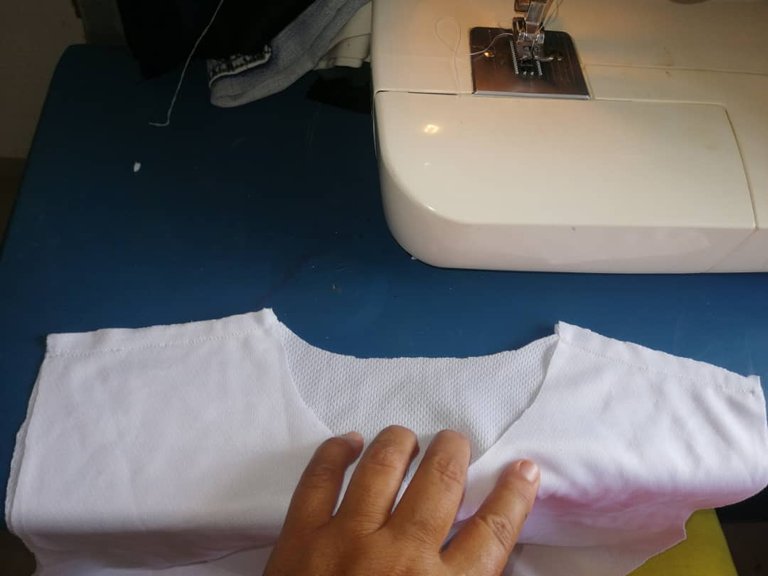
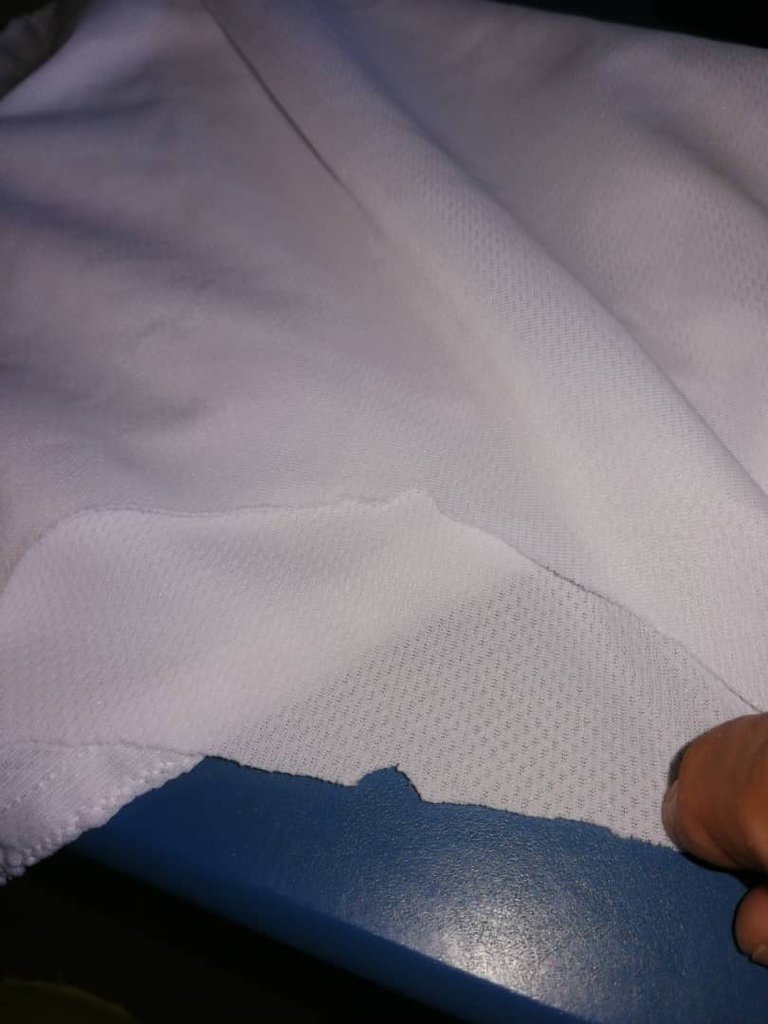
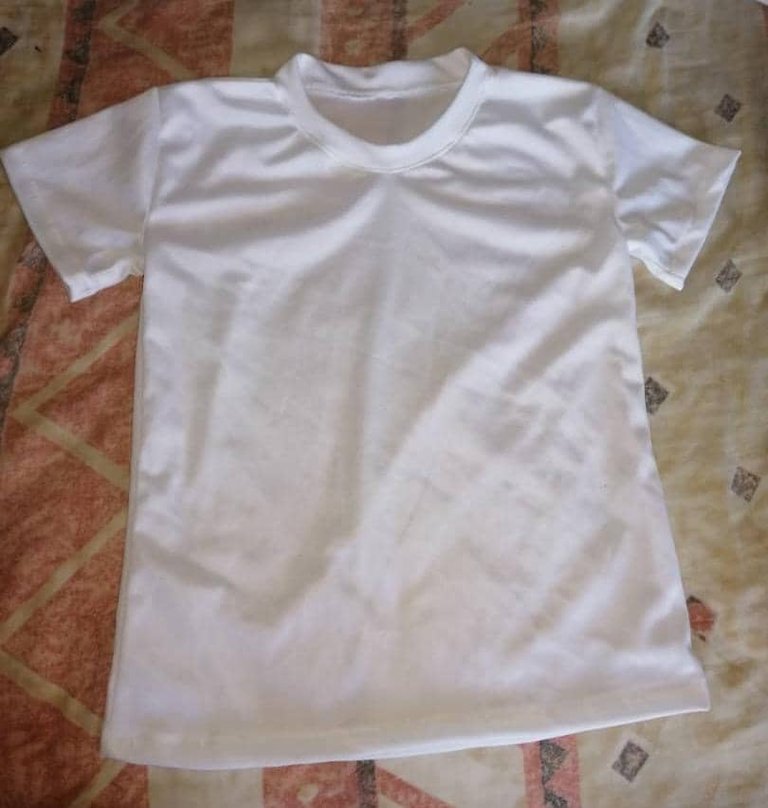
✅ Echo todo esto procedí a hacer el doblez en la manga de 2 cms y en el borde de abajo o ruedo que será de 2 cms o 2.5 cms según sea su gusto, yo lo hice de 2 cms y lista mi franela, mi nieto quedo super feliz.
Hasta aquí mi post de hoy espero les guste, entiendan mi explicación y se animen a hacer esta sencilla franela.
✅ After all this I proceeded to make the fold on the sleeve of 2 cm and on the bottom edge or hem that will be of 2 cm or 2.5 cm depending on your taste, I did it of 2 cm and my flannel was ready, my grandson was super happy.
So far my post today I hope you like it, understand my explanation and are encouraged to make this simple flannel.
Las fotos aquí utilizadas fueron tomadas por mi con mi celular huawei mate lite20 use Deelp traductor imagen editada en canva, separador y baner hecho por mi en canva.
The photos used here were taken by me with my cell phone huawei mate lite20 use Deelp translator image edited in canva, separator and banner made by me in canva.