Saludos amigos de #hivediy
Greetings friends of #hivediy
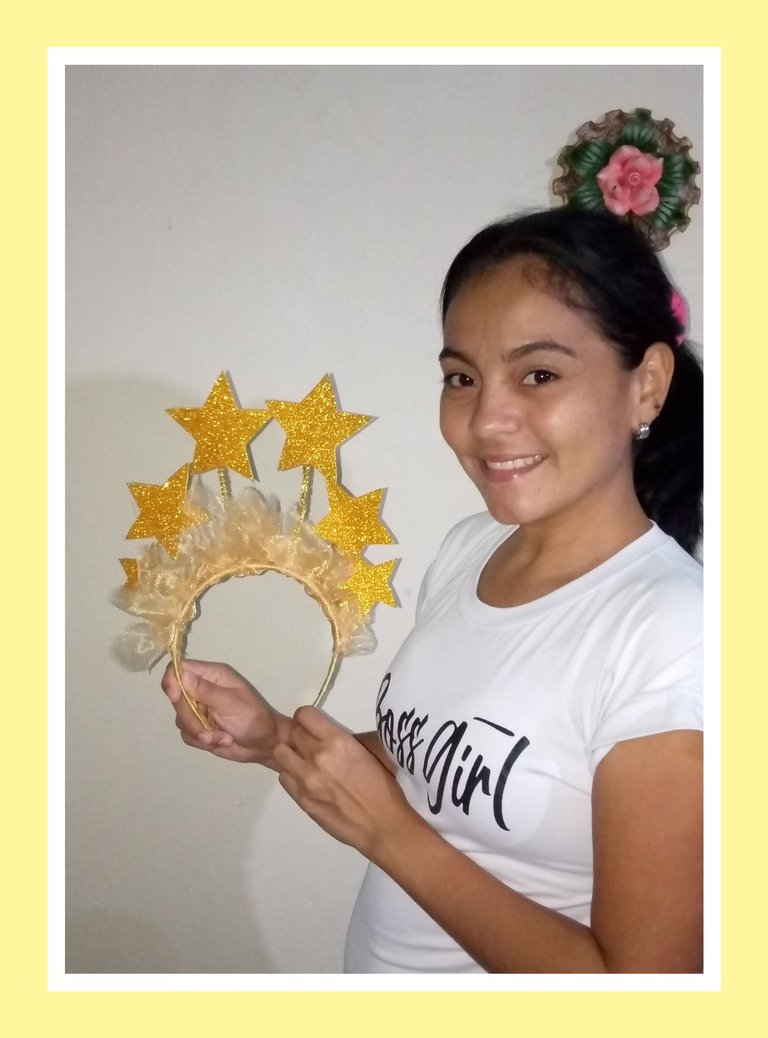
Hola a todas las bellas personas de esta creativa comunidad de #hivediy es un gusto compartir una vez más con todos ustedes. Espero se encuentren bien.
Hoy comparto con ustedes un tutorial para la elaboración de un cintillo con formas de estrellas, les cuento que mi hija Carla presentará una actividad en la escuela, por ser un baile de navidad debe ir con un cintillo alusivo a las estrellas de Belén.
Decidí poner a trabajar mi creatividad y realizar con amor y esmero este bello cintillo para mi princesa, ya que apoyarla y estar en cada paso que de es mi mayor satisfacción y aún más en esta época de navidad donde abunda el amor, unión y la alegría, aquí comparto con ustedes los materiales y el paso a paso para la elaboración de esta hermosa creación.
Hello to all the beautiful people of this creative #hivediy community it is a pleasure to share once again with all of you. I hope you are feeling well.
Today I share with you a tutorial for making a headband with star shapes, I tell you that my daughter Carla will present an activity at school, because it is a Christmas dance must go with a headband alluding to the stars of Bethlehem.
I decided to put my creativity to work and make with love and care this beautiful headband for my princess, since supporting her and being in every step she takes is my greatest satisfaction and even more in this Christmas season where love, union and joy abound, here I share with you the materials and the step by step for the elaboration of this beautiful creation.
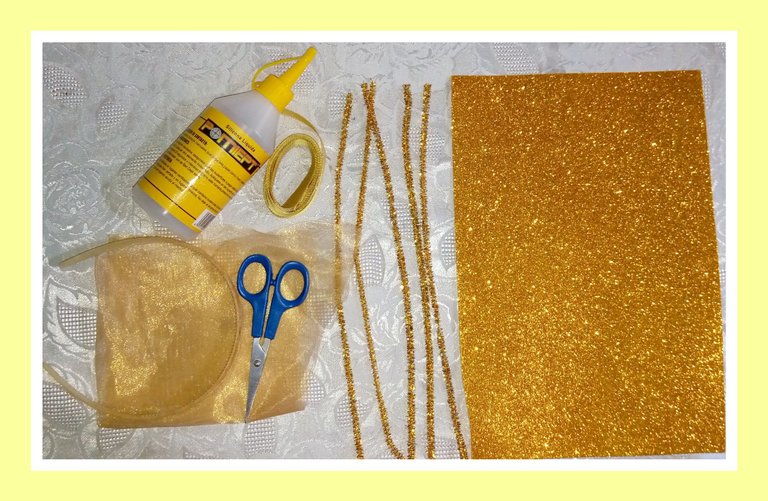
MATERIALES:
- Foami dorado escarchado
- Retazo de tela de tutú dorada
- Hoja blanca
- Chemiles dorados
- Cinta dorada de 2 cm.
- Tijera
- Silicón líquido
- Cintillo (molde)
MATERIALS
- Gold frosted foami
- Piece of golden tutu cloth
- White leaf
- Gold Chemiles
- 2 cm. gold ribbon
- Scissors
- Liquid silicone
- Ribbon (mold)
PASO A PASO:
Paso 1:
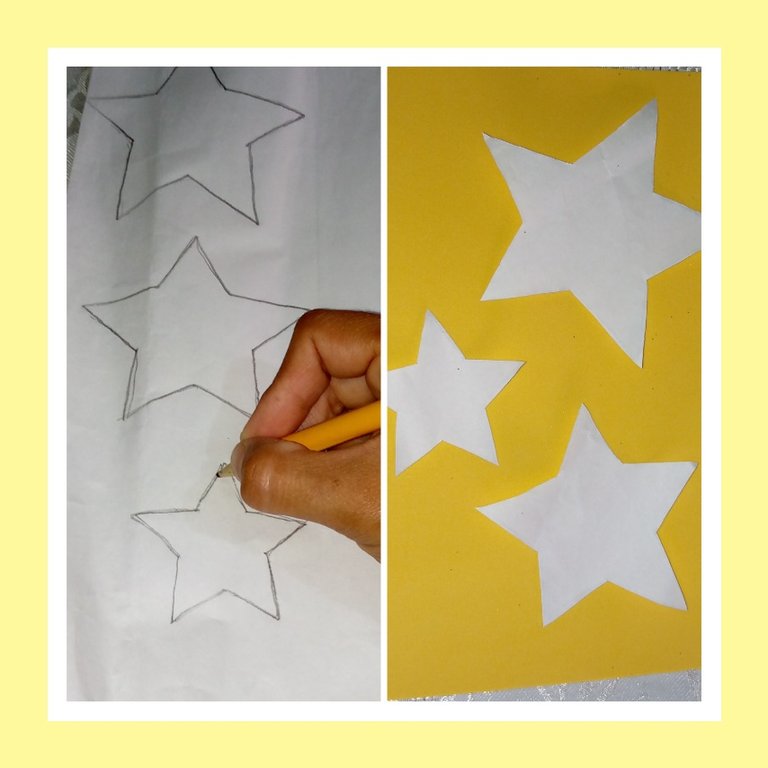
En la hoja marcamos y recortamos los moldes de las estrellas, en este caso utilice tres diversos tamaños.
STEP BY STEP:
Step 1:.
On the sheet we mark and cut out the molds of the stars, in this case use three different sizes.
Paso 2:
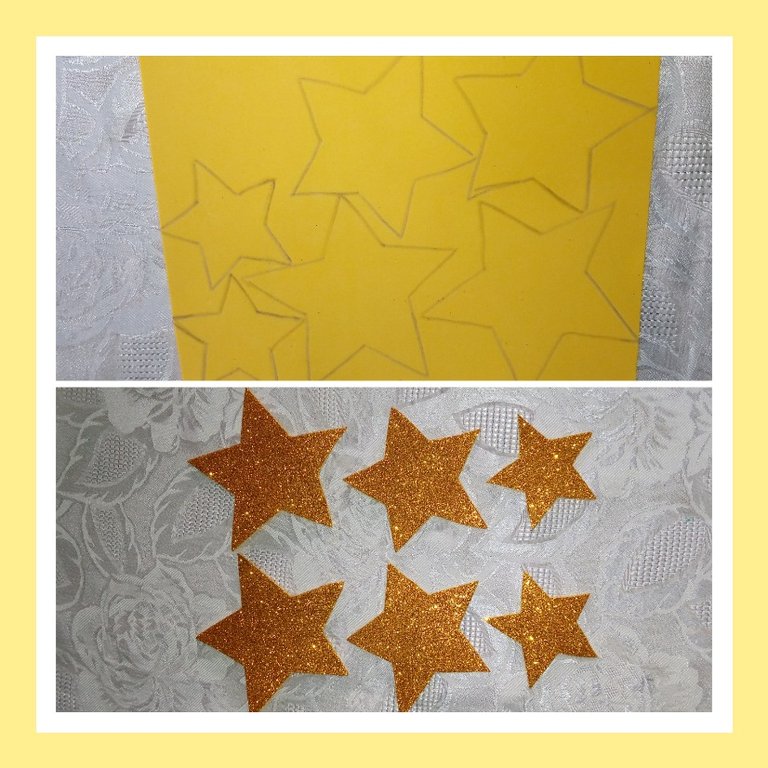
Marcamos las estrellas en el foami, en esta ocasión realizaremos dos de cada tamaño y recortamos.
Step 2:.
We mark the stars on the foami, this time we will make two of each size and cut them out.
Paso 3:
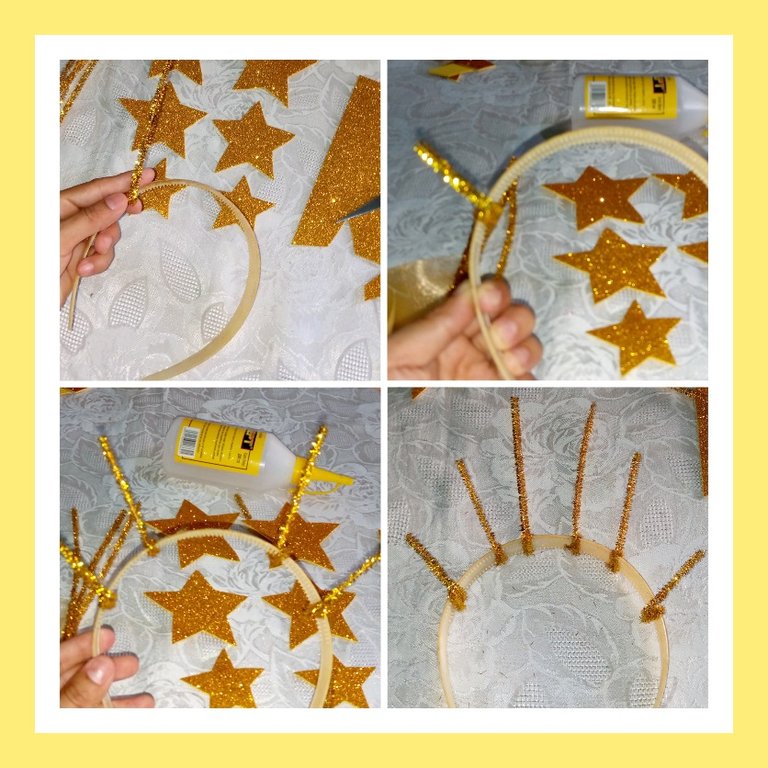
Iniciaremos a colocar los Chemiles en el cintillo, de diversos tamaños y separados uno de otro.
Step 3:
We will start placing the Chemiles on the headband, in different sizes and separated one from the other.
Paso 4:
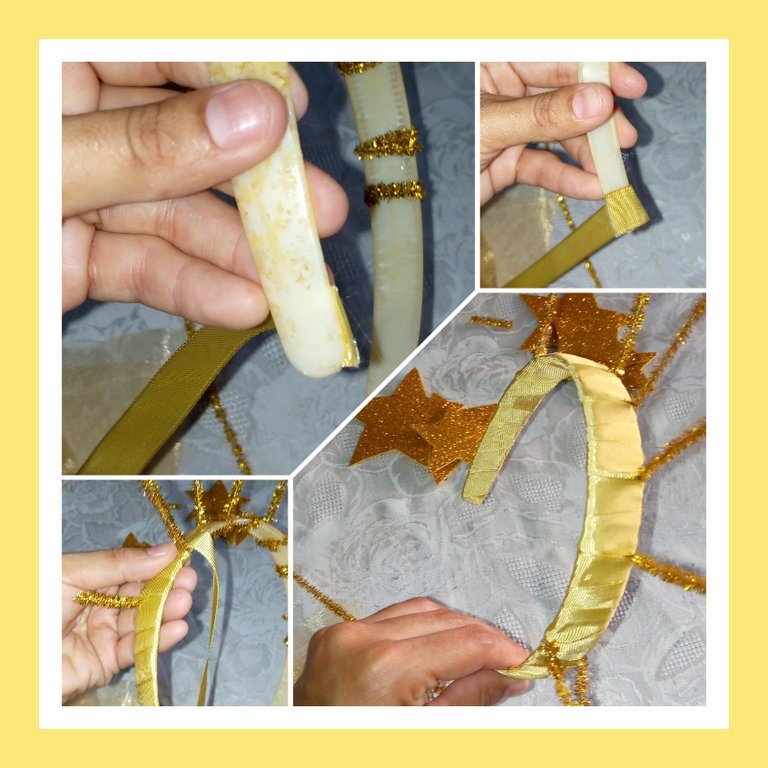
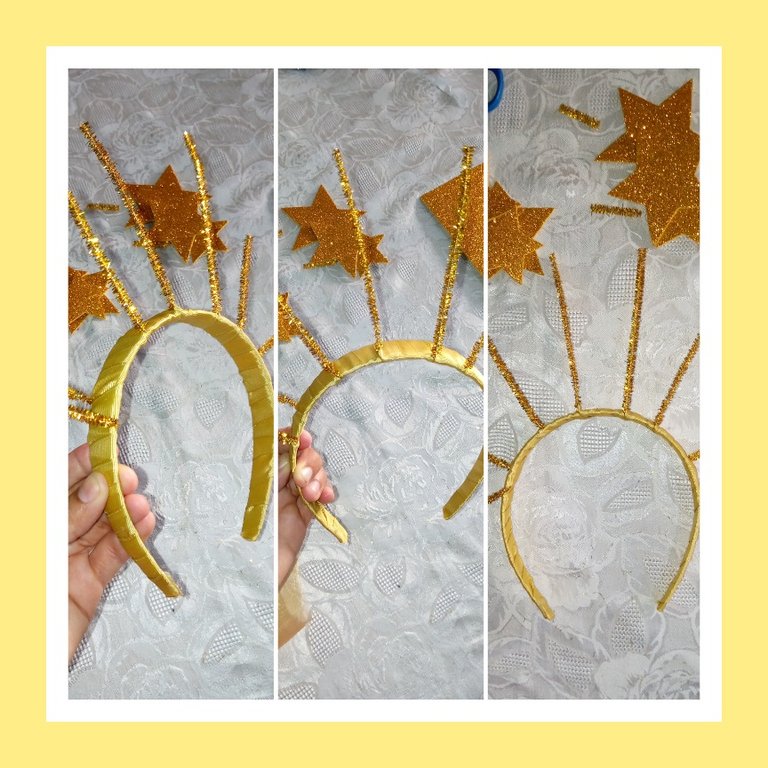
Colocaremos la cinta dorada para cubrir todo nuestro cintillo, taparemos los detalles de la parte superior y cubrimos bien los restos de chemiles que se notan por la parte inferior para evitar molestias al usarlo.
Step 4:
We will place the golden ribbon to cover all our headband, we will cover the details of the upper part and we will cover well the remains of chemiles that are noticeable at the bottom to avoid discomfort when using it.
Paso 5:
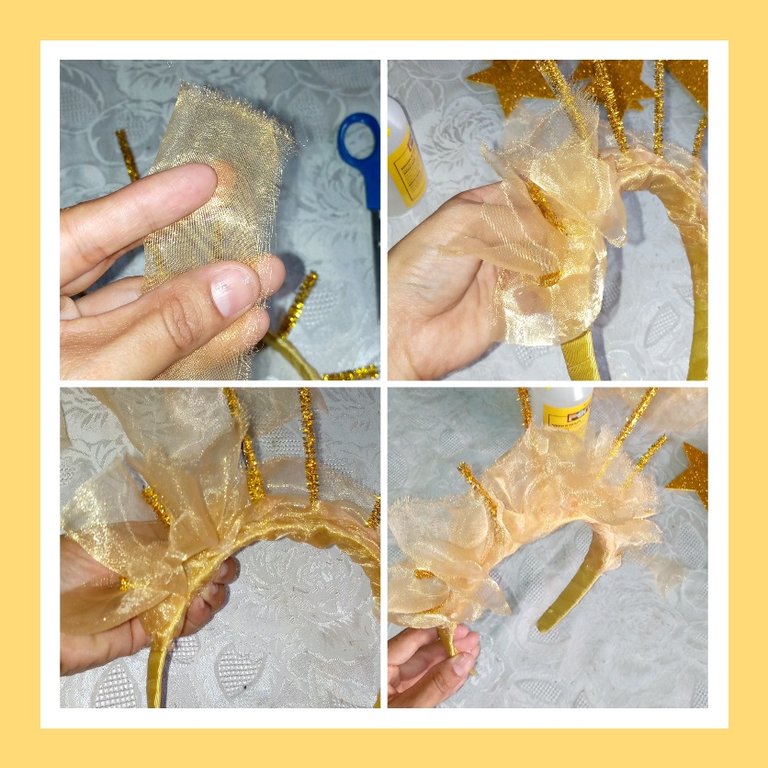
Al tener totalmente cubierto todo el cintillo con la cinta, recortaremos pequeños retazos de tela e iremos pegando con delicadeza para continuar dando forma a nuestra creación.
Step 5:
Once we have completely covered the entire headband with the ribbon, we will cut small pieces of fabric and we will glue them delicately to continue shaping our creation.
Paso 6:
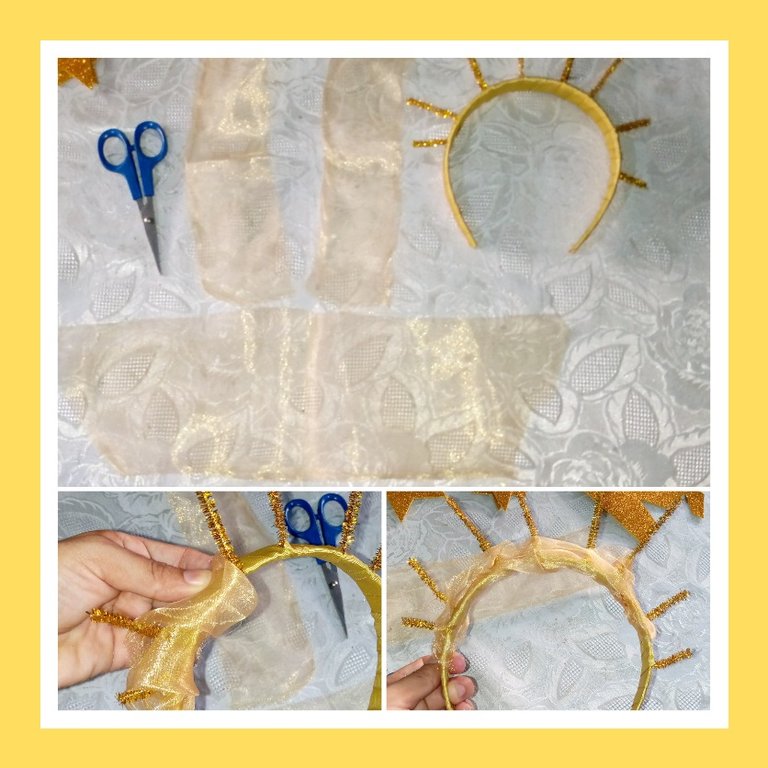
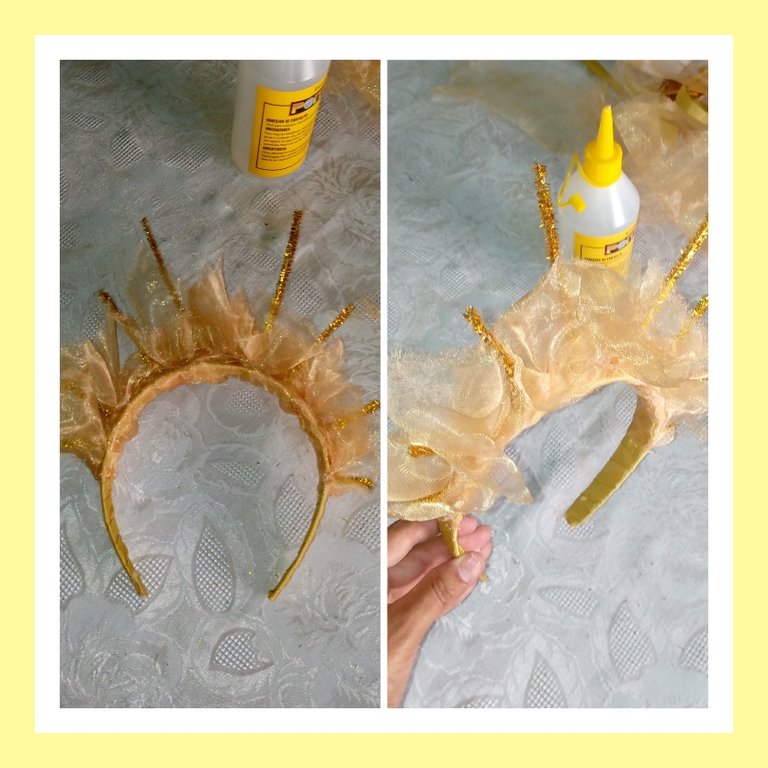
Recortamos pequeños cuadros de tela de tutú, doblamos en dos y pegamos al cintillo para dar más volumen.
Step 6:
Cut out small squares of tutu fabric, fold in two and glue to the headband to give more volume.
Paso 7:
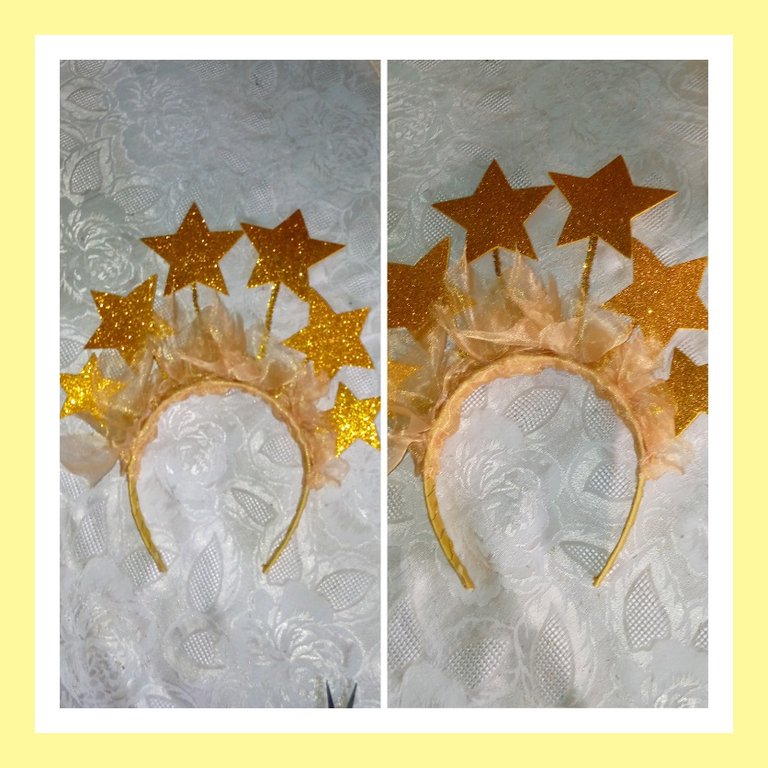
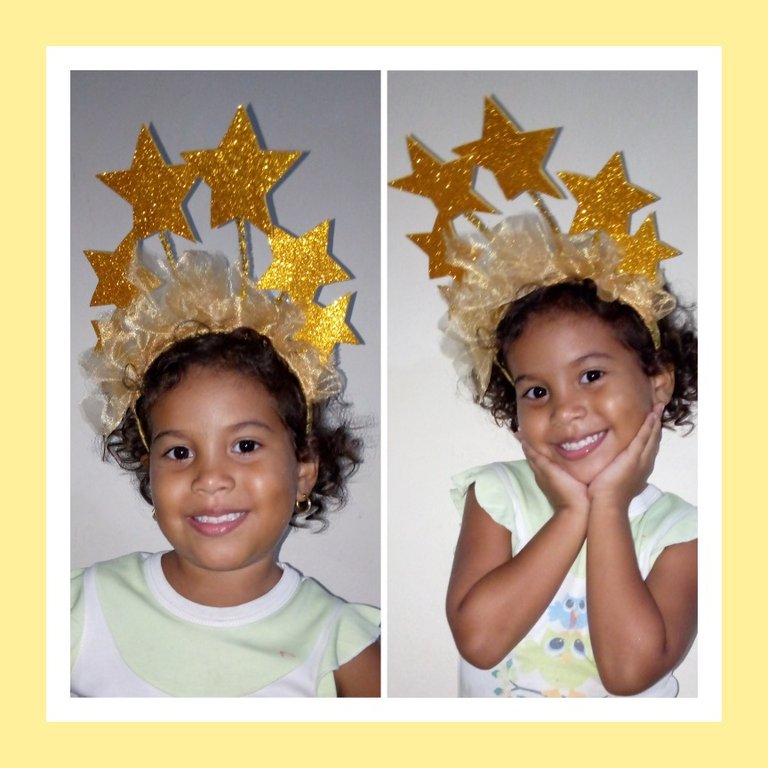
Por último pegamos las estrellas, y así obtenemos este hermoso cintillo. Cómo les comenté anteriormente lo usará mi hija para un baile de navidad en su escuela.
Step 7:
Finally we glue the stars, and so we get this beautiful headband. As I mentioned before, my daughter will use it for a Christmas dance at her school.
Gracias por visitar y leer mi post, espero sea de su agrado. Bendiciones para todos.
- Las fotos son de mi autoría y exclusivas para esta publicación.
- Teléfono Usado Tecno Spark 8C
- Editor de fotos Picsart app
- Traductor DeepL
***Thank you for visiting and reading my post, I hope you like it. Blessings to all ***.
- The photos are of my authorship and exclusive for this publication.
- Used Phone Tecno Spark 8C
- Photo editor Picsart app
- Translator DeepL

