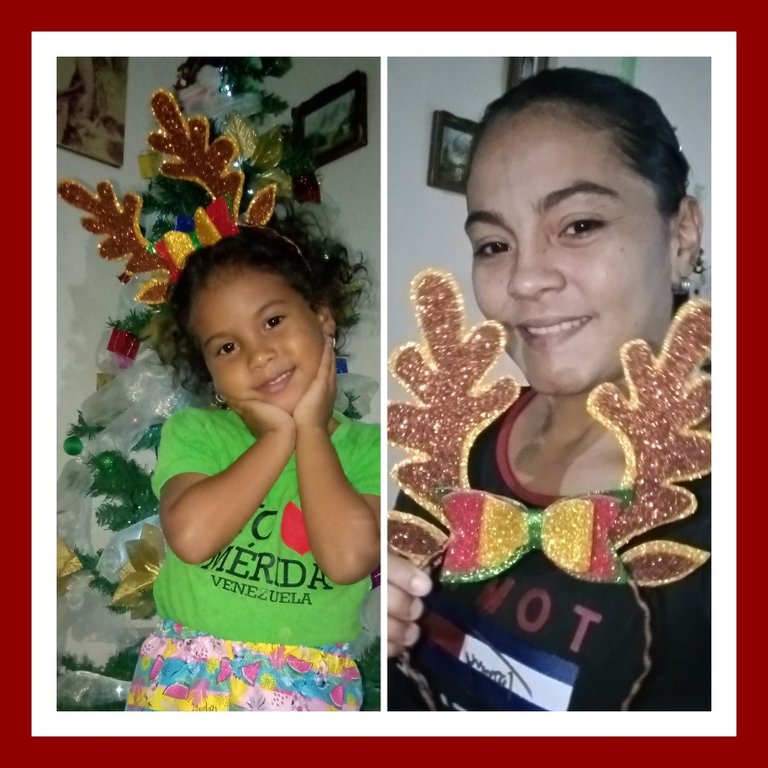
Saludos a todas las bellas personas de la comunidad de #hive y #hivediy, es un placer compartir nuevamente con ustedes, espero se encuentren todos bien.
Estamos en un mes de alegria, unión y compartir entre familiares y amigos, esta vez le tocó a mi pequeña niña asistir a su compartir de fin de año por lo tanto quise realizarle un cintillo con forma de reno, esto lo elabore de una forma rápido y súper fácil. Aquí comparto con ustedes el tutorial, los materiales a utilizar y el paso a paso para su elaboración.
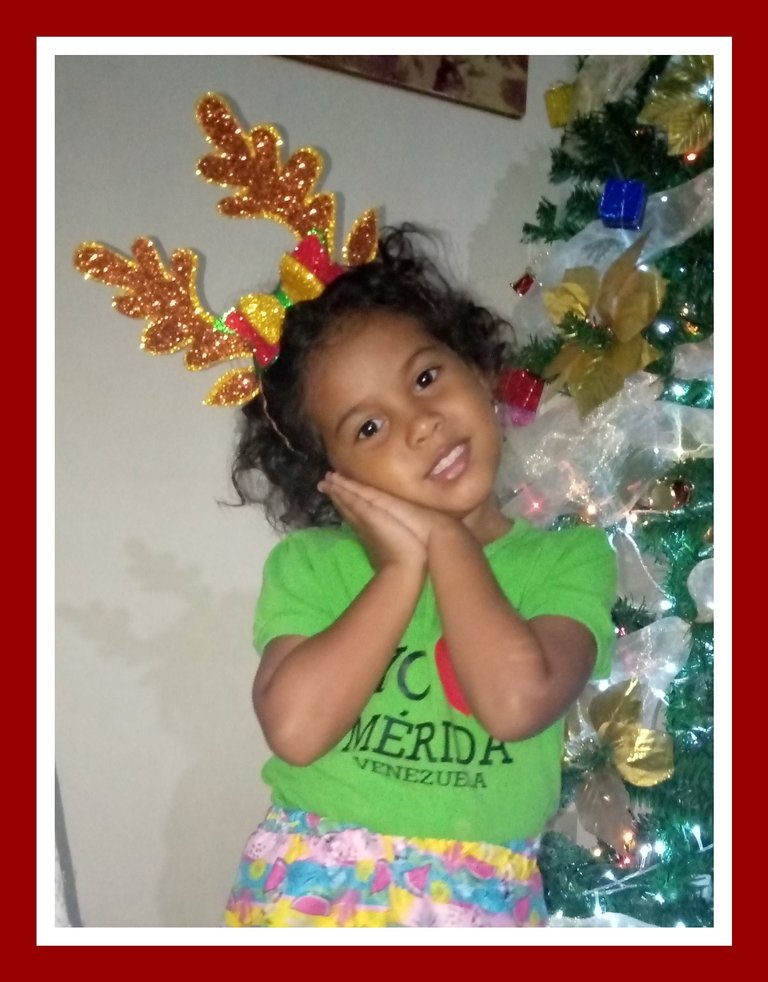
Greetings to all the beautiful people in the #hive and #hivediy community, it's a pleasure to share with you again, hope you are all well.
We are in a month of joy, togetherness and sharing among family and friends, this time it was my little girl's turn to attend her end of the year sharing, so I wanted to make her a reindeer headband, I made it in a quick and super easy way. Here I share with you the tutorial, the materials to use and the step by step for its elaboration.
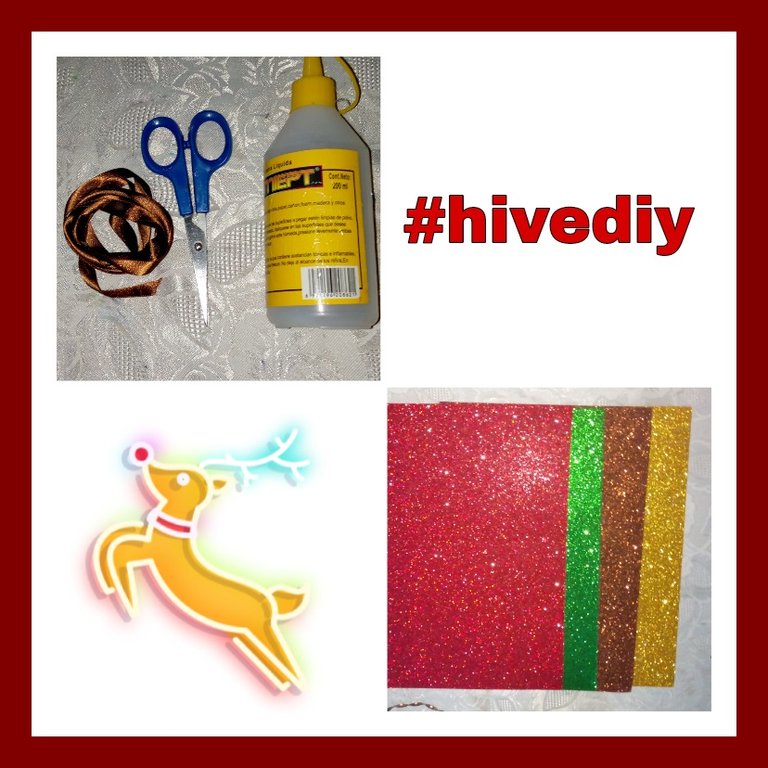
MATERIALES:
- Foami dorado escarchado
- Foami rojo escarchado
- Foami verde navidad escarchado
- Foami marrón escarchado
- Cinta marrón de 1cm
- Silicón líquido
- Molde o base de cintillo
MATERIALS
- Gold frosted foami
- Red frosted foami
- Christmas green frosted foami
- Frosted brown foami
- 1cm brown ribbon
- Liquid silicone
- Mold or headband base
PASO A PASO:
STEP BY STEP:
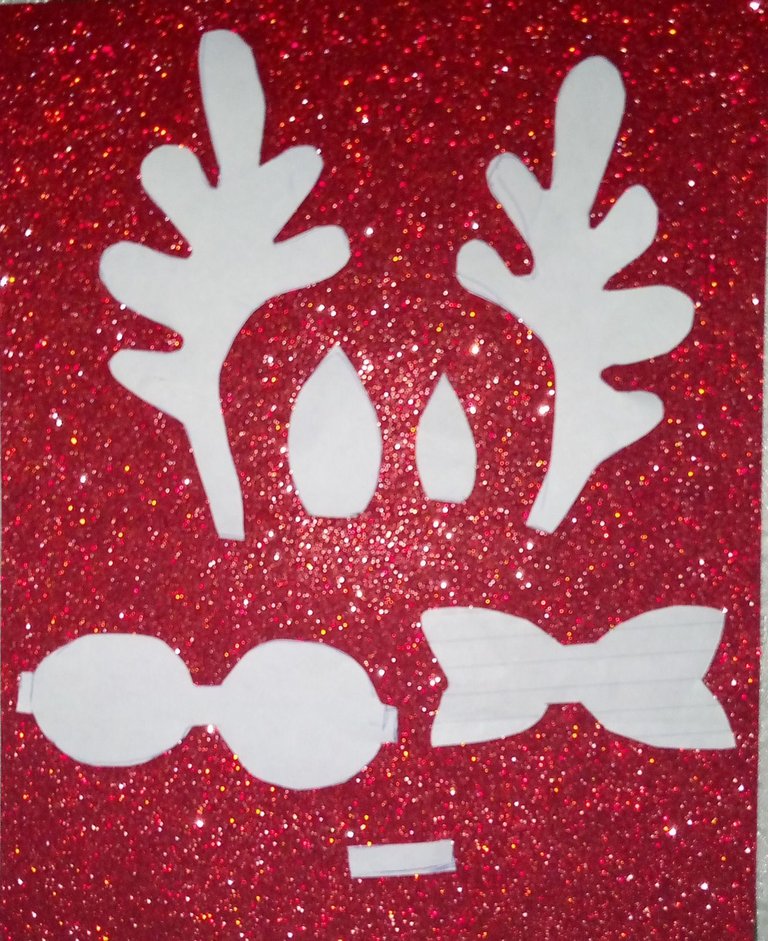
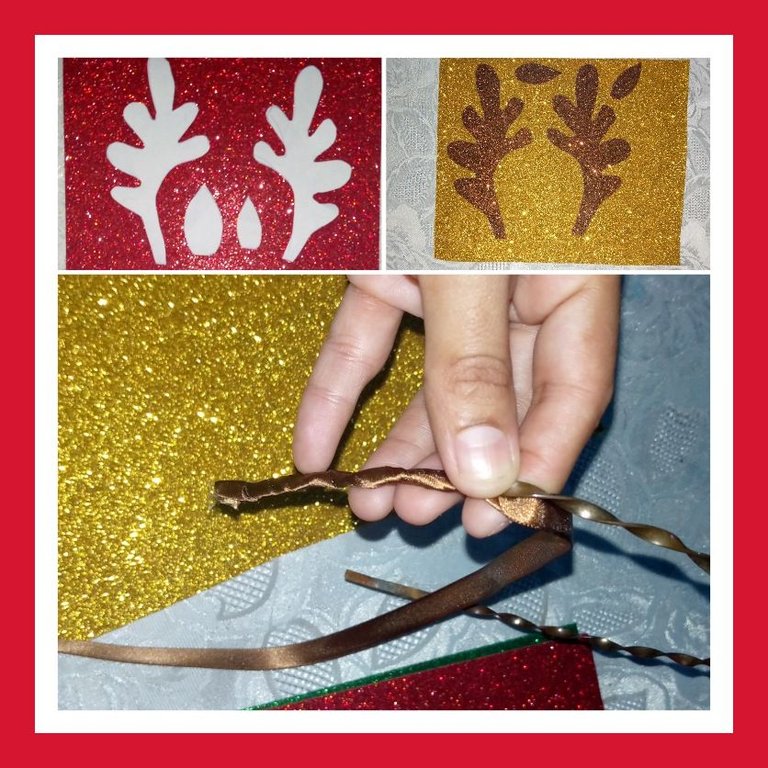
PASO 1:
Marcamos y recortamos los patrones a utilizar.
STEP 1:.
Mark and cut out the patterns to be used.
PASO 2:
Marcamos los cuernos y las orejas en el foami marrón, recortamos y pegamos de una vez en el foami dorado para así realizarle un borde brillante. El mismo proceso haremos con las orejas.
STEP 2:.
We mark the horns and ears on the brown foami, cut them out and glue them at once on the golden foami to make a shiny edge. The same process will be done with the ears.
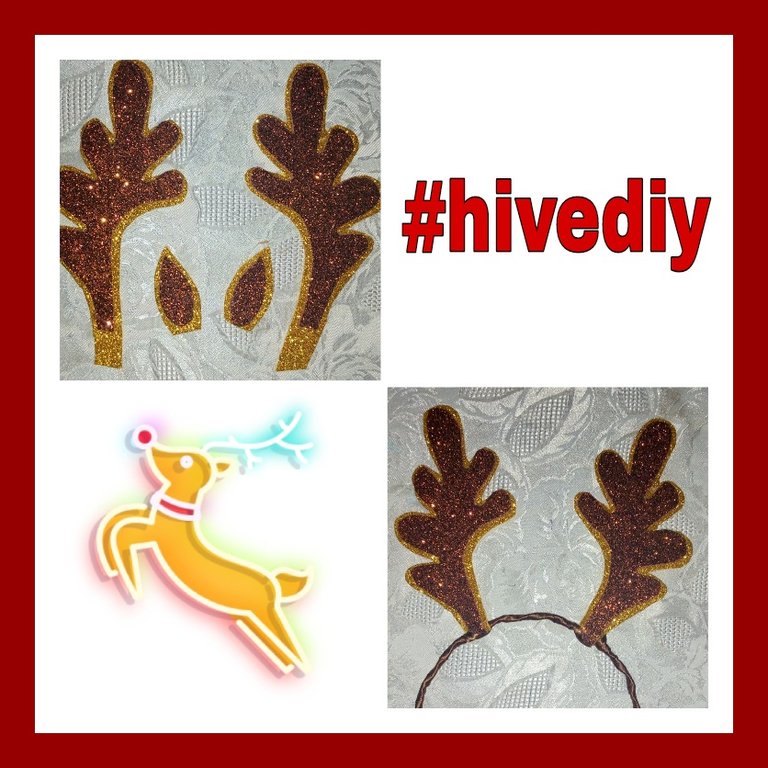
PASO 3:
Una vez listo los cuernos y orejas, procedemos a pegar en el cintillo y forramos para sellar cualquier detalle que haya quedado. Así quedaría
STEP 3:.
Once the horns and ears are ready, we proceed to glue them to the headband and seal any remaining details. This is how it would look like
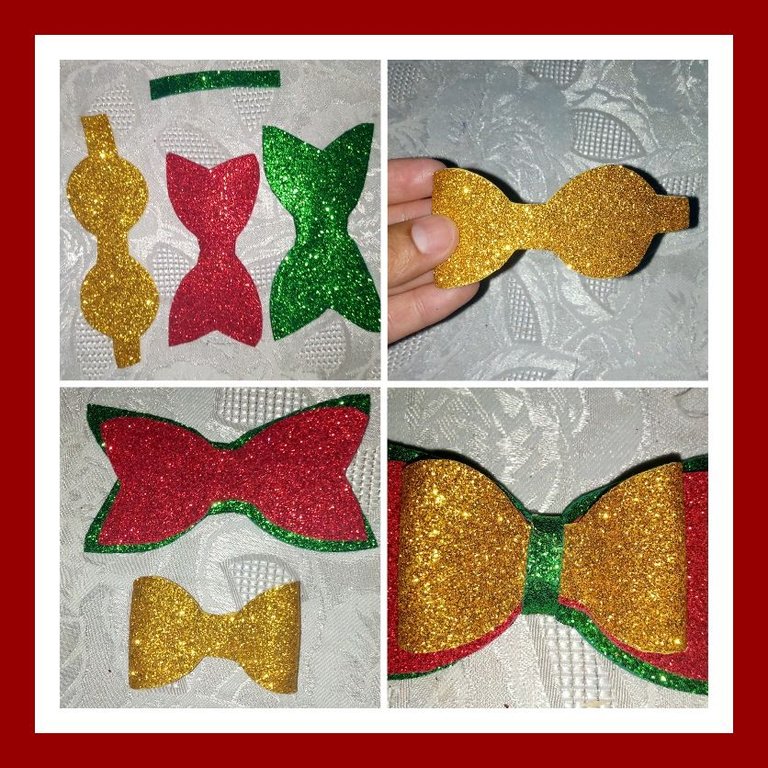
PASO 4:
Marcamos y recortamos los distintos patrones para el lazo, pegamos y damos forma al mismo, una vez listo pegamos a nuestro cintillo. Y así obtenemos este lindo resultado.
STEP 4:.
We mark and cut out the different patterns for the ribbon, we glue and shape it, once ready we glue it to our headband. And so we get this nice result.
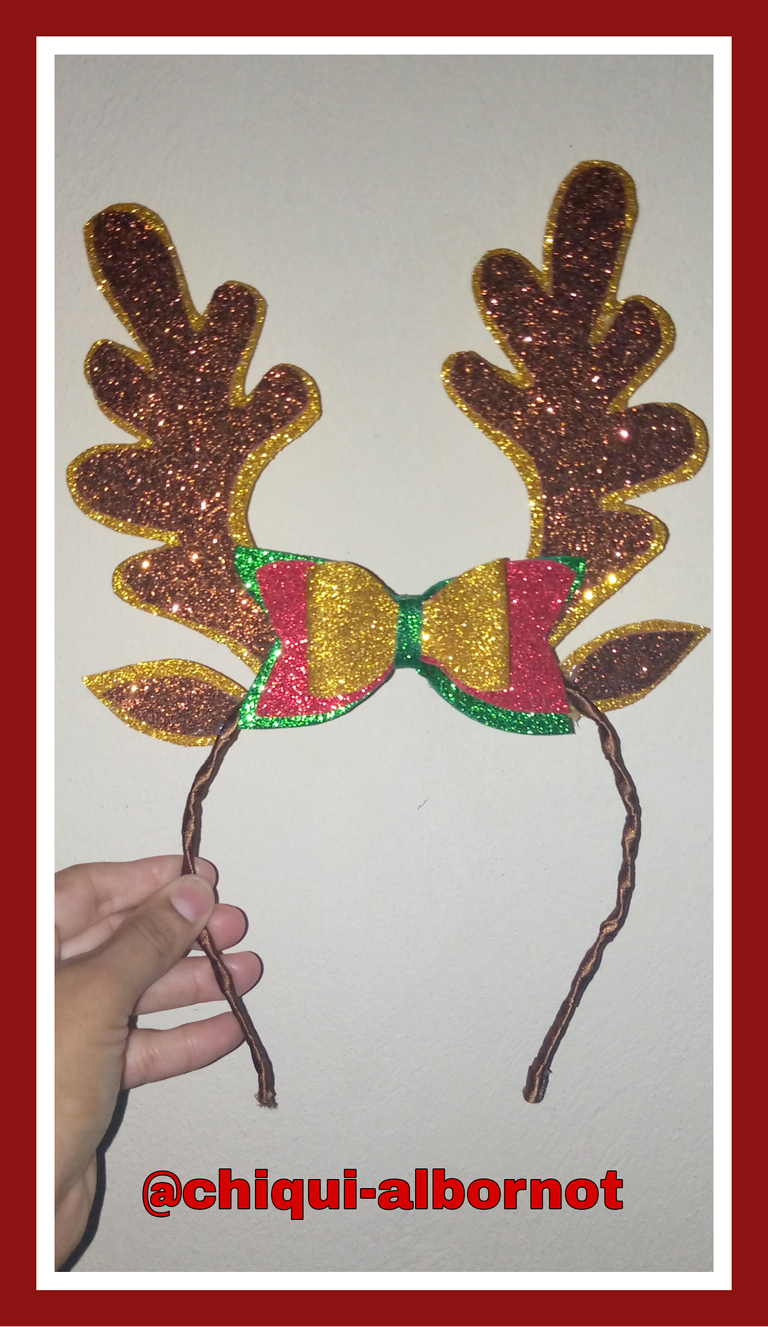
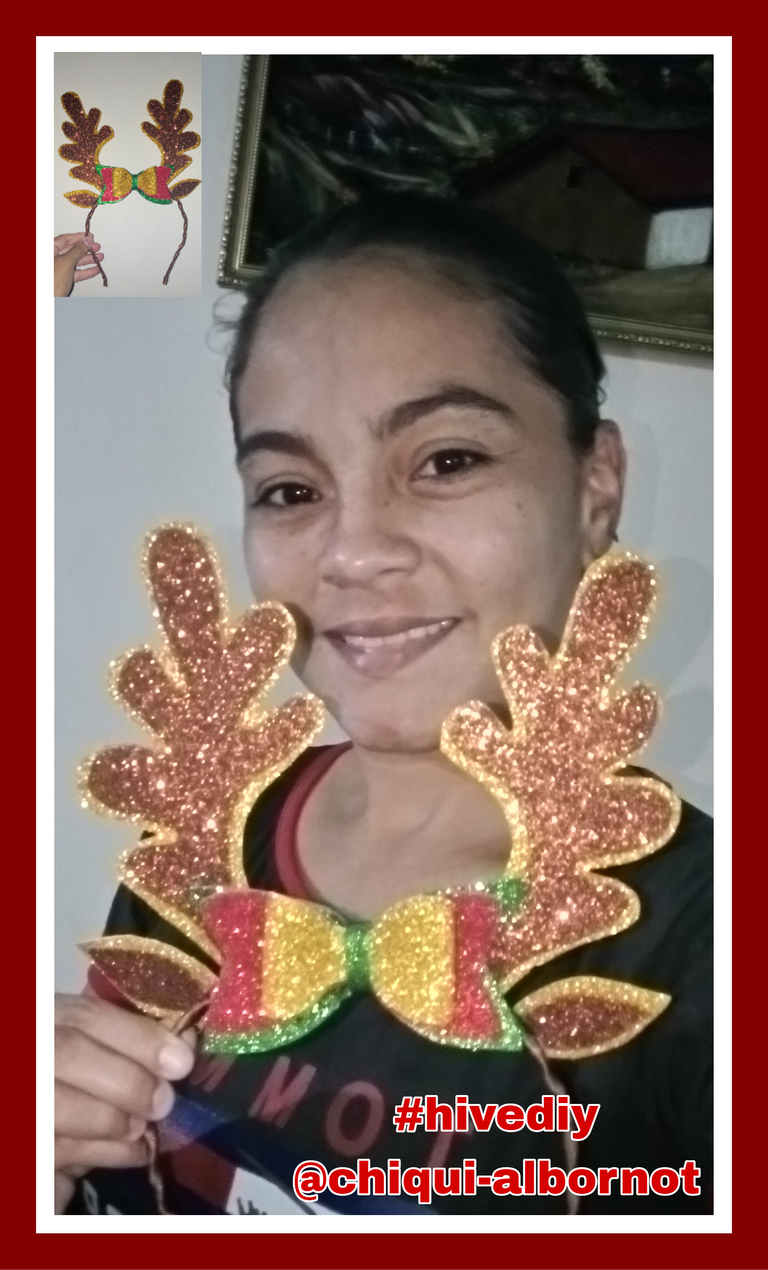
Espero les haya gustado mi trabajo, pónganlo en práctica en caso, les aseguro que es una idea súper fácil y práctica para elaborar tu propio cintillo navideño con motivo de reno.
Gracias por visitar y leer mi publicación, espero sea de su agrado. Bendiciones y éxitos para todos ❤️
- Las fotos son de mi autoría y exclusivas para esta publicación.
- Teléfono Usado: Tecno Spark 8C.
- Editor de fotos Picsart app
- Traductor DeepL.com
I hope you liked my work, put it into practice in case, I assure you that it is a super easy and practical idea to make your own Christmas headband with reindeer motif.
Thank you for visiting and reading my publication, I hope you like it. Blessings and success to all ❤️
- The photos are of my authorship and exclusive for this publication.
- Phone Used: Tecno Spark 8C.
- Photo editor Picsart app
- Translator DeepL.com


