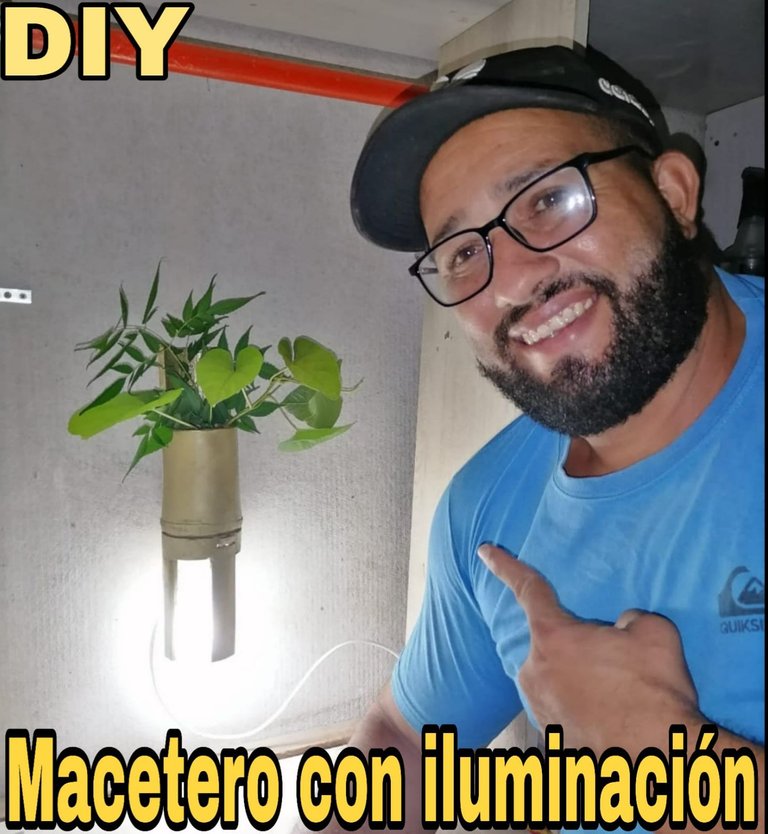
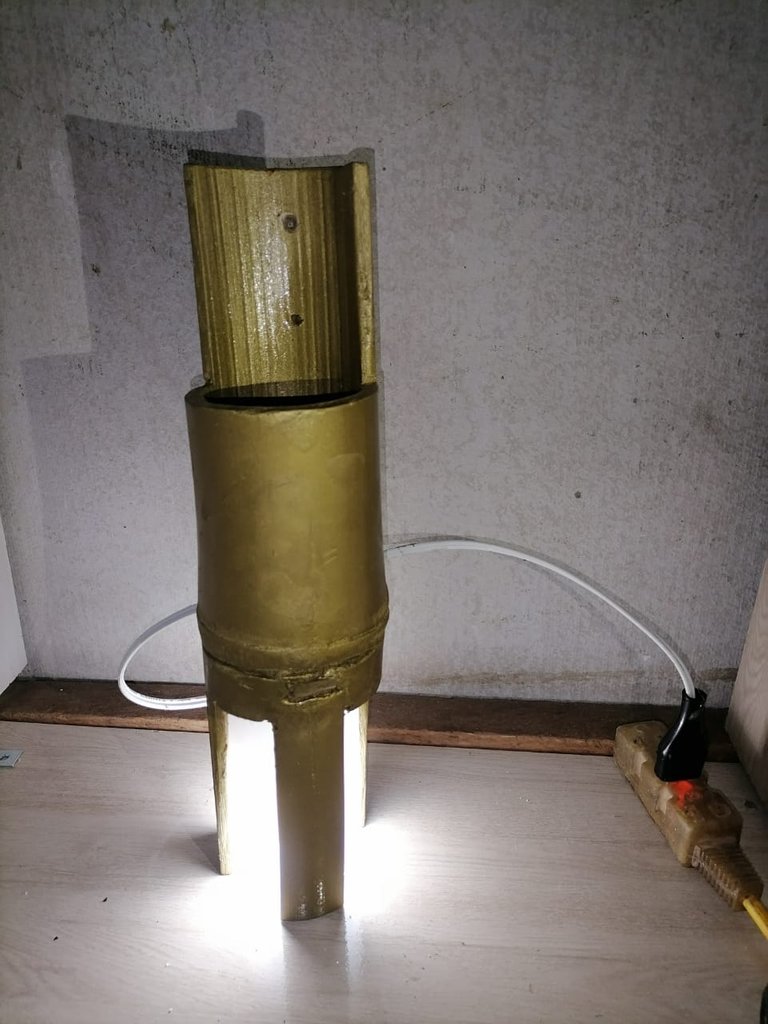
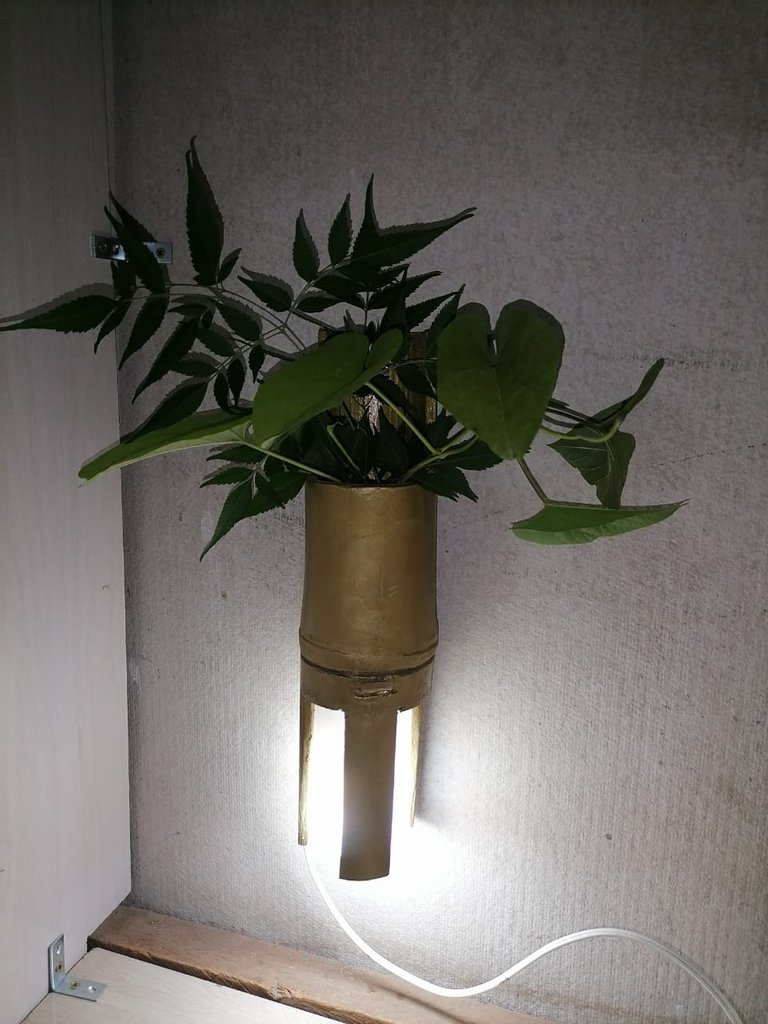
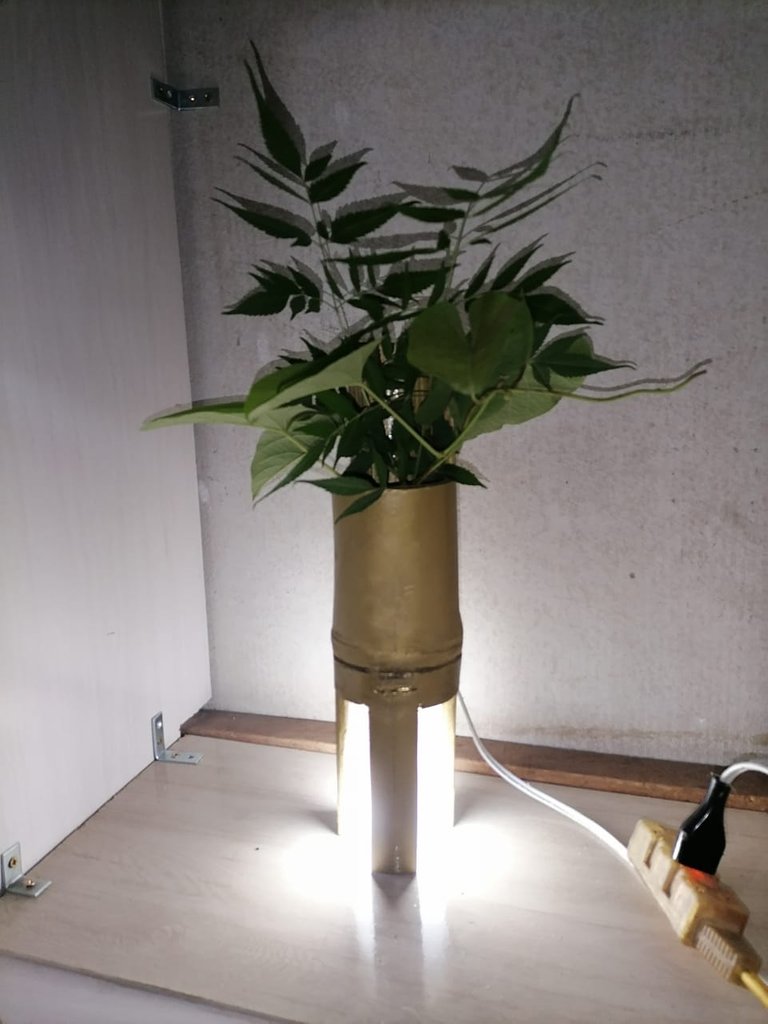
Antes que nada muchas bendiciones para todos los integrantes de esta hermosa comunidad cómo lo es #Hive-diy, una vez más con todos ustedes, en esta oportunidad con la elaboración de un Macetero con iluminación, ideal para ambientar cualquier espacio de su preferencia ya que lo puedes usar colgado o sobre una mesa.
First of all many blessings to all members of this beautiful community how is #Hive-diy, once again with all of you, this time with the development of a planter with lighting, ideal for setting any space of your choice because you can use it hanging or on a table.
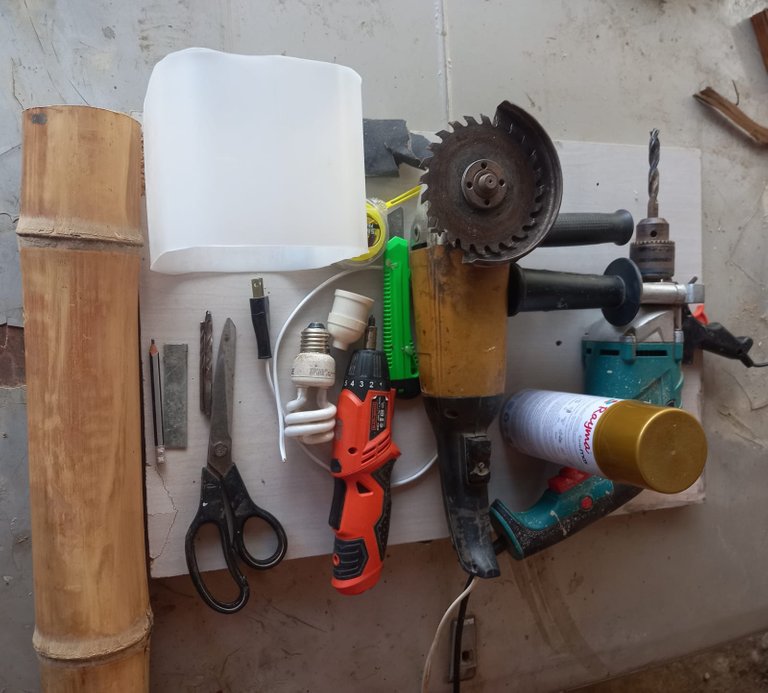
Para la elaboración de esta lámpara necesitaremos los siguientes materiales:
To make this lamp we will need the following materials:
- Un pedazo de bambú.
- 60 cm de cable, calibre 14 y 4mm2.
- Un pedazo de plástico semitransparente.
- Pintura en aerosol dorada.
- 1 enchufe 🔌.
- 1 Socate.
- 1 Bombillo.
- Taladro con broca para madera
- Esmeril.
- Una platina de 8cm.
- Desarmador de estrella.
- Pistola de Silicón.
- Lápiz .
- Metro.
- Lija 120.
- Exacto.
- A piece of bamboo.
- 60 cm of wire, 14 gauge and 4mm2.
- A piece of semi-transparent plastic.
- Gold spray paint.
- 1 plug 🔌.
- 1 socket.
- 1 light bulb.
- Drill with wood drill bit
- Grinder.
- An 8cm. platen.
- Star screwdriver.
- Silicone gun.
- Pencil.
- Tape measure.
- Sandpaper 120.
- Exactly.
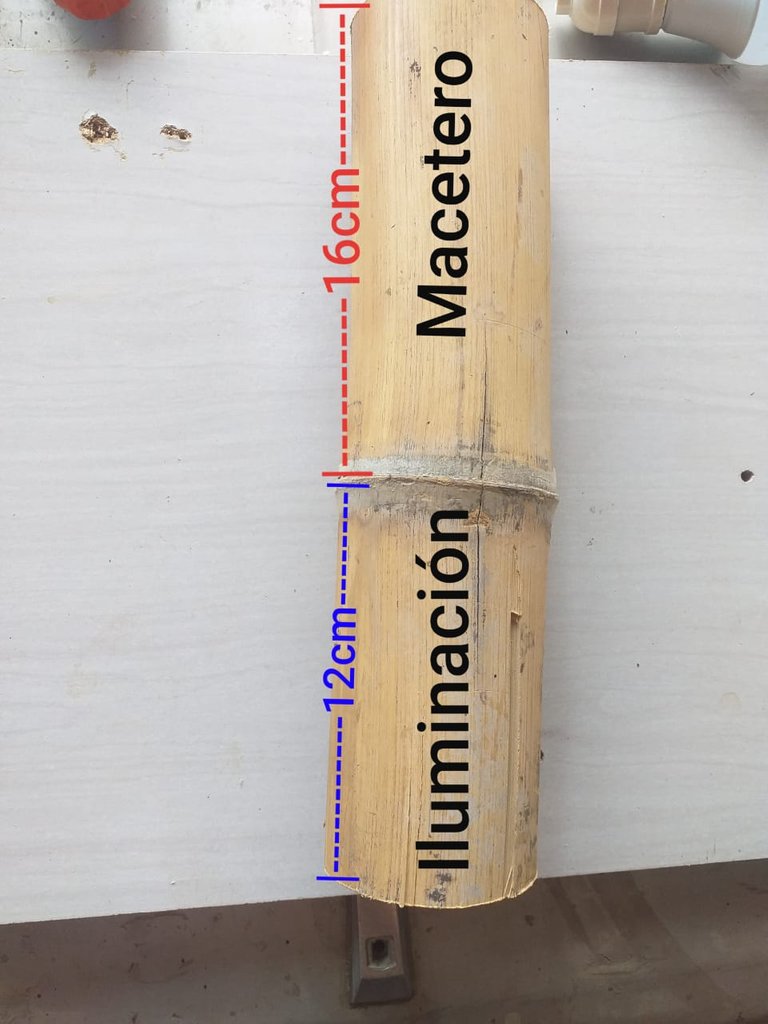
Lo primero que hacemos es cortar un cilindro de bambú de aproximadamente 28 cm de largo, 16cm para el macetero y 12cm para la iluminación, teniendo como punto de referencia la unión o el anillo del bambú.
The first thing we do is to cut a bamboo cylinder approximately 28 cm long, 16cm for the planter and 12cm for the lighting, having as a reference point the bamboo joint or ring.
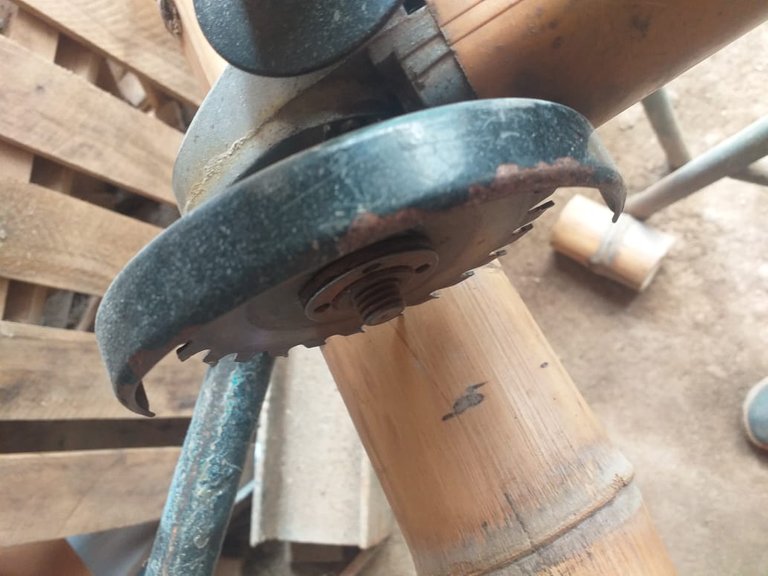
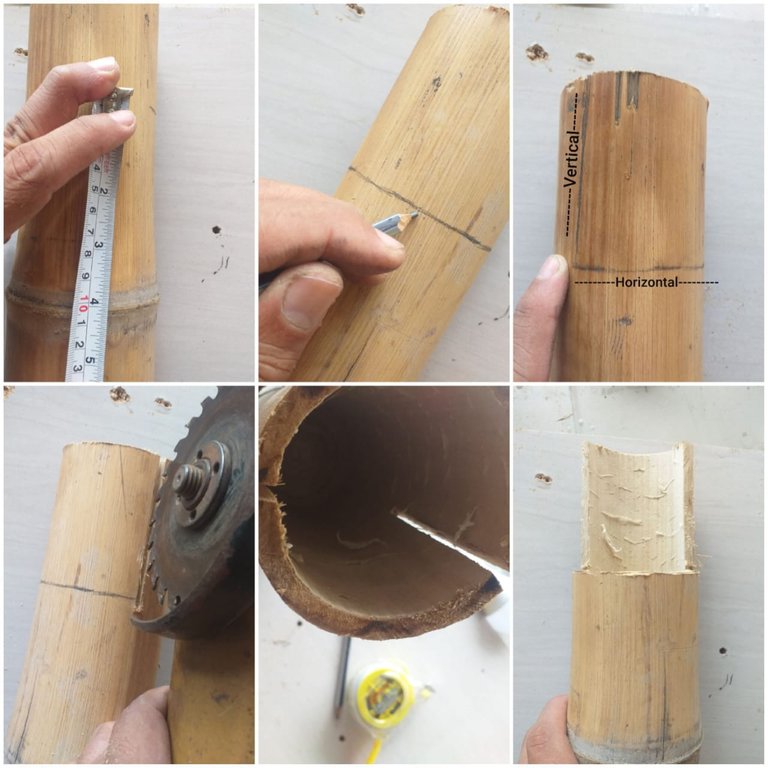
Comenzaremos con la fabricación del macetero, para esto mediremos 10cm desde la unión del bambú hacia la parte superior, trazamos una línea de manera horizontal hasta la mitad de la circunferencia del cilindro y otra de manera vertical hasta llegar a la parte superior del bambú y cortamos con el esmeril por donde marcamos.
We will begin with the manufacture of the pot, for this we will measure 10cm from the junction of the bamboo to the top, we draw a line horizontally to the middle of the circumference of the cylinder and another vertically to reach the top of the bamboo and cut with the emery where we marked.
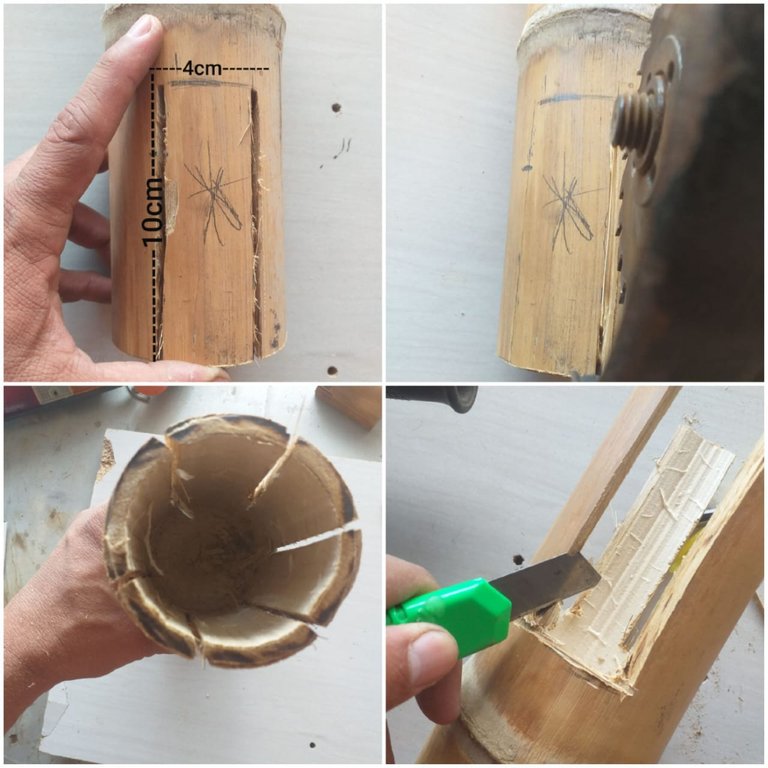
Luego procedemos a hacer la parte de la iluminación y para esto marcamos tres rectángulos de 10cm de alto por 4cm de ancho, dejando un espacio de 4cm entre cada uno de ellos, cortamos con el esmeril por donde marcamos y damos un mejor acabado con el exacto.
Then we proceed to make the lighting part and for this we mark three rectangles of 10cm high by 4cm wide, leaving a space of 4cm between each of them, we cut with the emery where we marked and give a better finish with the exact one.
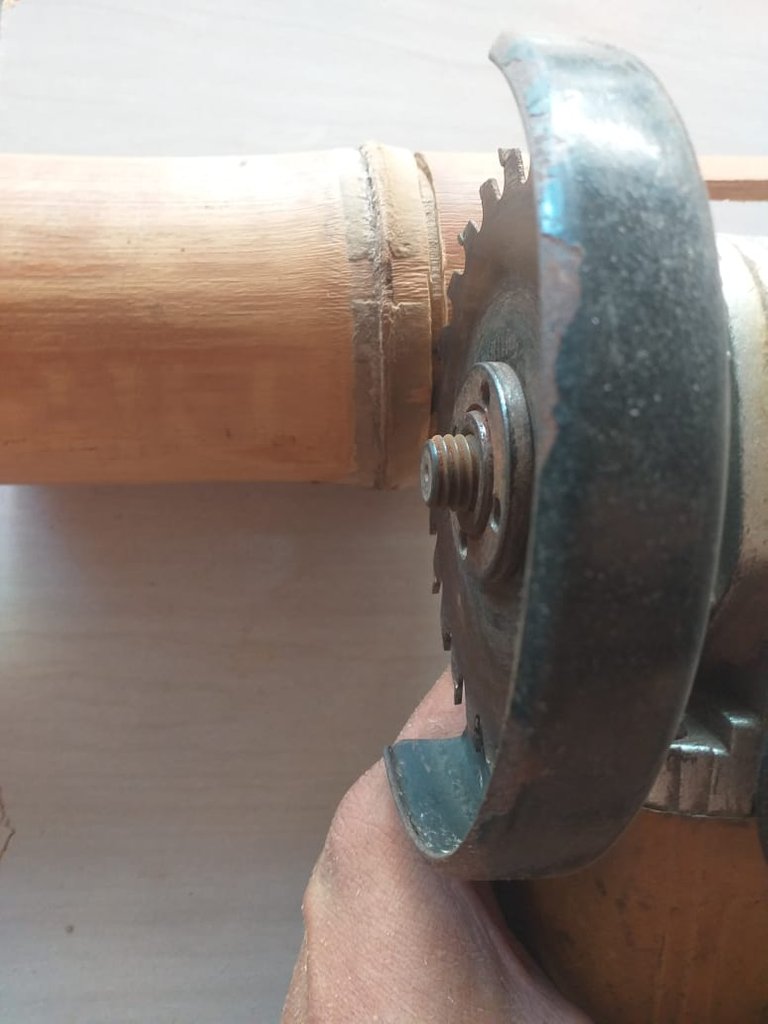
Después haremos con el esmeril una línea por toda la circunferencia del bambú, debajo del anillo, es decir, por encima de las secciones recortadas para que nos quede como un diseño.
Then we will make a line with the emery along the entire circumference of the bamboo, below the ring, that is to say, above the cut out sections so that it will look like a design.
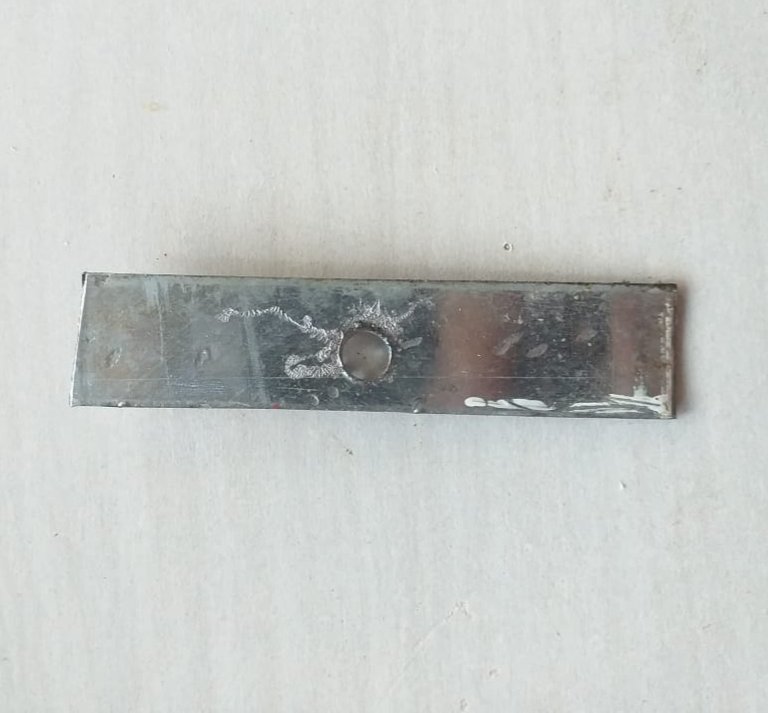
Con el taladro haremos un agujero en el centro de la platina para pasar por allí el cable de corriente.
With the drill we will make a hole in the center of the platen to pass the power cable through it.
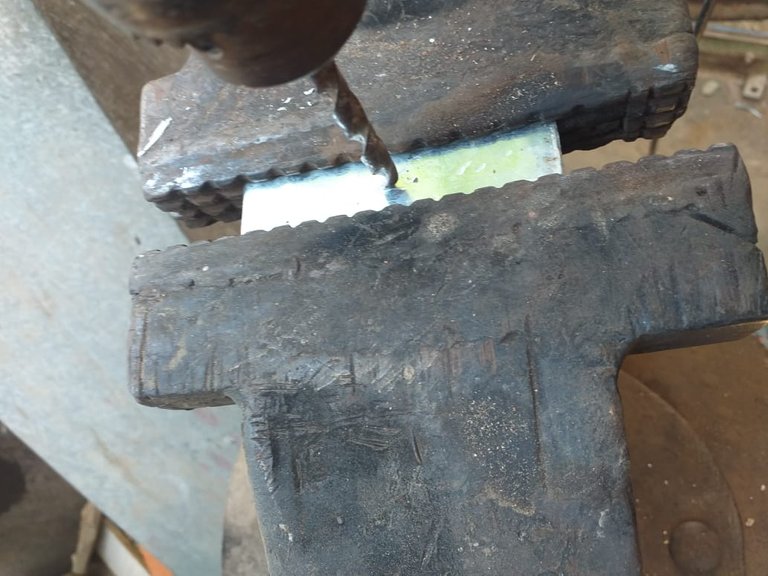
Ahora haremos dos ranuras de 2cm, en dos de los lados de la circunferencia del bambú, específicamente 1cm debajo de la unión para introducir por allí la platina y hacer el soporte del bombillo.
Now we will make two 2cm slots on two sides of the circumference of the bamboo, specifically 1cm below the joint to introduce the plate and make the support of the bulb.
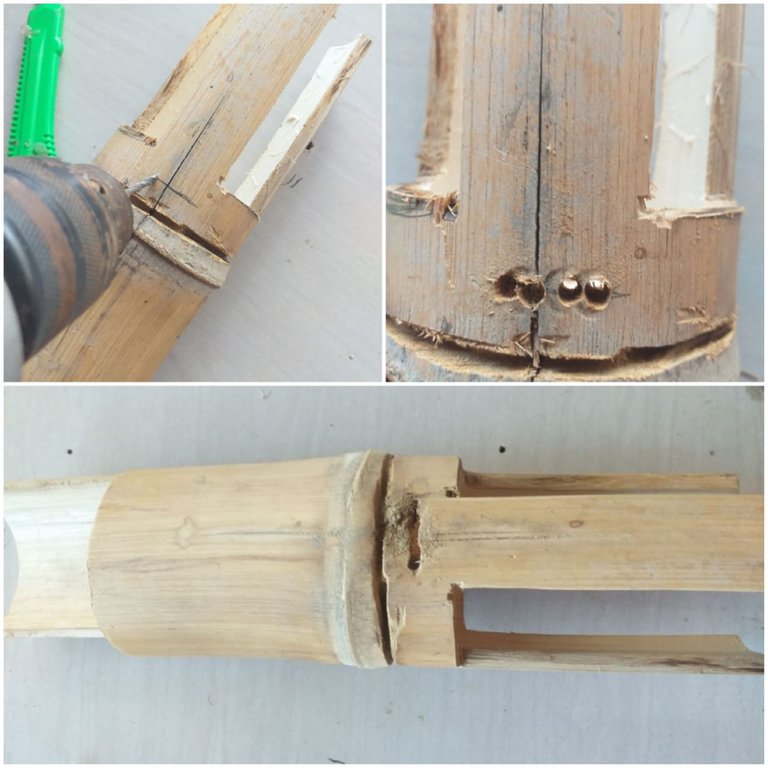
Como el bombillo va por dentro del bambú, debemos hacer un agujero que sirva de entrada y salida del cable de corriente, éste agujero lo haremos con el taladro cerca de una de las dos ranuras, además hacemos dos huecos pequeños en la parte superior del macetero para colgarlo.
As the bulb goes inside the bamboo, we must make a hole that serves as an entry and exit of the power cord, this hole will do it with the drill near one of the two slots, we also make two small holes in the top of the pot to hang it.
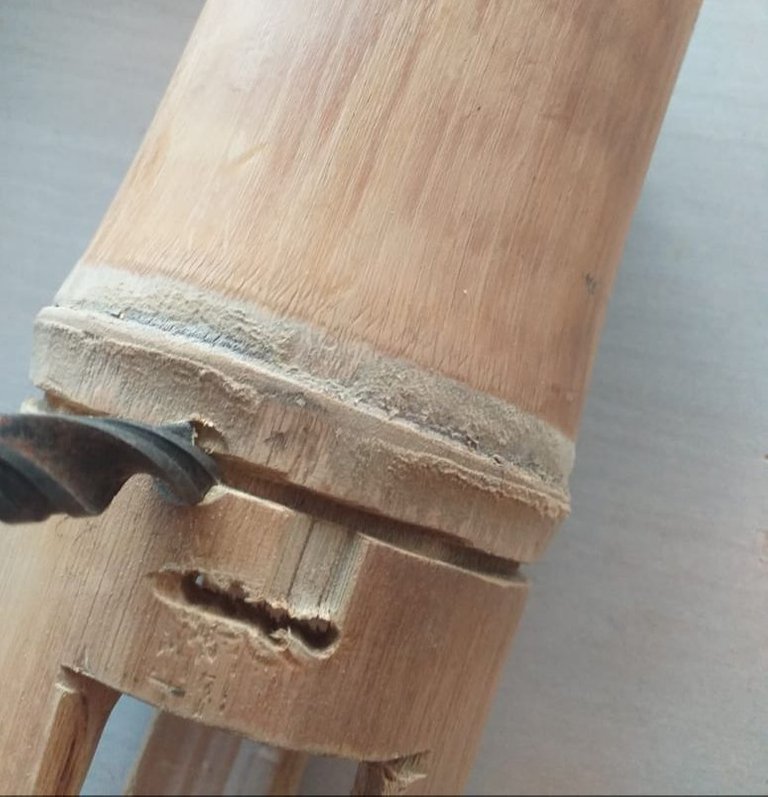
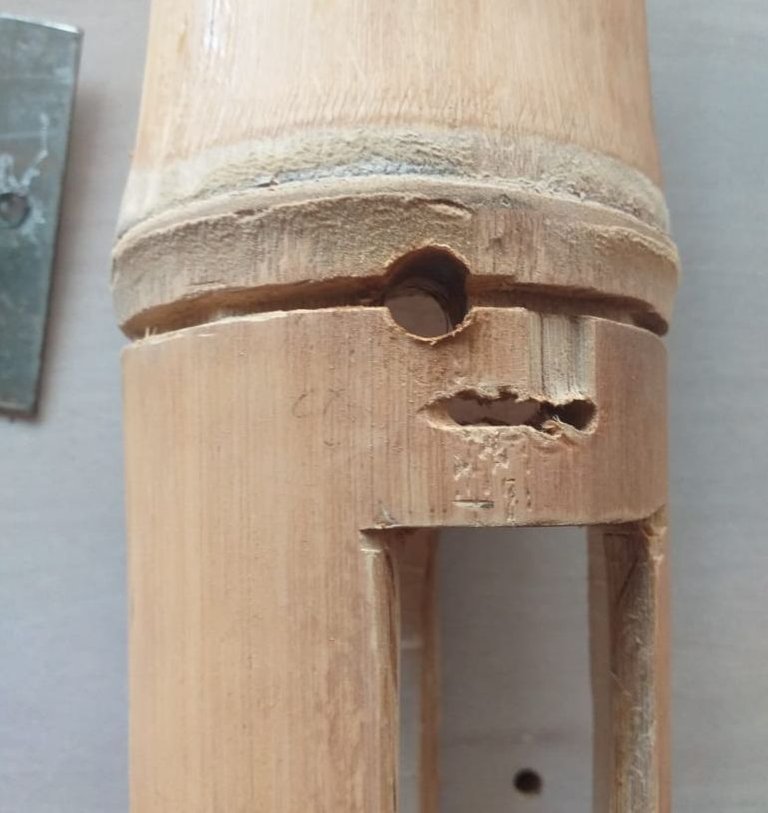
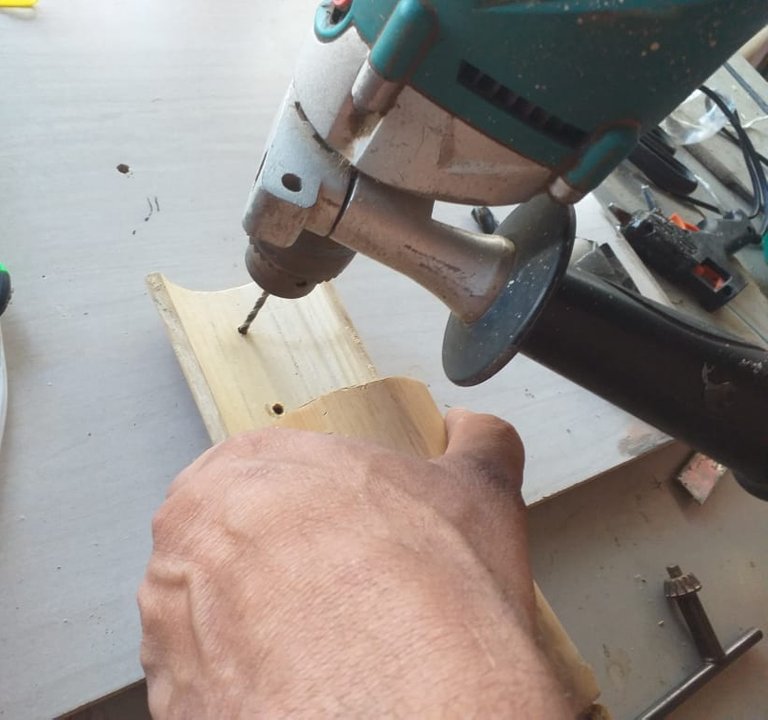
Después de haber hecho los agujeros, lijamos todo y pintamos con pintura en aerosol dorada.
After the holes are drilled, we sand everything and paint with gold spray paint.
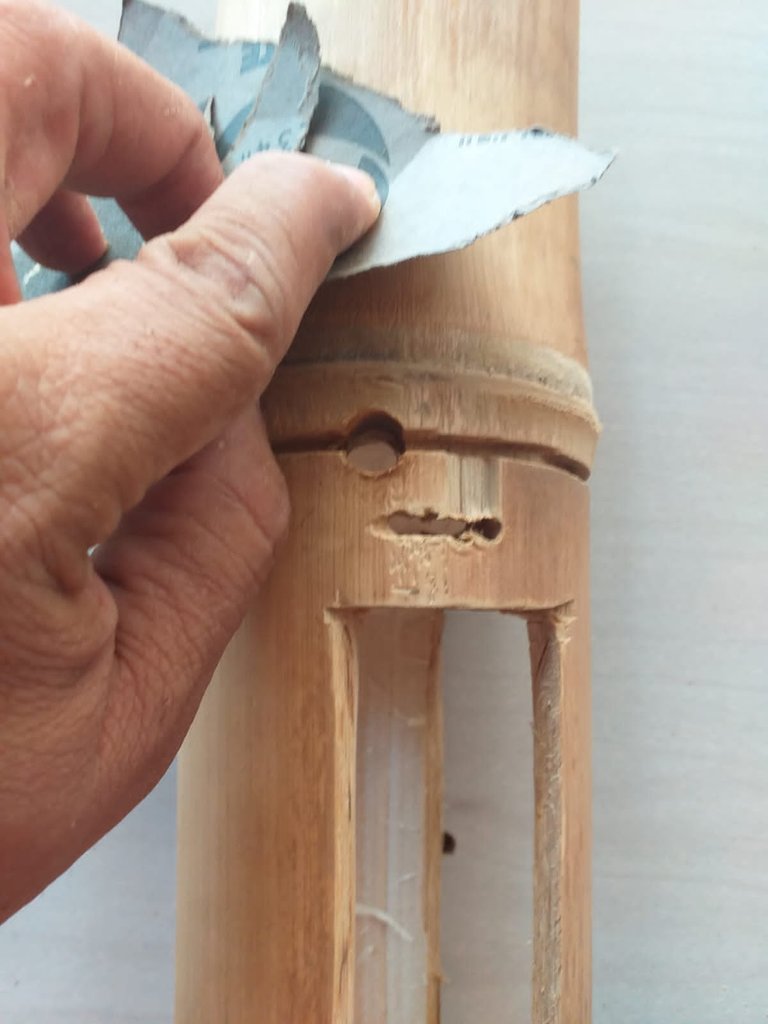
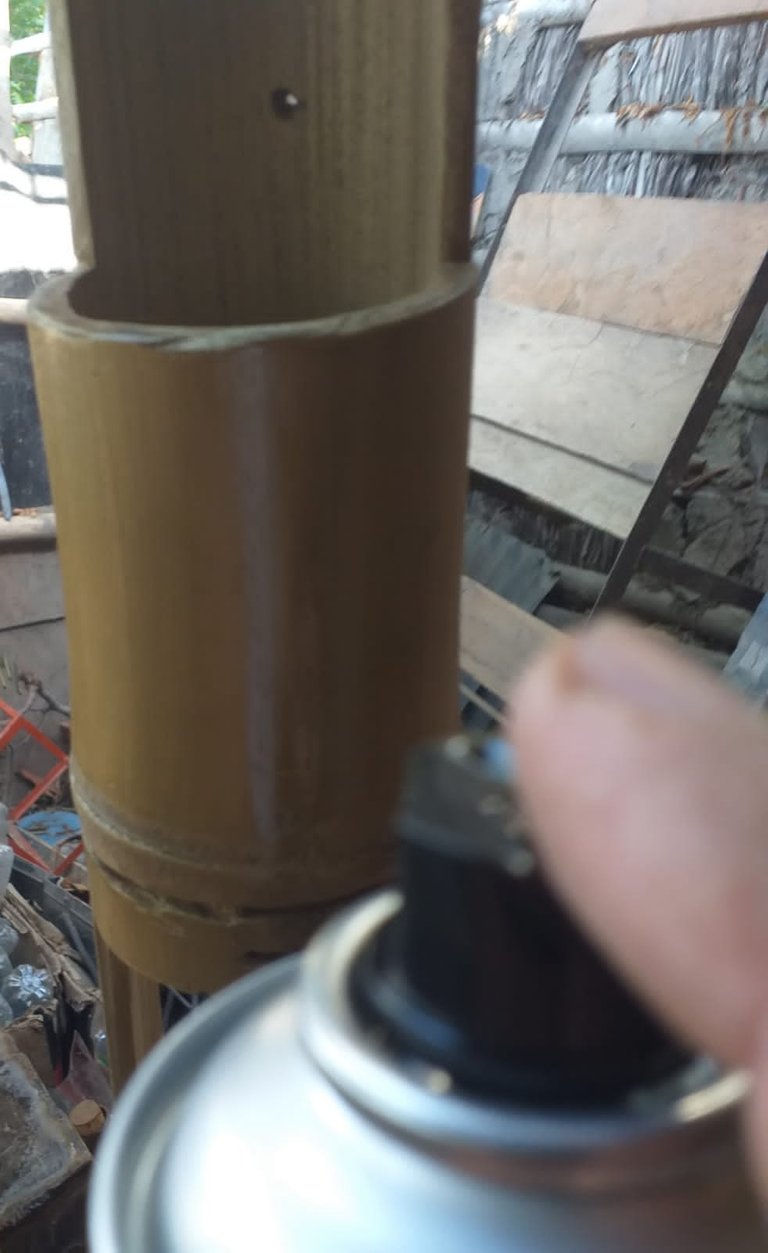
Ahora comenzaremos a armar todo el sistema de la iluminación del macetero, de la siguiente manera:
Now we will begin to assemble the whole lighting system of the pot, as follows:
- Introducimos el cable por el agujero del bambú hacia dentro.
- We insert the wire through the hole in the bamboo inwards.
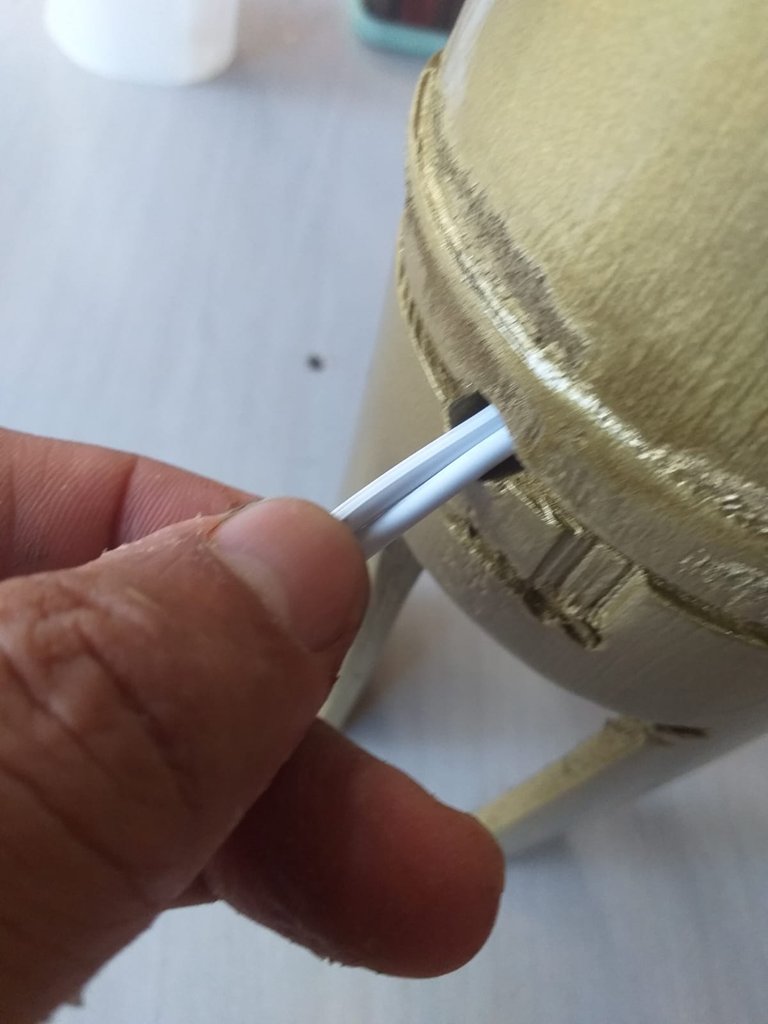
- Luego lo metemos por el agujero de la platina.
- Then we put it through the hole of the plate.
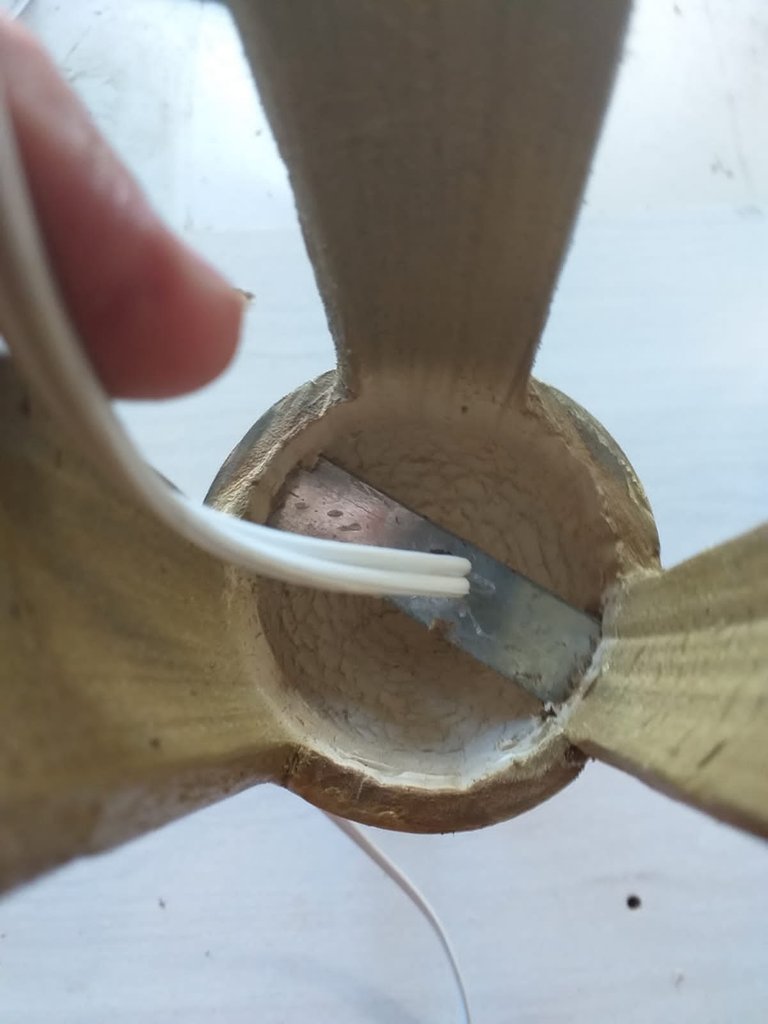
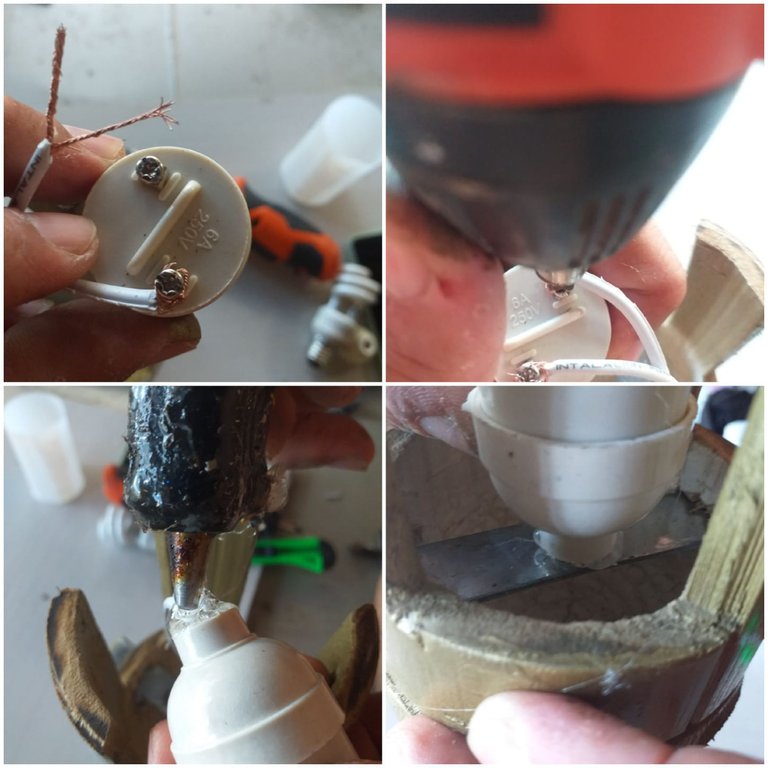
- hacemos la conexión del sócate y lo fijamos con silicón en la platina.
- we make the socket connection and fix it with silicone on the plate.
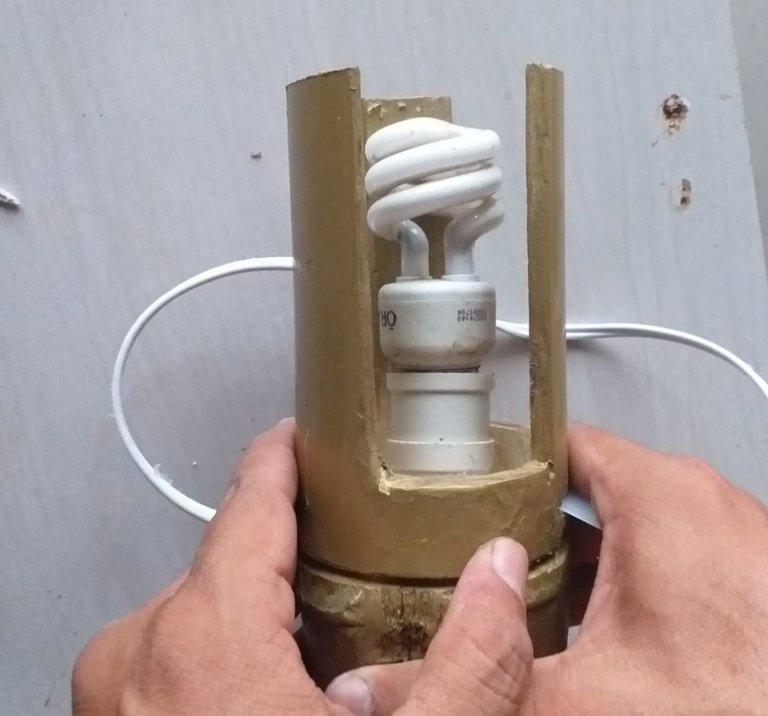
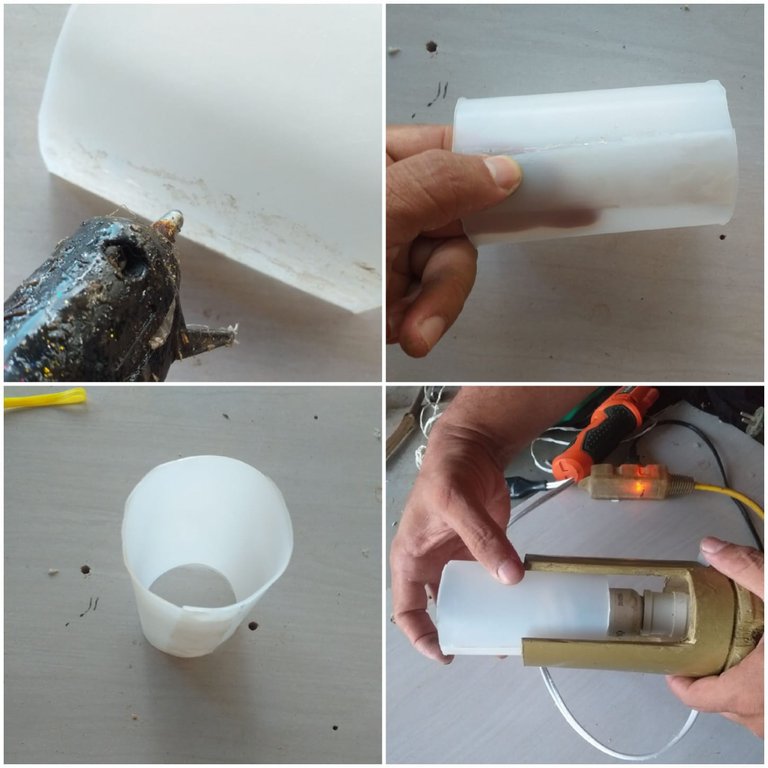
Cortamos un rectángulo de plástico y unimos sus extremos con silicón, hasta formar un silindro, el cual pegaremos por dentro del bambú para crear las pantallas de la iluminación.
We cut a rectangle of plastic and join its ends with silicone to form a silinder, which we will glue inside the bamboo to create the lampshades for the lighting.
Gracias apreciado amigo lector por quedarte hasta el final de éste tutorial, espero te haya gustado. MUCHAS BENDICIONES.
Thank you dear reader friend for staying until the end of this tutorial, I hope you liked it. MANY BLESSINGS.
Traducción: www.Deepl.com.
Edición de imagen: Picsar.
Todas las fotos son de mi autoría.(cámara del teléfono Samsung J4 plus).


