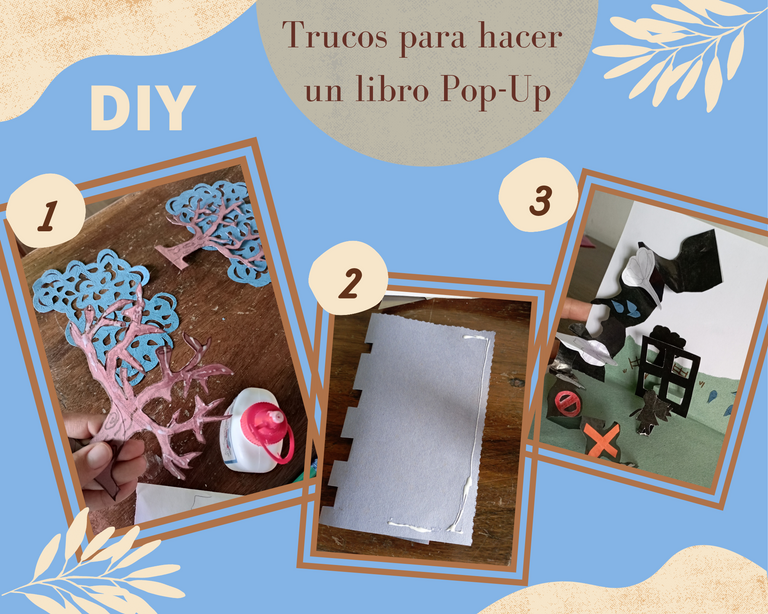
¡Saludos a todos mis amigos amantes de las artes manuales! Hace unos días escribí un cuento corto para participar en la 🎉🎈1ra FIESTA AZUL EN HIVE🎈🎉, a la que los invito a todos a participar, para ilustrar mi cuento hice un pequeño libro Pop-Up del cual me gustaría compartir algunos trucos para que las páginas queden en 3D. Acompáñenme en este divertido recorrido.
Greetings to all my craft-loving friends! A few days ago I wrote a short story to participate in the 🎉🎈1ra FIESTA AZUL EN HIVE🎈🎉, to which I invite you all to participate, to illustrate my story I made a small Pop-Up book of which I would like to share some tricks to make the pages look 3D. Join me on this fun journey.
Lo primero que debemos hacer es la historia o el cuento y luego seleccionar las escenas y los personajes que queremos ilustrar.
Mi cuento era sobre un árbol azul, entonces quise hacer el árbol en 3D.
Figura en 3D
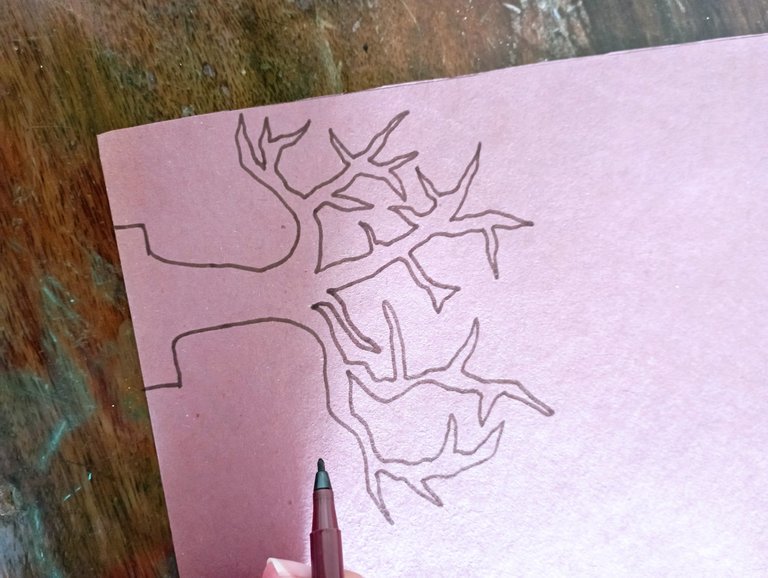
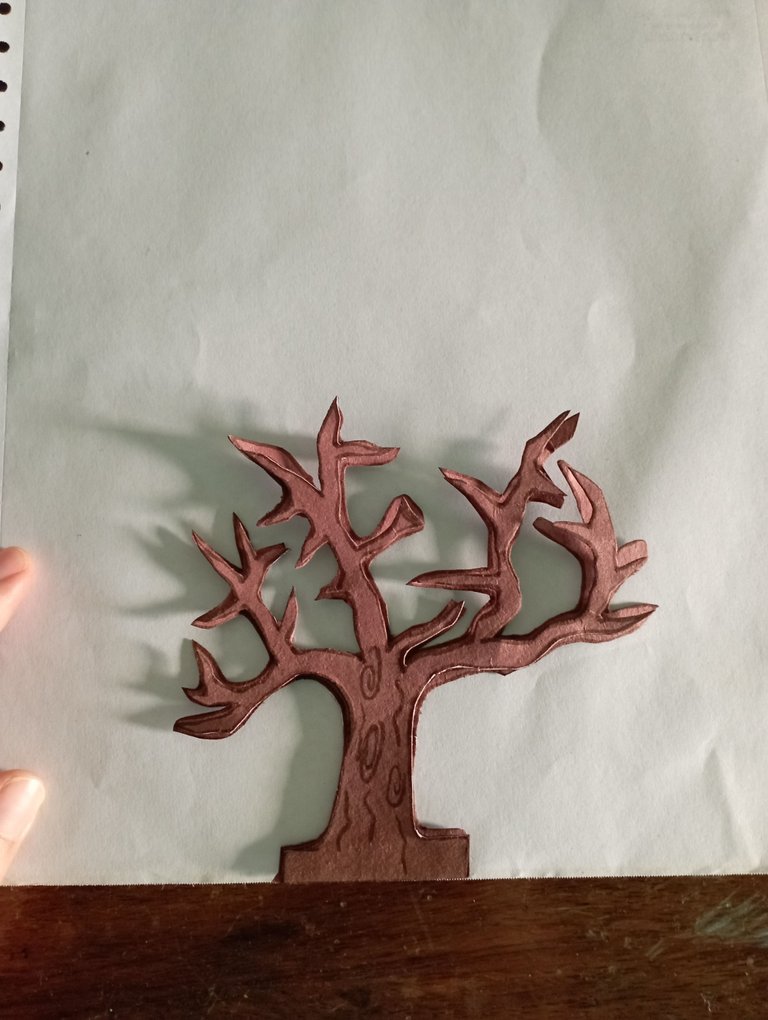
Para hacer un bello árbol en 3D, primero hice el tronco. Utilicé cartulinas de colores para hacer las figuras más llamativas. El truco es hacer la figura doble.
The first thing we have to do is the story or tale and then select the scenes and characters we want to illustrate.
My story was about a blue tree, so I wanted to make the tree in 3D.
Figure in 3D
To make a beautiful 3D tree, I first made the trunk. I used colored cardstock to make the figures more eye-catching. The trick is to make the figure double.
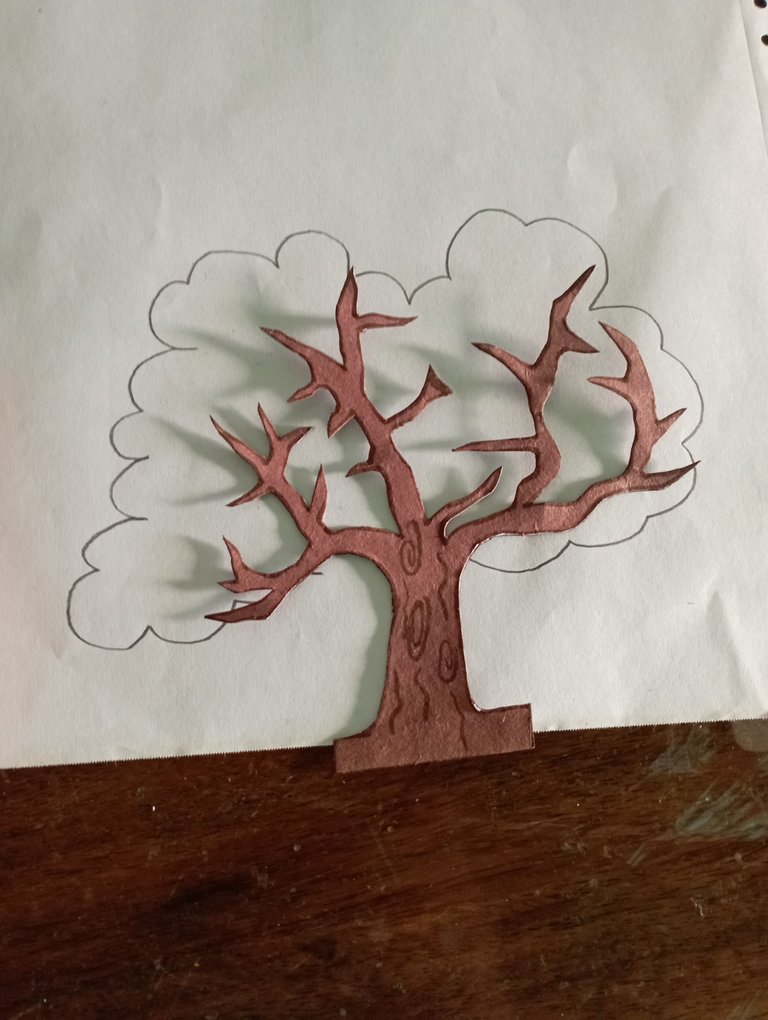
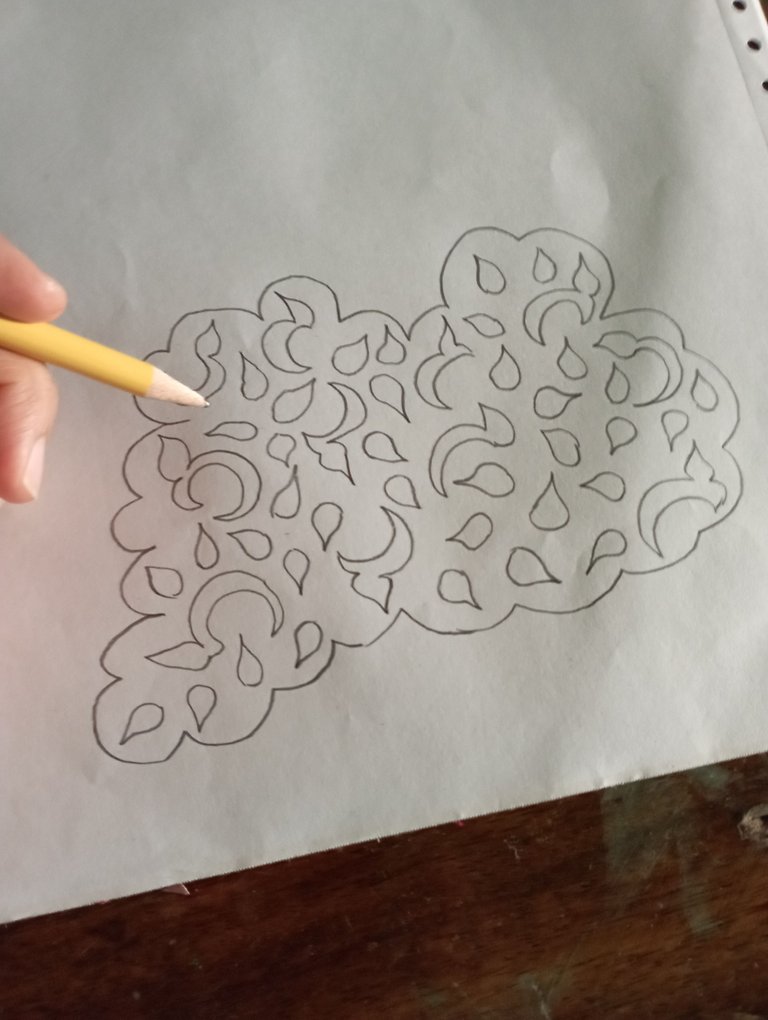
Utilizando el tronco como guía, vamos a hacer las hojas. Yo hice primero un molde en papel blanco y luego lo transferí a una cartulina azul.
Using the trunk as a guide, we are going to make the leaves. I first made a mold on white paper and then transferred it to a blue cardboard.
 |  |
|---|
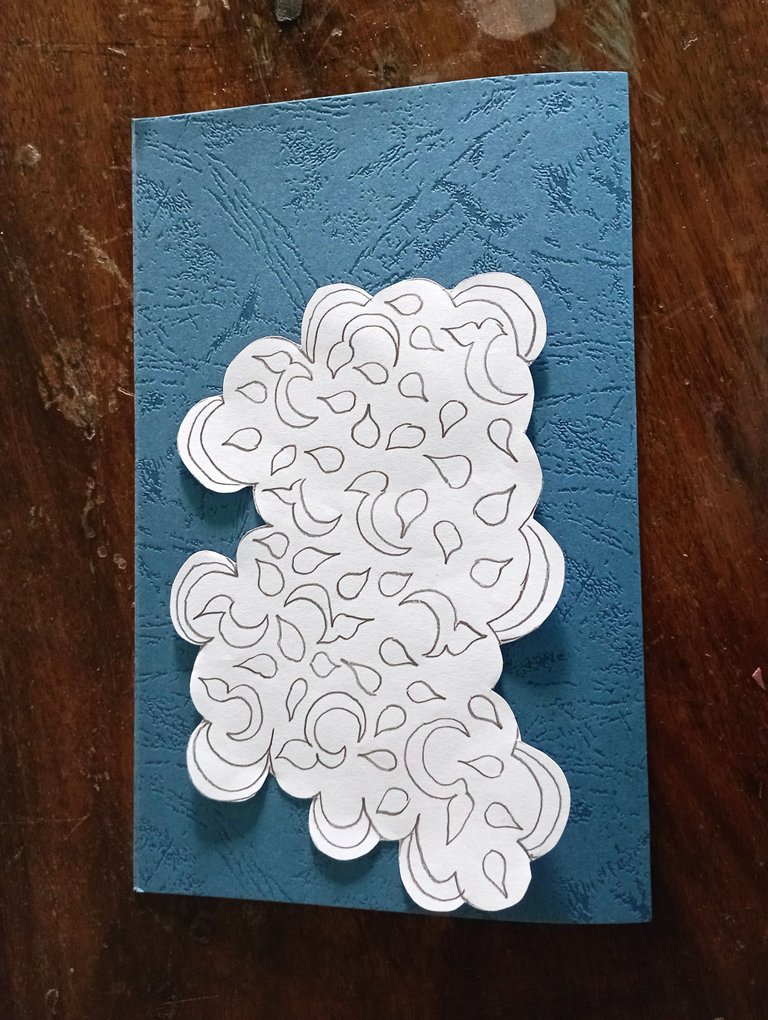
Marqué en el molde las hojas y algunas líneas curvas que después con ayuda de un cutter perforé la cartulina. Debe quedar de la siguiente manera:
I marked on the mold the leaves and some curved lines that I then pierced the cardboard with a cutter. It should look like this:
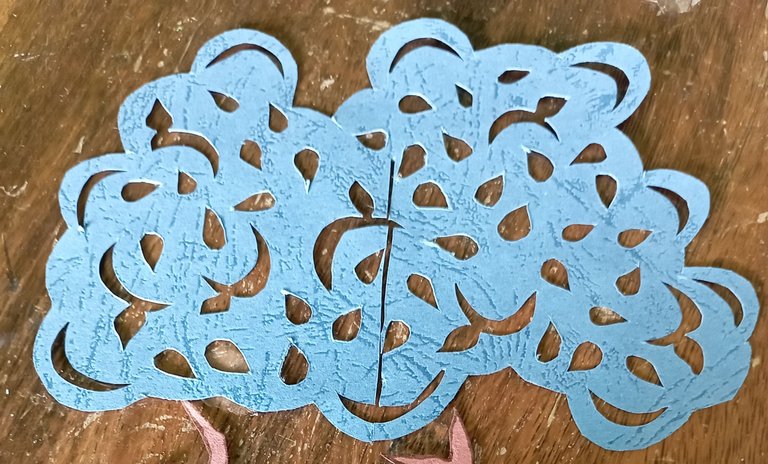
Al tener los 2 troncos iguales y las 2 partes de las hojas nos disponemos a hacer una abertura con ayuda del cutter para poder juntarlas y que queden de la siguiente manera:
When we have the 2 equal trunks and the 2 parts of the leaves we have to make an opening with the help of the cutter to be able to join them and that they are in the following way:
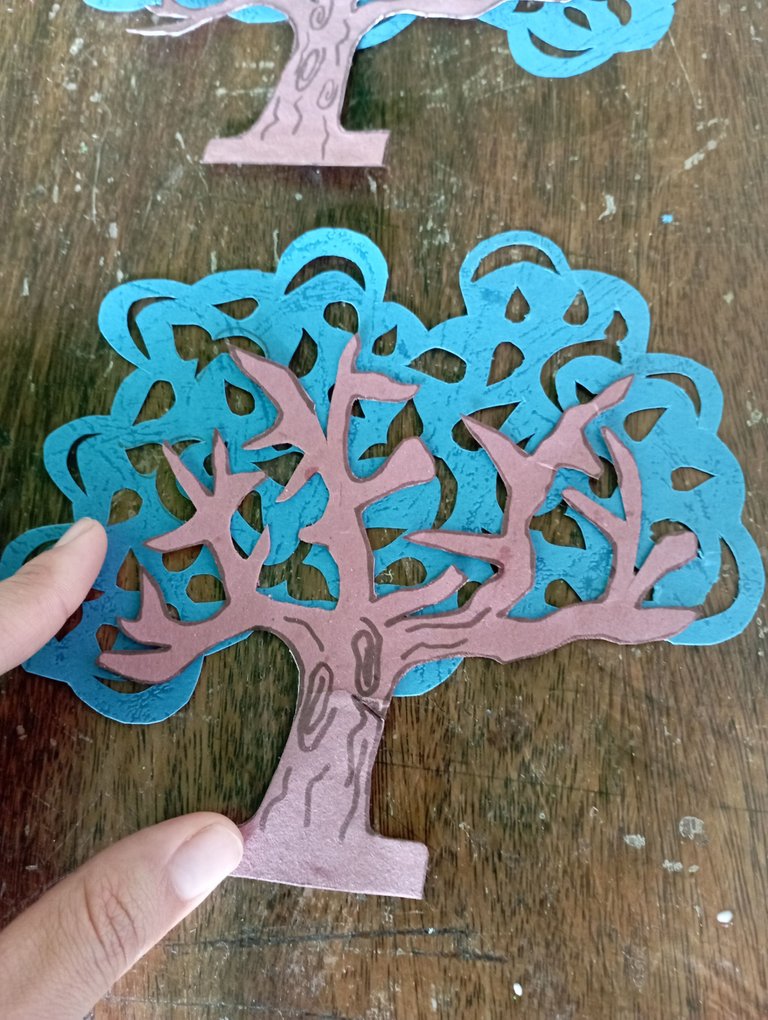
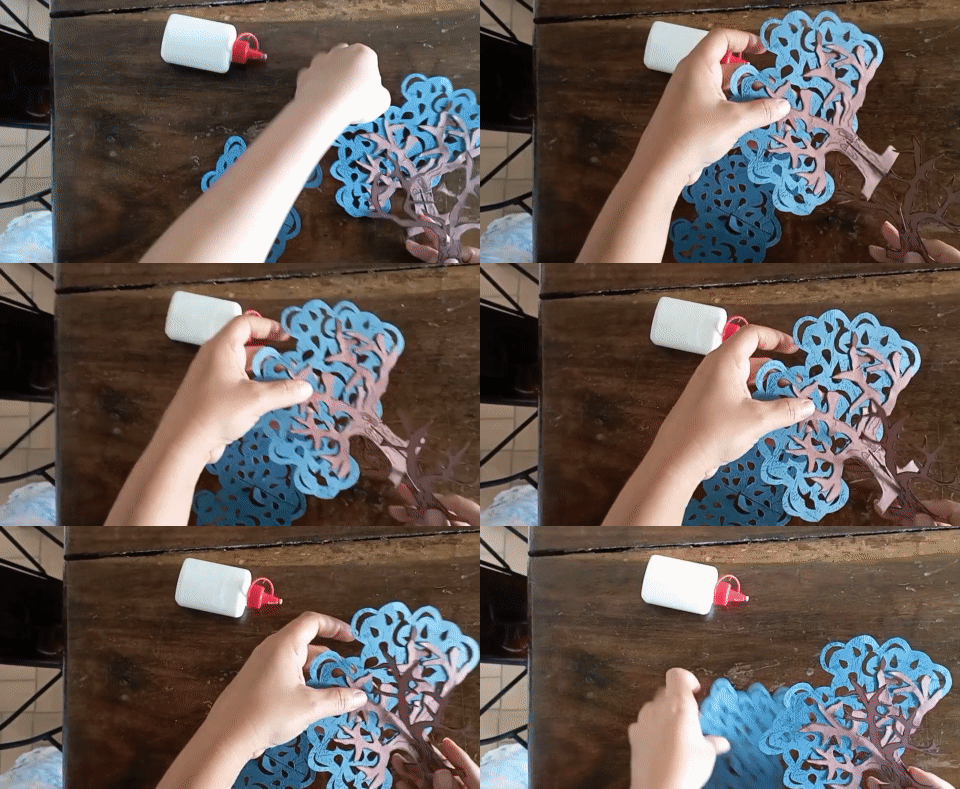
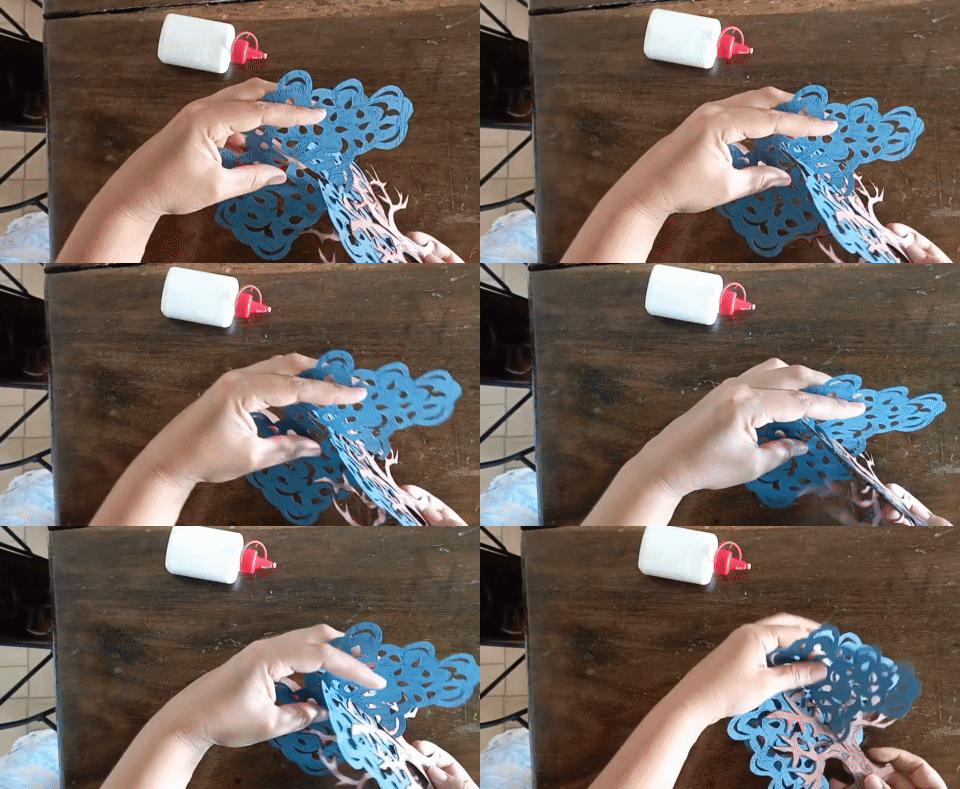
Una vez que tenemos las 2 piezas juntas vamos a hacer una base cuadrada para que el árbol se abra y cierre junto con la página del libro. La base, como es un árbol, la hice de cartulina dorada y consiste en 4 piezas con pequeñas ranuras para que se introduzca una dentro de otra. Deben quedar de la siguiente manera:
Once we have the 2 pieces together we are going to make a square base for the tree to open and close together with the page of the book. The base, as it is a tree, I made it out of gold cardboard and consists of 4 pieces with small slots to fit one inside the other. They should look like this:
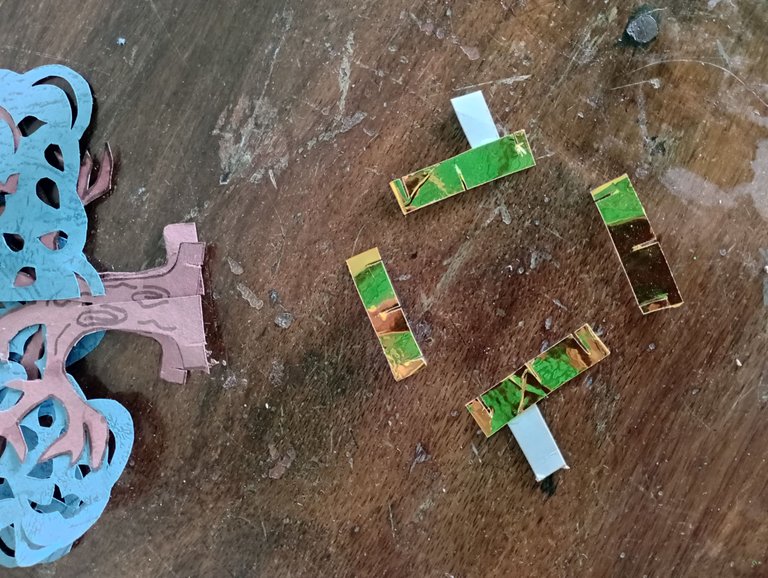
Dejamos unas pestañas largas en 2 de las piezas para pegar la figura.
We leave some long tabs on 2 of the pieces to glue the figure.
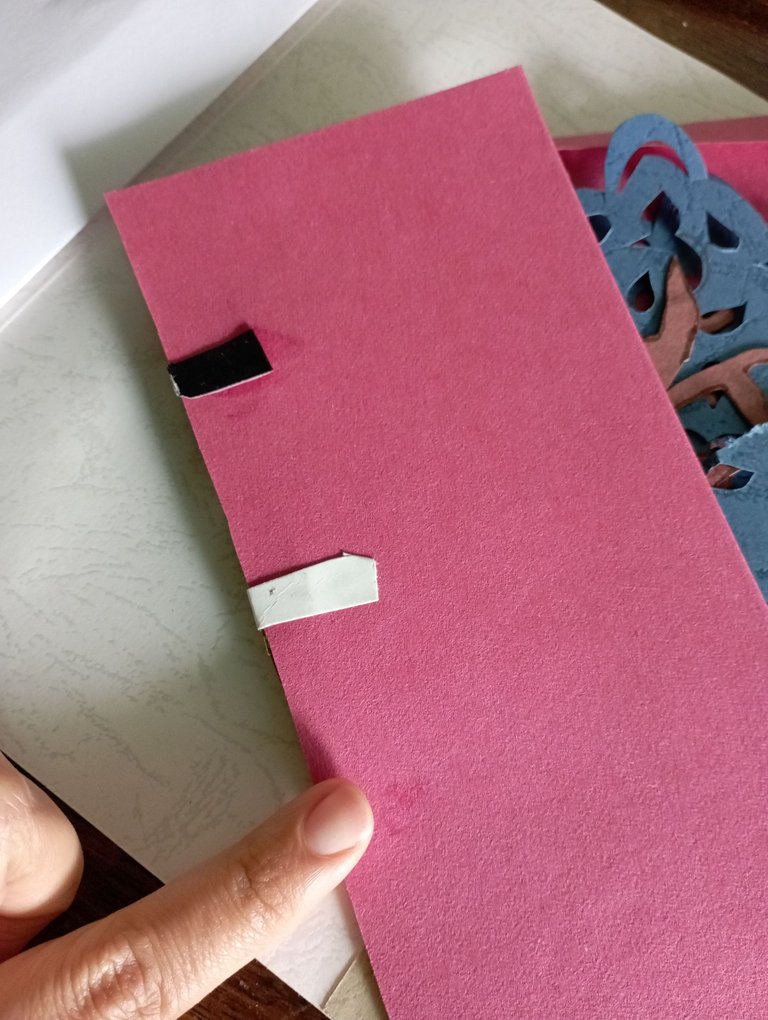
Hice una pequeña silueta del personaje de mi cuento y la pegué junto al árbol. Y quedó de la siguiente manera:
I made a small silhouette of the character from my story and glued it next to the tree. And it looked like this:
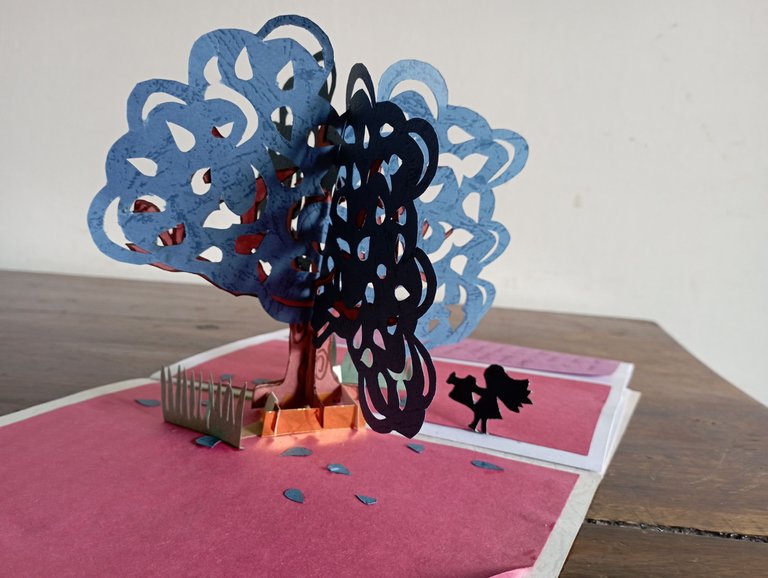
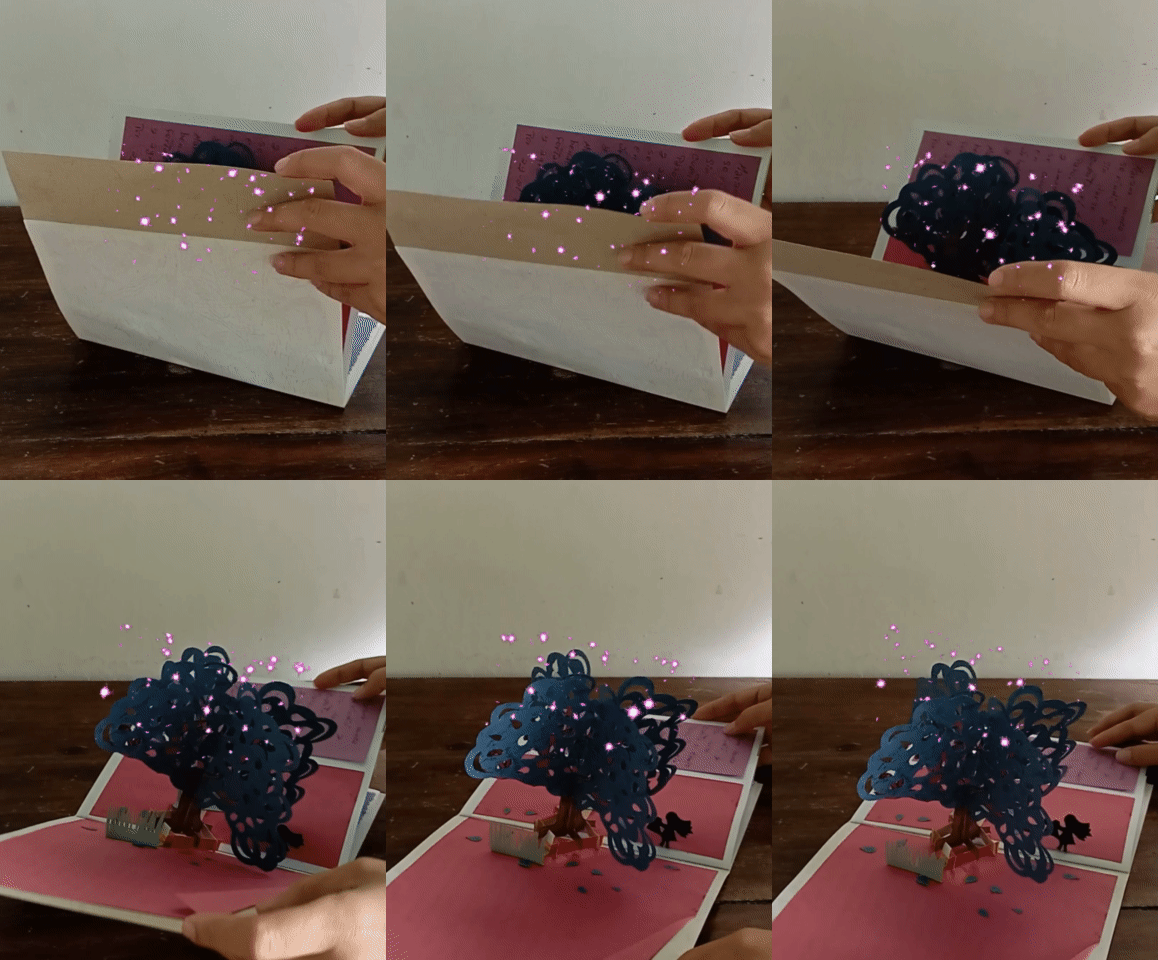
Figura plana plegable
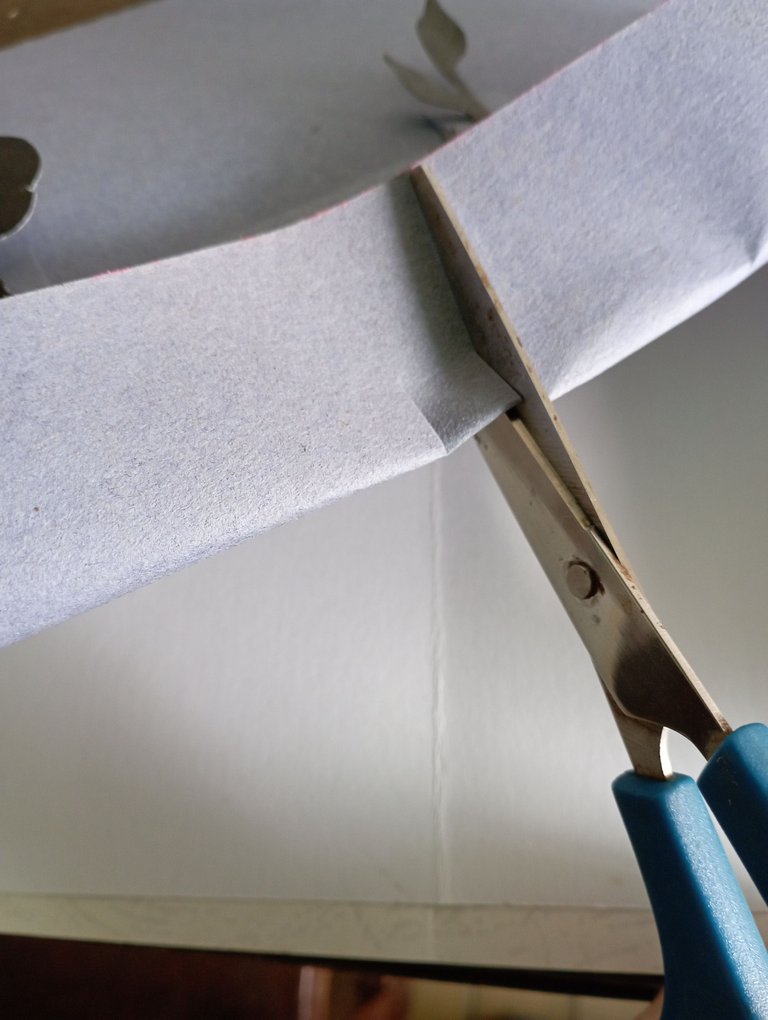
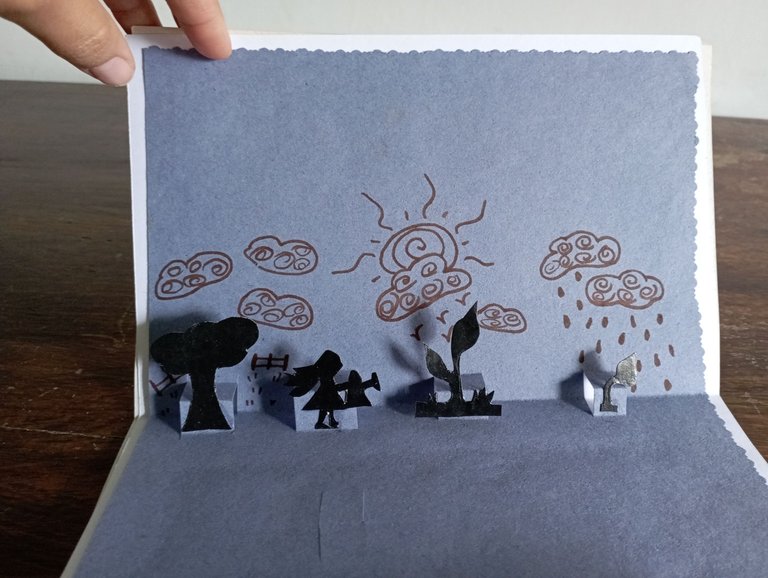
Para hacer una figura plana que se despliegue cuando abrimos la página, es muy sencillo, el truco es hacer unos cortes en la página y doblar para adentro. Debe quedar así:
Flat folding figure
To make a flat figure that unfolds when we open the page, it is very simple, the trick is to make some cuts in the page and fold it inside. It should look like this:
Figuras en acordeón
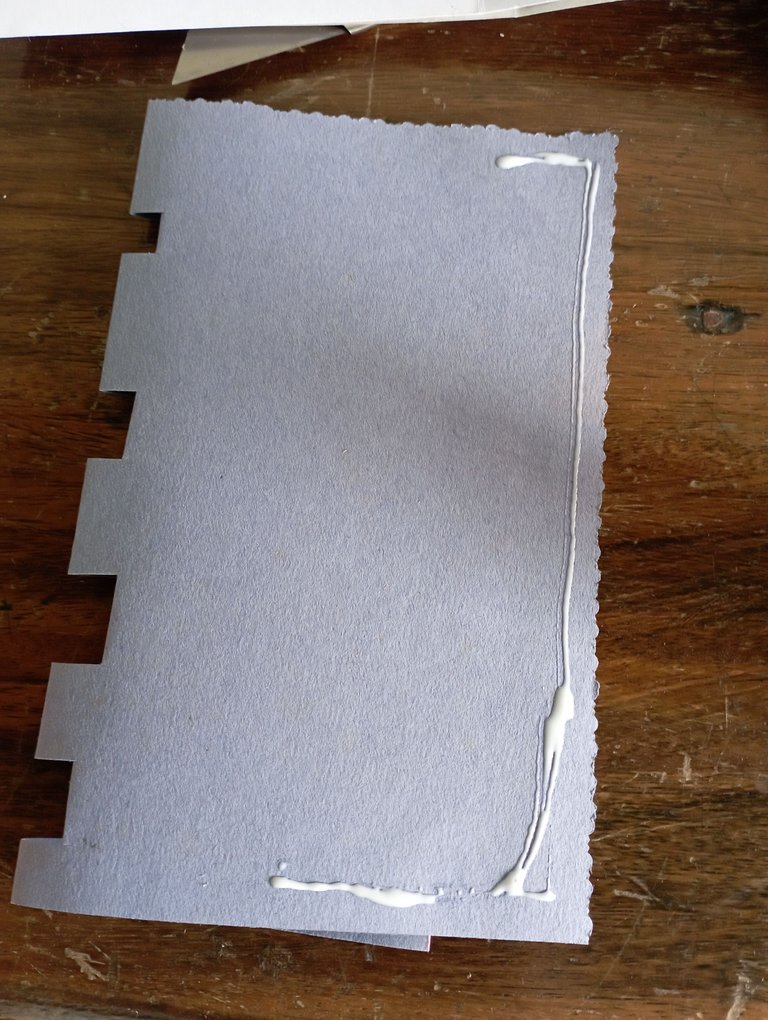
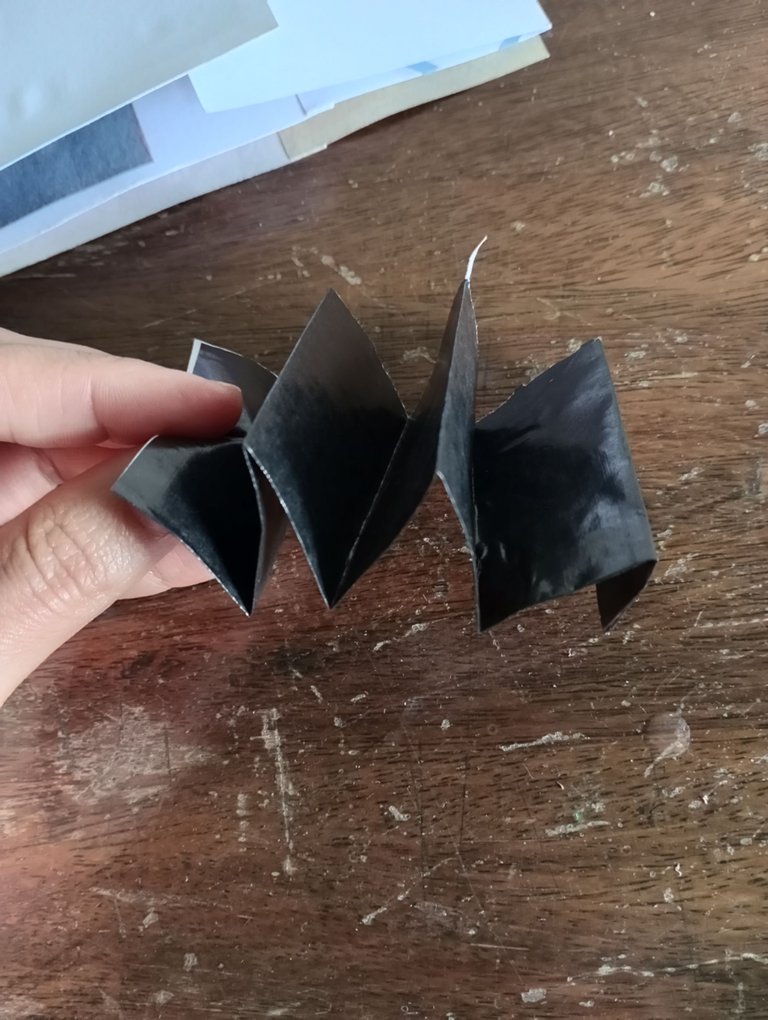
Para que las figuras resalten de una página al abrirla, ***el truco es hacer un acordeón y pegarlo a ambos lados de las páginas del libro. Se puede cortar directamente la figura que queremos resaltar o hacer figuritas individuales y pegarlas en cada pliegue del acordeón. Debe quedar de la siguiente manera:
Figures in accordion
To make the figures stand out from a page when you open it, the trick is to make an accordion and glue it on both sides of the pages of the book. You can either cut directly the figure you want to highlight or make individual figures and glue them on each fold of the accordion. It should look like this:
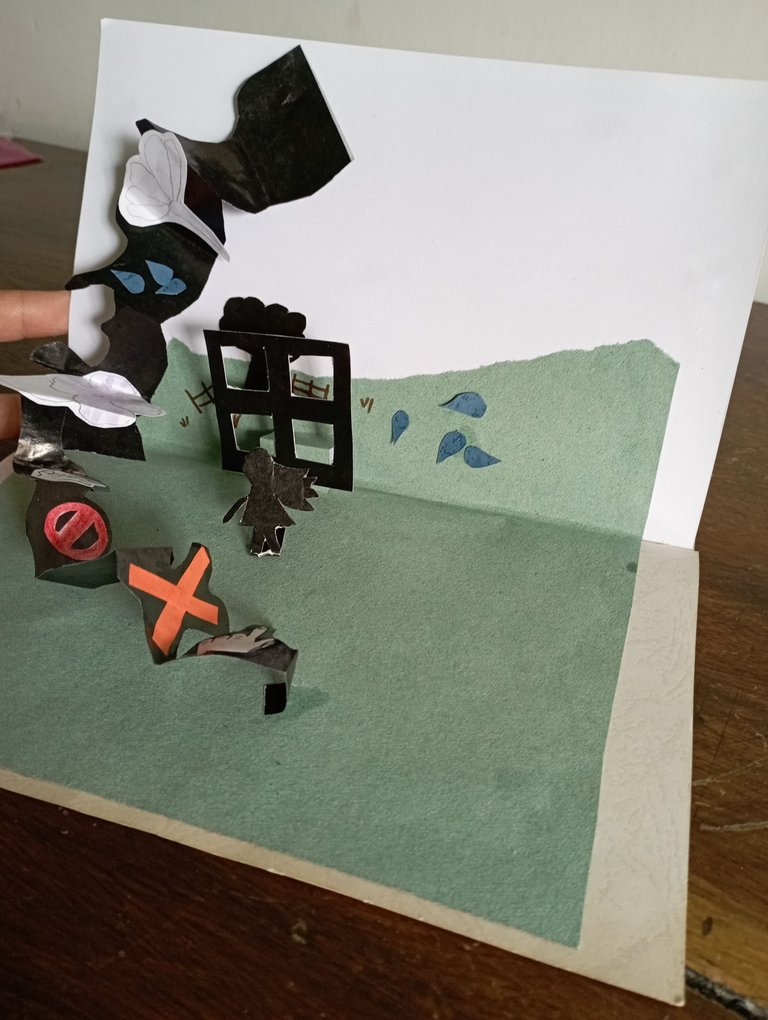

Estos trucos podemos aplicarlos a cualquier tema, cualquier figura que seleccionemos e incluso no tiene que ser un libro puede ser una tarjeta o una nota Pop-Up, solamente debemos conocer y poner en práctica estos 3 sencillos trucos para que el trabajo sea más sencillo. Espero les guste y les ayude mi publicación. Saludos y hasta la próxima oportunidad!
These tricks can be applied to any subject, any figure we select and it doesn't even have to be a book, it can be a card or a Pop-Up note, we just need to know and put into practice these 3 simple tricks to make the job easier. I hope you like my publication and I hope it helps you. Greetings and see you next time!

Original content by the author.
Resources: App: Canva / Giphy || 📷 Redmi 10 Smartphone
Translation done with Deepl.com
✿ All Rights Reserved || © @chacald.dcymt // 2020-2022 ✿
💌 Discord: chacald.dcymt#3549
_
Contenido original del autor.
Recursos: App: Canva / Giphy || 📷 Redmi 10 Smartphone
Traducido con Deepl.com
✿ Todos los Derechos Reservados || © @chacald.dcymt // 2020-2022 ✿
💌 Discord: chacald.dcymt#3549


