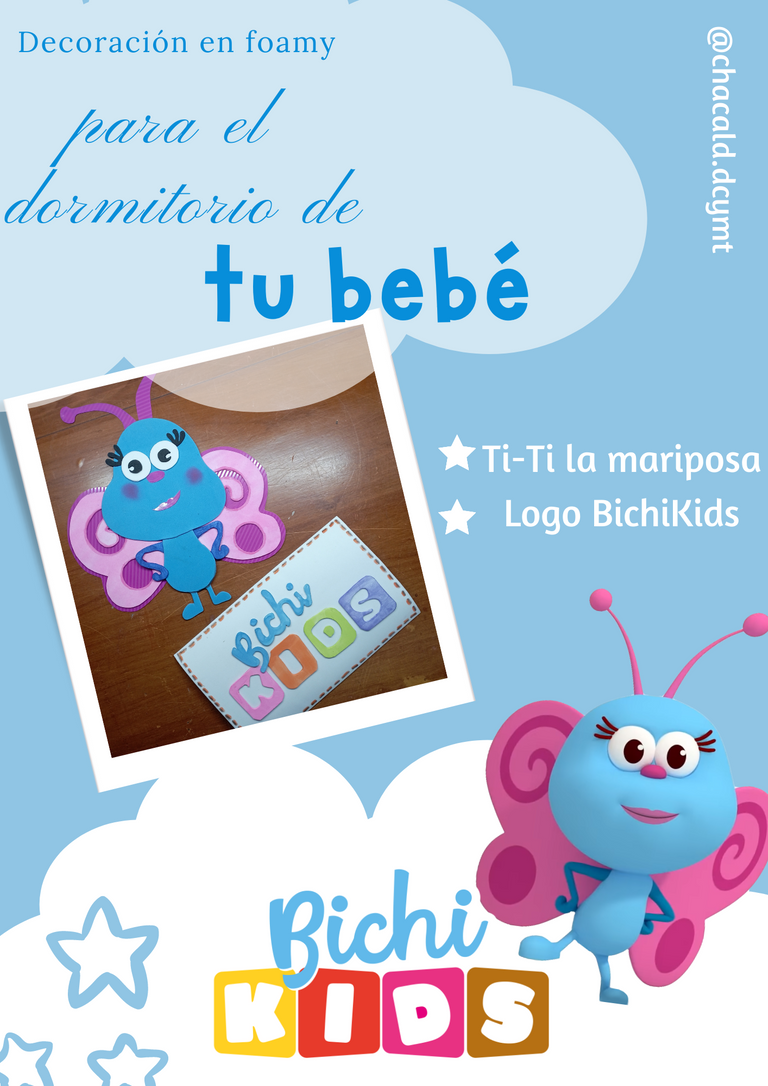
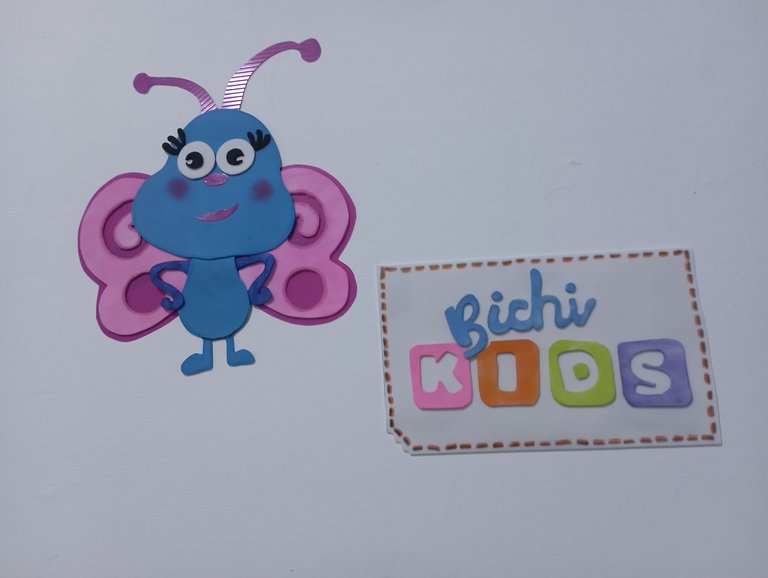
¡Saludos a todos los amantes de las artes manuales! Me complace estar hoy aquí compartiendo parte de un bonito proyecto que tengo en hacer la decoración del dormitorio de mi bebé con los personajes de Bichikids en foamy. Para iniciar realicé la mariposa Ti-Ti y el logotipo de Bichikids síganme y les enseño cómo.
Greetings to all the craft lovers! I am pleased to be here today sharing part of a nice project I have in making my baby's bedroom decoration with Bichikids characters in foamy. To start I made the Ti-Ti butterfly and the Bichikids logo follow me and I'll show you how.
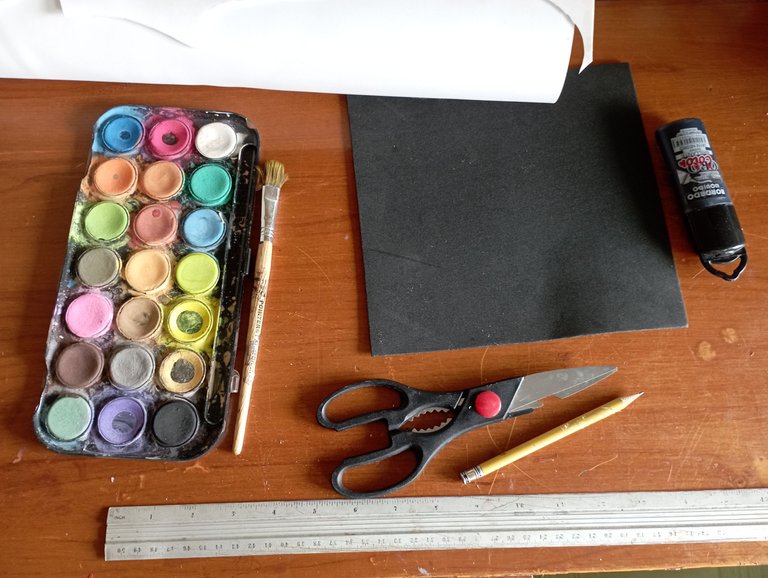
Materiales:
Foamy color blanco, negro y azul
Lámina de acetato color fucsia
Crayones de madera
Acuarelas
Pincel
Lápiz
Papel blanco
Marcador de color azul
Regla de medir
Tijera
Cutter
Pegamento universal
¡Y manos a la obra!...
Materials:
Foamy white, black and blue color
Acetate sheet in fuchsia color
Wooden crayons
Watercolors
Brush
Pencil
White paper
Blue marker
Measuring ruler
Scissors
Cutter
Universal glue
And let's get to work!
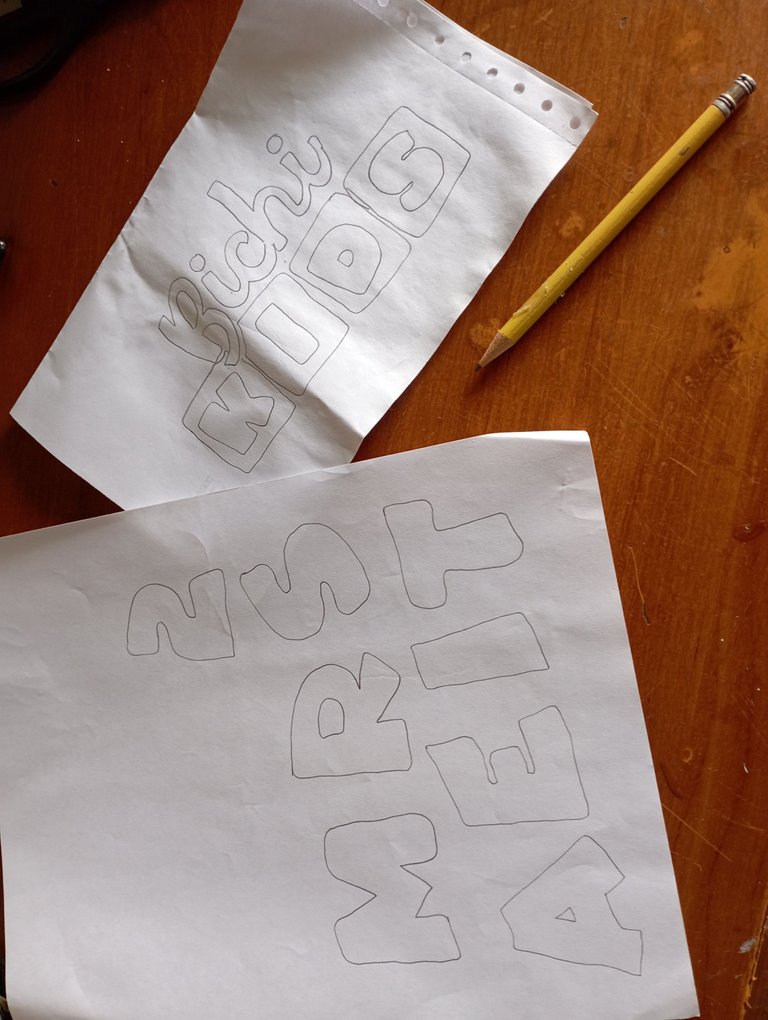
Logo BichiKids
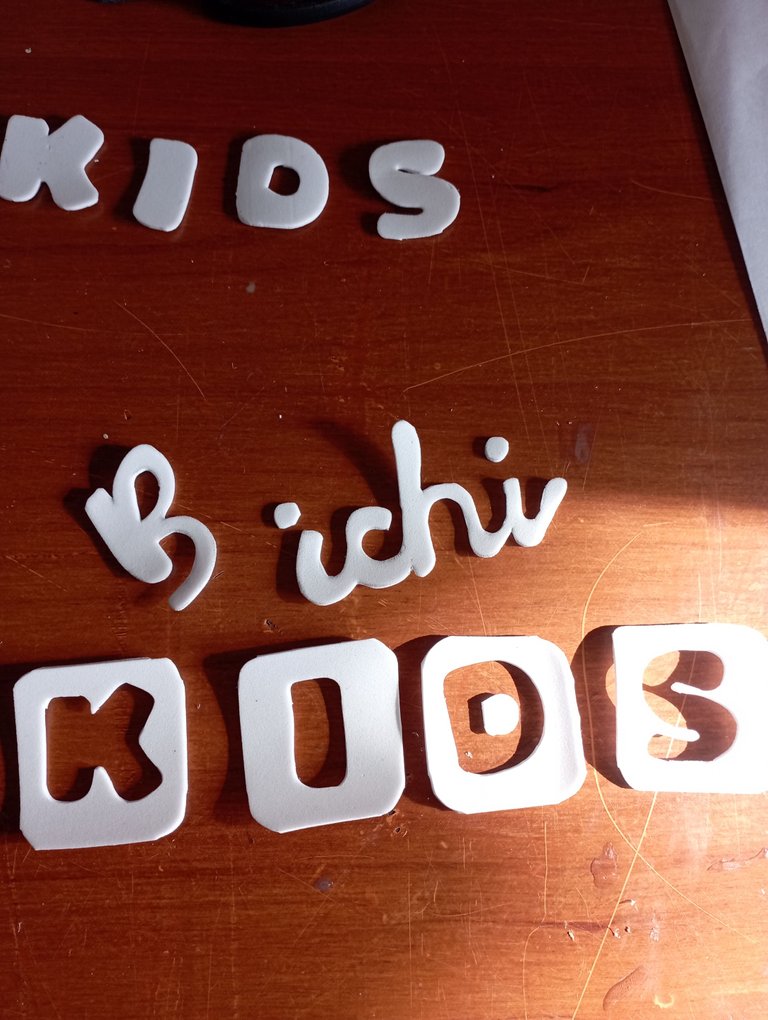
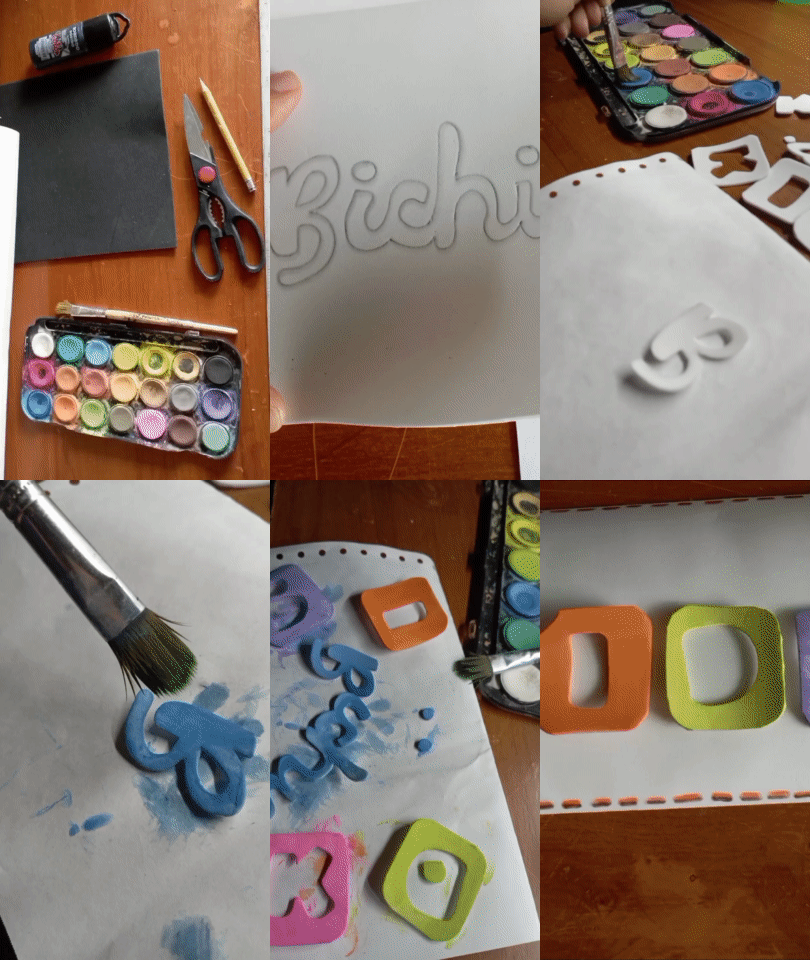
-Lo primero que vamos a hacer es el diseño en el papel blanco. Dibujamos el logo que se compone de la palabra Bichi en letra corrida y la palabra Kids formada con cubos de letras.
Aproveché de hacer el molde de las letras del nombre de mi bebé para otra parte de este proyecto.
-The first thing we are going to do is the design on the white paper. We drew the logo which is composed of the word Bichi in a running letter and the word Kids formed with cubes of letters.
I took the opportunity to make the mold of the letters of my baby's name for another part of this project.
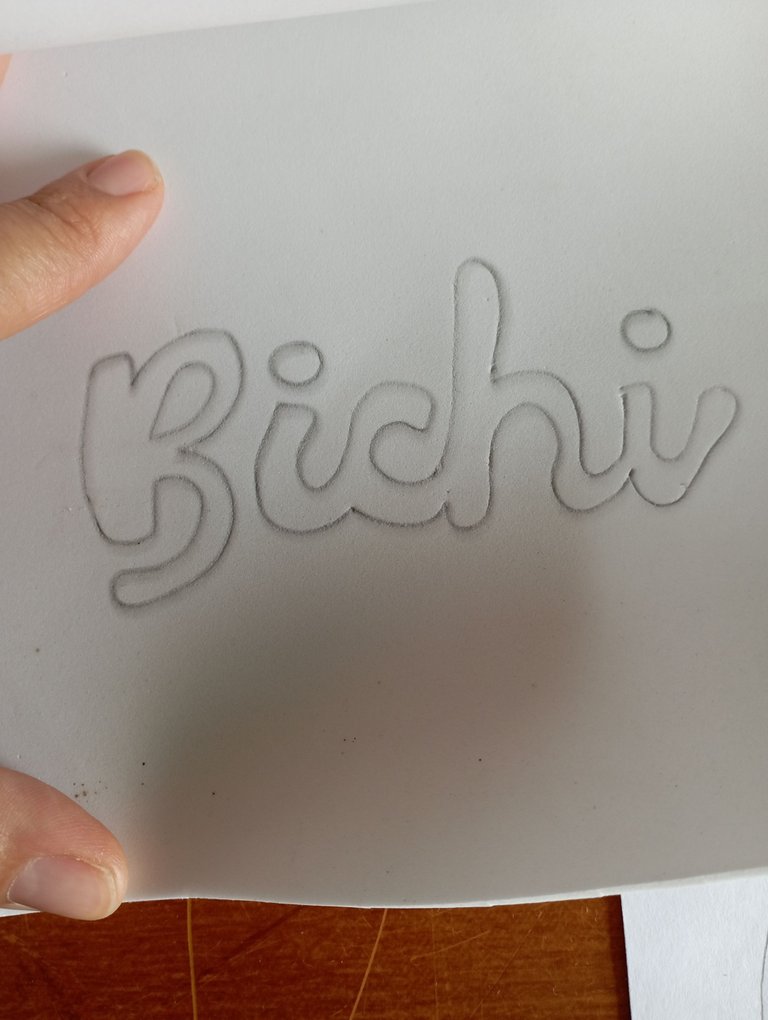
-Transferimos el diseño del papel al foamy y vamos a recortar.
-Transfer the design from the paper to the foamy and cut it out.
-Con acuarela azul vamos a pintar la palabra Bichi. Y con sus respectivos colores los cubos de letras:
Rosado para la K, naranja para la I, verde lima para la D y violeta para la S.
-With blue watercolor we are going to paint the word Bichi. And with their respective colors the letter cubes:
Pink for the K, orange for the I, lime green for the D and violet for the S.
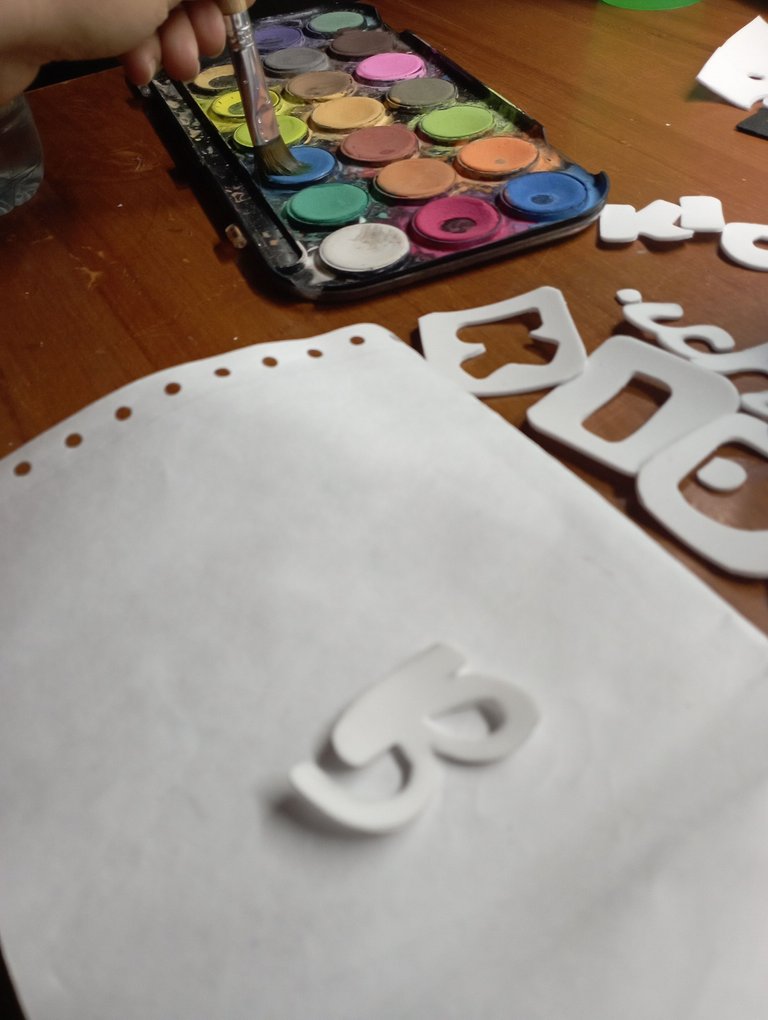
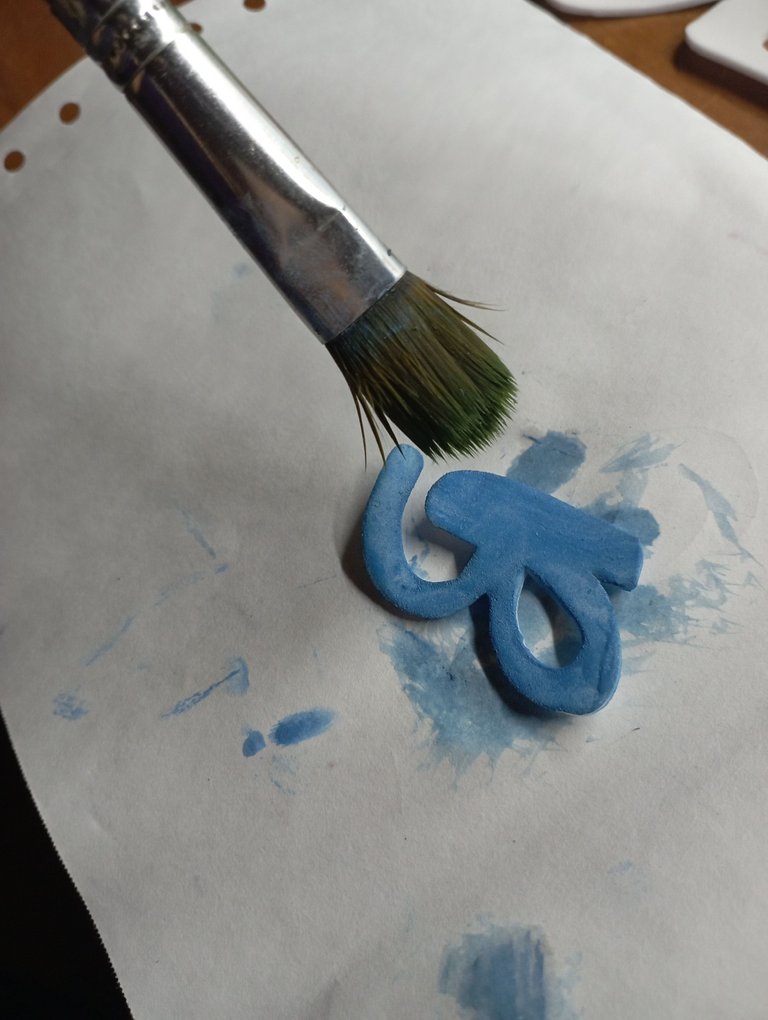
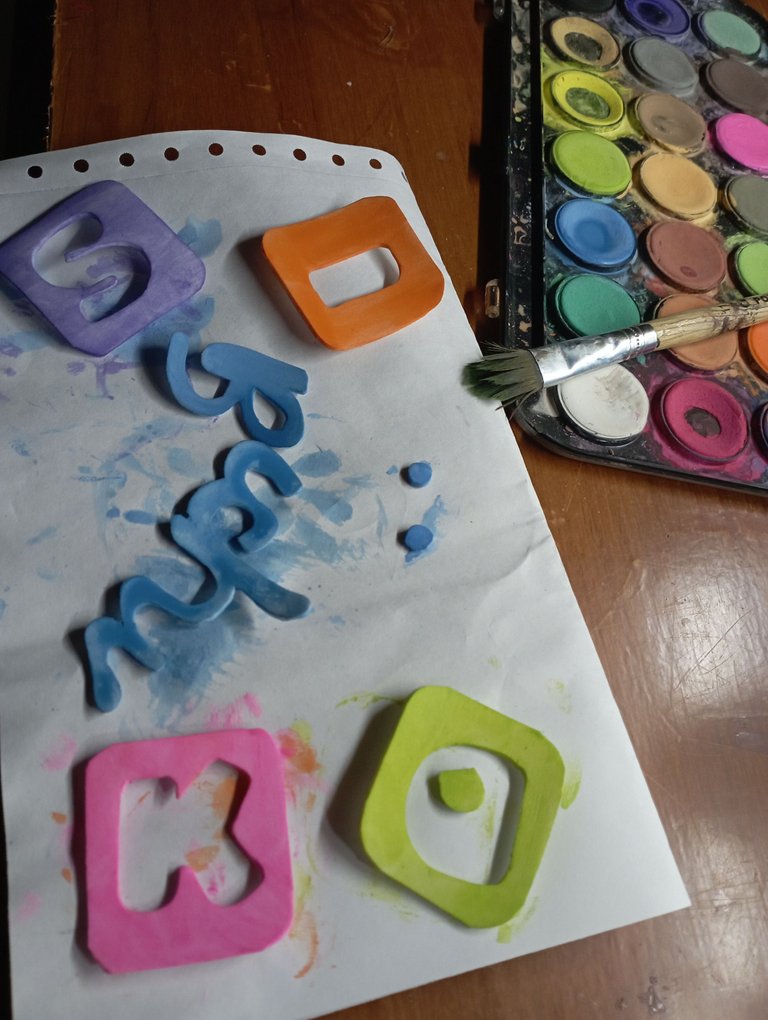
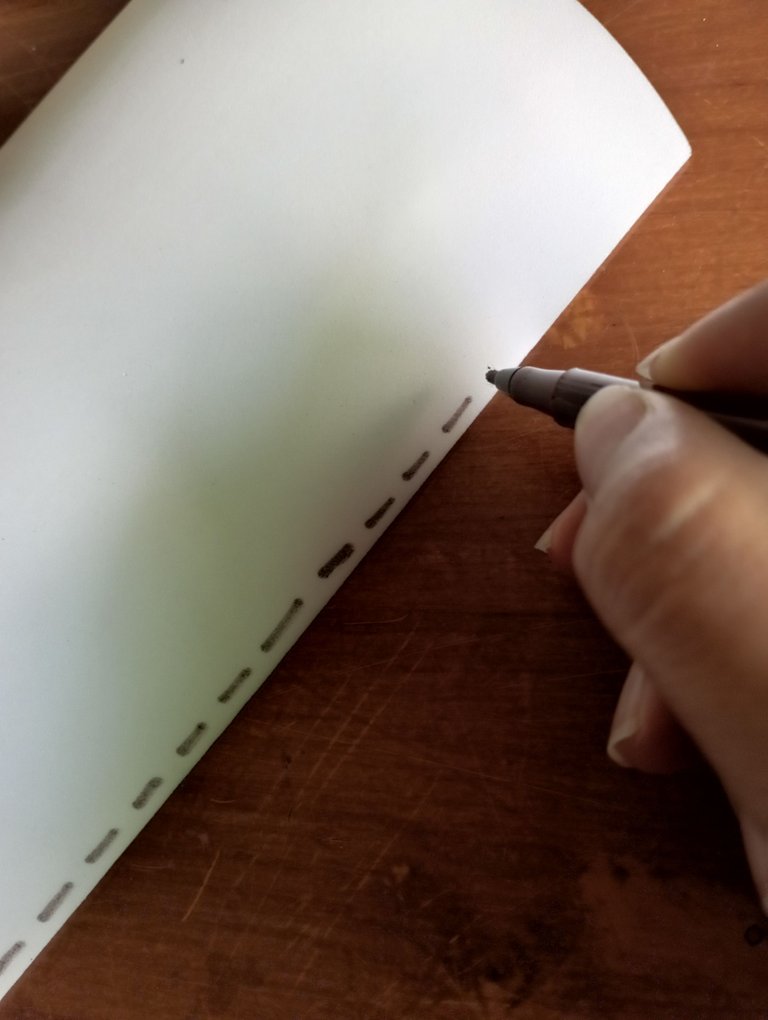
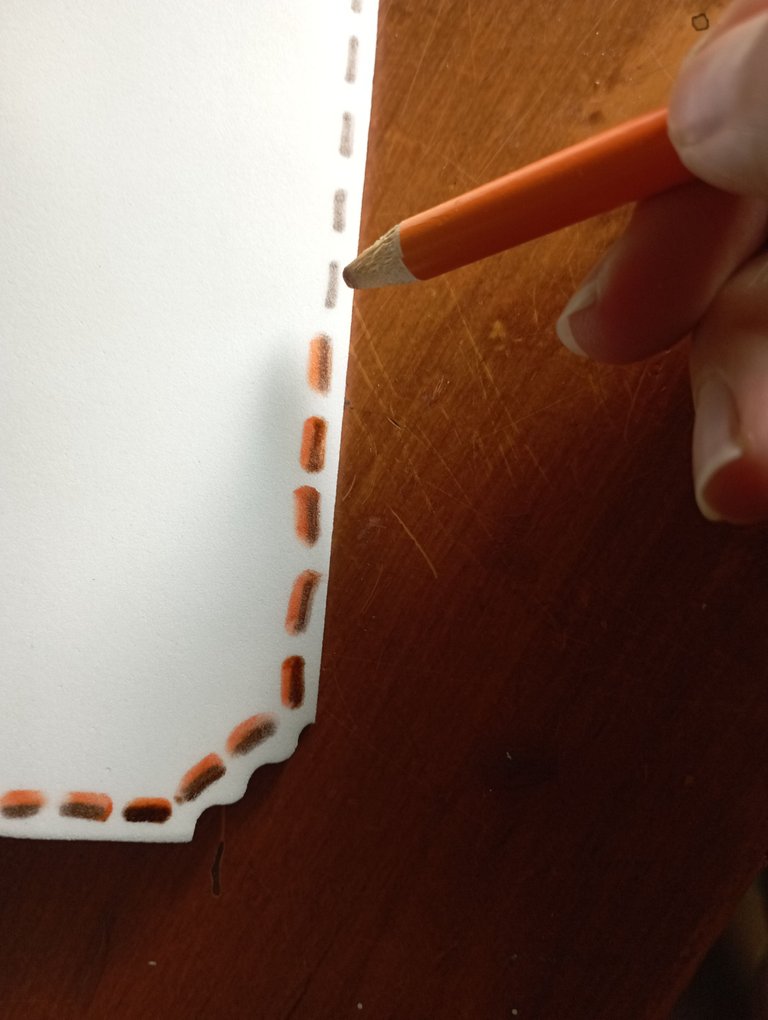
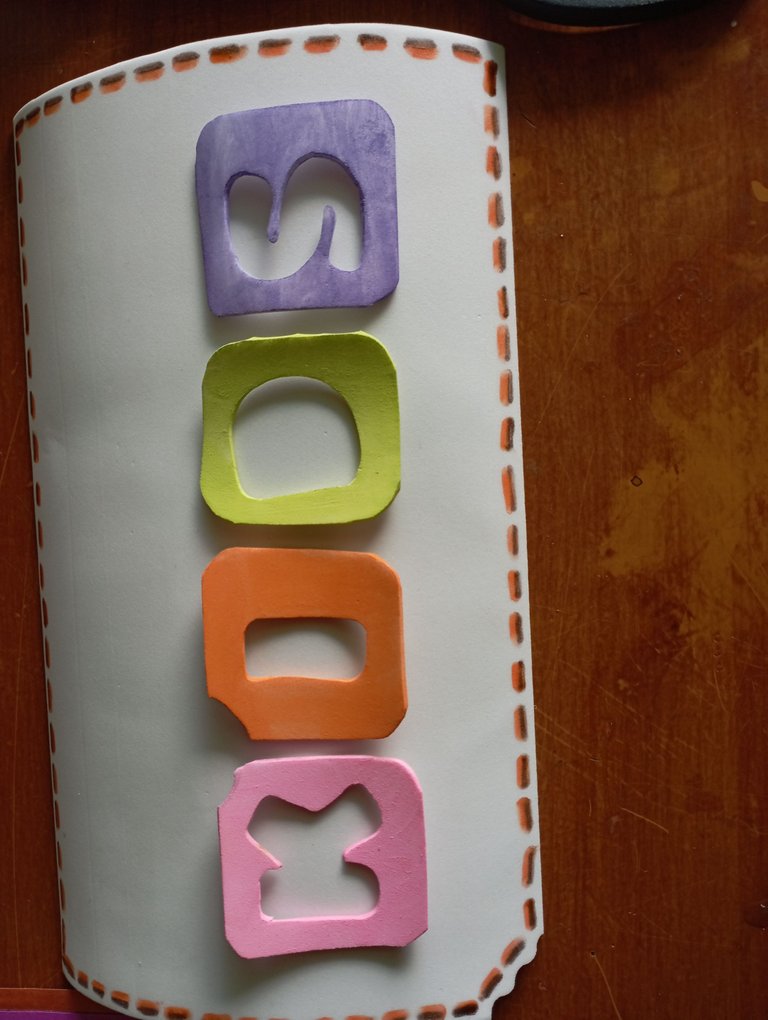
-Luego cortamos un rectángulo de foamy de color blanco de un tamaño donde quepan las letras. Yo corte una esquina con la tijera de hondas para darle un toque personal. Pegamos las letras sobre el rectángulo blanco.
-Then we cut a rectangle of white foamy foamy in a size where the letters will fit. I cut a corner with the sling scissors to give it a personal touch. Glue the letters on the white rectangle.
 |  |
|---|---|
 | 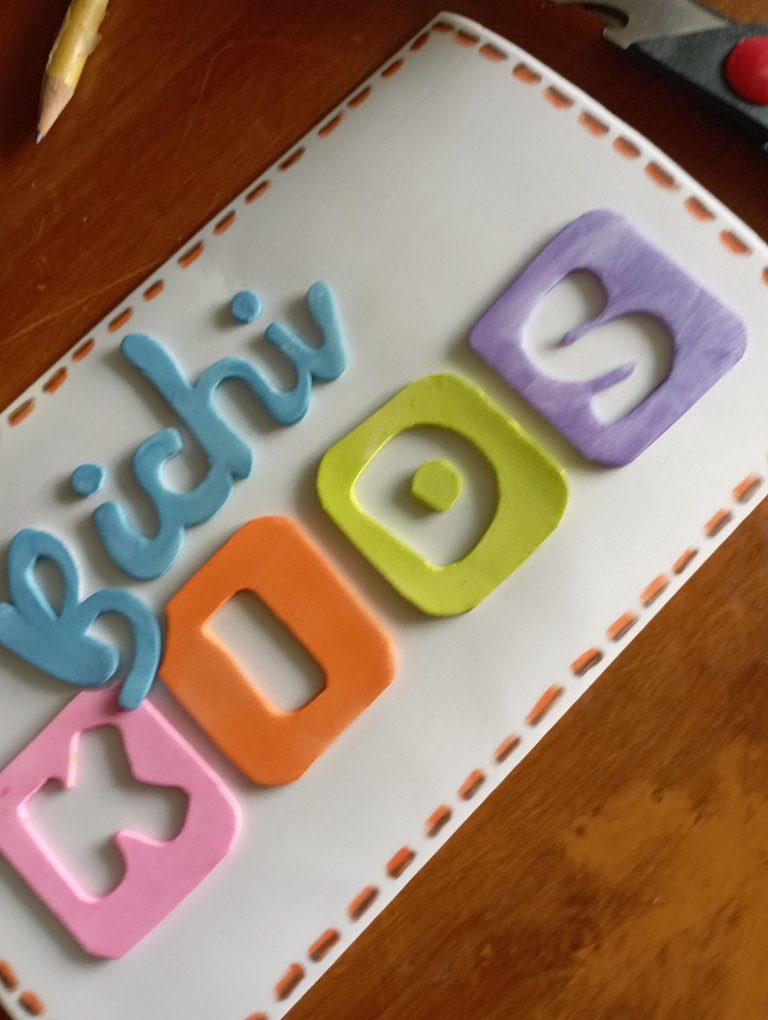 |
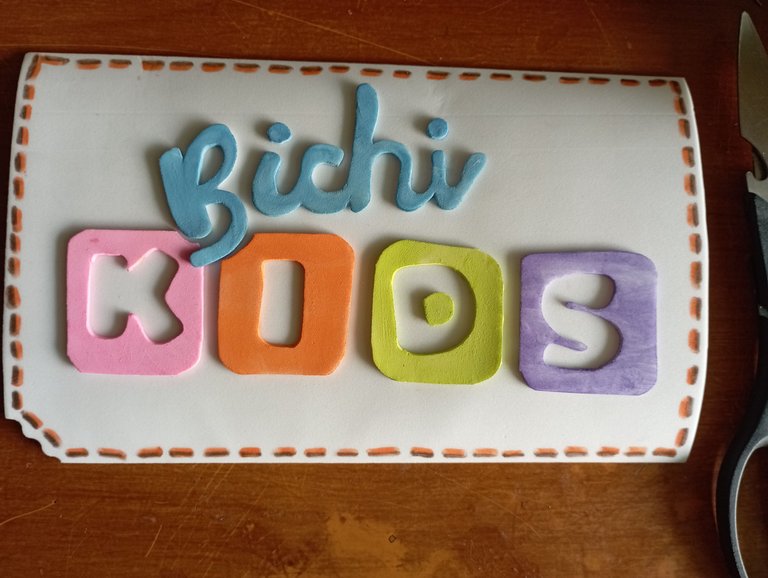
Y así debe quedar listo nuestro logo de Bichikids.
And this is how our Bichikids logo should look like.

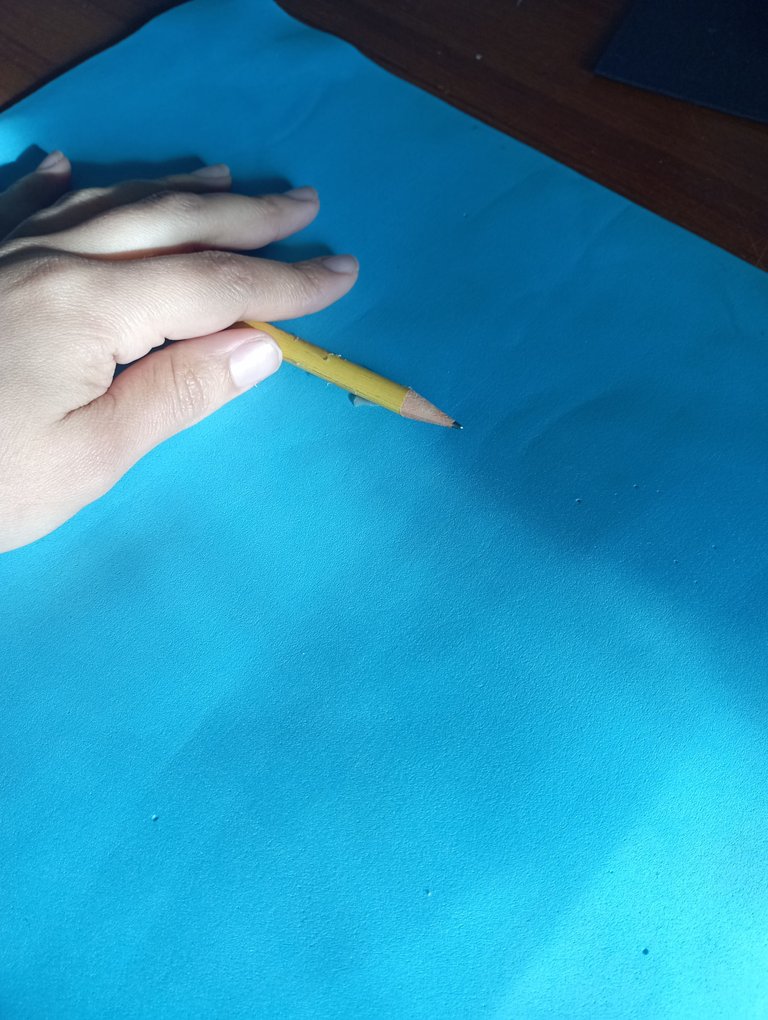
Ti-ti la mariposa
-Hacemos la cabeza en forma de pera sobre foamy de color azul cielo.
Ti-ti the butterfly
-We make the head in the shape of a pear on sky blue foamy.
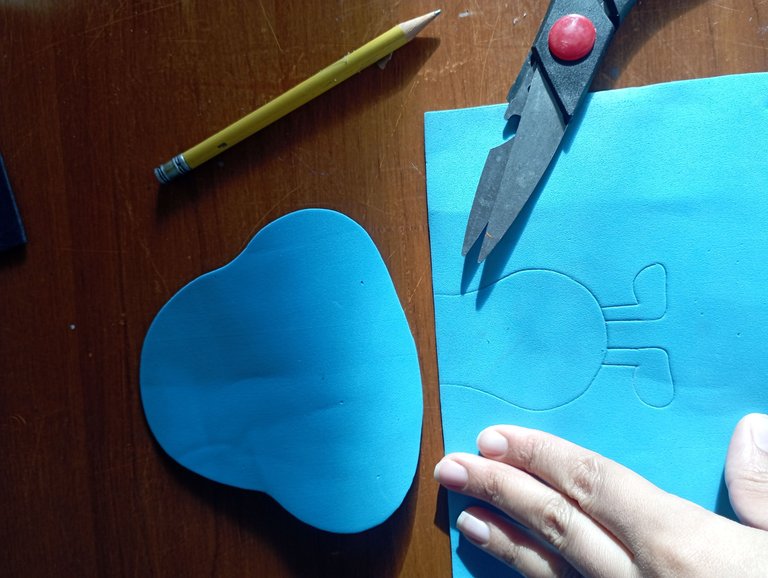
-Recortamos la cabeza y trazamos el cuerpo con las piernas y pies en el foamy de color azul cielo. Recortamos el cuerpo.
-Cut out the head and trace the body with legs and feet on the sky blue foamy. Cut out the body.
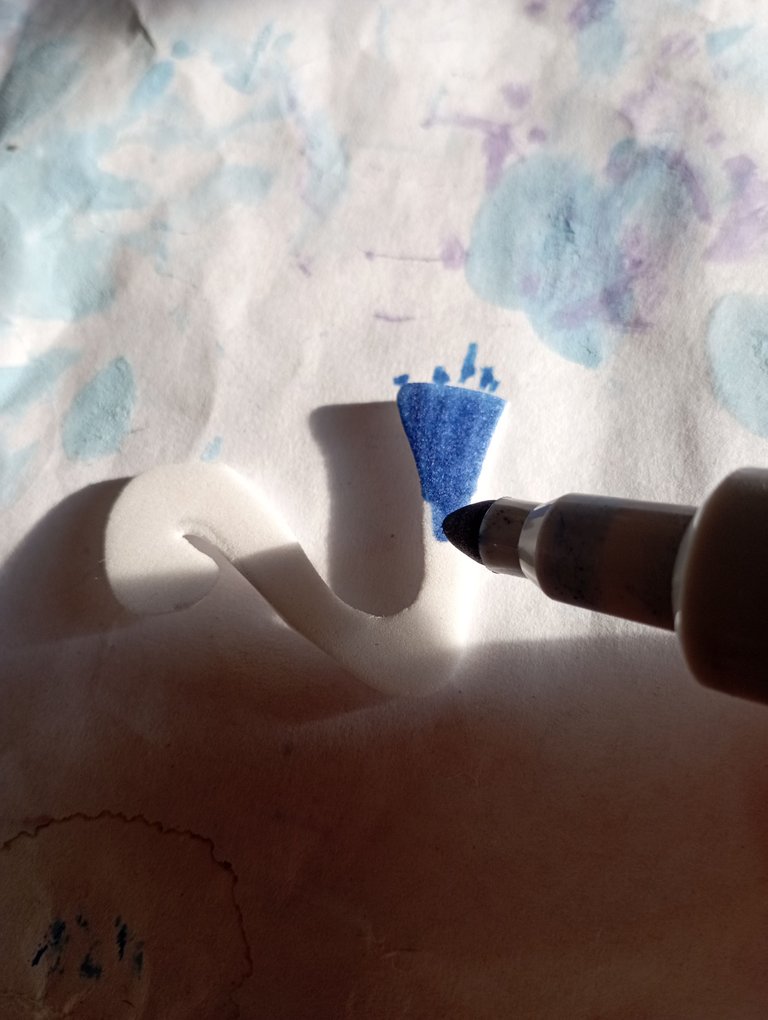
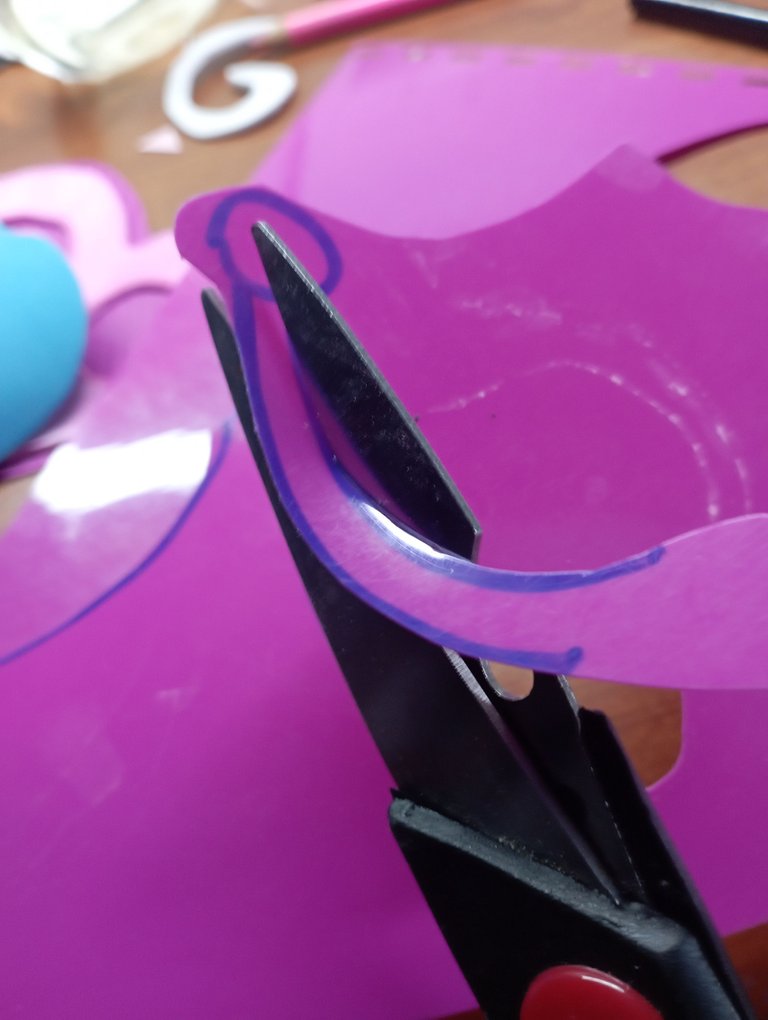
-Para los brazos de la mariposa, hacemos unas finas líneas enroscadas en el Foamy de color blanco, recortamos con ayuda del cutter y pintamos con el marcador azul par aque resalten y queden de un todo diferente al cuerpo.
-For the arms of the butterfly, we make some fine lines curled in the white Foamy, cut with the help of the cutter and paint with the blue marker so that they stand out and look different from the body.
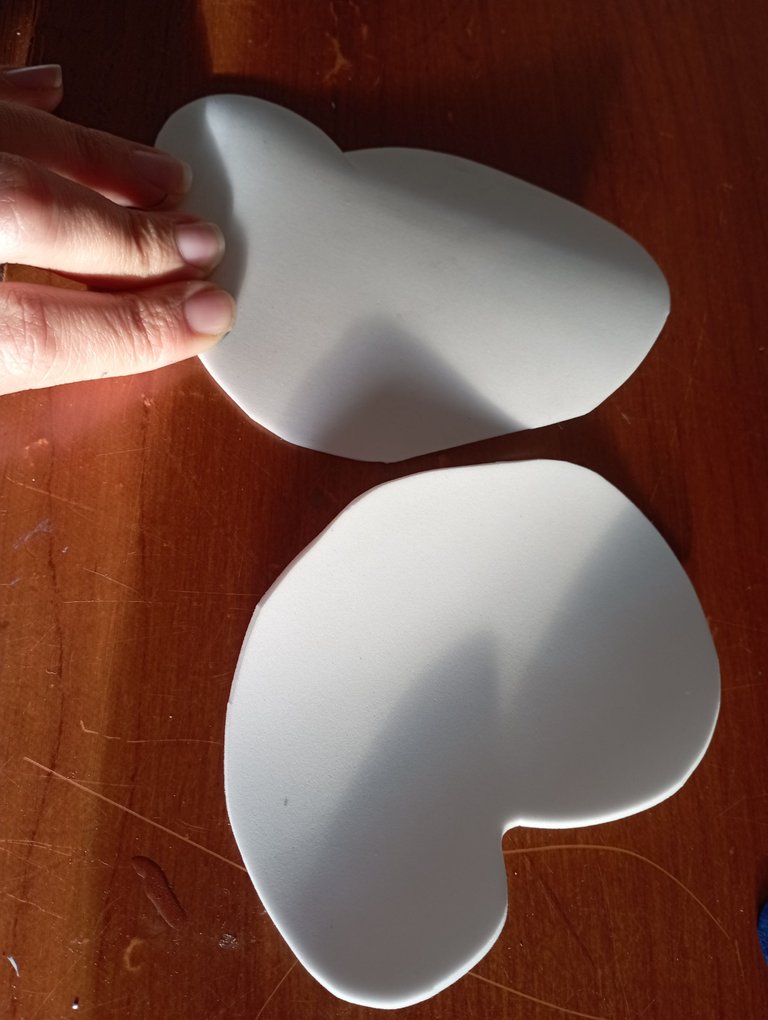
-Para las alas, las dibujamos por separado en el foamy de color blanco y las recortamos.
-For the wings, we draw them separately on the white foamy and cut them out.
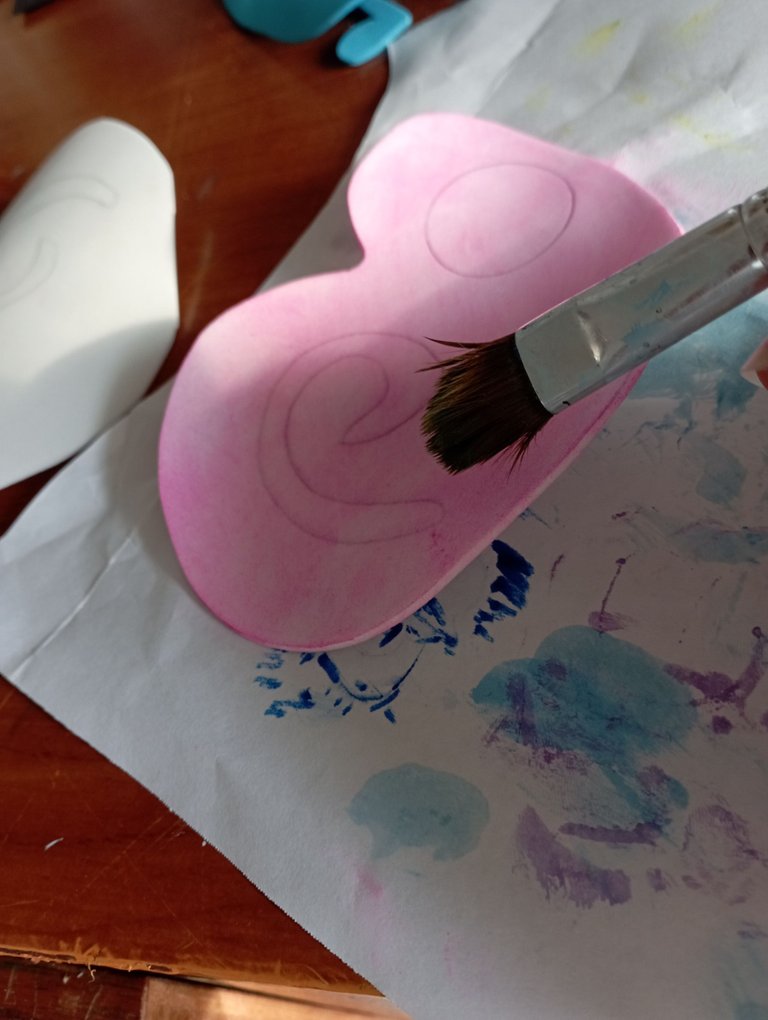
-Dibujamos en la parte inferior de cad ala un círculo y en la parte superior un espiral, recortamos con el cutter y pintamos con acuarela color rosado.
-Draw a circle on the lower part of each wing and a spiral on the upper part, cut out with the cutter and paint with pink watercolor.
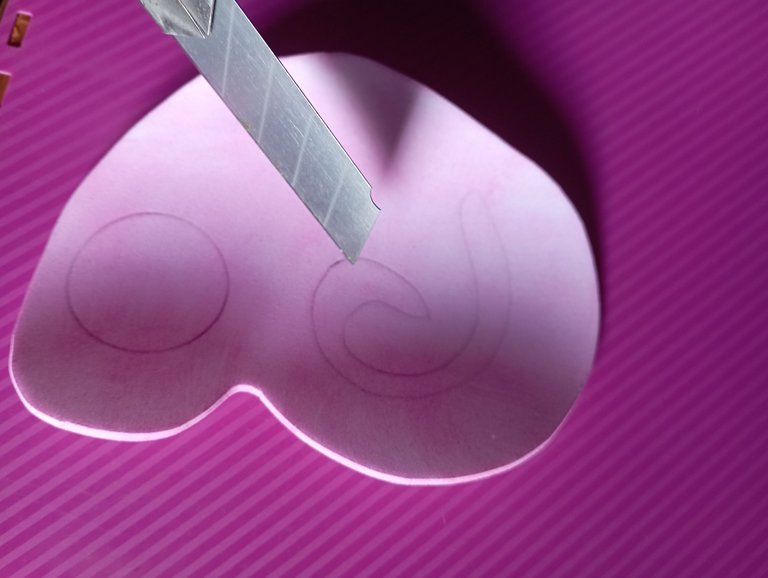
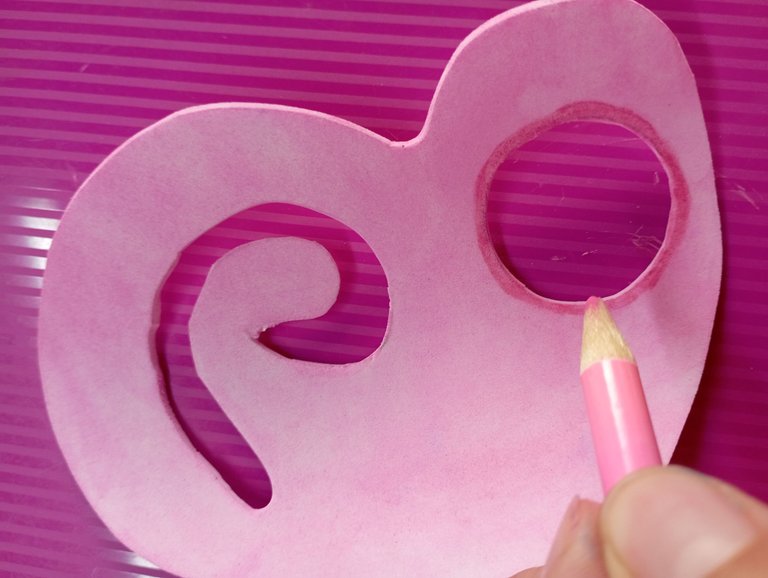
-Con un crayón de madera color rosado vamos a pasar por los bordes del circulo y el espiral de las alas que recortamos.
-With a pink wooden crayon we will go around the edges of the circle and the spiral of the wings we cut out.

-Pegamos las alas sobre la lámina de acetato fucsia y procedemos a recortar.
-Glue the wings on the fuchsia acetate sheet and proceed to cut them out.
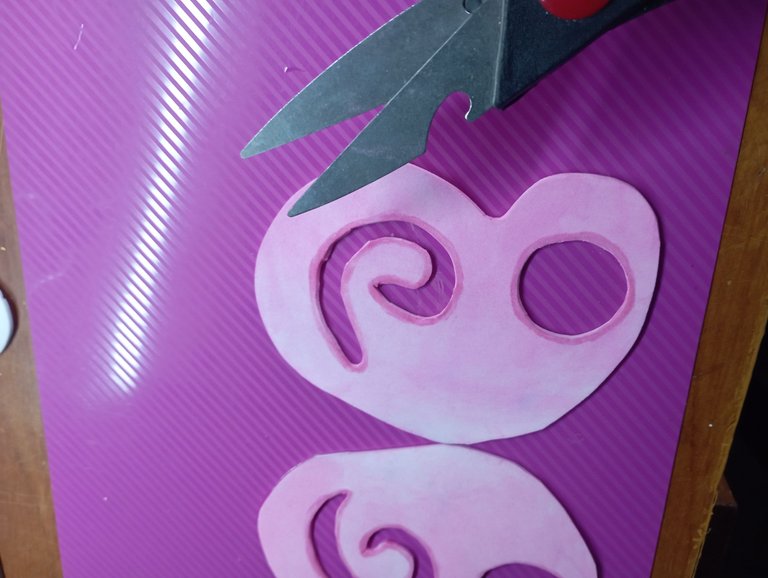
-En el mismo acetato color fucsia, vamos a trazar y recortar las antenas, la nariz y los labios de la mariposa.
-On the same fuchsia acetate, we will trace and cut out the antennae, nose and lips of the butterfly.
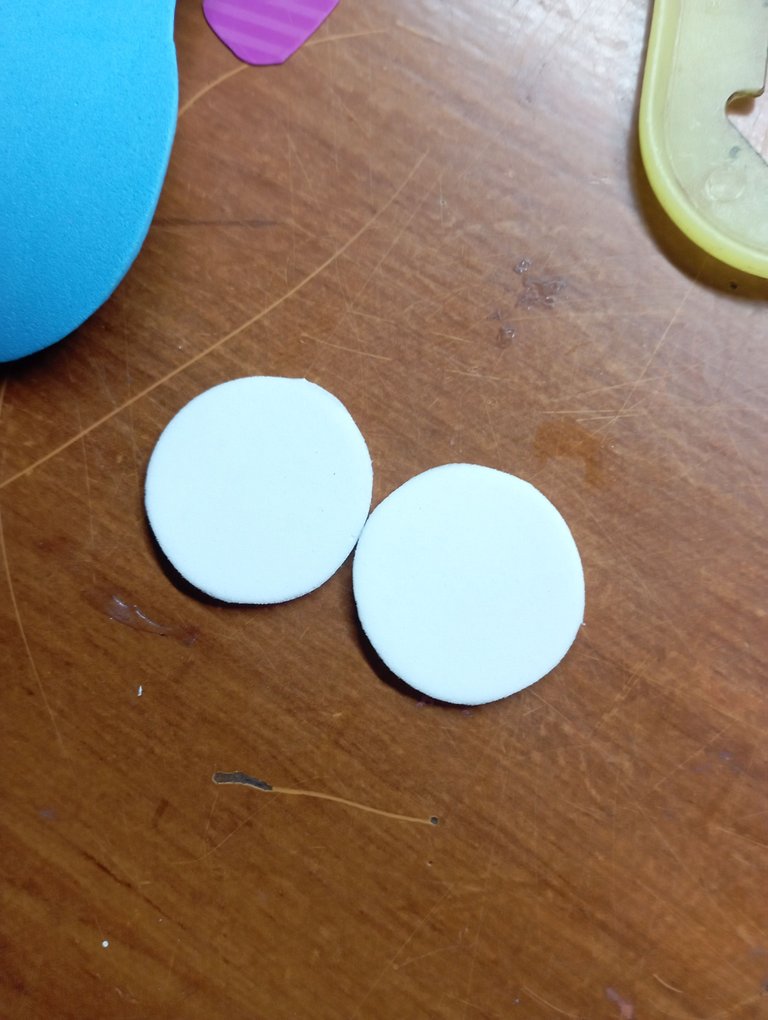
-Con el foamy de color banco vamos a hacer un par de círculos que serán los ojos y con el foamy de color negro vamos a hacer las pestañas y el centro de los ojos.
-With the bank colored foamy we are going to make a couple of circles that will be the eyes and with the black foamy we are going to make the eyelashes and the center of the eyes.
-Una vez que tenemos todoas las piezas vamos a pegar, con mucho cuidado ya que el pegamento universal es de secado rápido y podemos pegarnos los dedos.
-Once we have all the pieces we are going to glue, very carefully because the universal glue is fast drying and we can stick our fingers.
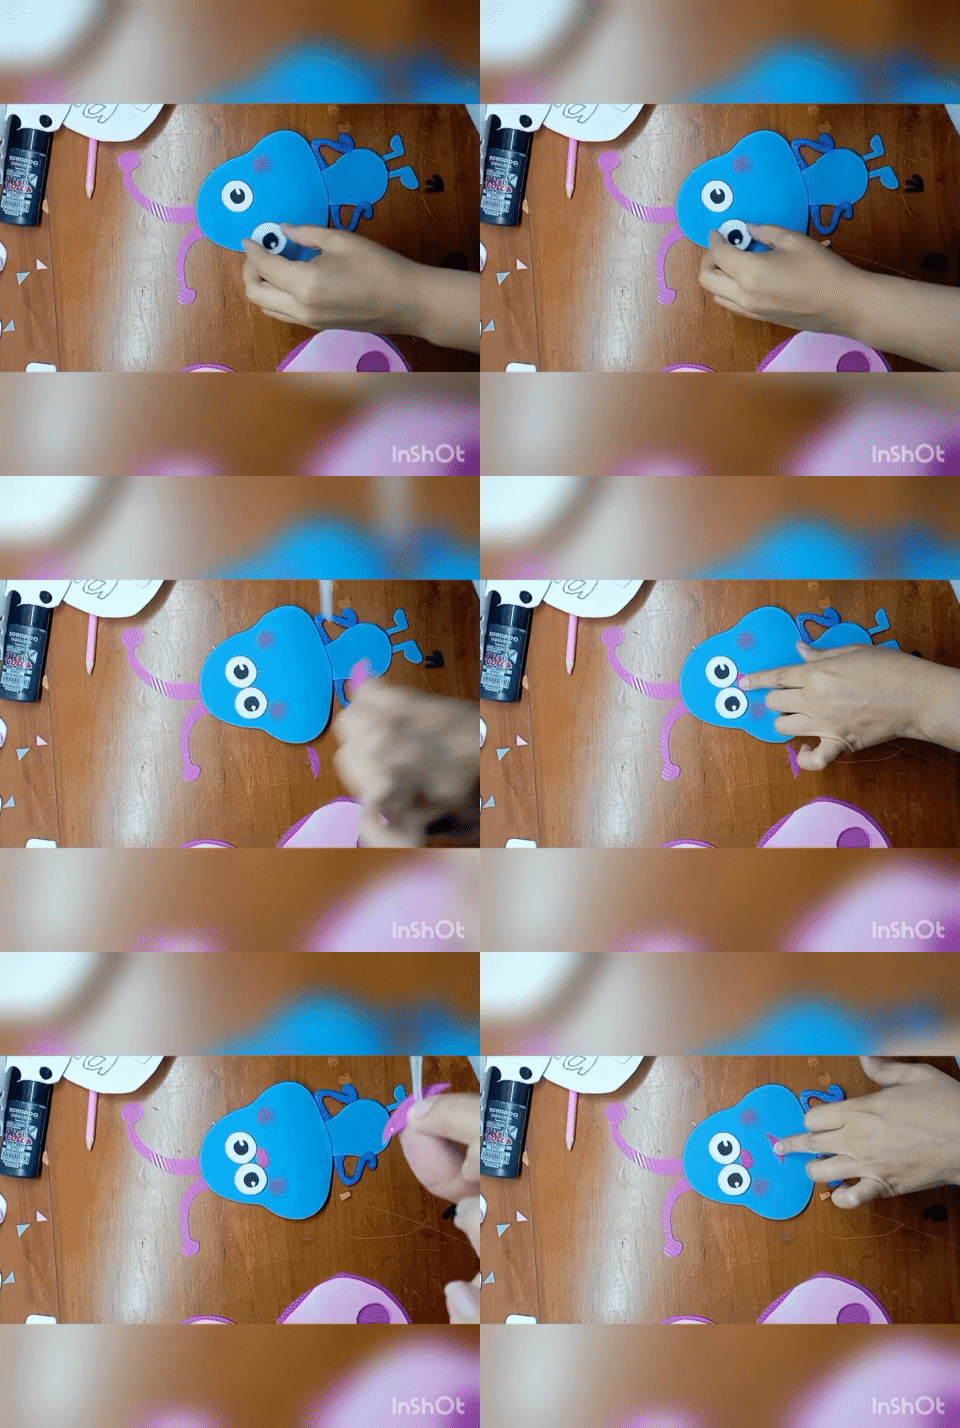
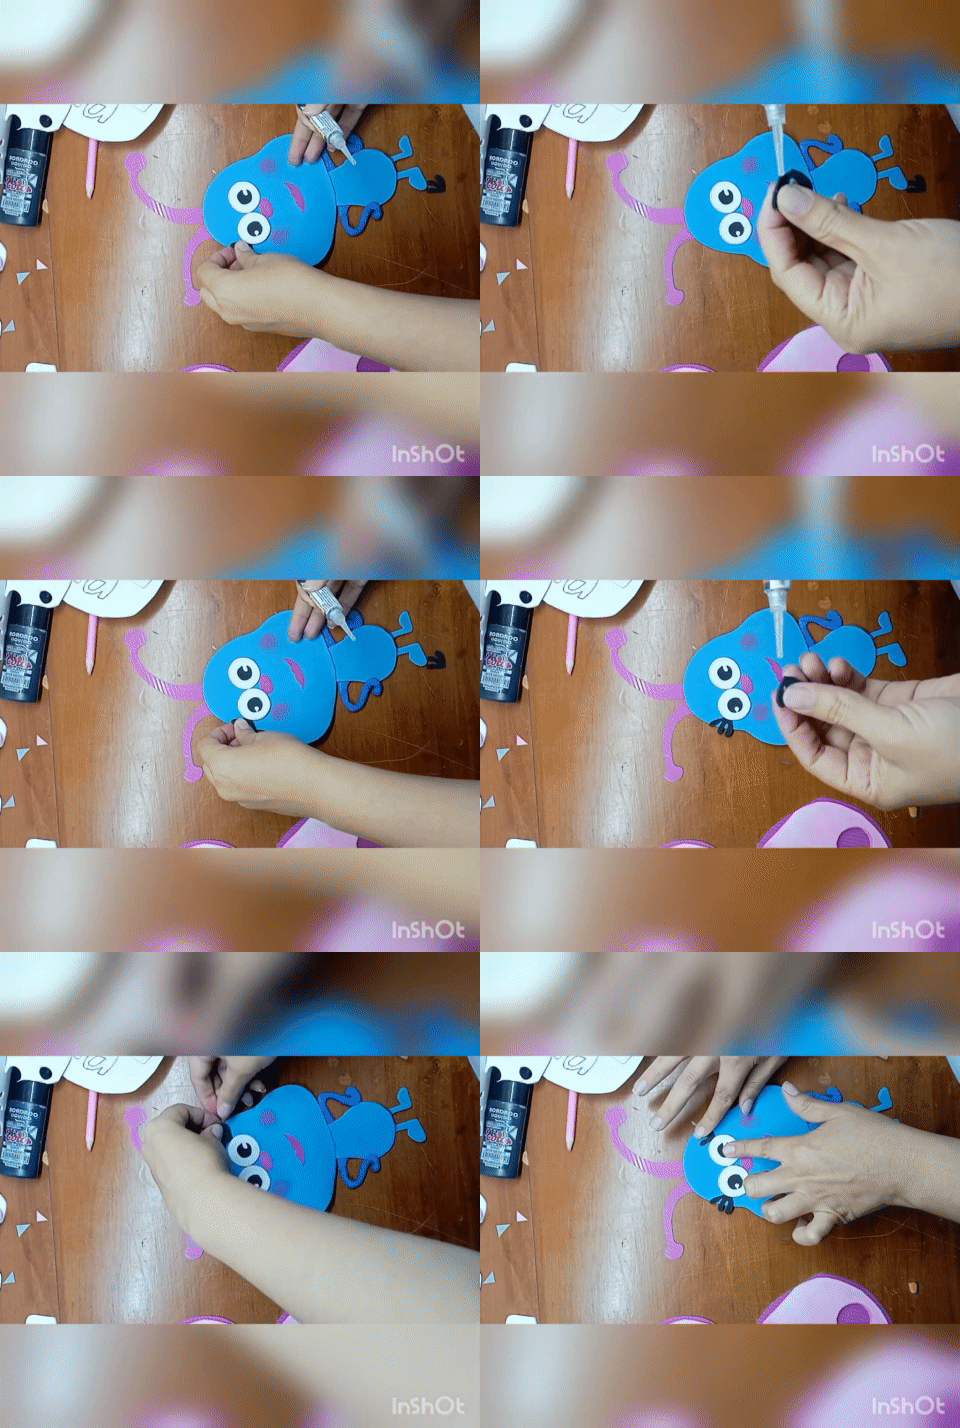
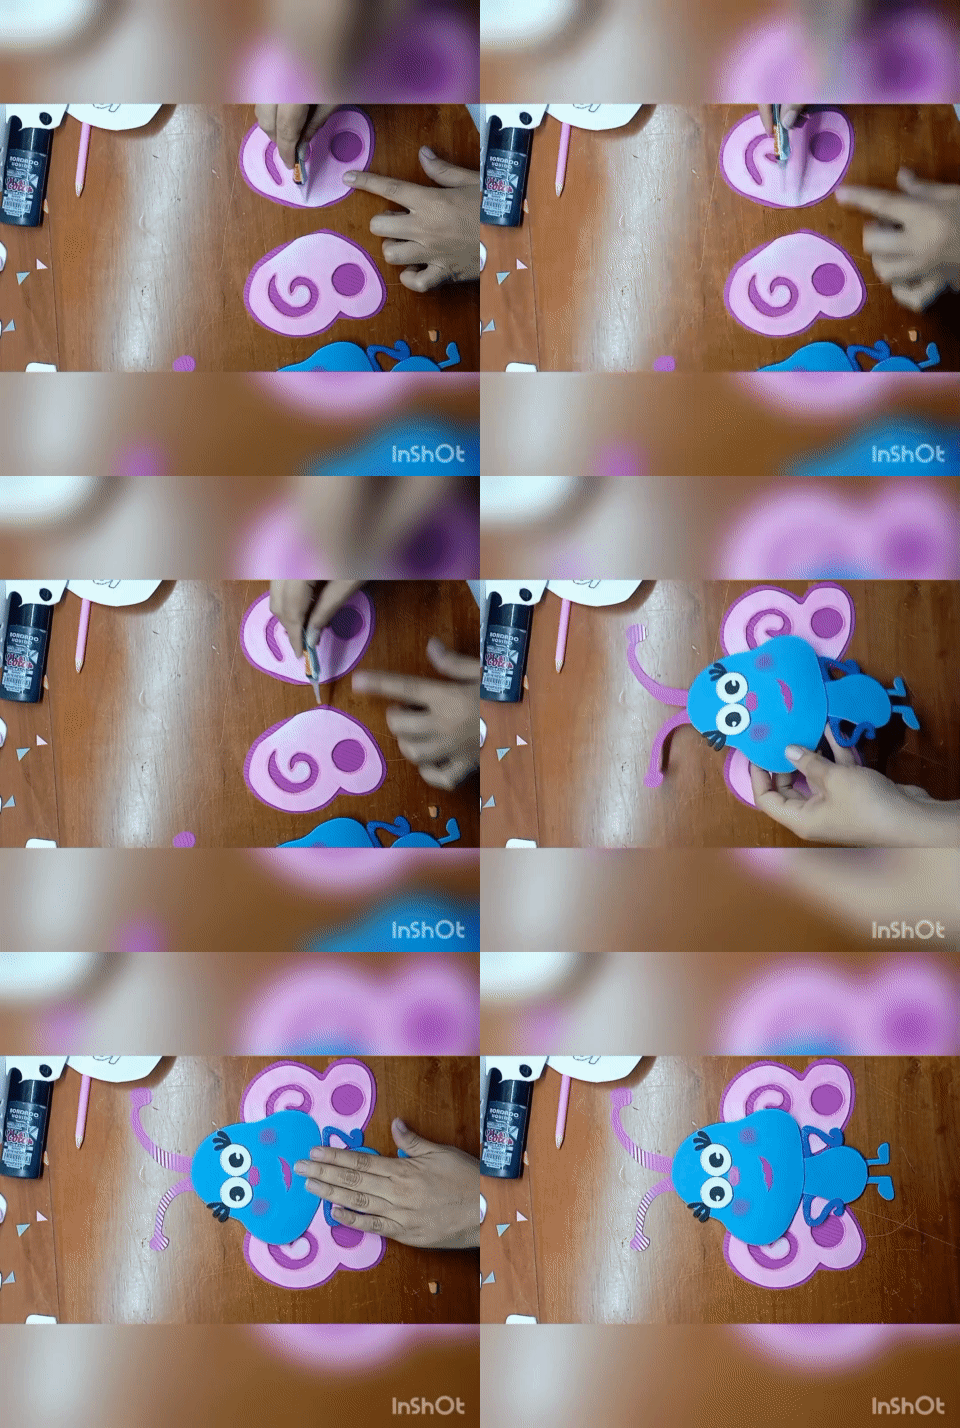
Y es así como comienza nuestra colección de Bichikids, está listo para pegar en la pared del dormitorio del bebé.
And that's how our Bichikids collection begins, it's ready to stick on the baby's bedroom wall.
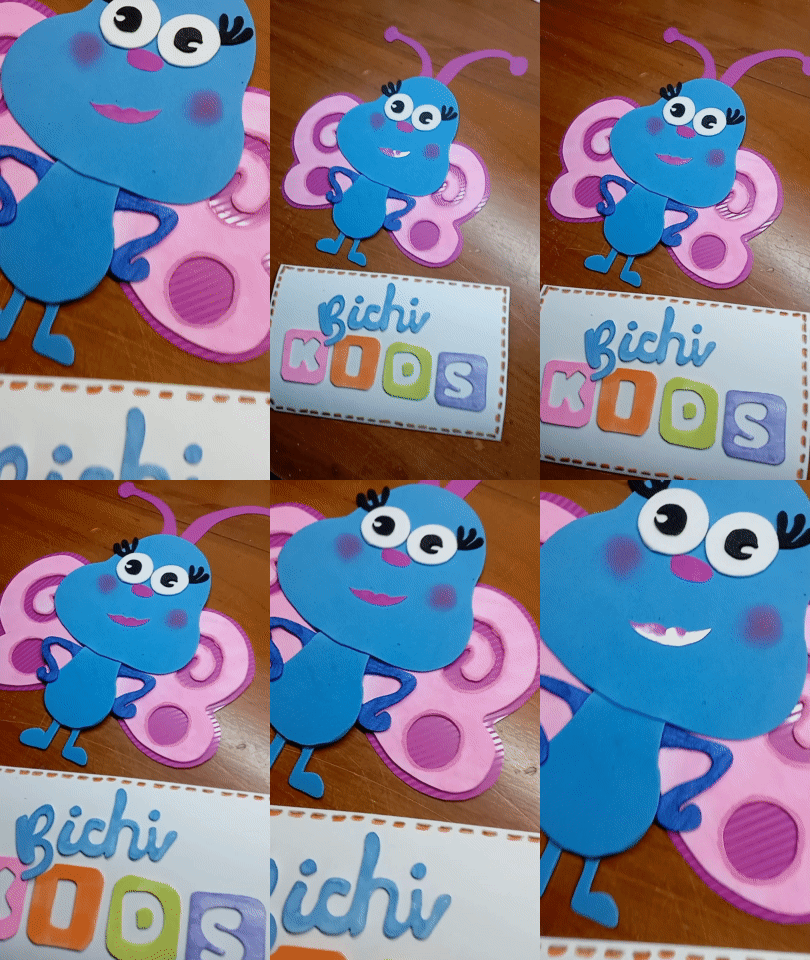
Espero les guste mi trabajo, gracias por visitar mi publicación y nos vemos pronto con otros personajes de Bichikids. Saludos!
I hope you like my work, thanks for visiting my publication and see you soon with other Bichikids characters. Greetings!

Original content by the author.
Resources: App: Canva / Giphy || 📷 Redmi 10 Smartphone
Translation done with Deepl.com
✿ All Rights Reserved || © @chacald.dcymt // 2020-2022 ✿
💌 Discord: chacald.dcymt#3549
_
Contenido original del autor.
Recursos: App: Canva / Giphy || 📷 Redmi 10 Smartphone
Traducido con Deepl.com
✿ Todos los Derechos Reservados || © @chacald.dcymt // 2020-2022 ✿
💌 Discord: chacald.dcymt#3549