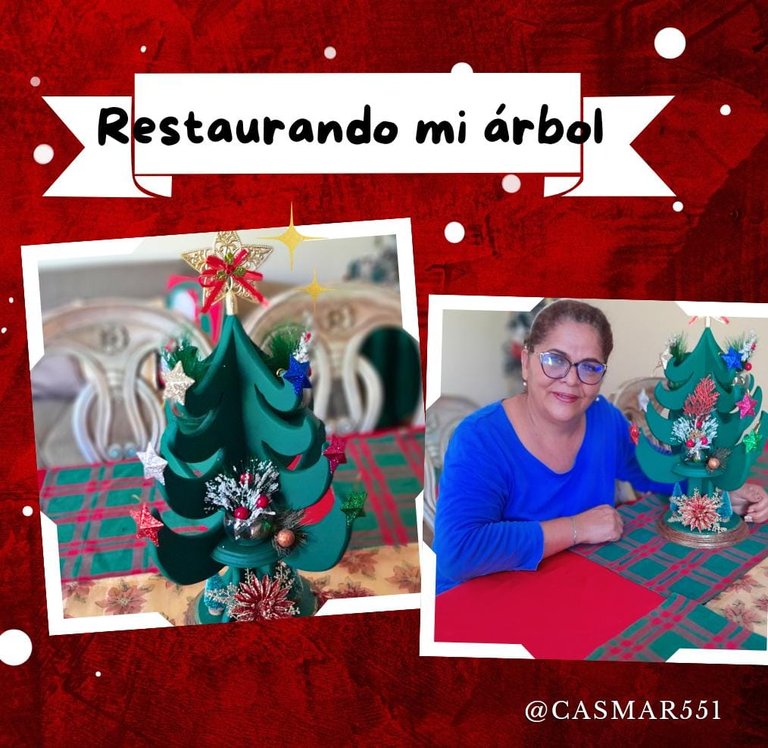
 Foto creada en canva
Hola Feliz Navidad a todos mis queridos amigos de hive y de esta espléndida comunidad como es @hivediy.
Aquí estoy de nuevo con ustedes para compartir una restauración de mi árbol de mesa que a decir verdad es un gran tesoro para mí porque fue un regalo de mi difunta hermana mayor en un día como hoy al inicio de la Nochebuena.
Hoy es un día maravilloso para muchas personas porque hoy comenzamos a celebrar la llegada del niño Jesús. Restaurar este me remontó a mi niñez porque sus colores y accesorios me transmiten emociones como por ejemplo como lucirá y también la ilusión de poder mostrar lo que podría hacer con él y hasta no creer que su cambio ha sido grande y hermoso, es por eso que hoy decidí sacarlo del abandono.
Materiales
| Materiales | cantidad |
|---|---|
| Pintura verde Navidad | 1 |
| Pintura dorada bronce | 1 |
| Palillo de silicona | 1 |
| Espátula pequeña | 1 |
| Pincel grueso | 1 |
| Pincel pequeño | 1 |
| Palmas | 4 |
| Estrella | 1 |
| Alfileres de plástico | 2 |
| Cerezas de plástico | 6 |
| Cuenco pequeño | 4 |
| Trozos de papel de lija | 3 |
| Estrellas pequeñas | 6 |
| Flor de plástico roja | 1 |
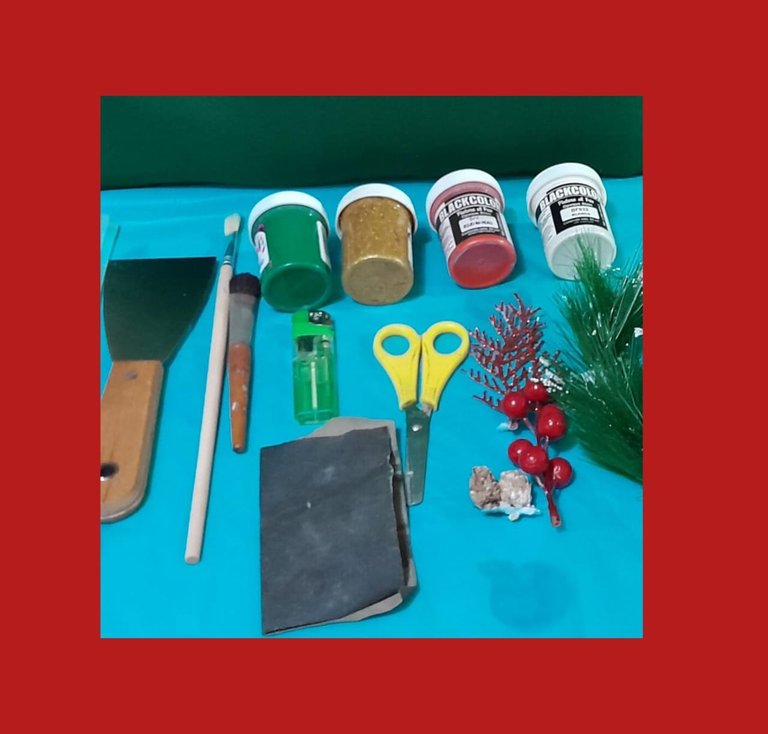
A continuación les mostrare los pasos a seguir para la restauración de mi mesa árbol
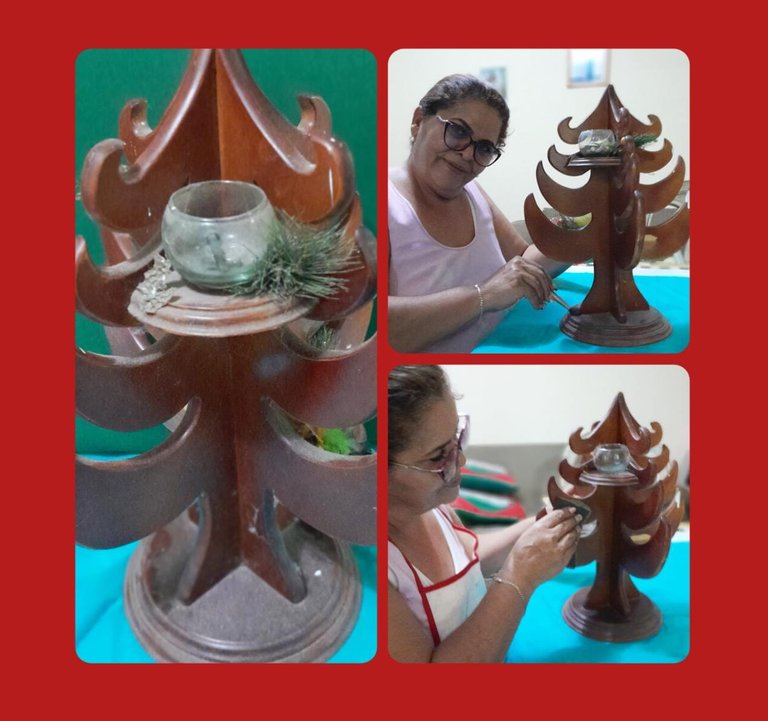
1 Paso
Fue sacudirlo con un cepillito para quitarle todo el polvo que tenía. Después cogí un trozo de lija fina para quitar la pintura vieja, que por cierto estaba casi intacta a pesar de que lleva doce años conmigo.
2 Paso
A continuación empecé a pintarlo con un pincel grueso y pintura en frío verde Navidad. Después de haber aplicado dos capas de pintura lo deje secar un rato y luego pinte las patas del árbol en color bronce dorado que también le hice el mismo proceso.
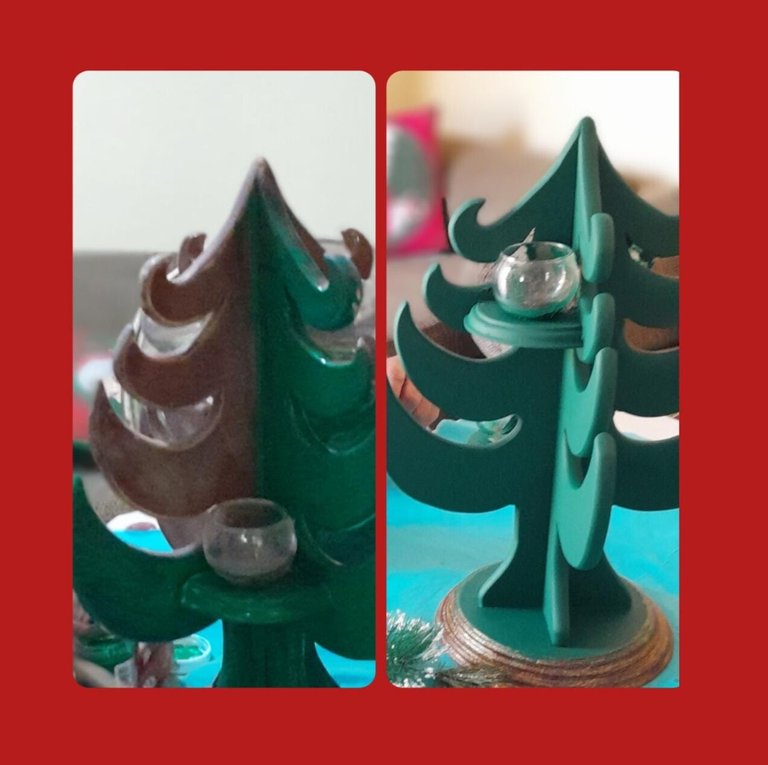
3 Paso
Una vez pintado y seco mi árbol comenzaré a decorarlo para darle ese toque tan bonito de navidad ya que aquí tengo listos y preparados todos los accesorios elegidos.
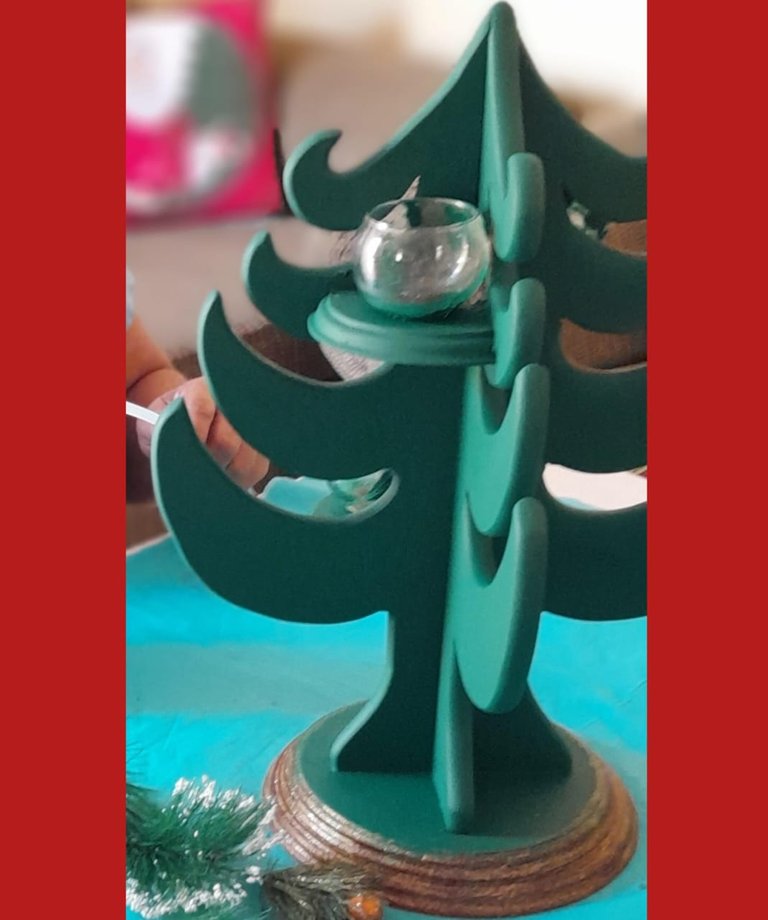
4 Paso
Ahora empezaré a pegar con una gota de silicona las estrellitas de colores en el extremo puntiagudo de las ramas del árbol. Luego pegamos a los pequeños cuencos unas ramas verdes con blanco con unas bonitas piedras de cristal verde translúcido.
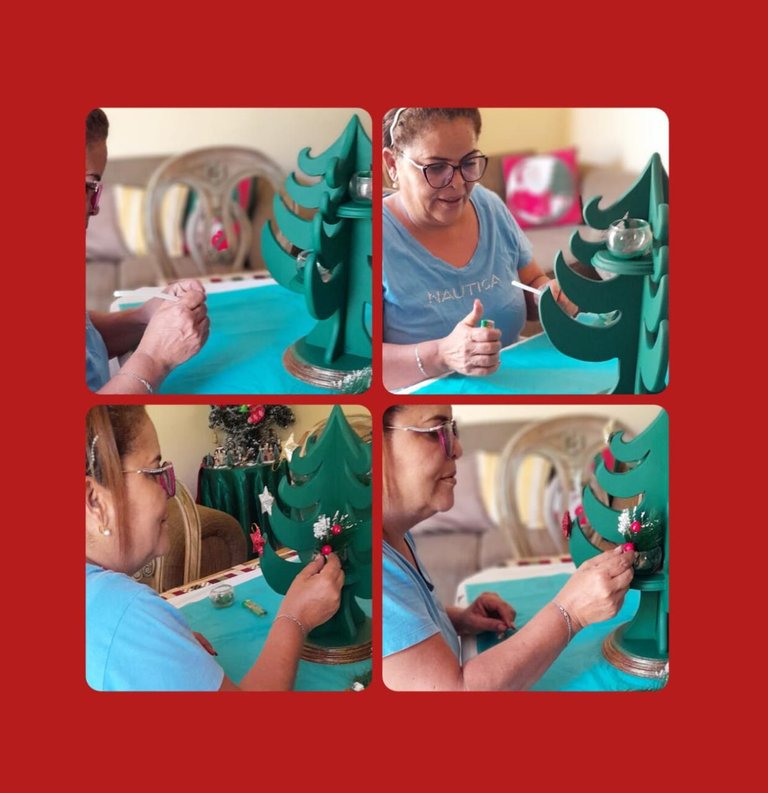
5 Paso
Para finalizar colocare a los cuenquitos unas lindas cerezas de plástico para darle ese hermoso toque navideño🍒 Y algo muy importante y representativo para mi árbol de mesa es la hermosa estrella 🌟 de Israel que representa el nacimiento del niño Jesús y para culminar colocaré al pie del árbol una linda flor navideña con unos pinos en ambos lados.
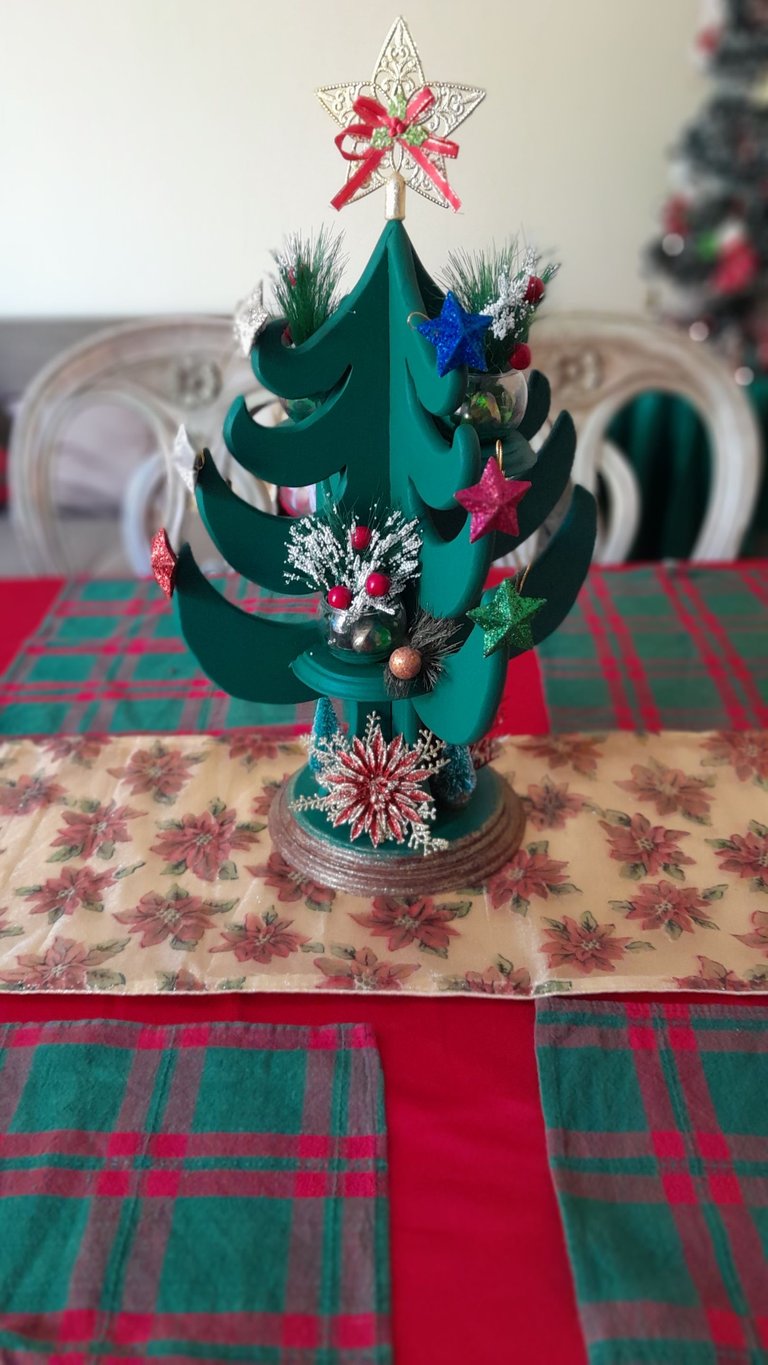
Amigos de @hivediy aquí está el resultado de la restauración de mi hermoso árbol que estará de centro de mi comedor en mi cena de nochebuena.
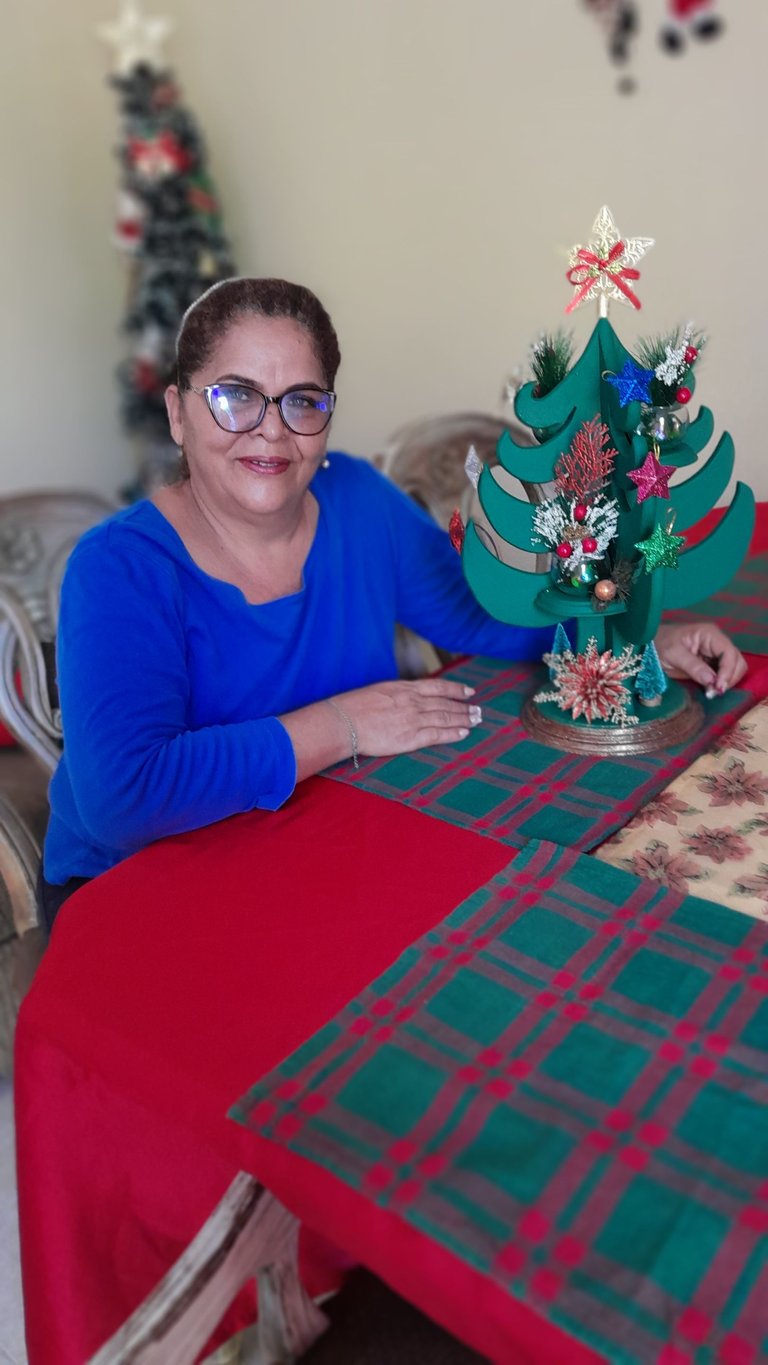
ENGLISH
 Photo created in canva
Hello Merry Christmas to all my dear friends of hive and of this splendid community as it is @hivediy.
Here I am back with you to share a restoration of my table tree that to tell the truth is a great treasure for me because it was a gift from my late older sister on a day like today at the beginning of Christmas Eve.
Today is a wonderful day for many people because today we begin to celebrate the arrival of the baby Jesus. Restoring this one took me back to my childhood because its colors and accessories transmit emotions such as how it will look like and also the illusion of being able to show what you could do with it and even not believing that its change has been great and beautiful, that's why today I decided to take it out of abandonment.
Materials
| Materials | quantity |
|---|---|
| Christmas green paint | 1 |
| Bronze gold paint | 1 |
| Silicone stick | 1 |
| Small spatula | 1 |
| Thick brush | 1 |
| Small brush | 1 |
| Palms | 4 |
| Star | 1 |
| Plastic pines | 2 |
| Plastic cherries | 6 |
| Small bowl | 4 |
| Sandpaper in pieces | 3 |
| Small stars | 6 |
| Red plastic flower | 1 |

Next I will show you the steps to follow for the restoration of my table tree
1 Step
Was to shake it with a small brush to remove all the dust it had. Then I took a piece of fine sandpaper to remove the old paint, which by the way was almost intact even though it has been with me for twelve years.

2 Step
Then I started to paint it with a thick paintbrush and Christmas green cold paint. After having applied two coats of paint I let it dry for a while and then I painted the feet of the tree in bronze gold color which I also did the same process.

3 Step
Once my tree is painted and dry I will begin to decorate it to give that beautiful touch of Christmas since here I have ready and prepared all the chosen accessories.

4 Step
Now I will start gluing with a drop of silicone the colored stars on the sharp end of the branches of the tree. Then we attach to the little bowls some green branches with white with some nice translucent green glass stones.

5 Step
To finish I will place to the little bowls some nice plastic cherries to give it that beautiful Christmas touch🍒 And something very important and representative for my table tree is the beautiful star 🌟 of Israel that represents the birth of the baby Jesus and to culminate I will place at the foot of the tree a nice Christmas flower with some pine trees on both sides.
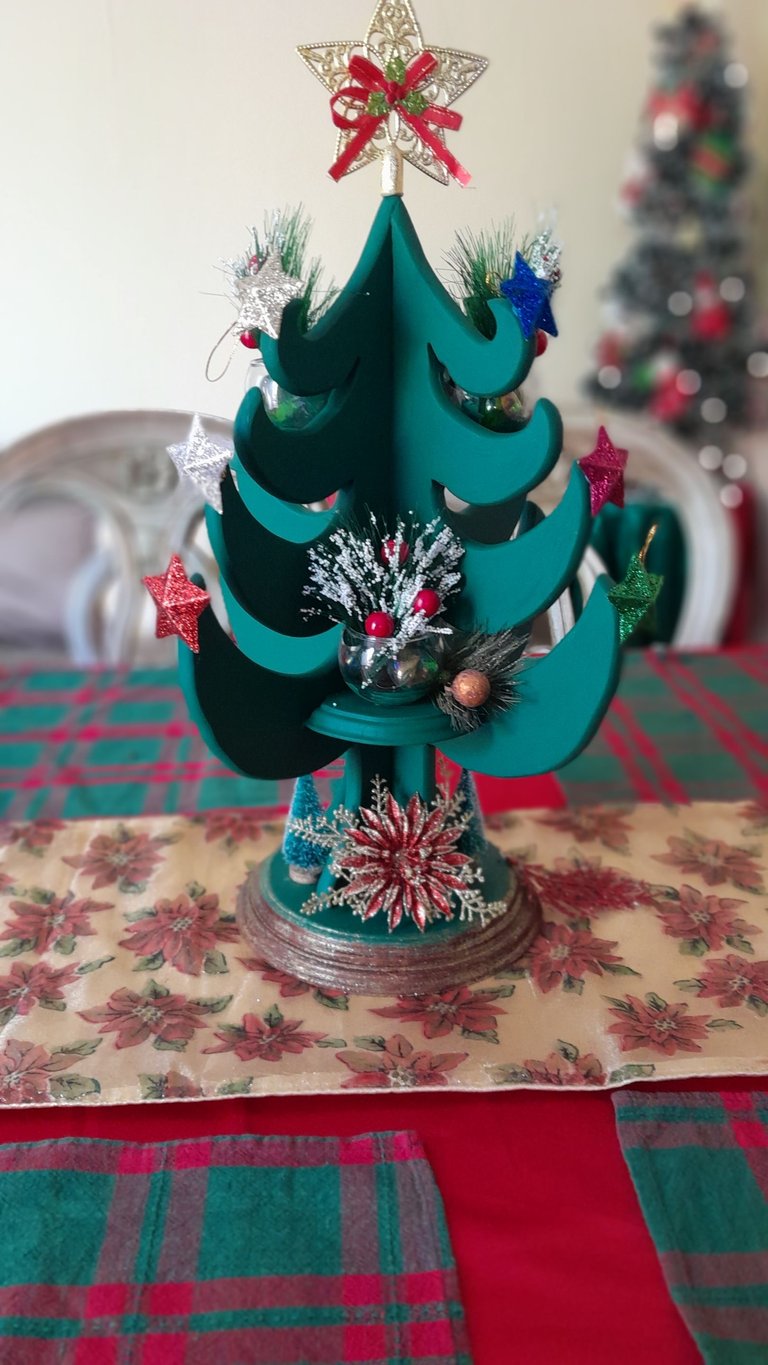
Friends of @hivediy here are the results of the restoration of my beautiful tree that will be in the center of my dining room at my Christmas Eve dinner.
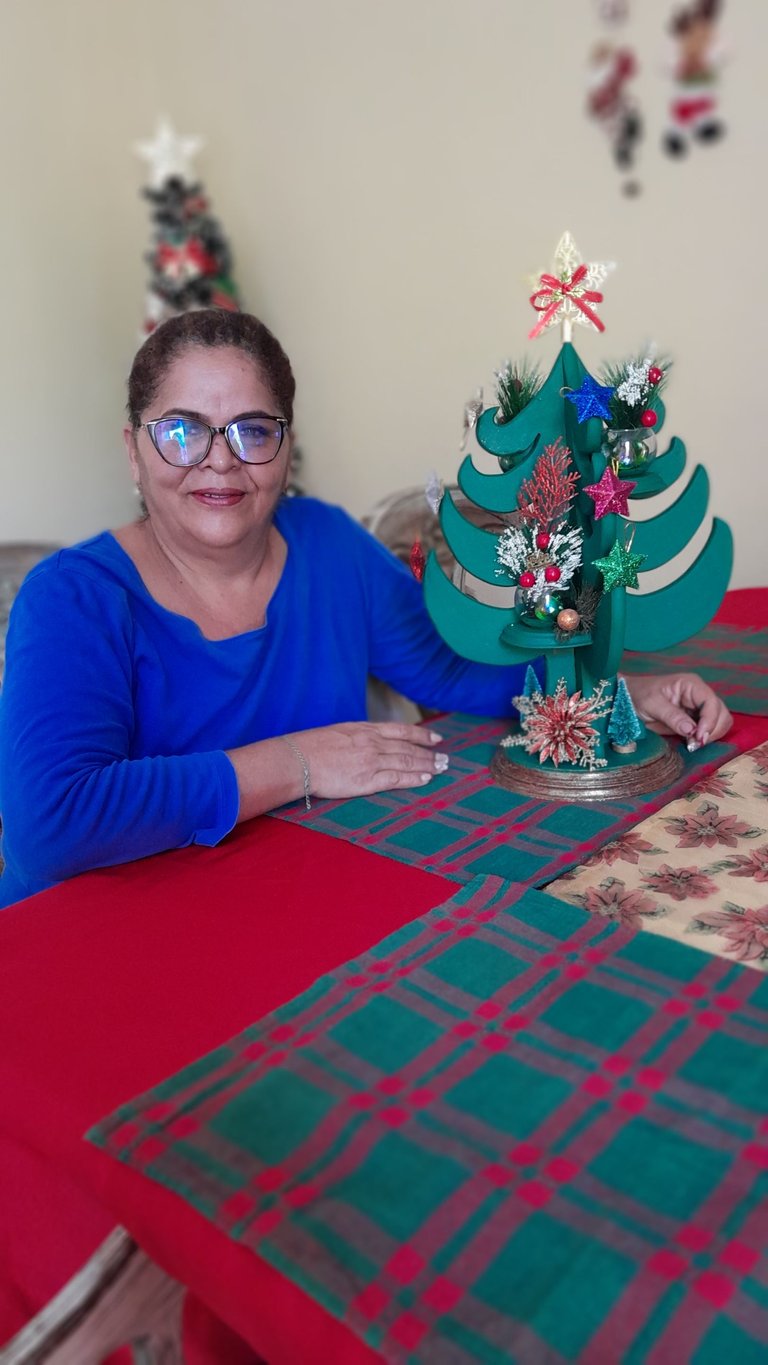
Muchas gracias a todos por llegar hasta aquí espero les haya gustado mi post. Feliz navidad y muchas bendiciones 🙏🎅🌲🤶
Thank you all so much for making it this far I hope you liked my post. Merry christmas and many blessings 🙏 🎅🌲🤶

Edición Inshot/ Y en canva | Inshot Edition/ and canva
Banner creada en canva | Banner created in canva
Fotografías de mi autoría/ de mi teléfonoSamsungGalaxyA13| Photographs of my authorship/ from my phone Samsung Galaxy A13
Traductor Deepl.com | Translator Deepl.com