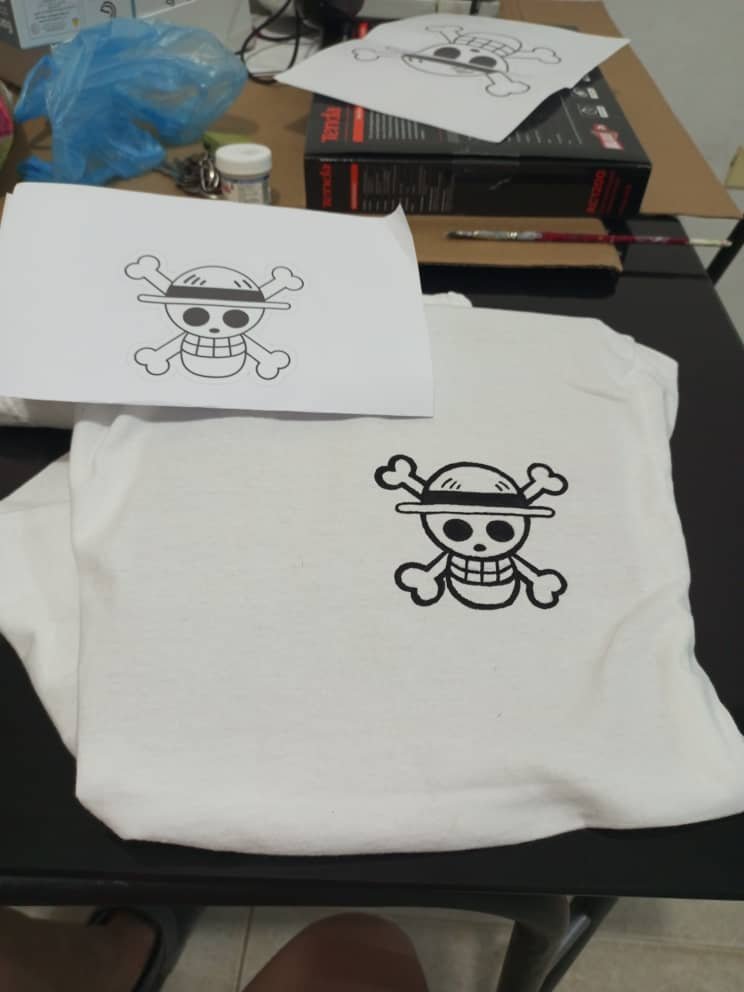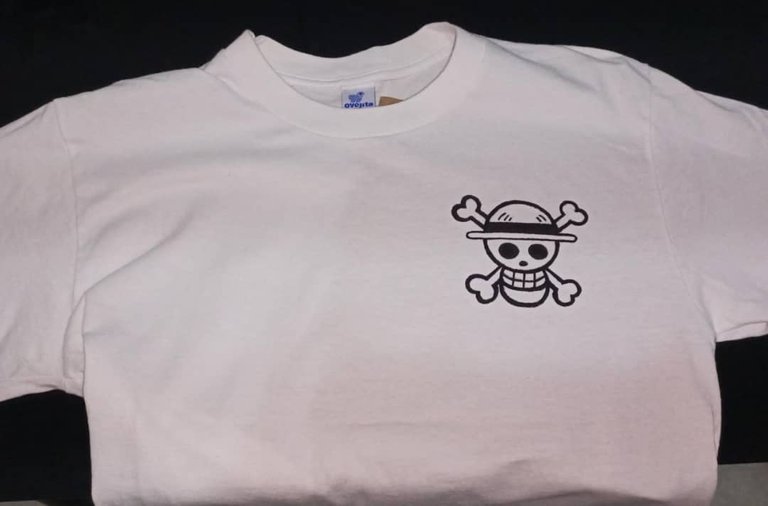
Saludos a todos en @Hivediy, un abrazo, hoy les traigo un modelo más simple de mis franelas pintadas a manos.
Como les contaba en mi publicación anterior, me encanta pintar las franelas con pintura de tela, un arte totalmente a mano, normalmente me gusta hacerlo en tela negra, pero esta vez un amigo me pidió un diseño particular en una franela blanca.
Mi primera experiencia en blanco, y es bastante delicado que no se valla a manchar en lo absoluto porque dañamos la franela, así que pendiente con esto.
Greetings to everyone at @Hivediy, a hug, today I bring you a simpler model of my hand painted flannels.
As I told you in my previous post, I love to paint flannels with fabric paint, a totally handmade art, normally I like to do it on black fabric, but this time a friend asked me for a particular design on a white flannel.
My first experience in white, and it is quite delicate that it will not stain at all because we damage the flannel, so watch out for this.
MATERIALES A USAR:
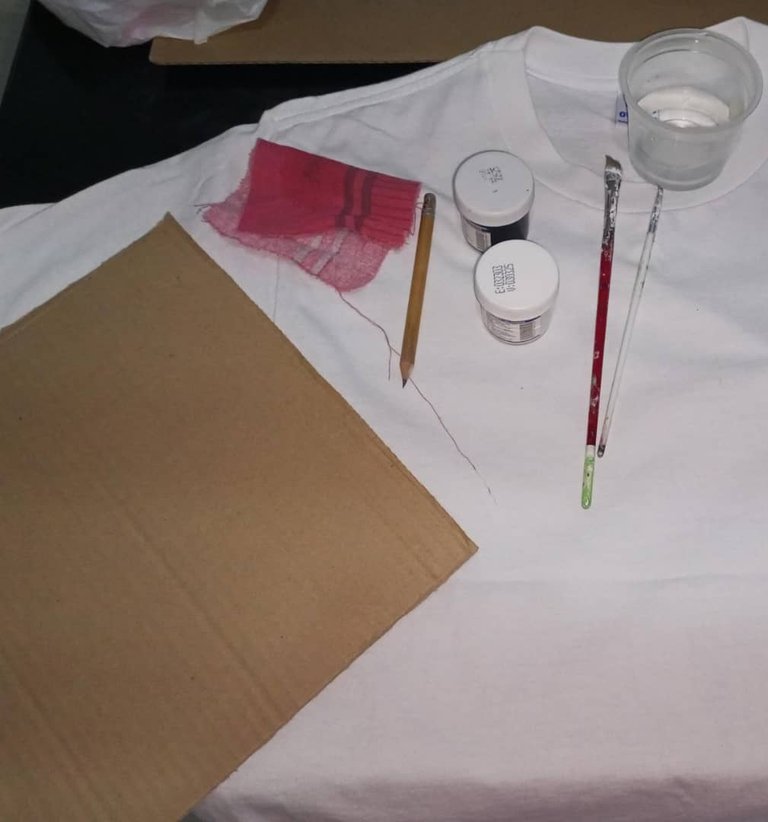
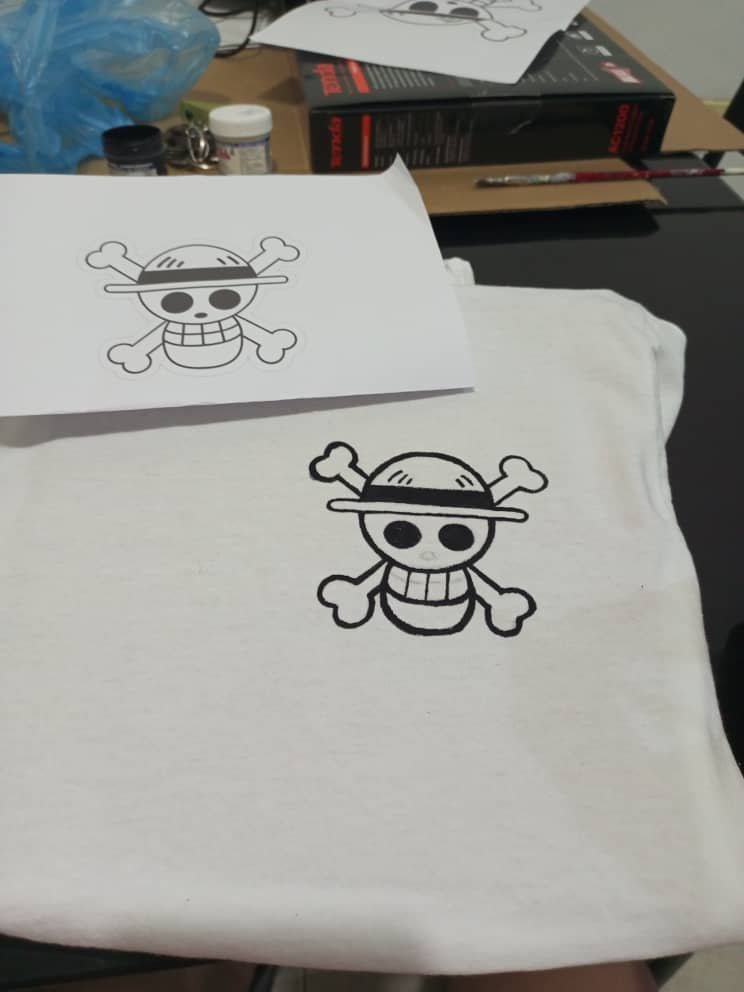
Como siempre, la franela blanca, el dibujo a realizar, un pedazo de cartón, lápiz, una taza con agua, las pinturas de tela, pincel y una telita.
MATERIALES A USAR:
Como siempre, la franela blanca, el dibujo a realizar, un pedazo de cartón, lápiz, una taza con agua, las pinturas de tela, pincel y una telita.
-PRIMER PASO.
Agarramos la franela y le colocamos el cartón adentro, en el medio de la franela, y luego la pueden sujetar con ganchos para que la sientan más firme, esta vez no lo hice porque era un diseño pequeño, pero si se sienten más a gusto lo pueden hacer.
-STEP ONE.
We take the flannel and place the cardboard inside, in the middle of the flannel, and then you can fasten it with hooks so that it feels firmer, this time I didn't do it because it was a small design, but if you feel more comfortable you can do it.
-SEGUNDO PASO.
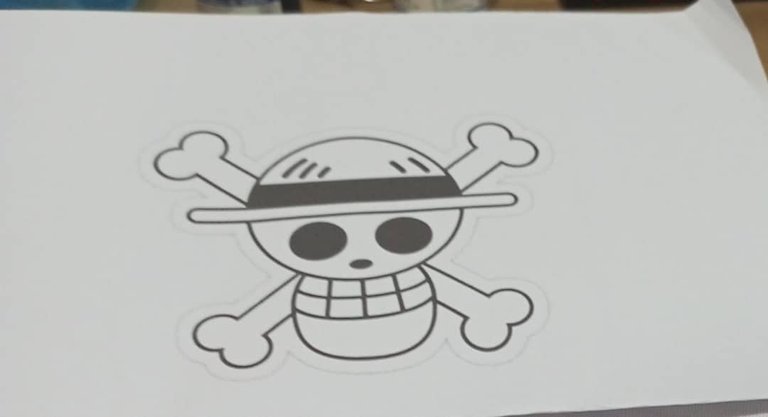
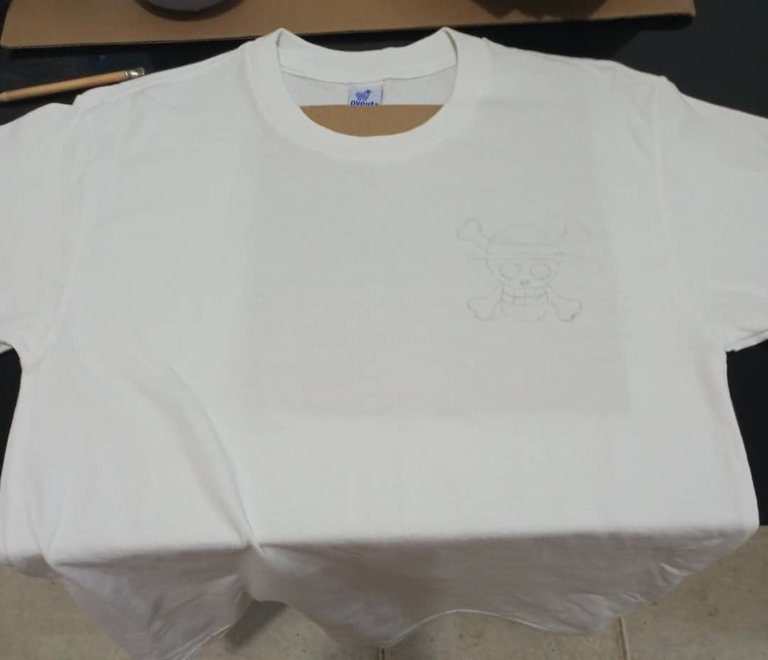
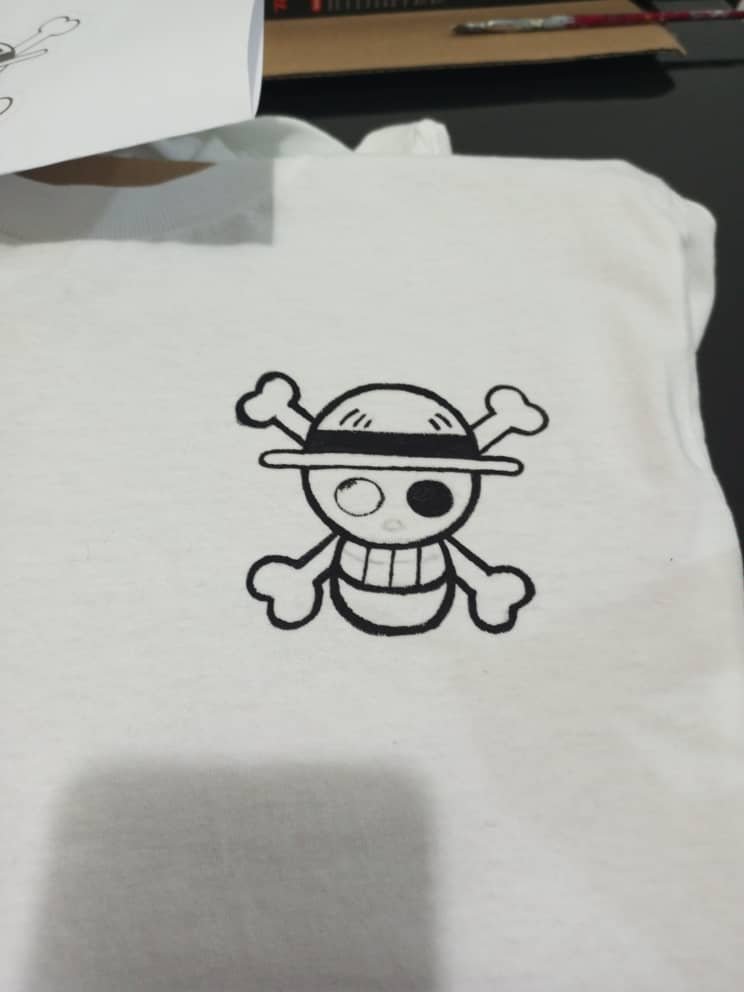
Empezamos hacer el dibujo del diseño con el lápiz en la franela, esta vez me toco hacer un diseño de ONE PIECE.
-SECOND STEP.
We start drawing the design with the pencil on the flannel, this time I did a ONE PIECE design.
-TERCER PASO.
Batir la pintura bien antes de usar para que este más ligera, acomodamos de nuevo la franela verificando que el dibujo este derecho y comenzamos ahora a pintar.
-CUARTO PASO.
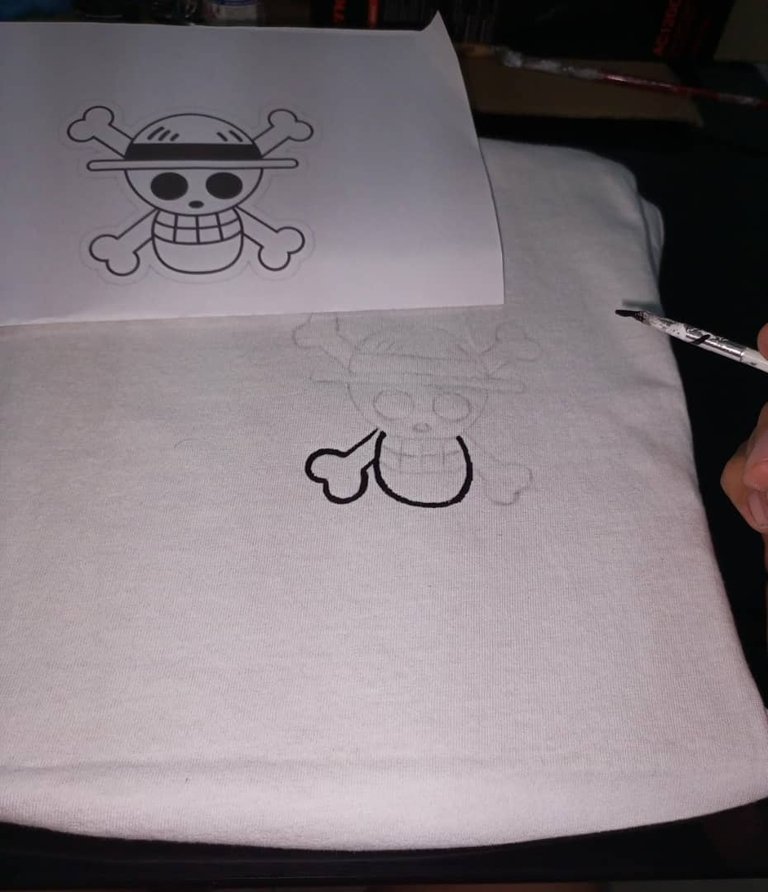
Empezamos a pintar con sumo cuidado la frénale teniendo en cuanta que no tengamos manchas en la mano para no ensuciarla, vamos pintando las líneas lo más delicado y finita que podamos dándole su primera mano.
-THIRD STEP.
Shake the paint well before using it to make it lighter, we place the flannel again verifying that the drawing is straight and now we begin to paint.
-FOURTH STEP.
We begin to paint very carefully the fringe taking into account that we do not have stains on the hand to avoid dirtying it, we will paint the lines as delicate and fine as we can giving it its first hand.

-QUINTO PASO.
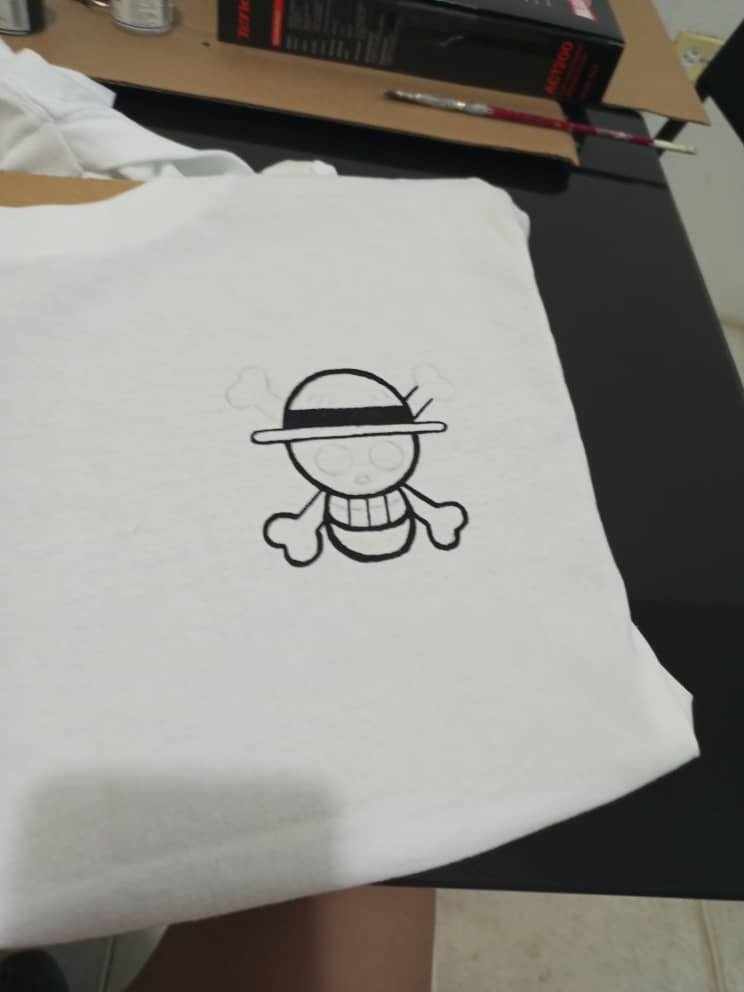
Yo en lo particular pinto primero todo el borde del dibujo y dejo que se seque bien y proceso a pintar lo de adentro del dibujo, y luego le doy su segunda mano y termino con los detalles mas pequeños.
FIFTH STEP.
I paint the entire edge of the drawing first and let it dry well and then paint the inside of the drawing, and then I give it a second coat and finish with the smaller details.
-SEXTO PASO.
Al estar totalment
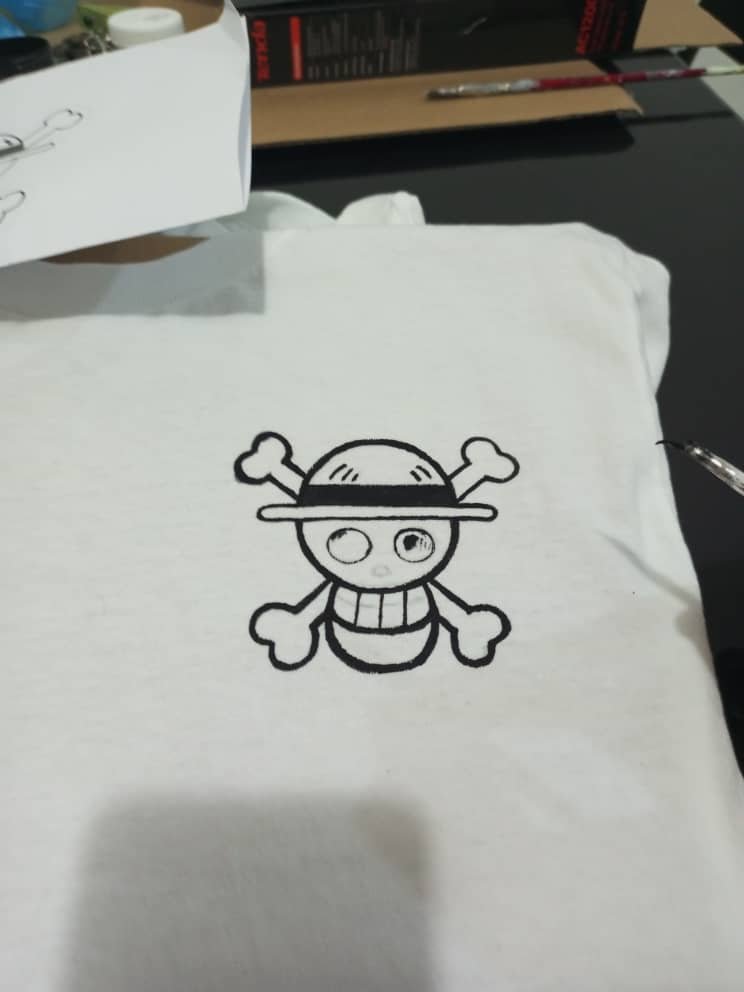
e seco le saco el cartón de adentro y listo, la franela está terminada y lista para usar.
-SIXTH STEP.
When it is completely dry I remove the cardboard inside and ready, the flannel is finished and ready to use.
Espero les guste mi paso a paso, y que, el que no lo ha intentado aun lo empiece hacer, estoy segura que después no querrá parar de hacer sus propias franelas.
I hope you like my step by step, and that, if you haven't tried it yet, start doing it, I'm sure you won't want to stop making your own flannels afterwards.
