Hola, hola, un saludo a todos los hivers de @hivediy.
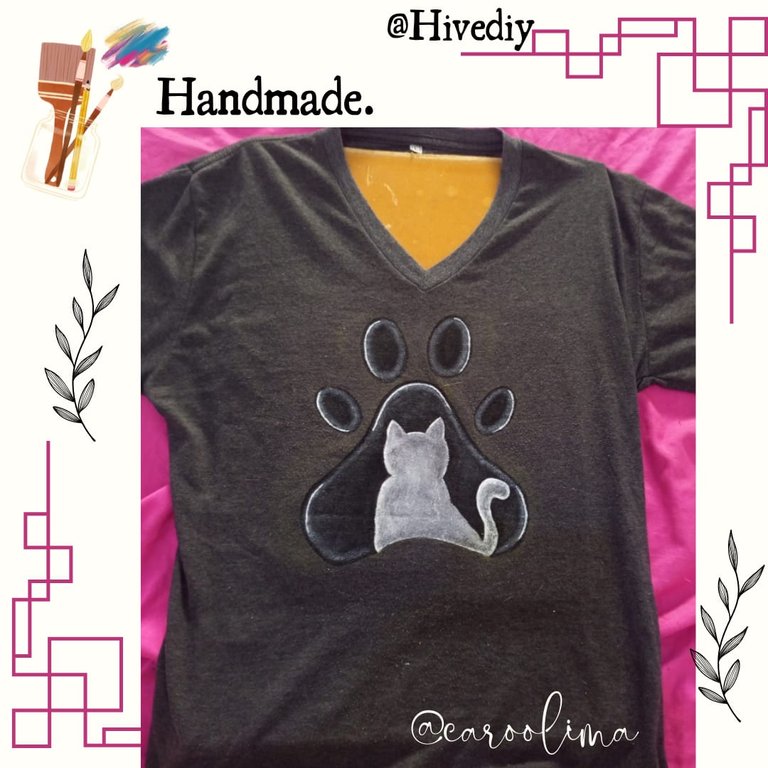
Hoy vengo a traerles un diseño hecho a mano que pinte en una camisa gris, vi la imagen y no dude en plasmarlo.
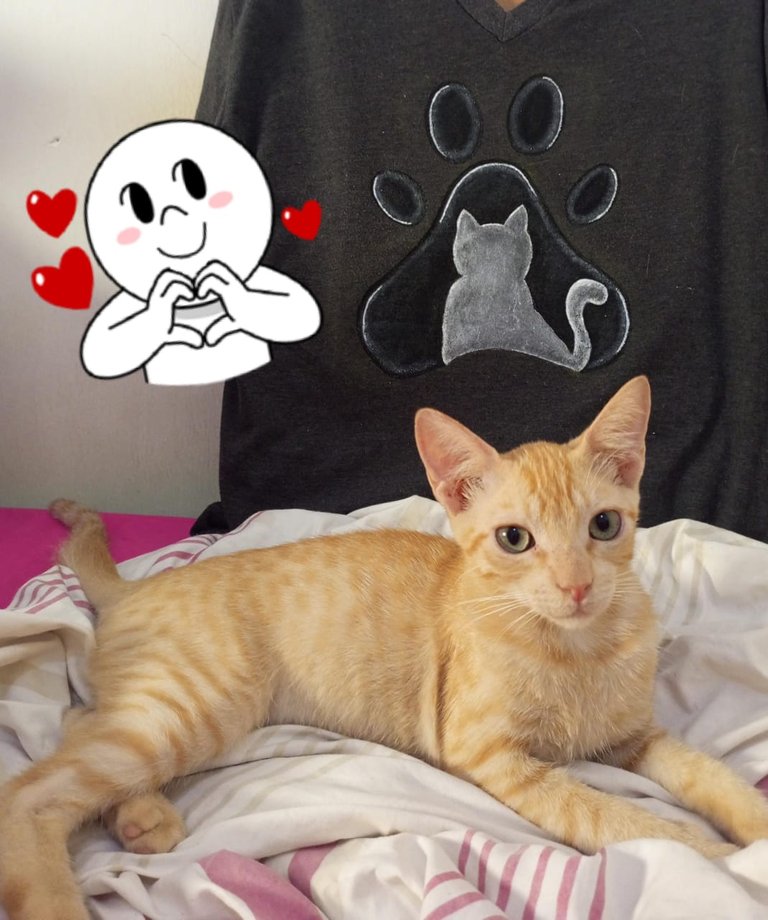
Para todo aquel que me conoce sabe que me encantan los animales, sobre todo los gatos, tengo 4 nenes peludos por cierto, al ver esta imagen quede enamorada.
Como siempre voy a mostrarles el paso a paso y cada uno de los materiales que uso al pintar en franelas.
MATERIALES:
Pinceles.
Pintura para telas, negra y blanco.
Cartón.
Lápiz y creyón amarillo.
Goma de borrar.
Un pedacito de trapo.
Vaso con agua.
Franela unicolor.
Diseño de la imagen a realizar.
Hello, hello, greetings to all @hivediy hivers.
Today I come to bring you a handmade design that I painted on a gray shirt, I saw the image and I did not hesitate to capture it.
For everyone who knows me knows that I love animals, especially cats, I have 4 furry babies by the way, when I saw this image I fell in love.
As always I will show you the step by step and each of the materials I use when painting on flannel.
MATERIALS:
Brushes.
Paint for fabrics, black and white.
Cardboard.
Pencil and yellow crayon.
Eraser.
A piece of rag.
Glass with water.
One-color crayon.
Design of the image to be made.
Paso1.
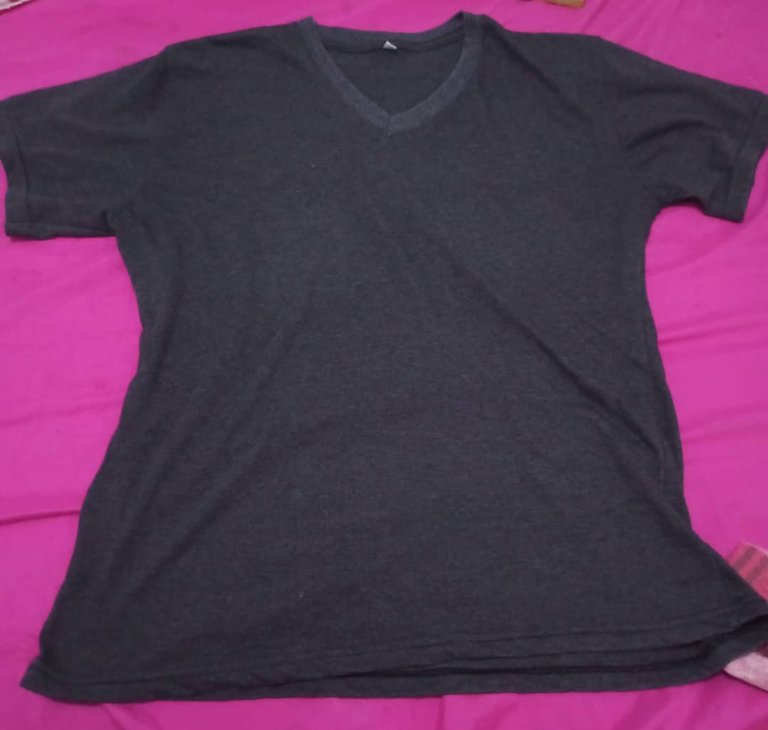
Empezamos estirando bien la franela y colocando dentro el cartón bien centrado, esto para que no se manche la parte detrás de la misma.
Step 1.
Start by stretching the flannel well and placing the cardboard well centered inside, so that the back of the flannel does not get stained.

Paso2.
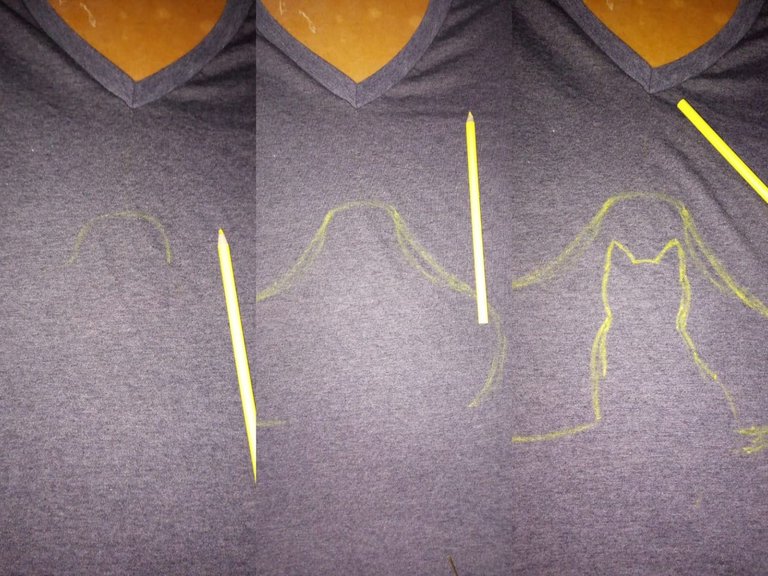
Nos aseguramos que de estirar la franela y comenzamos a marcar las líneas de nuestro diseño con lápiz, sino se ve mucho pueden usar el creyón amarillo, muy suave, para poder irlo modificando.
Step 2.
We make sure to stretch the flannel and begin to mark the lines of our design with pencil, if it does not look too much you can use the yellow crayon, very soft, to be able to modify it.

Paso3.
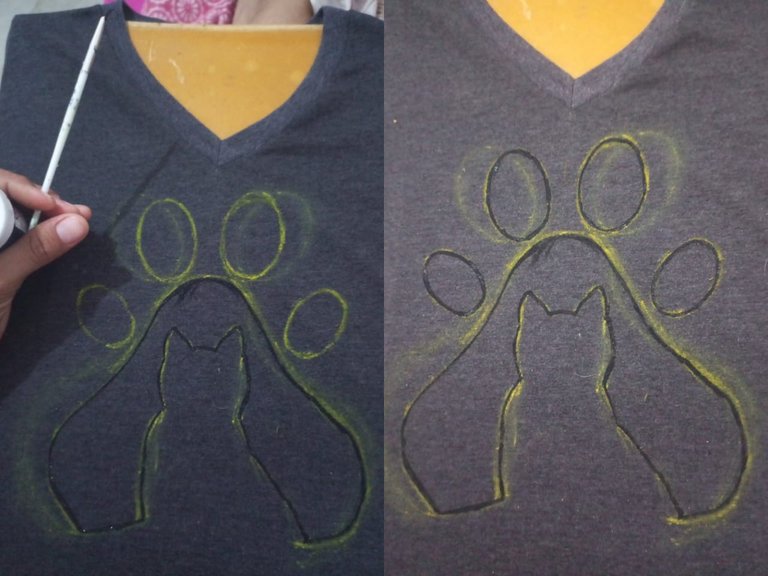
Al tener listo el boceto en nuestra franela, procedemos a empezar a marcar las líneas con la pintura negra, muy delgadas, hasta tener todo el contorno del diseño marcado.
Step 3.
Once the sketch is ready on our flannel, we proceed to start marking the lines with the black paint, very thin, until we have all the outline of the design marked.

Paso 4.
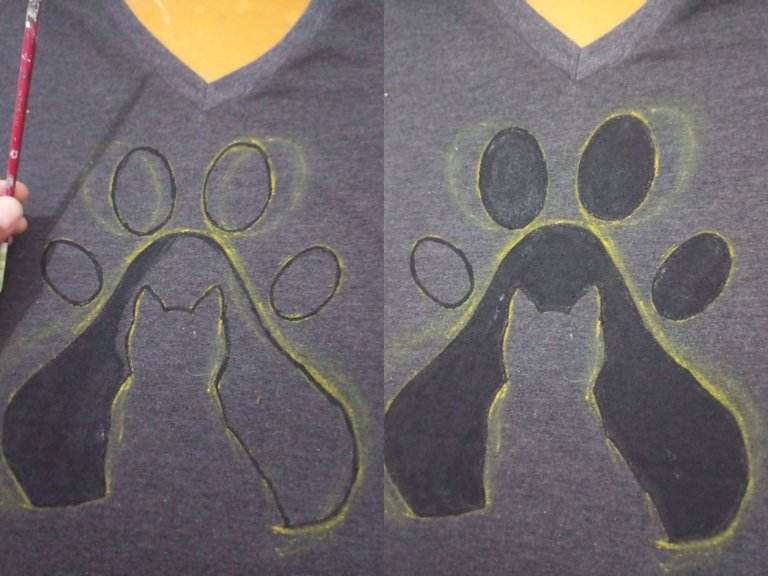
Empezamos a rellenar el diseño por dentro, todo lo que es la parte negra primero, al terminar la primera mano del color negro.
Step 4.
We begin to fill the design inside, all the black part first, after finishing the first coat of black color.

Paso5.
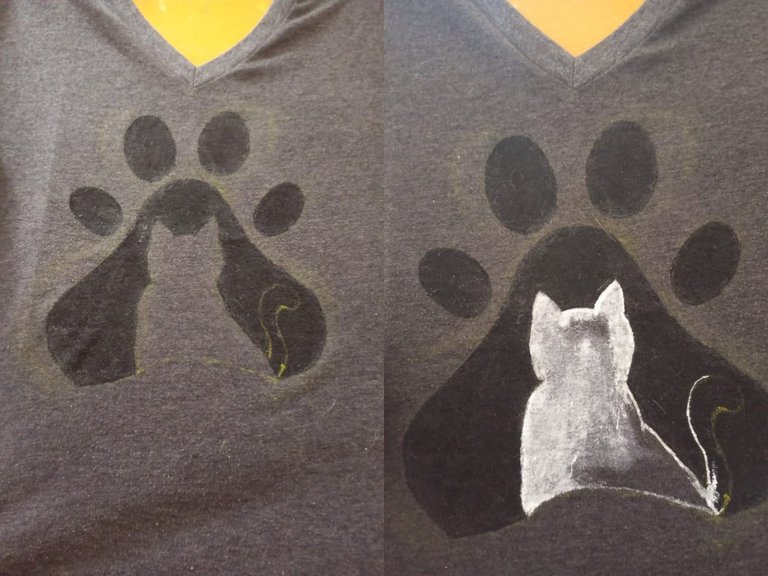
Empezamos a pintar todo lo que va de color blanco dejando que seque bien para darle la segunda mano al igual que el negro.
Step 5.
We begin to paint everything that goes white letting it dry well to give the second coat as well as the black.

Paso6.
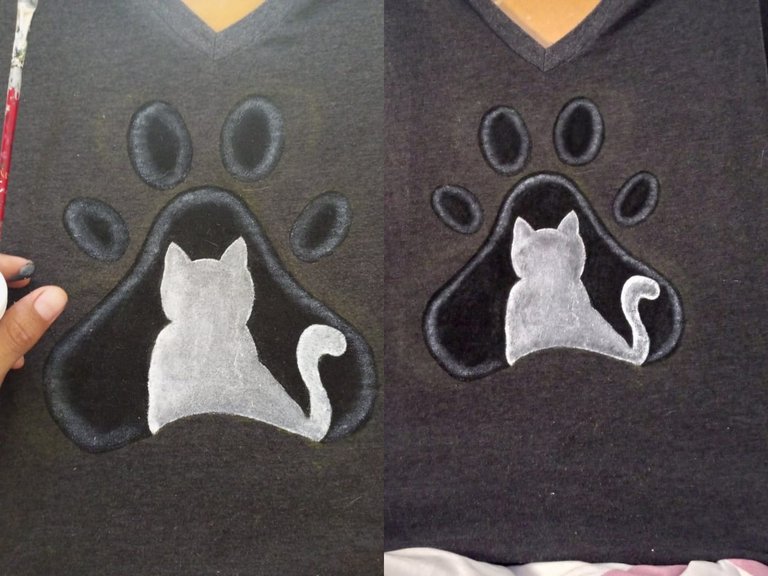
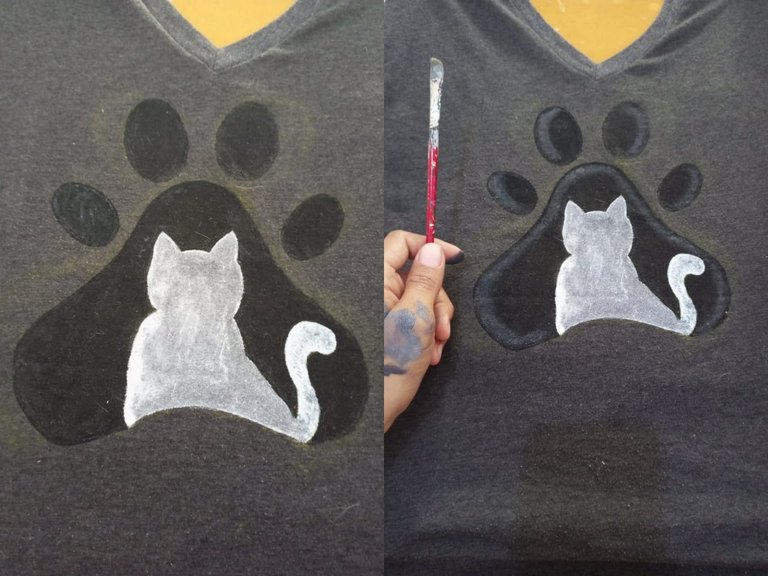
Al estar seco ambos colores, terminamos dando los toques de luz con el blanco y repasando los bordes negros de nuevo y listo, tenemos el diseño de la franela listo, esperamos unas hora que todo esté bien seco le quitamos el cartón de adentro y podemos usarla nuestra nueva camisa pintada a mano con nuestro diseño favorito.
Step 6.
When both colors are dry, we finish giving the touches of light with white and going over the black edges again and ready, we have the design of the flannel ready, we wait a few hours that everything is dry we remove the cardboard inside and we can use our new hand painted shirt with our favorite design.
