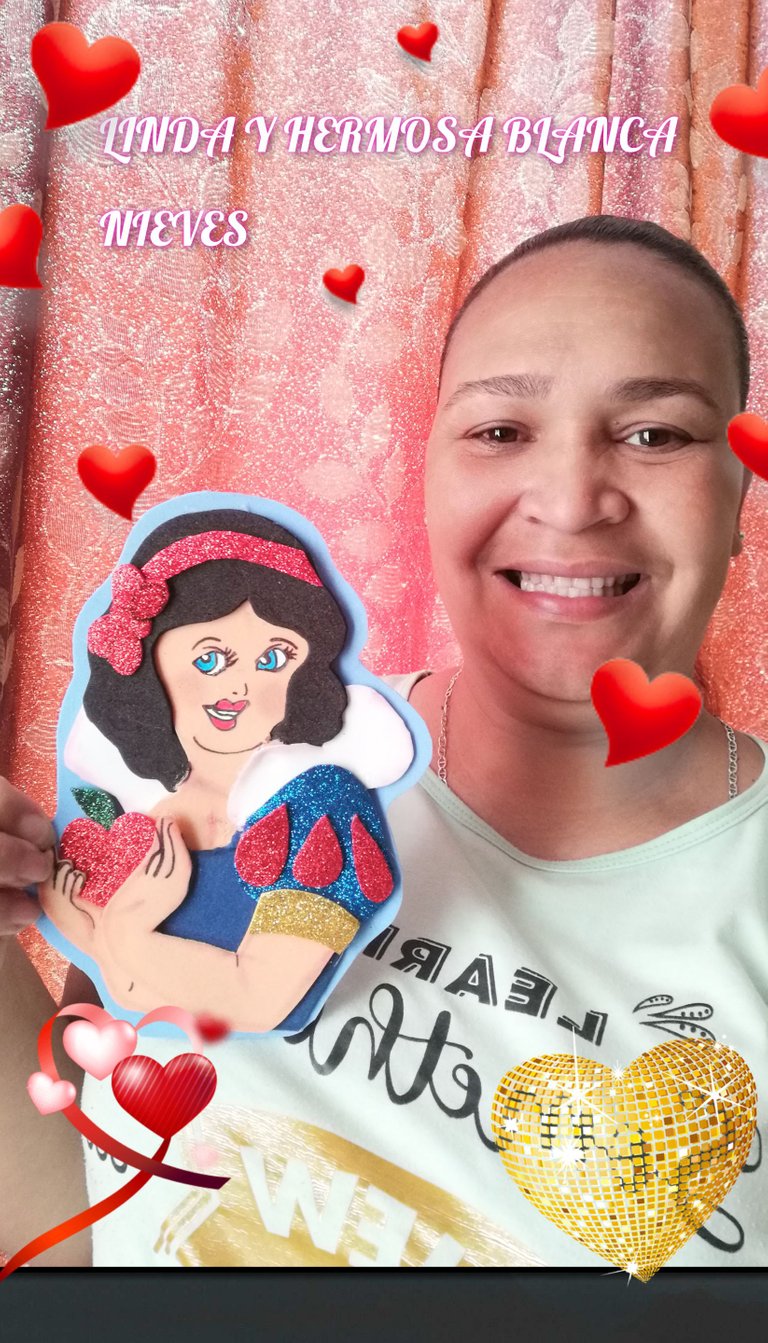
Buenos dias hermosa comunidad de hive diy dios me los bendiga he estado perdida de la paguina por infinidade de inconvenientes de salud e Internet pero hoy vengo con las pilas puestas con la elaboración de una linda y hermosa princesa bñanca nieve hecha con material de goma eva esta puede utilizarse para pegar en los cuadernos de nuestras niñas y adolescentes, también como topper para fistas con esatematica o para adornar las habitaciones.
Good morning beautiful community of hive diy god bless me I have been lost from the page by infinidade of health and Internet inconveniences but today I come with the batteries put with the elaboration of a cute and beautiful princess bñanca snow made with eva rubber material this can be used to paste in the notebooks of our girls and teenagers, also as a topper for fistas with esatematica or to decorate the rooms.
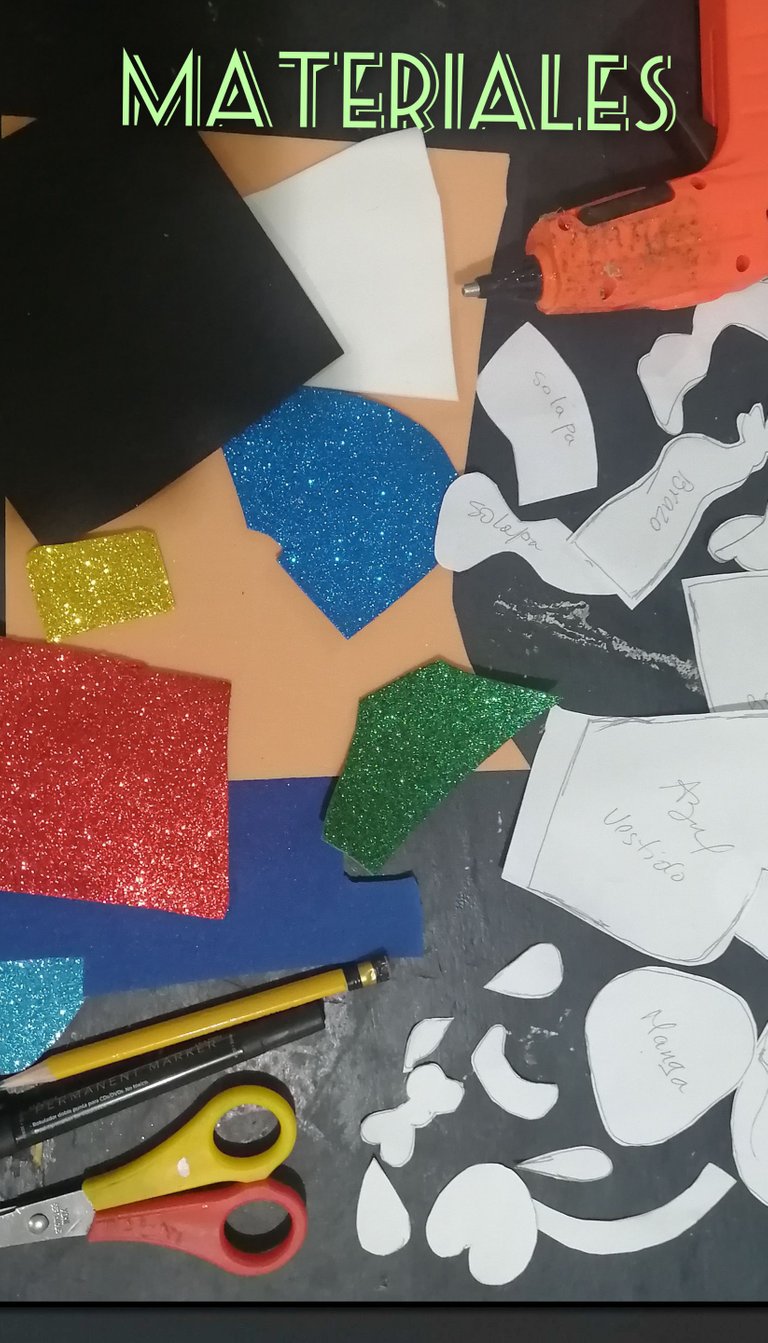
Materiales
_ foami escarchado azul, verde, rojo y dorado
_ foami color piel, azul, blanco y negro
_ marcadores
_ pistola de silicon
_ tijera
_ patrones
_ lapiz
_ ojos y boca en papel.
Materials
blue, green, red, gold and gold frosted foami
skin-colored, blue, white and black foami
_ markers
_ silicone gun
_ scissors
_ patterns
_ pencil
_ paper eyes and mouth.
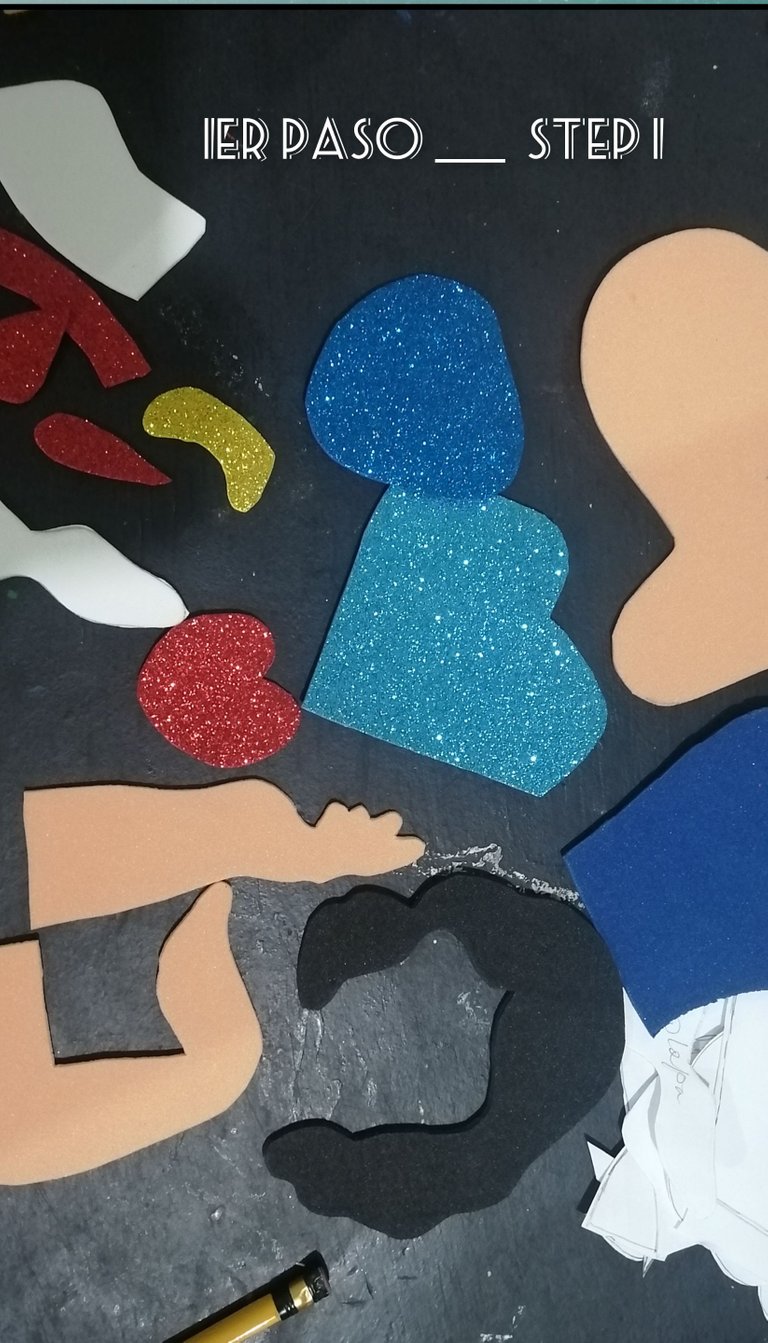
Marcamos y recortamos los patrones en los distinios colores de foami o goma eva para poco a poco crear nuesta linda muñeca.
We mark and cut out the patterns in the different colors of foami or eva rubber to create little by little our pretty doll.
ahora empezamos a pegar lo primero es pegar las partes de la cabeza, tomamoa las partes del cintillo y las pegamos ensima del cabello.
Now we start to glue the first thing is to glue the head parts, we take the headband parts and glue them on top of the hair.
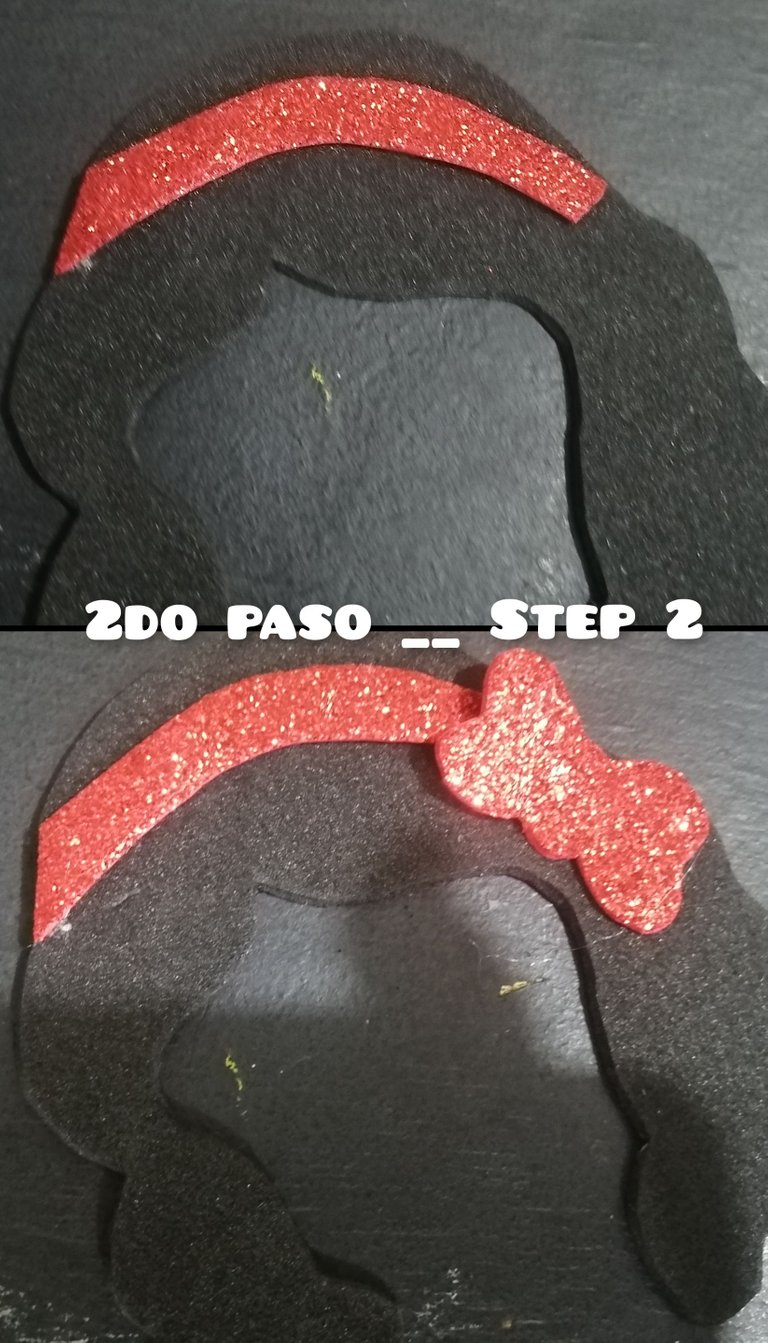
luego despuas de haber realizado el paso anterior tomamos el cabello y lo pegamos encima de la pieza del cuerpo dela misma y tomamos las puntas de la pieza del pelo y lo pegamo por detrás del cuerpo.
then after having done the previous step we take the hair and glue it on top of the body piece and we take the ends of the hair piece and glue it on the back of the body.
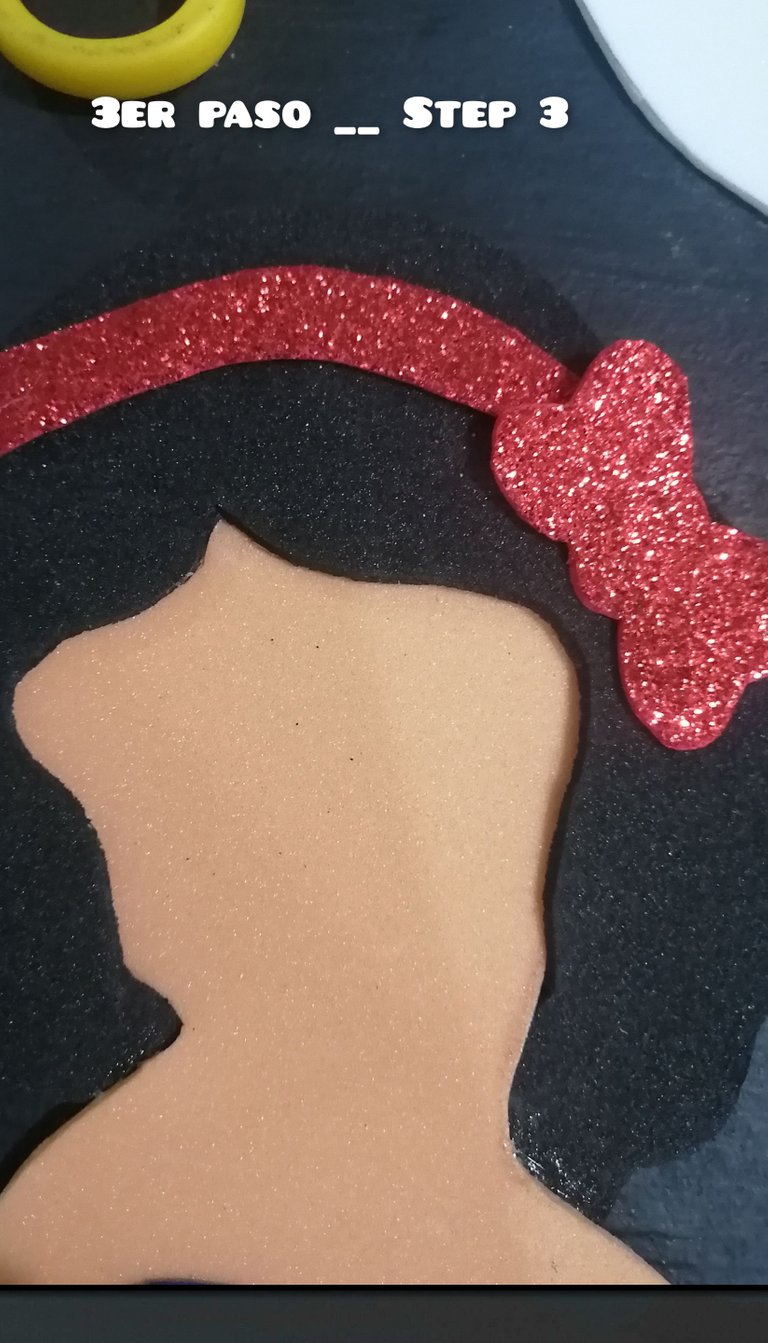
Ahora depues de realizado lo anterior pegamos la pieza frontal del vestido encima de la base del cuerpo.
Now we glue the front piece of the dress on top of the base of the body.
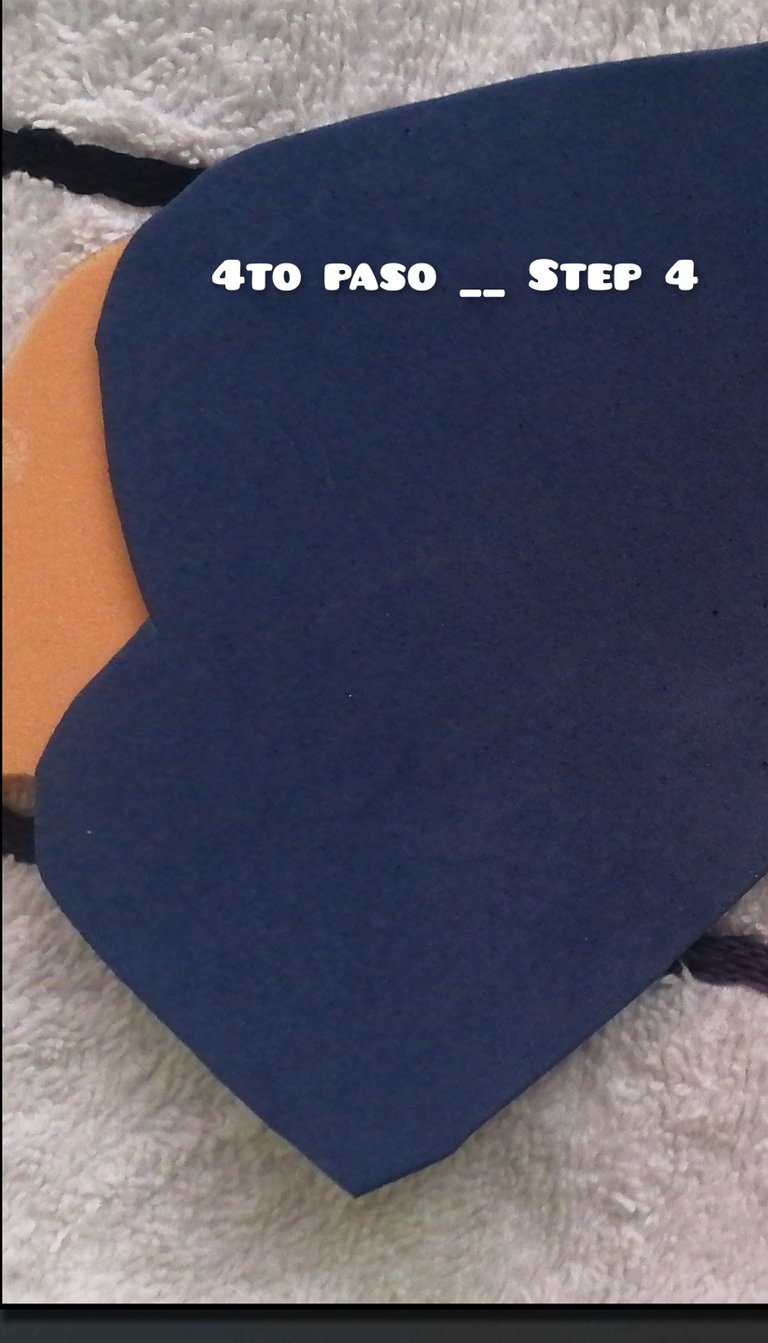
Ahora tomamos las piezas que forman los brazos y pigamos encima del vestido en dirección derecha a izquierda uno debajo del otro, luego fijamos la solapa derecha del vestido la parte superior la pegamos por debajo y la inferior por arriba.
Now we take the pieces that form the arms and we glue them on top of the dress in a right to left direction one under the other, then we fix the right flap of the dress, the upper part we glue it from below and the lower part from above.
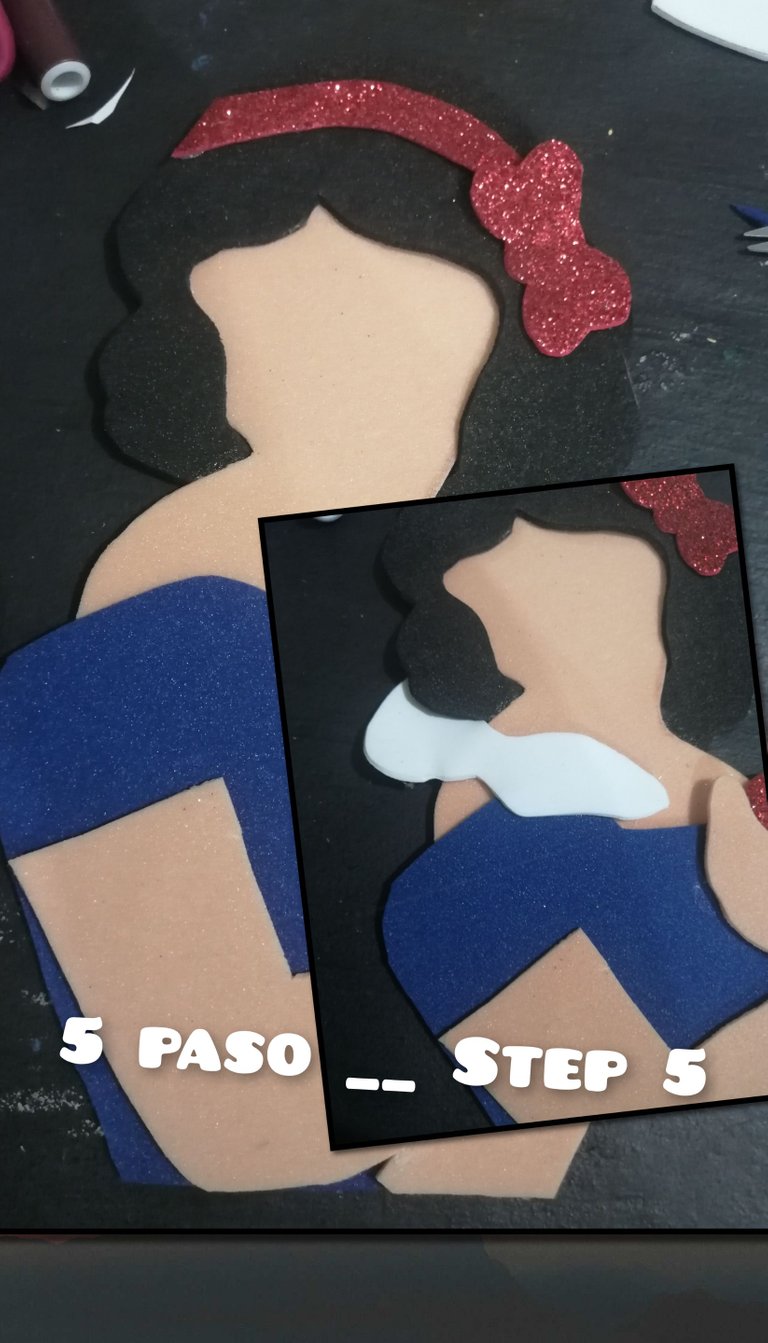
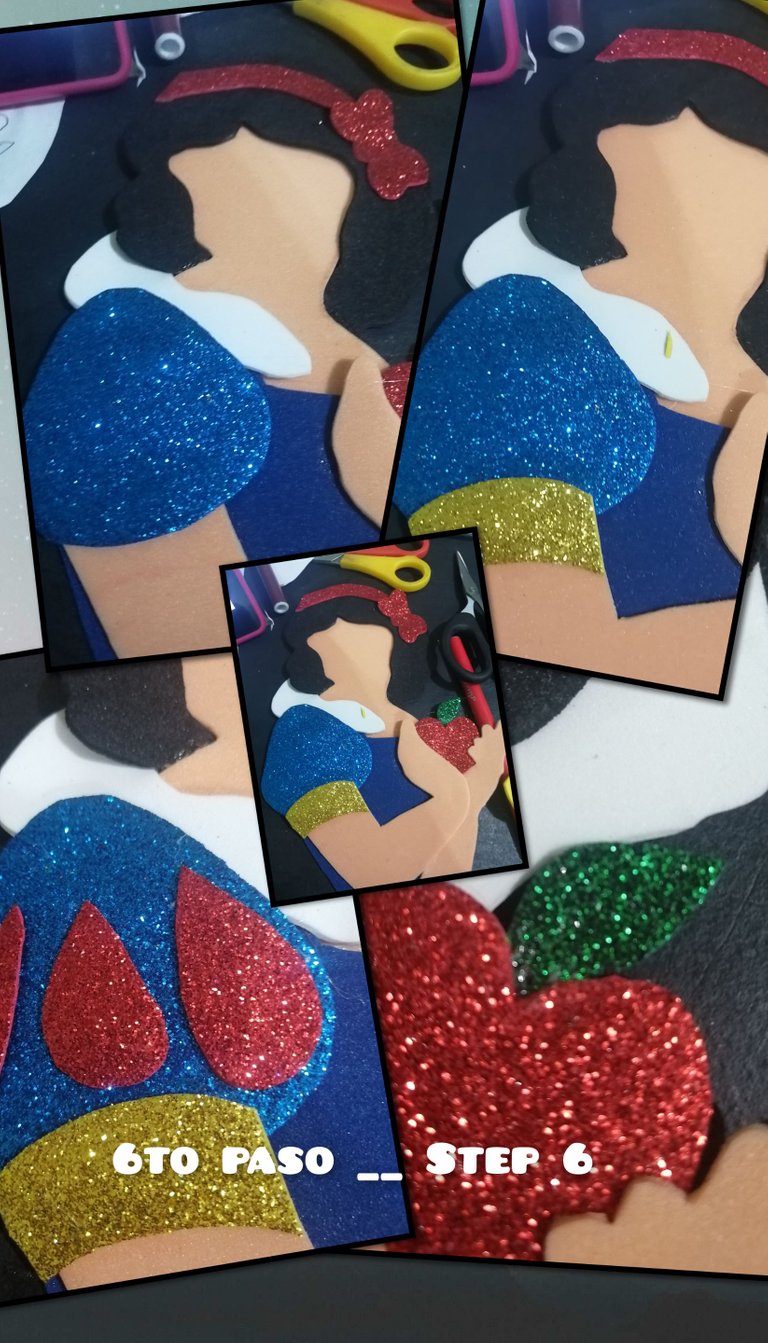
Lo siguiente sera pegar la manga del vestido, el borde de la manga entre el brazo y la misma luego pegamos las lineas como gotas que conforman la manga encima y se arma la manzana y se pega dentro de las manos, tambien pegamos la solapa de labisquierda por detrás de lapieza cerca de la manzana.
Next we glue the sleeve of the dress, the edge of the sleeve between the arm and the sleeve, then we glue the lines like drops that make up the sleeve on top and the apple is assembled and glued inside the hands, we also glue the left lapel behind the piece near the apple.
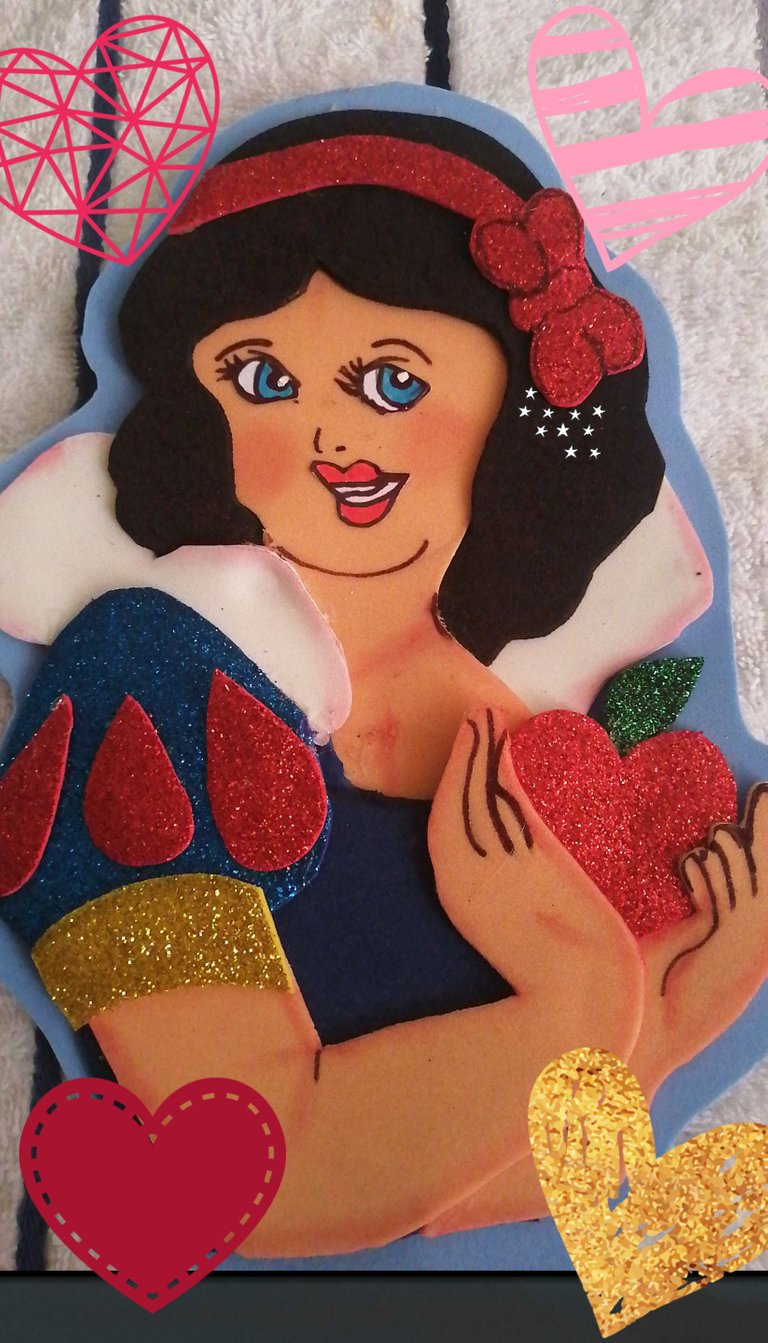
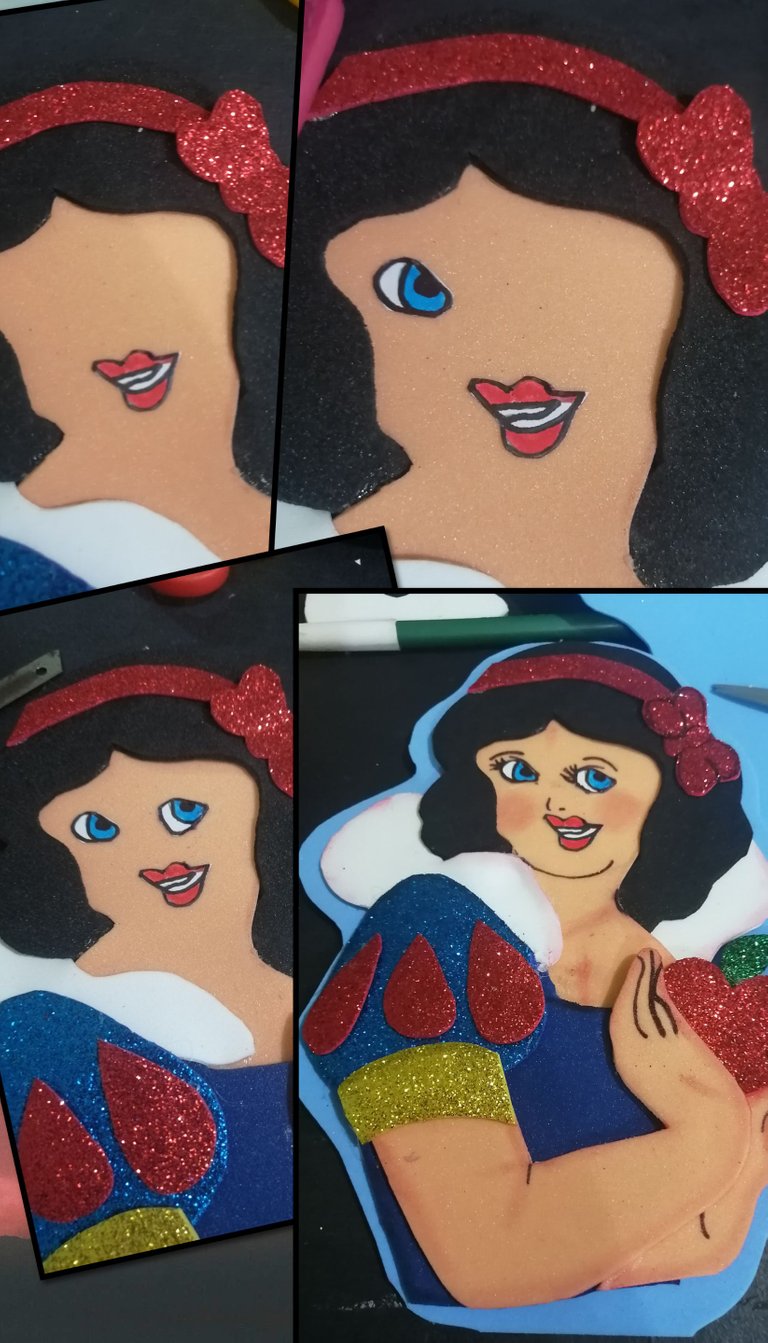
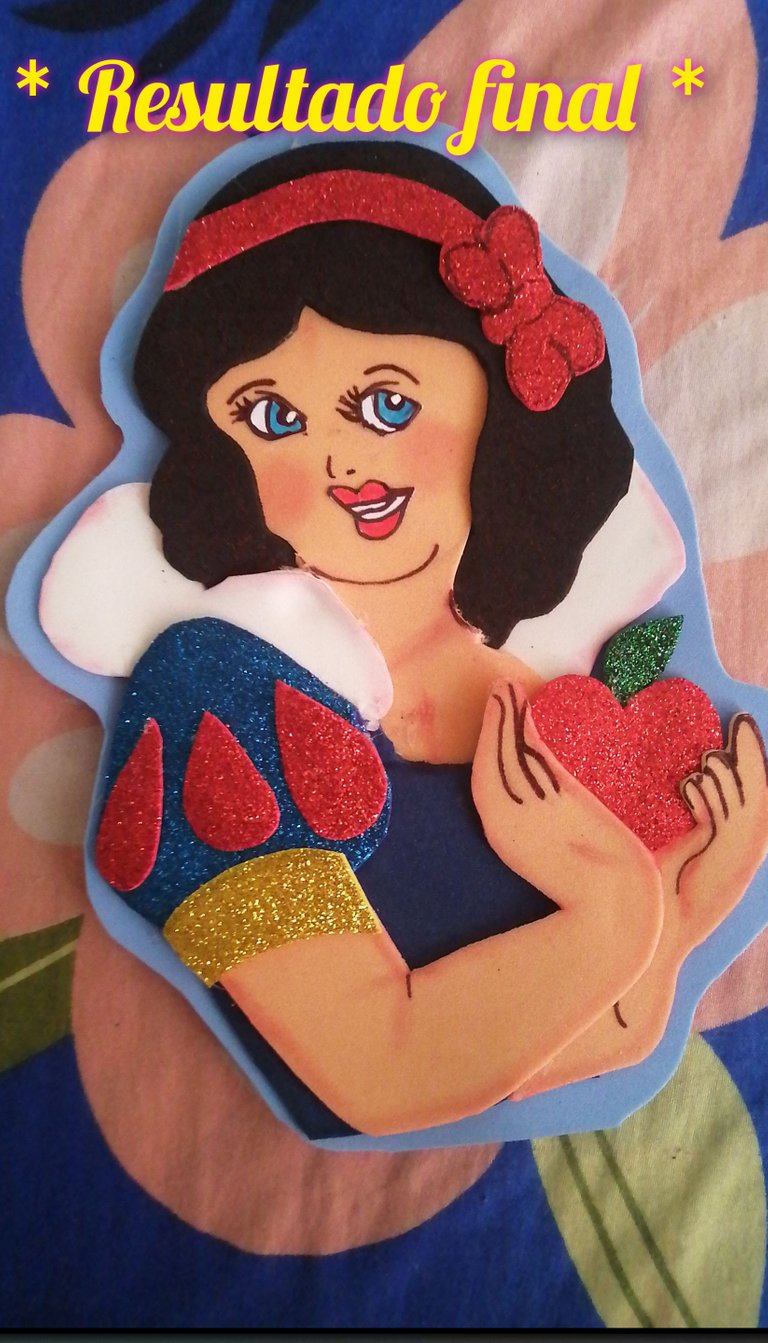
Por último pegamos la boca hecha en papel, luego los ojos, con ayuda de un marcador negro empezamos a marcar las cejas, pestañas y linesa que hacen falta para embellecer la pieza y luego sombreamos sus bordes, para darle un mejor acabado a la pieza pegamos la pieza encima de cualquier color y recortamos el borde dejando un centimetro de borde.
Finally we glue the mouth made in paper, then the eyes, with the help of a black marker we begin to mark the eyebrows, eyelashes and lines that are needed to beautify the piece and then we shade its edges, to give a better finish to the piece we glue the piece on top of any color and cut the edge leaving a centimeter of edge.
Gracias por leer mis publicaciones dios me los bendiga espero y les sirva esta manualidad y puedan elaborarla hasta una próxima ocasión
Thank you for reading my publications, God bless you, I hope you find this craft useful and can elaborate it until next time.


