Hola hermosa comunidad de hive reciban un cordial saludo lleno de bendiciones esperando en Dios que todos estemos con buena salud y con los ánimos muy en alto.
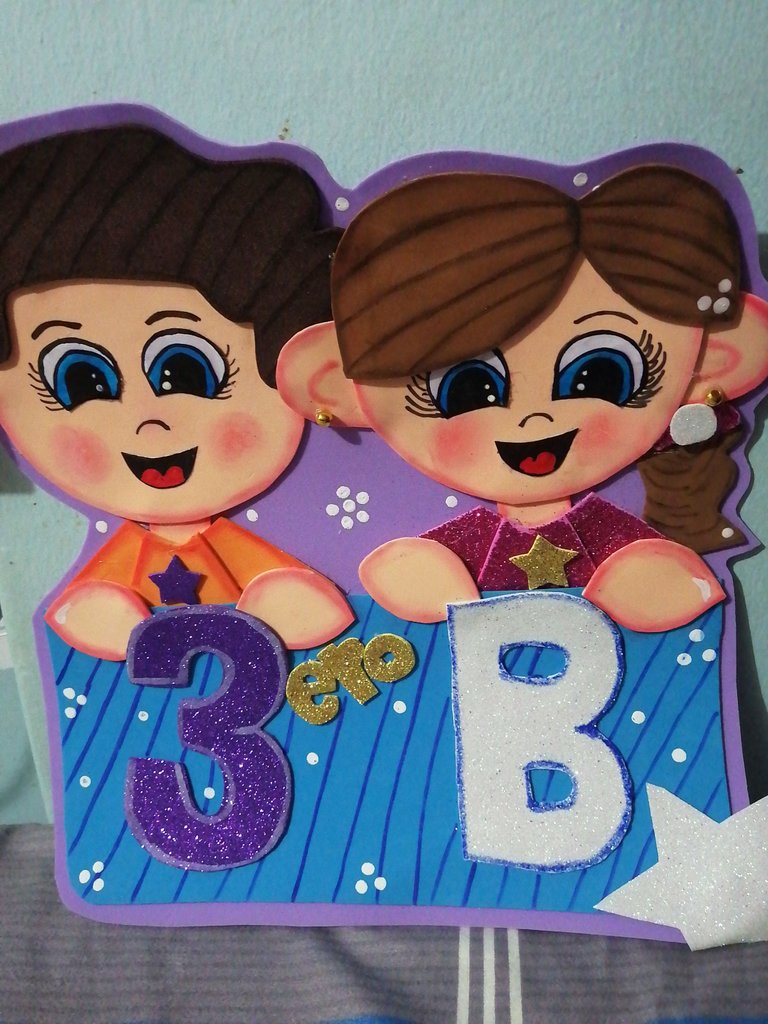
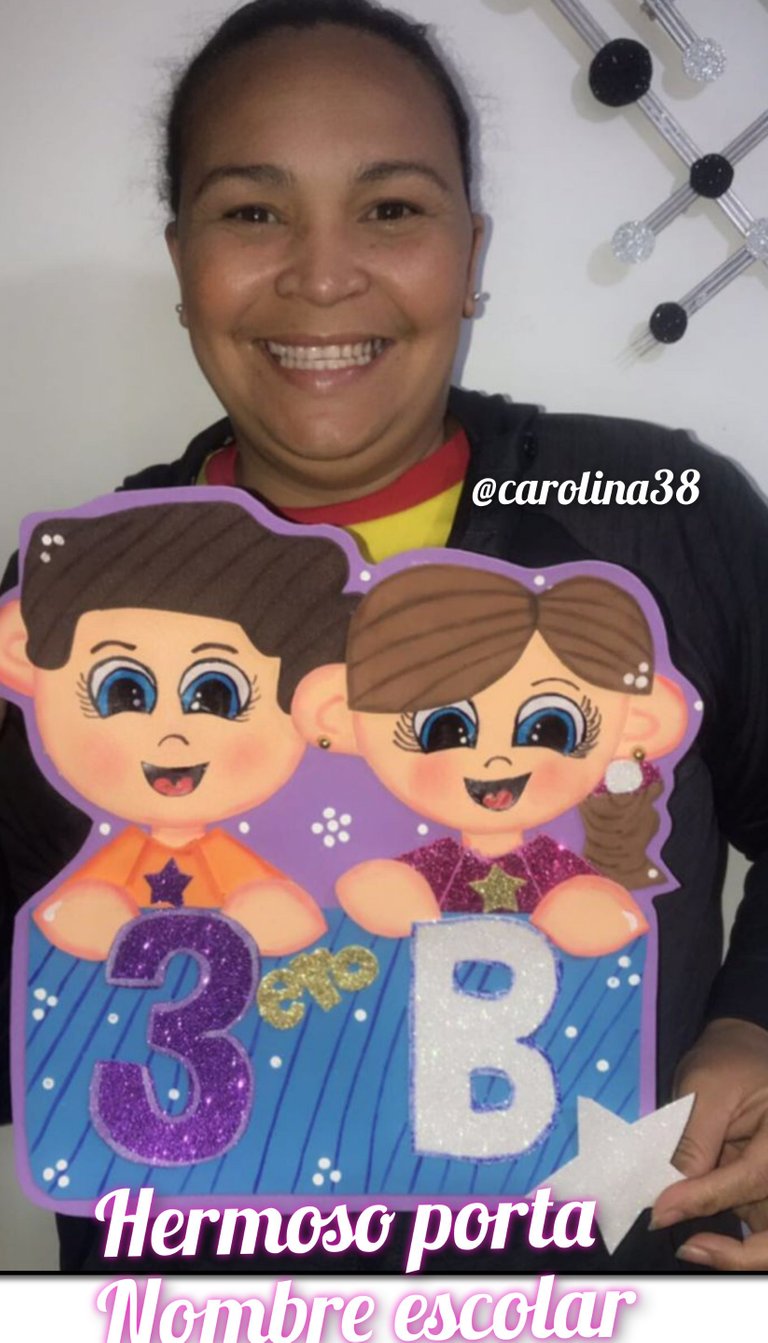
En esta ocasión quiero mostrarle como realizar un hermoso porta grado escolar realizada en foami o goma eva.
La realización de este hermoso trabajo se hizo por pedido de la maestra de mi niña pequeña para decorary embellecer la entrada del salón de clase y me parecio intresante mostrarle como hacerlo ya que su elaboracion es muy sencilla y facil espero y les guste.
Hello beautiful hive community receive a warm greeting full of blessings hoping in God that we are all in good health and with very high spirits.
This time I want to show you how to make a beautiful school grade holder made in foami or eva rubber.
The realization of this beautiful work was made at the request of my little girl's teacher to decorate and beautify the entrance of the classroom and I thought it would be interesting to show you how to do it since its elaboration is very simple and easy, I hope you like it.
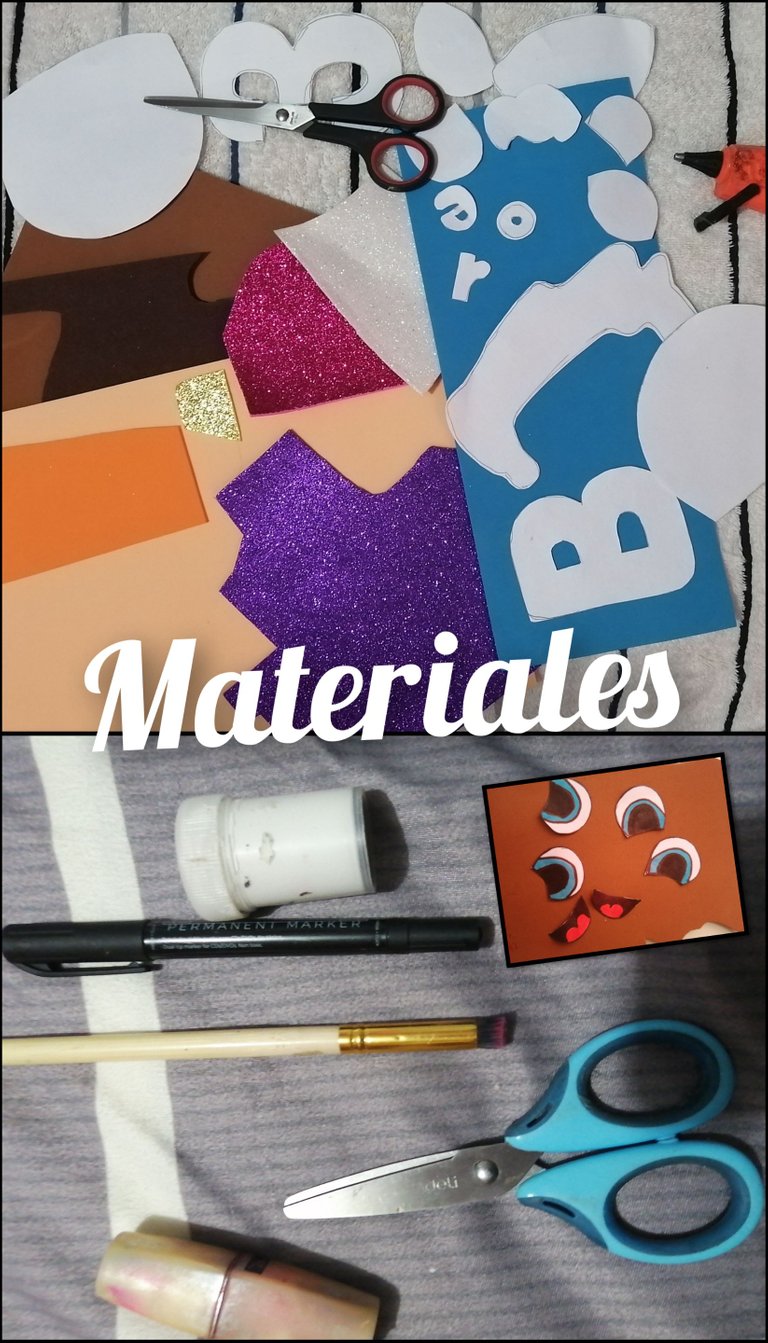
MATERIALES:
Foami o goma Eva carne
Foami o goma Eva marrón claro
Foami o goma Eva color marrón oscuro
Foami o goma Eva color morado
Foami o goma Eva azul claro
Foami o goma Eva escarchado morado
Foami o goma Eva escarchado blanco
Foami o goma Eva escarchado dorado
Lapiz.
Pistola de silicon.
Silicon
Tijera.
Marcadores
Patrones
Labial
Pincel
Ojos de papel
Boca en papel
MATERIALS
Foami or eva rubber flesh
Light brown Foami or EVA rubber
Dark brown Foami or EVA rubber
Purple Foam or EVA rubber
Foam or EVA rubber light blue
Purple frosted Foam or EVA glue
White frosted Foamie or EVA glue
Gold frosted Foam or EVA glue
Pencil.
Silicone gun.
Silicon
Scissors.
Markers
Patterns
Lipstick
Brush
Paper eyes
Paper mouth
_procedimiento _
Procedures:
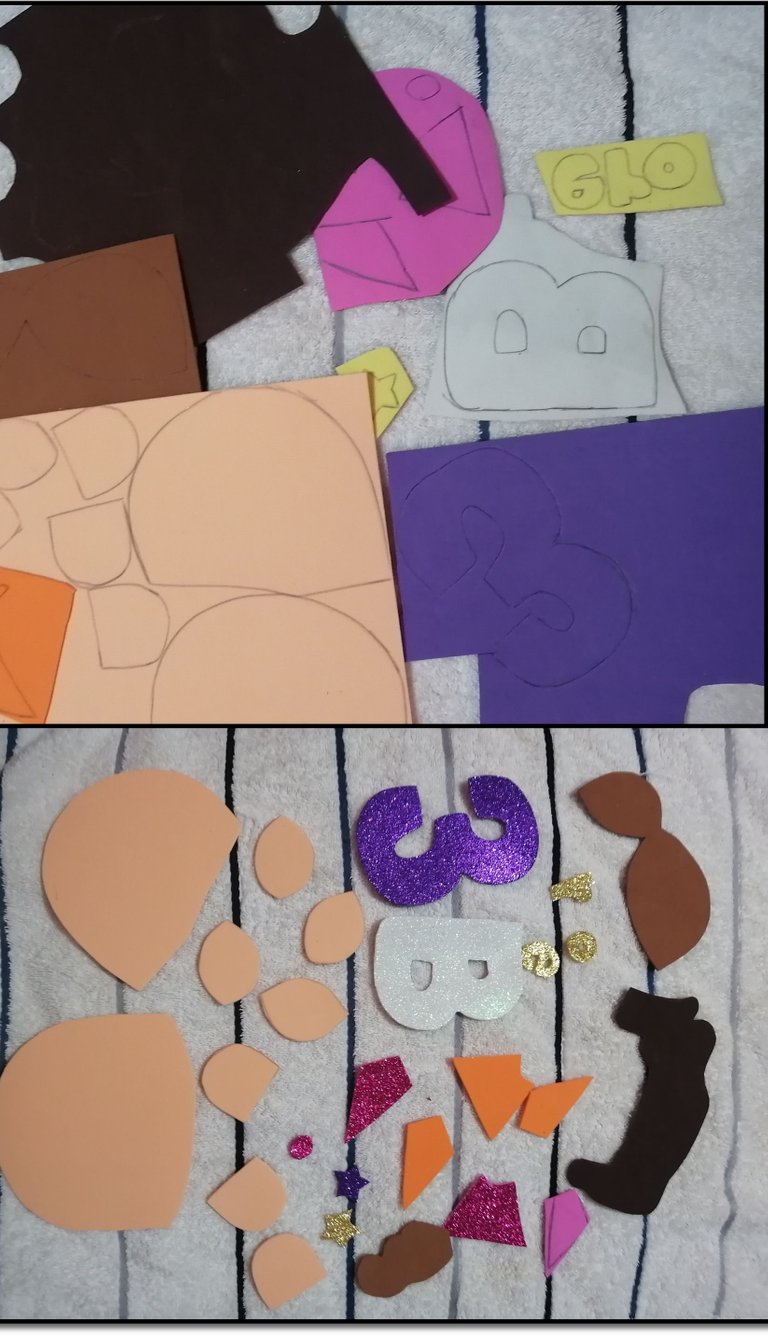
- Marcamos y recortamos los patrones en el foami o goma Eva.
We mark and cut out the patterns on the foami or Eva rubber.
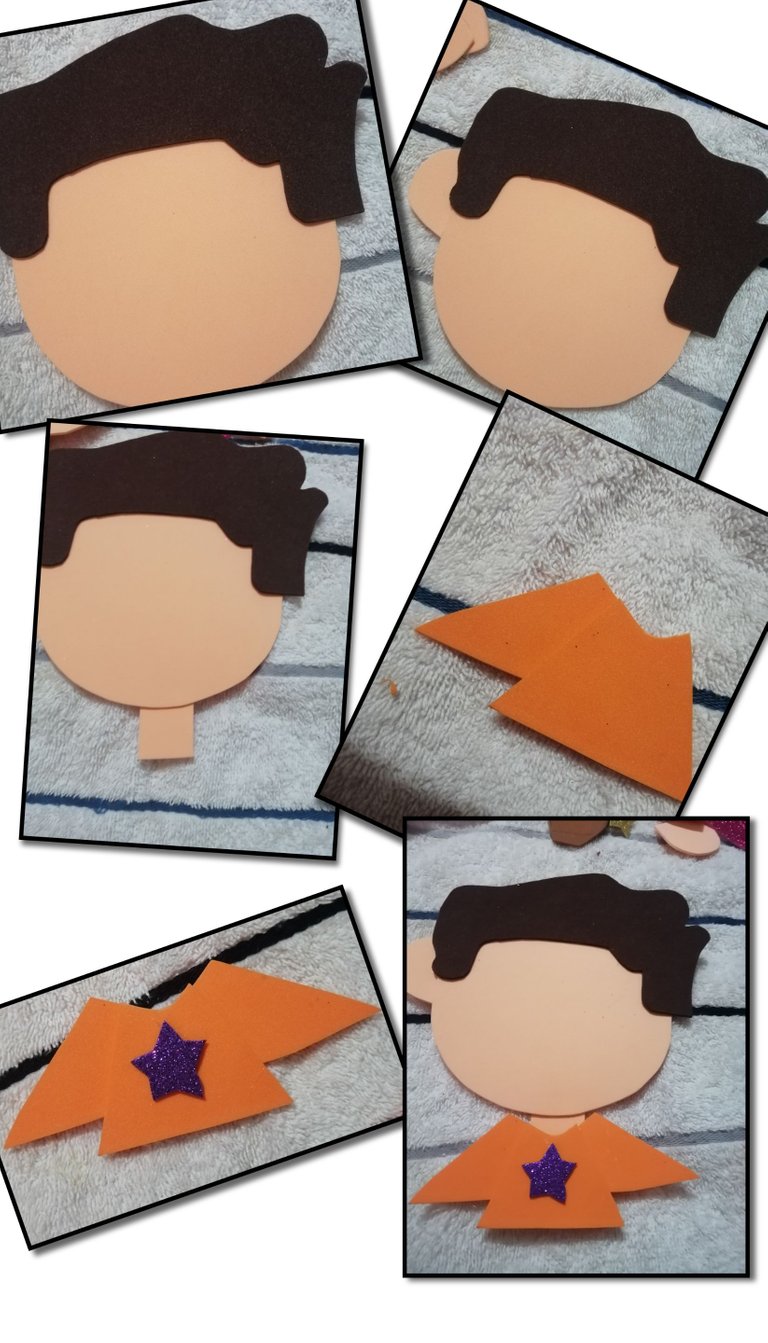
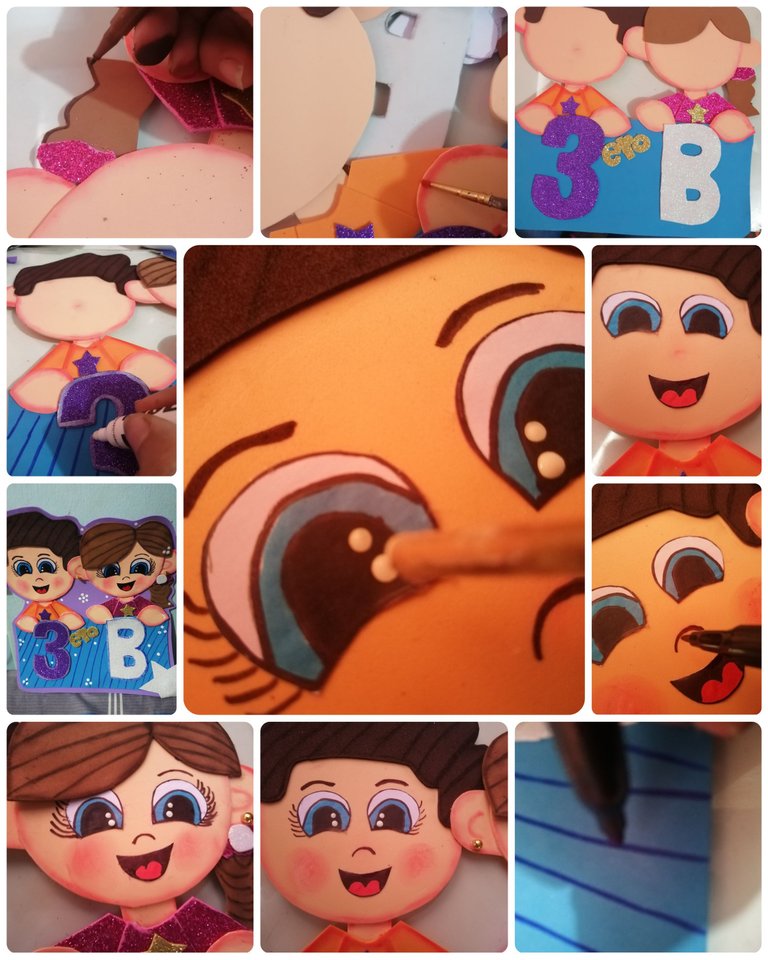
- Despues de cortados los patrones lo primero que haremos es armar el muñeco macho, pegamos el cabello, sobre la cabeza, luego pegamos el cuello por debajo de la cabeza, la oreja por debajo de la cabeza, armamos la camisa y pegamos sobre el cuello.
After cutting the patterns, the first thing to do is to assemble the male doll, glue the hair on the head, then glue the neck under the head, the ear under the head, assemble the shirt and glue it on the neck.
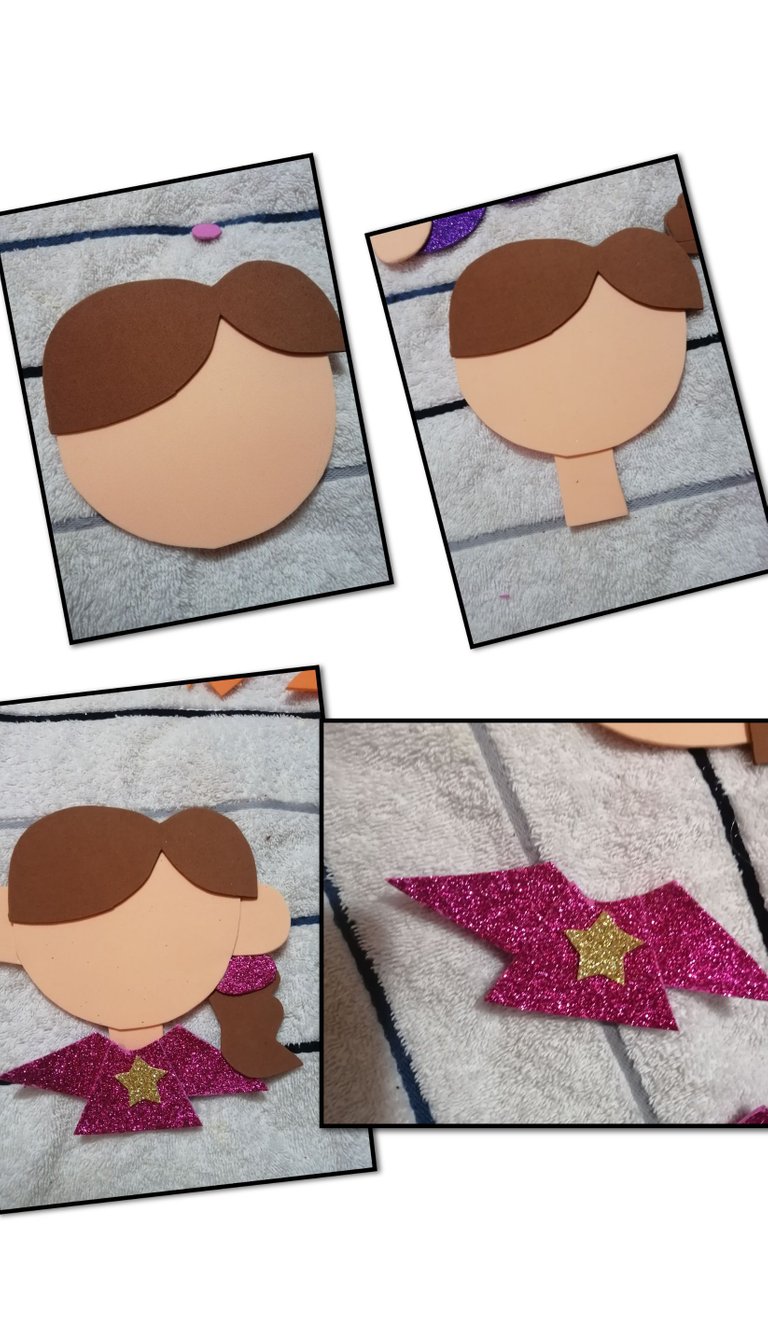
- El siguiente paso des pues del armado del niño, armaremos la ninña, pegamos el pelo sobre la cabeza, pegamos las orejas por debajo de la misma, luego el cuello por debajo de la cabeza, armamos la camisa y pegamos sobre el cuello, tambien pegamos el moño por debajo de la oreja izquierda y ensima la moñera.
The next step is to assemble the child, we will assemble the girl, we glue the hair on the head, we glue the ears under the head, then the neck under the head, we assemble the shirt and glue it on the neck, we also glue the bow under the left ear and then the bow tie.
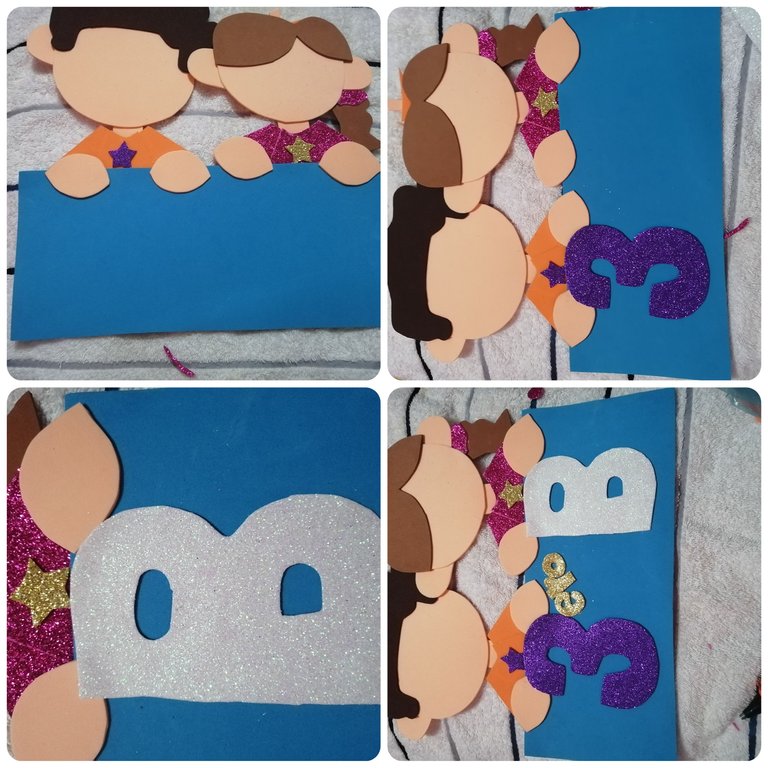
- En este paso colocamos los niños juntos pegamos la oreja de ña niña en sima del plaoreja y pelo del lado izquierdo del niño, luego tomamos un rectangulo de 40cmx15cm y pegamos en el borde inferior de la camisa,luegp pegamoslas manos de ambos niños, pegamos el numero tres y la palabra ero en la parte de arriba al lado del número, luego pegamos los letra B.
In this step we put the children together, glue the girl's ear on the bottom of the boy's ear and hair on the left side, then we take a rectangle of 40cmx15cm and glue on the bottom edge of the shirt, then we glue the hands of both children, glue the number three and the word ero on the top next to the number, then we glue the letters B.
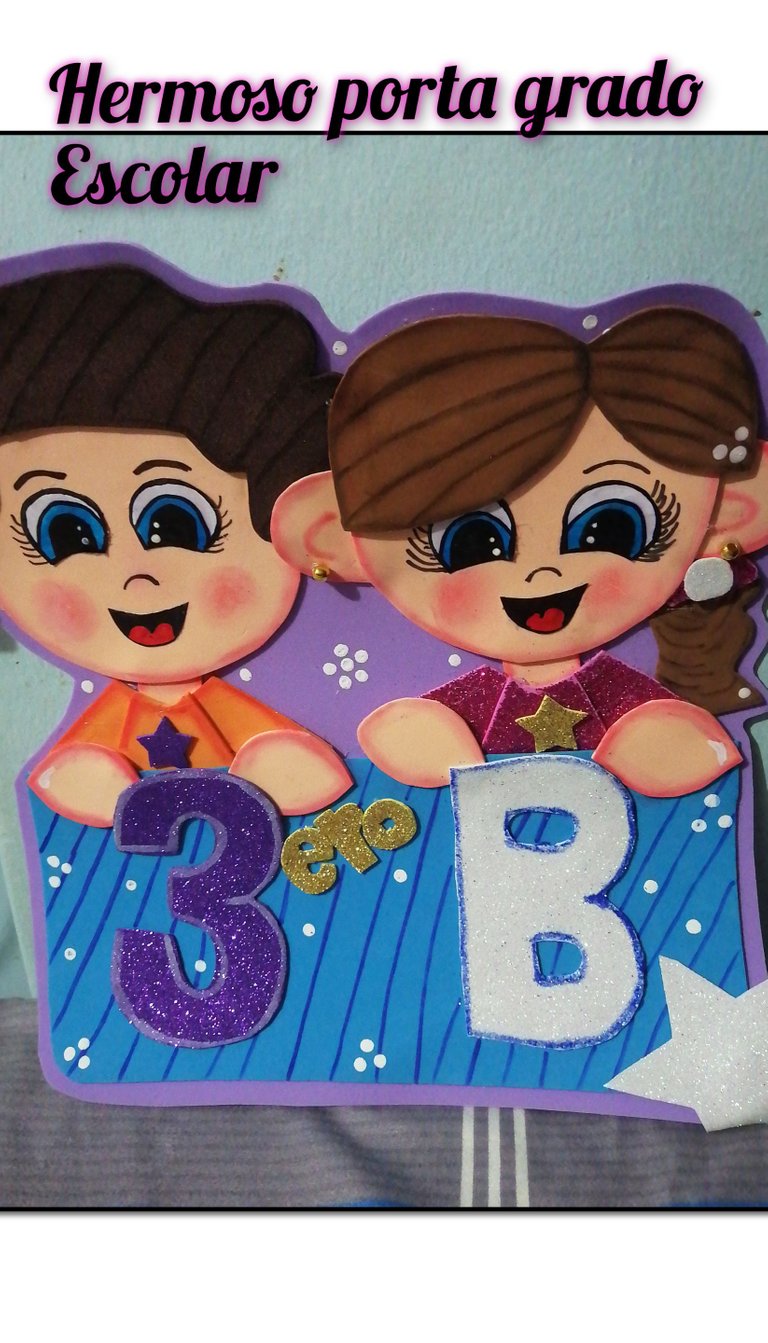
- para finalizar sombreamos la camisa del niño y las caras de ambos niños, tambien las manos y las orejas, con un marcador marrón sombreamos el pelo de los niños, pegamos los ojos y las bocas de ambos y con ayuda de un marcador negro hacemos cejas, pestañas y nariz de ambos niños, con marcador azul le hacemos lineas al rectángulo azul, colocamos toda la pieza sobre un foami morado y recortamos el borde dejando 1cm de separación con ayuda de una pintura blanca u un palito de altura hacemos puntos blancos para iluminar el trabajo y pegamos una estrella en el borde izquierdo de la pieza.
to finish we shade the shirt of the child and the faces of both children, also the hands and the ears, with a brown marker we shade the hair of the children, we glue the eyes and the mouths of both and with the help of a black marker we make eyebrows, eyelashes and nose of both children, with a blue marker we make lines on the blue rectangle, we place the whole piece on a purple foami and we cut the edge leaving 1cm of separation with the help of a white paint or a height stick we make white dots to illuminate the work and we glue a star on the left edge of the piece.
RESULTADO
RESULT
