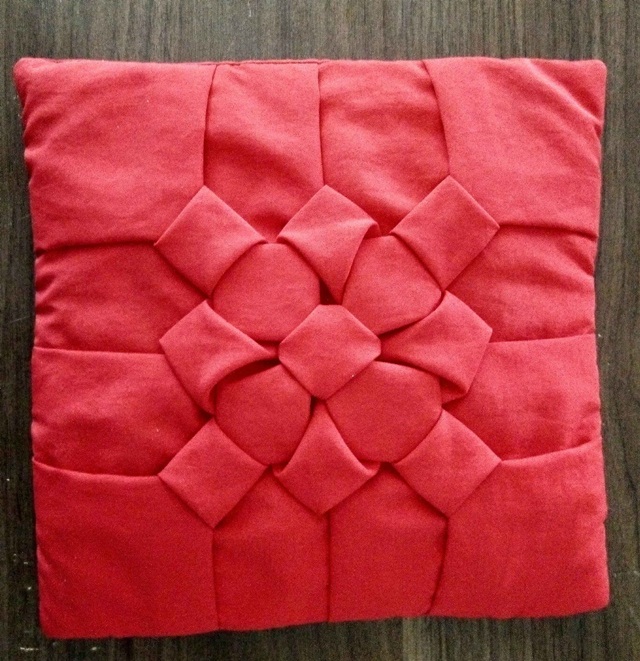
Hello friends, I am pleased to greet you again, wishing with all my heart that the peace of God fill your lives in these turbulent times. Today I want to share with you the Draping Technique, this time I will teach you how to make the “Thailand Flower” Stitch.
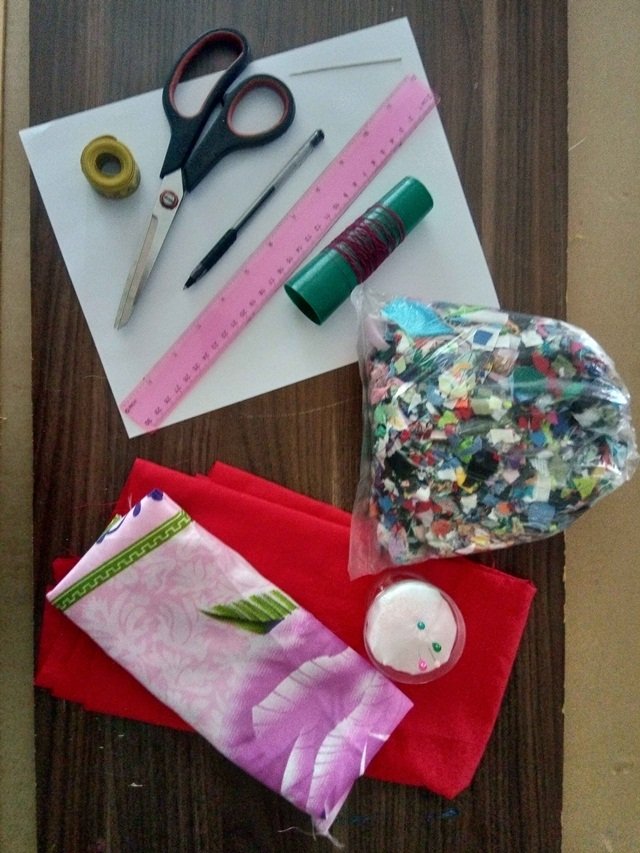
Materiales - Materials
- Tela
- Papel (patrones)
- Tijera, Hilo
- Agujas, Alfileres
- Regla o escuadra
- Lápiz, tiza o marcador
- Relleno
- Cloth
- Paper (patterns)
- Scissors, Thread
- Needles, Pins
- Ruler or square
- Pencil, chalk or marker
- Stuffed
Elaboración:
Step 1. As an initial step, it is important to draw up the outline of the point on a sheet of notebook paper, preferably on a grid. Making our scheme to scale greatly facilitates our work, since it allows us to outline our project and consider the amount of fabric that we will need in our draping
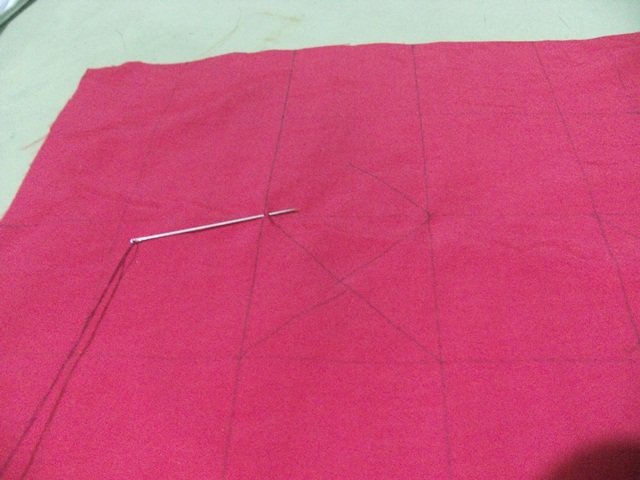
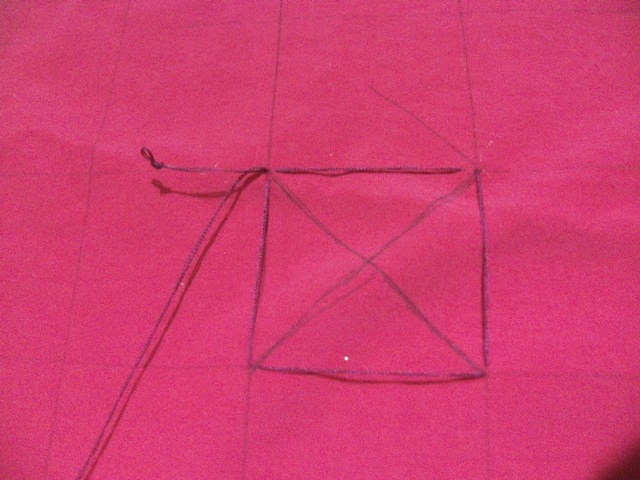
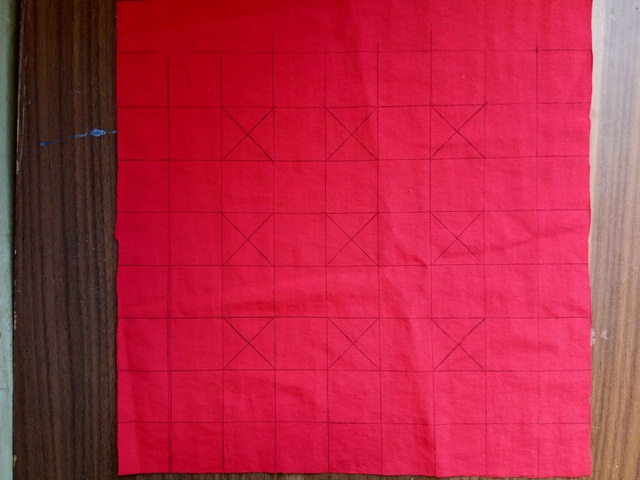
The Thailand Flower consists of nine (9) squares to drape, which we can make in the center of the fabric or in its corners, everything depends on the piece to be made, but nine (9) squares are always draped, if they are less, no we will get the effect of the flower. We are going to transfer the scheme to the fabric in real size, either directly on it or by making our template on paper. In the photo I show you the two schemes, one with the central flower and the other with the flower in the corners.
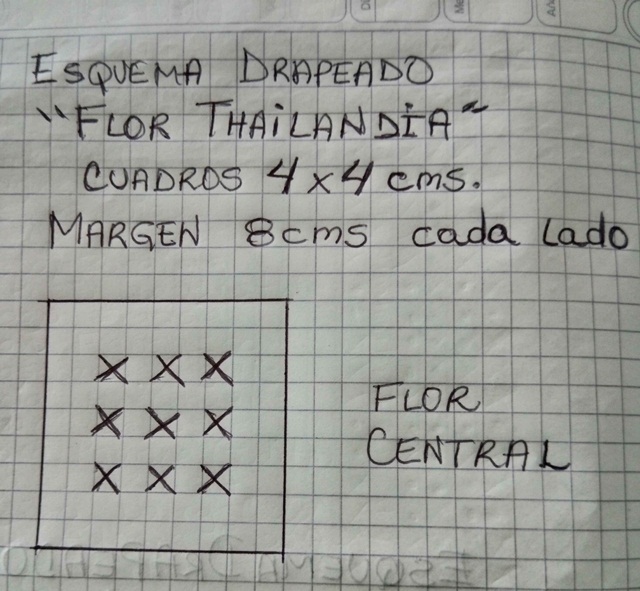
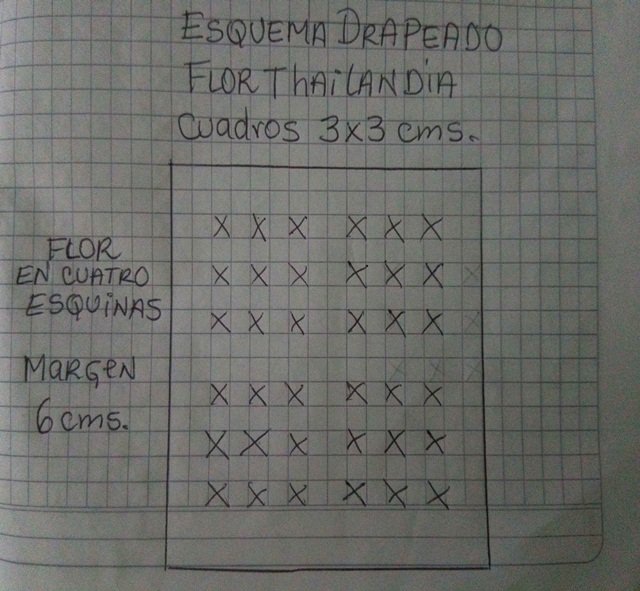
Step 2. For this sample that I am making, I occupied 36 x 36 cms. of cloth We mark our scheme on the fabric.
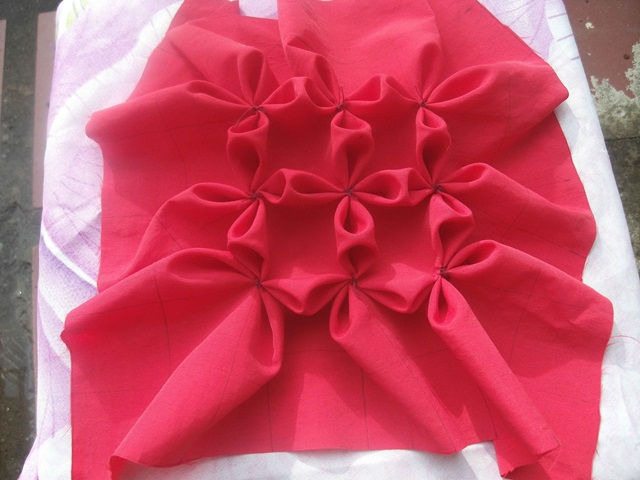
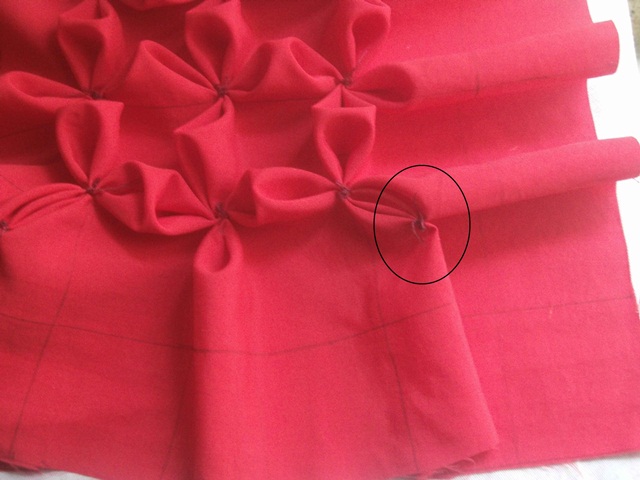
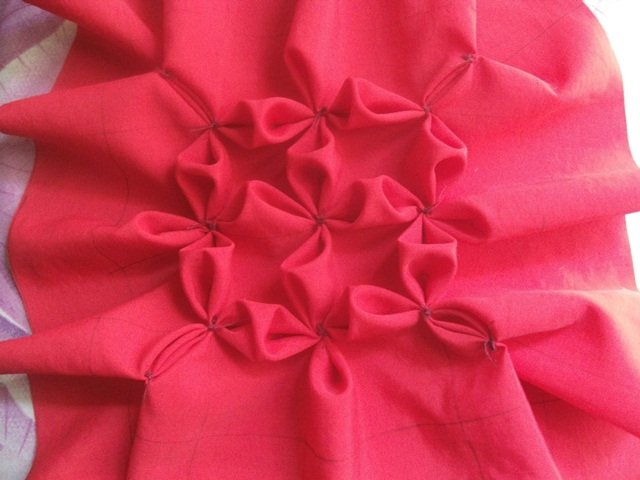
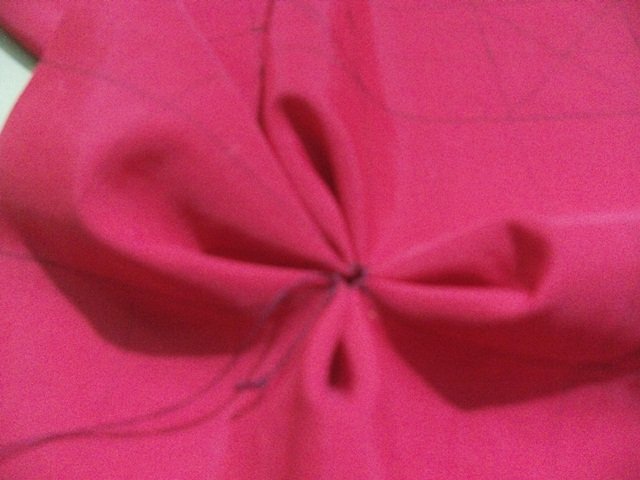
Step 3. We start the draping by sewing the four corners of the squares marked with the “X” making a “pinch”, we pull the thread to join these four corners in the center, it will form a kind of a flower with four petals, we finish off well to secure the stitch and repeat this step until the entire drape is completed.
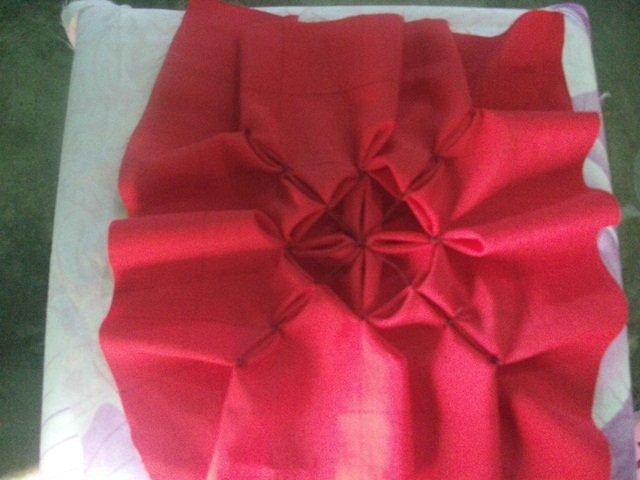
Step 4. On the wrong side of the drape, we will sew the four corners holding the two “petals” that are in them. In the same way we sew the side petals together.
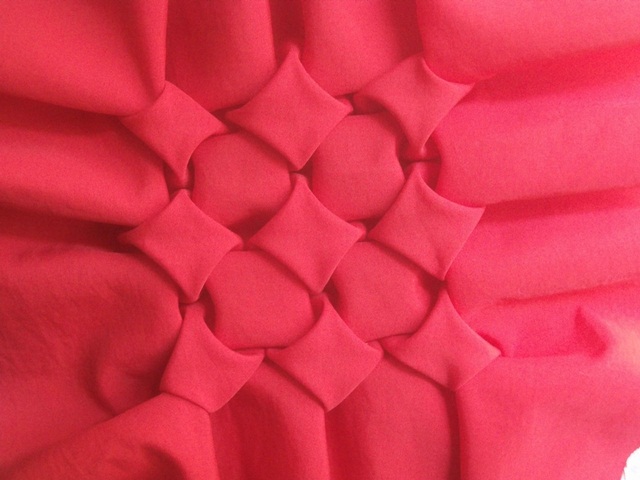
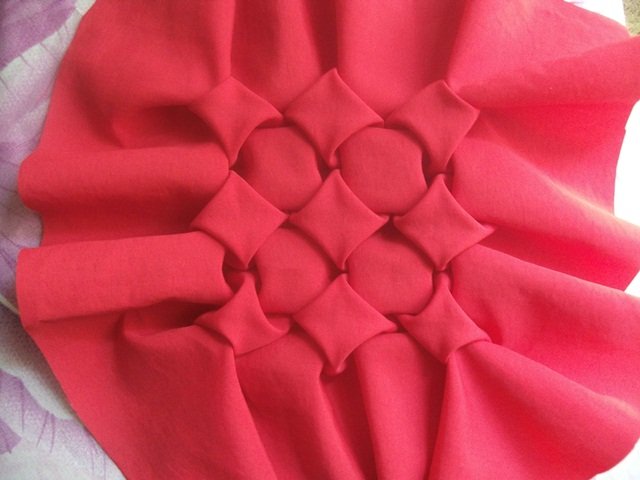
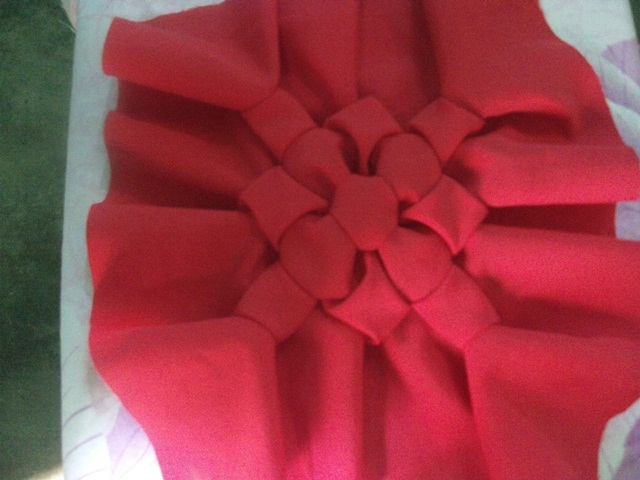
Step 5.We will also join the petals that are in the central part of the drape with some stitches, thus obtaining our Thailand Flower. This drape will be the front of our cushion.
Step 6. So that the stitches of the entire draped area are not visible, we are going to “hide” them by placing a lining on them. Finally we make the back of the cushion following the basic instructions for its preparation
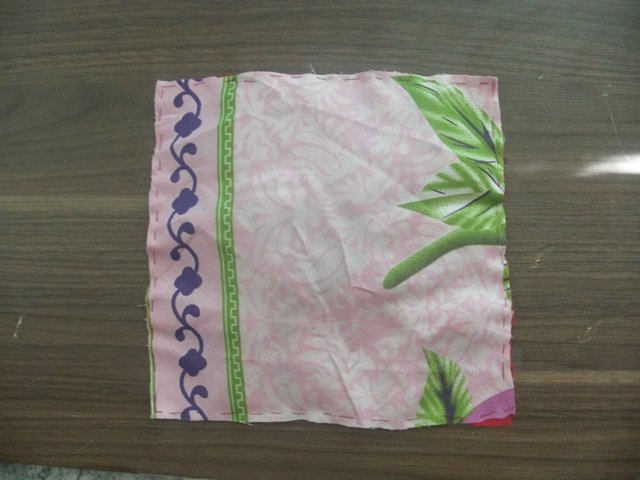
And this is the result obtained, I hope you liked my proposal and dare to put it into practice!! 
Muchas gracias por tomarte el tiempo de ver mi publicación, hasta una nueva oportunidad!!
Thank you very much for taking the time to see my publication, until another opportunity!Todas las fotos publicadas en esta presentación son de mí pertenencia, para la traducción utilice el Traductor de Google y las fotos fueron editadas con PhotoScape.All the photos published in this presentation belong to me, for the translation use Google Translate and the photos were edited with PhotoScape.
