¡Muy buenos días tengan todos mis amigos de Hive.Blog!. Estamos en “modo reciclaje” y en esta oportunidad quiero enseñarles cómo realizar un alfiletero en forma de flor utilizando las tapas de los envases de jugo o refrescos.
Good morning to all my friends from Hive.Blog! We are in “recycling mode” and this time I want to show you how to make a flower-shaped pincushion using the lids of juice or soft drink containers.
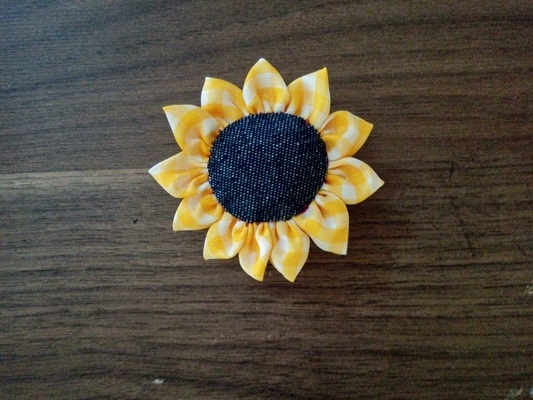
Tener los alfileres ordenados es de suma importancia para toda costurera, es por ello que los alfileteros son indispensables en todo taller de costura, ya que nos ayuda a tener en su lugar a los alfileres y agujas, instrumentos que pueden ocasionar lesiones si no se guardan de manera segura.
Having the pins in order is of the utmost importance for every seamstress, which is why pin cushions are essential in every sewing workshop, since they help us to keep pins and needles in their place, instruments that can cause injuries if they are not kept. in a safe way.
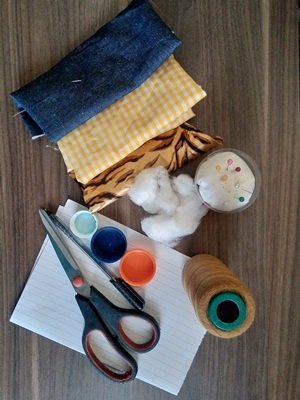
- Retazos de tela de diferentes tonos o estampados
- Tapas de envases de refresco o jugo
- Tijera
- Hilo de coser
- Agujas, Alfileres
- Cinta métrica
- Lápiz, tiza o marcador
- Papel para los patrones
- Relleno
- Scraps of fabric in different shades or patterns
- Lids of soft drink or juice containers
- Scissor
- Sewing thread
- Needles, Pins
- Measuring tape
- Pencil, chalk or marker
- Paper for patterns
- Filling
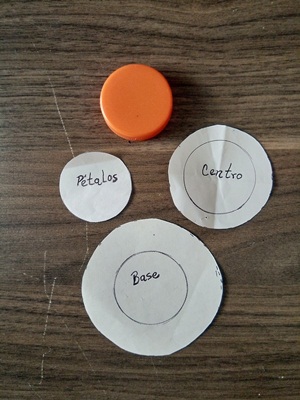
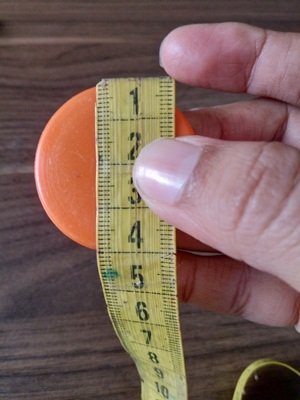
Paso 1.- Este alfiletero consta de tres piezas: la de los pétalos; la del centro y la de la base. Para obtener el patrón de los pétalos, simplemente colocamos la tapa sobre el papel, marcamos por todos su contorno y cortamos. La pieza del centro la realizamos de la misma manera, solo que la cortamos medio centímetro más grande que los pétalos. Para la pieza de la base medimos el diámetro de la tapa y su altura, a esto añadimos un centímetro de margen.
Step 1.-Step 1.- This pincushion consists of three pieces: the one with the petals; the one in the center and the one at the base. To obtain the pattern of the petals, we simply place the lid on the paper, mark all around its outline and cut. The center piece is made in the same way, only we cut it half a centimeter larger than the petals. For the base piece we measure the diameter of the lid and its height, to this we add a centimeter of margin.
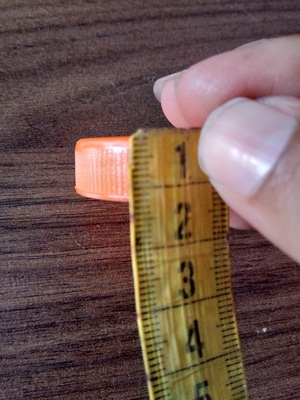
.
Paso 2.- Los pétalos los cortamos doce veces en tela. Las piezas del centro y base la cortamos una vez en tela cada una.
Step 2.- We cut the petals twelve times in fabric. The center and base pieces are cut once in fabric each.
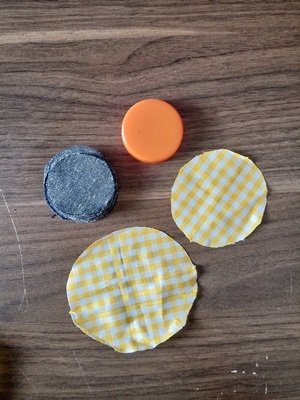
Paso 3.- La pieza de la base la hilvanamos por todo su contorno, colocamos la tapa del envase en el centro y fruncimos para forrarla.
Step 3.-Baste the base piece all around, place the lid of the container in the center and gather to line it.
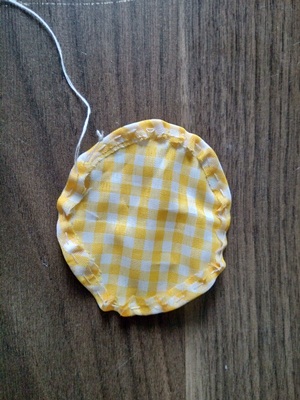
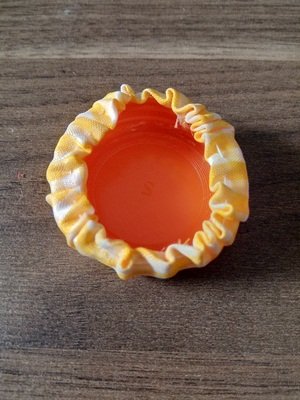
Paso 4.- Los pétalos los doblamos dos veces por la mitad, luego cosemos uno a uno a la pieza del centro a medida que vamos frunciendo. Unimos esta pieza a la base, dejamos una abertura para rellenar y luego cerramos definitivamente.
Step 4.-We fold the petals twice in half, then we sew one by one to the center piece as we gather. We join this piece to the base, leaving an opening to fill and then we close definitively.
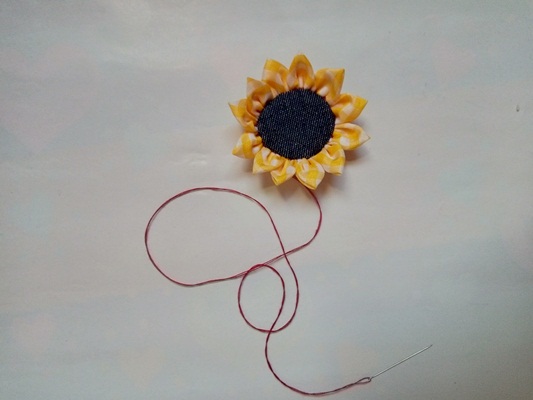
Este es el resultado final. ¡Muchas Gracias por tomarte el tiempo de ver mi publicación, hasta una nueva oportunidad!!


