Hola, amigos de Hive. ¿Qué tal están? espero que estén muy bien todos. Cómo ya saben el vehículo de transporte el cual utiliza Santa Claus para repartir los juguetes deseados por los niños es un trineo, por ello hoy elaborare uno de éstos para tenerlo en nuestro patio, pesebre de navidad o espacio especial navideño 🎄🎁
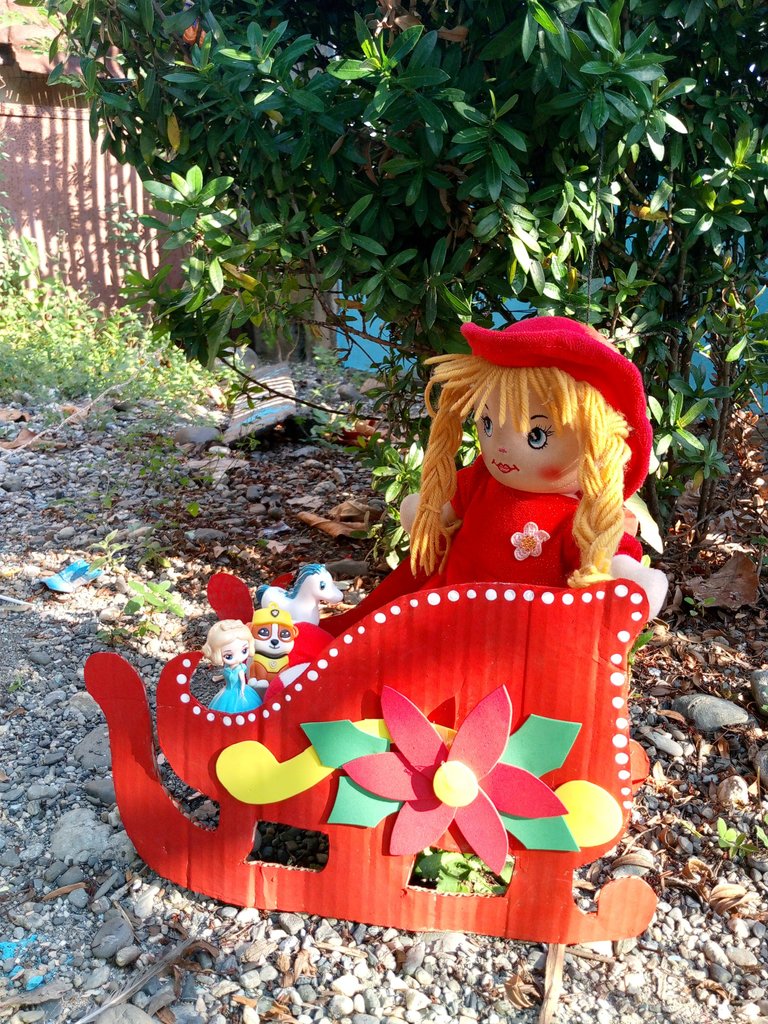
Yo lo he hecho con la intención de colocarle en junto al reno que hice anteriormente, además de que aquí en la casa tradicionalmente mi mamá decora un espacio especial para colocar con todo lo alusivo a la navidad. Le llaman "el rincón navideño", allí se colocan todo tipo de cositas que se han ido creando y colectando a través de los años. Inclusive, hay decoraciones de pequeños muñecos que datan desde mi primera navidad y también mi primer arbolito.
Continuando con nuestro trineo, es que lo mejor de este es que está elaborado con pocos materiales y bastante básicos los cuales seguro tendrás a la mano para disponer de ellos. Aquí te los digo:
1: Cartón
2: Pinturas de color: Rojo y blanco
3: Foami rojo
4: Foami amarillo
5: Foami verde
6: Silicón
7: Tijera
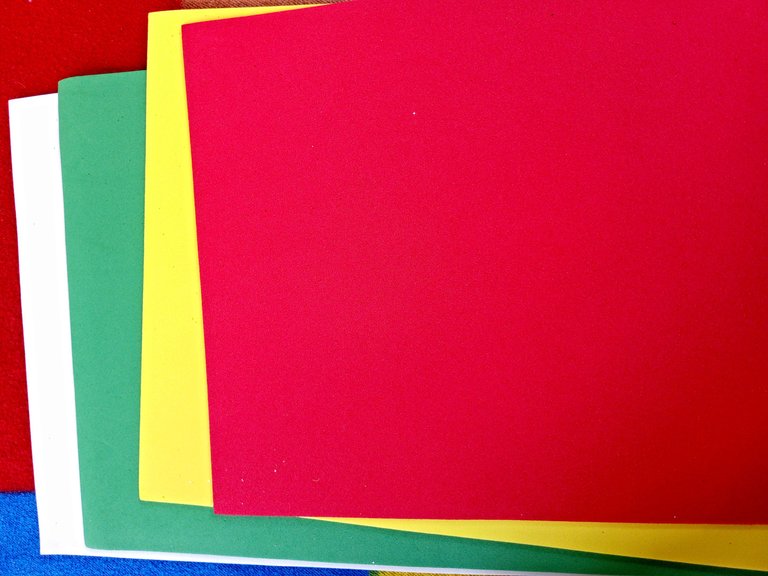
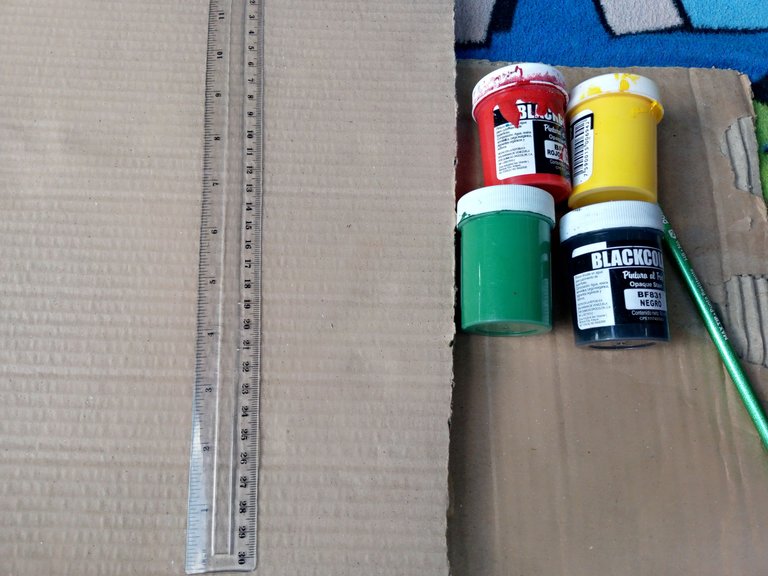
Pues bueno, la verdad es que los materiales son bastante pocos, ahora les diré cuales son los pasos:
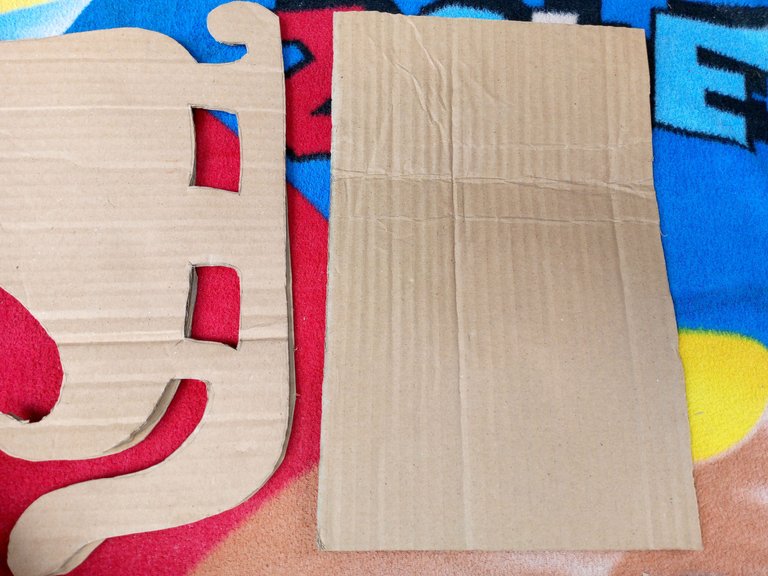
Primero. Debemos tomar el cartón y dibujar la silueta del trineo con un lápiz, está silueta debe ser un poco grande o dependiendo del tamaño que deseas obtener.
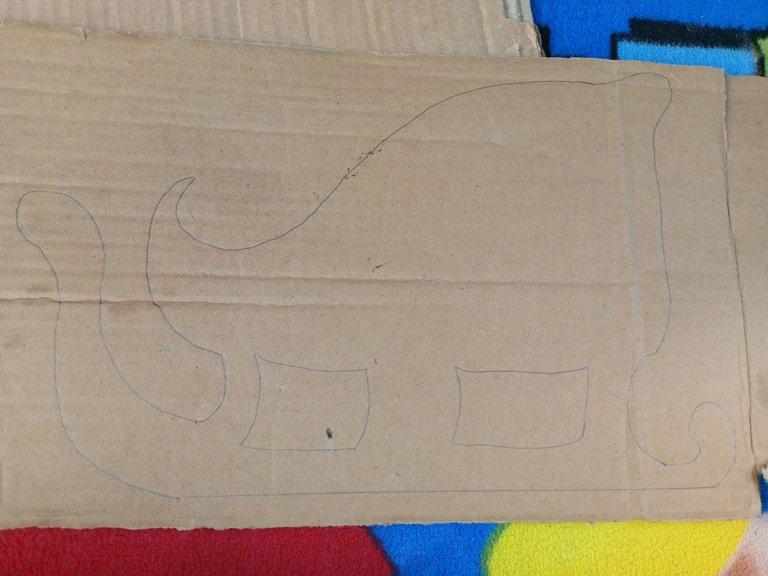
Ahora debemos tomar una tijera y cortar la silueta ya antes hecha.
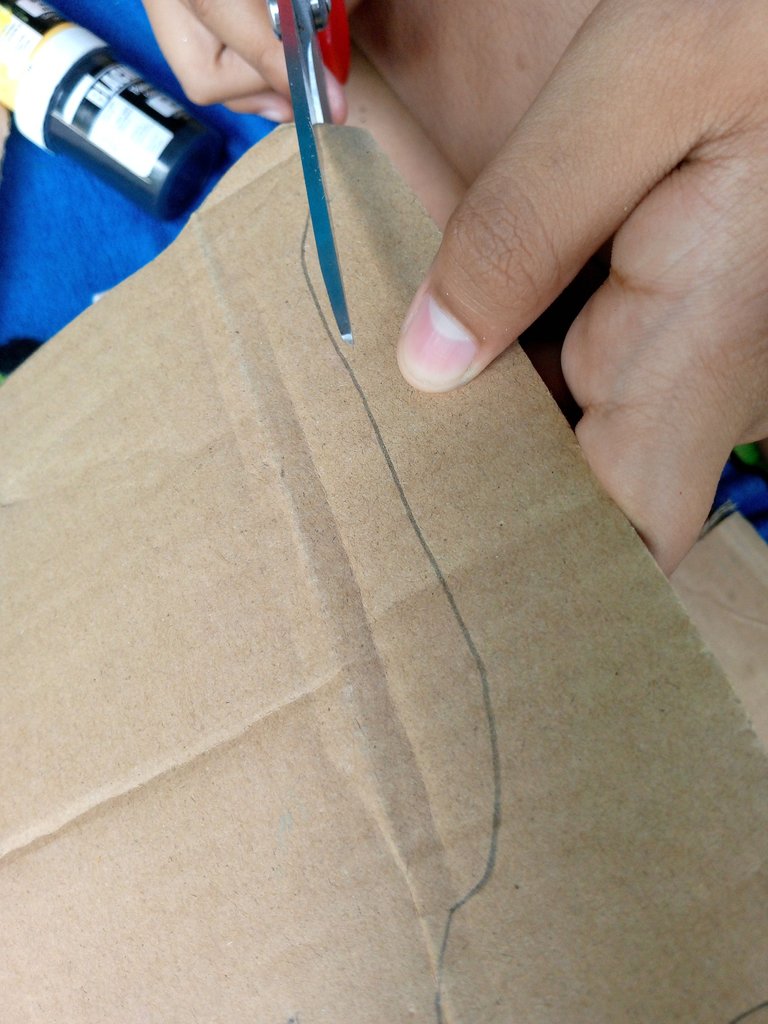
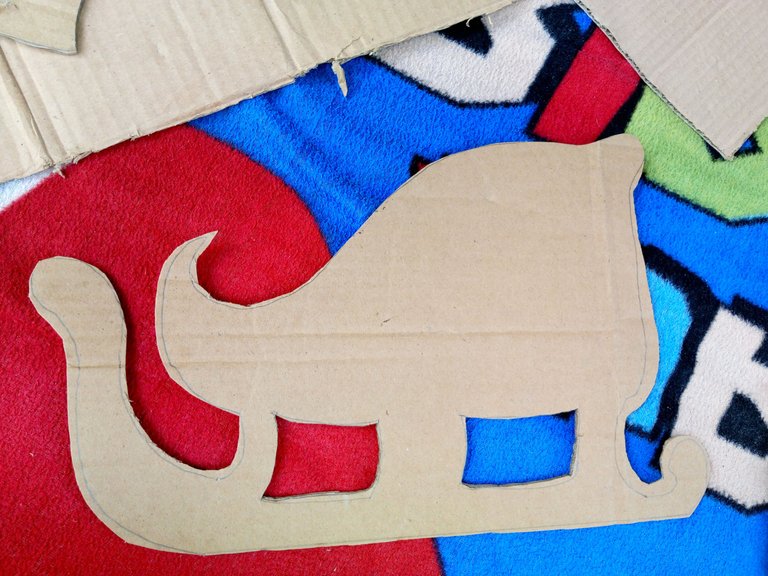
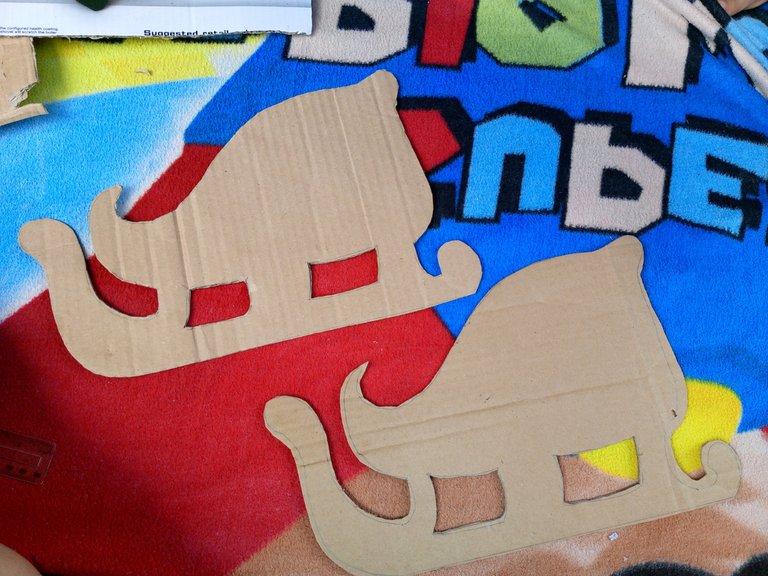
Seguido de ese proceso. Deberemos tomar otro pedazo de cartón y hacer la misma silueta del mismo tamaño para luego cortarla y de esa manera tener los 2 lados el trineo.
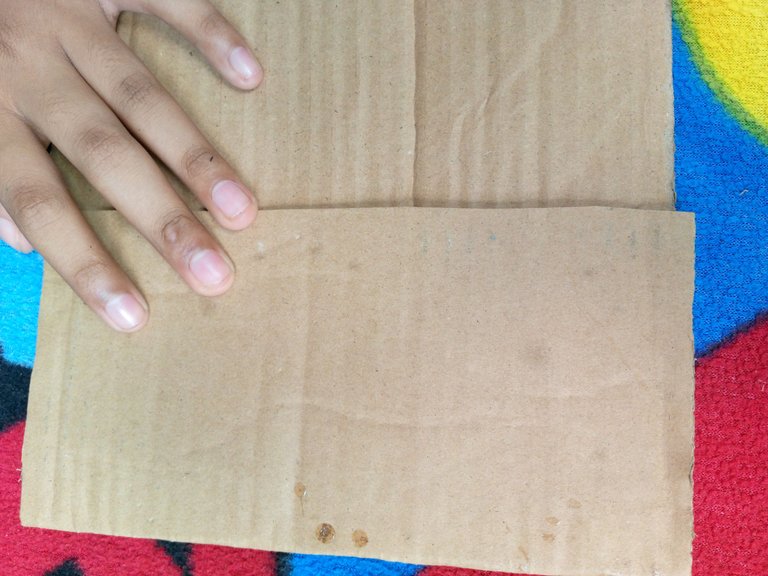
Ahora debemos tomar un trozo de cartón un poco largo o en tipo rectángulo y doblar una parte de éste. El trozo de cartón se usará para la parte de abajo del trineo
Luego de eso con ayuda de una barra de silicona pegaremos la parte de abajo del trineo y tomaremos ambos lados y los colocaremos ahí. También deberemos tomar unas tiras de cartón y posicionarlas en la parte de abajo de éste. Estás servirían cómo soporte para que nuestro trineo tenga mejor resistencia y soporte.
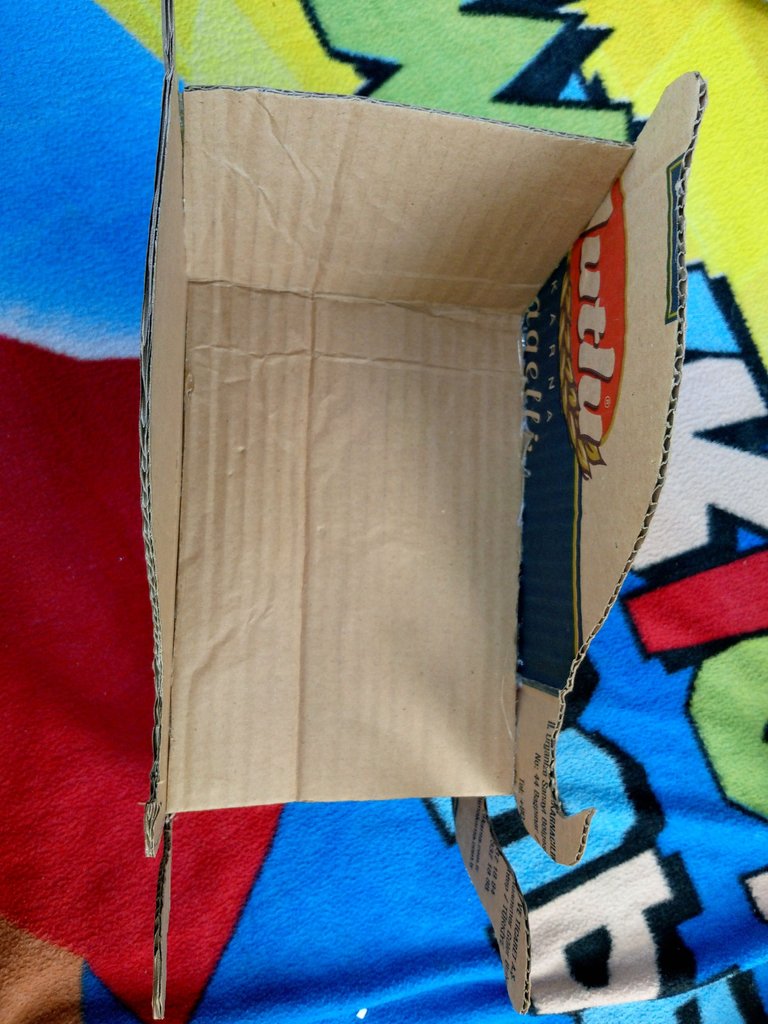
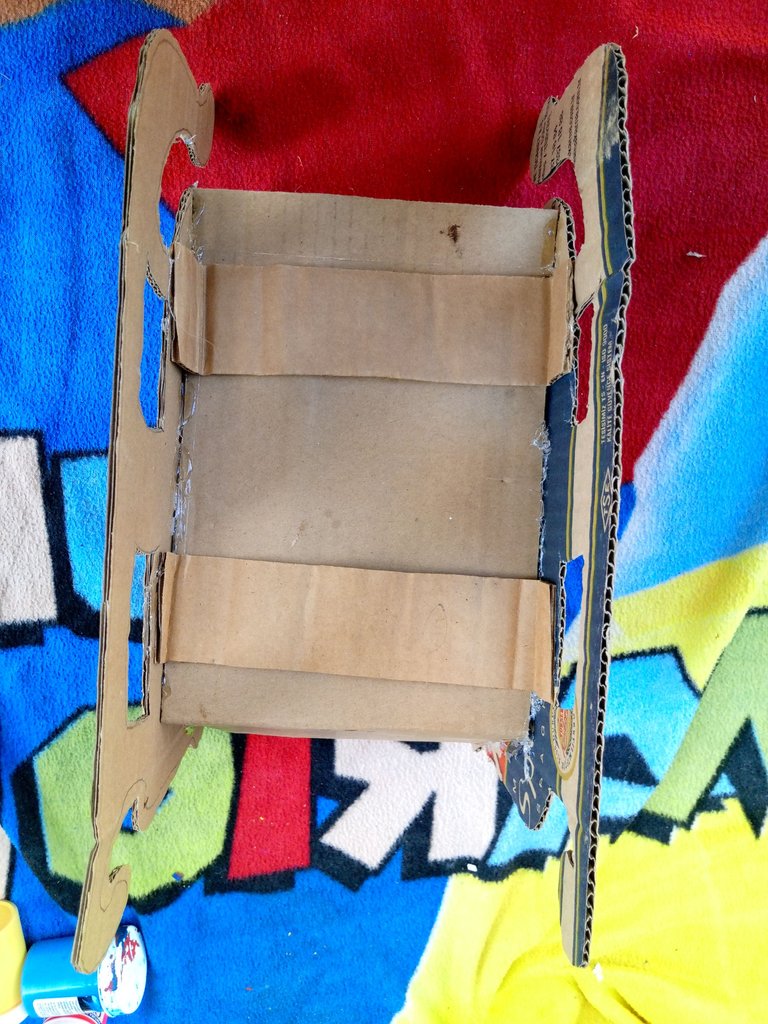
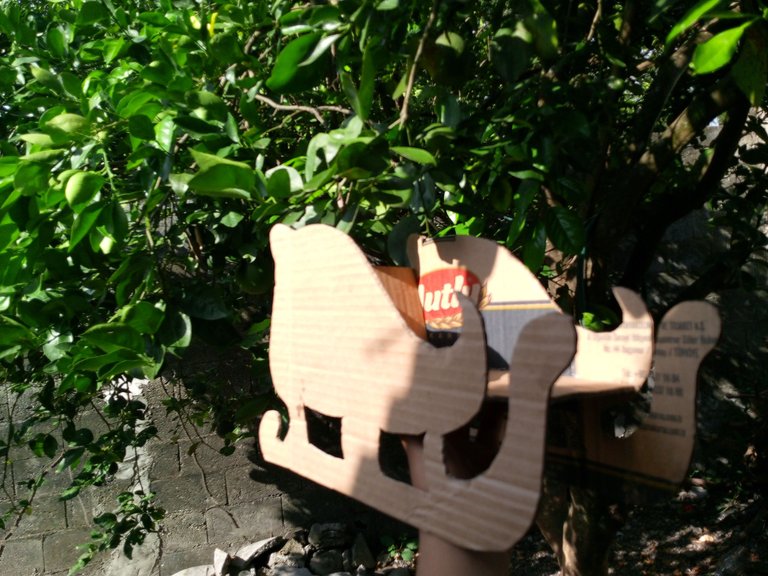
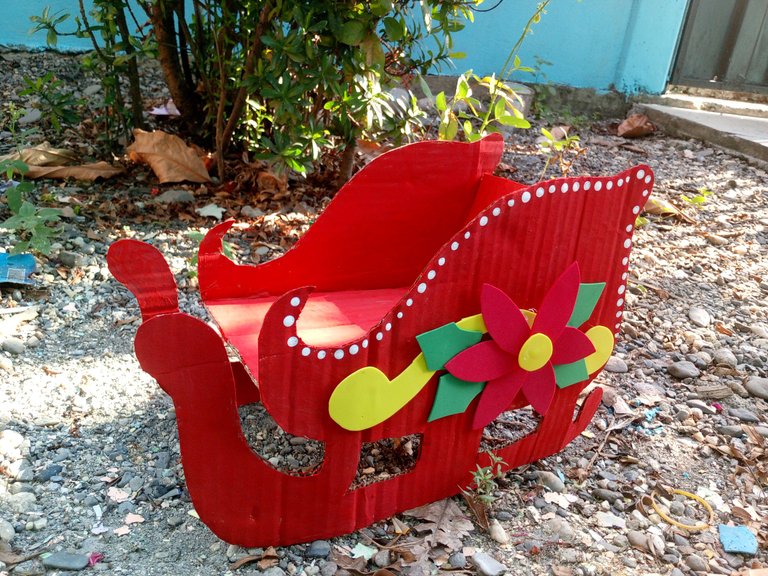
Ya con esto realizado tendríamos la base de nuestro trineo de navidad, ahora faltaría solo pintar por todo el trineo de pintura color roja. También podrías dejarle del color natural del cartón, todo va depende del gusto.
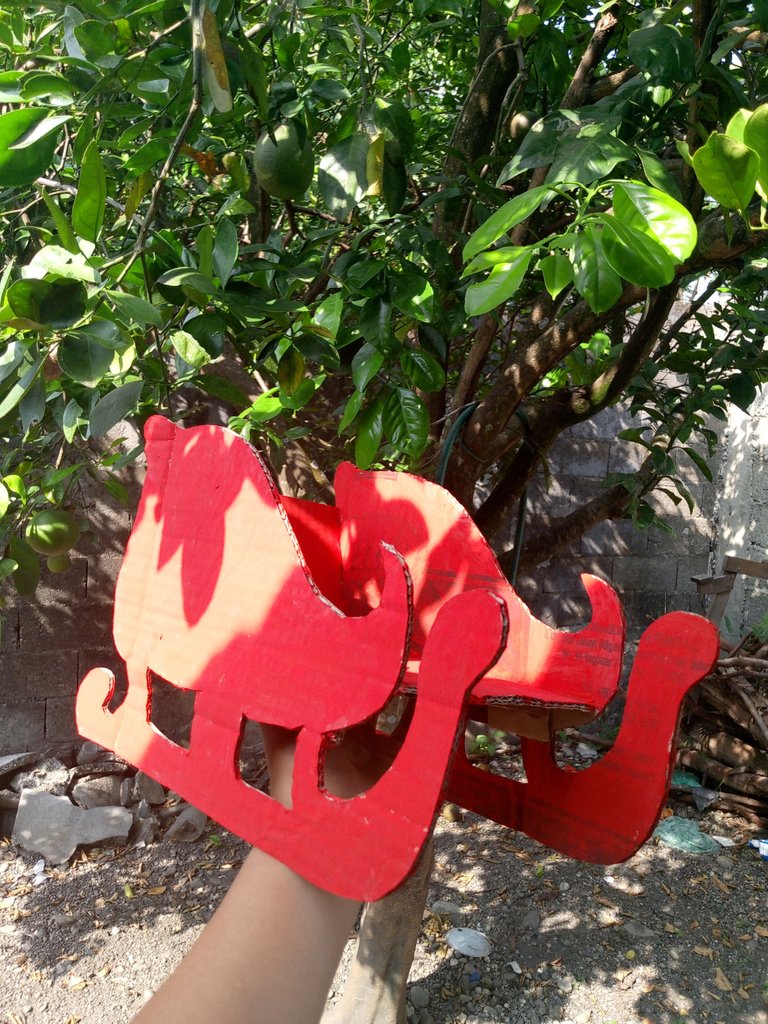
Pues bueno, una vez pintado. Necesitaremos hacer algunos detalles a nuestro trineo, por ello necesitamos aproximadamente 12 pétalos hechos con foami color rojo, unos detallitos con foami color amarillo (no sé cómo decirles😹)
y por último, necesitaremos 8 hojitas navideñas de color verde🌿
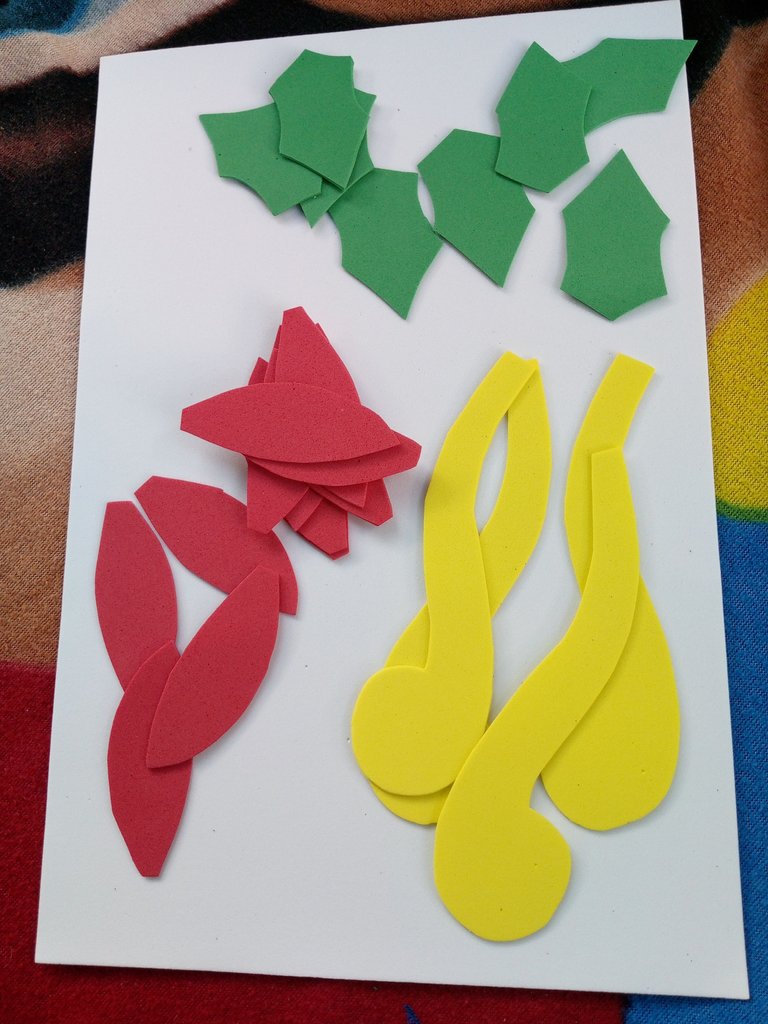
Ahora estos detalles los posicionamos y pegaremos con una barra de silicona a los lados del trineo.
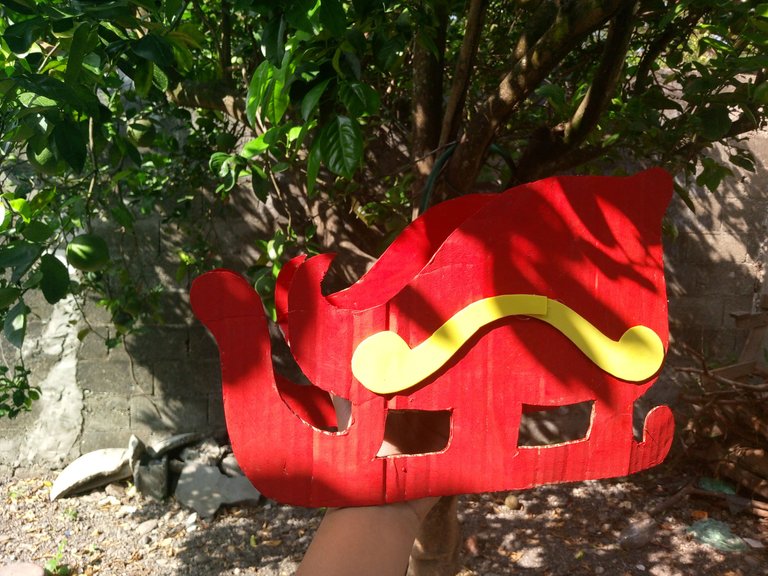
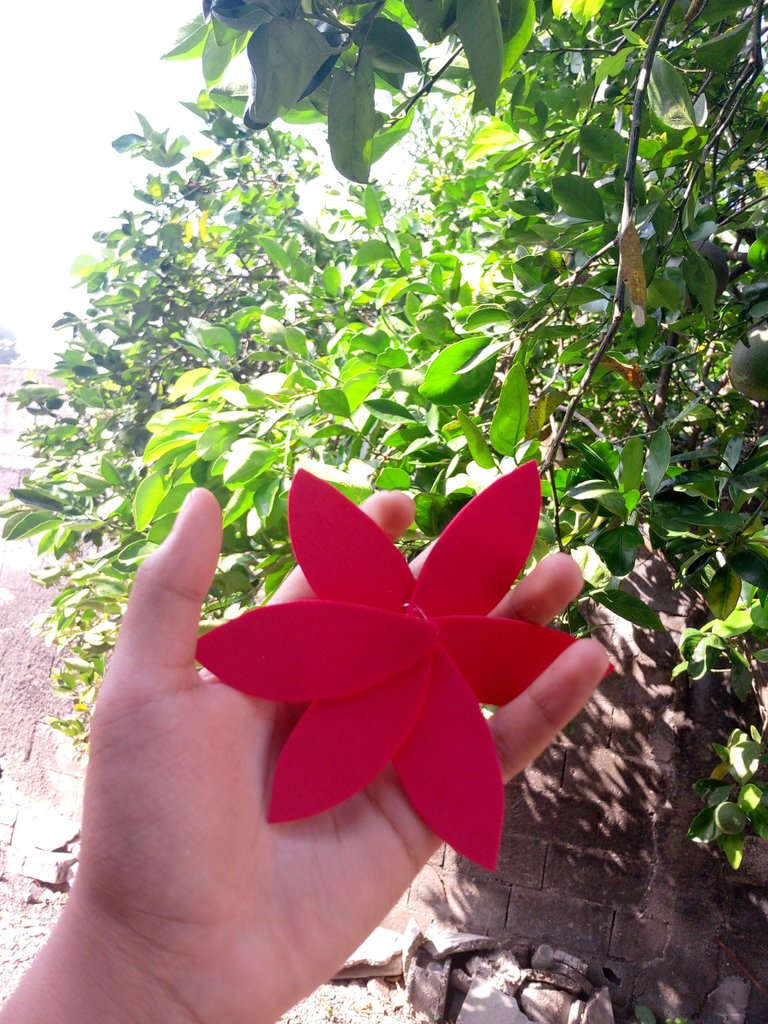
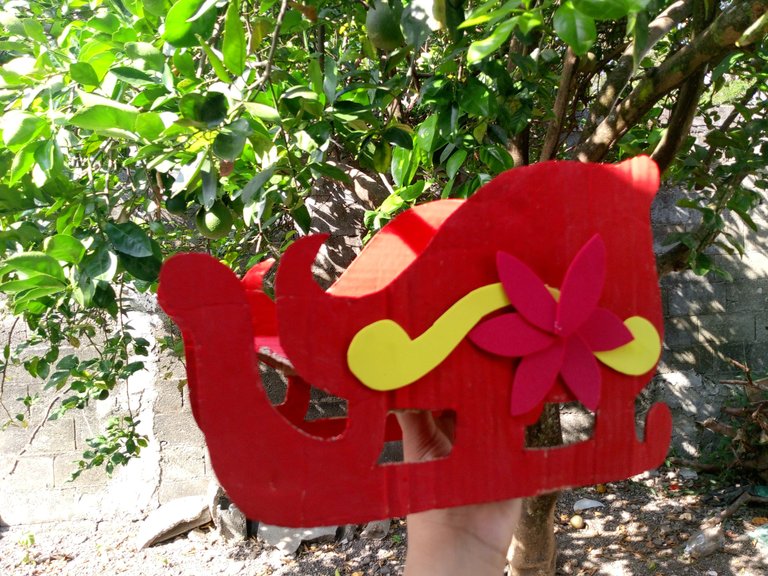
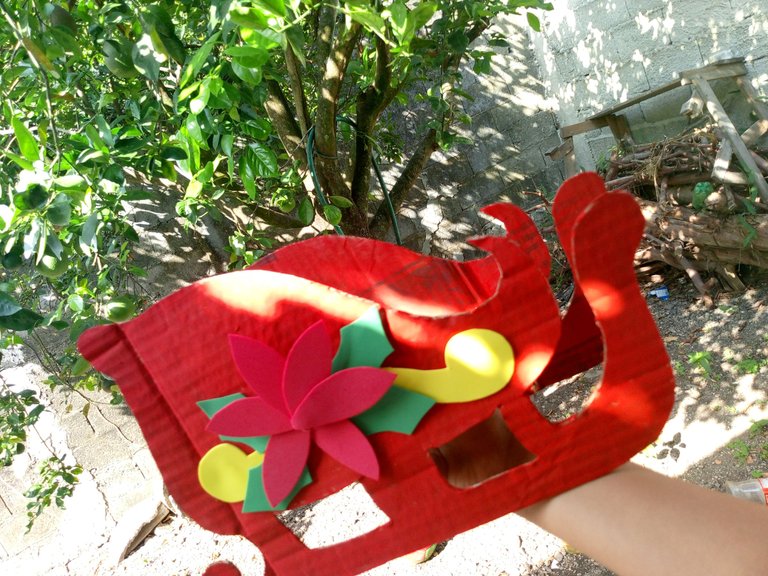
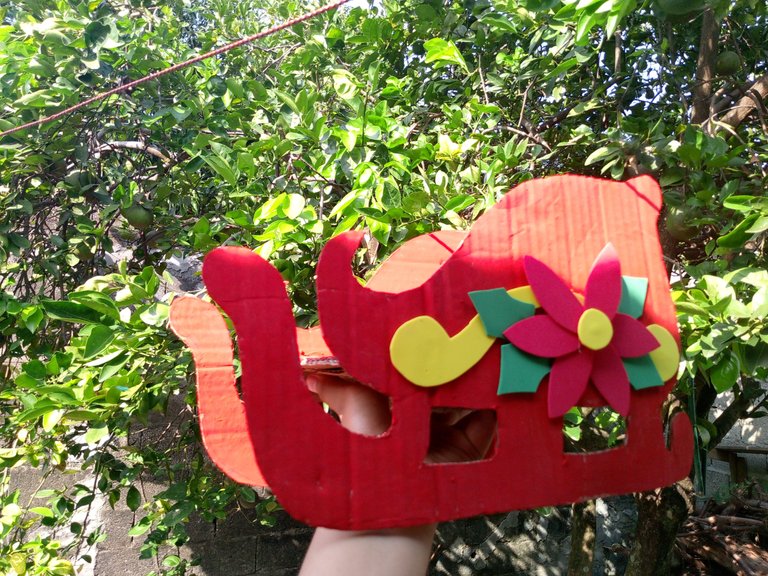
Seguido de eso, deberemos tomar pintura blanca y hacer unos puntitos alrededor del trineo, (los puntos deben ser algo pequeños)
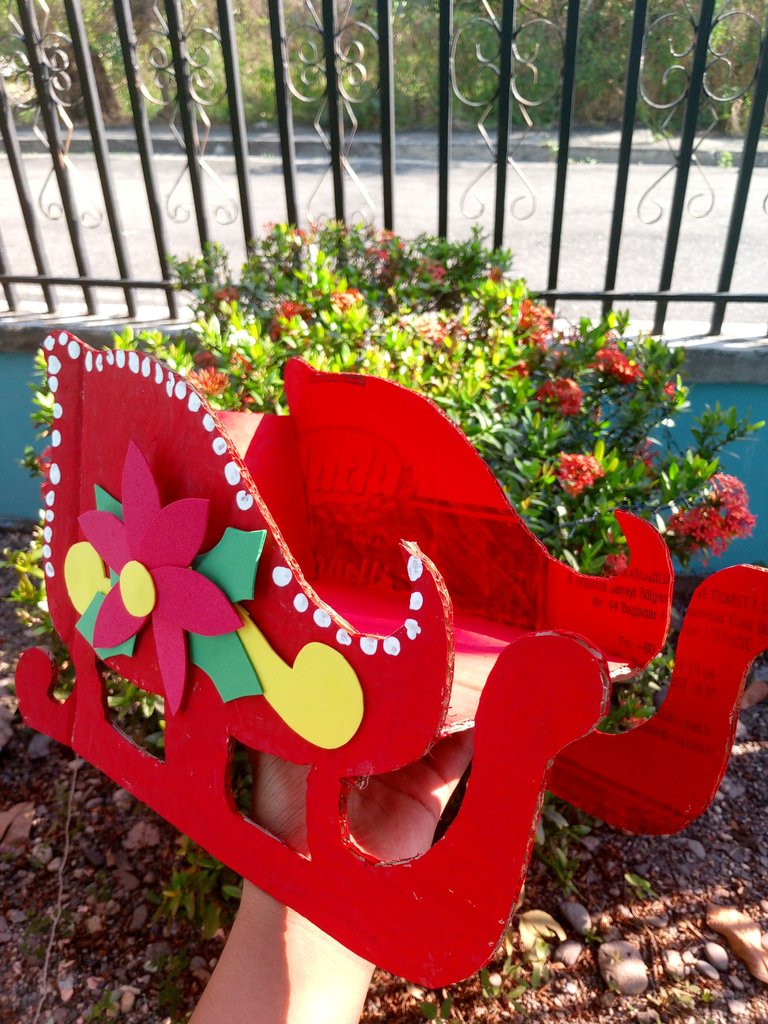
Ya con estos puntos terminados, podremos dejar lindos regalos para nuestros seres queridos en nuestro trineo. Es una buena manualidad muy creativa para dejar nuestros regalos en ese sitio y si se lo regalas a alguien seguro quedará encantado. Es una idea diferente y bastante útil a términos de decoración.
Resultado:
Yo en mi caso tomé juguetes prestados de mi hermana 😹 yo tengo, sin embargo son de Dragon Ball 🐉 y no supe si quedarían bien con la temática 🎅🏼
Les recomiendo tomar varias cosas de mis post e ir haciendo una especie de pesebre o sitio especial navideño, por así decirlo.
Por cierto. Quería agradecerles por todo el apoyo que han dejado en el último post 🫂 muchas gracias también a todos aquellos que dejaron comentarios positivos. Se los agradezco también😸
Pues bueno. Me despido, mi nombre es CarlPia y nos vemos luego ¡en otro post!
English Versión:
Hello Hive friends. How are you? I hope everyone is very well. As you already know, the transport vehicle that Santa Claus uses to distribute the toys desired by the children is a sleigh, so today I will make one of these to have in our patio, Christmas manger or special Christmas space 🎄🎁

I have done it with the intention of placing it next to the reindeer that I made previously, in addition to the fact that here at home my mother traditionally decorates a special space to place with everything alluding to Christmas. They call it "the Christmas corner", there are all kinds of things that have been created and collected over the years. There are even decorations of small dolls that date back to my first Christmas and also my first little tree.
Continuing with our sled, the best thing about it is that it is made with few and quite basic materials which you will surely have on hand to have at your disposal. Here I tell you:
1: Cardboard
2: Color paints: Red and white
3: Red Foami
4: Yellow foam
5: Green Foami
6: Silicone
7: Scissors


Well, the truth is that the materials are quite few, now I will tell you what the steps are:
First. We must take the cardboard and draw the silhouette of the sleigh with a pencil, this silhouette should be a little big or depending on the size you want to obtain.

Now we must take a scissors and cut the silhouette already made before.


Followed by that process. We will have to take another piece of cardboard and make the same silhouette of the same size and then cut it and in this way have both sides of the sled.

Now we must take a slightly long or rectangle piece of cardboard and fold a part of it. The piece of cardboard will be used for the bottom of the sled


After that, with the help of a silicone bar we will glue the bottom part of the sled and we will take both sides and place them there. We will also have to take some strips of cardboard and position them at the bottom of it. These would serve as a support so that our sled has better resistance and support.


With this done we would have the base of our Christmas sleigh, now we just need to paint the entire sleigh with red paint. You could also leave the natural color of the cardboard, it all depends on taste.

Well, once painted. We will need to make some details to our sleigh, so we need approximately 12 petals made with red foam, some details with yellow foam (I don't know how to tell you😹)
and finally, we will need 8 green Christmas leaves🌿

Now we position these details and glue them with a silicone bar to the sides of the sled.


Following that, we will have to take white paint and make some dots around the sled, (the dots should be somewhat small)

With these points completed, we can leave nice gifts for our loved ones on our sleigh. It is a good, very creative craft to leave our gifts in that place and if you give it to someone they will surely be delighted. It is a different idea and quite useful in terms of decoration.
Result:

In my case I borrowed toys from my sister 😹 I have one, however they are from Dragon Ball 🐉 and I didn't know if they would go well with the theme 🎅🏼
I recommend taking several things from my posts and making a kind of manger or special Christmas site, so to speak.
By the way. I wanted to thank you for all the support you have left in the last post 🫂 Many thanks also to all those who left positive comments. I thank you too😸
Well well. I say goodbye, my name is CarlPia and I'll see you later in another post!


