Amigos Siempre son Bienvenidos a mi Blog/Friends are always welcome to my Blog

Feliz y bendecido día tengan mis amigos artesanos espero que este día sea de provecho para todos nosotros. Tengo varios portalápices en casa hechos a partir de cartón o envases desechables, pero tienden a dañarse muy rápido debido a la gran cantidad de lápices y cositas que coloque en ellos, así que realice un nuevo portalápices para mi colección pero esta vez lo hice con una lata aprovechando que había preparado un rico jamón enlatado, este nuevo portalápices es más duradero al menos para mí que tiendo a colocar muchos lápices, tijeras y marcadores en los portalápices. Es una buena ocasión para darle otra oportunidad a las latas antes de echarlas a la basura. A continuación, les muestro el paso a paso
Happy and blessed day to all my crafty friends, I hope this day will be of benefit to all of us. I have several pencil holders at home made from cardboard or disposable containers, but they tend to get damaged very quickly due to the large amount of pencils and little things I put in them, so I made a new pencil holder for my collection but this time I did it with a can taking advantage that I had prepared a nice canned ham, this new pencil holder is more durable at least for me that I tend to place many pencils, scissors and markers in the pencil holders. It's a good chance to give the cans another chance before tossing them in the trash. Here's the step-by-step instructions
PASO APASO
Materiales
Lata en desuso, cartulina amarilla, cartulina azul, foami escarchado platead, foami negro, foami blanco silicón líquido, tijera, exacto, pintura negra y blanca, pincel punta fina
STEP BY STEP
Materials
Unused tin can, yellow cardboard, blue cardboard, frosted platead foami, black foami, white foami, liquid silicone, scissors, exacto, black and white paint, fine tip paintbrush
El primer paso es tomar un trozo de cartulina amarilla con las siguientes medidas 25cm de largo por 7cm de ancho, esto va depender de las medidas de la lata que tengan en casa
The first step is to take a piece of yellow cardboard with the following measures 25cm long by 7cm wide, this will depend on the measures of the can you have at home

Se Forra la lata con la cartulina amarilla dejando la parte de abajo descubierta ya que más adelante será cubierta con la cartulina de color azul. Si es de su agrado pueden forrar toda la lata con la cartulina amarilla luego se coloca la cartulina azul sin ningún problema
Line the can with the yellow cardboard leaving the bottom part uncovered since it will be covered with the blue cardboard later on. If you like, you can line the entire can with the yellow cardboard and then place the blue cardboard without any problem.

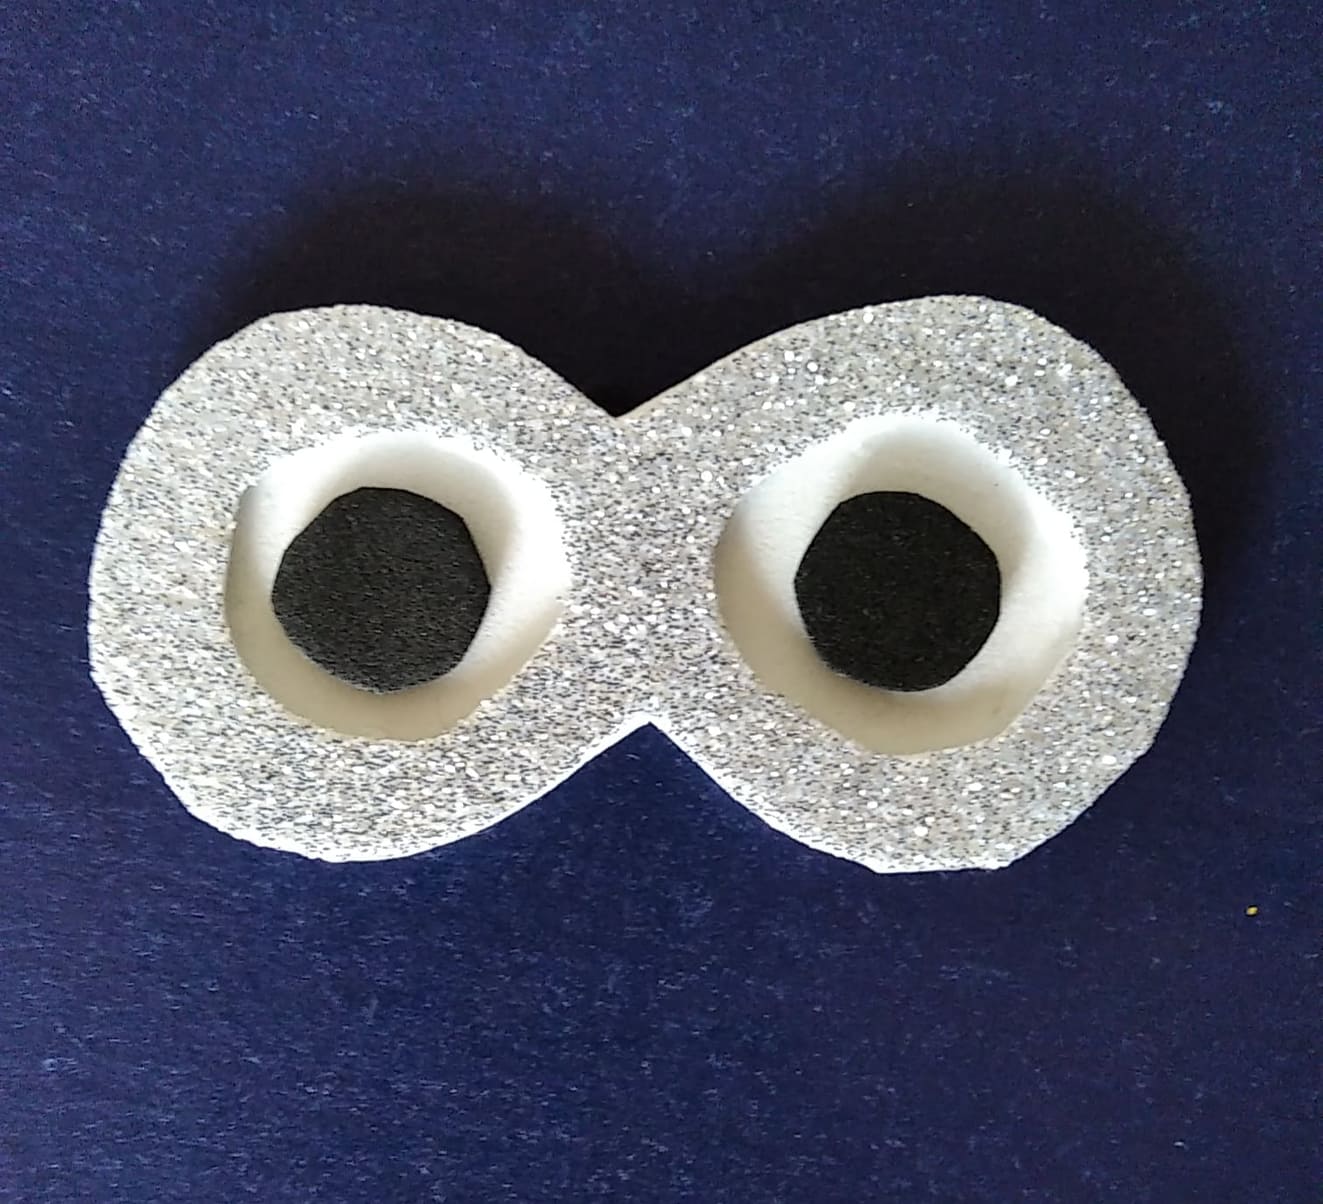
El siguiente paso es realizar los anteojos, para ello dibuje la forma de los lentes en foami escarchado plateado y elimine los círculos de adentro con la ayuda de un exacto. Después recorte dos círculos en foami blanco y pegue en la parte posterior de los anteojos
The next step is to make the glasses, to do this draw the shape of the glasses in silver frosted foami and remove the circles inside with the help of an exacto. Then cut out two circles in white foami and glue them on the back of the glasses.

Finalice colocando dos círculos negros para las pupilas
Finish by placing two black circles for the pupils.

Pegue dos tiras de color negro simulando las patas de los anteojos y luego los pegue en la lata
Glue two black strips simulating the legs of the glasses and then glue them on the can.

Con pintura blanca coloque dos puntos en los ojos para darle luz
With white paint, place two dots on the eyes to give it light.

Este paso es divertido ya que hacemos como si fuéramos costureras jajaja, dibujamos el overol en cartulina azul y luego realizamos líneas de color blanco simulando la costura. También se recorta la forma del bolsillo y se pega en la parte de abajo del overol o de la braga que por cierto, así se lo llamamos en mi país. ¿Cómo llaman al overol en tu país?
This step is fun because we do it as if we were seamstresses hahaha, we draw the overalls on blue cardboard and then we make white lines simulating the seam. We also cut out the shape of the pocket and glue it on the bottom of the overalls or panties, which is what we call them in my country. What do they call overalls in your country?

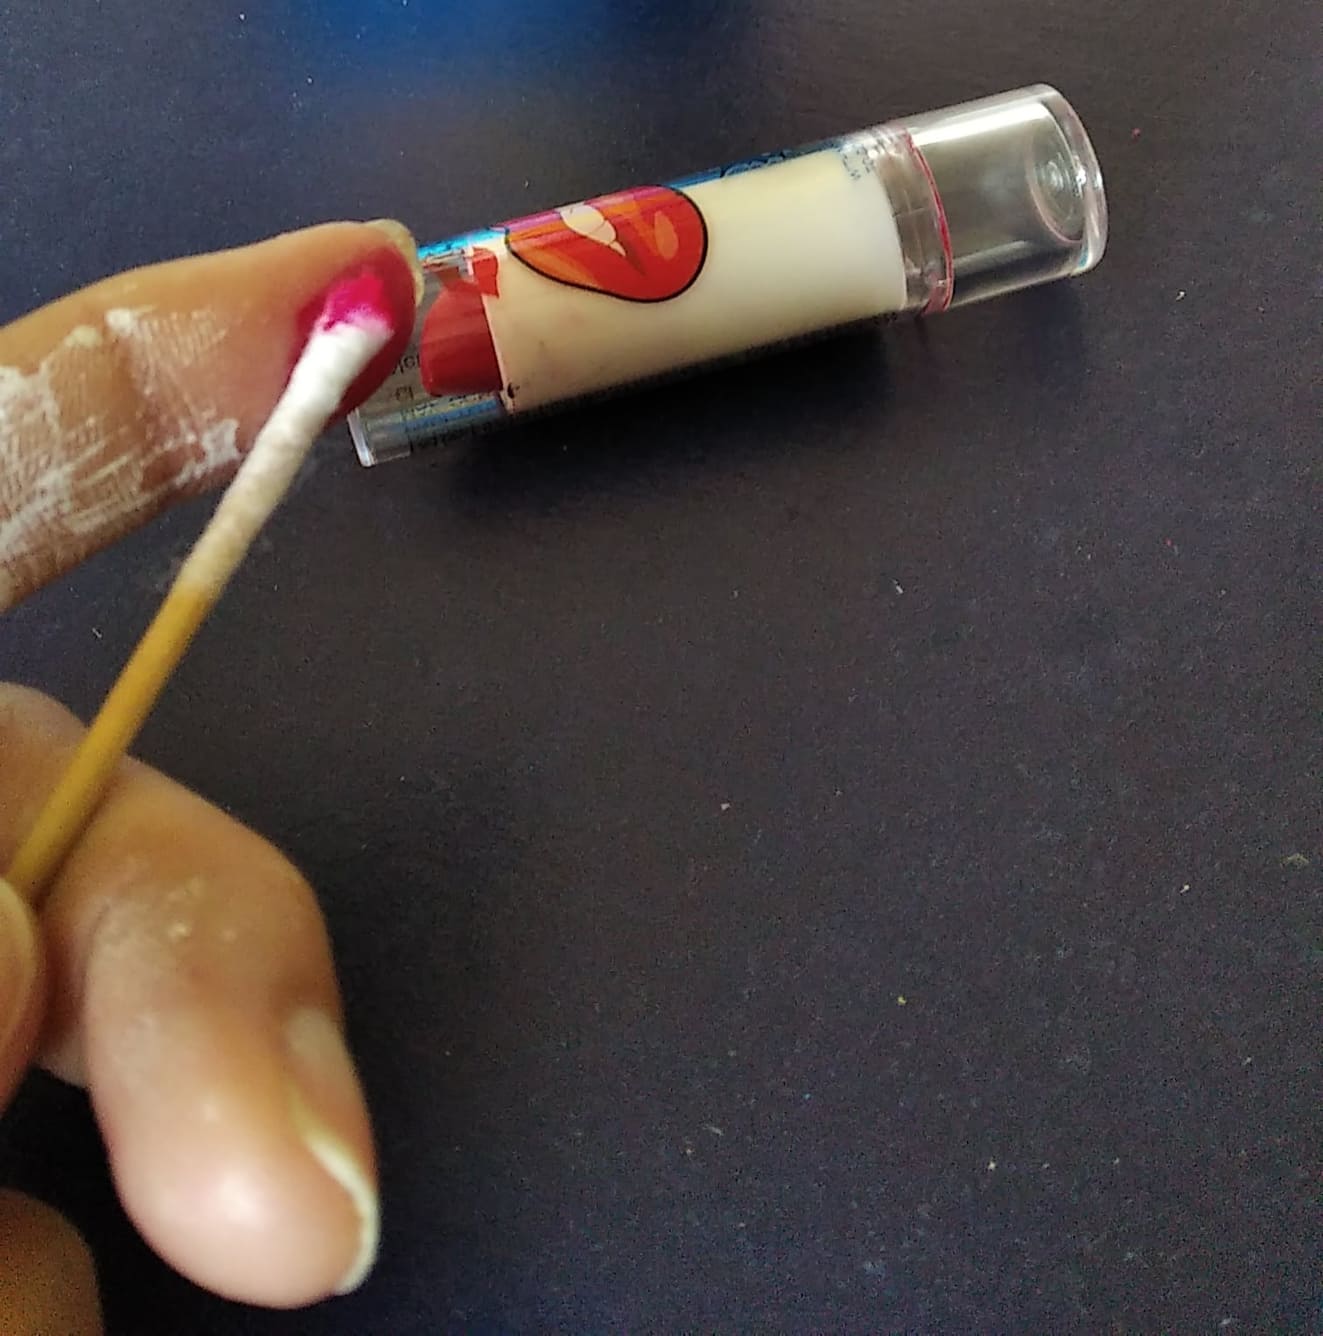
Con la ayuda de un hisopo y pintura labial realice el rubor de las mejillas a mi pequeño amiguito
With the help of a cotton swab and lipstick, I blushed my little friend's cheeks.


Y ya a para finalizar recorte el cabello en foami de color negro y lo pegue en la cabeza del portalápiz, espero les allá gustado tanto como a mí la realización de este nuevo proyecto a partir de una lata reciclada.
Hasta la próxima oportunidad se les quiere
And finally I cut the hair in black foami and glued it on the head of the pencil holder, I hope you liked it as much as I did the realization of this new project from a recycled can.
Until the next opportunity I love you all

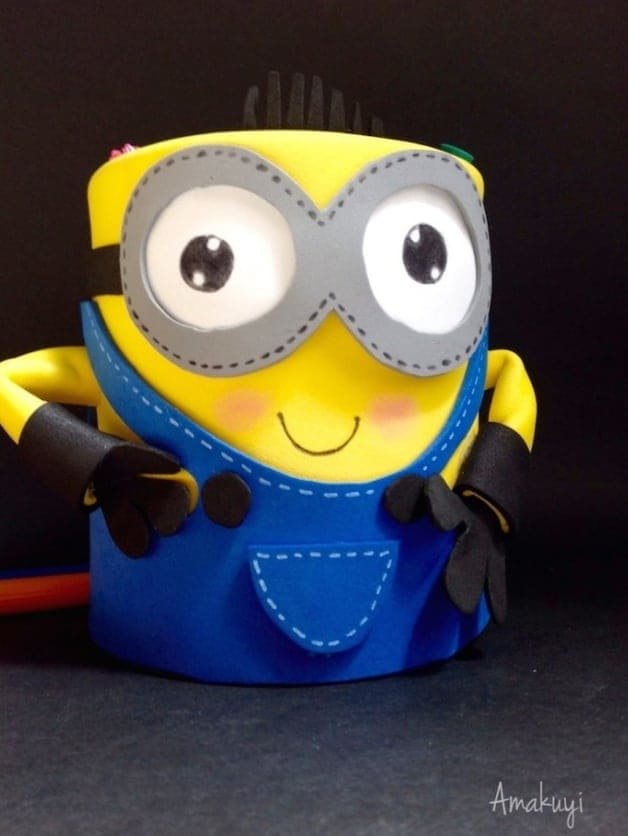
RESULTADO FINAL DE MI PROYECTO/FINAL RESULT OF MY PROJECT


Las fotos son de mi autoría y fueron tomadas con mi celular Xiaomi Redmi 7A
Traducido con www.DeepL.com/Translator (versión gratuita)
Edite las fotos con PowerPoint
The photos are my own and were taken with my Xiaomi Redmi 7A cell phone
Translated with www.DeepL.com/Translator (free version)
Edit the photos with PowerPoint

