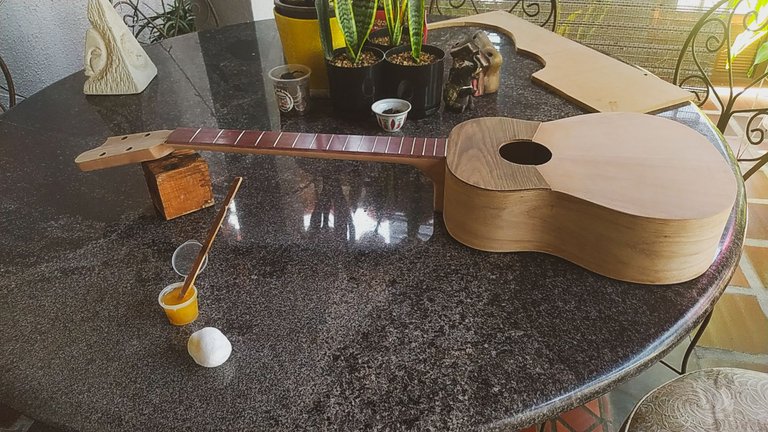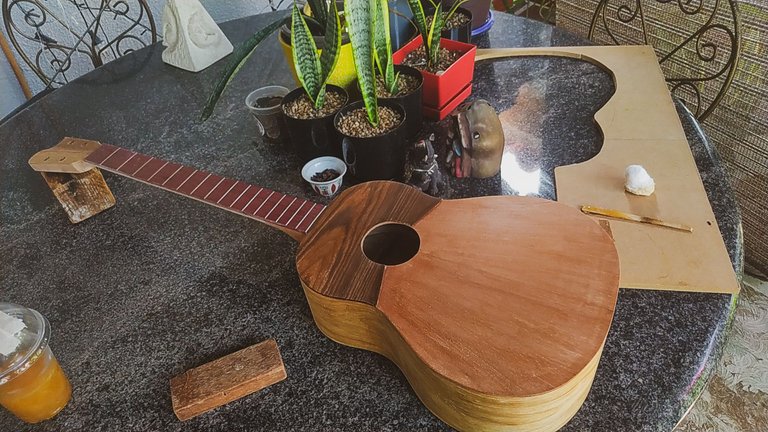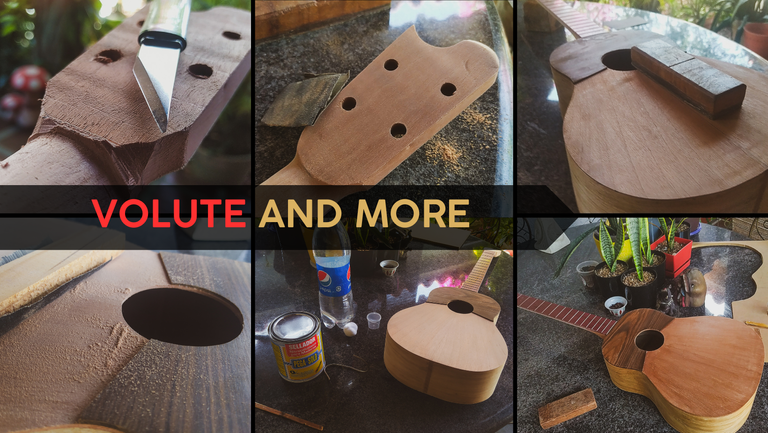

We are back for another week of woodworking and follow up on our instrument on the bench. It is time to start getting into the real of the finish. But we need to do some more sanding (it won't be the last) and work on some other details for the first coat of pore filler.
Let's get to it!
Volute
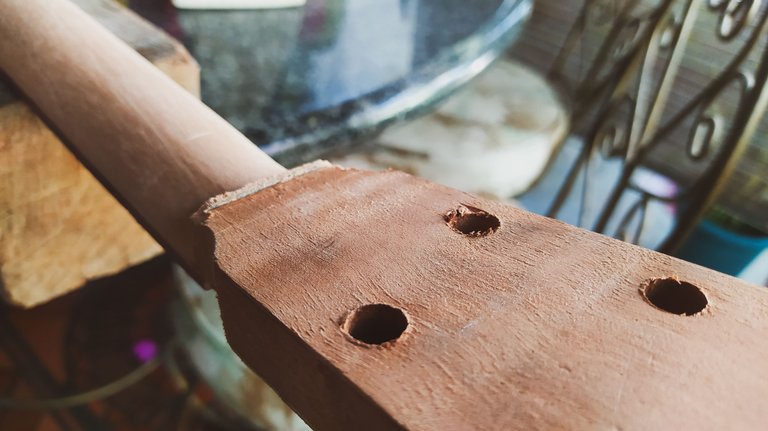
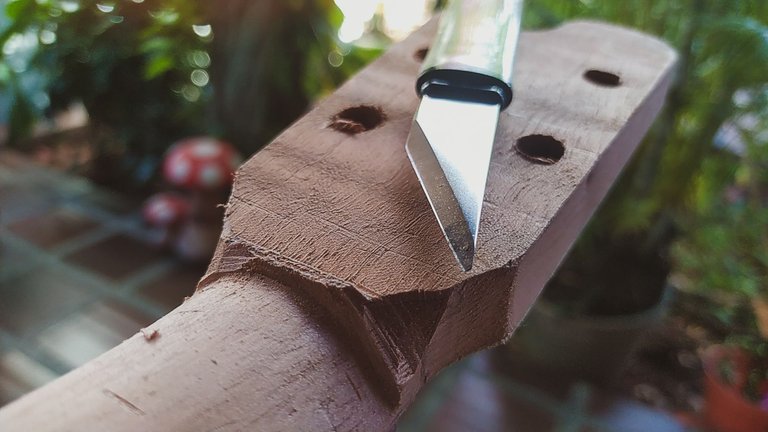
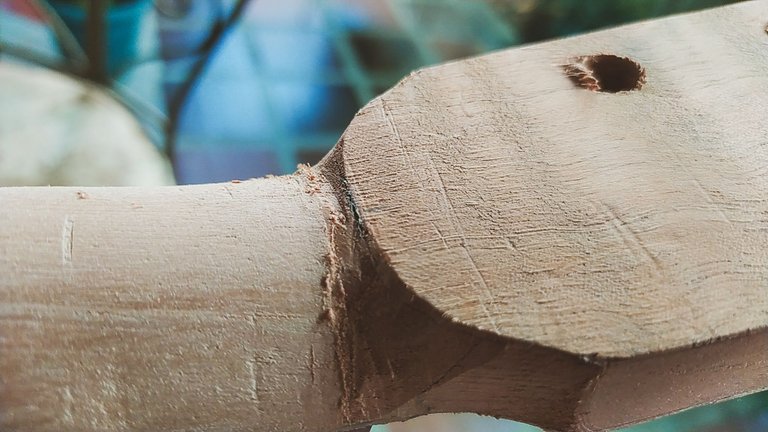
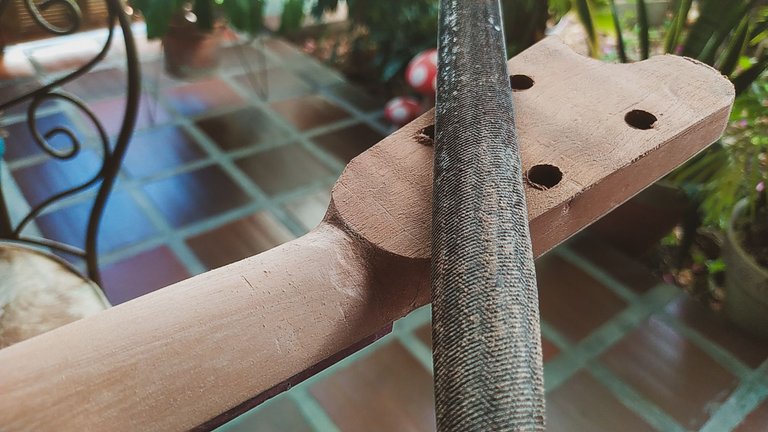
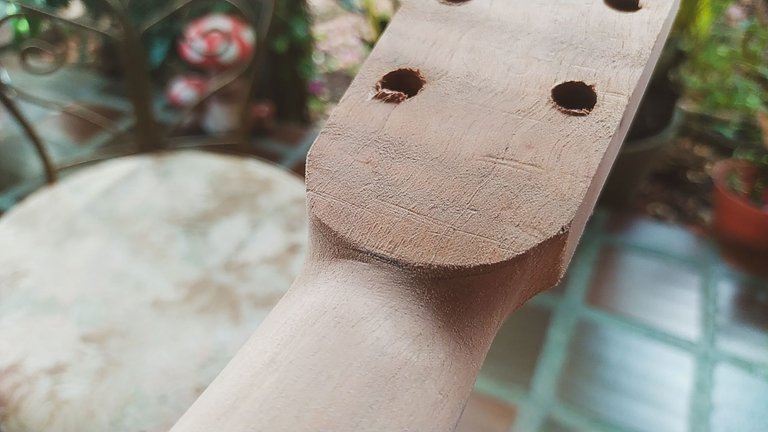
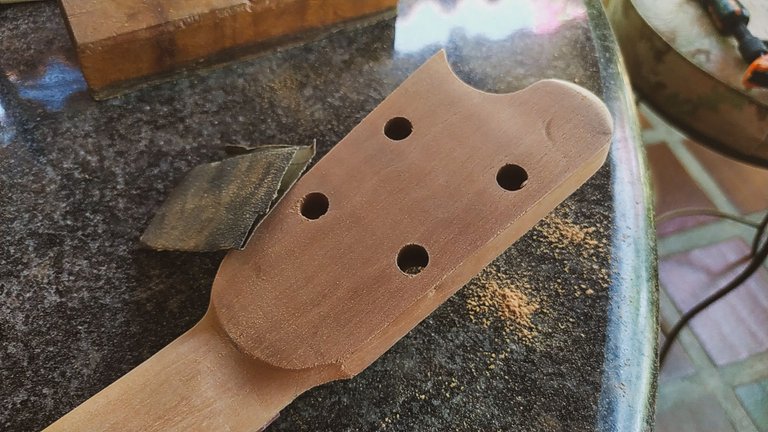
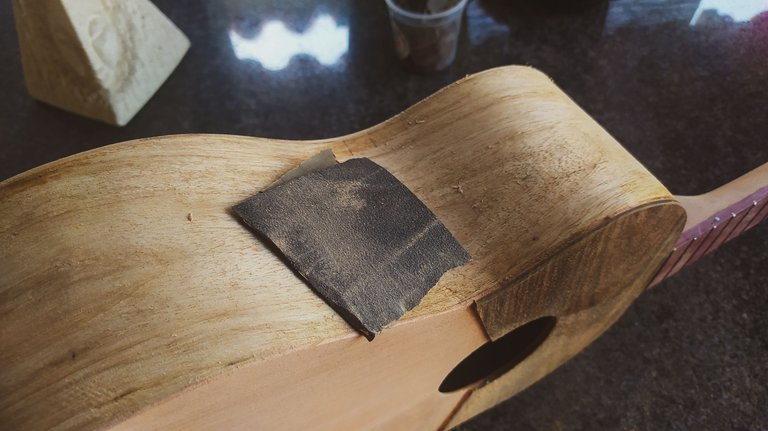
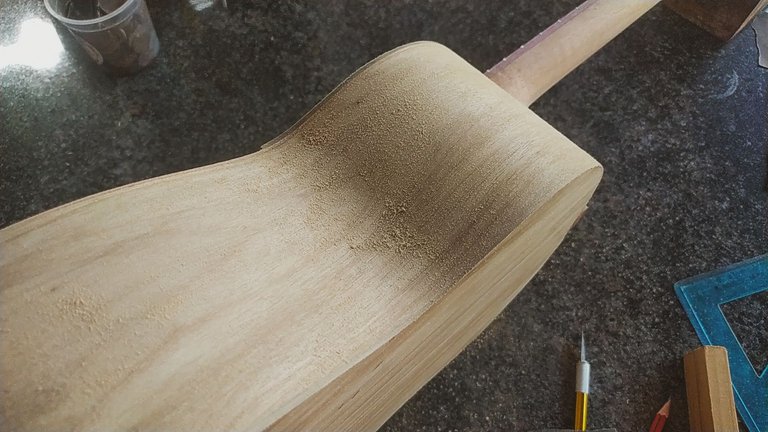
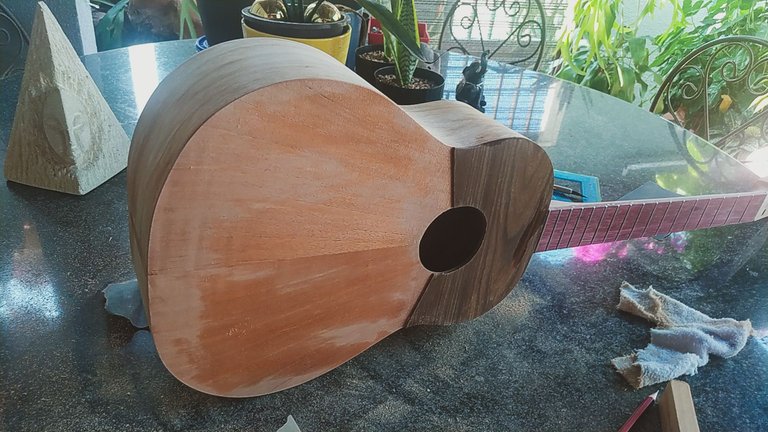
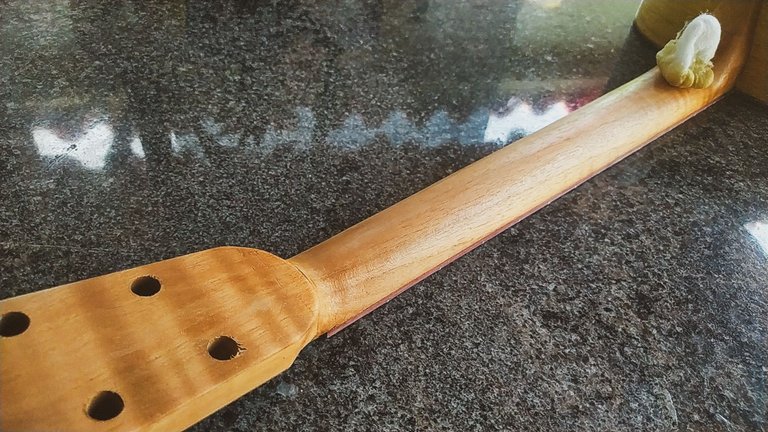
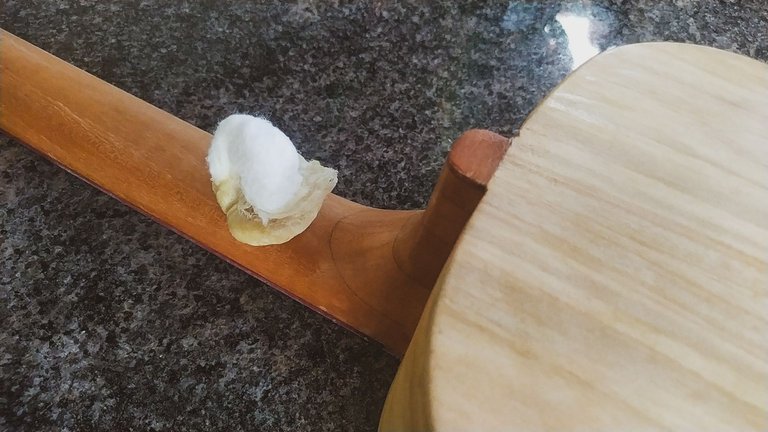
Since we are going to do the last bit of sanding too, we need to get this volute ready to sand. This volute is the border between the neck and head stock. Some luthiers make this a valley; others, create different patterns according to their style. My idea is is a mix of both. It is also a simple rounded shape to make it smooth once your hand gets to hold the instrument. The idea behind is that you can hold it without grasping the instrument if you place your hand right in that point. Is it useful? I don't know, but it works!
To start, we make a line to guide where we need to remove material. For this we can use anything round that is bigger that the area of work. Once we have this done, we use a knife to carve the wood until we get a rough shape of the volute. Next, we get a file to smooth the surface. The last step is to use a low-grit sandpaper to finish the shape.
If there are some scratch marks on the piece, they will be removed once we start going through the last bit of sanding on the wood.
Sanding, again
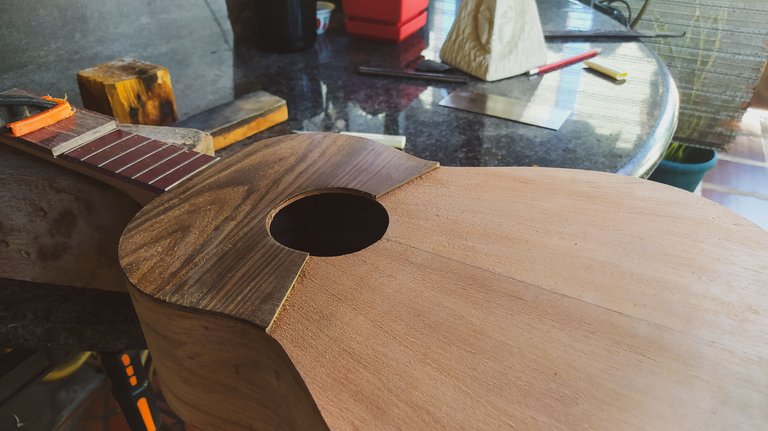
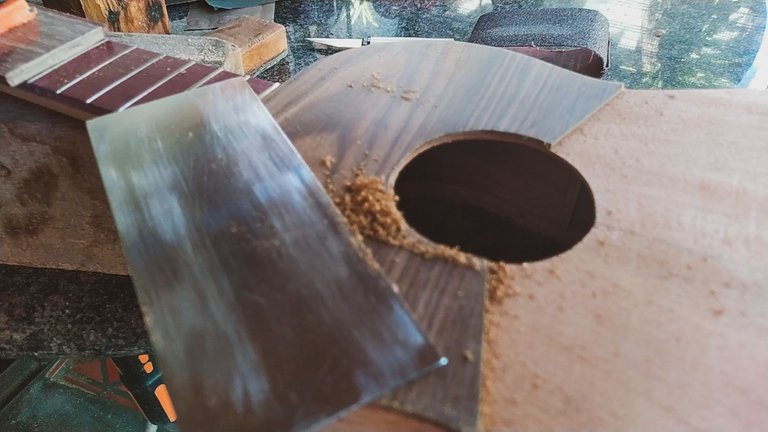
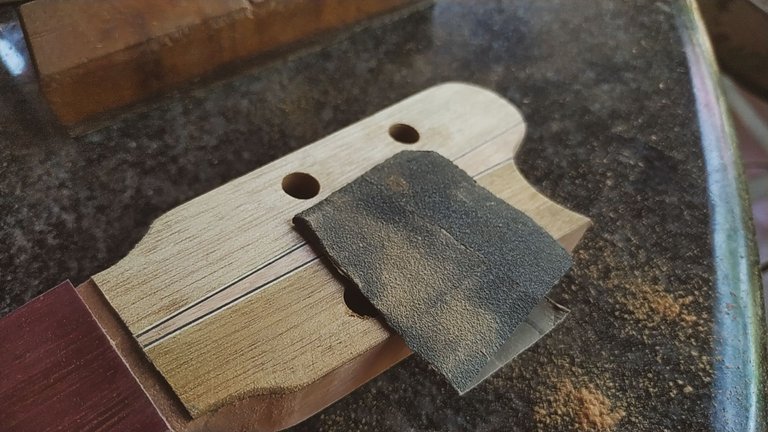
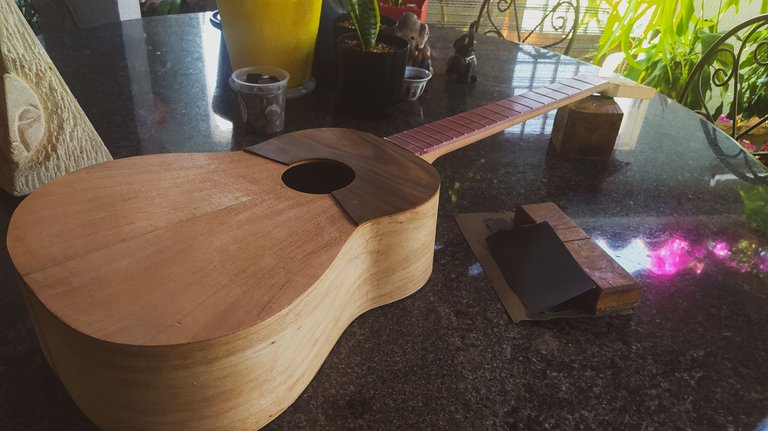
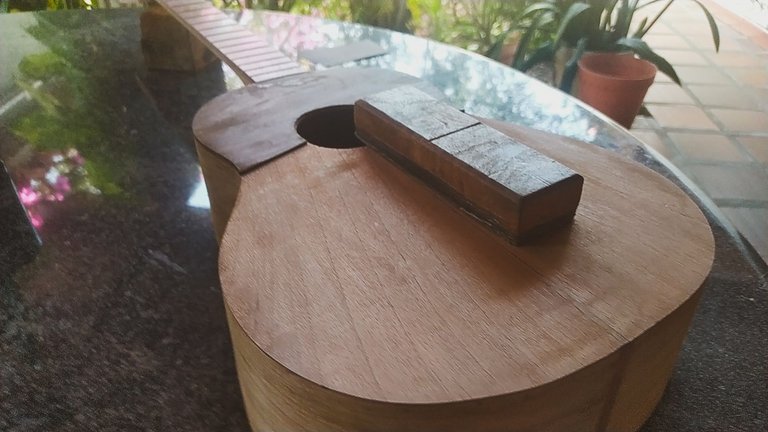
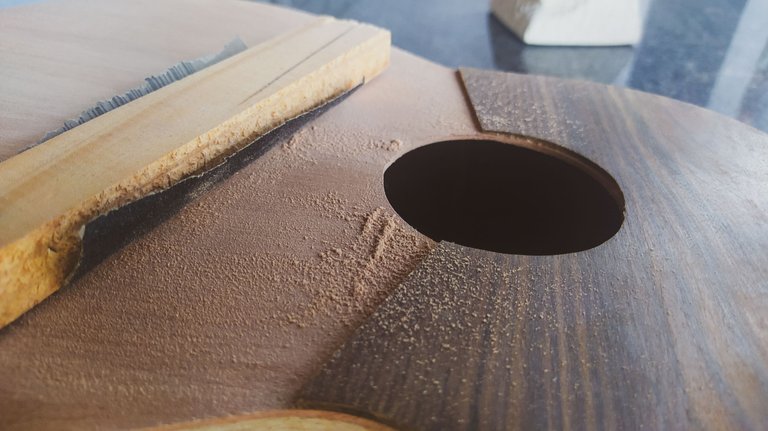
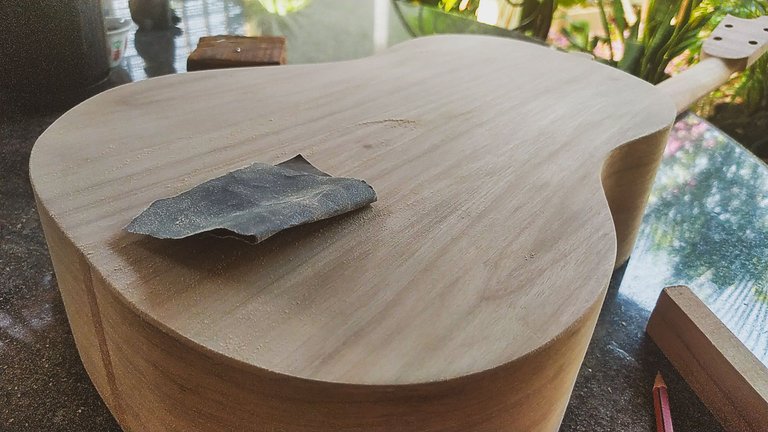
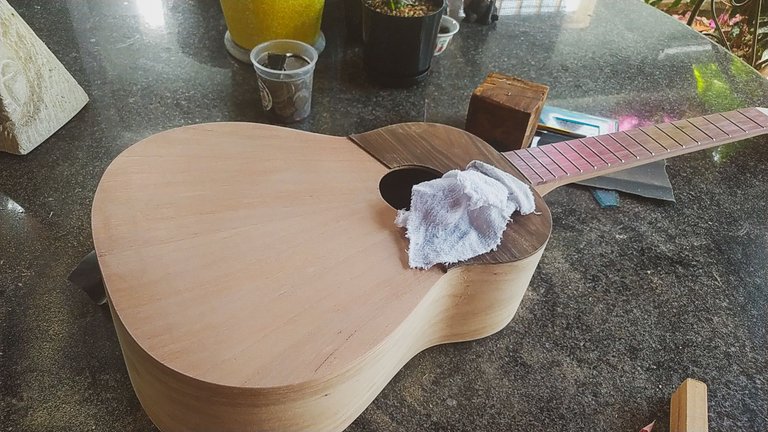
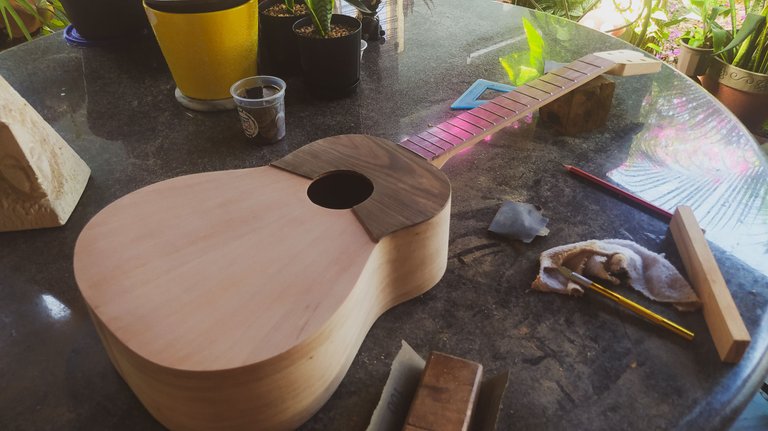
We need to sand the whole instrument once again. This time, it isn't about shaping. It's about the finish and achieving a smooth surface to apply the sealant. Before doing the whole work on sanding, we'll remove any scratch marks on the strumming guard, volute and head stock.
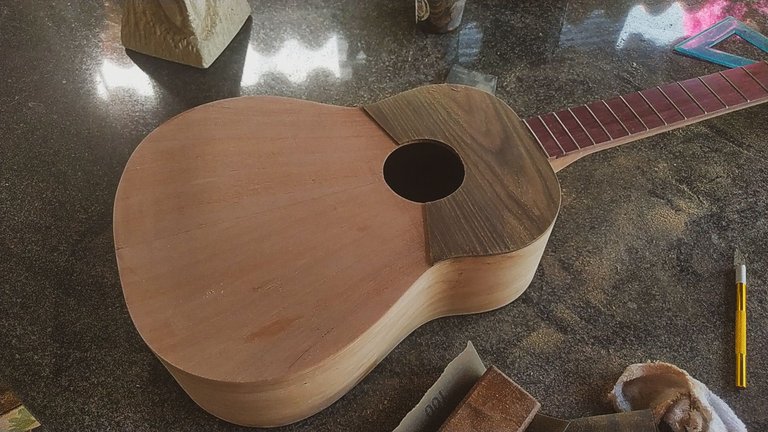
Then, the whole process of sanding goes on. The idea is to sand everything up to 220 grit. Going up from this number only burnishes the wood. That means we get some of its own sawdust and fill the pores of wood with it. That is useful when your finish is natural. So if you're using beeswax or oil, it works well to burnish your wood before that. You could up until 360 grit. If you're going to use something like sealant, which is my case, you out to leave a little bit of rough surface and pores open so it can penetrate the wood and protect it from humidity.
So, we do 3 round of sanding. First, with 100-grit sandpaper. On this stage, we are trying to get rid of any uneven surfaces that are left from the work. It also helps to remove any glue spots that might be around the instrument. This is also the more aggressive stage of the work and we need to be careful, lest we want to leave a hole on a part of the instrument.
Next, we get on 220-grit sandpaper. Now, we loosen our grip of the paper and sanding block to smooth out the whole surface of the instrument. Getting it ready to apply the finish.
The last stage is to repeat the 220-grit, but before sanding we use a damp cloth to make the fiber rise. With this extra step we eliminate any splinters that could rise up when we apply the finish. It is a little trick a friend taught me a while ago.
First coat of finish
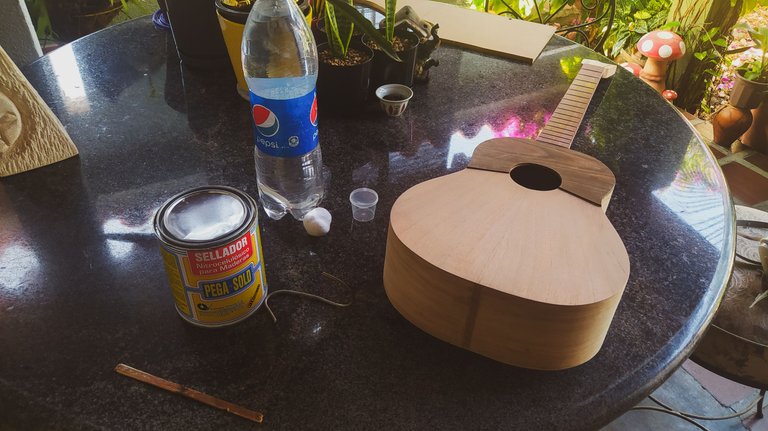
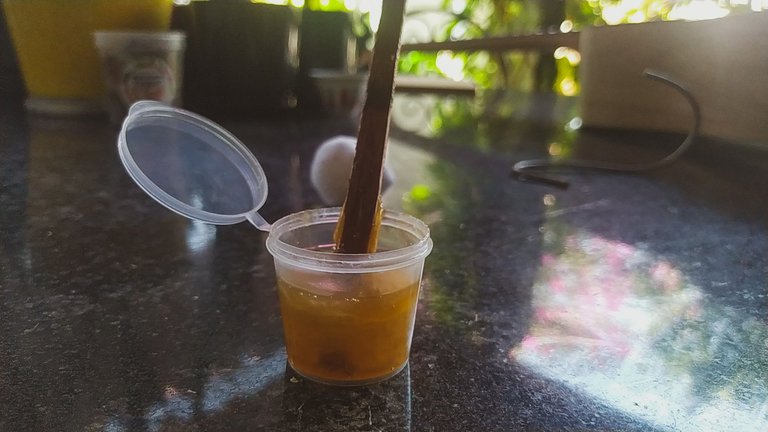
We have gotten to the slowest part of the build. The finish is applied on coats. And once you're done with one coat, you need to let it dry properly, sand it and start again. This is repeated until you achieved your desired results. This is the first layer which tends to be the thickest of them all. Each other layer changes the proportion between sealant and solvent. We start with 1:2 and then keep making the amount of solvent greater. That helps us work faster since more solvent means the sealant dries faster. But it also keeps layers from become too thick and hurting the sound of the instrument.
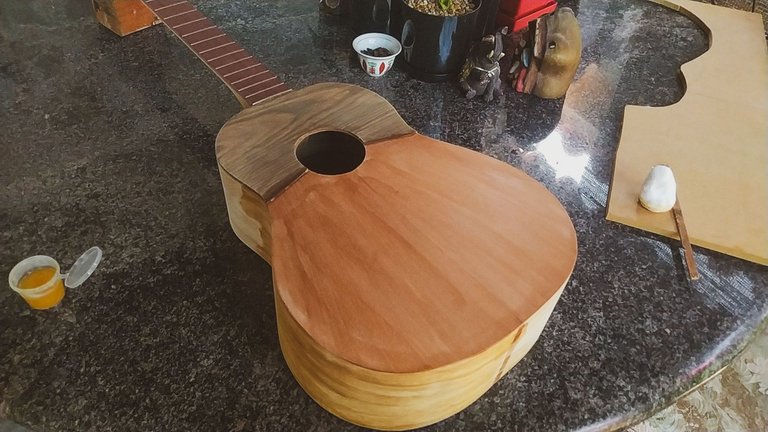
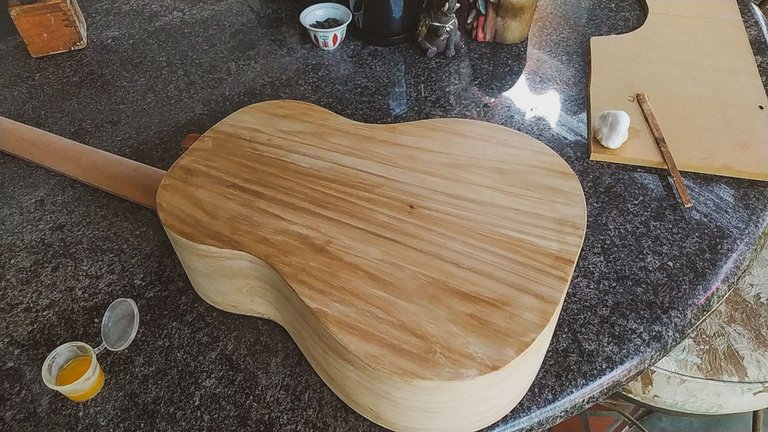
To apply it, we go with an old method of the cotton ball. We make our sealant mix and start applying it on the instrument. The first coat goes on the same direction of the grain of the wood. Each other coat we apply during this first round and the next go in circles. This pattern helps to fill the pores faster. It also helps you use the whole amount of mix you get in your cotton each time.
The trick is to let the faces of the instrument dry while you are applying sealant to one side. That way you are always working and the mix doesn't spoil while you're working.
And with this, we have started the slow process of working on the finish of the instrument.
Next time, we'll continue of this and get started with the bridge, nut and saddle to get the last pieces ready to install.
Thanks for reading!

Fotos/Photos 📷: taken by me (Redmi Note 8)
Portada/Thumbnail 🖼️: by me, created with Canva.
Edición/Editing 🎬: by me, made with Adobe Photoshop Lightroom.


Follow me on Instagram for enquires and commission.
If you'd like to help the workshop grow, you can make a donation here. You can find me at discord as bertrayo#1763
